
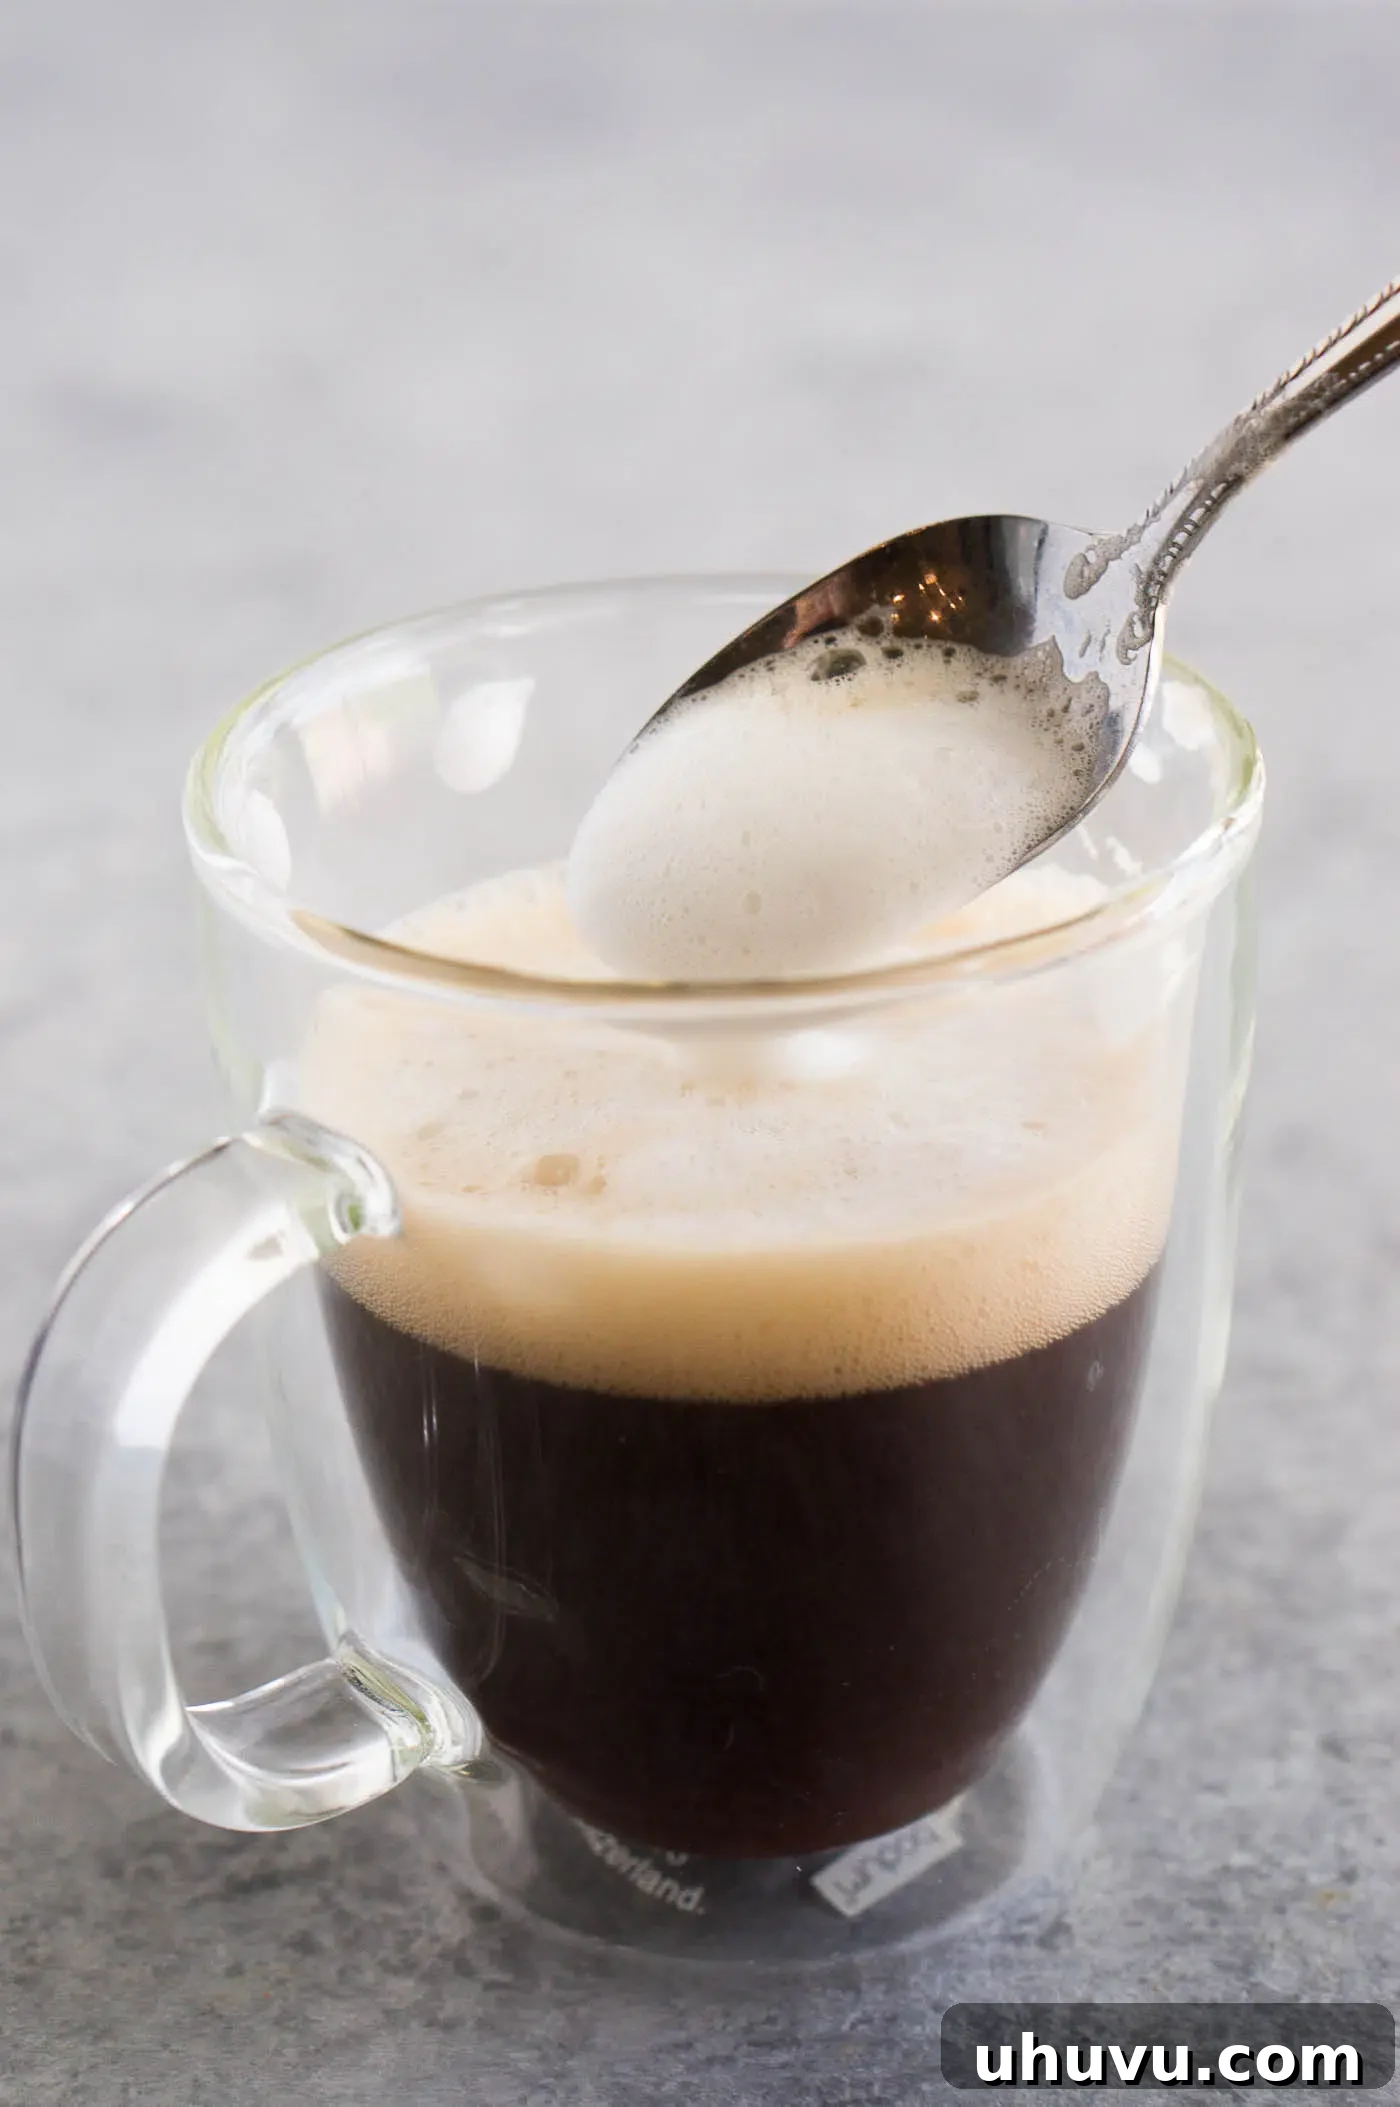
Transform your daily coffee routine into a delightful café experience with perfectly **frothed milk**! Achieving that luscious, velvety foam for your homemade lattes, cappuccinos, or even hot chocolates is surprisingly simple and can be done in minutes right in your kitchen. This comprehensive guide will walk you through everything you need to know, from selecting the ideal milk to mastering various frothing techniques, ensuring you can enjoy coffee shop-quality beverages without ever leaving your home.
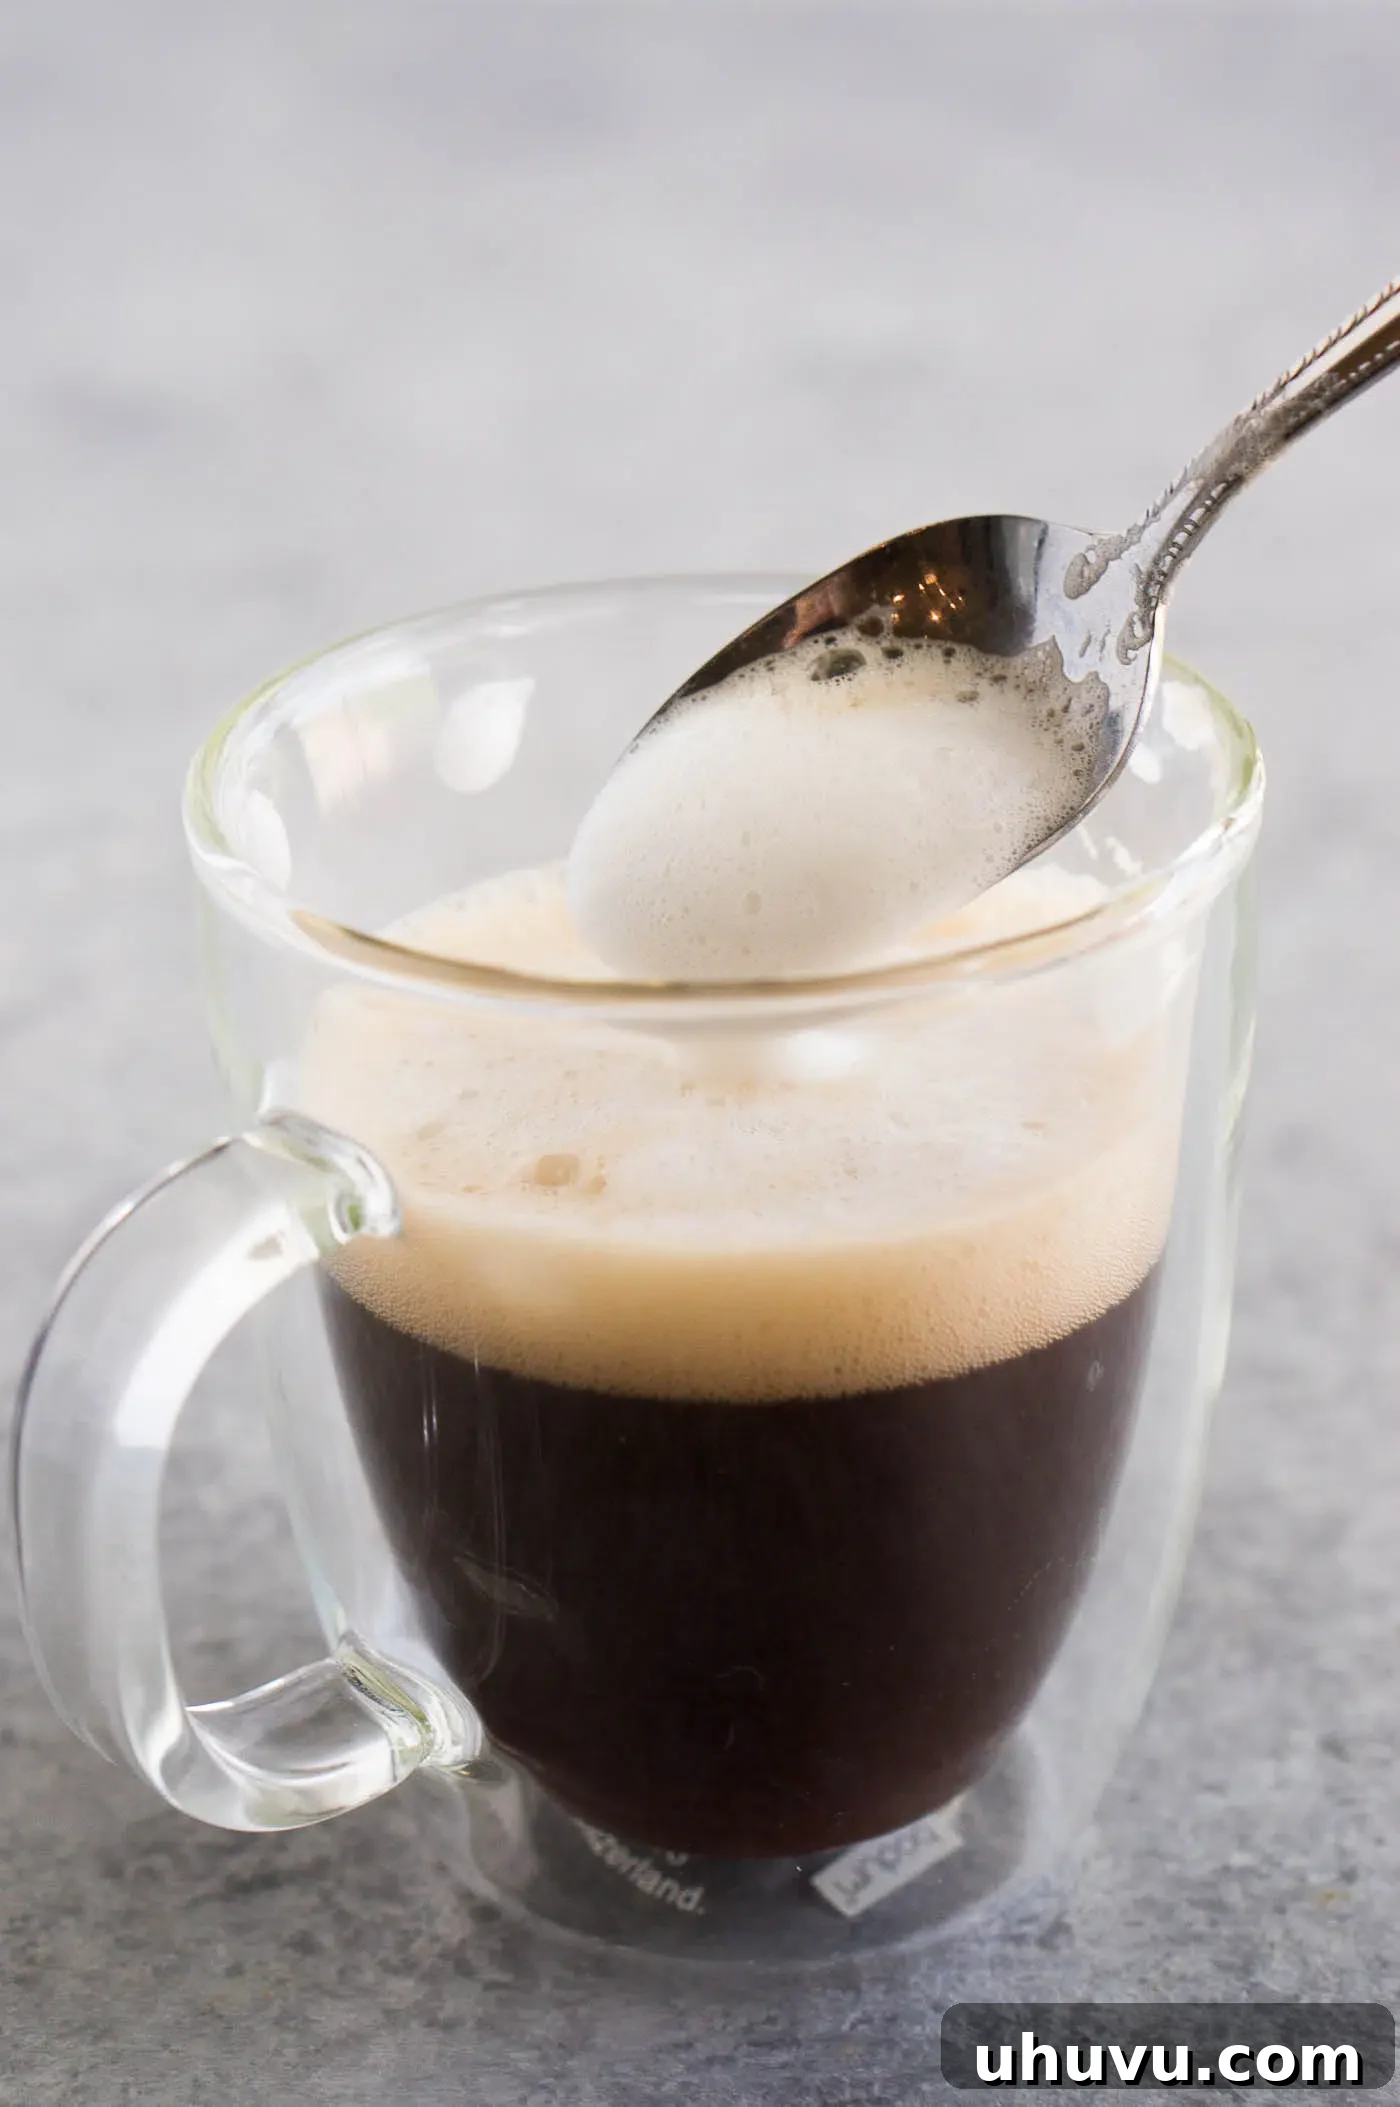
If you’re a devoted fan of coffee shop creations, then you’re in for a treat. This article will demystify the art of making frothed milk, offering practical, easy-to-follow instructions using common kitchen tools. Forget long queues and expensive daily drinks; with our methods, you’ll be able to craft your very own delightful, frothy beverages with impressive ease.
Become your own barista as you master the techniques for frothing milk using a handheld milk frother, a French press, or even just a simple hand whisk. Once perfected, you can spoon this creamy goodness over your favorite warm drink or even begin experimenting with basic latte art to truly elevate your morning ritual. Don’t forget to explore other fantastic beverage recipes like our Chai Latte and Mocha Coffee for more inspiration!
Why You’ll Love Mastering Homemade Frothed Milk
- **Effortlessly Easy:** You don’t need fancy barista equipment. With just hot milk and your chosen tool, velvety frothed milk is achievable in mere minutes.
- **A Fun & Rewarding Skill:** Bringing the coffee shop experience home is incredibly satisfying. It’s a delightful way to start your day, impress guests, and feel like a true coffee connoisseur.
- **Significant Savings:** Those daily coffee shop visits add up! Learning to froth milk at home is a smart way to enjoy premium beverages without the premium price tag.
- **Customization at Your Fingertips:** From the type of milk to the level of foam, you have complete control. Adjust it to your exact preference for every drink.
- **Freshness Guaranteed:** Enjoy your frothed milk immediately after preparation, ensuring the freshest, most delicious foam every time.
Understanding Frothed Milk: Microfoam vs. Dry Foam
Before diving into the “how-to,” it’s helpful to understand what we’re aiming for. Frothed milk refers to milk that has been aerated, creating a creamy texture and volume. There are generally two types of foam:
- **Microfoam:** This is the ideal for lattes and flat whites. It has tiny, uniform bubbles, a glossy appearance, and a silky, smooth texture that integrates beautifully with espresso. It pours like wet paint and allows for latte art.
- **Dry Foam:** Often seen on traditional cappuccinos, this foam has larger, lighter bubbles that sit more distinctly on top of the beverage. It’s airy and Spoonable.
The techniques we’ll explore below can help you achieve both, depending on how long and vigorously you froth the milk.
What You Need: Essential Tools & Ingredients
To embark on your frothed milk journey, gather these simple items:
- **Your Choice of Milk:** We’ll discuss options in detail below, but typically whole milk or other dairy milks work best.
- **A Heat Source:** A saucepan on the stovetop is perfect for heating milk. A microwave can also work for quick heating.
- **A Tall, Heatproof Container:** This could be a glass, a mug, or a mason jar. Its height helps contain splashes and allows for better frothing action.
- **Your Frothing Tool of Choice:**
- Handheld Milk Frother (Battery-operated whisk)
- Immersion Blender (Hand blender)
- French Press (Coffee press)
- Whisk (Manual whisk)
- **Optional:** An instant-read thermometer for precise temperature control.
The Art of Heating Milk: Getting the Temperature Right
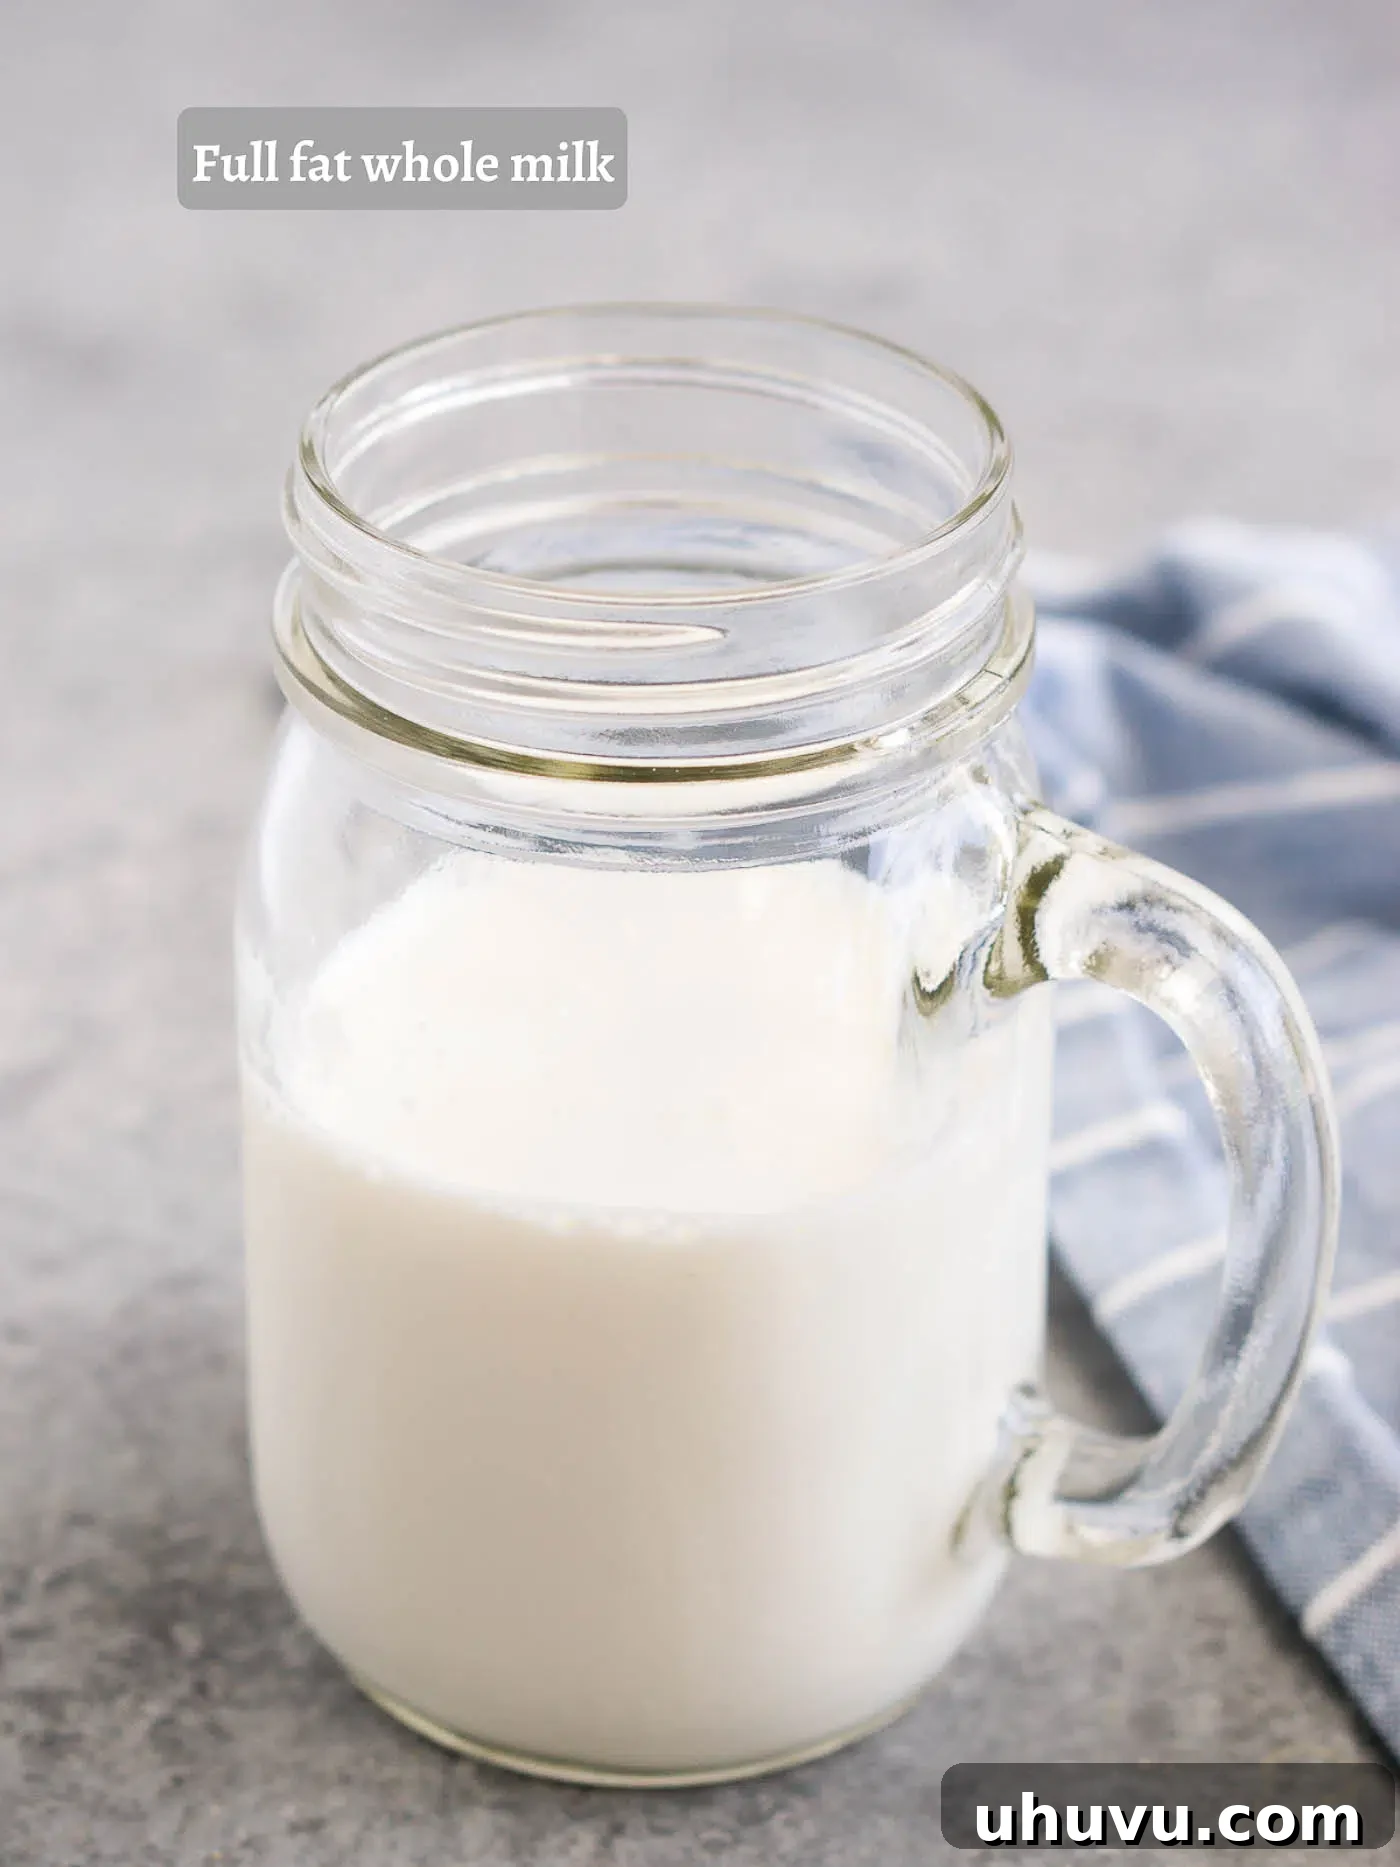
The temperature of your milk is paramount for successful frothing. Aim to heat your milk to **scalding**, which is typically between **145°F and 155°F (63°C and 68°C)**. At this temperature, the milk proteins are most conducive to trapping air, creating stable foam. It should be hot to the touch, but never simmering or boiling.
- **Stovetop Method:** Pour the desired amount of milk into a saucepan over medium heat. Stir occasionally to prevent scorching. Use an instant-read thermometer to monitor the temperature. Remove from heat immediately once it reaches 150°F. If you don’t have a thermometer, look for small bubbles forming around the edges of the pan and steam beginning to rise.
- **Microwave Method:** Pour milk into a microwave-safe mug or jar. Heat in 30-second increments, stirring between each, until it reaches the desired temperature. Be careful not to overheat, as microwaving can cause milk to boil over quickly.
- **Important Note:** Do NOT let the milk simmer or boil. Overheated milk will lose its sweet flavor and its ability to froth properly, resulting in flat, lifeless foam.
How To Make Frothed Milk Without a Steam Wand: Multiple Easy Methods
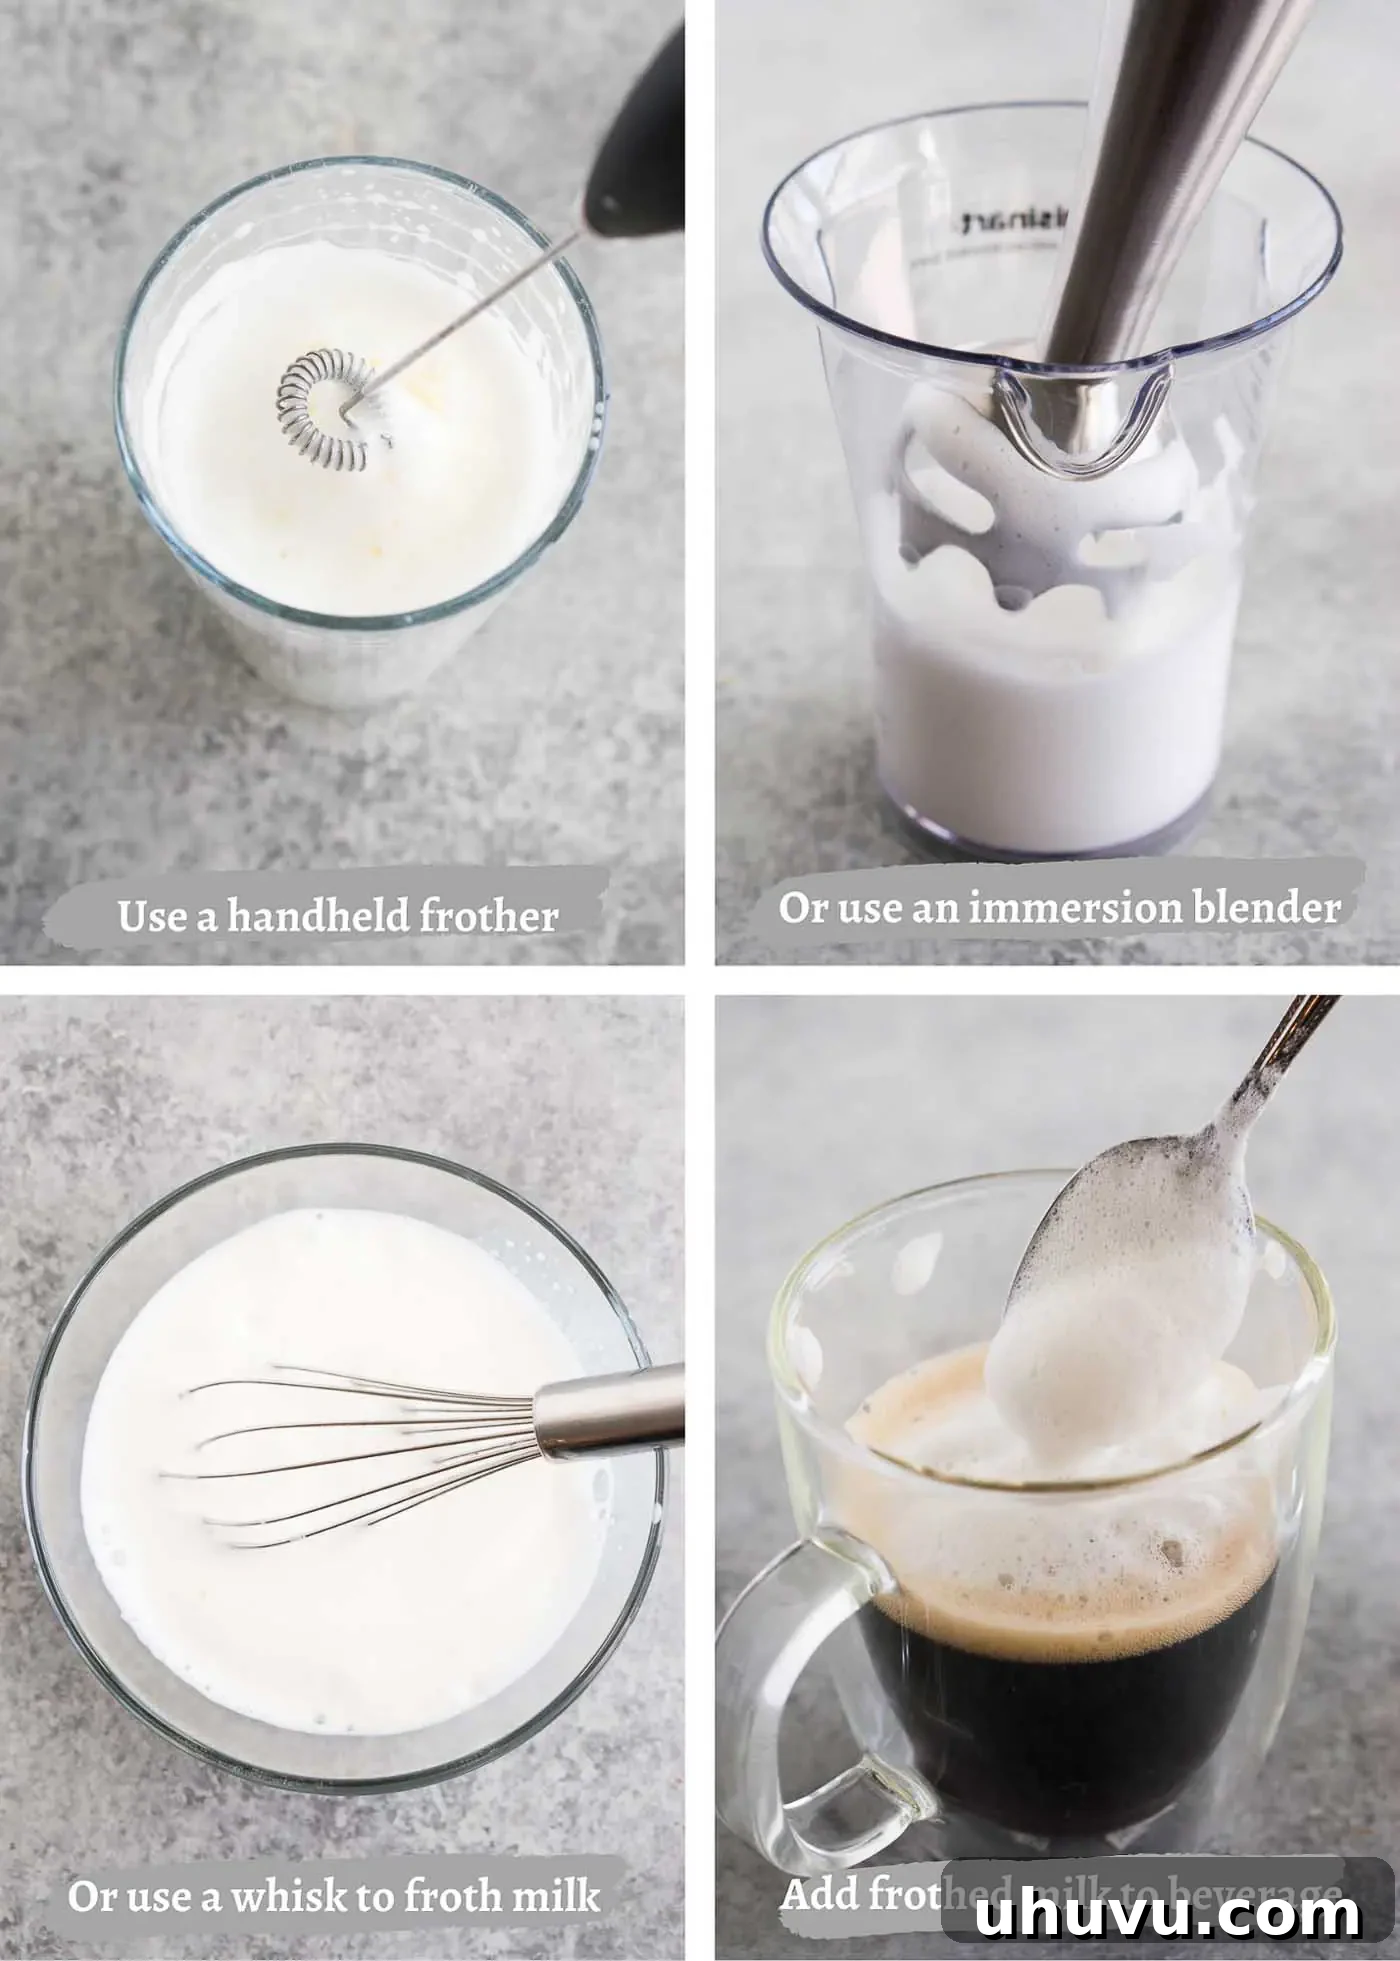
You don’t need an expensive espresso machine to enjoy beautifully frothed milk. Here are four effective methods using common kitchen tools:
Method 1: Using a Handheld Milk Frother
This is arguably the quickest and easiest way to achieve a good foam. Handheld frothers are inexpensive, battery-operated devices designed specifically for this task.
- **Heat the Milk:** Heat your milk to 145-155°F (63-68°C) using your preferred method (stovetop or microwave).
- **Prepare for Frothing:** Pour the hot milk into a tall, heatproof glass, mug, or mason jar. The container should be large enough to accommodate the milk expanding in volume.
- **Froth the Milk:** Hold the glass at a slight angle. Turn on the frother and submerge the whisk head just below the surface of the milk.
- **Create Foam:** Move the frother slowly up and down, making sure to incorporate air from the surface downwards. You’ll see the milk increase in volume and develop foamy bubbles. Continue for about 20-30 seconds, or until you reach your desired consistency.
- **Refine the Foam:** Gently tap the bottom of the glass on your counter a few times to pop any larger air bubbles. Then, swirl the frothed milk gently to create a uniform, silky texture before pouring.
Method 2: Using an Immersion Blender (Hand Blender)
If you have an immersion blender, it can work wonders for frothing larger quantities of milk.
- **Heat the Milk:** Heat the milk to the ideal temperature of 145-155°F (63-68°C).
- **Prepare for Frothing:** Pour the hot milk into the tall cup that usually comes with your immersion blender, or a deep pot with high sides to prevent splashing.
- **Blend for Foam:** Insert the immersion blender into the milk. Make sure the blender head is fully submerged. Turn it on and blend for about 30-60 seconds, or until foamy air bubbles form and the milk has increased in volume. Start with the blender at the bottom and slowly move it upwards towards the surface to incorporate air.
- **Refine and Serve:** Tap the container on the counter to eliminate large bubbles and gently swirl for a smooth texture before serving.
Method 3: The French Press Technique
A French press isn’t just for coffee; it’s also a fantastic tool for creating rich, creamy frothed milk.
- **Heat the Milk:** Heat your milk to 145-155°F (63-68°C).
- **Pour into French Press:** Pour the hot milk into the French press. Do not fill it more than halfway, as the milk will significantly expand.
- **Pump for Foam:** Place the lid on the French press with the plunger pulled all the way up. Rapidly pump the plunger up and down through the milk for about 30-60 seconds. You should feel resistance as the milk aerates and thickens. Continue until the milk has doubled in volume and has a rich, foamy consistency.
- **Settle and Swirl:** Remove the lid and let the frothed milk sit for about 30 seconds to allow the foam to stabilize. Then, gently swirl the French press to mix the foam with the liquid milk below, creating that desirable silky microfoam.
Method 4: Manual Whisk Method
This method requires a bit more arm work but is highly effective if you don’t have specialized tools.
- **Heat the Milk:** Heat your milk to 145-155°F (63-68°C).
- **Pour into Bowl:** Pour the hot milk into a medium-sized bowl, preferably one with higher sides to prevent splashes.
- **Whisk Vigorously:** Using a balloon whisk, vigorously whisk the milk in a back-and-forth or circular motion. The goal is to incorporate as much air as possible into the milk. Continue whisking for 1-2 minutes, or until foamy bubbles form and the milk significantly increases in volume.
- **Refine and Enjoy:** Tap the bowl on the counter to break up any large bubbles and swirl the frothed milk before pouring.
Expert Tips for Perfectly Frothed Milk
Achieving cafe-quality foam is all about technique and a few key details.
Important Tips For Frothing Milk
- **Temperature is Key:** Always heat your milk to the optimal 145-155°F (63-68°C). Use an instant-read thermometer for precision. This range ensures the milk’s proteins can properly denature and trap air.
- **Never Boil Your Milk:** Boiling or simmering milk will destroy its structure, making it impossible to froth properly and giving it a burnt taste. Remove it from the heat as soon as it reaches temperature.
- **Start with Fresh Milk:** Fresher milk will always produce better, more stable foam. Milk that has been sitting in the fridge for a week will be harder to foam effectively.
- **Choose the Right Milk:**
- **Dairy Milk:** **Fresh whole milk** delivers the best results due to its balanced fat and protein content, producing a rich, creamy, and stable foam. Milk with 2% fat also works well, yielding a slightly lighter foam. Skim milk will produce a very airy, dry foam that dissipates quickly.
- **Non-Dairy Milk:** While traditional methods often recommend dairy, many plant-based options can froth beautifully. **Oat milk** is generally considered the best dairy-free alternative for frothing, producing a surprisingly creamy and stable foam similar to dairy milk. Other options like soy milk and almond milk can work, but results vary greatly by brand; look for “barista blend” versions specifically formulated for frothing. Coconut milk can froth but might impart a distinct flavor.
- **Proper Angle and Positioning:** For handheld frothers and immersion blenders, holding the container at an angle helps create a whirlpool motion, evenly incorporating air and creating finer bubbles. Keep the frother just below the surface for initial aeration, then deepen it slightly for mixing.
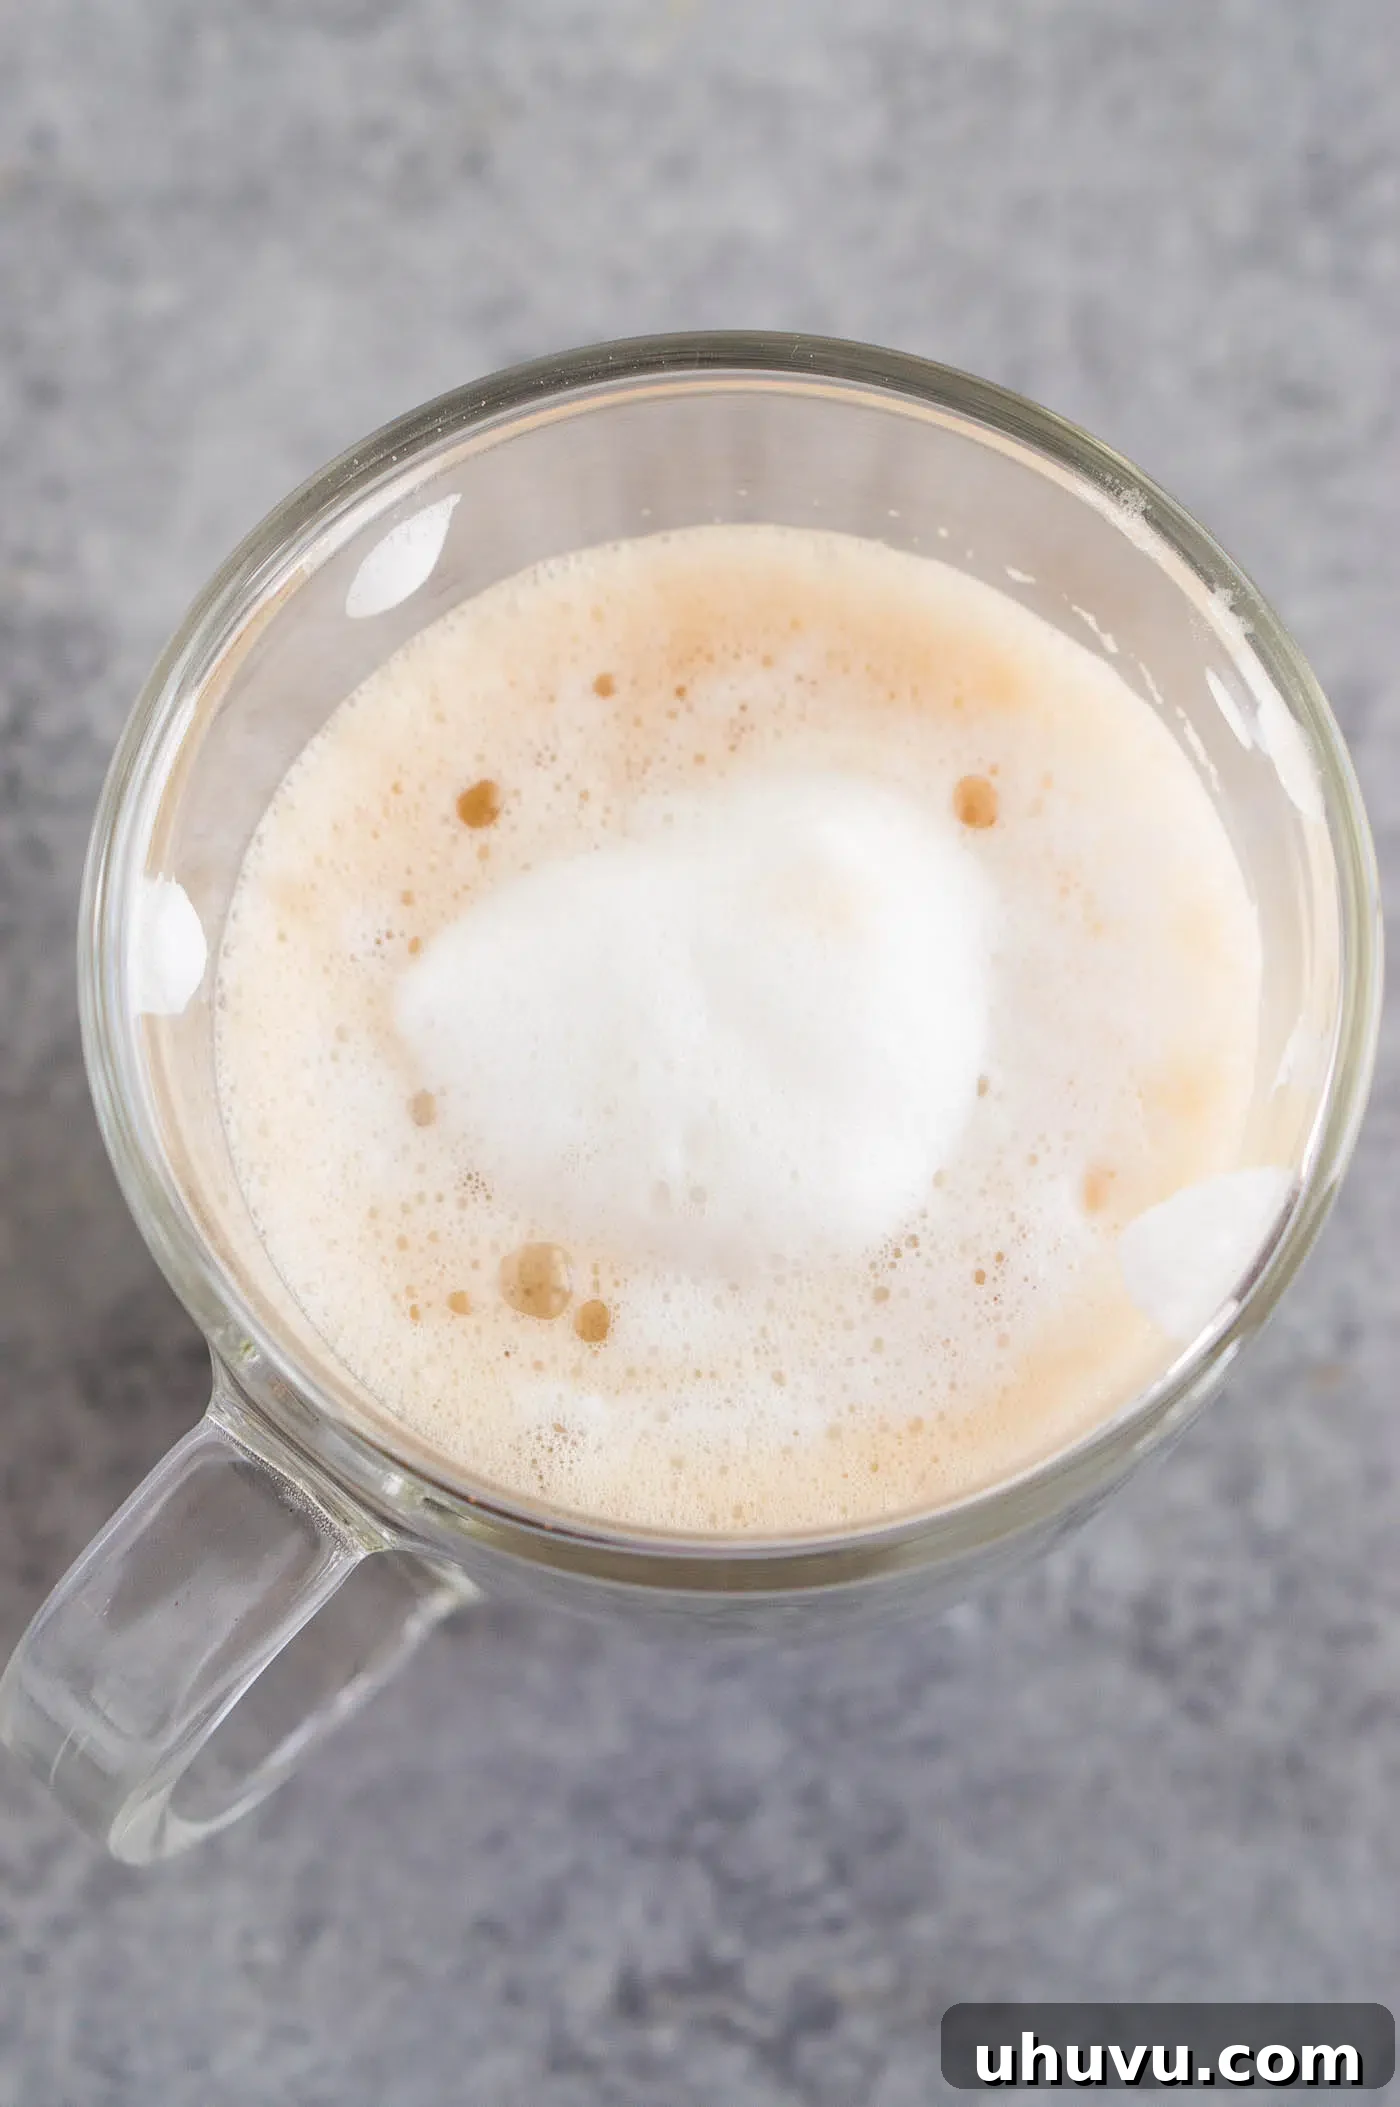
- **Tap and Swirl to Refine:** After frothing, gently tap the bottom of your container on the counter several times. This action pops any larger, unwanted air bubbles, resulting in a smoother, more desirable microfoam. Follow with a gentle swirl of the milk to fully integrate the foam with the liquid, giving it a glossy, paint-like consistency perfect for pouring.
- **Adjust for Different Drinks:** For thicker, drier foam (ideal for a traditional cappuccino or macchiato), simply froth the milk a little longer, keeping your frother closer to the surface to incorporate more air. For a smoother, less voluminous microfoam (perfect for lattes and flat whites), froth for a shorter period and ensure more thorough swirling.
Troubleshooting Common Frothing Problems
Even with the best intentions, frothing can sometimes be tricky. Here are solutions to common issues:
- **No Foam or Thin Foam:**
- **Milk not hot enough:** Ensure your milk is between 145-155°F.
- **Milk too hot (boiled):** If milk boils, its proteins are denatured, making it difficult to froth. Start over with fresh milk.
- **Old milk:** Fresh milk froths best.
- **Not enough air incorporation:** Make sure your frothing tool is just below the surface initially to create aeration before submerging deeper.
- **Wrong milk type:** Skim milk often produces less stable foam. Try whole milk or a barista-blend non-dairy milk.
- **Too Many Large Bubbles (Dish Soap Foam):**
- **Incorporating too much air too quickly:** Start slower and ensure the frother is mostly submerged after the initial aeration phase.
- **Not tapping/swirling enough:** These steps are crucial for breaking down large bubbles and integrating the foam.
- **Foam Disappears Quickly:**
- **Milk not fresh:** Fresh milk creates more stable foam.
- **Overheating:** Again, boiling milk degrades foam stability.
- **Wrong milk type:** Lower fat milk tends to create less stable foam.
Recipe FAQs: Your Frothed Milk Questions Answered
For dairy milk, **fresh whole milk** consistently delivers the best results due to its optimal balance of fat and protein, producing a creamy, stable microfoam. 2% milk also performs well for a slightly lighter foam. For non-dairy options, **oat milk (especially barista blends)** is highly recommended for its impressive frothing capabilities and creamy texture. Always ensure your milk is fresh, as older milk will struggle to foam.
While some electric frothers have a cold frothing setting, for the best and most stable results, it’s definitely preferable to use **warm heated milk, ideally registering at 145-155°F**. Warm milk allows the proteins to structure optimally, creating a more luxurious and lasting foam. Cold frothed milk tends to be lighter and fluffier but often lacks the silky texture of hot frothed milk, and it will cool down your beverage.
If you don’t have an espresso machine with a steam wand, a **handheld milk frother** is hands down the quickest and most efficient tool for creating excellent bubbly milk. It’s specifically designed for this job and delivers great froth in about 20-30 seconds. An **immersion blender** also works very quickly and requires minimal effort. The French press and hand whisk methods are also very effective but typically take a bit more time and manual effort.
To achieve thicker, more voluminous foam (like for a traditional cappuccino), spend more time frothing, keeping your tool closer to the surface to incorporate more air. For a thinner, silkier microfoam (ideal for lattes and latte art), froth for a shorter period, then focus on tapping and swirling the milk extensively to break down large bubbles and integrate the foam with the liquid below.
Absolutely! While it takes practice, you can certainly achieve basic latte art with properly frothed homemade milk. The key is to aim for a glossy, uniform microfoam (often described as “wet paint” consistency) and to pour slowly and steadily. Practice pouring into your coffee, starting high and then bringing the pitcher closer to the mug for a more controlled design. Tapping and swirling your frothed milk before pouring is crucial for creating the right consistency.
Warm Beverages That Use Frothed Milk
Once you’ve mastered frothing, a world of delicious warm beverages opens up:
- **Espresso Classics:** Elevate your espresso shots with creamy frothed milk to create indulgent Dalgona Coffee, Mocha Coffee, classic lattes, rich cappuccinos, smooth flat whites, and layered macchiatos. The possibilities are endless for replicating your favorite café orders.
- **Tea-Based Delights:** Froth milk for comforting tea lattes, often known as Chai Lattes. You can also craft vibrant matcha lattes, soothing golden lattes (turmeric lattes), and other spiced tea blends for a creamy, velvety texture that enhances the flavors.
- **Hot Chocolate:** Turn a simple hot chocolate into a gourmet treat by topping it with a generous layer of frothed milk and a sprinkle of cocoa powder or cinnamon.
- **Specialty Drinks:** Experiment with adding frothed milk to seasonal beverages, flavored steamers, or even unique concoctions like a London Fog (Earl Grey tea latte).
If you enjoyed this Frothed Milk guide or any other recipe on my blog, please leave a ⭐ star rating and let me know how it went in the 📝 comments below. Thanks for visiting!
Pin this now to find it later
Pin It
Frothed Milk Recipe Summary

Whip up some frothed milk quickly and easily at home in a few minutes to top your favorite hot drinks. Perfect for homemade lattes and cappuccinos, this is how to get that coffee shop experience at home!
By: Neli Howard
Recipe Details
- **Prep Time:** 1 minute
- **Cook Time:** 4 minutes
- **Total Time:** 5 minutes
- **Servings:** 1
Equipment
- Milk frother
- Immersion blender (Optional, as an alternative to frother)
- Whisk (Optional, as an alternative to frother)
- Saucepan (for heating milk)
- Tall heatproof glass or mason jar (for frothing)
Ingredients
- ½ cup fresh milk (fresh whole milk works best)
Instructions
- Place the milk in a saucepan and heat it to scalding or 150 degrees Fahrenheit. This is hot to the touch, but not simmering.
- **Milk frother method:** Pour the hot milk into a tall heatproof glass or container. Hold the glass at an angle and turn on the frother. Move the frother up and down until foamy bubbles form, about 20 seconds or so. Tap the glass on the counter to break down any large bubbles.
- **Immersion blender method:** Add the hot milk to the tall immersion blender cup (or a deep pot), place the hand blender in the milk and blend until foamy air bubbles form, about 30 seconds.
- **Whisk method:** Add the hot milk to a bowl and use a whisk to vigorously whisk it until foamy bubbles form.
Notes
- Use an instant-read thermometer to heat the milk to 150°F for best results.
- Do not let the milk simmer or boil, as this will prevent it from frothing properly.
- Fresh whole milk consistently delivers the best and creamiest results.
- For larger, drier bubbles typical of a cappuccino, froth for a little longer, keeping the frother closer to the surface.
- For smooth, microfoam suitable for latte art, ensure vigorous tapping and swirling after frothing to eliminate large bubbles and integrate the foam.
Nutrition (Estimated per serving of ½ cup whole milk)
Calories: 74kcal |
Carbohydrates: 6g |
Protein: 4g |
Fat: 4g |
Saturated Fat: 2g |
Polyunsaturated Fat: 1g |
Monounsaturated Fat: 1g |
Cholesterol: 12mg |
Sodium: 52mg |
Potassium: 161mg |
Sugar: 6g |
Vitamin A: 198IU |
Calcium: 138mg |
Iron: 1mg
Nutrition Disclaimer: Nutritional values are estimates and may vary with ingredients, brands, and portion sizes. For accuracy, use your preferred nutrition calculator.