
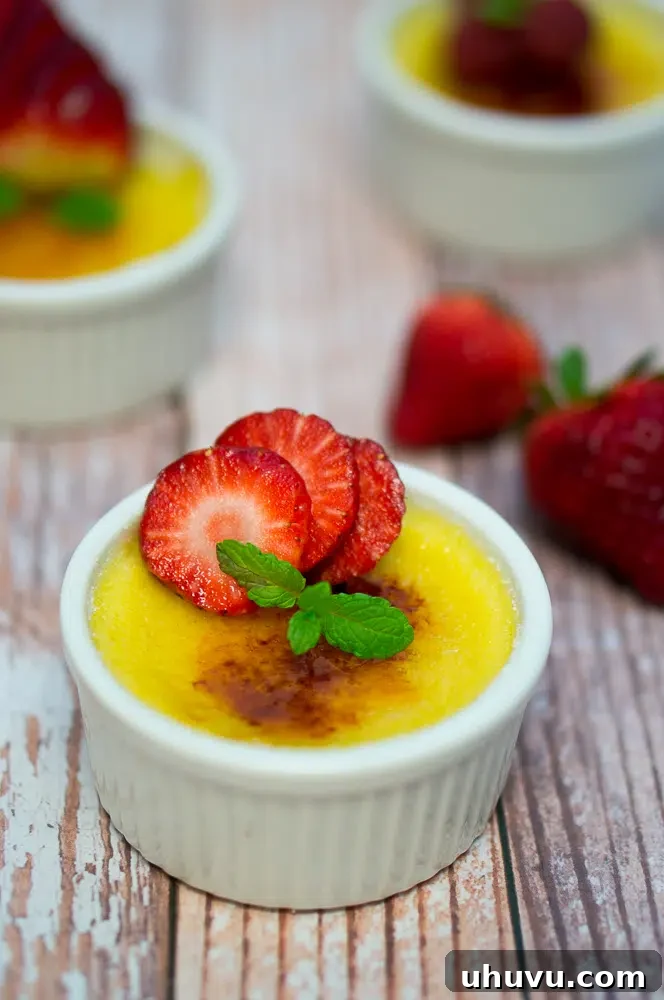
Heavenly Creme Brulee: An Easy Recipe for a Classic French Dessert
Indulge in the pure bliss of a perfectly crafted **Creme Brulee**, a dessert so deceptively simple yet exquisitely delicious. This classic French delight, with its rich, velvety custard and signature crisp caramelized sugar topping, is an absolute showstopper. It’s not just a treat for your taste buds but also a fantastic party dessert because you can prepare the custard ahead of time, then caramelize the top just before serving, impressing your guests with minimal last-minute fuss. Prepare to discover how effortless it is to bring this sophisticated dessert to your own kitchen.
A Taste of France: The Inspiration Behind Our Creme Brulee
My culinary journey to perfect this **easy creme brulee recipe** began during a memorable trip to France for our second wedding anniversary. My husband and I spent eight incredible days exploring the breathtaking landscapes of Normandy, visiting historical sites like Mont St. Michel, Bayeux, the American Cemetery, and Omaha Beach, before immersing ourselves in the romantic streets of Paris.
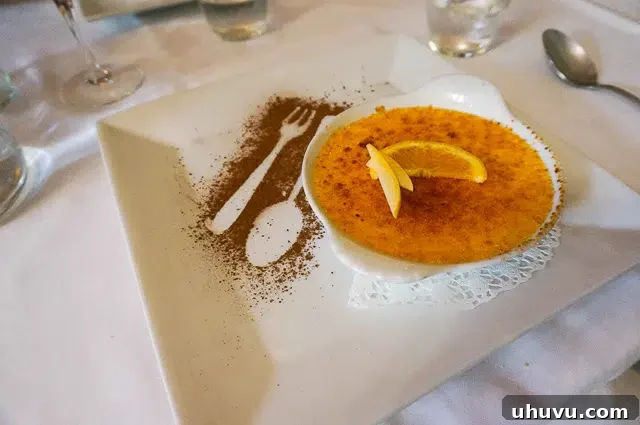
Our very first day in France, while undeniably beautiful, was marked by typical Norman rain. After a long day of travel, having been awake since 4:30 AM and arriving at our Normandy hotel around 7 PM, we were exhausted but eager to experience the local culture. We decided to take a short drive through the charming village of La Caserne to find a quick dinner spot, hoping to catch the sunset view of Mont St. Michel. It was then that we stumbled upon a truly special restaurant, La Ferme St. Michel. The moment we stepped inside, we were greeted with warm, friendly service and an enchanting atmosphere. Every dish was delightful, but it was their classic creme brulee that truly captivated me. Its perfectly smooth custard and impeccably caramelized top left such a lasting impression that I knew I had to try and recreate that magical experience back home.
Here are a couple of cherished pictures from our unforgettable trip to Mont St. Michel, a place of profound beauty and history:


And, of course, a picture of that glorious **creme brulee** that ignited my passion for recreating this dessert at home:
Mastering the Caramelized Topping: A Key to Perfect Creme Brulee
During my initial attempts to recreate this iconic dessert, I experimented with different ingredients to find the ideal balance. For one batch of custard, I tried using coconut sugar as an alternative to regular granulated sugar. While the custard itself retained its delightful texture, the caramelized topping turned into a disaster. The darker coconut sugar, due to its composition, burned far too quickly and intensely, resulting in a charred, bitter crust rather than the desired golden, crisp layer. This experience taught me a valuable lesson: for the exquisite **caramelized sugar topping**, traditional white granulated sugar is king. If you prefer to incorporate coconut sugar for dietary reasons, it works wonderfully within the custard itself, lending a subtle richness. However, for the crucial torching step, stick to classic white sugar for that perfect, shiny, and crackable crust. Alternatively, if you simply prefer the creamy custard without the hardened sugar topping, you can easily enjoy the velvety base on its own, or gently scrape off the caramelized layer after it has cooled.
How to Make Creme Brulee with Fresh Berries
Making homemade creme brulee might seem intimidating, but with this straightforward recipe, you’ll achieve professional results every time. The addition of fresh berries elevates this classic dessert, adding a bright, fruity contrast to the rich custard.
What You Will Need
To create this irresistible dessert, gather these simple ingredients and tools:
- 2 cups heavy cream
- 10 Tbsp sugar (4 Tbsp for custard & 6 Tbsp for top)
- 4 egg yolks
- 1 tsp vanilla extract
- Fresh berries, for serving (optional, but highly recommended)
- 6 ramekins (4-6 ounce capacity)
- Saucepan
- Whisk or electric mixer
- Fine-mesh strainer
- Baking pan (large enough to hold all 6 ramekins)
- Cooking torch
Detailed Preparation Steps
- **Preheat Oven & Prepare Cream:** Begin by preheating your oven to 300°F (150°C). In a medium saucepan, combine the heavy cream and 4 tablespoons of sugar (or coconut sugar, if using for the custard). Heat the mixture over medium heat, stirring occasionally. Watch carefully until small bubbles start to form around the edges of the pan, indicating it’s hot but not boiling. This usually takes about 6 minutes. Remove from heat and set aside momentarily.
- **Prepare Egg Yolks:** While the cream is heating, in a separate mixing bowl, beat the egg yolks and vanilla extract until the mixture is smooth, light in color, and slightly thickened. This ensures a uniform custard base.
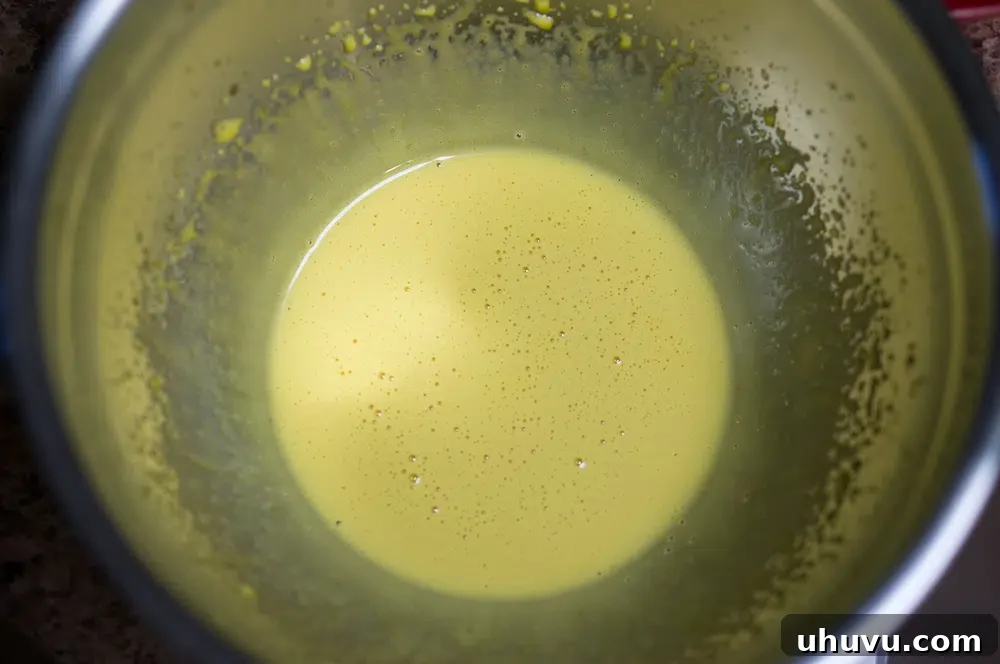
- **Temper the Eggs & Combine:** Gradually, and very slowly, pour the hot cream mixture into the beaten egg yolks while continuously whisking or beating with an electric mixer on medium-low speed. This crucial step, known as tempering, prevents the eggs from scrambling. Continue mixing until the custard mixture is completely blended. For an exceptionally smooth custard, strain the entire mixture through a fine-mesh strainer into another bowl to remove any potential bits of cooked egg or vanilla bean specks. Divide the perfectly smooth mixture evenly among your 6 ramekins.
- **Bake in a Water Bath (Bain-Marie):** Arrange the filled ramekins in a larger baking pan on the middle rack of your preheated oven. Carefully pour boiling water into the baking pan until it reaches halfway up the sides of the ramekins. This water bath (or bain-marie) creates a gentle, moist cooking environment, ensuring the custard bakes evenly and achieves its signature silky texture without curdling. Loosely cover the entire baking pan with aluminum foil. Bake for approximately 30 minutes, or until the custard is just set around the edges but still has a slight jiggle in the center when gently shaken.
- **Cool & Chill:** Once baked, remove the baking pan from the oven. Allow the ramekins to cool completely to room temperature while still in the water bath. This gradual cooling further contributes to the custard’s smooth texture. Once cool, carefully remove the ramekins from the water bath, cover each with plastic wrap, and chill them in the refrigerator for at least 2-3 hours, or preferably overnight. Chilling is essential for the custard to fully set and for optimal flavor development.
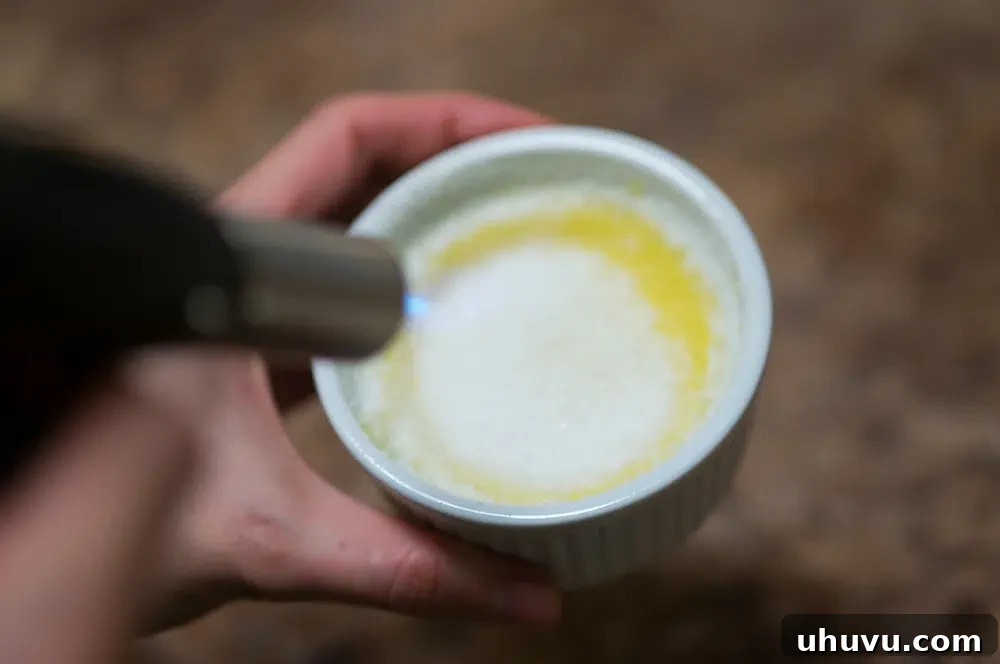
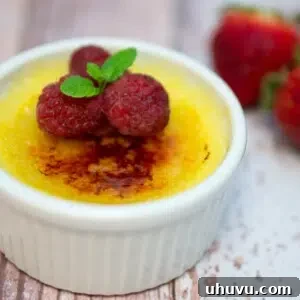
- **Caramelize the Topping:** This is the moment to create that iconic crisp crust! Just before serving, sprinkle about 1 tablespoon of granulated sugar evenly over the top of each chilled custard. Holding the ramekin in your hand (with the bottom still touching your working surface for stability), gently shake it from side to side to ensure the sugar forms an even layer across the entire surface. Using a cooking torch, move the flame in a steady circular motion over the sugar. You’ll first see the sugar melt and form bubbles. Continue torching until the sugar melts completely, turns a beautiful golden brown, and forms a hard, glass-like crust. Be careful not to burn it!
- **Serve Immediately:** Serve your freshly torched creme brulee immediately, surrounded by a generous scattering of fresh berries or your favorite cut-up fruit. The contrast between the warm, crisp topping and the cold, creamy custard is pure perfection.
Pro Tips for Creme Brulee Perfection
- **Quality Ingredients:** Since creme brulee has so few ingredients, the quality of each is paramount. Use good quality heavy cream and fresh, organic eggs for the best flavor.
- **Vanilla Bean vs. Extract:** For an even more intense vanilla flavor, consider infusing your cream with a split vanilla bean instead of extract. Scrape the seeds into the cream, add the pod, and remove the pod before tempering.
- **Don’t Overbake:** Overbaked custard can become grainy. The slight jiggle in the center is exactly what you’re looking for. It will continue to set as it cools.
- **Even Sugar Layer:** An even layer of sugar is crucial for a uniform caramelized crust. Don’t be shy about shaking the ramekin to distribute it.
- **Torch Technique:** Keep the torch moving. Lingering too long in one spot will cause burning. A steady, circular motion ensures even caramelization.
Voila! This **homemade creme brulee** is surprisingly easy to make and a truly fantastic dessert to share with your loved ones. The anticipation of cracking that hard crust and diving into the soft, creamy custard is part of the experience. What’s truly amazing is how such a sophisticated-looking and tasting dessert can be made with only four main ingredients!
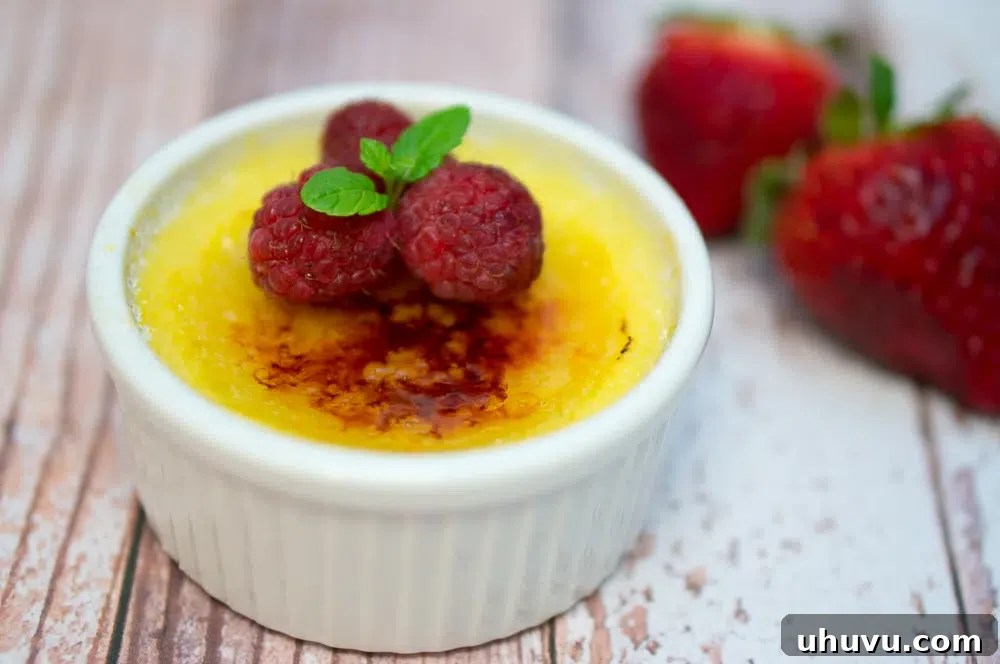
The delightful sound as your spoon cracks through the hardened sugar, revealing the soft, creamy custard beneath, is pure culinary magic. It truly is remarkable how such a simple combination of ingredients can produce a dessert of such elegance and depth of flavor. This **classic French dessert** is a testament to the beauty of simplicity in cooking.
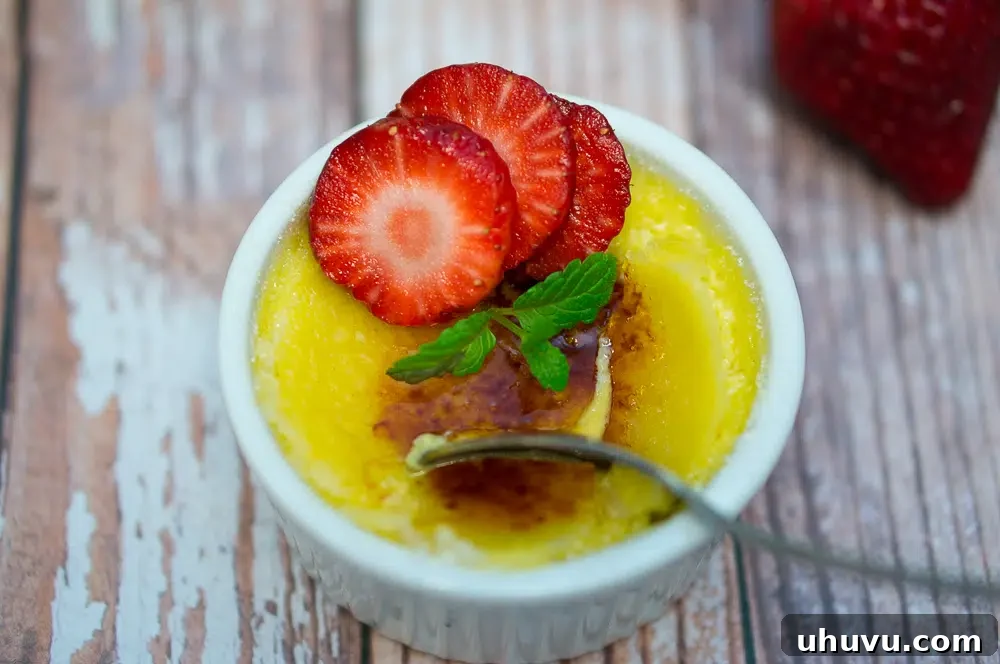
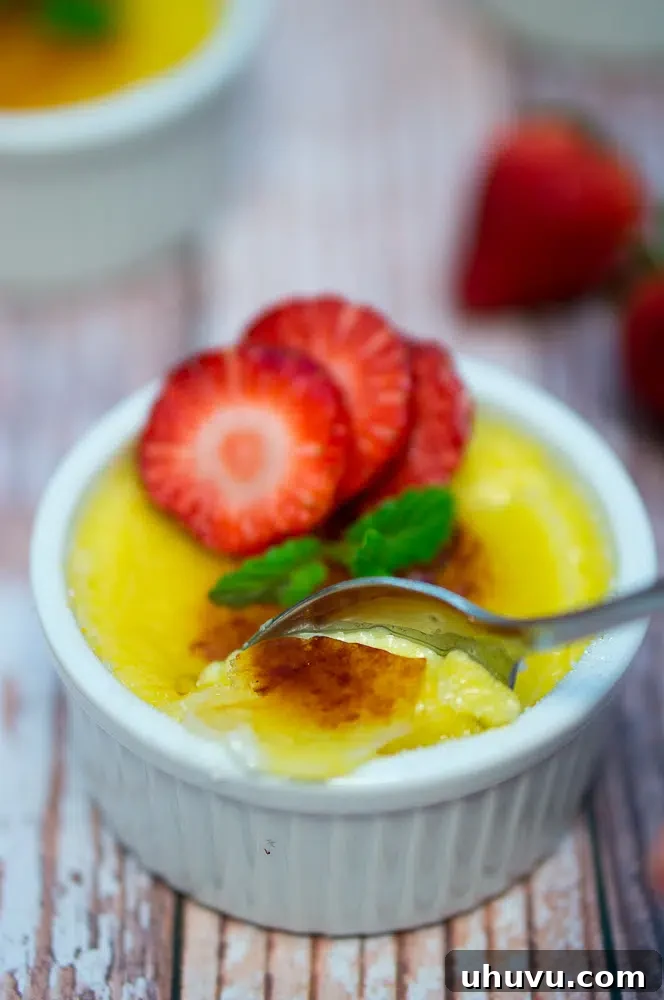
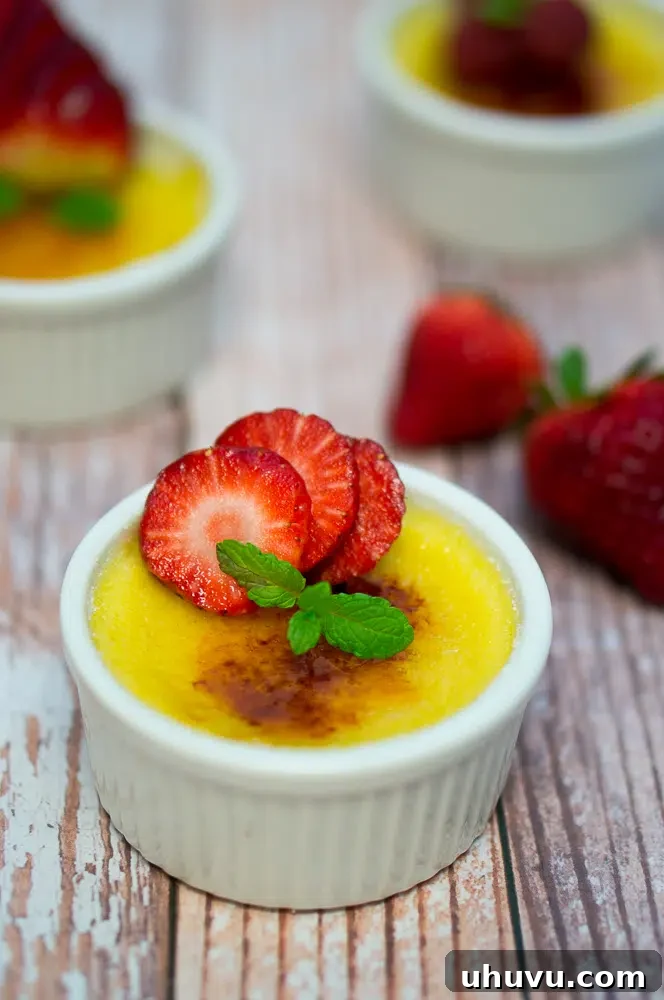
If you’ve enjoyed this **Creme Brulee recipe** or any other recipe here, please consider leaving a star rating and a comment below. Your feedback is greatly appreciated!
Want to save this recipe for later?
Pin This Recipe
Recipe by our readers
Creme Brulee
Neli Howard
This heavenly creme brulee is so easy to make and yet fantastically delicious. It is a perfect party dessert because you can make it ahead of time.
10 minutes
30 minutes
40 minutes
6
Print Recipe
Ingredients
- 2 cups organic heavy cream
- 10 Tablespoon sugar, (4 Tbsp for custard & 6 Tbsp for top)
- 4 egg yolks
- 1 teaspoon vanilla extract
- Fresh berries, optional, for garnish
Instructions
- Preheat oven to 300 F (150 C).
- Heat heavy cream and 4 Tbsp sugar (or coconut sugar) in a sauce pan over medium heat. Cook stirring occasionally until small bubbles appear around the edges of the pan, about 6 minutes.
- In the meantime, beat egg yolks and vanilla until smooth and light. Slowly add the hot cream mixture, beating continuously with mixer running on medium-low speed, until well blended. Strain mixture through a fine strainer into a bowl. Divide mixture among 6 ramekins.
- Arrange ramekins in a baking pan on the middle shelf of the preheated oven. Fill the baking pan with boiling water until it comes halfway up the sides of the ramekins. Cover the pan loosely with aluminum foil. Bake for about 30 minutes, until the custard is just set but still jiggles slightly in the center. Allow the ramekins to cool to room temperature without removing them from the water bath. Once cool, cover in plastic wrap and chill in the fridge for about 2-3 hours, or until thoroughly set.
- To caramelize, sprinkle about 1 Tbsp sugar over the top of each cooled custard. Holding the ramekin in your hand (with its bottom touching your working surface), gently shake it from side to side to spread the sugar evenly. With a cooking torch, move the flame in a circular motion over the sugar. You will first see the sugar form bubbles. Continue to melt it with the torch until the top is golden brown and forms a hard, crisp crust. Serve immediately surrounded by fresh berries or cut-up fruit.
Nutrition
|
Carbohydrates: 22 g
|
Protein: 3 g
|
Fat: 32 g
|
Saturated Fat: 19 g
|
Cholesterol: 238 mg
|
Sodium: 36 mg
|
Potassium: 72 mg
|
Sugar: 20 g
|
Vitamin A: 1340 IU
|
Vitamin C: 0.5 mg
|
Calcium: 67 mg
|
Iron: 0.3 mg
Nutrition Disclaimer: Nutritional values are estimates and may vary with ingredients, brands, and portion sizes. For accuracy, use your preferred nutrition calculator.
Enjoyed making this classic French dessert? Share your experience!
Leave a comment below and let us know how your creme brulee turned out!