
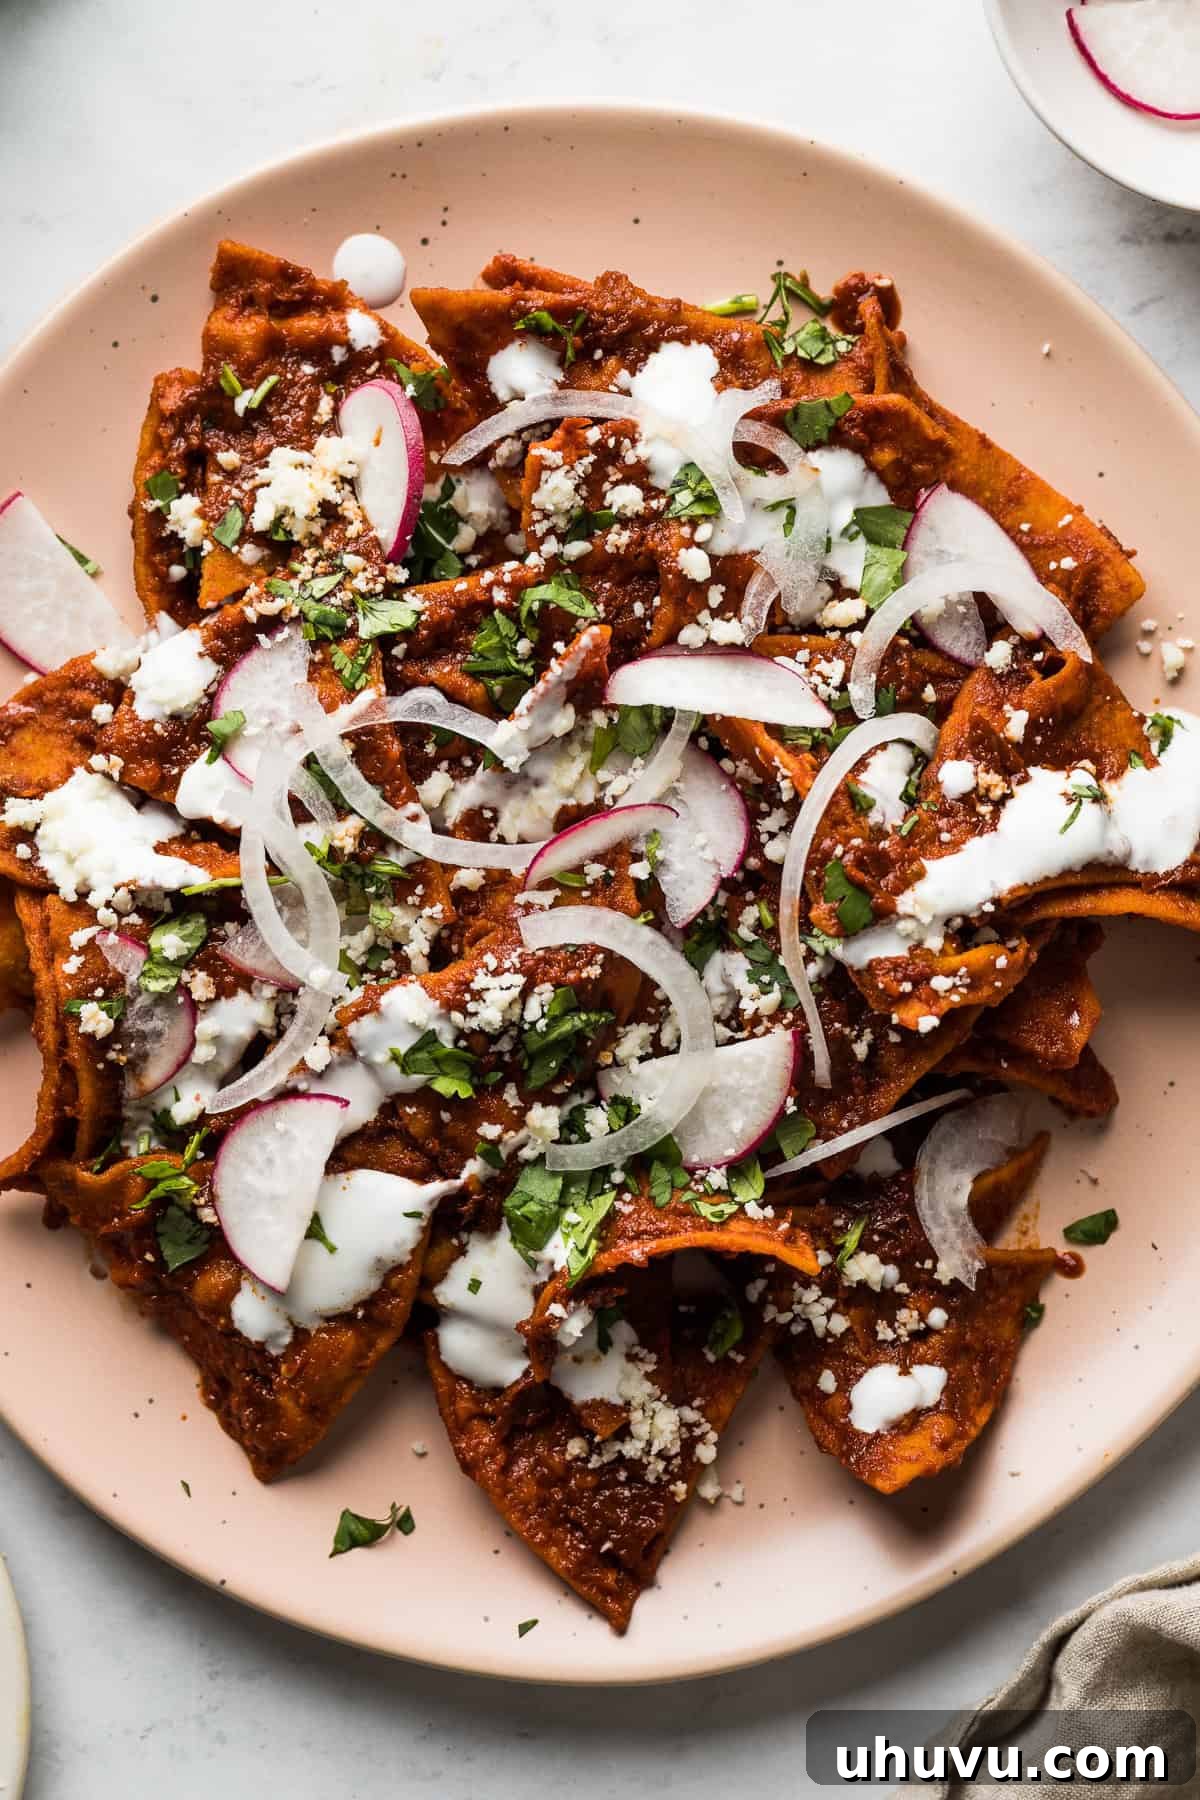
Embark on a culinary journey to Mexico with this sensational Chilaquiles Rojos recipe! This traditional Mexican breakfast and brunch favorite transforms humble corn tortillas into a vibrant, flavor-packed dish. Imagine perfectly crispy corn tortilla chips, generously coated in a rich, smoky salsa roja (red chile sauce), and then crowned with an array of irresistible toppings like crumbled cheese, a drizzle of creamy Mexican crema, and a fresh, bright fried egg. This recipe brings the authentic taste of Mexican comfort food right to your kitchen in less than 30 minutes, making it ideal for a special weekend brunch or a quick, satisfying breakfast.
What Are Chilaquiles? A Mexican Breakfast Staple
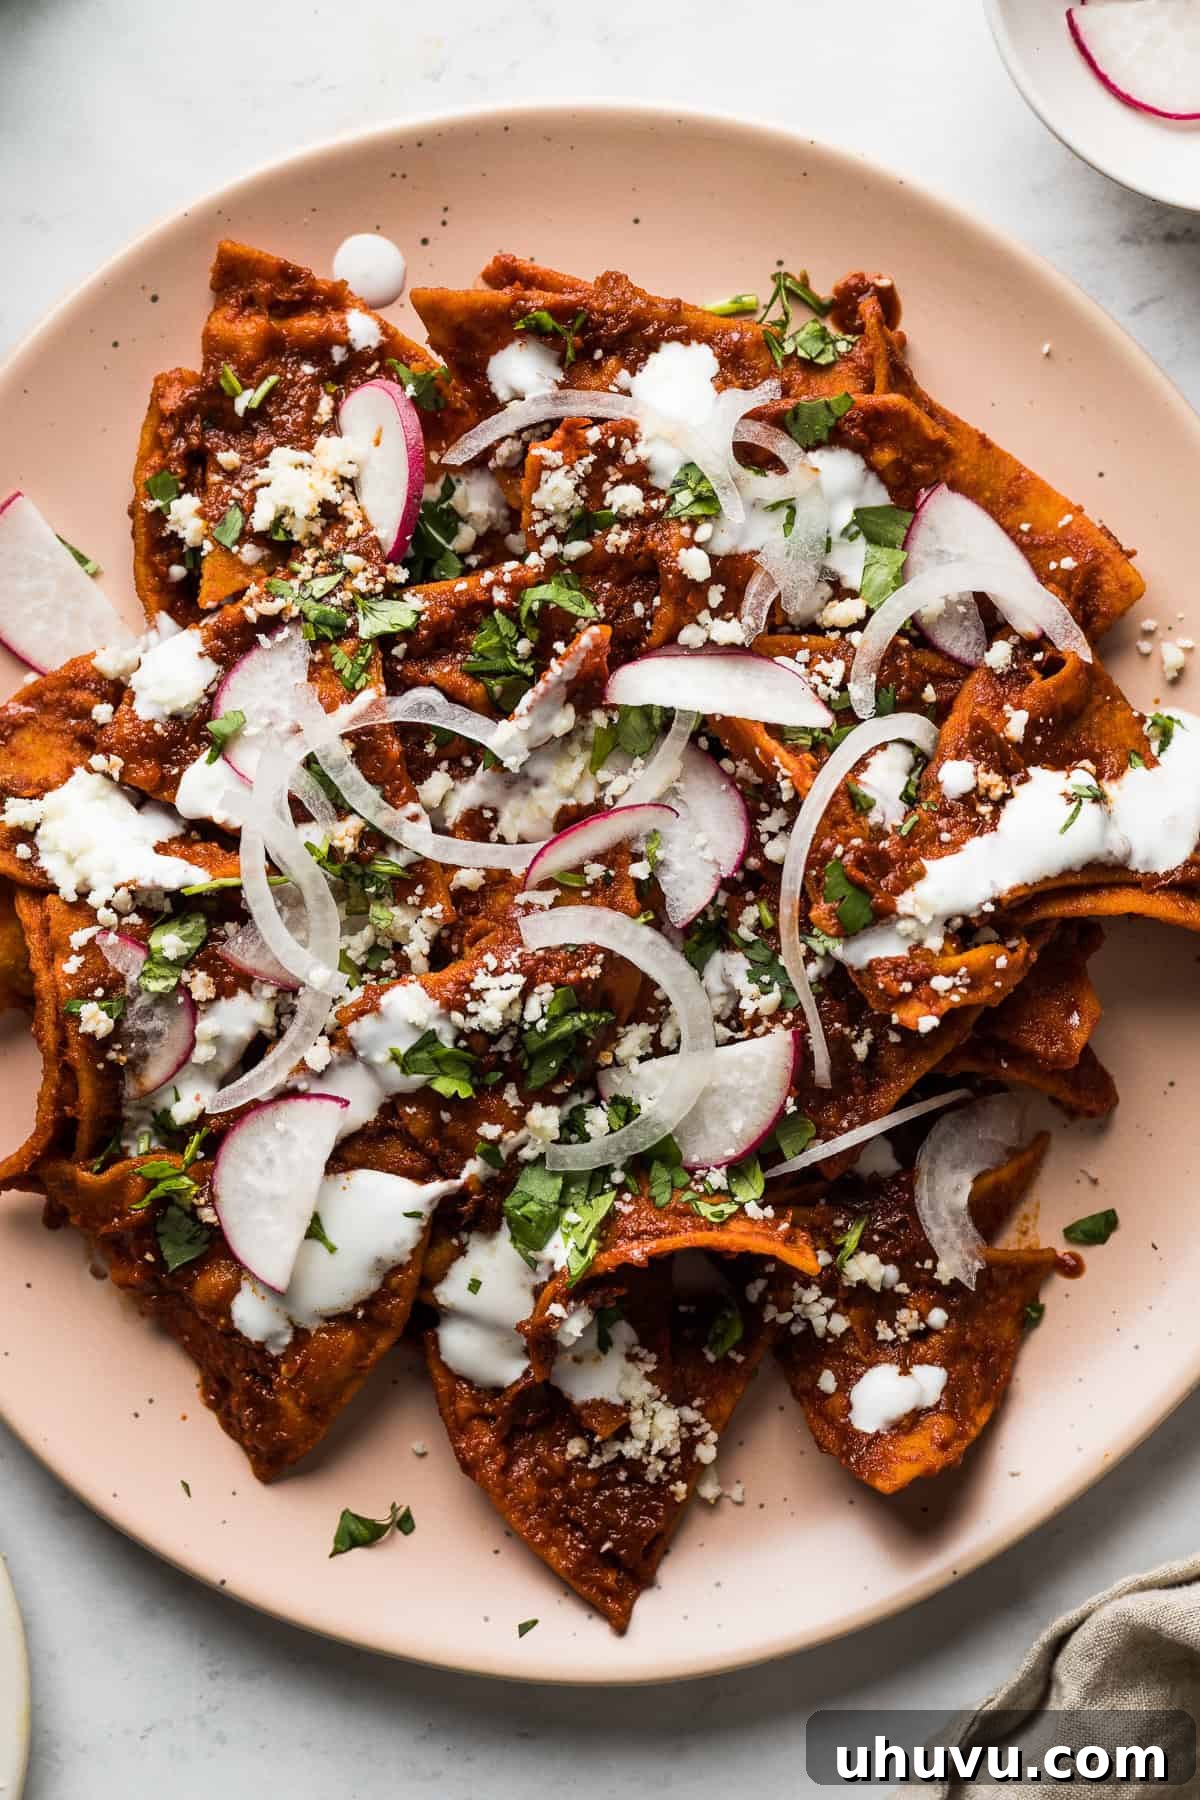
Chilaquiles (pronounced “chee-lah-kee-less”) is a beloved and traditional Mexican dish that has graced breakfast and brunch tables for centuries. At its heart, it’s a simple yet profoundly satisfying creation made from lightly fried or baked corn tortilla chips that are simmered briefly in a flavorful salsa, typically either a salsa roja (red chile sauce) or a salsa verde (green chile sauce). The magic happens as the chips soften just enough to absorb the rich flavors of the sauce while retaining a delightful textural contrast – a hallmark of perfectly executed chilaquiles.
More than just a meal, chilaquiles represents a taste of Mexican heritage and home cooking. Its origins are steeped in resourcefulness, traditionally utilizing leftover tortillas. Over time, it evolved into a cherished dish, enjoyed across various regions of Mexico, each adding its unique twist. It’s often served as a hearty breakfast or brunch, similar to other popular Mexican morning meals like Migas or Breakfast Tostadas, providing a burst of savory goodness to start the day.
Beyond the core components of chips and salsa, chilaquiles offers a canvas for customization. It can be generously adorned with a variety of fresh and savory toppings, transforming it into a complete and indulgent meal. Common additions include crumbled cheeses like queso fresco or cotija, creamy Mexican crema (or a dollop of sour cream), slices of ripe avocado, a side of refried beans, and perhaps most famously, a perfectly fried egg with a runny yolk. These elements not only add flavor but also contribute to the beautiful presentation and diverse textures of the dish.
Chilaquiles Rojos vs. Verdes: A Flavorful Duo
One of the primary distinctions when ordering or preparing chilaquiles lies in the choice of sauce: red (rojos) or green (verdes). Both offer distinct flavor profiles, catering to different palates.
Chilaquiles Rojos, as featured in this recipe, are bathed in a rich, deeply flavored red sauce. This salsa roja typically derives its complexity from dried chiles, such as guajillos and arbols, often complemented by roasted tomatoes, onions, and garlic. The result is a sauce that is smoky, earthy, and often boasts a mild to medium heat, depending on the chiles used. It shares flavor similarities with my authentic enchilada sauce or easy enchilada sauce, making it a comforting and robust choice for chilaquiles.
Chilaquiles Verdes, on the other hand, are characterized by a bright, tangy green sauce. This vibrant salsa verde is traditionally made with tomatillos, jalapeños, and other fresh green chiles, along with cilantro and onions. The tomatillos lend a distinct tartness that beautifully contrasts with the richness of the tortilla chips and toppings. If you’re looking to explore the green version, you can find a fantastic recipe for Chilaquiles Verdes to compare and enjoy.
Both versions offer an incredible culinary experience, and while Chilaquiles Rojos is incredibly popular for its hearty, deep flavors, the zesty kick of Chilaquiles Verdes is equally appealing. Trying both allows you to appreciate the diverse and delicious world of Mexican cuisine.
Why Make Homemade Chilaquiles?
While many excellent Mexican restaurants serve chilaquiles, preparing this dish at home offers unparalleled freshness and customization. You control the quality of ingredients, the spice level of your salsa roja, and the crispiness of your tortilla chips. The aroma of simmering chiles and frying tortillas will fill your kitchen, making the cooking process as enjoyable as the eating itself. Plus, nothing beats the satisfaction of creating an authentic Mexican comfort food from scratch, ensuring every bite is exactly to your liking.
Chilaquiles Ingredients: The Heart of the Dish
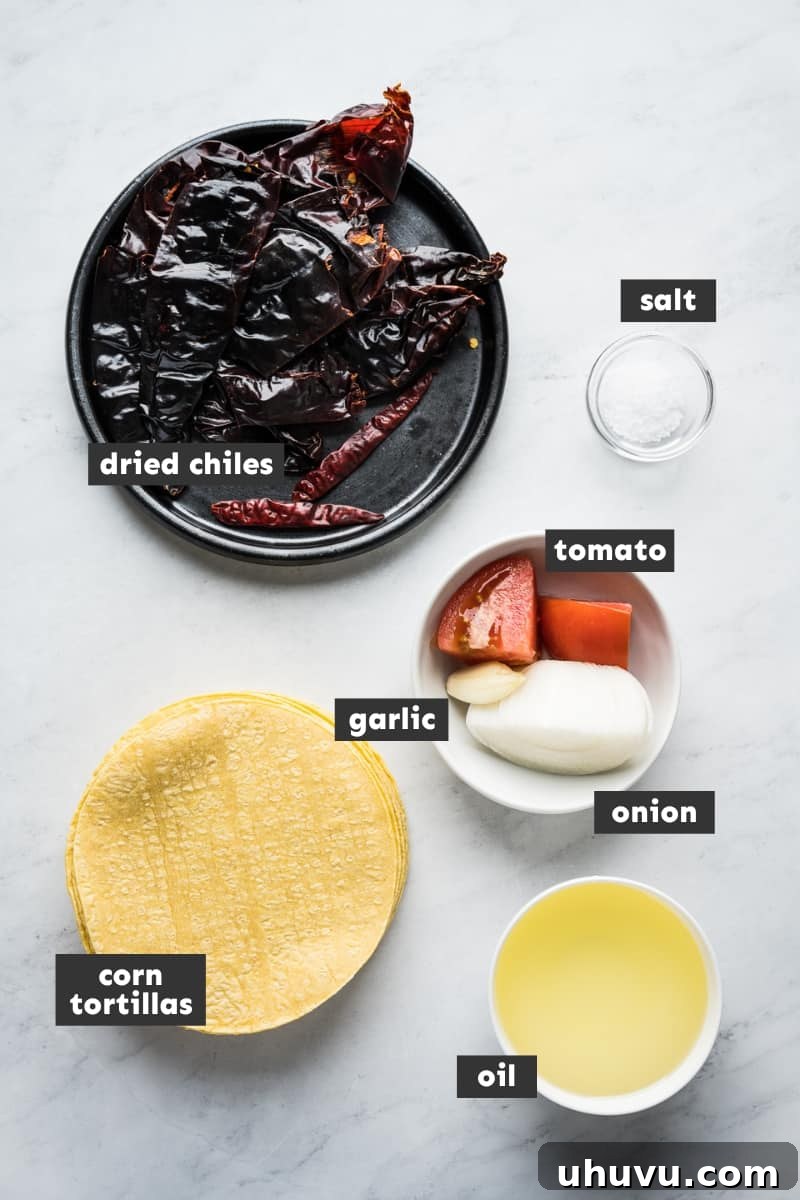
Crafting exceptional Chilaquiles Rojos starts with a few key, high-quality ingredients. Each component plays a crucial role in building the layered flavors and textures that define this Mexican classic.
- Corn Tortillas: The foundation of our chilaquiles. Using high-quality, sturdy corn tortillas is paramount, especially if you plan on making your own homemade tortilla chips. Their robust structure ensures they hold up to the flavorful sauce without becoming overly soggy, providing that satisfying crisp-tender texture. Look for tortillas made with minimal ingredients for the best flavor.
- Oil: A neutral-tasting oil is best for frying your tortilla chips. Options like canola, avocado, or any standard vegetable oil work perfectly. These oils have a high smoke point and won’t impart unwanted flavors, allowing the pure corn and chile notes to shine.
- Dried Chiles: These are the stars of the salsa roja, providing its signature smoky depth and a touch of heat.
- Guajillo Chiles: Known for their mild, fruity, and slightly smoky flavor. They form the base of many authentic Mexican red sauces.
- Arbol Chiles: These slender, bright red chiles pack a moderate to hot punch. They add a welcome warmth and complexity to the sauce. Adjust the quantity to control your desired spice level.
- Tomato, Onion, and Garlic: These aromatic vegetables are essential flavor builders for the salsa roja. The Roma tomato adds a subtle sweetness and body, while the onion and garlic provide foundational savory notes, rounding out the chile flavor beautifully.
- Water: Used for rehydrating the chiles and thinning the sauce to the perfect consistency.
- Kosher Salt: Essential for seasoning the sauce and enhancing all the other flavors. Always taste and adjust as needed.
How to Make Authentic Chilaquiles Rojos
Making chilaquiles from scratch is a rewarding process that allows you to control every delicious detail. Follow these steps for a perfect batch:
Prepare the Salsa Roja Base:
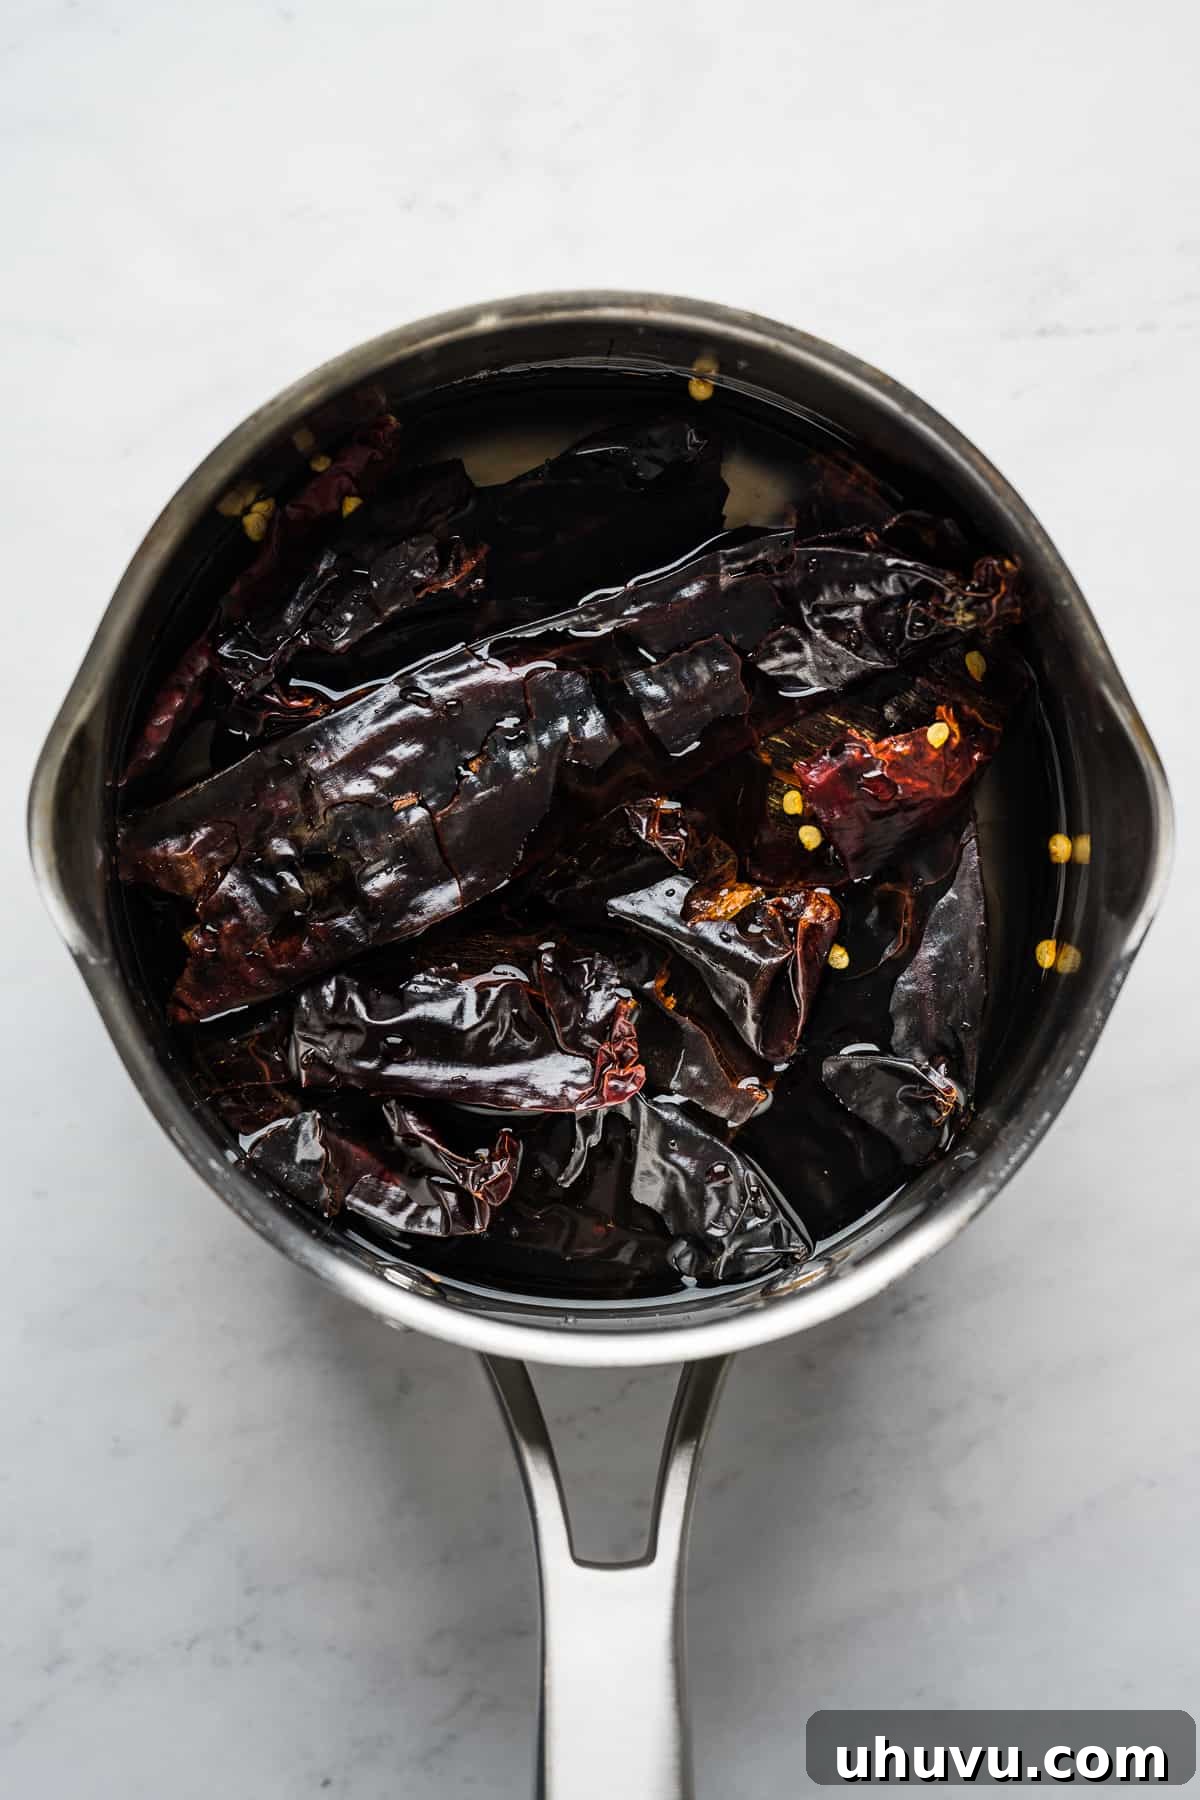
- Soften and Rehydrate the Chiles: Begin by placing your dried guajillo and arbol chiles into a medium pot. Cover them with water and bring it to a rolling boil over high heat. Once boiling, remove the pot from the heat, cover it, and allow the chiles to soak for about 10 minutes. This process softens the chiles, making them easy to blend and releasing their rich flavors.
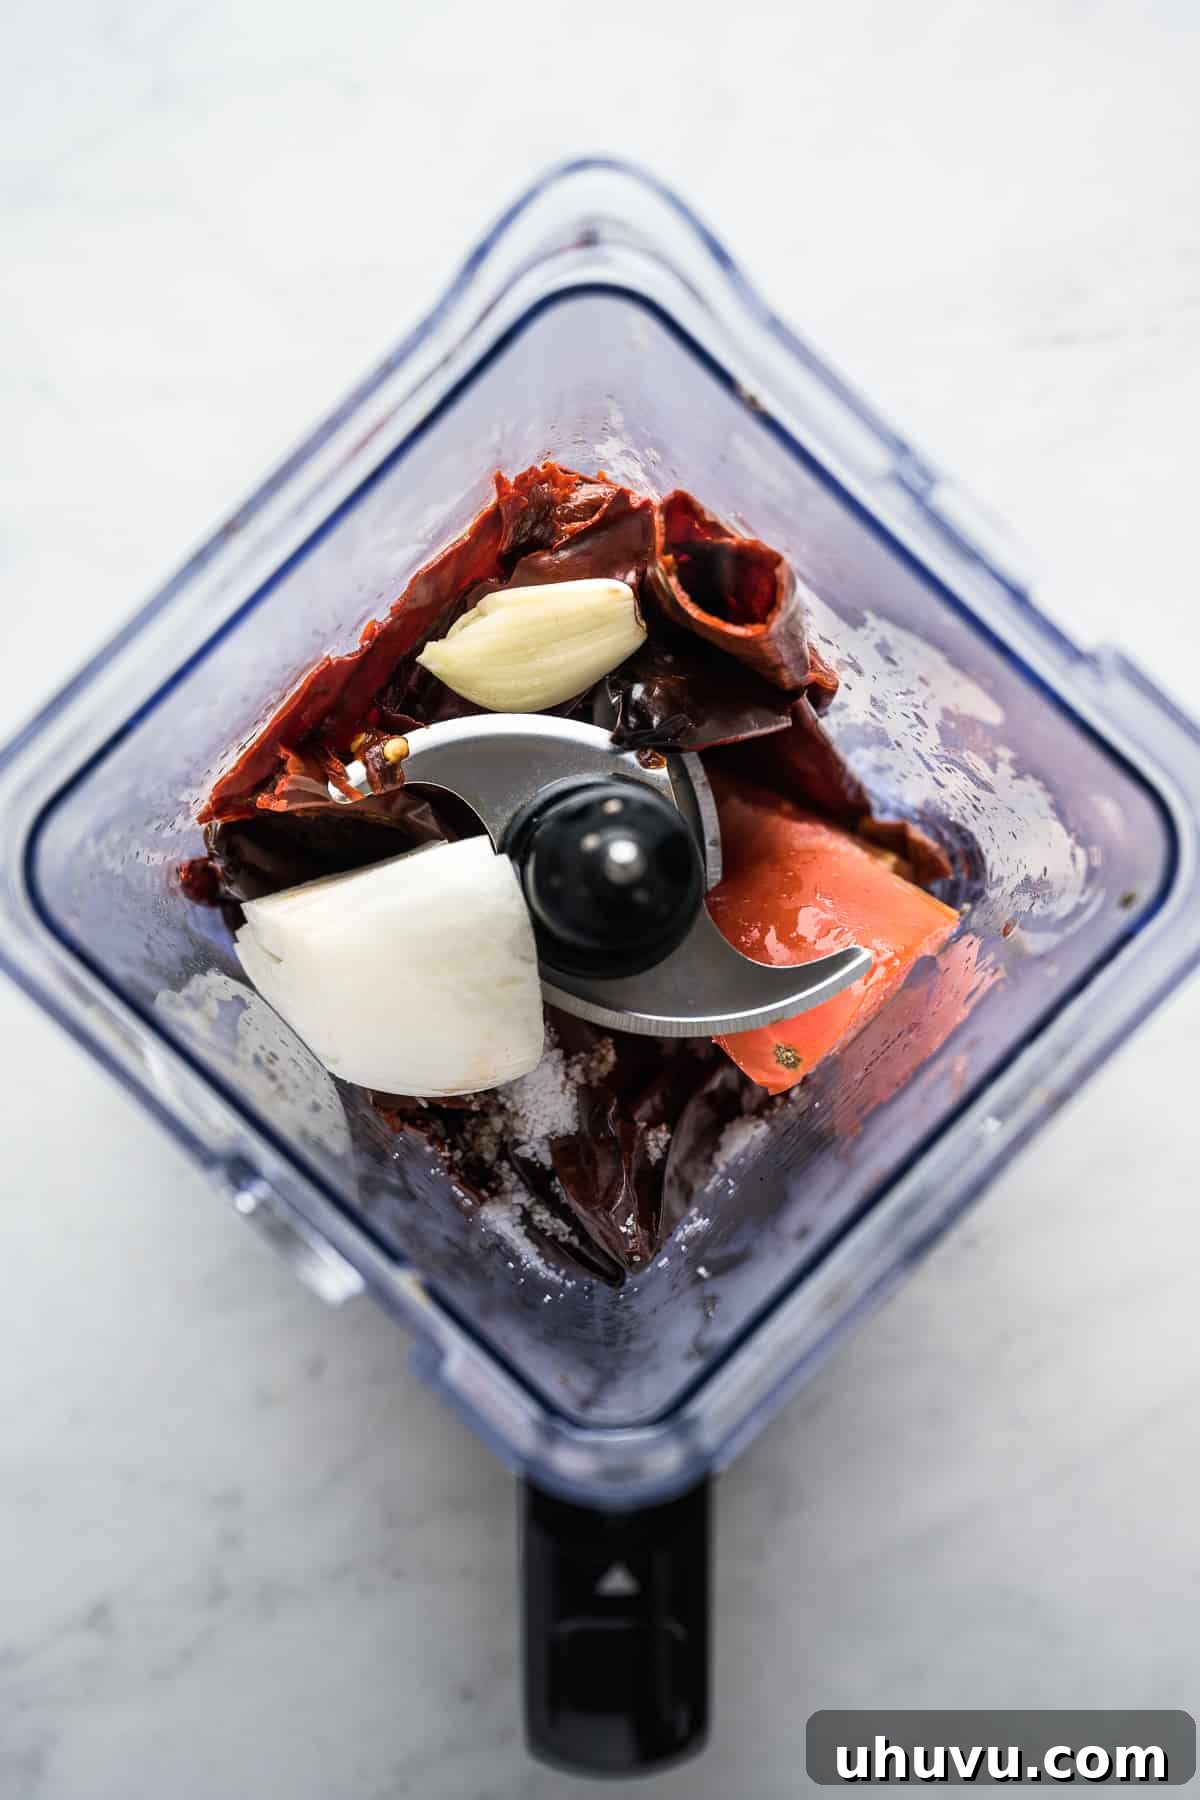
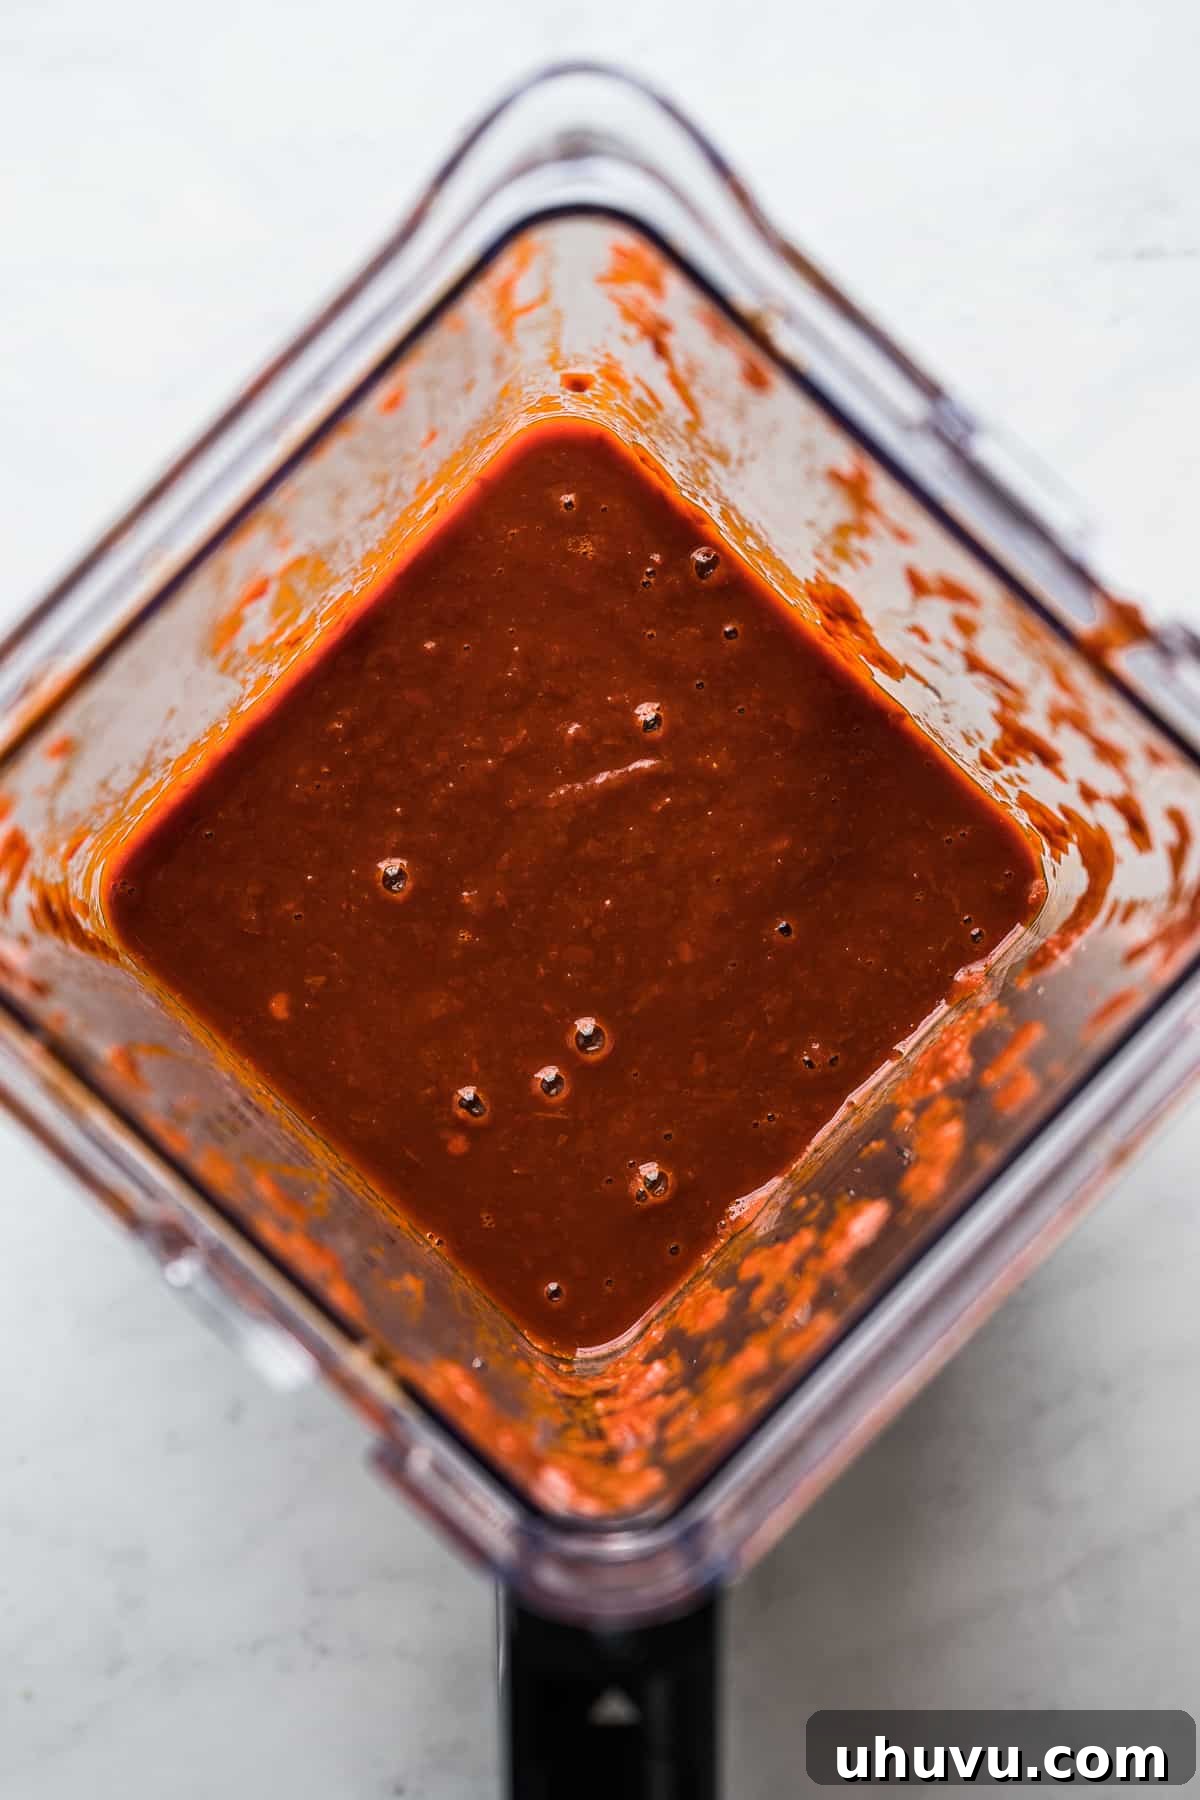
- Blend the Salsa Roja: Using a slotted spoon, carefully transfer the softened chiles to a blender. Add 1½ cups of fresh water, the Roma tomato, garlic clove, white onion, and kosher salt. Blend these ingredients until the mixture is completely smooth and uniform. For an extra velvety sauce, you can pour it through a fine-mesh strainer to remove any lingering solids or bits of chile skin, ensuring a restaurant-quality consistency.
Prepare the Tortilla Chips:
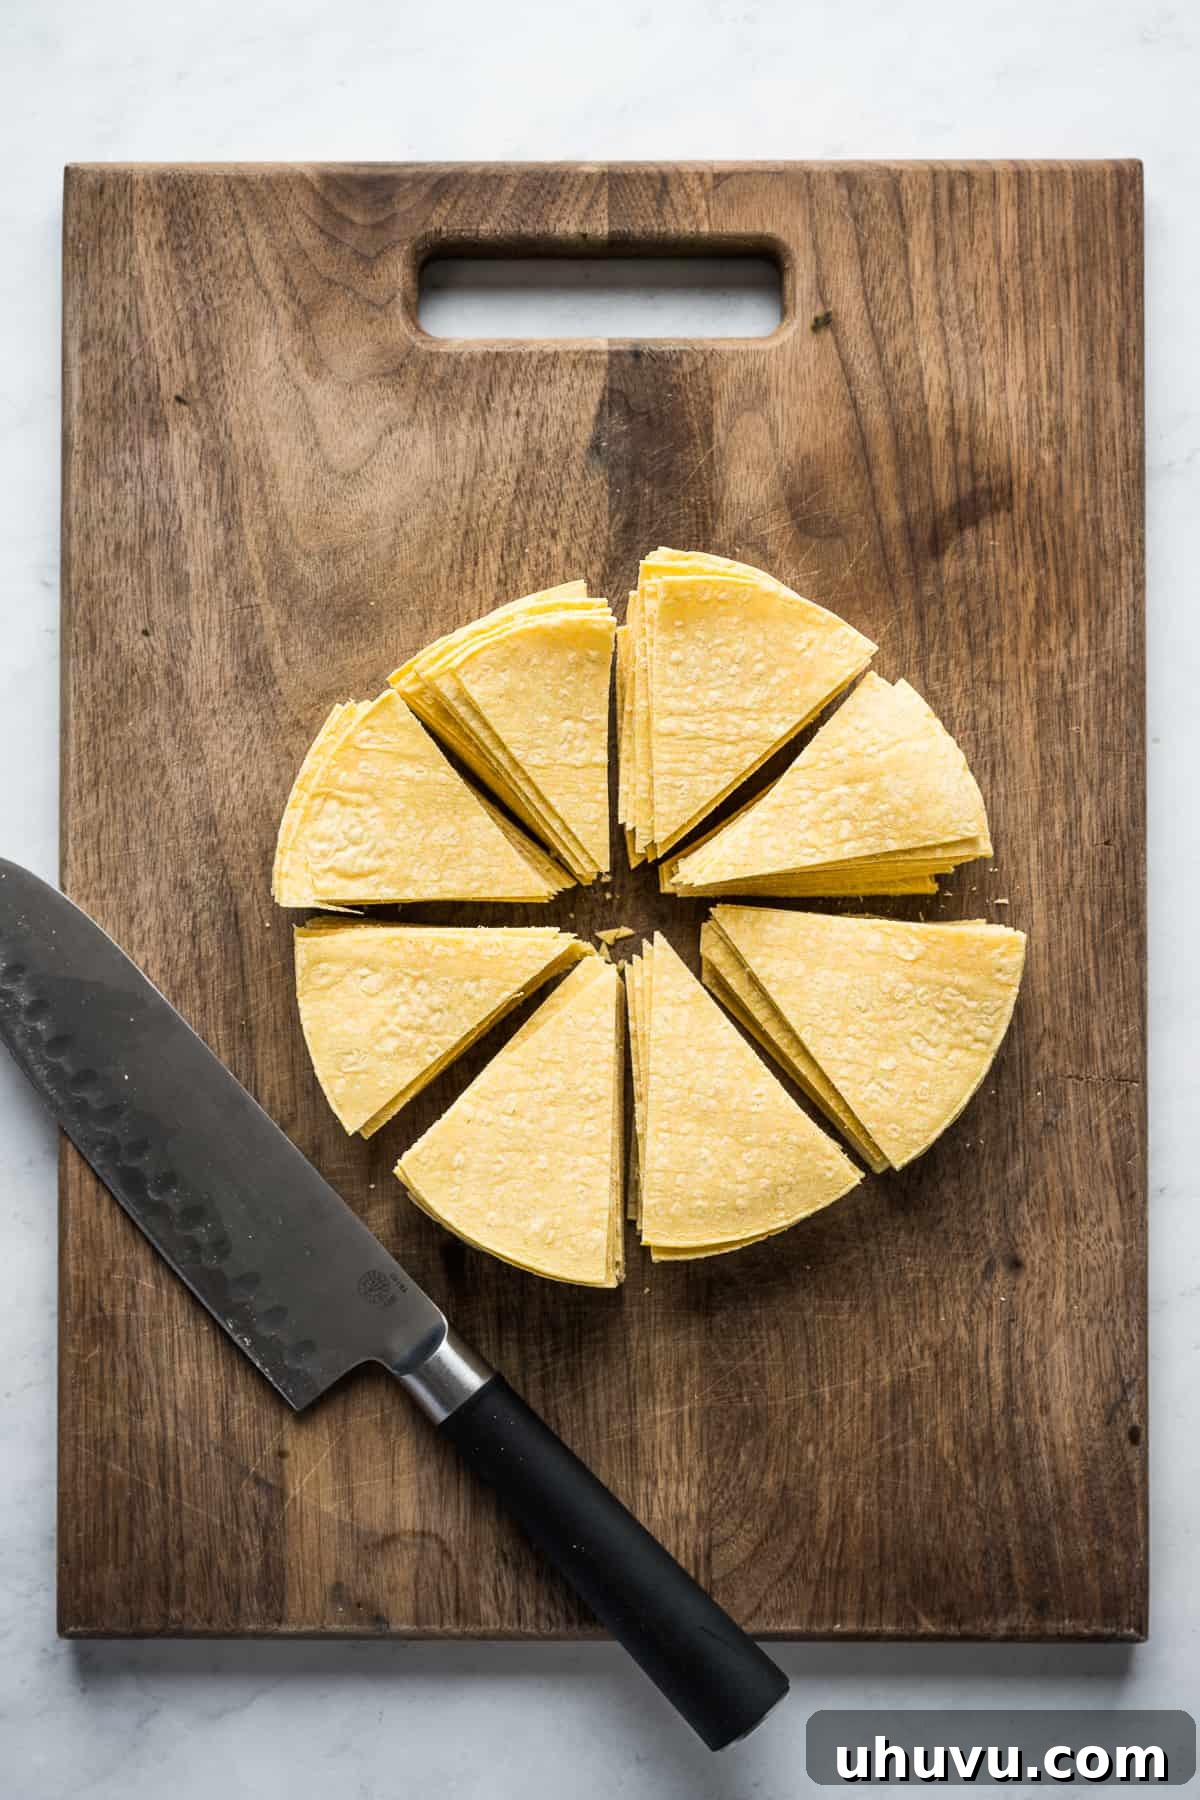
- Cut the Tortillas: Stack your corn tortillas neatly and cut them into eighths, creating small, uniform triangle wedges. These will become your crispy tortilla chips. Line a large plate or baking sheet with paper towels and set it aside; this will be used to drain excess oil from the fried chips.
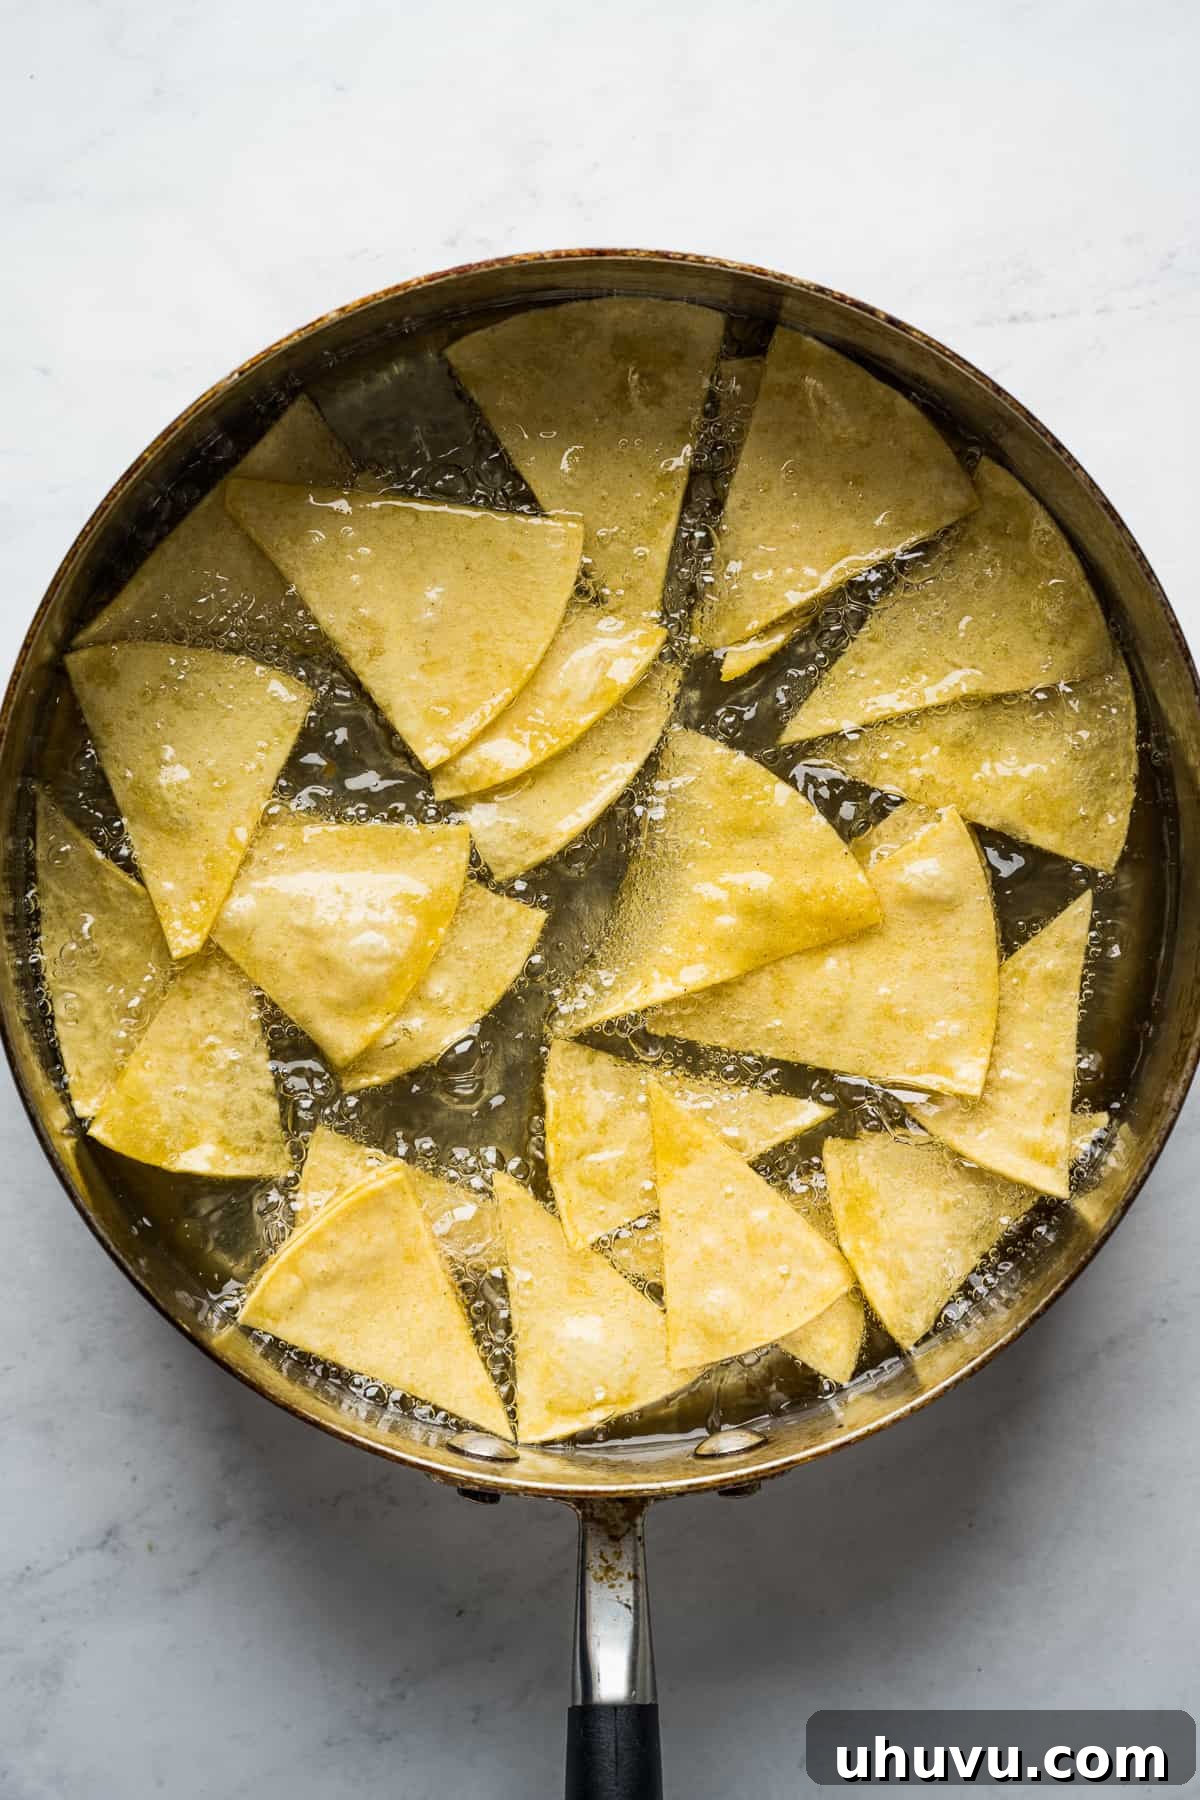
- Heat the Oil: Pour about 2 inches of neutral oil into a large sauté pan or deep skillet. Heat the oil over medium-high heat until it reaches a temperature of at least 350°F (175°C). You can test the oil by dropping a small piece of tortilla into it; if it sizzles vigorously, it’s ready for frying.
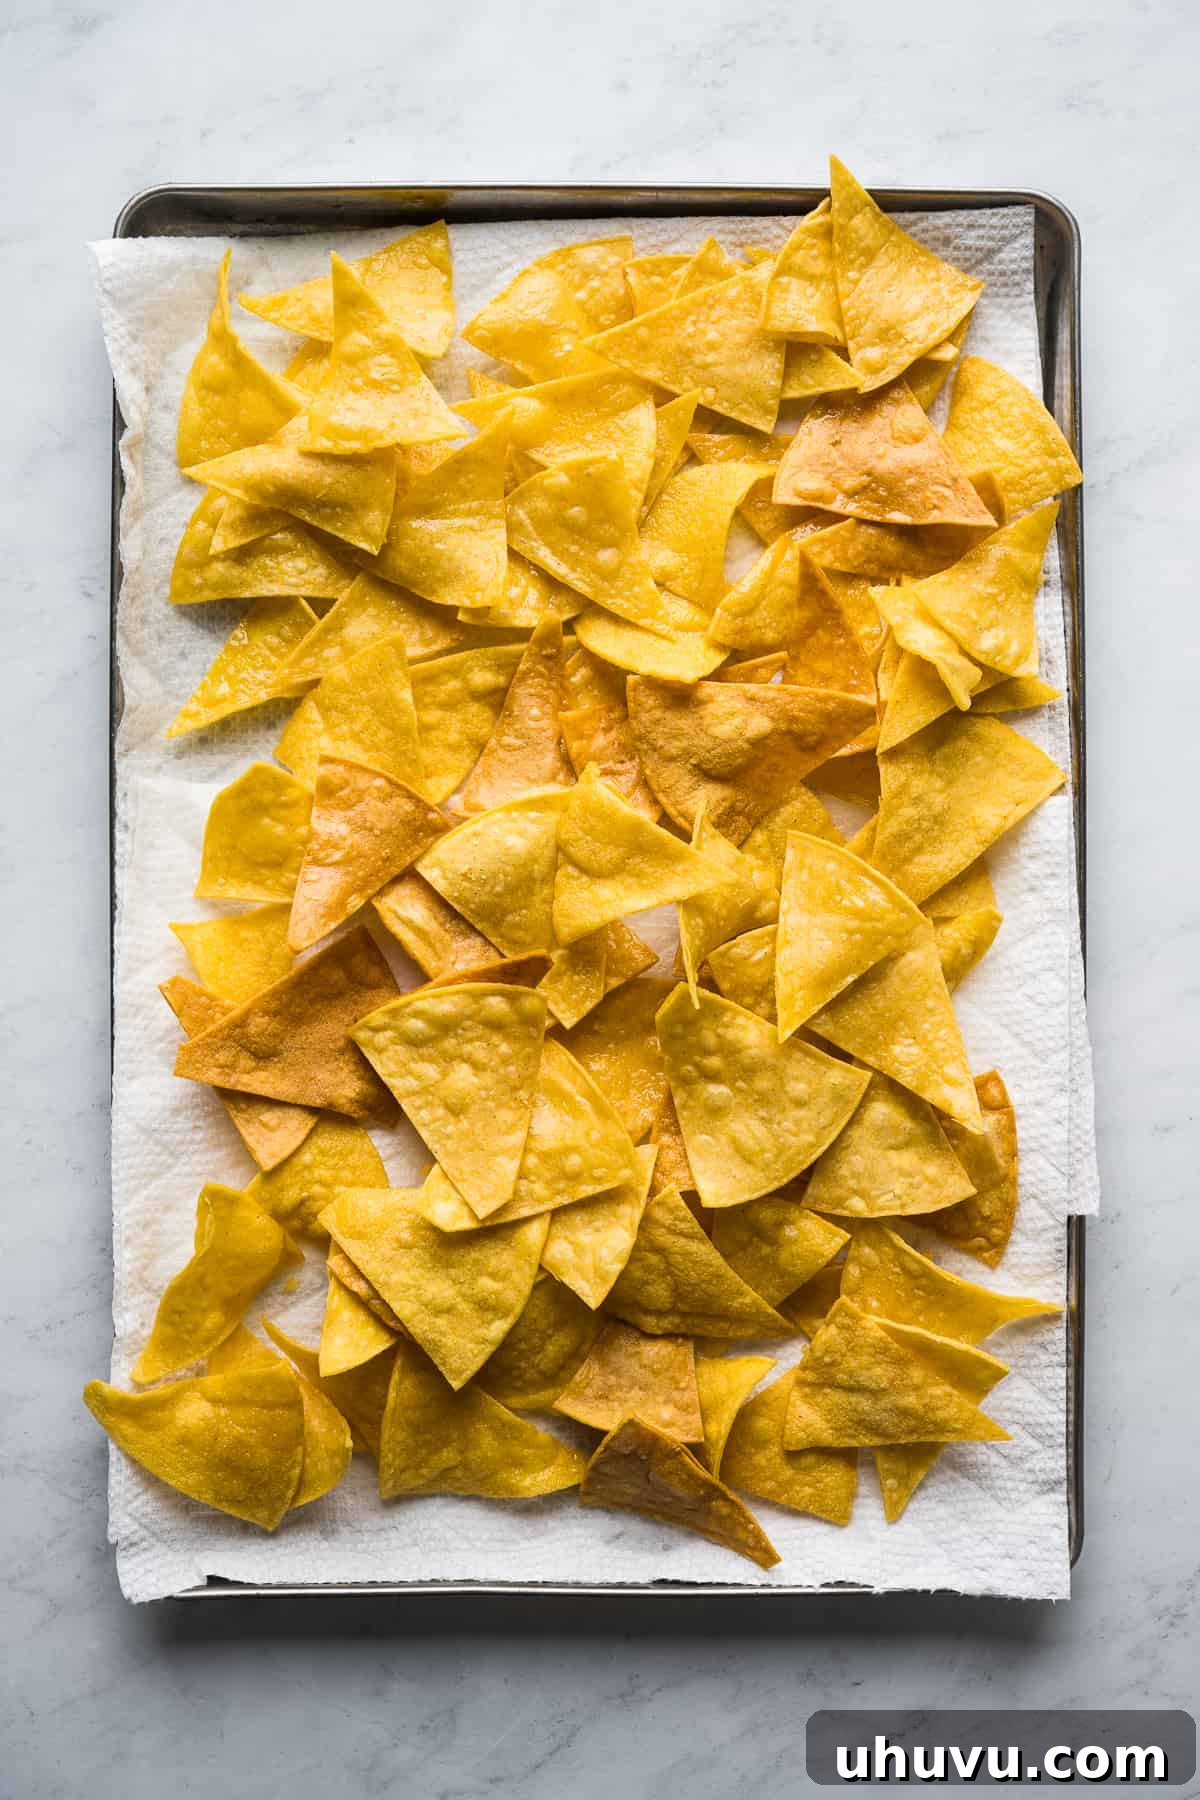
- Fry the Tortilla Chips: Work in batches to avoid overcrowding the pan, which can lower the oil temperature and result in soggy chips. Add half of the tortilla wedges and fry them for approximately 8 minutes, stirring occasionally, until they turn a beautiful golden brown and become perfectly crispy. Once done, use a slotted spoon to transfer them to the paper towel-lined plate to drain any excess oil. Repeat the frying process with the remaining tortilla wedges.
Assemble and Serve:
- Cook the Salsa Roja: In a separate clean sauté pan or skillet, heat 1½ teaspoons of vegetable oil over medium heat. Pour in your blended salsa roja and cook for about 3 minutes, stirring occasionally, allowing the flavors to meld and deepen.
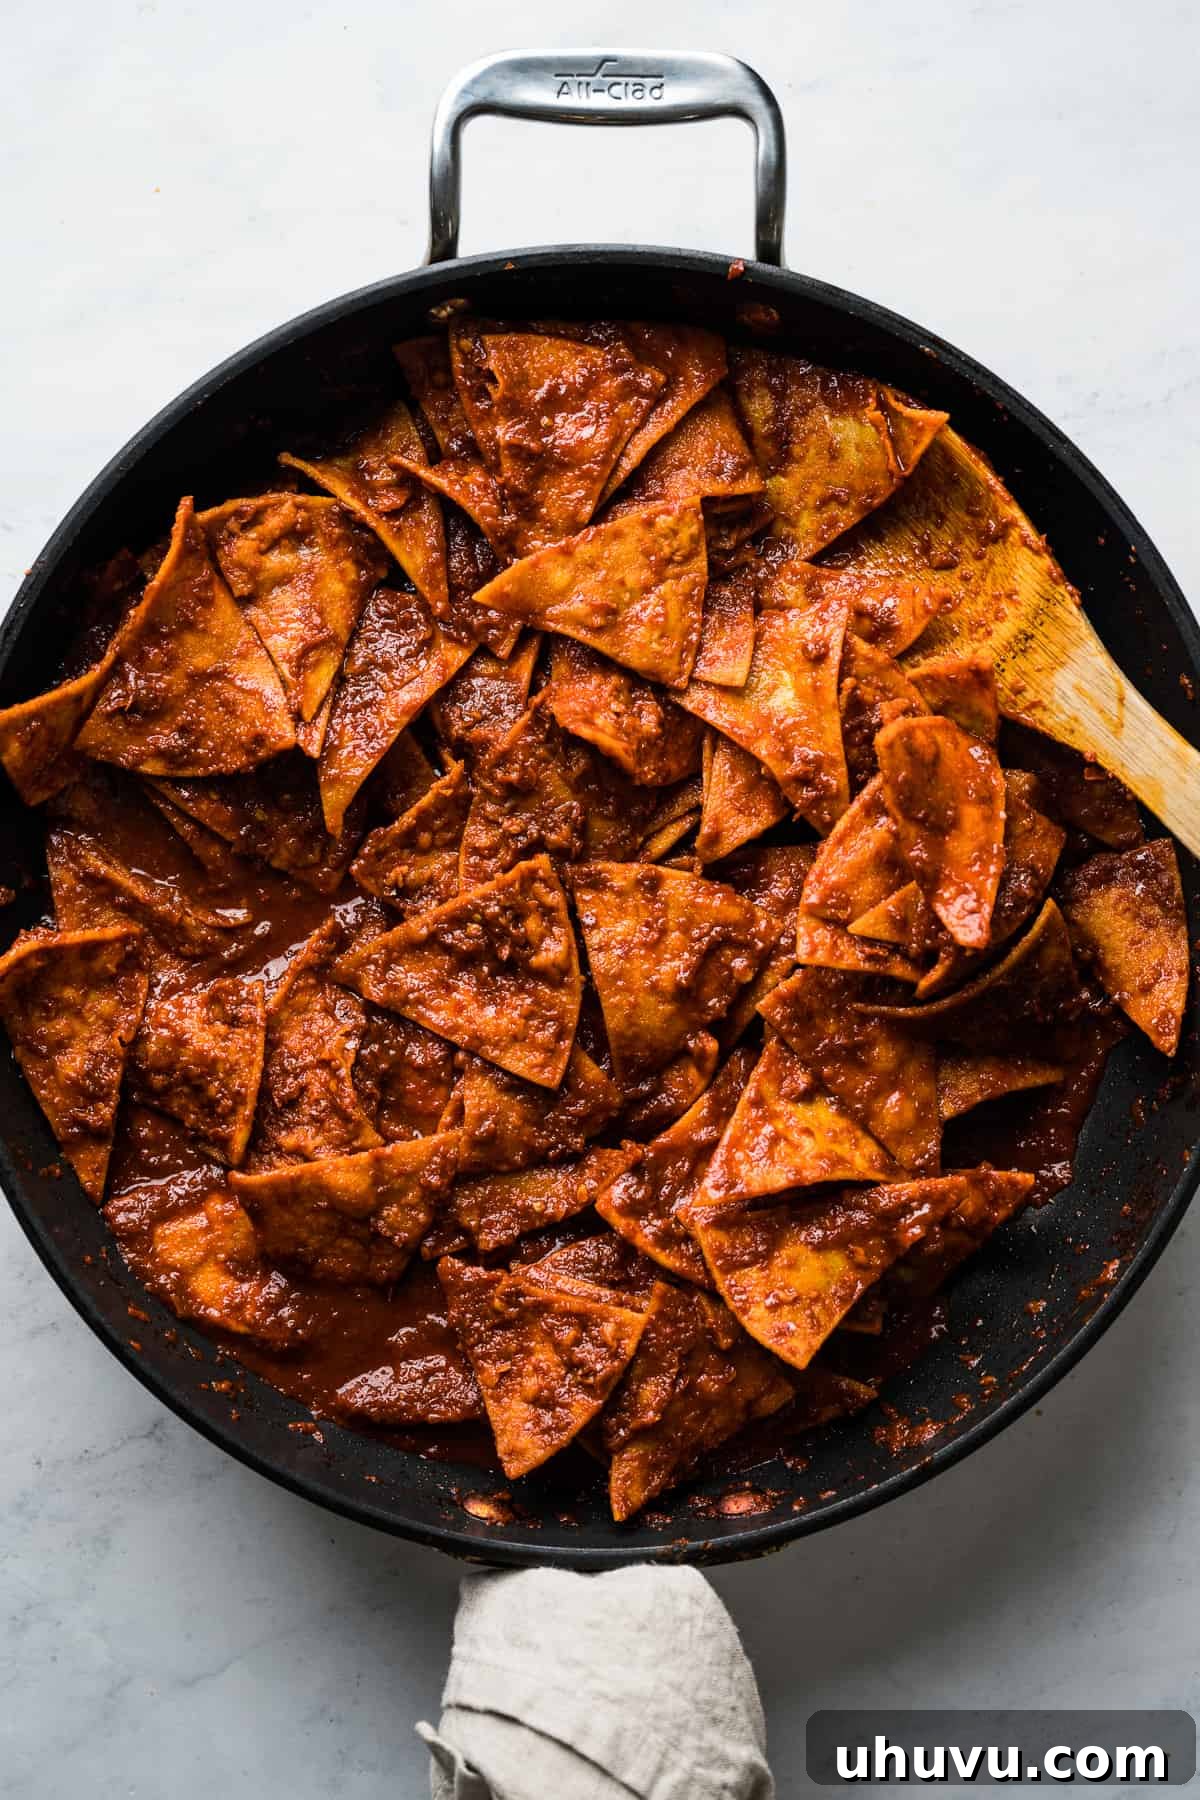
- Combine Chips and Sauce: Remove the pan with the cooked salsa from the heat. Add the freshly fried tortilla chips directly into the warm sauce. Gently toss them together until all the chips are thoroughly coated. The key is to do this just before serving to ensure the chips retain their delightful crispiness.
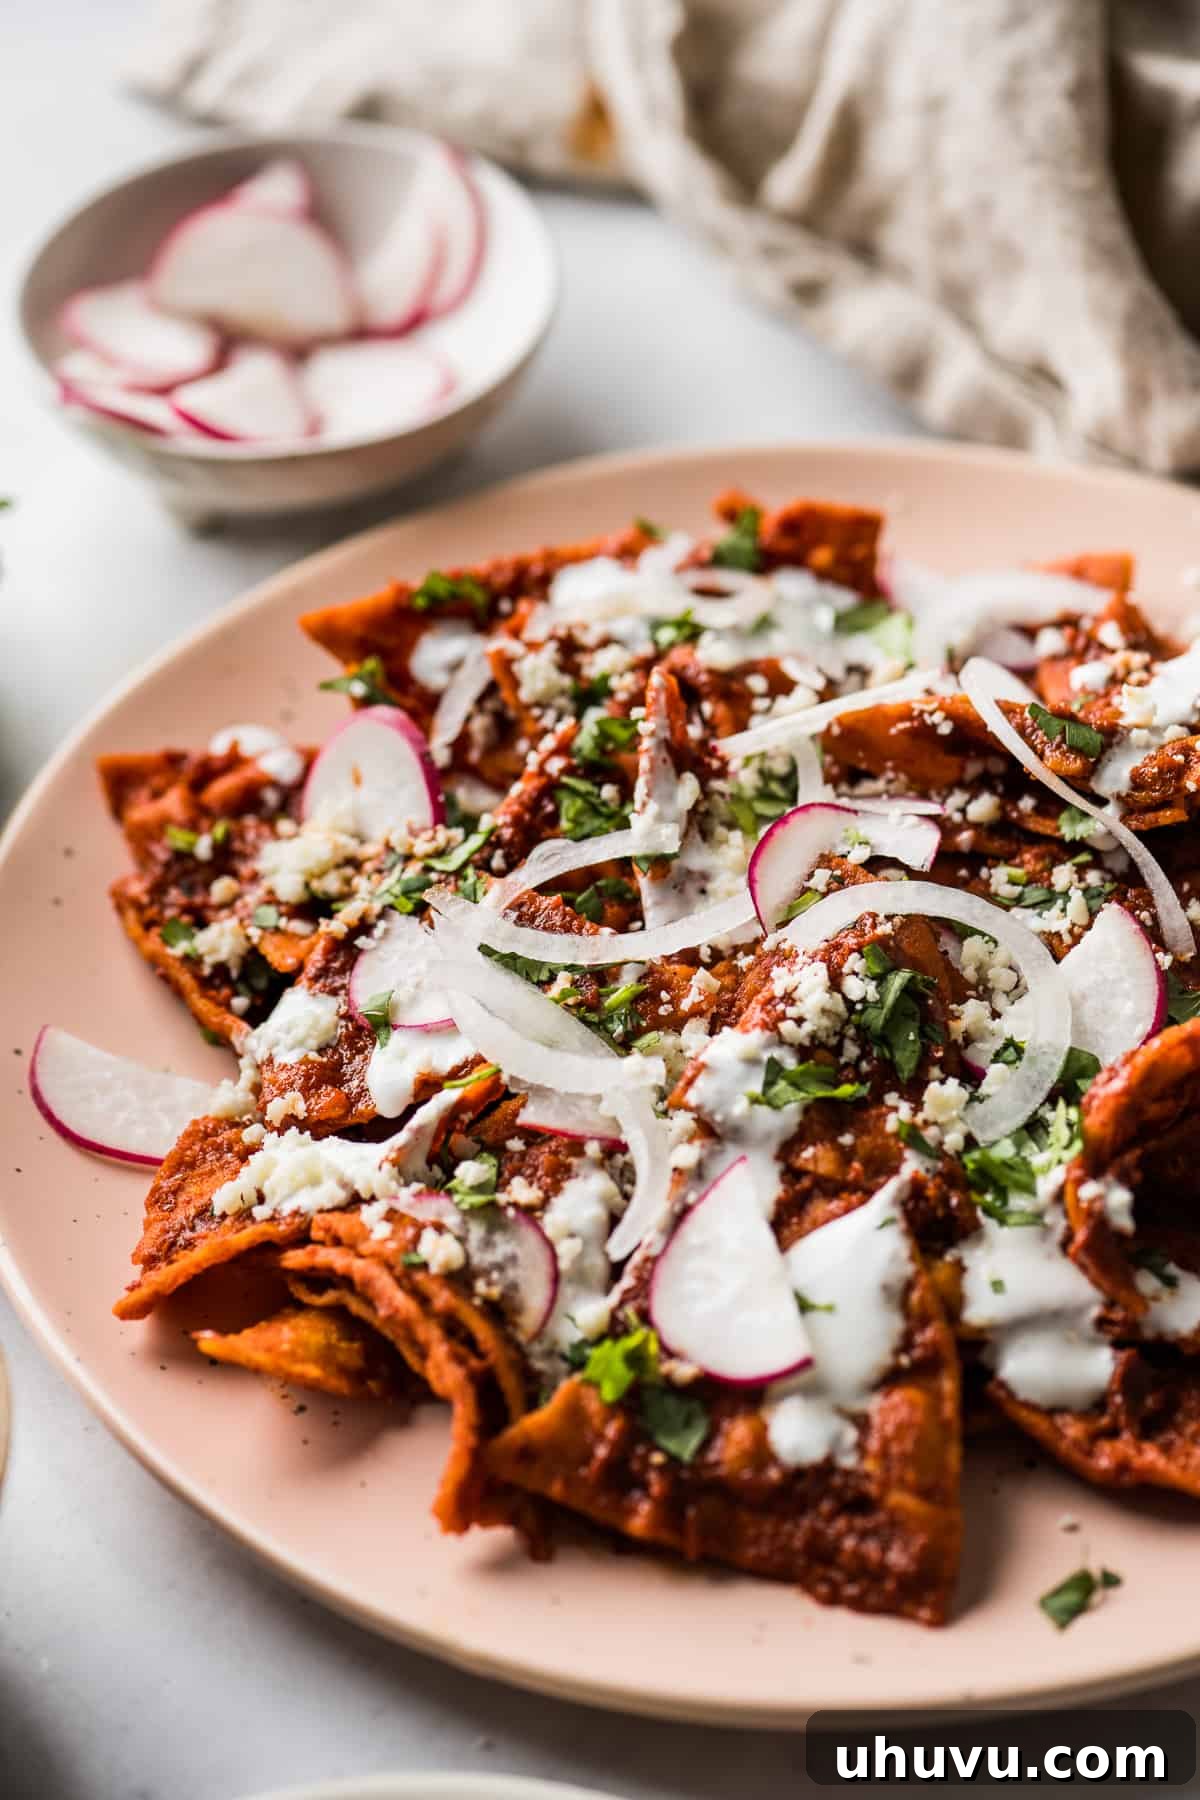
- Garnish and Serve Immediately: Plate your chilaquiles generously. Garnish with a sprinkle of cotija cheese, thinly sliced white onions, fresh radishes for a peppery crunch, and a generous scattering of chopped cilantro. For the ultimate Mexican breakfast experience, top with a perfectly fried or sunny-side-up egg. A side of creamy refried beans also makes an excellent accompaniment.
Recipe Tips for Perfect Chilaquiles
- The Art of the Toss: To achieve that ideal balance of crispness and tenderness, it’s crucial to toss the tortilla chips into the chile sauce *off the heat* and just before serving. This prevents the chips from becoming overly soggy and maintains their delightful texture. You want them to soften slightly, not turn to mush.
- Achieving a Silky Smooth Sauce: If, after blending, your chile sauce still has a slightly grainy texture, don’t despair! Simply pour it through a fine-mesh strainer or sieve. This extra step will remove any remaining solids or tough bits of chile skin, resulting in a beautifully smooth, velvety salsa roja that clings perfectly to your chips.
- Store-Bought Chip Shortcut: While homemade chips are highly recommended for their sturdiness and flavor, sometimes time is of the essence. If you opt for store-bought tortilla chips, choose thick-cut, sturdy varieties. Thin, delicate chips will quickly disintegrate in the sauce, turning your chilaquiles into an unappealing mush. Look for brands that specify “restaurant style” or “thick cut.”
- Quick Sauce Alternative: Short on time for making homemade salsa roja? You can absolutely use your favorite store-bought red enchilada sauce in a pinch. Aim for a high-quality brand with a robust, authentic flavor. You’ll need about 1½ cups for this recipe.
- Reheating Chilaquiles: Chilaquiles are best enjoyed fresh, but leftovers can be reheated in a skillet over medium heat until warmed through. The chips will likely be softer, but the flavors will still be delicious. Add a splash of broth or water if the sauce has thickened too much.
Tortilla Chips for Chilaquiles: Homemade vs. Store-Bought
The quality of your tortilla chips can make or break your chilaquiles. While store-bought chips offer convenience, I wholeheartedly recommend making your own. Homemade chips provide a more robust corn flavor and, more importantly, are significantly sturdier. This extra sturdiness is critical as it prevents them from turning to mush when soaked in the salsa, allowing them to absorb the sauce while maintaining a pleasant chew and slight crispness.
You have several excellent options for homemade tortilla chips:
- Classic Fried Tortilla Chips: This is the traditional method and often yields the best texture. Frying fresh corn tortillas results in a distinct, rich corn flavor and an ideal crispness that holds up well. You can find a detailed guide for homemade fried tortilla chips here.
- Baked Tortilla Chips: A lighter alternative to frying, baked chips are a great way to reduce oil without sacrificing too much crunch. They’re easy to prepare and still offer a much better experience than many store-bought options.
- Air Fryer Tortilla Chips: For a quick and healthier option, air fryer tortilla chips are fantastic. They achieve a wonderful crispness with minimal oil, making them a popular choice for those seeking a lighter meal.
If time constraints force you to use store-bought chips, prioritize thick-cut yellow corn chips. They tend to be more resilient and will provide the closest approximation to the texture and flavor of homemade versions, helping your chilaquiles stay delightfully intact.
Toppings for Chilaquiles: Customize Your Creation
One of the most exciting aspects of chilaquiles is the opportunity to load them up with an array of delicious toppings! These additions not only enhance the flavor but also add contrasting textures and vibrant colors, making each bite an experience. Here are my absolute must-haves for a truly satisfying plate of Chilaquiles Rojos:
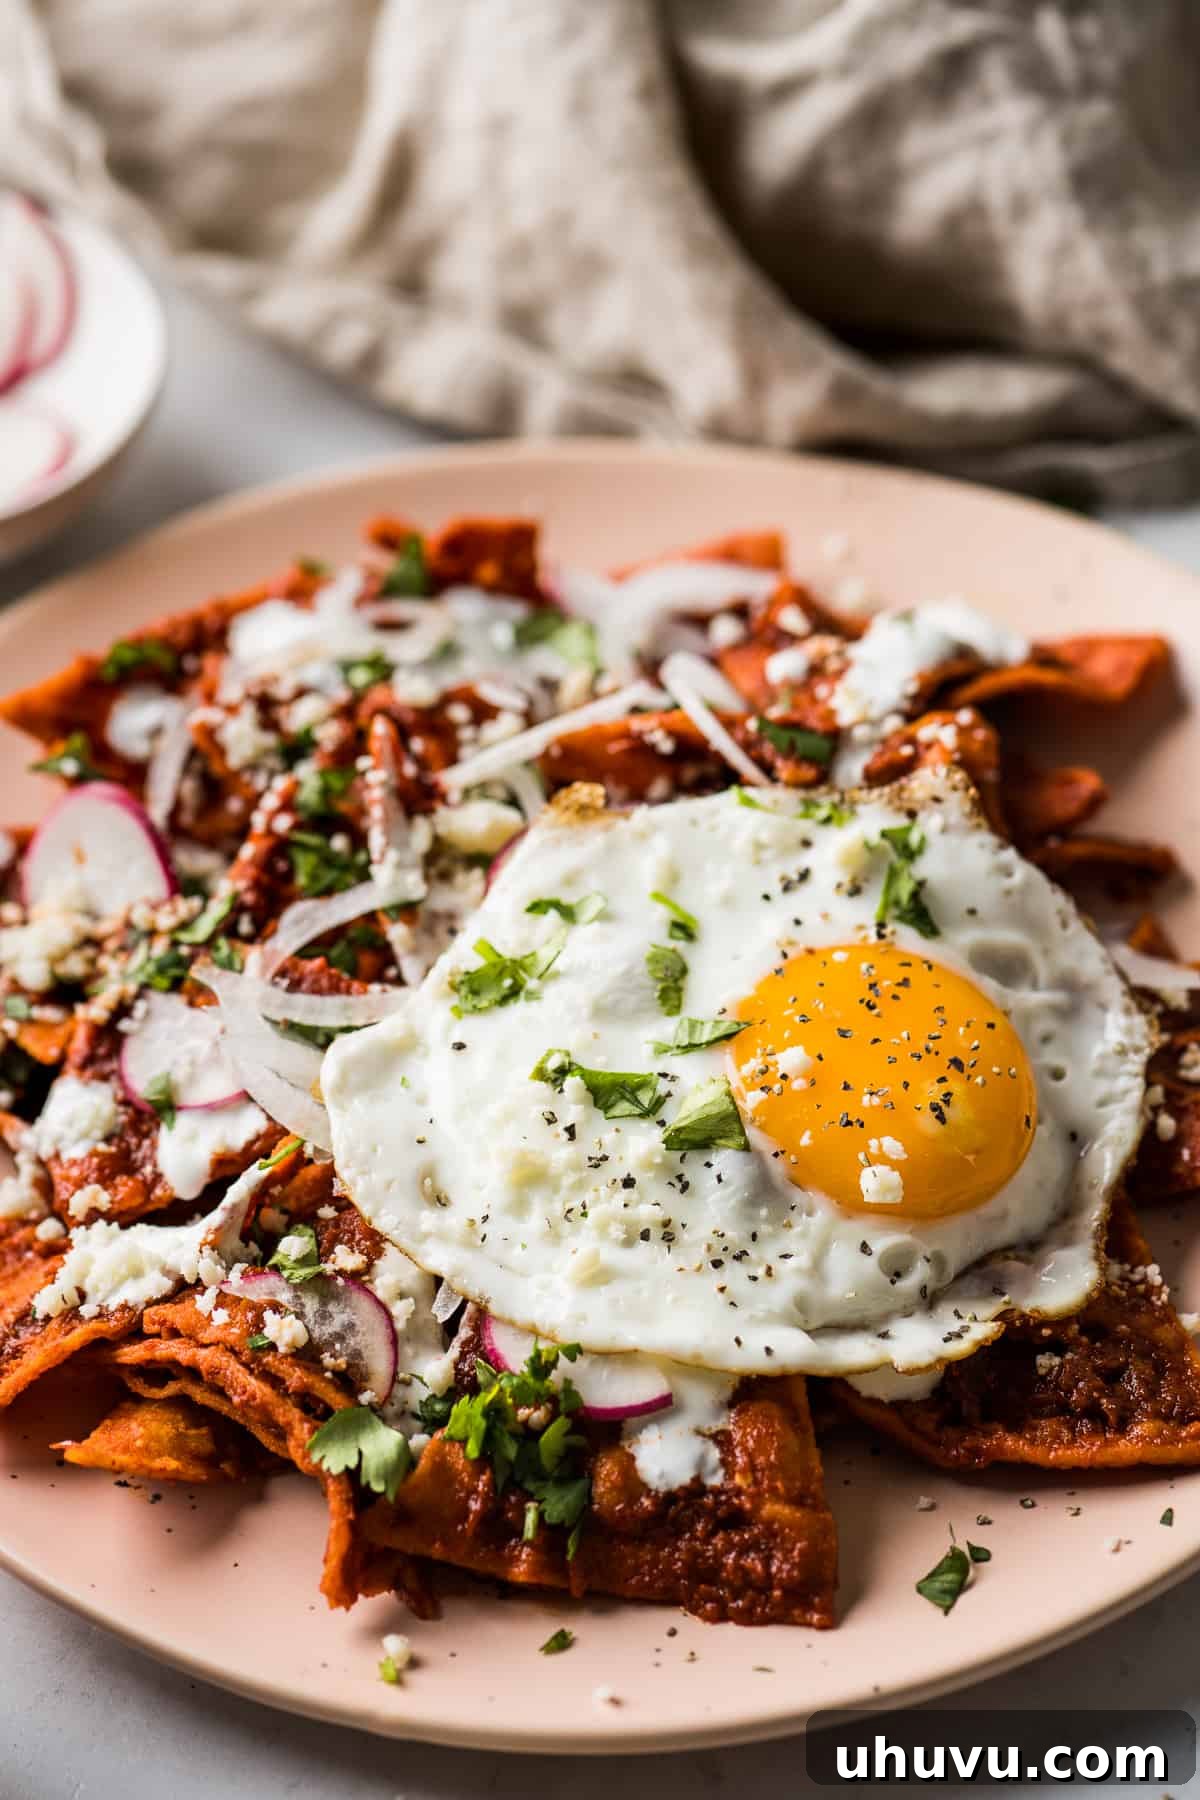
- Eggs: A fried egg, either sunny-side up with a luscious runny yolk or scrambled, is a quintessential topping. The rich egg yolk creates a creamy sauce that blends beautifully with the salsa.
- Lots of Cheese: No chilaquiles plate is complete without a generous sprinkle of cheese.
- Queso Fresco: A soft, fresh, and slightly salty cheese that crumbles beautifully.
- Cotija Cheese: A firm, salty, and aged Mexican cheese, often described as “Mexican Parmesan.”
- Shredded Mexican Cheeses: Options like Chihuahua cheese (mild, good melting) or Queso Oaxaca (stringy, excellent melting) are also fantastic for a gooey finish.
- Creamy Accents: A dollop of something cool and creamy helps balance the heat and richness of the dish.
- Mexican Crema: Thinner and less sour than American sour cream, Mexican crema adds a delightful tang and richness.
- Sour Cream: A readily available alternative that provides a similar cooling effect.
- Cilantro Lime Crema: For an extra burst of fresh flavor, a homemade cilantro-lime crema is simply divine.
- Fresh Garnishes: These add essential freshness, crunch, and a hint of sharpness.
- Thinly Sliced White Onion: Provides a sharp, pungent bite that cuts through the richness.
- Radishes: Thinly sliced radishes offer a refreshing crunch and a peppery flavor.
- Chopped Cilantro: A sprinkle of fresh cilantro brightens the entire dish with its herbaceous notes.
- Avocado: Sliced or diced avocado adds a creamy, buttery texture and a healthy dose of good fats.
- Refried Beans: Often served on the side, but a small dollop on top can be a delicious addition.
More Authentic Mexican Recipes to Explore
If you’ve fallen in love with the flavors of Mexico through this Chilaquiles recipe, you’ll surely enjoy these other traditional dishes that bring warmth and authentic taste to your table:
- Chorizo and Eggs: A hearty and flavorful breakfast that’s quick to prepare.
- Chile Relleno Casserole: A comforting baked dish showcasing roasted poblano peppers.
- Chicken Enchiladas: Classic enchiladas smothered in a rich red sauce, perfect for a family meal.
- Carne Asada: Perfectly grilled marinated steak, versatile for tacos, burritos, or a main course.
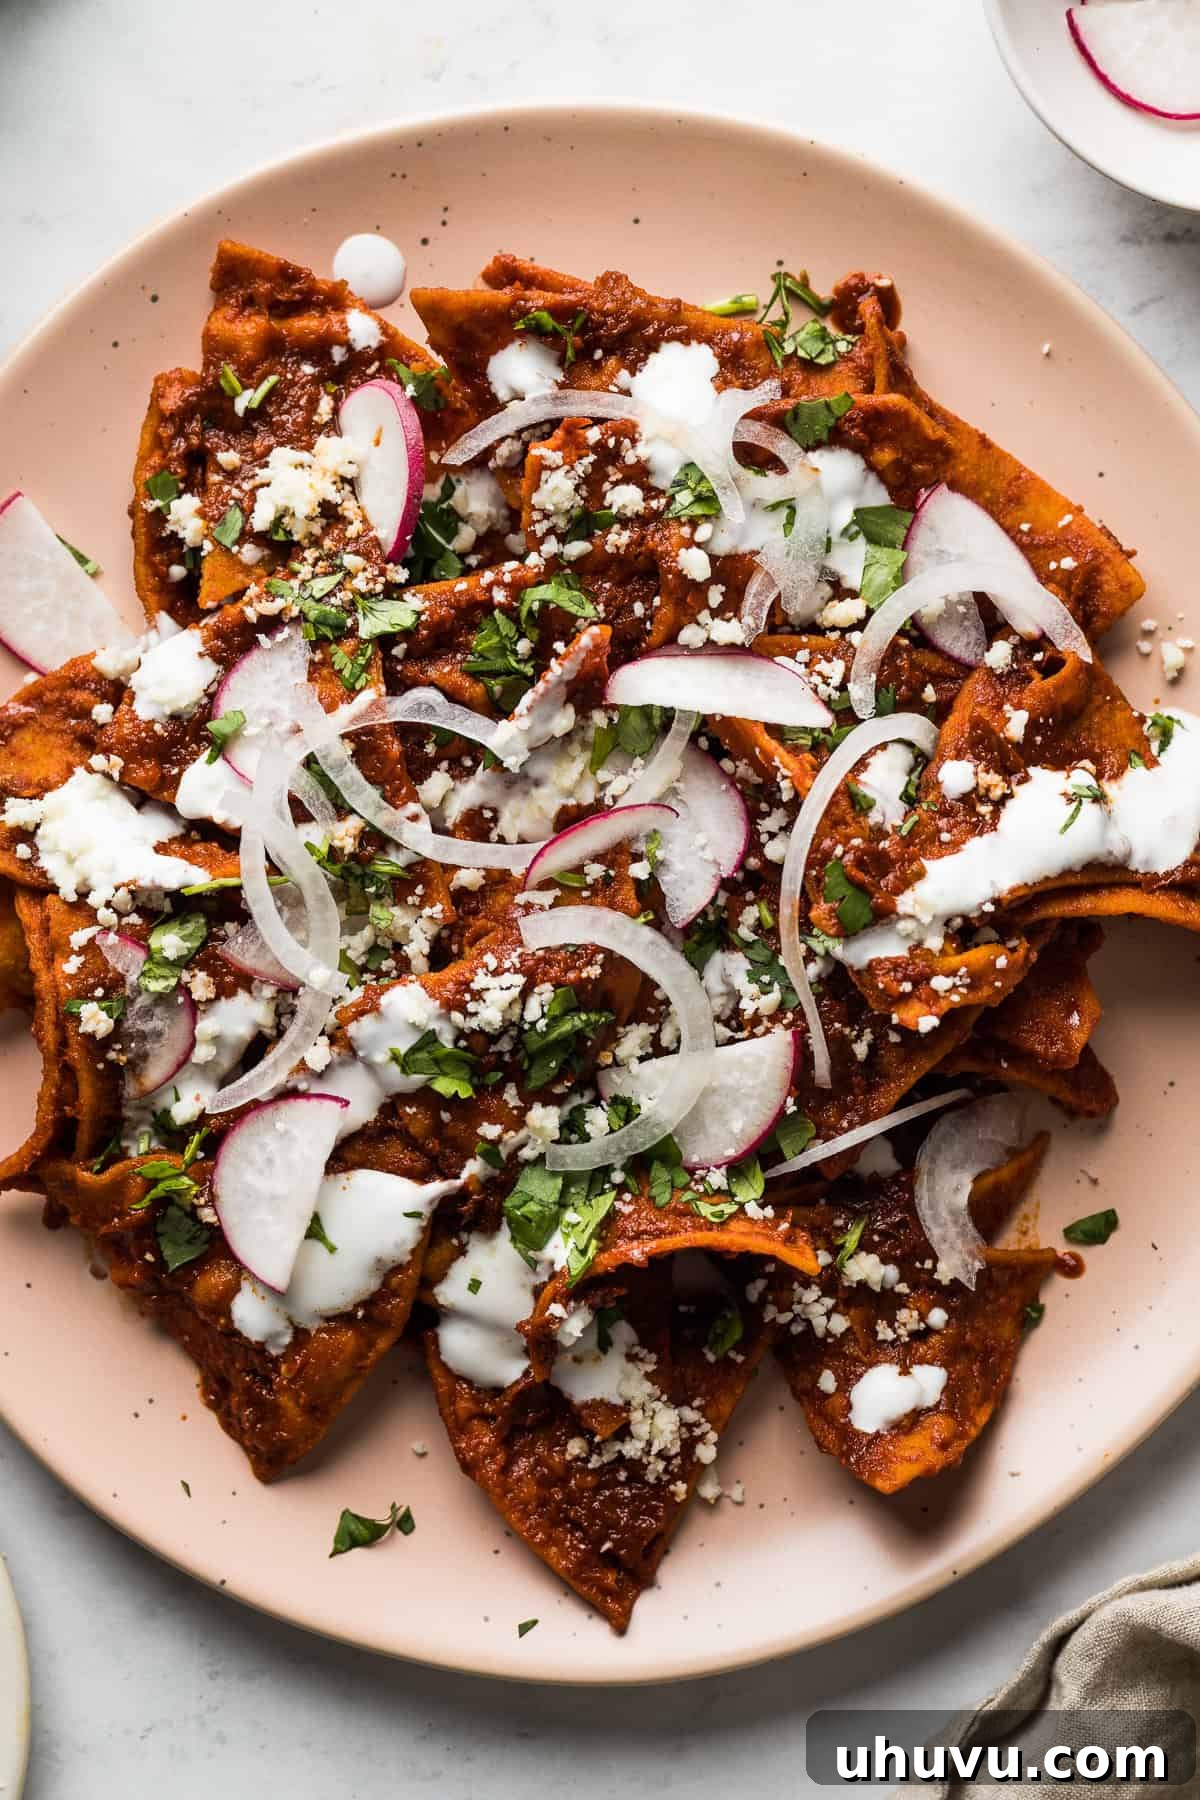
Chilaquiles Rojos
Isabel Orozco-Moore
Authentic Chilaquiles Rojos recipe made from crispy corn tortillas tossed in a homemade salsa roja (red chile sauce) and topped with cheese, Mexican crema, and a fried egg. This Mexican comfort food is perfect for breakfast or brunch!
8 minutes
17 minutes
25 minutes
4 people
Ingredients
- 9 guajillo chiles, rinsed, stemmed, and seeded
- 2 árbol chiles, rinsed and stemmed (optional, for added heat)
- Water, as needed
- 1 Roma tomato
- 1 clove garlic
- ¼ medium white onion
- 1½ teaspoons kosher salt, plus more as needed
- 12 corn tortillas
- 1½ teaspoons vegetable oil, plus more for frying
For serving
- Cotija cheese, crumbled
- Chopped cilantro
- Thinly sliced white onions
- Mexican crema or sour cream
- Fried eggs
- Sliced radishes (optional)
- Avocado (optional)
- Refried beans (optional)
Instructions
- In a medium pot, add the guajillo chiles, árbol chiles (if using), and enough water to completely cover them. Bring the water to a boil over high heat. Once boiling, remove the pot from the heat, cover, and let the chiles soak for 10 minutes to soften.
- Using a slotted spoon, transfer the softened chiles to a blender. Add 1½ cups of fresh water, the Roma tomato, garlic, onion, and salt. Blend until the mixture is completely smooth. If a smoother sauce is desired, pour it through a fine-mesh sieve to remove any remaining solids.
- Stack the corn tortillas on top of each other and cut them into eighths to create small triangle wedges. Line a large plate or baking sheet with paper towels and set it aside for draining the fried chips.
- Fill a large sauté pan or deep skillet with about 2 inches of neutral oil. Heat the oil over medium-high heat until the temperature reaches at least 350°F (175°C). You can test if it’s ready by dropping a small piece of tortilla into the oil; it should sizzle immediately.
- Working in batches to avoid overcrowding, add half of the tortilla wedges to the hot oil and fry for about 8 minutes, stirring every minute or so, until they are golden brown and crispy. Once fried, transfer them to the paper towel-lined plate to drain excess oil. Repeat the frying process with the remaining tortilla wedges.
- In a separate clean sauté pan or skillet, heat 1½ teaspoons of vegetable oil over medium heat. Pour in the blended salsa roja and cook for 3 minutes, stirring occasionally, allowing the flavors to meld and the sauce to thicken slightly.
- Remove the pan with the salsa from the heat. Add the freshly fried tortilla chips directly into the warm sauce. Gently toss them together until all the chips are evenly coated with the delicious red salsa.
- Serve immediately on individual plates. Garnish generously with crumbled cotija cheese, chopped cilantro, thinly sliced white onions, and Mexican crema. For the ultimate authentic experience, top each serving with a fried egg if desired. Enjoy!
Video
Notes
- Spice Level: The árbol chiles contribute a lovely warmth and spice to this salsa roja. If you prefer a milder dish, you can simply omit the árbol chiles from the recipe. Adjust to your preference!
- The Sauce: While making your own homemade salsa roja is highly recommended for the freshest flavor, we understand that time can be a factor. If you’re in a hurry, feel free to substitute with about 1½ cups of your favorite high-quality store-bought red enchilada sauce.
- Baking Instead of Frying Chips: For a lighter alternative to frying, you can bake your tortilla wedges. Simply spread them in a single layer across two greased baking sheets. Lightly spray the tops with nonstick cooking spray or brush with a thin layer of olive oil. Bake at 400°F (200°C) for 10 to 15 minutes, or until they are golden and crispy.
- Store-Bought Chips Considerations: As mentioned, homemade chips are ideal for chilaquiles because they are sturdier and resist becoming soggy too quickly. However, if using store-bought, make sure to select thick, robust chips. Many Mexican grocery stores often carry freshly made, thick-cut tortilla chips that are an excellent compromise!
- Serving Suggestion: One of the most classic and delightful ways to enjoy chilaquiles is topped with a freshly fried or sunny-side-up egg. The runny yolk adds an incredible richness that complements the spicy sauce beautifully.
Nutrition
Calories: 216kcal |
Carbohydrates: 42g |
Protein: 6g |
Fat: 4g |
Saturated Fat: 1g |
Polyunsaturated Fat: 2g |
Monounsaturated Fat: 1g |
Trans Fat: 0.01g |
Sodium: 916mg |
Potassium: 347mg |
Fiber: 8g |
Sugar: 5g |
Vitamin A: 2283IU |
Vitamin C: 5mg |
Calcium: 72mg |
Iron: 2mg
Nutrition information is automatically calculated, so should only be used as an approximation.
Did you make this delicious Chilaquiles Rojos recipe?
We’d love to hear from you! Please leave a comment and a star rating below to share your experience and let us know how it turned out!
This post was originally published in December 2017 and has been thoughtfully updated with new photos, more comprehensive tips, enhanced instructions, and a better overall recipe to provide you with the best possible guide to making authentic Chilaquiles Rojos.