
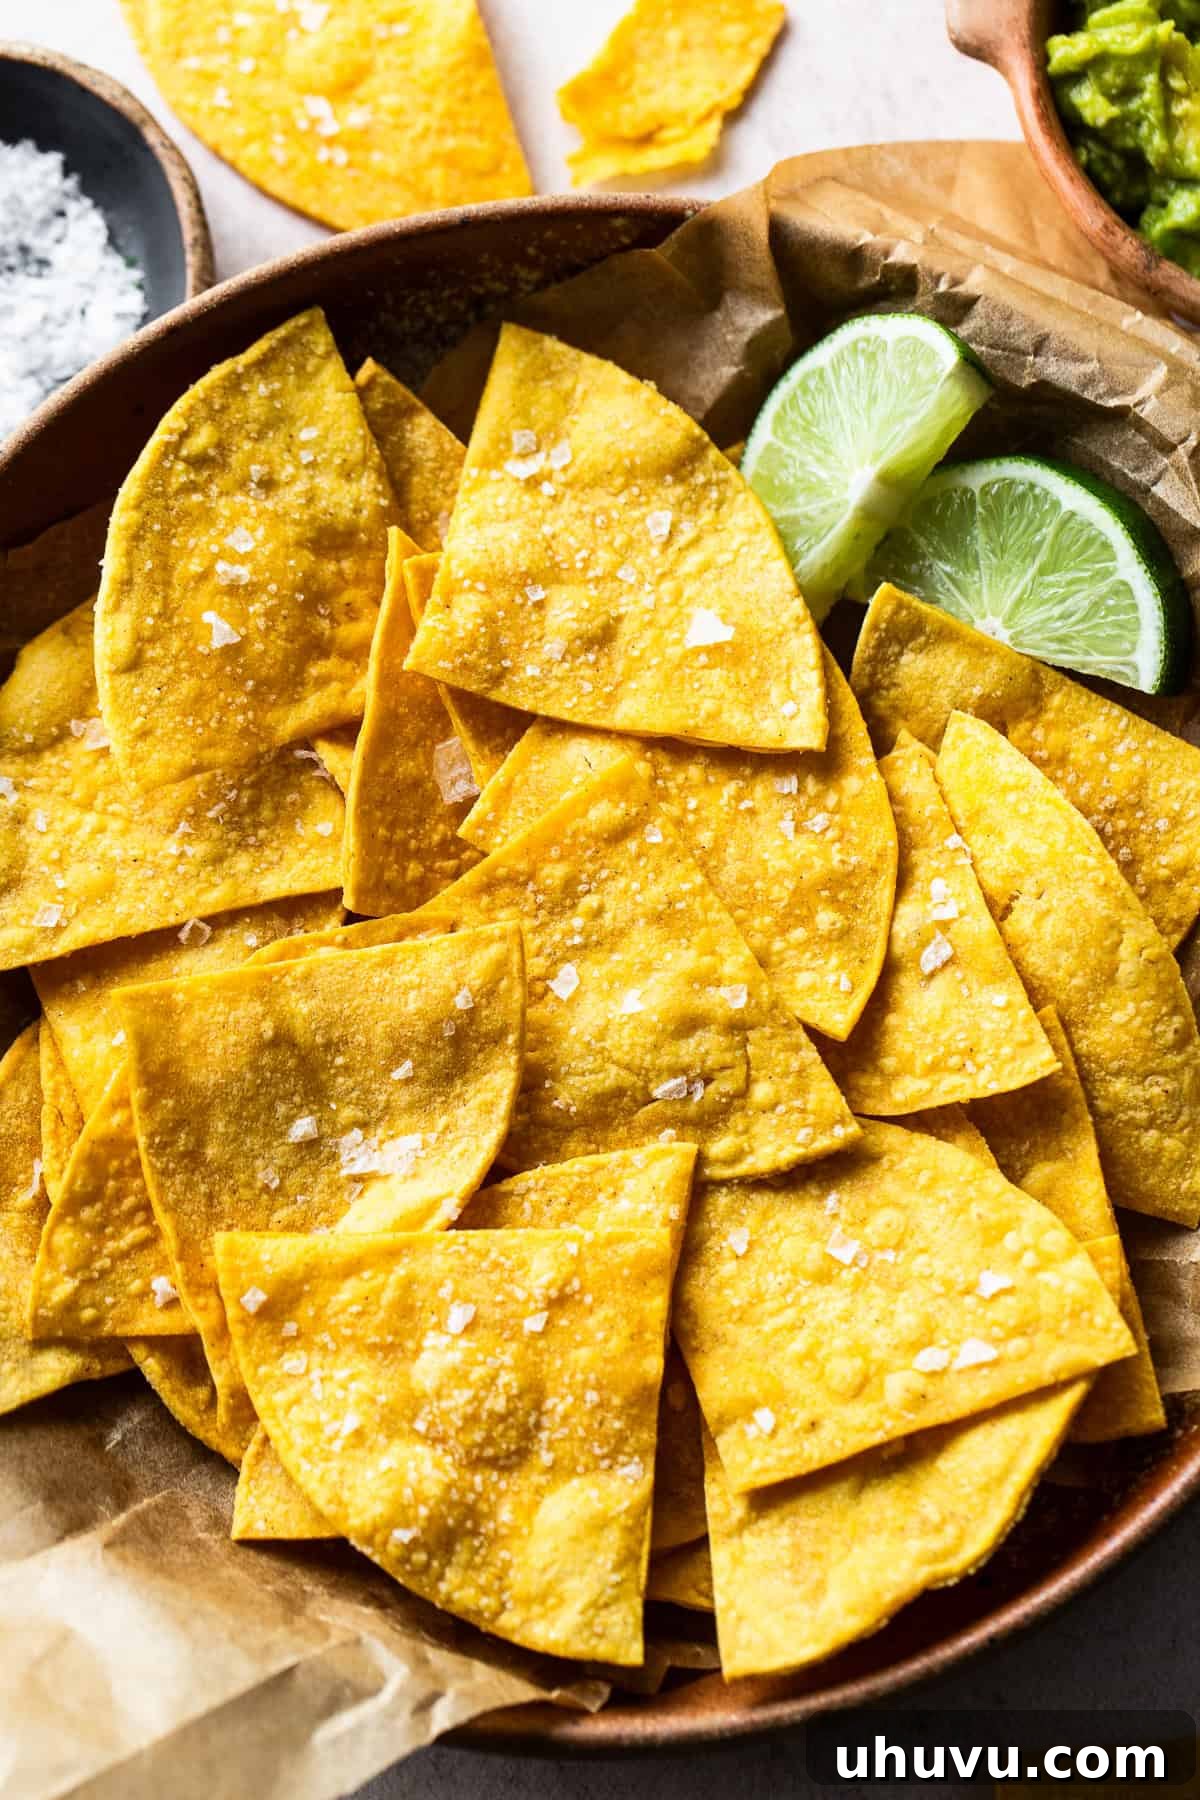
Tired of bland, overly processed store-bought tortilla chips? Imagine sinking your teeth into a perfectly crisp, flavor-packed tortilla chip that’s not only incredibly satisfying but also a healthier alternative to its deep-fried counterparts. Look no further! This comprehensive guide will walk you through creating the absolute best **baked tortilla chips** right in your own kitchen. Forget complicated recipes; all you need are a handful of simple ingredients and a desire for delicious, wholesome snacking.
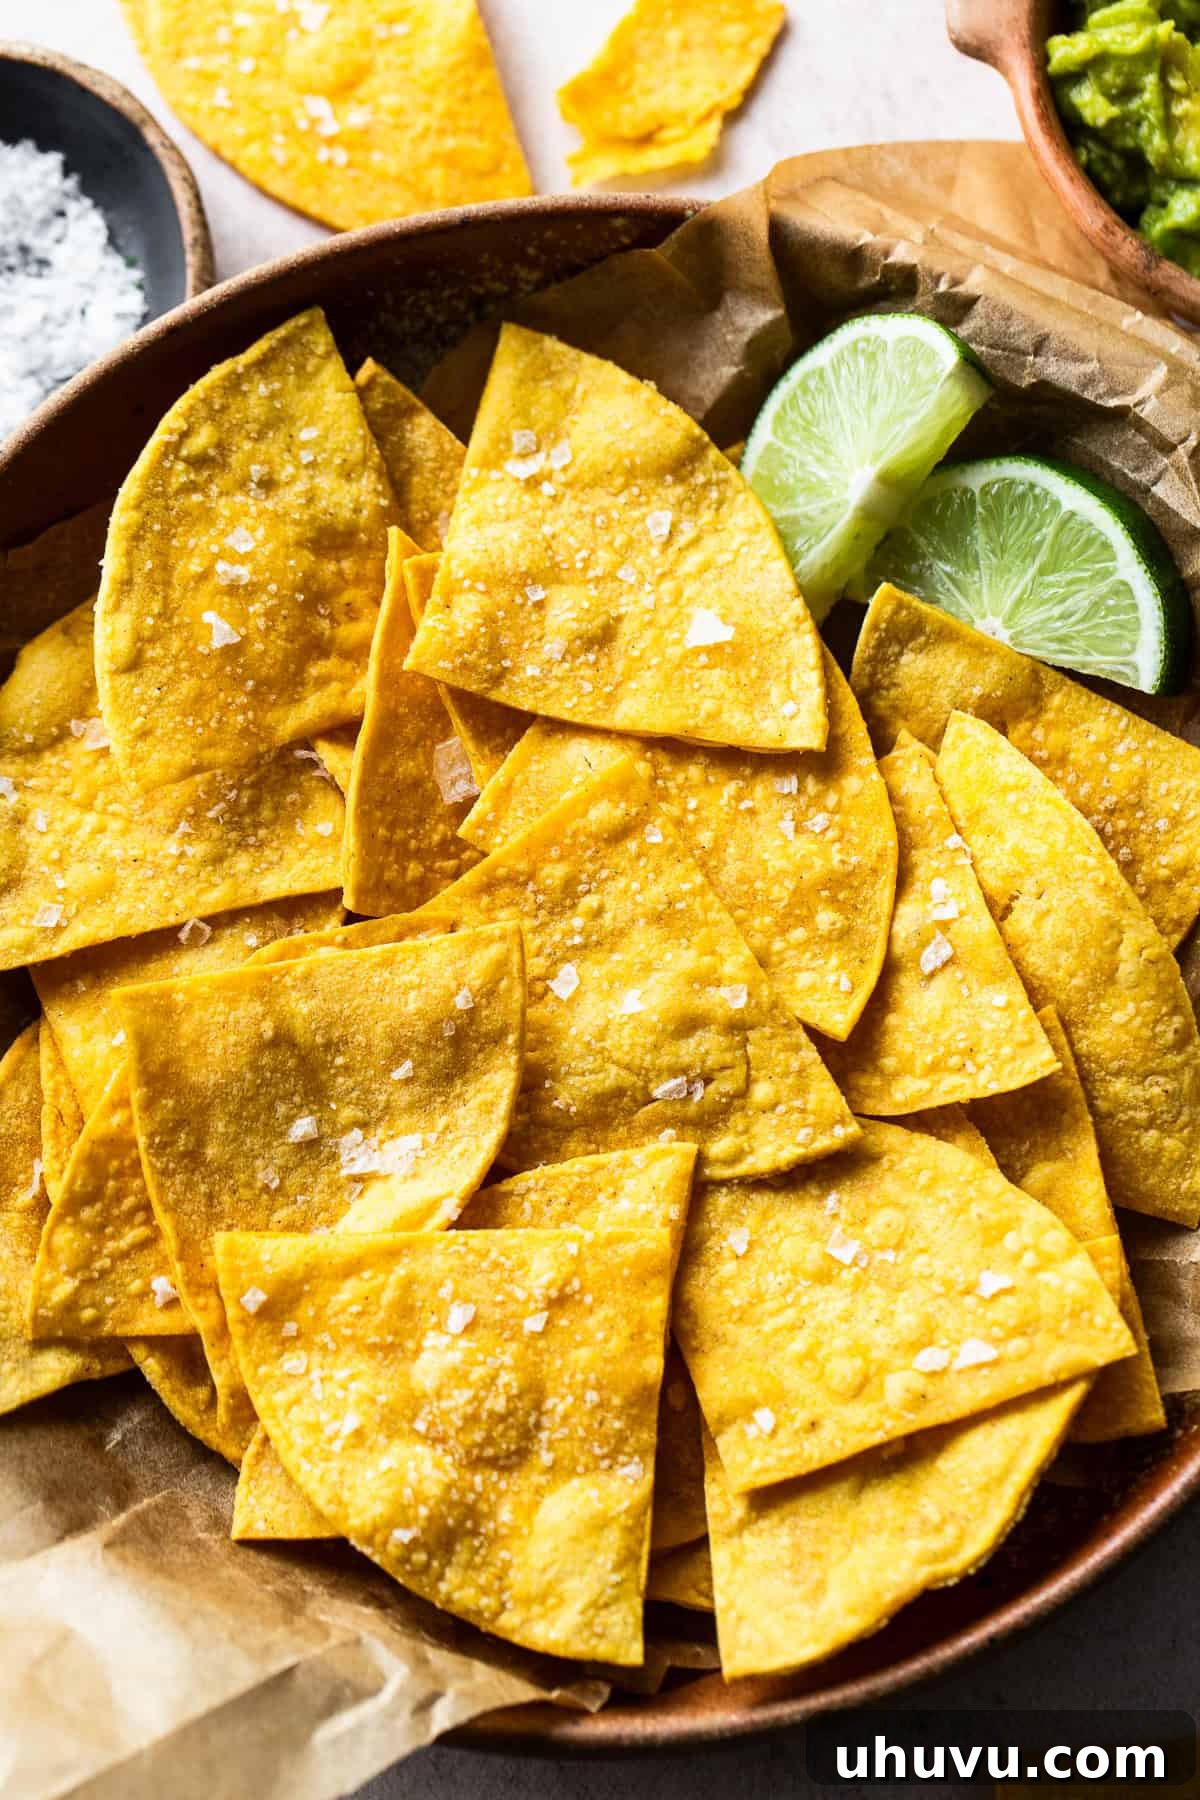
If you’re seeking a healthier, more controlled snack option than traditional store-bought chips, homemade **baked tortilla chips** are an absolute game-changer. These crispy, savory delights are remarkably easy to prepare with just a few staple ingredients, transforming humble corn tortillas into a gourmet snacking experience. Whether you’re a seasoned home cook or a beginner, this recipe is designed for effortless success.
As a passionate fan of all things tortilla chips, I’ve explored various methods, from the classic deep-fried homemade tortilla chips to the innovative air fryer tortilla chips. Each method has its charm, but this baked version truly stands out. By baking instead of frying, you achieve that coveted crunch and satisfying texture with significantly less oil and fewer calories. It’s a win-win for your taste buds and your waistline.
The beauty of homemade baked tortilla chips lies in their incredible versatility. Whether you prefer the timeless combination of salt and a touch of oil, or you want to add a vibrant splash of fresh lime juice for an extra zing, the customization possibilities are endless. These robust, crispy chips are the perfect vehicle for a myriad of culinary pairings. They shine alongside a chunky guacamole, a creamy bean dip, or a zesty fresh salsa. Beyond dips, they can add a delightful crunch as a topping for brothy soups like traditional sopa de lima, elevate a simple salad, or simply be savored on their own as a wholesome snack.
Why You’ll Fall in Love with This Baked Tortilla Chip Recipe
There are countless reasons why these baked tortilla chips will become your new go-to snack. Here are just a few:
- A Healthier Indulgence: Tortilla chips are notoriously hard to resist. This baked method allows you to enjoy all the irresistible crunch and flavor you crave, but with significantly less fat and fewer calories compared to deep-fried versions. It’s a guilt-free pleasure you can feel good about.
- Effortlessly Quick and Easy: From prep to plate, these incredible chips are ready in approximately 20-25 minutes. A quick bake in the oven transforms humble tortillas into a gourmet snack, making them perfect for last-minute cravings or spontaneous gatherings. Whip up a batch, and you’re set for a week of delightful snacking!
- Unmatched Customization: The base recipe is fantastic, but it also serves as a canvas for your culinary creativity. Easily adjust the seasoning to match your mood or the dip you’re serving.
- Budget-Friendly Snacking: Making your own chips is far more economical than constantly buying bags from the store. You’ll be amazed at how far a pack of corn tortillas can go.
- All-Natural Ingredients: When you make them at home, you control every ingredient. No artificial flavors, preservatives, or excessive sodium – just pure, simple goodness.
Gather Your Simple Ingredients
One of the best aspects of this recipe is its minimal ingredient list. You likely have most of these items in your pantry already, proving that incredible flavor doesn’t require a complicated shopping trip.
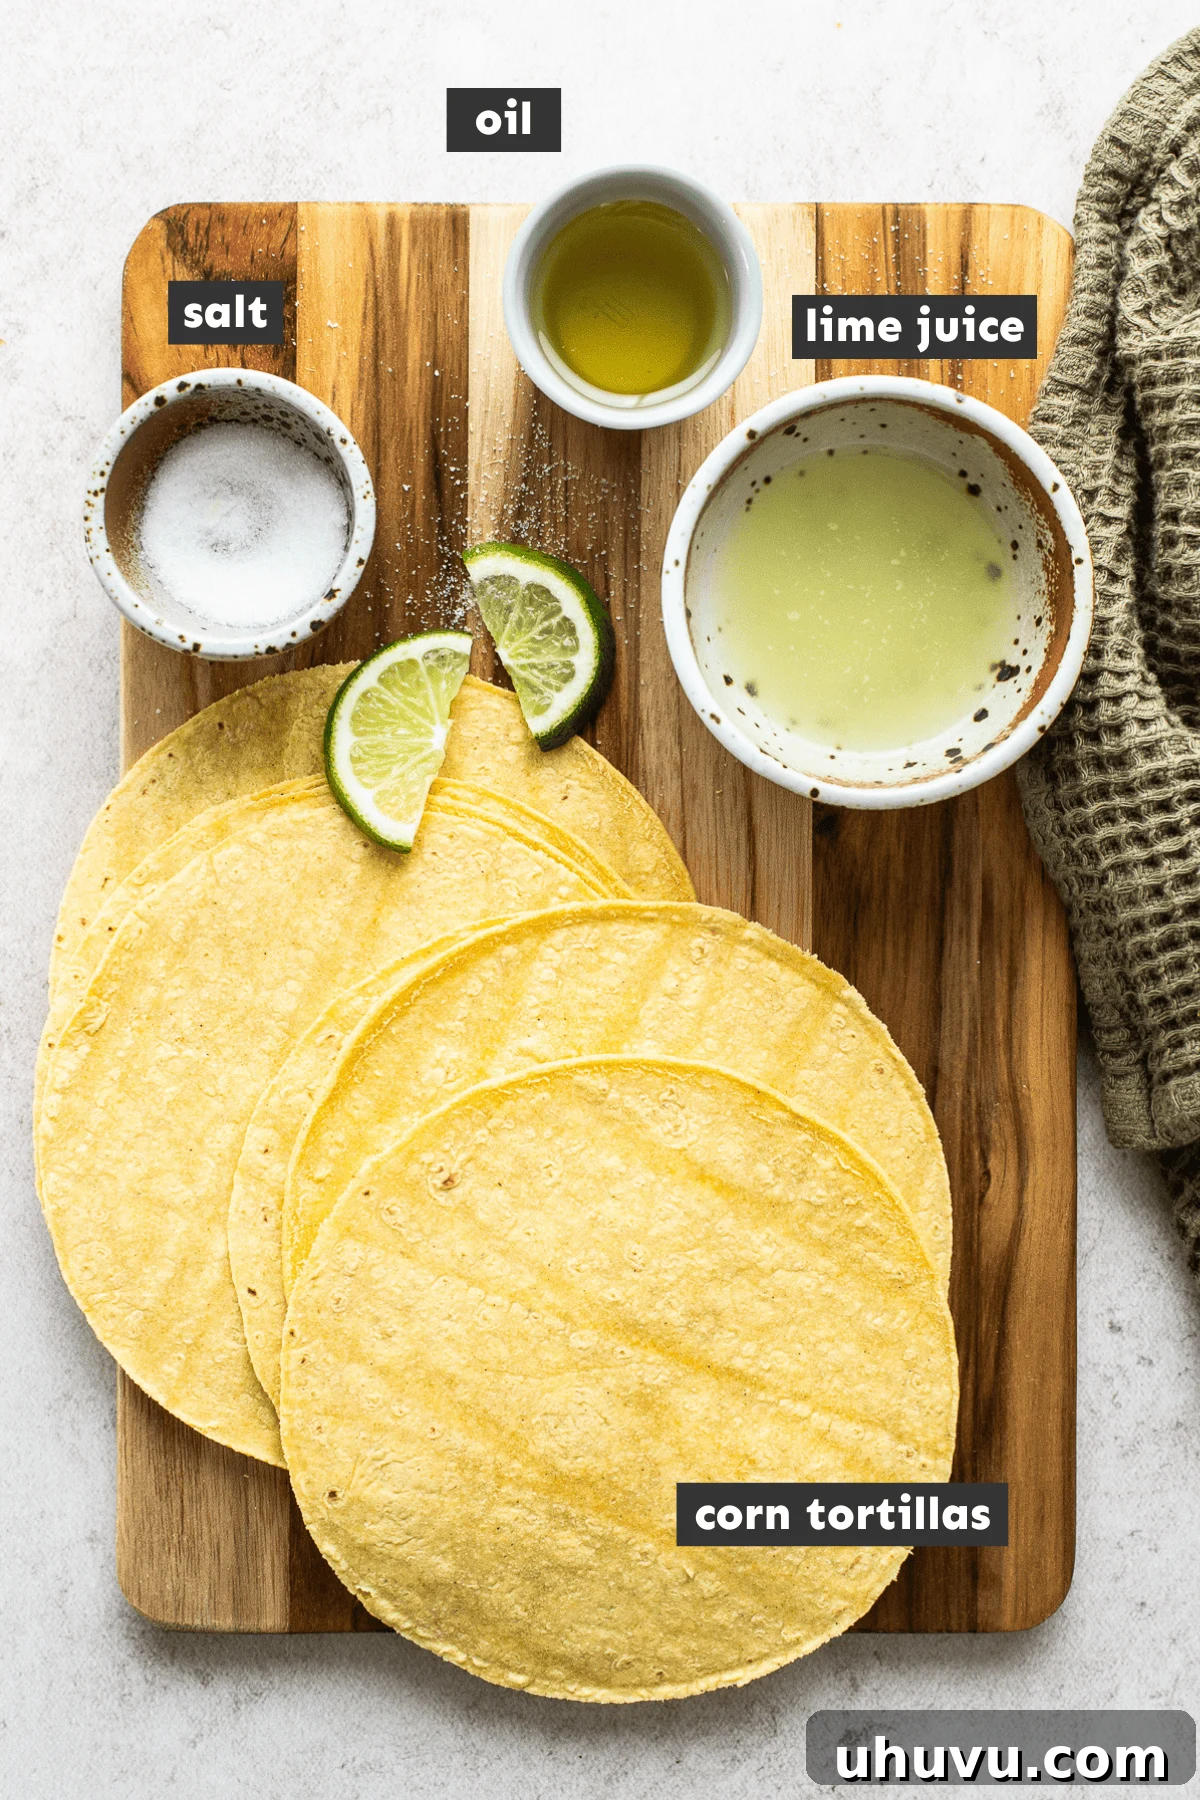
- Corn Tortillas: The foundation of your chips! This recipe works beautifully with either 6-inch yellow or white corn tortillas. I personally lean towards yellow corn tortillas for their slightly more pronounced, authentic maize flavor, which really shines through when baked. Keep in mind that corn tortillas vary in thickness; thinner varieties might require a slight adjustment to the baking time to prevent over-browning or burning. Look for fresh, pliable tortillas for the best results.
- Oil: A neutral-tasting oil is key here, as you want the natural flavor of the corn tortilla and any added seasonings to be the star, not the oil itself. Extra virgin olive oil is my preference for its subtle fruitiness and health benefits, but avocado oil, canola oil, or vegetable oil are all excellent substitutes that won’t overpower the delicate chip flavor. The oil helps achieve that golden crispness and allows the salt and lime to adhere beautifully.
- Lime Juice: This is where the magic happens for that classic “zing!” A generous splash of fresh lime juice infuses each chip with a bright, tangy flavor that is absolutely addictive. I also recommend having extra on hand to spritz over the finished chips for an added burst of freshness just before serving. Freshly squeezed lime juice makes a huge difference compared to bottled alternatives.
- Fine Salt: Using fine salt is crucial as it dissolves easily into the oil mixture, ensuring an even distribution of seasoning across every surface of your tortilla chips. For an added flourish and a delightful textural contrast on the cooked chips, consider a sprinkle of flaky sea salt as a garnish. This also provides an extra pop of flavor.
Unlock a World of Flavor: Customizing Your Baked Tortilla Chips
While the classic salt, oil, and lime juice combination provides a perfectly satisfying “zing” to each chip, the real fun begins when you start experimenting with different seasonings. Think of your baked tortilla chips as a blank canvas, ready to absorb any flavor profile you desire. Here are some fantastic ideas to elevate your homemade chips:
- Classic Taco Seasoning: Sprinkle them generously with your favorite homemade taco seasoning blend for a festive, savory kick. This is perfect for nachos or serving with a hearty bean dip.
- Smoky Southwest Blend: Combine a pinch of smoked paprika with a dash of ground cumin and a touch of chili powder for a warm, earthy, and slightly spicy flavor that pairs wonderfully with black bean salsa or a creamy queso.
- Spicy Chili-Lime: For those who love a bit of heat, mix a little cayenne pepper or ancho chili powder into your oil mixture, along with the lime. The heat and citrus create an irresistible combination.
- Garlic & Herb: A simple blend of garlic powder, onion powder, and dried oregano can transform your chips into a savory Mediterranean-inspired snack, excellent with hummus or a yogurt dip.
- “Cheesy” Nutritional Yeast: For a dairy-free cheesy flavor, sprinkle nutritional yeast over the chips after oiling but before baking. It adds a umami depth that’s surprisingly satisfying.
- Everything Bagel Seasoning: For an unconventional but delicious twist, a light sprinkle of everything bagel seasoning (sesame seeds, poppy seeds, dried garlic, dried onion, salt) offers a delightful texture and complex flavor.
- Cinnamon Sugar Sweet Treat: Who says tortilla chips have to be savory? After baking, toss warm chips with cinnamon sugar for a sweet dessert chip, perfect with fruit salsa or ice cream.
The trick to successful flavoring is to ensure the seasonings adhere well. Mix your chosen spices directly into the oil and lime juice blend before brushing it onto the tortillas, or sprinkle them evenly over the oiled tortilla wedges before baking. Don’t be shy about experimenting – that’s how you’ll discover your signature chip flavor!
Crafting Perfection: A Step-by-Step Guide to Making Baked Tortilla Chips
Making your own baked tortilla chips is surprisingly simple, yielding results that far surpass anything you can buy in a bag. Follow these easy steps for perfectly crispy, golden-brown chips every time.
1. Prepare Your Flavorful Oil Mixture
In a small bowl, whisk together your chosen neutral oil, fresh lime juice, and fine salt until well combined. This creates a beautifully balanced seasoning that will coat your chips evenly. For those looking for an even lighter touch, you could opt for a cooking spray, though brushing offers a more consistent and rich flavor profile.
2. Coat and Cut the Tortillas
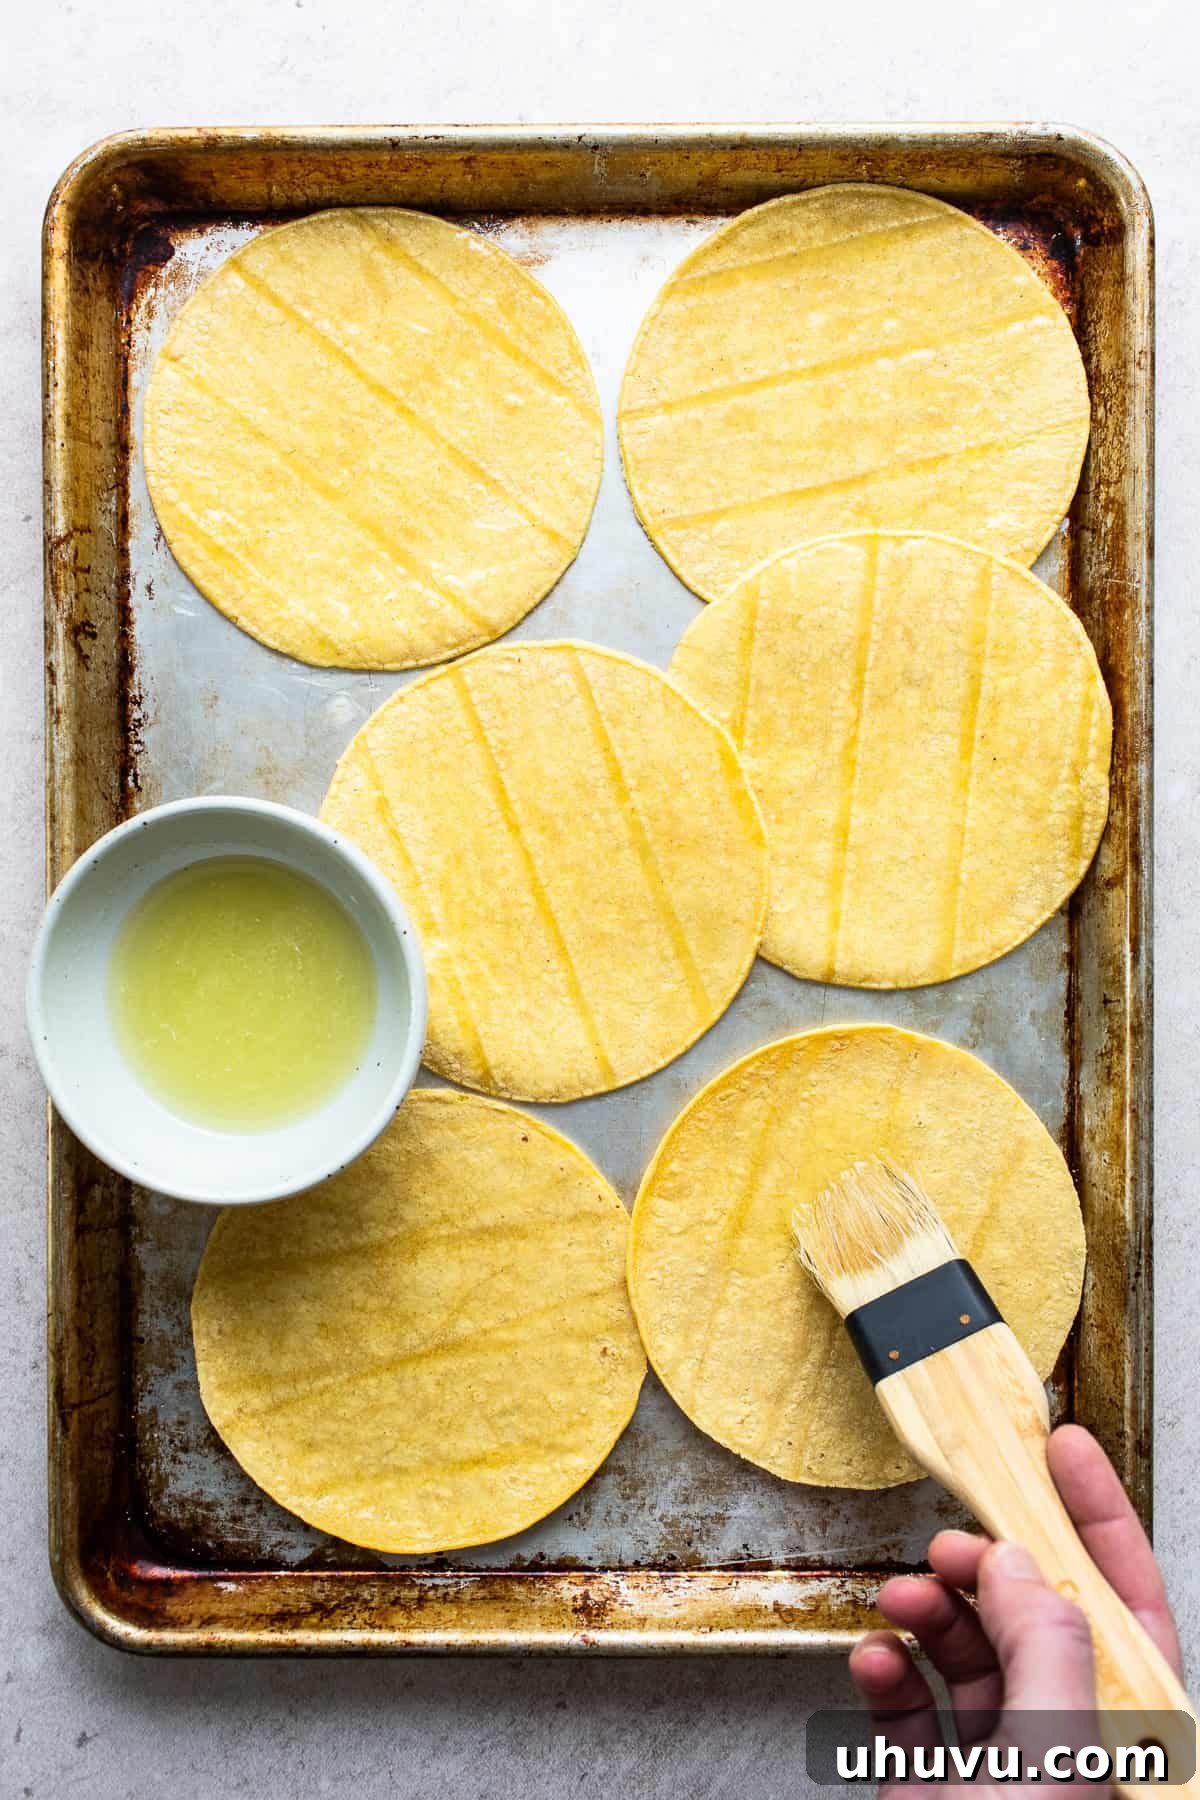
Lay out your corn tortillas on a clean surface. Using a pastry brush, liberally coat both sides of each tortilla with your prepared oil mixture. Ensure an even, thin layer for optimal crispness. Once all tortillas are brushed, stack them neatly. Now, grab a sharp knife or a pizza cutter and slice the stack into uniform triangles. For larger, sturdier chips perfect for hearty dips, cut each tortilla into 4 triangles. For smaller, more delicate chips ideal for soups or light snacking, slice into 6 wedges.
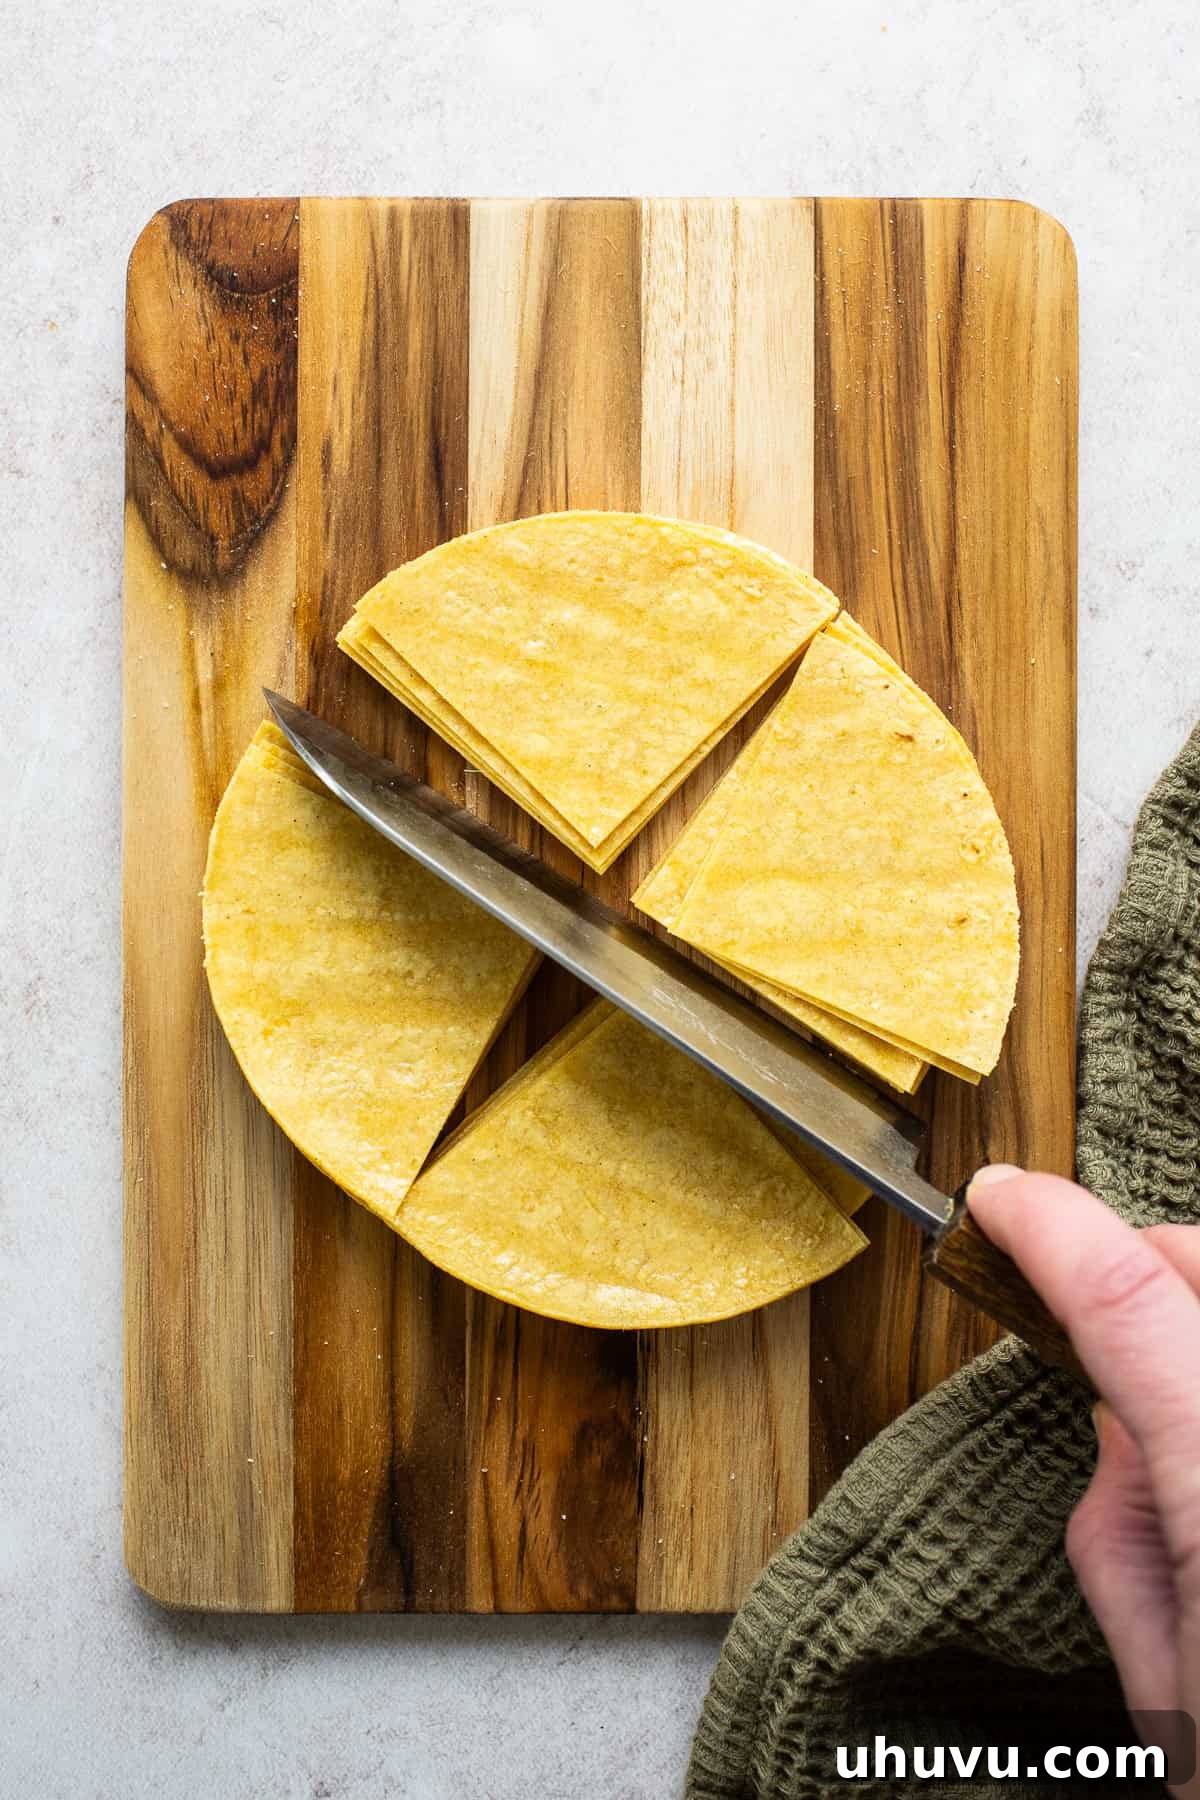
3. Arrange on Baking Sheets
Carefully arrange the seasoned tortilla triangles onto a large baking sheet. Crucially, ensure they are placed in a single layer. While a tiny bit of overlap is generally acceptable, aim for as much individual space as possible to allow for optimal air circulation. This ensures each chip bakes evenly and achieves maximum crispness. If you’re making a large batch, you may need to use multiple baking sheets and bake them in batches to avoid overcrowding.
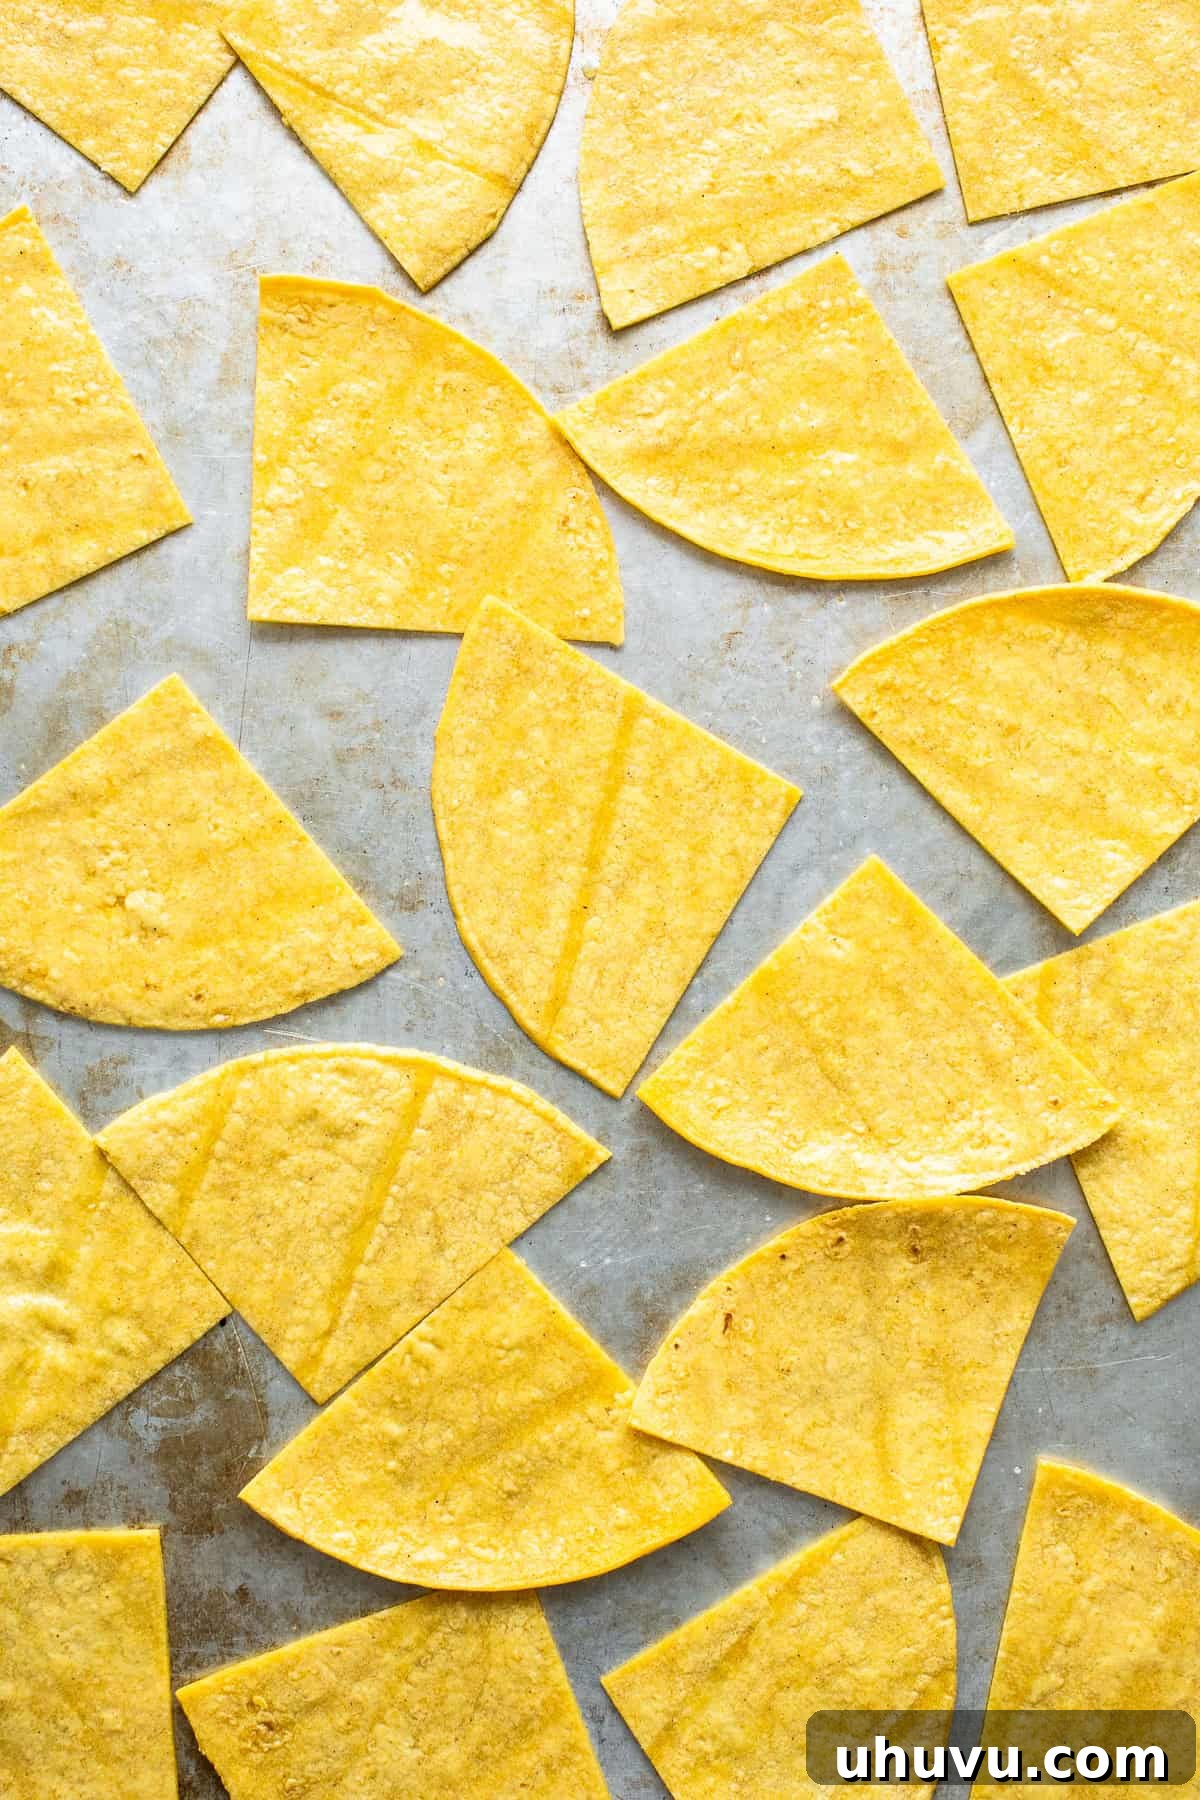
4. Bake to Golden Perfection
Preheat your oven to 375°F (190°C). Place the baking sheet on the center rack of your preheated oven. Bake the tortilla chips for approximately 10-12 minutes. The key is to bake them until they turn a beautiful golden brown and are visibly crisped. To ensure even cooking and prevent uneven browning, make sure to flip the chips halfway through the baking time. Keep a close eye on them, as oven temperatures can vary, and thin tortillas may cook faster.
5. Cool and Garnish
Once baked, remove the chips from the oven and allow them to cool completely at room temperature on the counter for about 10 minutes. This cooling period is vital, as the chips will continue to crisp up as they cool, achieving that perfect, satisfying crunch. If desired, give them a final flourish with an extra squeeze of fresh lime juice and a sprinkle of flaky sea salt before serving them with your favorite dip or salsa. Enjoy the fruits of your labor!
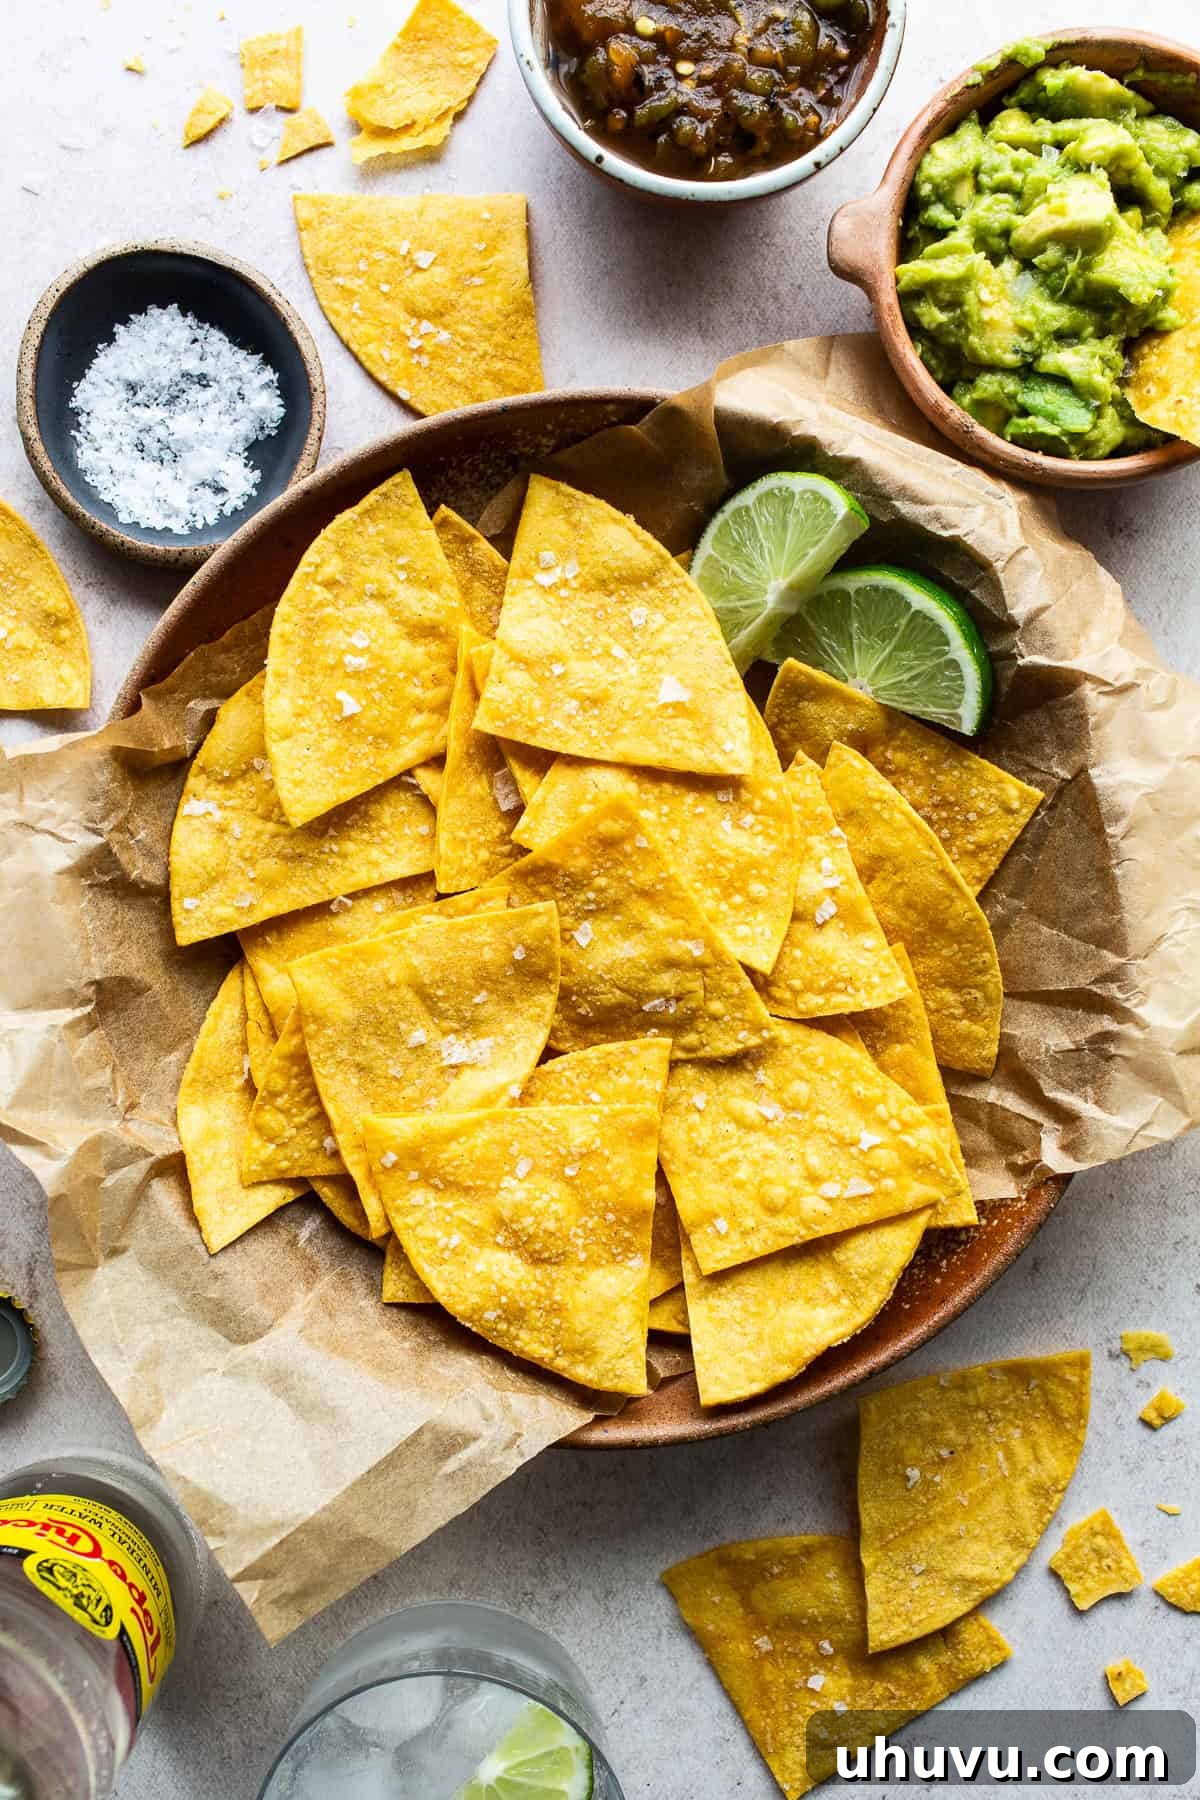
Pro Tips for Perfect Baked Tortilla Chips Every Time
Achieving perfectly crisp and delicious baked tortilla chips is easy with a few insider tricks. Keep these tips in mind to ensure your homemade chips are always a success:
- The Optimal Oven Rack Position: For the best results, I highly recommend baking your chips on the center rack of your oven. Baking them on the bottom rack tends to toast them too quickly, potentially leading to burnt edges or an uneven cook. Conversely, the top rack might leave them slightly chewy rather than delightfully crisp. You may need to bake in multiple batches to keep all chips on the center rack.
- Oil Before You Cut: Save valuable time and effort by brushing both sides of the whole tortillas with the oil mixture *before* you cut them into triangles. This ensures full, even coverage and streamlines the preparation process significantly.
- Mind Your Baking Sheets: The material and color of your baking sheet can influence baking time. Darker baking sheets absorb more heat and generally cook food faster, potentially requiring a slight reduction in baking time. Lighter baking sheets reflect heat, cooking more slowly. Adjust your bake time accordingly and always rely on visual cues (golden brown, crispy) rather than strictly adhering to the clock.
- Thick vs. Thin Tortillas: Not all corn tortillas are created equal! Some brands produce thicker tortillas, while others are noticeably thinner. Thinner tortillas will crisp up much faster, so keep a watchful eye on them in the oven and adjust your cooking time as needed to prevent burning. Thicker tortillas may need an extra minute or two.
- Don’t Forget to Season! While the oil and lime juice mixture provides a great base flavor, you can always enhance your chips after baking. Once the chips are cooled, an extra sprinkle of flaky sea salt adds a lovely texture and burst of flavor. Alternatively, a dusting of your favorite dry seasoning blend, like homemade taco seasoning, can take them to the next level.
- The Power of Cooling: This step is non-negotiable for truly crispy chips! The chips will continue to firm up and crisp as they cool down from the oven’s heat. I strongly recommend letting them fully cool (typically about 10 minutes or so) on the baking sheet before serving. Rushing this step will result in less-than-perfectly crunchy chips.
Troubleshooting Common Baked Tortilla Chip Issues
Even with a simple recipe, sometimes things don’t go exactly as planned. Here are solutions to common problems you might encounter when making baked tortilla chips:
- My Chips Aren’t Crispy Enough!
- Overcrowding: If the baking sheet is too full, steam gets trapped, preventing crisping. Ensure chips are in a single layer with minimal overlap. Bake in batches if necessary.
- Insufficient Bake Time: They might just need more time. Pop them back in for another 2-3 minutes, checking frequently.
- Oven Temperature: Ensure your oven is accurately preheated. An oven thermometer can help.
- Cooling Time: Remember, chips crisp as they cool. Make sure they cool completely on the baking sheet before assessing their crunchiness.
- My Chips Are Burning!
- Oven Too Hot: Your oven might run hotter than indicated. Use an oven thermometer.
- Thin Tortillas: If you used thin-cut tortillas, they will bake much faster. Reduce baking time and watch them closely.
- Dark Baking Sheets: Darker pans absorb more heat and can cause faster browning. Reduce temperature by 25°F (approx 15°C) or shorten bake time.
- Bottom Rack: Baking on the bottom rack can cause burning. Stick to the center rack.
- Chips Are Sticking to the Baking Sheet.
- Not Enough Oil: Ensure both sides of the tortillas are adequately brushed with oil.
- No Parchment Paper: Lining your baking sheet with parchment paper is highly recommended for easy release and cleanup.
- My Chips Lack Flavor.
- Uneven Seasoning: Make sure the oil, lime, and salt mixture is thoroughly whisked and evenly brushed on both sides.
- Insufficient Salt: Don’t be shy with the salt! Add more to the oil mixture, and consider a final sprinkle of flaky sea salt after baking.
- Get Creative: Experiment with different seasoning blends (taco seasoning, chili powder, garlic powder) to boost the flavor.
With these tips, you’ll be baking perfect batches of crispy, flavorful tortilla chips every time!
Delicious Pairings: How to Serve Baked Tortilla Chips
These homemade baked tortilla chips are designed to be perfectly crisp and sturdy, making them the ideal companion for all your favorite dips and salsas. Their robust texture ensures they won’t break under the weight of even the chunkiest guacamole or the richest bean dip. Here are some of my top recommendations for serving:
- Queso Blanco: The creamy, dreamy cheese dip is a match made in heaven for crispy tortilla chips.
- Pico de Gallo: A fresh, vibrant salsa with diced tomatoes, onions, cilantro, and jalapeños provides a refreshing contrast to the chips’ crunch.
- Taco Dip: Layered taco dip, often with cream cheese, seasoned beef, cheese, lettuce, and tomatoes, becomes an epic feast with these sturdy chips.
- Jalapeno Popper Dip: For a spicy, cheesy kick, this rich dip perfectly complements the simple corn flavor of the chips.
- Classic Guacamole: A simple, fresh guacamole is always a winner.
- Creamy Artichoke Dip: A warm, cheesy artichoke dip offers a delightful richness.
- Spinach and Artichoke Dip: Another crowd-pleasing warm dip that benefits from a sturdy chip.
Beyond Dips: Creative Uses for Baked Tortilla Chips
- Homemade Nachos: Layer your chips with cheese, beans, salsa, and your favorite toppings for a quick and satisfying meal or party appetizer.
- Soup Topping: Crumble them over chili, taco soup, or even a simple tomato soup for an unexpected crunch. As mentioned, they are fantastic with sopa de lima.
- Salad Crunch: Break them into smaller pieces and sprinkle over a Southwest-inspired salad instead of croutons for extra texture and flavor.
- Migas: Use leftover chips as the base for traditional Mexican migas, soaking them in egg for a delightful breakfast or brunch.
However you choose to enjoy them, these homemade baked tortilla chips are guaranteed to be a hit!
Keeping Them Fresh: Storing and Reheating Baked Tortilla Chips
One of the many advantages of making your own baked tortilla chips is their excellent shelf life, provided they are stored correctly. Proper storage is key to maintaining their delightful crispness and extending their freshness, ensuring you always have a healthy, homemade snack on hand.
Storing Your Baked Tortilla Chips
To preserve the crispy texture and fresh flavor of your homemade baked tortilla chips, it’s essential to store them properly. After they have completely cooled down to room temperature (this step is crucial to prevent condensation and sogginess), transfer them into an airtight container or a resealable bag. Store this container at room temperature in a cool, dry place away from direct sunlight. When stored correctly, your baked tortilla chips will remain wonderfully fresh and crunchy for up to 5-7 days. Avoid refrigerating them, as the moisture in the fridge can cause them to soften and lose their crispness.
Reviving Stale or Chewy Chips
Even with the best storage practices, sometimes chips can lose a bit of their initial crunch, especially if they’ve been exposed to humidity or simply sat out for too long. But don’t despair! You can easily bring them back to life and restore their crispness with a quick reheat:
- Oven Method (Recommended): Preheat your oven to 350°F (175°C). Spread the slightly stale chips in a single layer on a baking sheet. Bake for about 5-10 minutes, or until they are warmed through and have regained their desired crisp texture. Keep a close eye on them, as they can go from perfectly crisp to burnt very quickly.
- Air Fryer Method: If you have an air fryer, this is an even quicker way to revive them. Place a single layer of chips in the air fryer basket. Air fry at 300°F (150°C) for 2-4 minutes, shaking the basket once or twice, until crispy.
This reheating process works by evaporating any absorbed moisture, bringing back that satisfying crunch. You’ll be amazed at how fresh they taste after just a few minutes in the oven or air fryer!
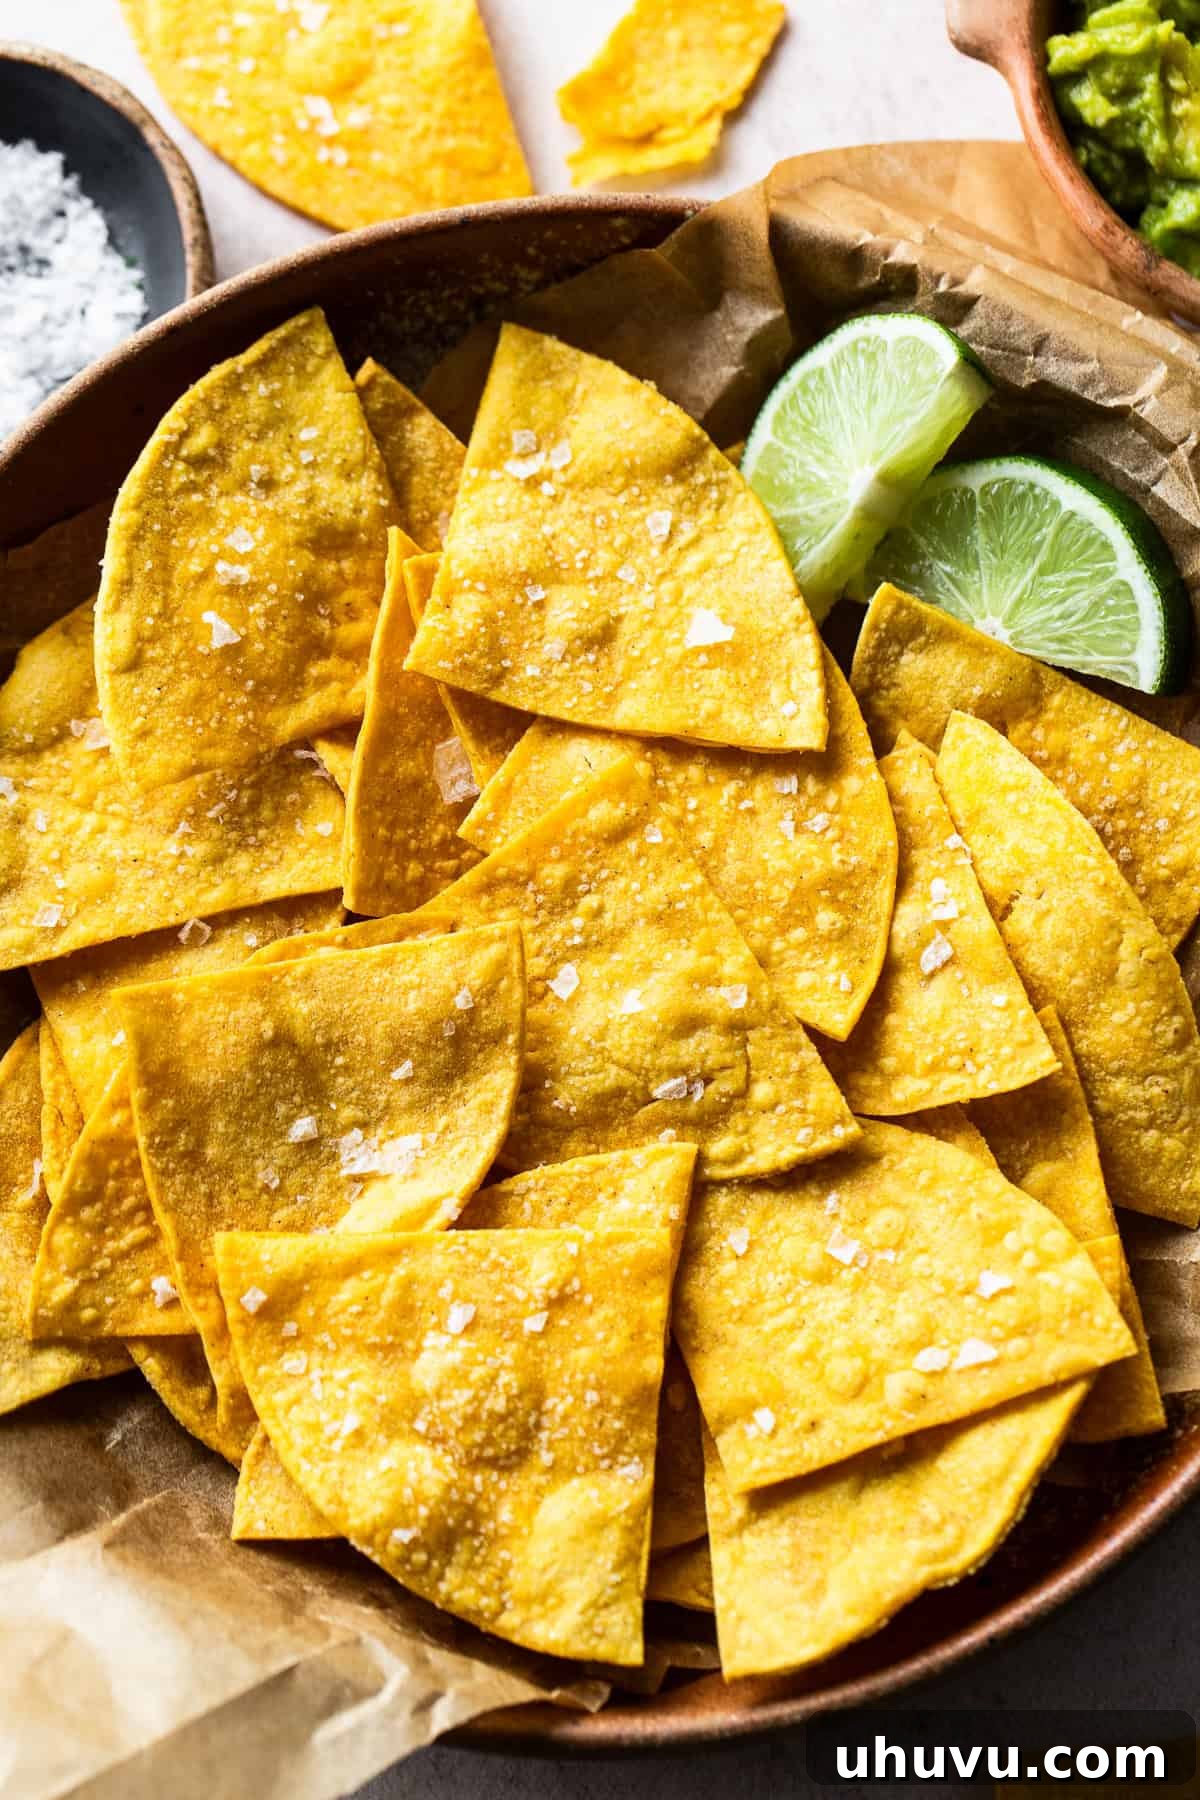
Baked Tortilla Chips
Ingredients
- 12 corn tortillas, white or yellow (6-inch)
- 2 tablespoons neutral or light-tasting oil (extra virgin olive oil, canola, or avocado oil are great)
- 2 tablespoons lime juice, freshly squeezed (from about 1 lime), plus more for topping
- 1 teaspoon fine salt, plus more flaky sea salt for topping (optional)
Instructions
-
Preheat oven to 375℉ (190°C).
-
In a small bowl, thoroughly mix together the oil, lime juice, and fine salt.
-
Brush the mixture evenly on both sides of each corn tortilla. Stack the brushed tortillas, then slice them into 4 triangles for larger chips or 6 triangles for smaller chips.
-
Arrange the tortilla chips on a large baking sheet in a single layer. For best crisping, avoid overcrowding. You may need to use several baking sheets and bake in batches depending on their size and your oven’s capacity.
-
Bake on the center rack of your oven for 10-12 minutes, or until the chips are golden brown and crispy. Remember to flip them halfway through the baking time for even cooking.
-
Allow the chips to cool completely on the baking sheet for about 10 minutes at room temperature. This step is crucial, as they will continue to crisp up as they cool. Once cooled, garnish with additional fine salt or flaky sea salt and a squeeze of fresh lime juice, if desired. Serve immediately with your favorite dips!
Notes
- Oven Rack Position: I recommend baking the chips on the center rack for optimal browning and crispness. You may need to bake them in multiple batches to ensure all chips are on the center rack and not overcrowded.
- Baking Sheet Color: The color of your baking sheet impacts bake time. Darker sheets cook faster, so you might need to slightly reduce the baking time. Lighter sheets cook slower.
- Tortilla Thickness: Thicker corn tortillas will require a bit more baking time to become fully crispy compared to thinner varieties. Keep an eye on them and adjust as needed.
- Cooling is Key: Don’t skip the cooling step! The chips will continue to crisp as they cool down to room temperature. Let them fully cool (about 10 minutes) before serving for maximum crunchiness.
- Storage: Store cooled chips in an airtight container at room temperature for up to 5-7 days.
- Reheating: If chips become soft, reheat in a 350℉ (175°C) oven for 5-10 minutes until crisp again.
Nutrition
Nutrition information is automatically calculated, so should only be used as an approximation.