
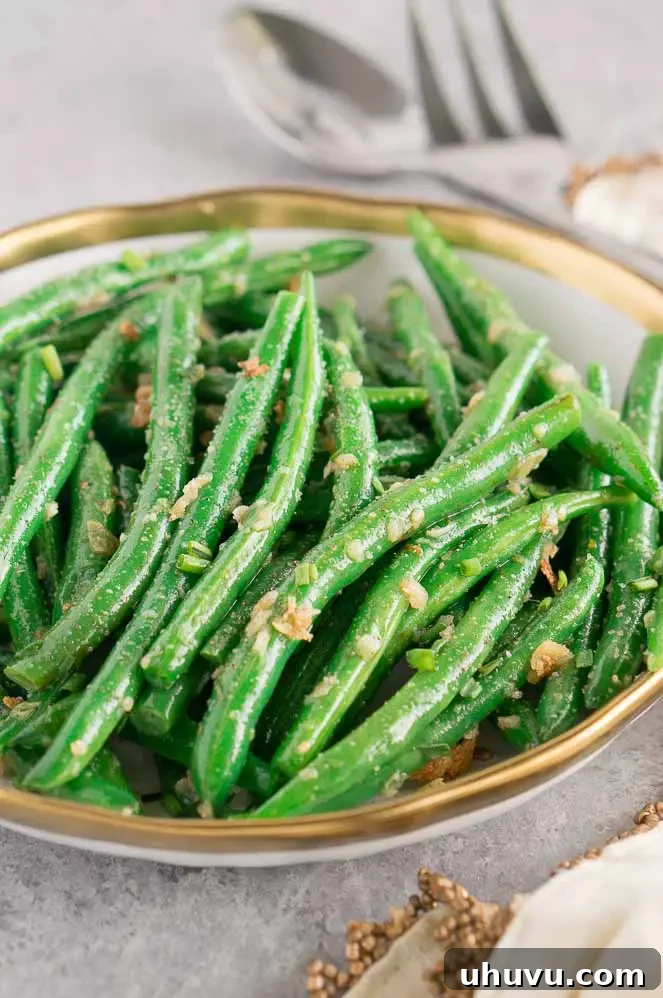
Elevate your meal prep with these incredibly **easy garlic green beans**, the quintessential side dish that delivers on both speed and flavor. In just 10 minutes, you can transform fresh green beans into a vibrant, tender-crisp delight, brimming with aromatic garlic and perfectly seasoned. This recipe is not only fast but also caters to various dietary needs, being entirely vegan, gluten-free, and dairy-free. Whether you’re looking for a quick addition to a busy weeknight dinner or a simple yet elegant accompaniment for holiday gatherings, these garlic green beans are your secret weapon. Dive in to uncover the simple techniques that guarantee beautifully bright green and perfectly textured beans every single time.
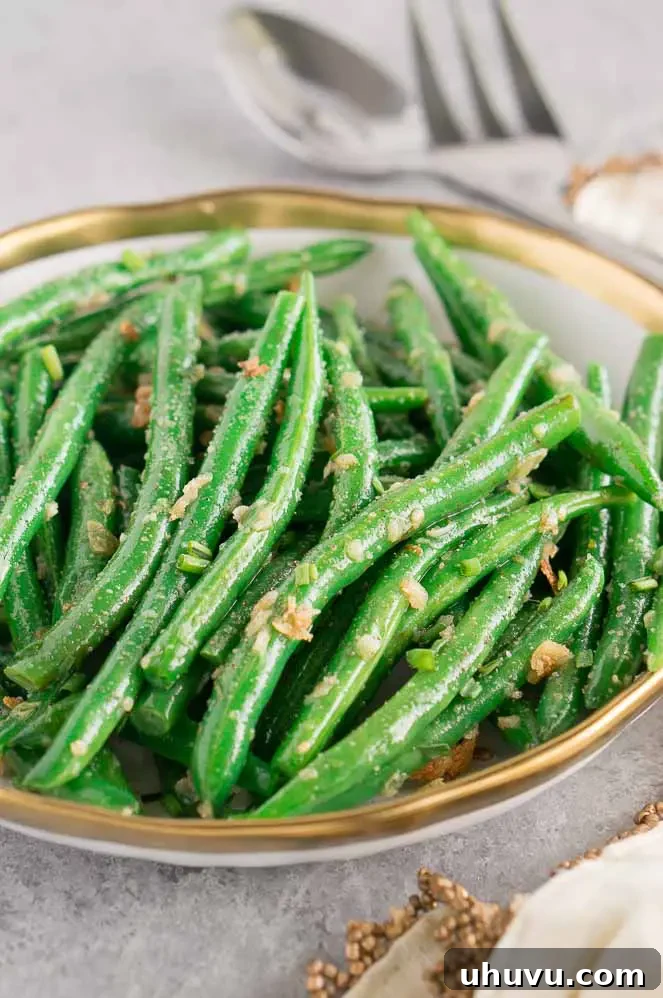
The Art of Perfectly Cooked Green Beans: A Skillet Method
Achieving perfectly cooked green beans, with their signature crisp-tender bite and vibrant green hue, is simpler than you might think. The most efficient and flavorful method involves a combination of sautéing and steaming right in a single skillet. This technique ensures even cooking while locking in nutrients and preventing the beans from becoming soggy or dull. It’s the ideal approach for those seeking a quick yet impressive vegetable side.
Start by heating a generous amount of olive oil in a large skillet over medium-high heat. Once shimmering, add your prepped green beans. Sautéing them first allows them to develop a slightly caramelized exterior, enhancing their natural sweetness. During this initial phase, season the beans generously with salt and black pepper. Stir them frequently for about 3-5 minutes until they start to turn a brighter green. This stage is crucial for building a foundational layer of flavor.
Next, introduce your minced garlic to the skillet. Garlic burns quickly, so adding it after the initial sauté prevents bitterness. Cook for just about a minute, stirring constantly, until the garlic becomes wonderfully fragrant. Be careful not to let it brown too much. Immediately after, pour a small amount of water into the skillet. This creates steam when covered, gently cooking the beans through to that ideal crisp-tender texture. Cover the skillet with a lid and let the beans steam for a few minutes. The exact time will depend on the thickness of your beans and your desired tenderness, but generally, 3-5 minutes is sufficient. You’re looking for them to be bright green and still have a slight snap when bitten.
Once cooked, remove the lid, letting any remaining water evaporate. Taste and adjust seasoning as needed, adding more salt or pepper if desired. Serve these delicious, perfectly cooked green beans immediately to enjoy them at their peak freshness and texture.
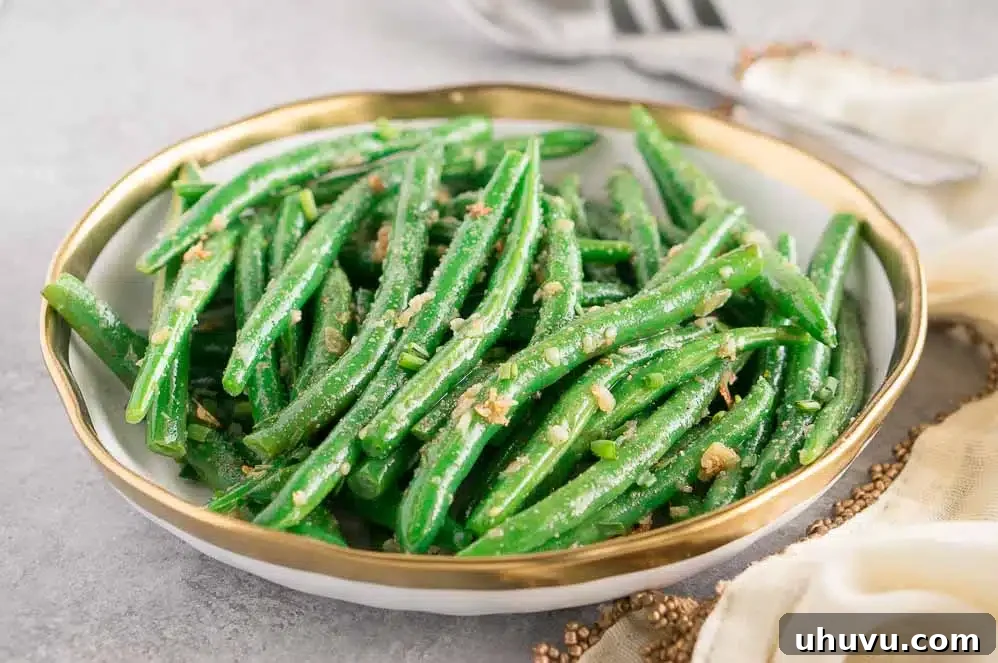
Expert Tips for Irresistible Green Beans
While cooking green beans might seem straightforward, there’s a fine line between perfectly crisp-tender and mushy or bland. Follow these expert tips to ensure your green beans are always a showstopper:
- Select the Freshest Beans: The foundation of a great dish is quality ingredients. When selecting green beans, look for those that are firm, snap easily when bent, and are free of any spots, wilting, or wrinkles. Avoid beans that feel soft or appear to be getting mushy, as these will not achieve the desired crisp texture.
- Proper Preparation is Key: Before cooking, always wash your green beans thoroughly under cold running water. Then, trim off the tough stem ends. For a more polished look, you can also snip off the wispy tail ends, though this is optional. If your beans have noticeable strings (common in older or larger varieties), remove them by snapping the stem end and pulling the string down the length of the bean.
- Avoid Overcooking: This is perhaps the most crucial tip. Overcooked green beans lose their vibrant color, become limp, and develop an unappetizing mushy texture. The sauté-then-steam method described above is a gentle way to cook them to perfection without boiling them into submission. The small amount of water used for steaming ensures they cook just enough to be tender while maintaining their bright green hue.
- Consider Haricot Verts: For an extra touch of gourmet elegance, opt for Haricot Verts, also known as French green beans. These are typically thinner, more delicate, and more tender than standard green beans, requiring even less cooking time. Their refined texture makes them perfect for quick sautéing or steaming.
- Season Thoughtfully: Beyond salt and freshly ground black pepper, consider other seasonings to enhance the flavor. Minced fresh garlic, as used in this recipe, is a classic pairing that adds incredible depth. A squeeze of fresh lemon juice at the end brightens the flavor, while a pinch of red pepper flakes can add a subtle kick. You could also experiment with a dash of onion powder, a sprinkle of toasted sesame seeds, or a drizzle of balsamic glaze for different flavor profiles.
- Don’t Overcrowd the Pan: When sautéing, ensure you’re using a skillet large enough to allow the green beans to spread out in a single layer. Overcrowding the pan will cause the beans to steam rather than sauté, leading to a less desirable texture and color. Cook in batches if necessary.
- High Heat, Quick Cook: Initial sautéing should be done over medium-high heat to get that desirable slight char and bright green color quickly. Once water is added, the heat can be slightly reduced for gentle steaming.
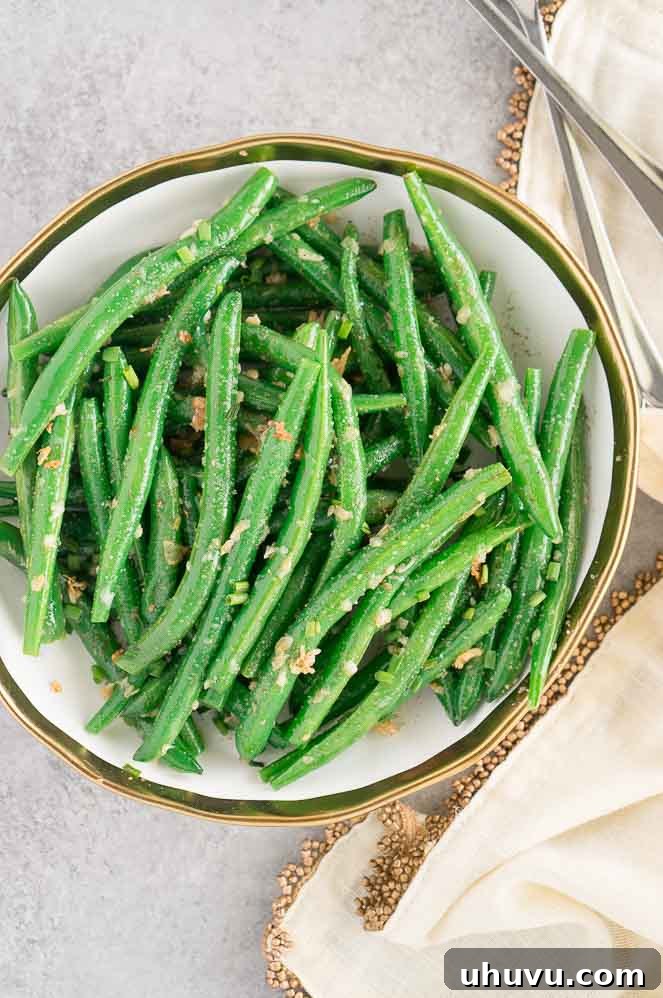
Optimal Cooking Times for Crisp-Tender Perfection
The ideal cooking time for green beans hinges on achieving that coveted “crisp-tender” texture—firm enough to offer a slight resistance when bitten, yet tender enough to be enjoyable. For approximately 1 lb of fresh green beans using the stovetop skillet method, you’ll be looking at a total cooking time of around **15 minutes**, including about 5 minutes of prep time.
Here’s a breakdown:
- Sautéing: Begin by sautéing the beans in olive oil over medium-high heat for about 3-5 minutes. During this phase, they should start to turn a brighter green and develop a slight char.
- Garlic: Add minced garlic and cook for a quick 30 seconds to 1 minute until fragrant.
- Steaming: Add ½ cup of water, cover, and steam for another 3-5 minutes. This is where the beans will cook through to their tender state.
The key is to avoid prolonged cooking. Unlike some vegetables that benefit from longer simmering, green beans are best when their fresh, vibrant character is preserved. Overcooking will result in dull, soft beans that lack appeal. Always err on the side of slightly undercooked, as they will continue to cook slightly from residual heat after being removed from the pan. A quick taste test is always the best way to determine doneness for your preference.
Preparing Green Beans in Advance: Convenience without Compromise
Yes, green beans are an excellent vegetable to prepare ahead of time, especially when planning for busy weeknights or large holiday meals. The trick to keeping them fresh, vibrant, and ready for quick reheating is blanching.
To prepare green beans in advance, first **blanch them** according to the detailed blanching instructions provided in the freezing section below. Blanching involves a brief dip in boiling water followed by an immediate transfer to an ice bath. This process halts the cooking, sets their bright green color, and preserves their crisp texture.
Once blanched, ensure the beans are thoroughly dried. You can then store them in an airtight container in the refrigerator for up to 3-4 days. When you’re ready to serve, reheating is quick and easy. Simply heat a tablespoon of olive oil in a skillet over medium heat, add some freshly minced garlic, and toss the blanched green beans until heated through and crisp-tender again. Season with salt and freshly ground black pepper to taste just before serving. This method allows you to enjoy freshly flavored green beans without the last-minute rush.
Mastering Green Bean Preservation: Freezing for Future Enjoyment
Freezing fresh green beans is an excellent way to preserve their vibrant color, crisp texture, and nutritional value for up to a year, far surpassing the quality of canned alternatives. The secret to successful freezing lies in a crucial two-step process: blanching and shocking.
Blanching Green Beans: The Essential First Step
Blanching is a brief heat treatment that serves multiple purposes before freezing. It stops enzyme action that causes loss of flavor, color, and texture; cleanses the surface of dirt and organisms; brightens the color; and helps retain vitamins. Without blanching, green beans will likely become tough, discolored, and lose flavor when frozen.
- Prepare the Beans: Wash the green beans thoroughly under cold, running water. Trim off the stem ends and remove any strings if your variety of beans has them.
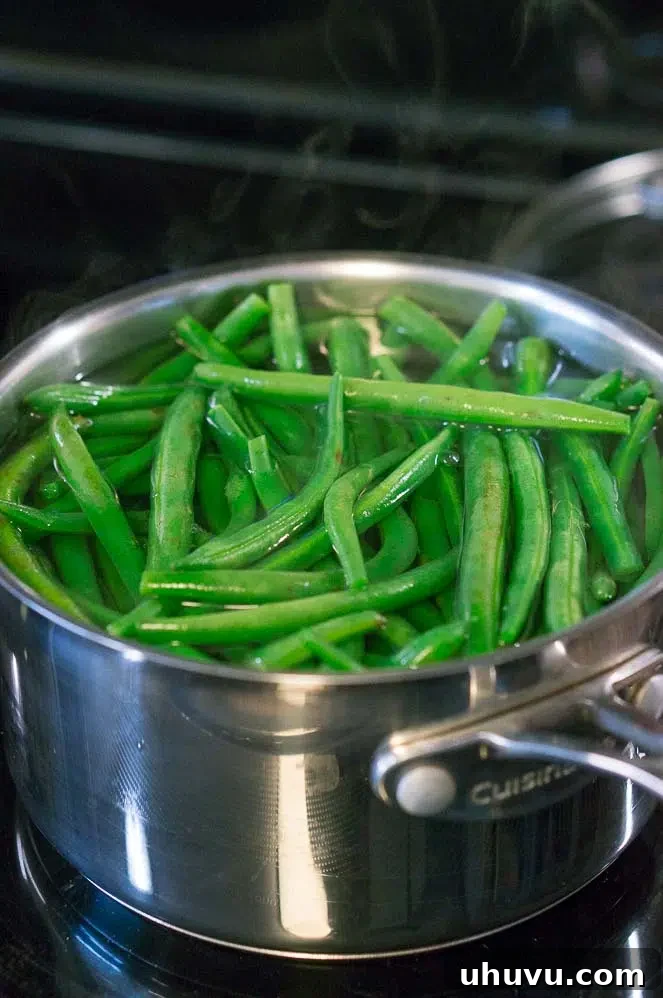
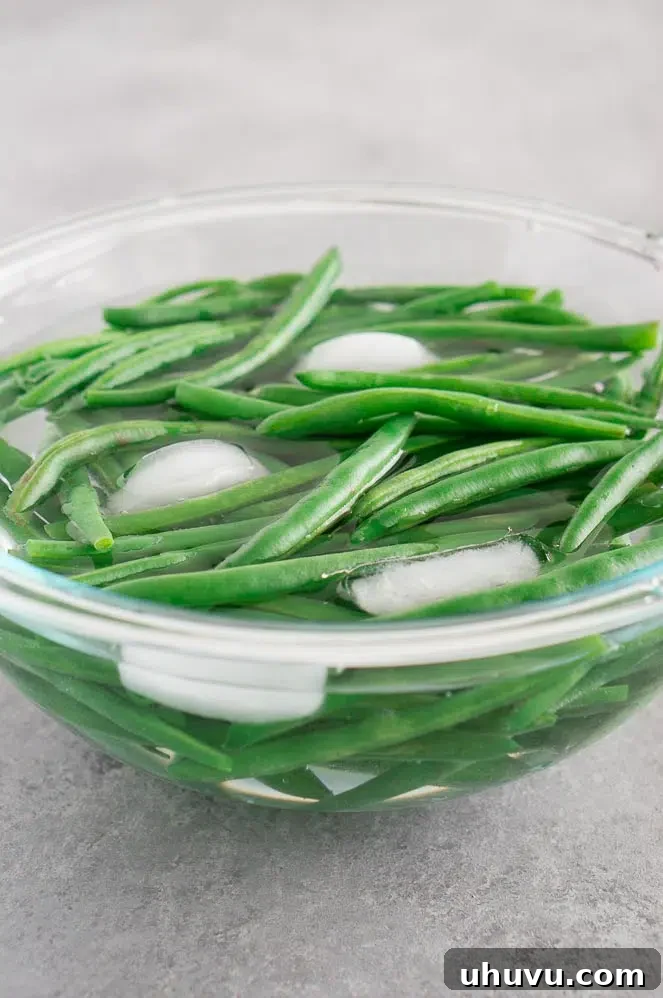
- Boil Water: Bring a large pot of water to a rolling boil over medium-high heat. While the water heats, prepare a large bowl of ice-cold water, ideally with plenty of ice cubes, for the shocking step.
- Blanch: Carefully place the green beans into the boiling water. It’s important not to overcrowd the pot, so blanch them in batches if necessary to ensure the water temperature doesn’t drop too much. Let them boil for exactly 3 minutes.
- Shock: After 3 minutes, swiftly remove the green beans from the boiling water using a slotted spoon or spider. Immediately plunge them into the prepared bowl of ice-cold water. This rapid cooling, known as “shocking,” quickly halts the cooking process, preserving their bright green color and crisp texture. Keep the green beans in the ice bath for another 3 minutes, or until completely cooled.
- Dry Thoroughly: Transfer the cooled green beans to a clean baking sheet lined with paper towels or a clean kitchen towel. Pat them thoroughly dry. Any residual moisture can lead to ice crystals and freezer burn, compromising quality.
Freezing Blanched Green Beans
Once your blanched and dried green beans are ready, you can proceed with freezing them for long-term storage.
- Arrange for Freezing: For best results and to prevent the beans from clumping together, you can perform an optional “flash freeze.” Arrange the dry green beans in a single layer on a baking sheet. Place the baking sheet in the freezer for 1-2 hours until the beans are solid.
- Package: After flash freezing (or directly, if skipping that step), transfer the solid green beans into freezer-safe ziplock bags or rigid containers. Remove as much air as possible from the bags to prevent freezer burn. If using bags, flatter them to stack easily.
- Label and Store: Label each bag or container with the date. Store them in the freezer for up to 12 months. While they typically remain safe to eat beyond a year, their texture and quality may gradually decline after this period.
When you’re ready to use your frozen green beans, there’s no need to thaw them first. Simply add them directly to your skillet or pot and cook as you would fresh green beans, adjusting cooking time slightly.
Versatile Serving Suggestions for Garlic Green Beans
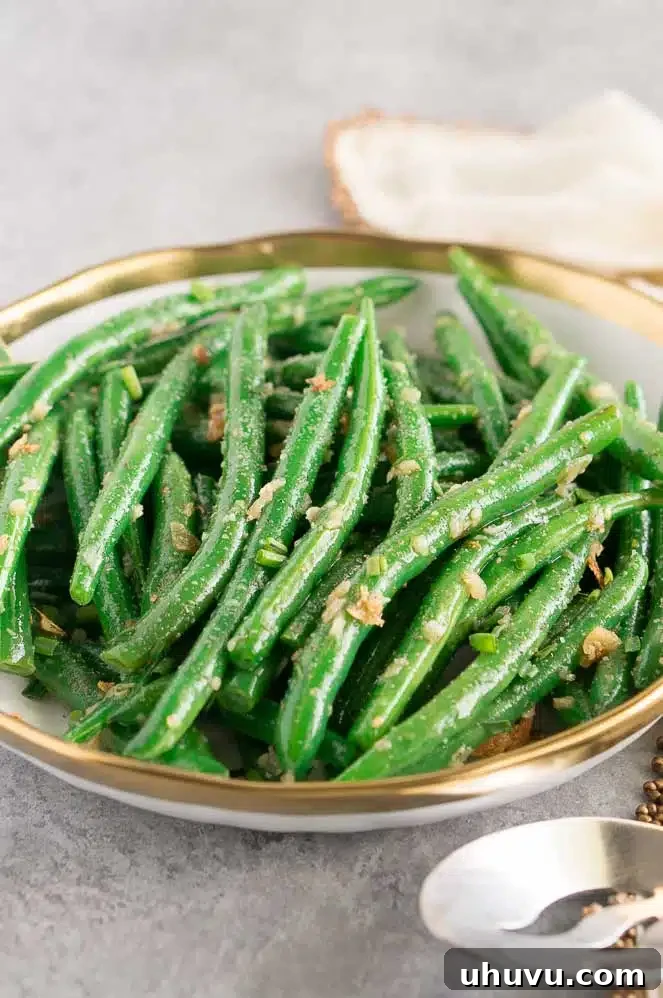
These easy garlic green beans are incredibly versatile, making them a perfect accompaniment to a wide array of main courses. Their fresh flavor and crisp-tender texture complement both rich and light dishes. Here are some ideas to inspire your next meal:
- Classic Comfort Foods: They pair wonderfully with hearty meat dishes like Meatloaf, roast chicken, or slow-cooked pork.
- Poultry Dishes: Enhance your chicken dinners with these vibrant beans. They are a fantastic match for elegant preparations such as Chicken Marsala, zesty Chicken Piccata, or savory Chicken Francese.
- Fish and Seafood: The lightness of garlic green beans makes them an ideal complement to baked salmon, pan-seared cod, or grilled shrimp.
- Vegetarian Mains: Serve them alongside quinoa bowls, lentil patties, or a flavorful mushroom risotto for a complete vegetarian meal.
- Holiday Feasts: These green beans are a lighter, fresher alternative to traditional heavy sides, making them excellent for Thanksgiving or Christmas dinners.
- Brunch Spreads: Believe it or not, they can even be a delightful addition to a brunch menu, perhaps alongside a frittata or quiche.
Explore More Delicious Side Dishes
Beyond green beans, a well-rounded meal, especially during the holidays, calls for a variety of flavorful sides. Here are some of our tried and true favorites that beautifully complement any main course and are perfect for celebratory occasions:
- Hearty Salads: Try a vibrant Harvest Butternut Squash Quinoa Salad, packed with seasonal flavors and textures.
- Sweet Potato Delights: Indulge in crispy Baked Sweet Potato Slices or a rich Sweet Potato and Kale Gratin.
- Roasted Vegetables: Explore the comforting sweetness of Roasted Butternut Squash and Apples or the glazed perfection of Roasted Honey Glazed Carrots.
Nutritional Benefits of Green Beans
Beyond their delicious taste and versatility, green beans are a powerhouse of nutrition, making them an excellent choice for a healthy diet. They are low in calories and fat while being rich in dietary fiber, which aids digestion and promotes satiety. Green beans are also an excellent source of essential vitamins and minerals, including Vitamin K (crucial for bone health and blood clotting), Vitamin C (an antioxidant that supports the immune system), and Vitamin A (important for vision). They also provide folate, manganese, and potassium. Incorporating these vibrant vegetables into your meals regularly can contribute significantly to overall well-being.
Recipe Variations and Flavor Enhancements
While the simple garlic green beans recipe is a classic for a reason, don’t hesitate to experiment with variations to suit your taste or complement different main courses.
- Lemon-Herb Green Beans: Finish your cooked green beans with a squeeze of fresh lemon juice and a sprinkle of chopped fresh parsley or dill for a bright, zesty flavor.
- Toasted Almond Green Beans: For added crunch and nutty flavor, toast a handful of slivered almonds in a dry pan until golden, then toss them with the finished green beans.
- Balsamic Glaze: Drizzle a small amount of high-quality balsamic glaze over the green beans just before serving for a sweet and tangy finish.
- Spicy Green Beans: Add a pinch of red pepper flakes along with the garlic for a subtle heat, or a dash of your favorite hot sauce.
- Sesame Ginger Green Beans: For an Asian-inspired twist, use sesame oil instead of olive oil, and add grated fresh ginger along with the minced garlic. Finish with a sprinkle of toasted sesame seeds.
- Parmesan Green Beans: For a non-vegan option, sprinkle a tablespoon of grated Parmesan cheese over the warm green beans just before serving.
If you enjoyed this Easy Garlic Green Beans recipe or any other recipe on my blog, please leave a ⭐ star rating and let me know how it went in the 📝 comments below. Your feedback is greatly appreciated!
Pin this now to find it later
Pin It
Rating Based on User Reviews
Garlic Green Beans Recipe
Ingredients
- 1 lb fresh green beans, washed and trimmed
- 2 Tablespoon olive oil, divided
- 2 cloves garlic, minced
- ½ teaspoon salt and freshly ground black pepper, each
- ½ cup water
Instructions
-
Heat 1 Tbsp olive oil in a large skillet over medium-high heat. Add trimmed green beans to the skillet, season them with salt and black pepper, and saute them stirring often until they are tender for about 5 minutes. (Make sure you don’t burn them, reduce the heat if necessary).
-
Pour 1/2 cup water over the green beans and cover the skillet with a lid. Steam the green beans for a couple of minutes, until they are bright green and crisp-tender. Drain the green beans and return to the skillet.
-
Add minced garlic to the green beans, toss and cook until fragrant for about 30 seconds.
-
Transfer them to a serving bowl. Drizzle the remaining olive oil over them and season with a little bit of salt and pepper.
Notes
You can freeze fresh green beans for future use.
To freeze green beans:
- Blanch green beans in boiling water for 3 minutes.
- Immediately shock them in ice cold water for 3 minutes.
- Pat them thoroughly dry with a paper towel.
- Place them in freezer-safe ziplock bags or containers.
- Freeze them for about 12 months.
Nutrition
Nutrition Disclaimer: Nutritional values are estimates and may vary with ingredients, brands, and portion sizes. For accuracy, use your preferred nutrition calculator.