

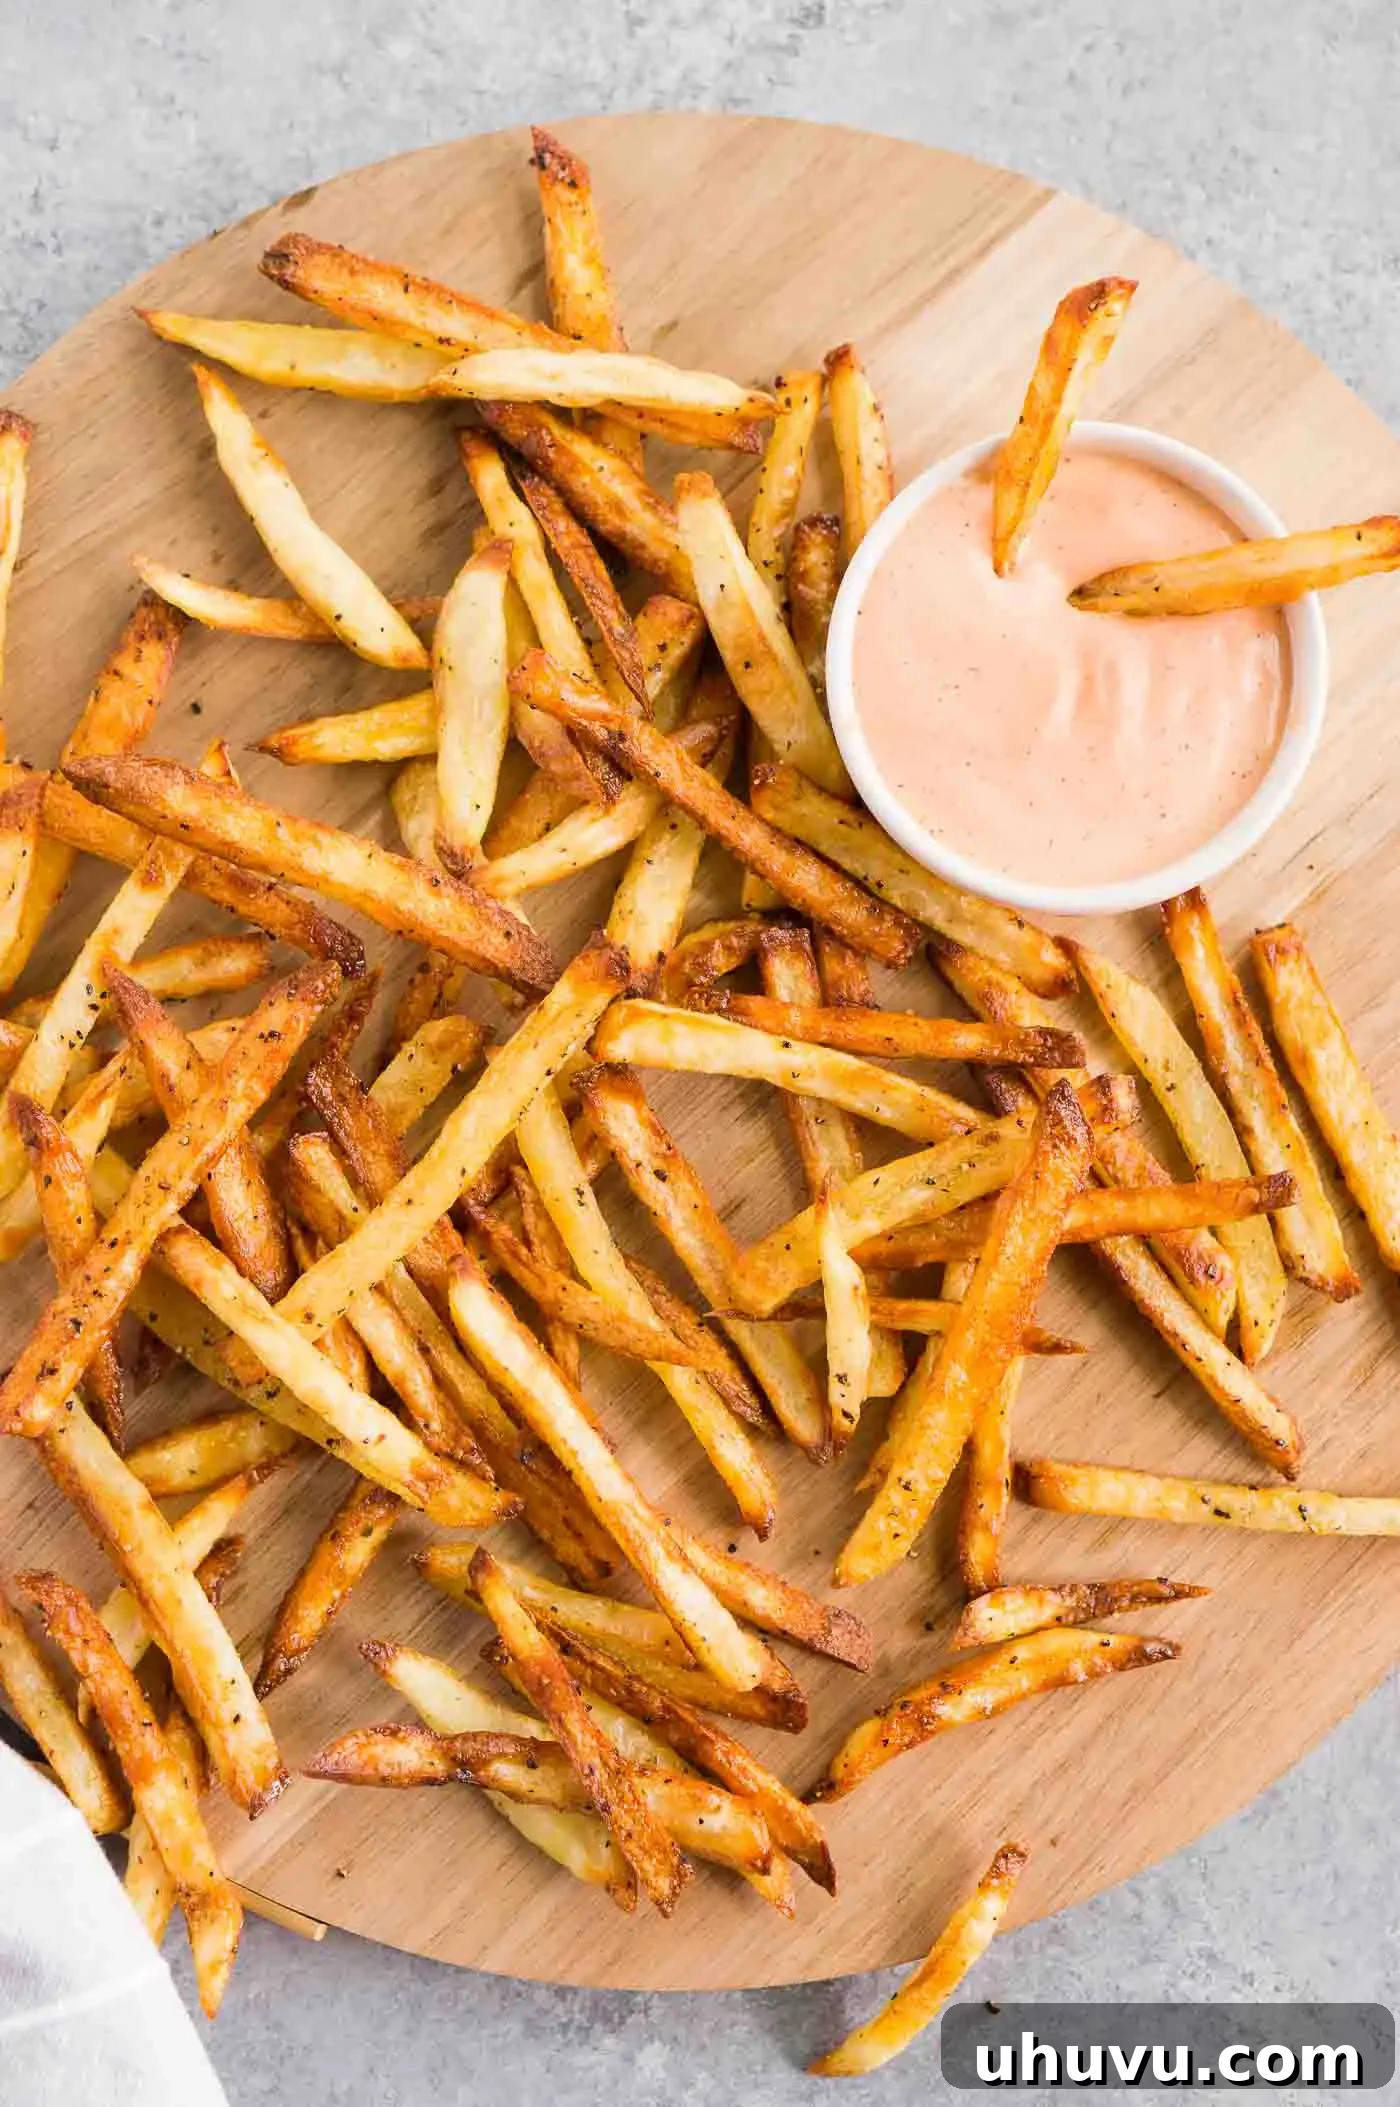
There’s nothing quite like a batch of perfectly crisp, golden French fries. While often associated with deep-frying and restaurant menus, crafting delicious, healthier versions right in your own kitchen is easier than you might think. This recipe for homemade oven-baked French fries promises an incredibly satisfying experience – fries that are wonderfully crispy on the outside, beautifully fluffy on the inside, and packed with flavor. Whether you’re serving them as a delightful appetizer to kick off a meal or as a versatile side dish to complement your favorite mains, these fries are guaranteed to be a crowd-pleaser.
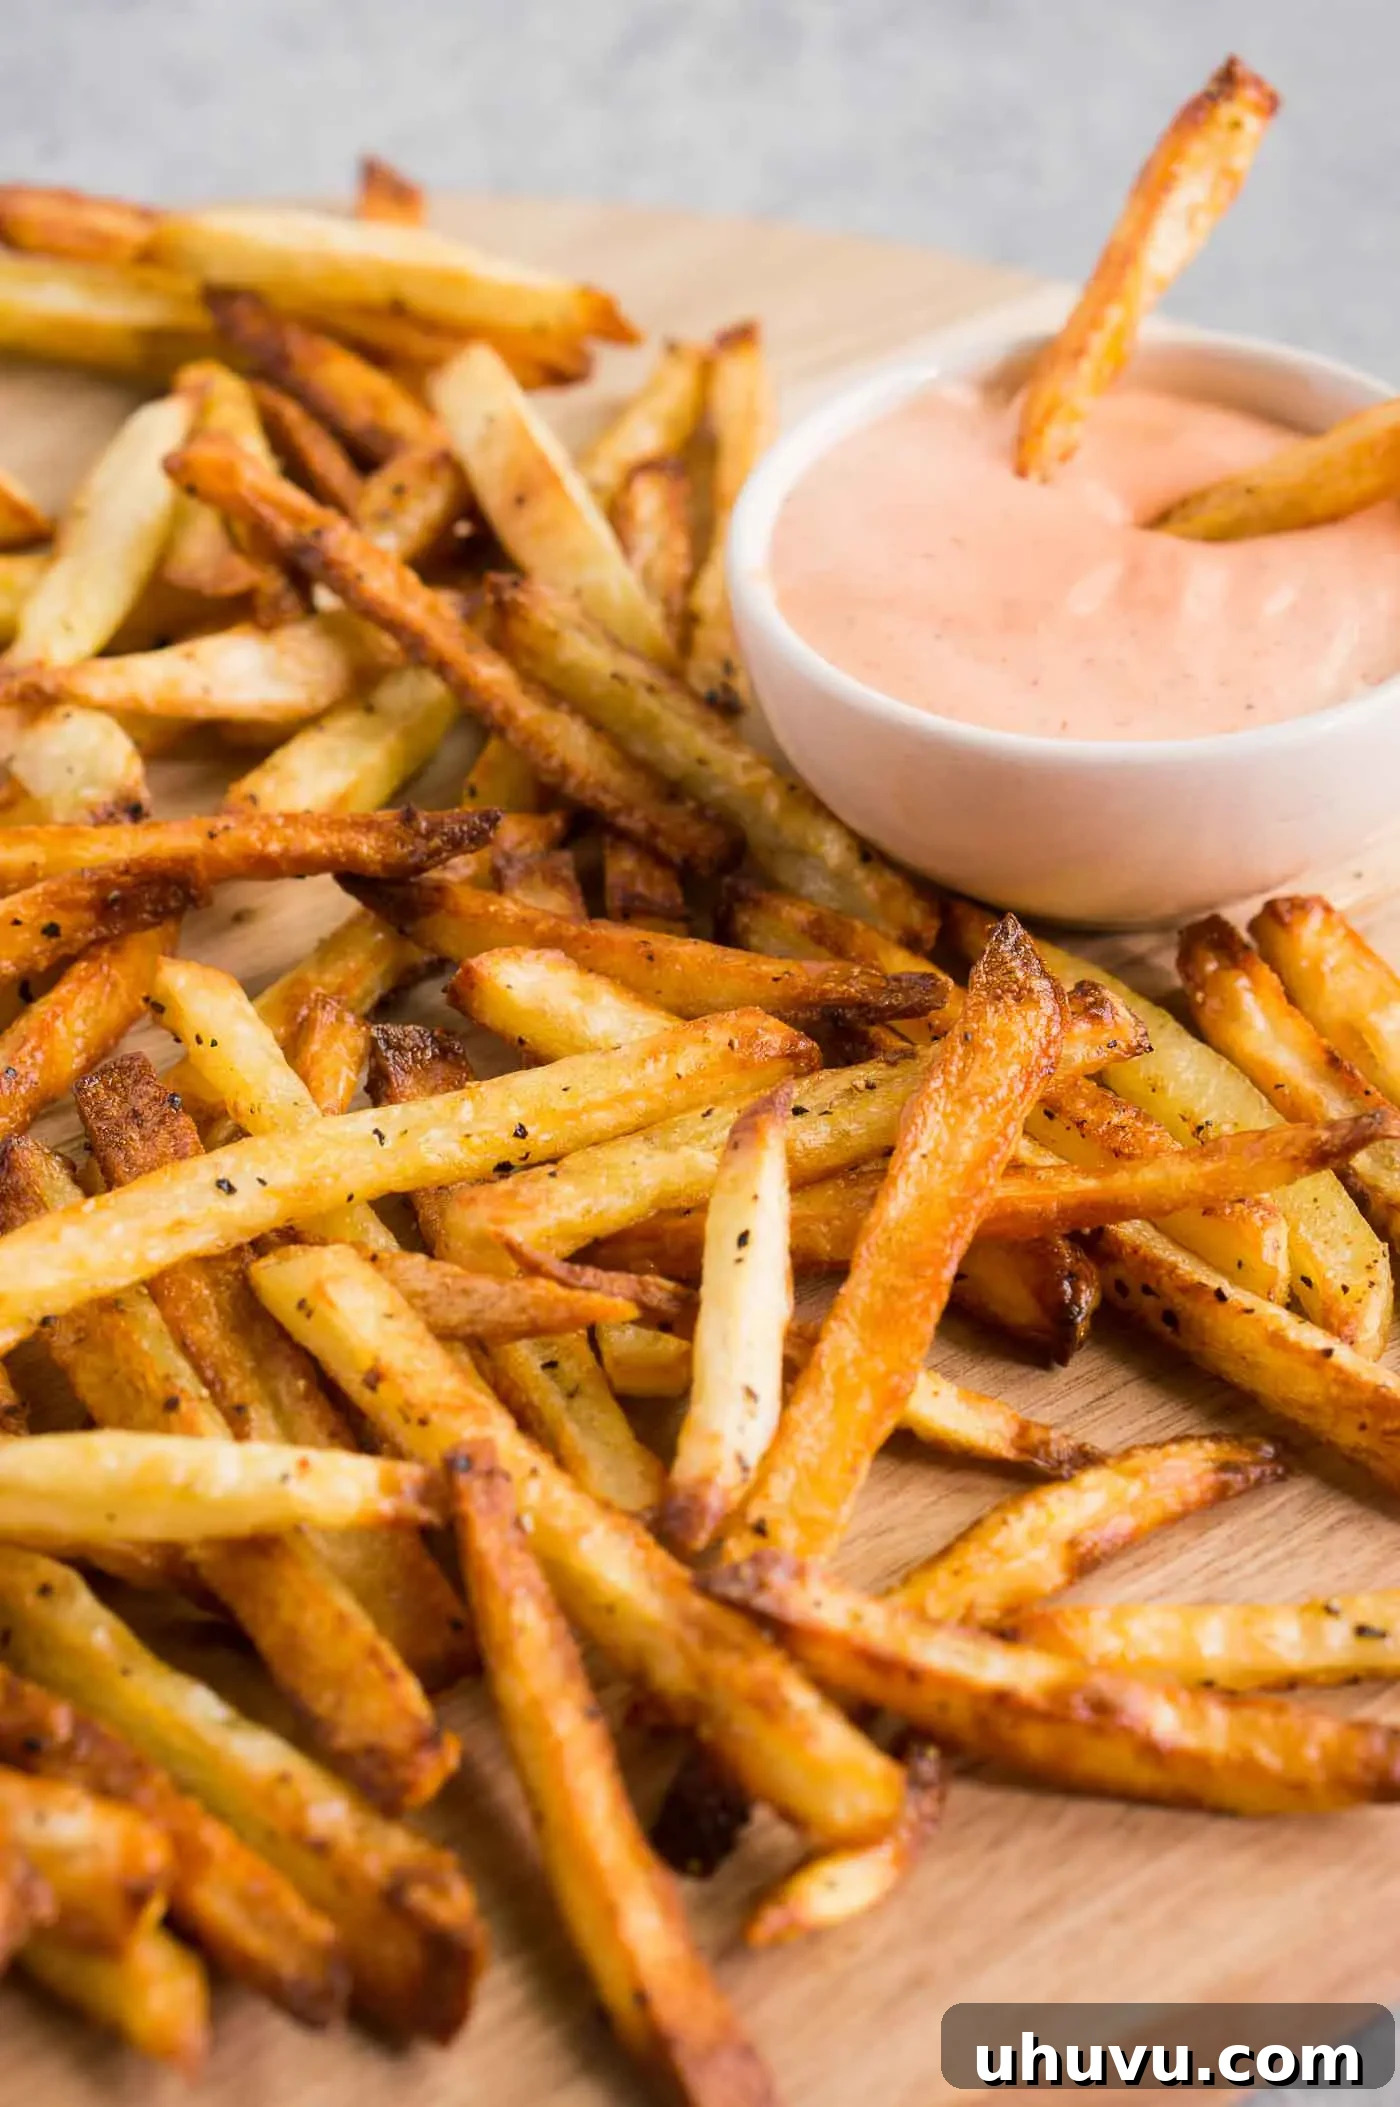
Homemade French Fries: Baked to Golden Perfection
Elevate your mealtime with a batch of perfectly baked homemade French fries. These golden delights are not just great as an appetizer with your favorite dips; they also make a fantastic, easy side dish for any weeknight dinner. Forget soggy, bland fries – this recipe focuses on achieving that desirable crisp exterior and a tender, fluffy interior, making them utterly irresistible.
In my home, these oven-baked fries are an absolute staple, especially on our beloved family burger nights. While my kids enthusiastically dunk them in ketchup, I find myself reaching for a rich homemade garlic aioli or a zesty classic fry sauce. The beauty of making them from scratch means you can personalize them to your heart’s content, from the seasoning to the dipping experience.
The secret to their exceptional flavor and texture lies in a few simple steps and a special seasoning blend. I love using my delicious homemade seasoned salt, which adds a savory kick that enhances the natural potato flavor. With minimal prep work and my tried-and-true tips, you’ll be serving up the most crispy, fluffy, and undeniably delicious baked homemade fries that will impress everyone at your table. This is truly my go-to French fries recipe, and it never fails to deliver maximum flavor and satisfying crunch!
For another delightful potato treat, be sure to also try my Sweet Potato Fries with Aioli Sauce.
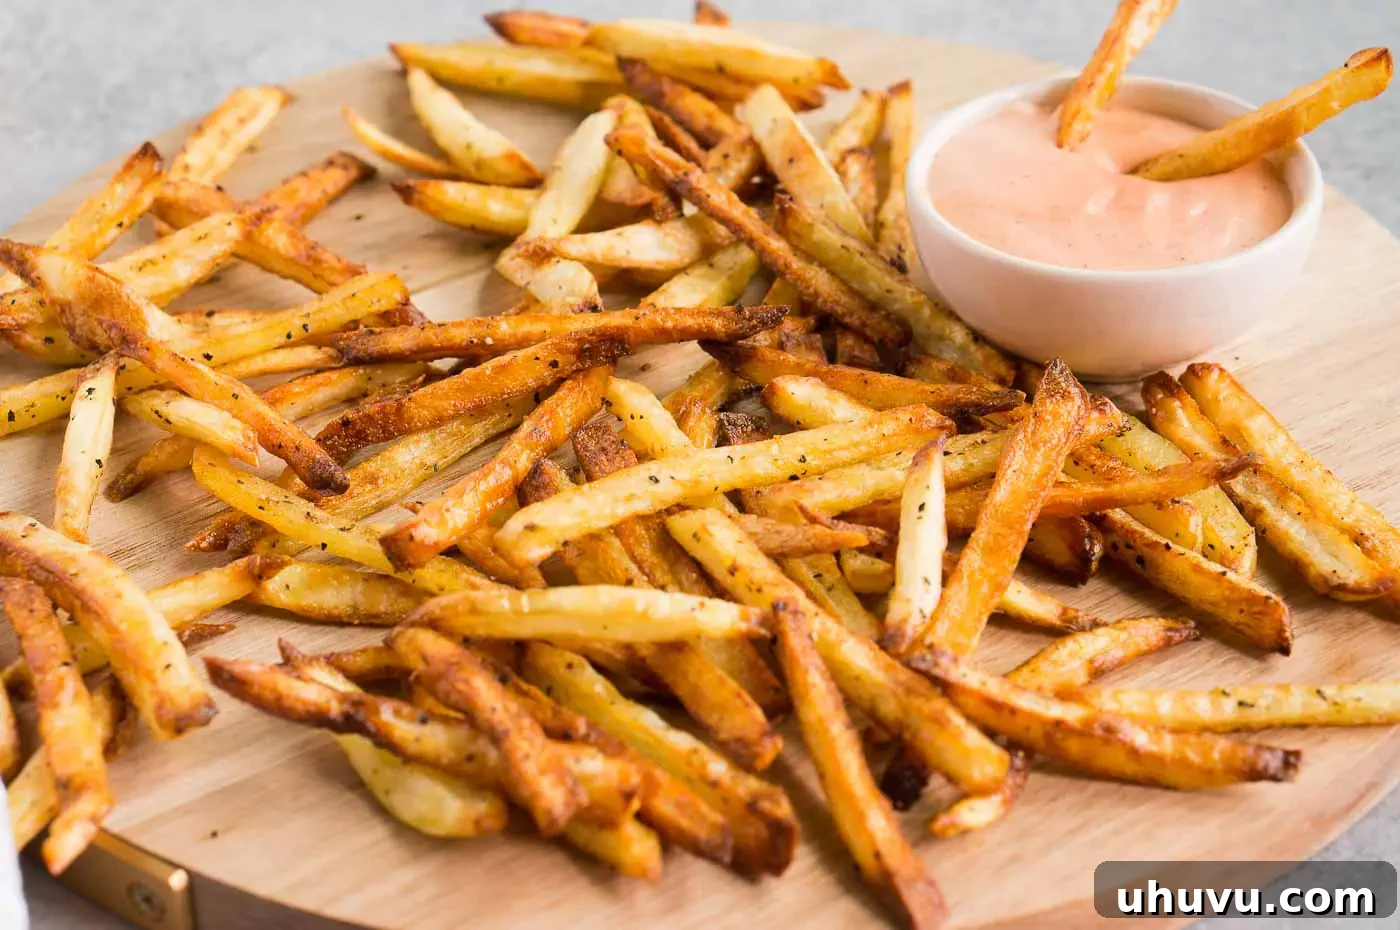
Why These Baked French Fries Are an Absolute Game-Changer
Once you experience the simplicity and superb taste of these homemade baked French fries, you’ll wonder why you ever bothered with frozen options or messy deep-frying. They genuinely stand out for several compelling reasons:
- Effortlessly Easy Preparation: The minimal prep work required for these oven fries is precisely why they’ve become a constant in my kitchen. The process is straightforward: just chop your potatoes, give them a crucial soak, season them generously, and then bake. There’s no cumbersome deep-frying involved, which means less oil, less mess, and far less fuss. This recipe is an ideal choice when you’re craving satisfying fries without the guilt or hassle.
- A Healthier Indulgence: Because these fries are lovingly baked in the oven instead of submerged in oil, you need only a modest amount of oil to achieve that coveted crispness. I distinctly recall my initial skepticism when I first attempted this method, wondering if they could truly rival the deep-fried variety. To my delightful surprise, they turned out just as crispy, perhaps even more so, yet felt significantly lighter and more wholesome. This makes them a smarter choice for frequent enjoyment.
- Unquestionably Delicious Flavor: Seriously, friends, these homemade French fries are a culinary revelation! The carefully chosen seasoning salt imparts that perfect savory, umami-rich kick that elevates every bite. Each time I prepare a fresh batch, it’s a playful challenge to keep my family from “sampling” them straight from the baking sheet as they cool. They are incredibly addictive and simply bursting with flavor, proving that healthy can indeed be incredibly tasty.
Essential Ingredients for The Best Homemade Oven Fries
Creating extraordinary homemade French fries starts with selecting the right ingredients. Here’s a breakdown of what you’ll need to achieve that perfect crispy-on-the-outside, fluffy-on-the-inside texture and incredible flavor:
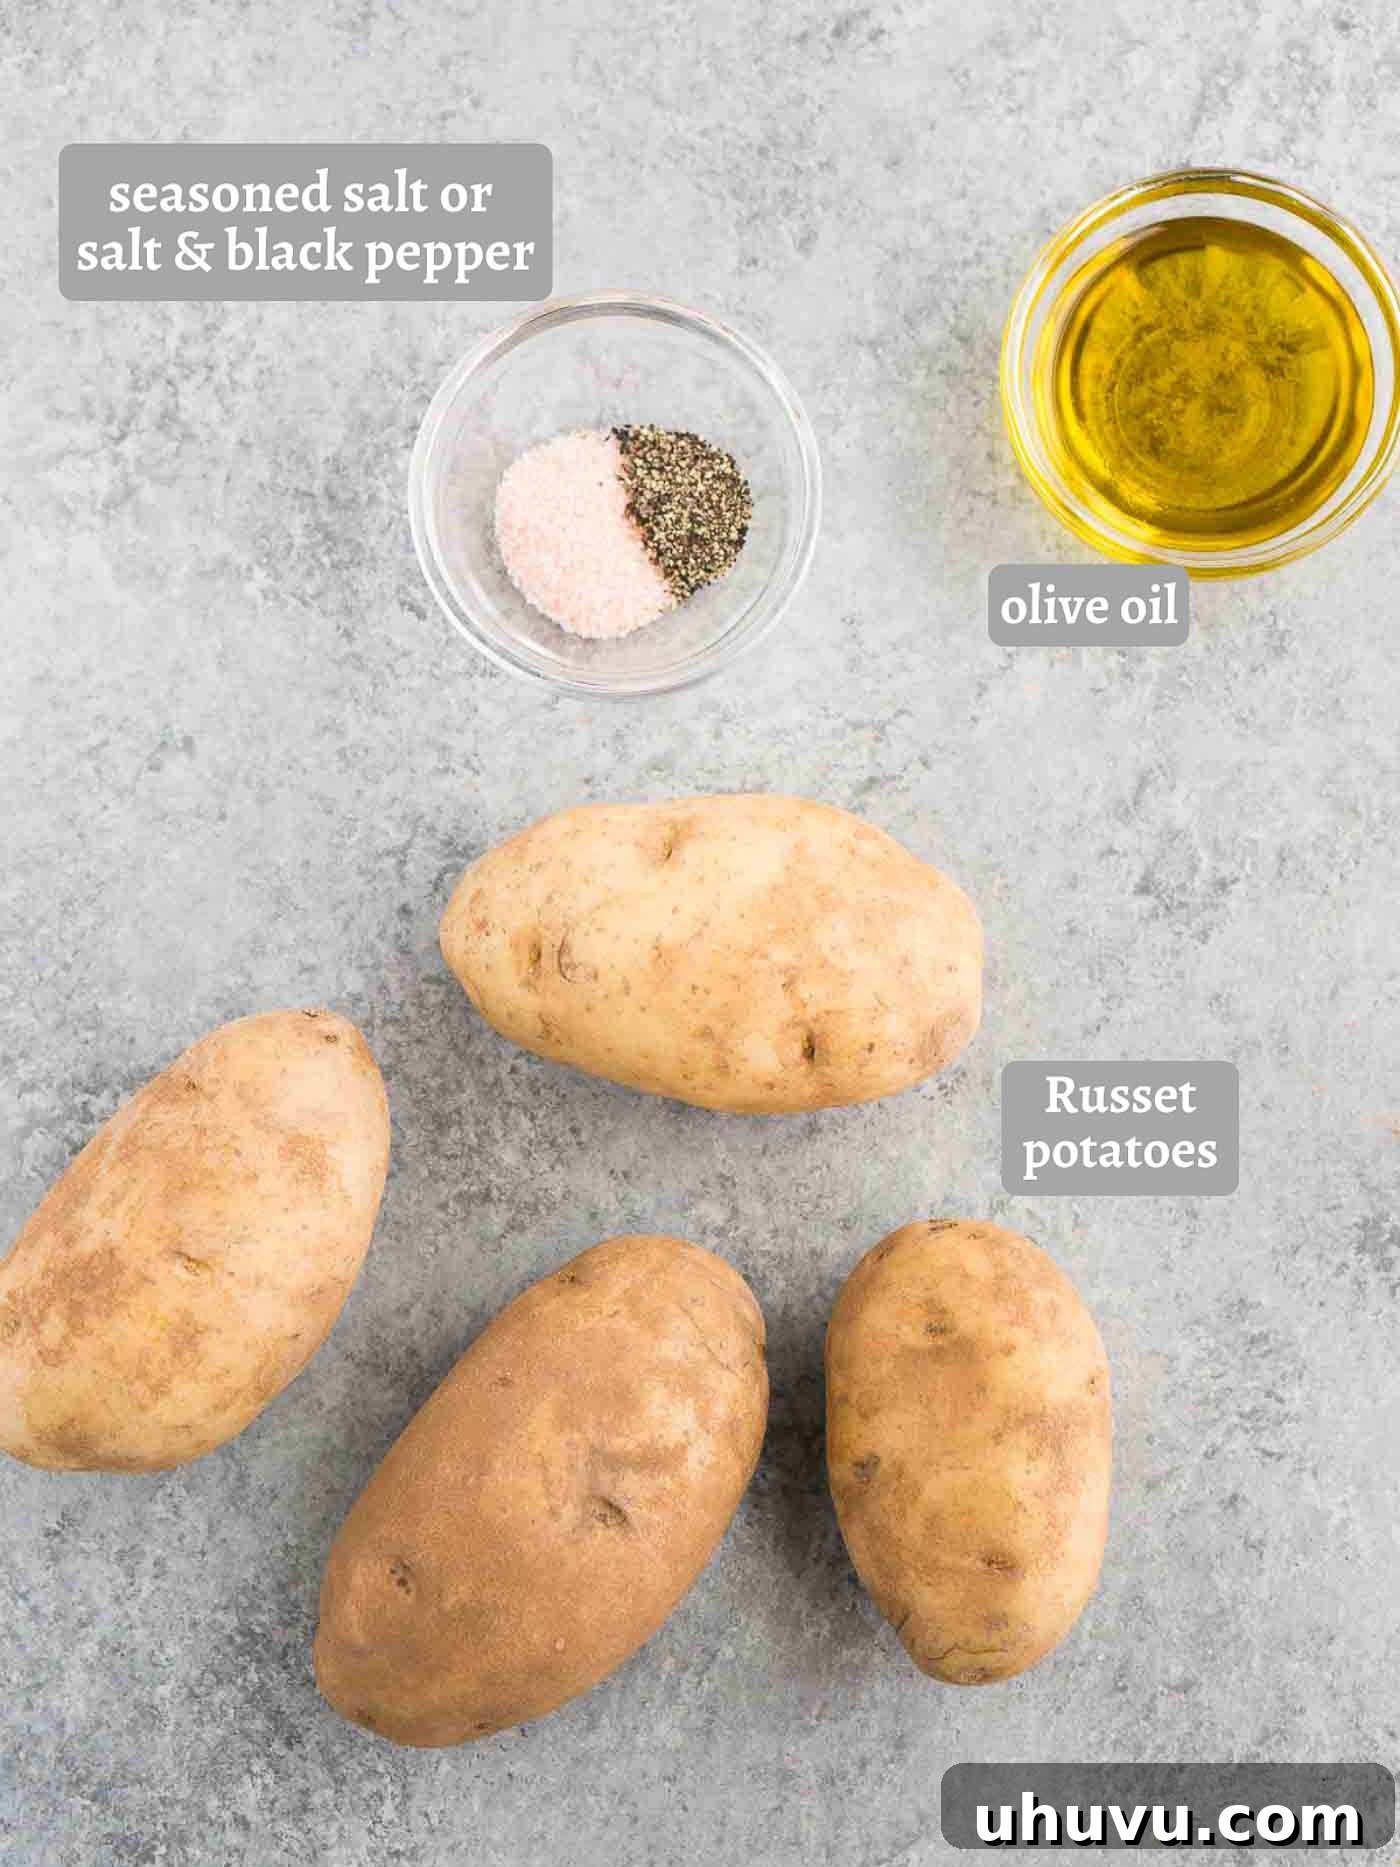
- Potatoes: The foundation of any great fry! For this recipe, I highly recommend using large baking potatoes. After extensive experimentation with various potato varieties, I’ve consistently found that Russet potatoes deliver the crispiest fries due to their naturally high starch content and lower moisture. This combination results in a beautifully fluffy interior. While Yukon Gold potatoes can also work well, it’s generally best to steer clear of waxy potato varieties, as they tend to yield softer, less desirable fry textures.
- Oil: To achieve that irresistible golden crisp without deep-frying, a good quality oil is key. My personal preference is extra virgin olive oil for its flavor and health benefits. However, if you have another preference, melted coconut oil or any other high-heat-friendly oil you prefer will work effectively. The goal is a thin, even coating that promotes browning and crispness.
- Seasoned Salt: This is where the magic happens for flavor! I absolutely love and recommend using my signature homemade seasoned salt for these crispy French fries. It’s a carefully balanced blend that adds incredible depth. If you don’t have homemade seasoned salt readily available, don’t worry! You can certainly opt for a good quality store-bought seasoned salt. Alternatively, a simple yet effective blend of sea salt, freshly ground black pepper, garlic powder, and onion powder will also yield delicious results. Feel free to adjust the ratios to suit your taste.
Step-by-Step Guide: How To Make Homemade French Fries In The Oven
Achieving perfectly crispy and fluffy baked French fries is simpler than you might imagine. Follow these detailed steps to create your best batch yet:
Step 1: Prepare Your Oven and Baking Sheet. Begin by preheating your oven to 375°F (190°C). While the oven heats, line a large baking sheet with parchment paper. This crucial step prevents sticking and aids in achieving that desirable crispy bottom, making cleanup a breeze.
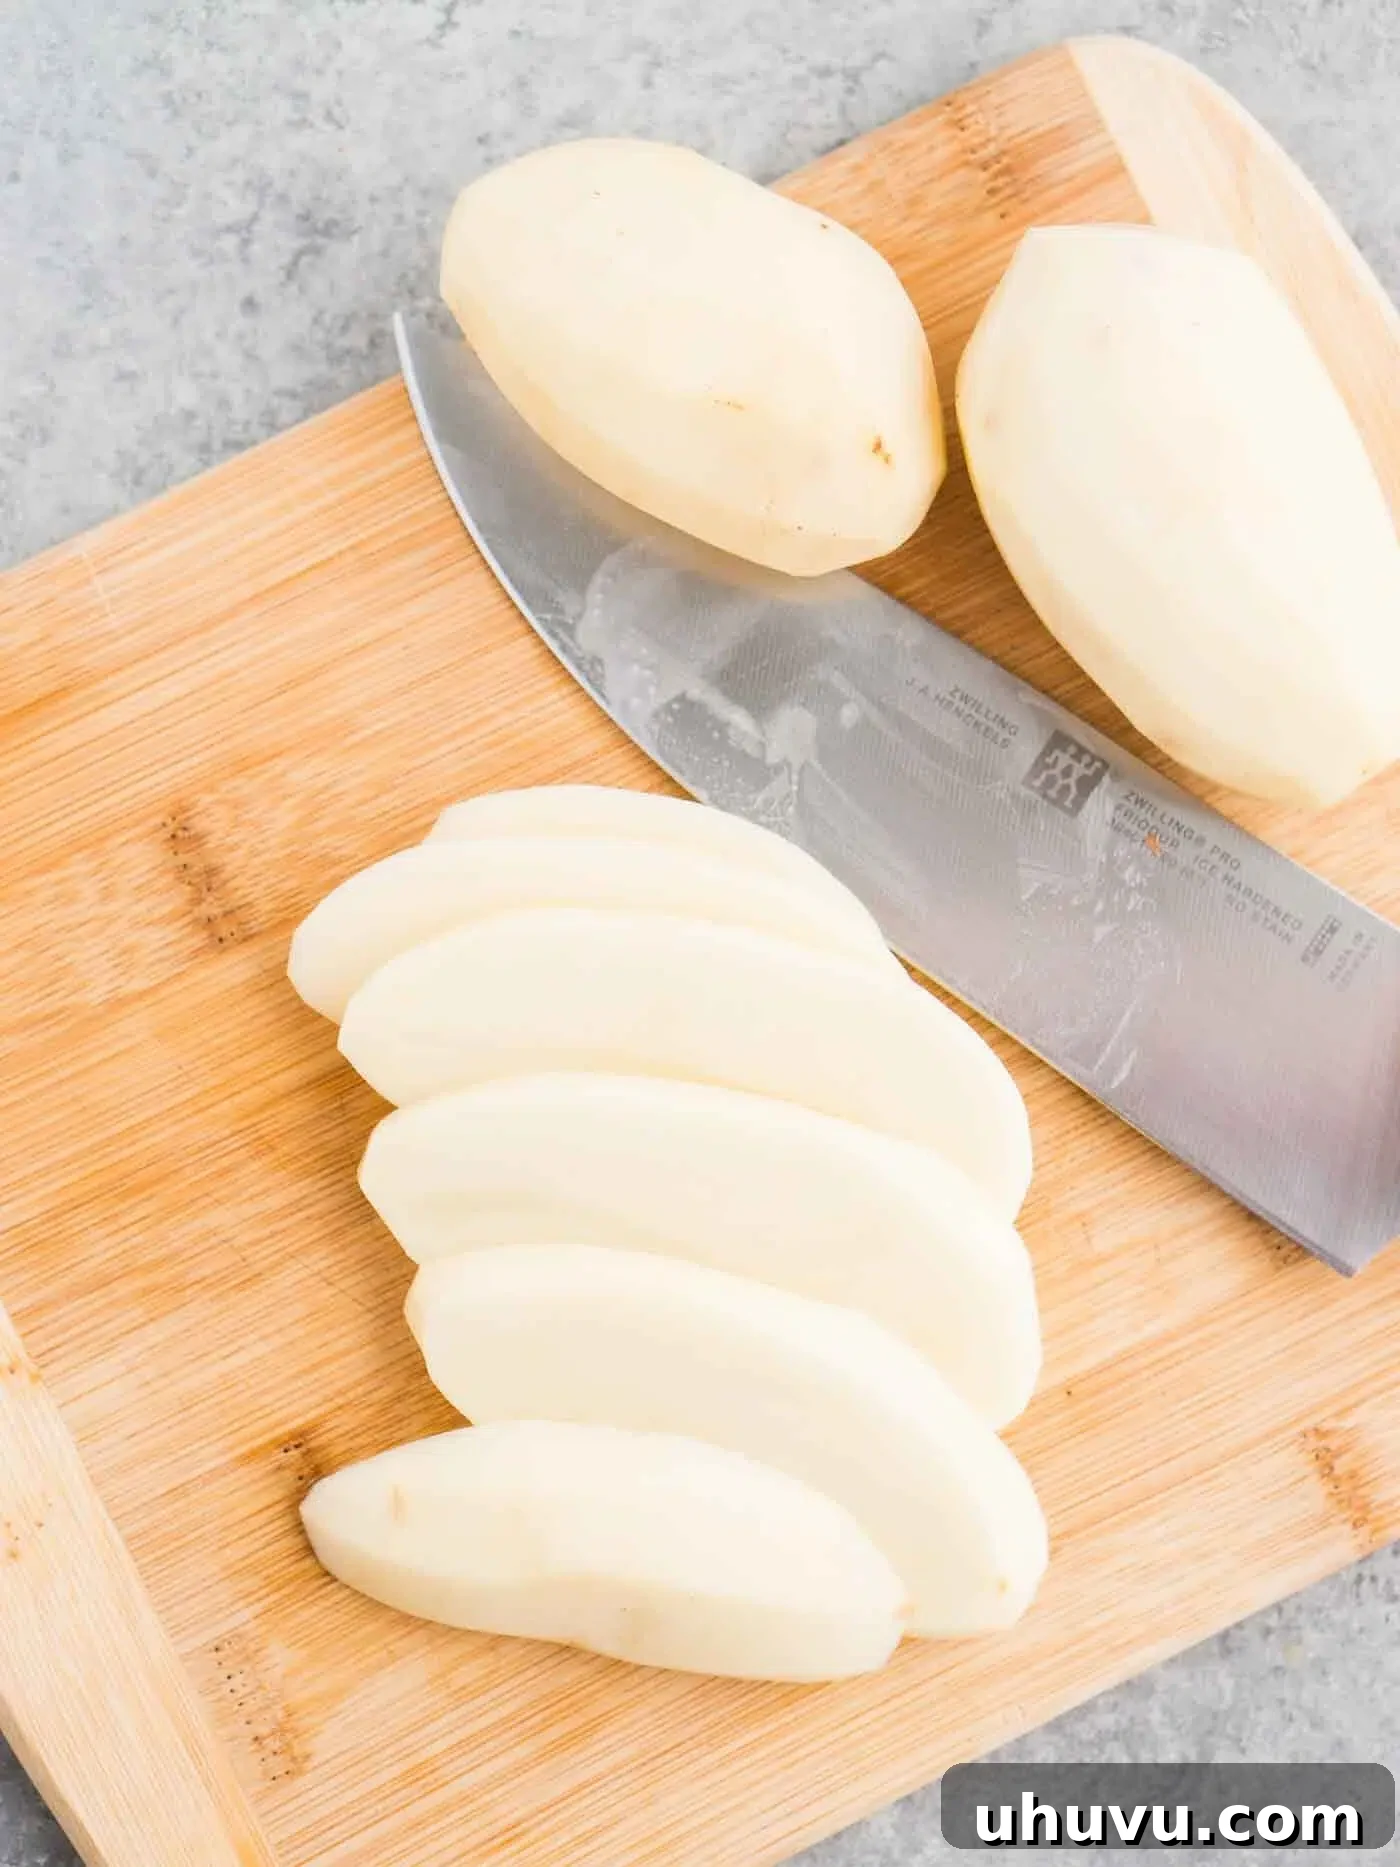
Step 2: Wash and Slice Your Potatoes. Thoroughly wash and peel your potatoes. While peeling is optional (some prefer the rustic look and added fiber of the skin), I find peeled fries tend to crisp up a bit more evenly. Once cleaned, carefully slice each potato into uniform rounds, aiming for a consistent thickness. This initial slice makes the subsequent cutting into fries much easier and safer.
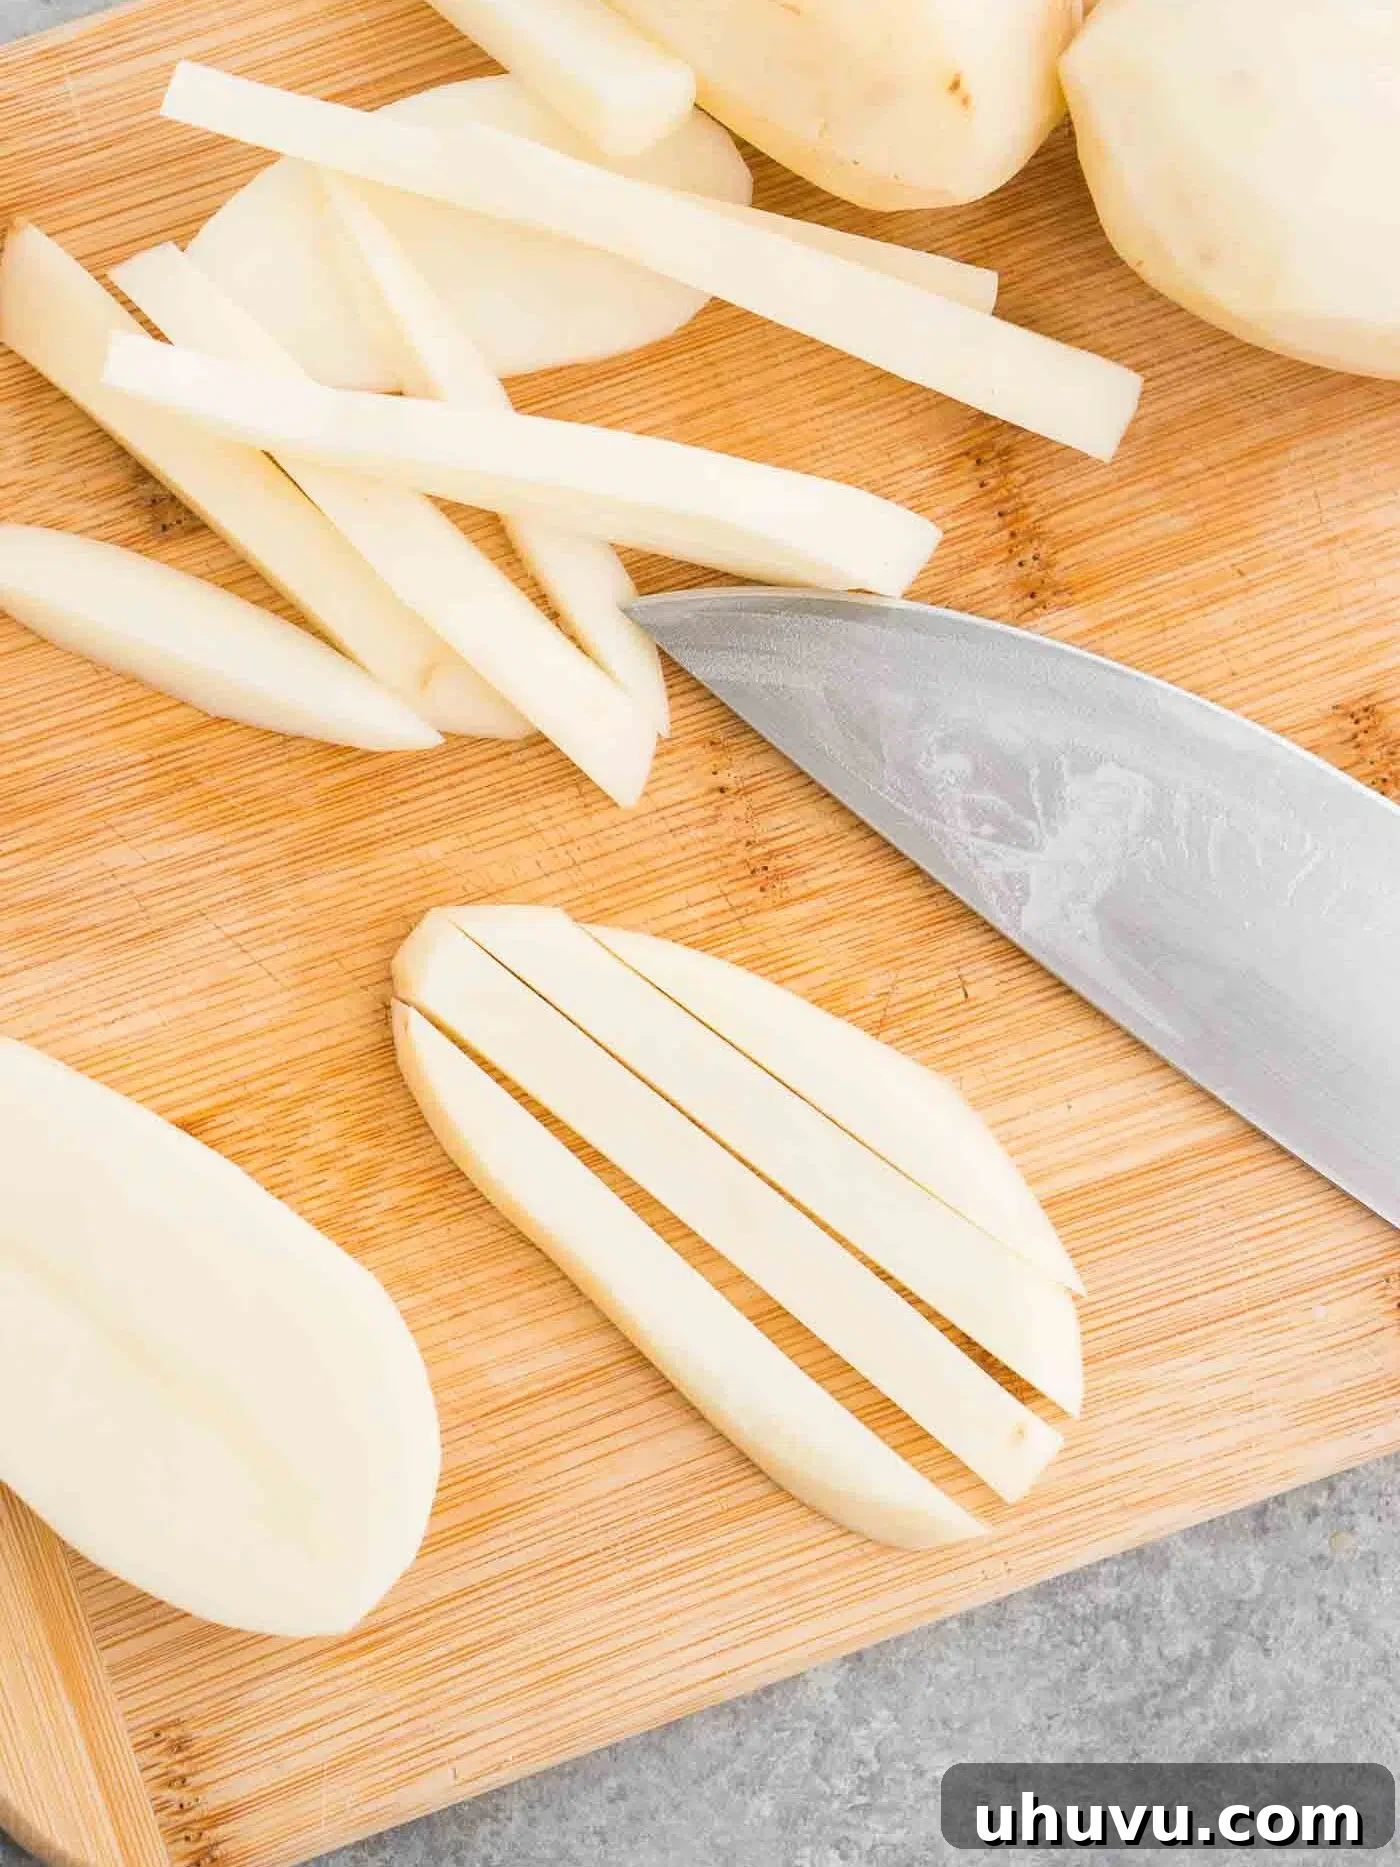
Step 3: Cut Potatoes into Even Fries. Now, take your potato slices and cut them into thin, uniform strips. I prefer a thickness of about ¼ inch, as this size crisps up beautifully without drying out. Consistency is key here! If your fries are of varying thicknesses, they will cook unevenly, resulting in some being burnt while others remain soft. For perfectly even cuts, consider using a French fry cutter; it’s a worthwhile investment if you make fries often.
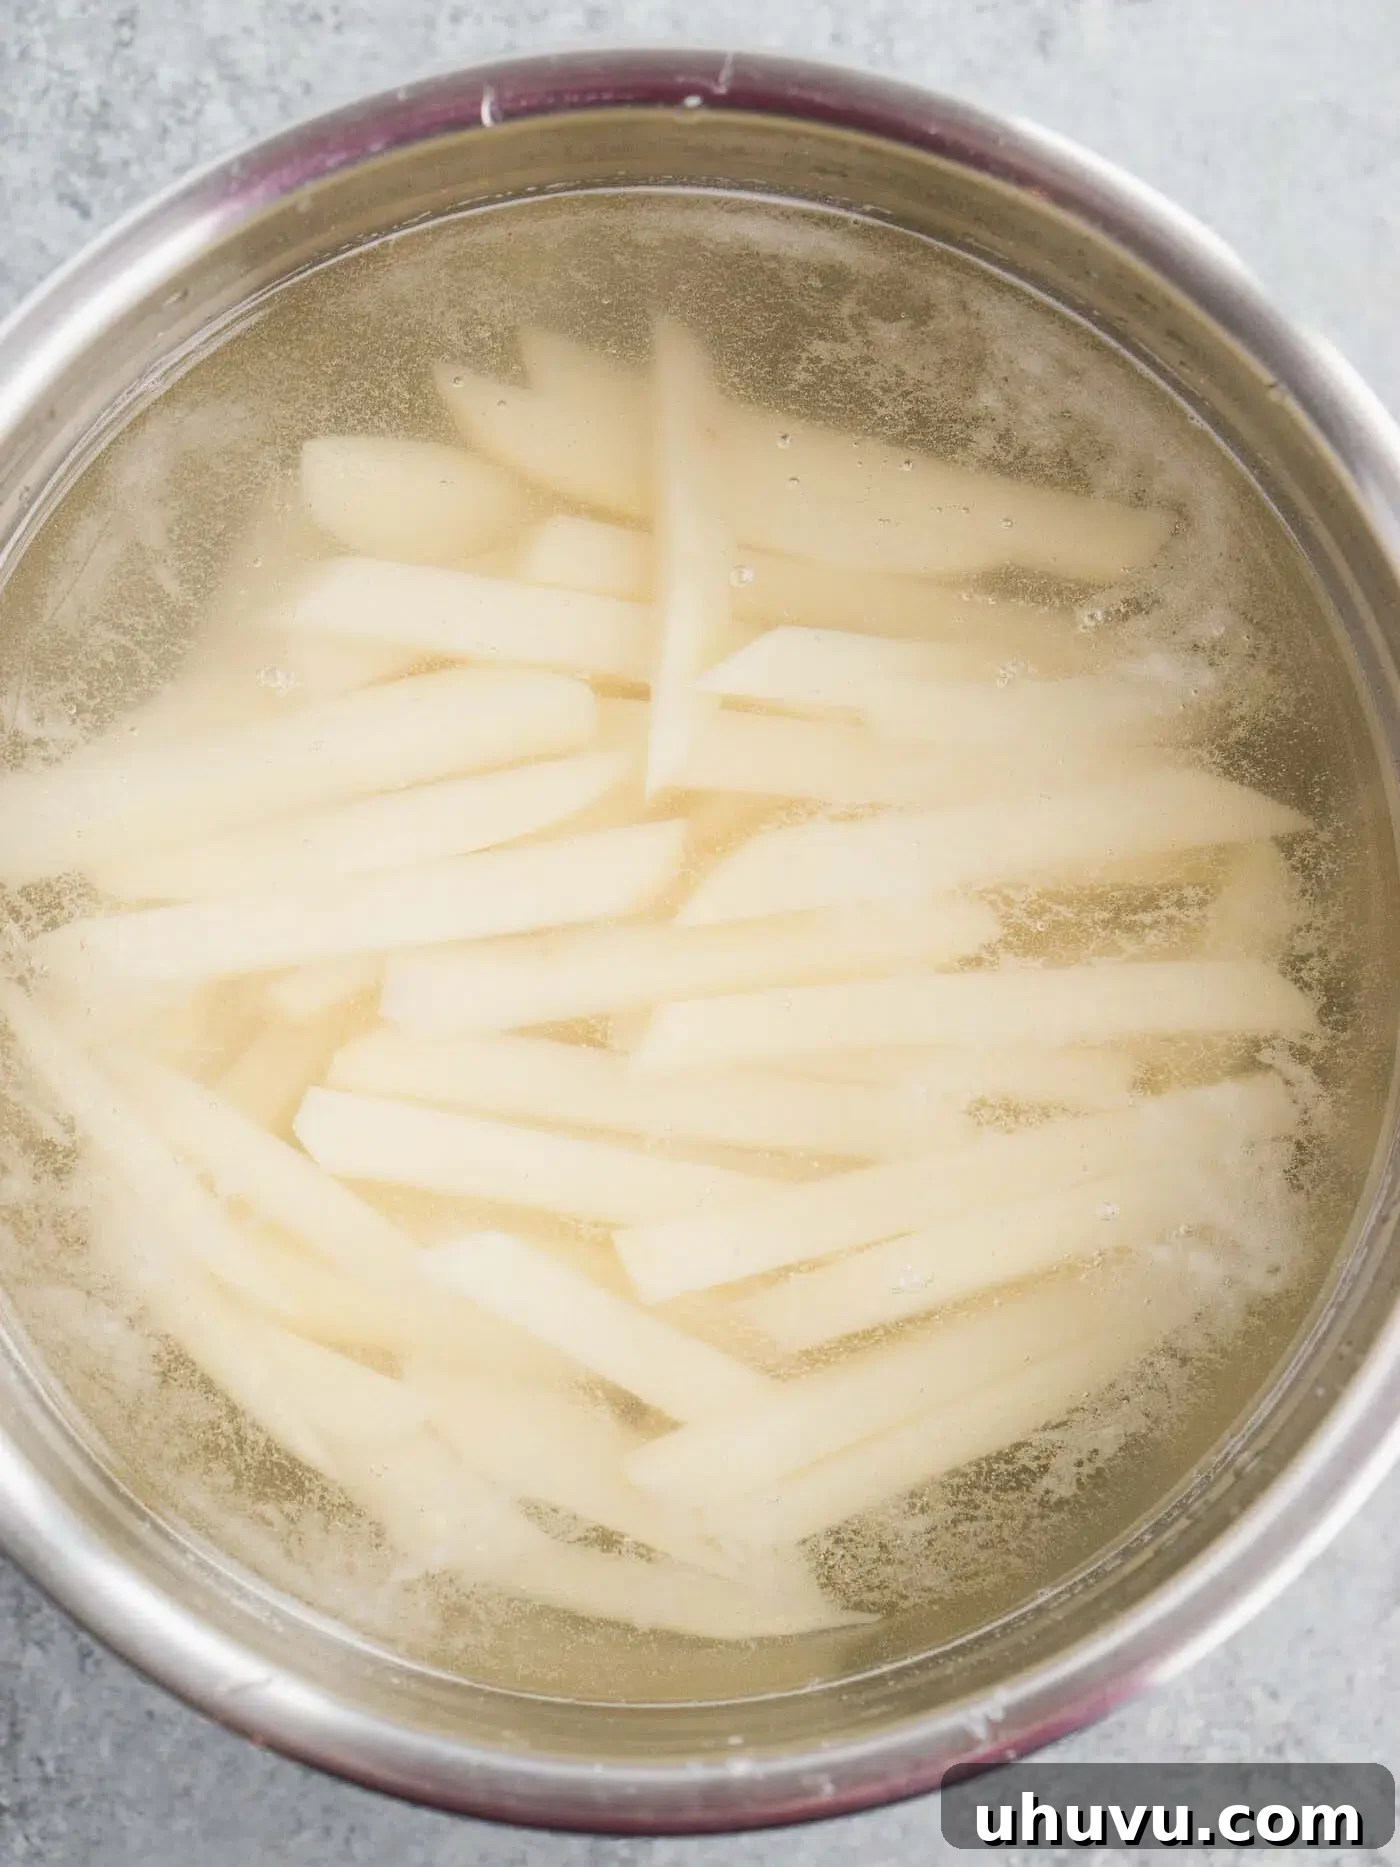
Step 4: Soak and Thoroughly Dry the Potatoes. This step is non-negotiable for truly crispy fries! Place your cut potato fries into a large bowl and cover them completely with cold water. Let them soak for at least 30 minutes, or even up to a few hours if time allows. This process draws out excess starch from the potatoes, which is the primary culprit behind soggy fries. Once soaked, drain the water completely and then, most importantly, dry the potatoes very, very well with paper towels or a clean kitchen towel. Any residual moisture will steam the fries instead of crisping them.
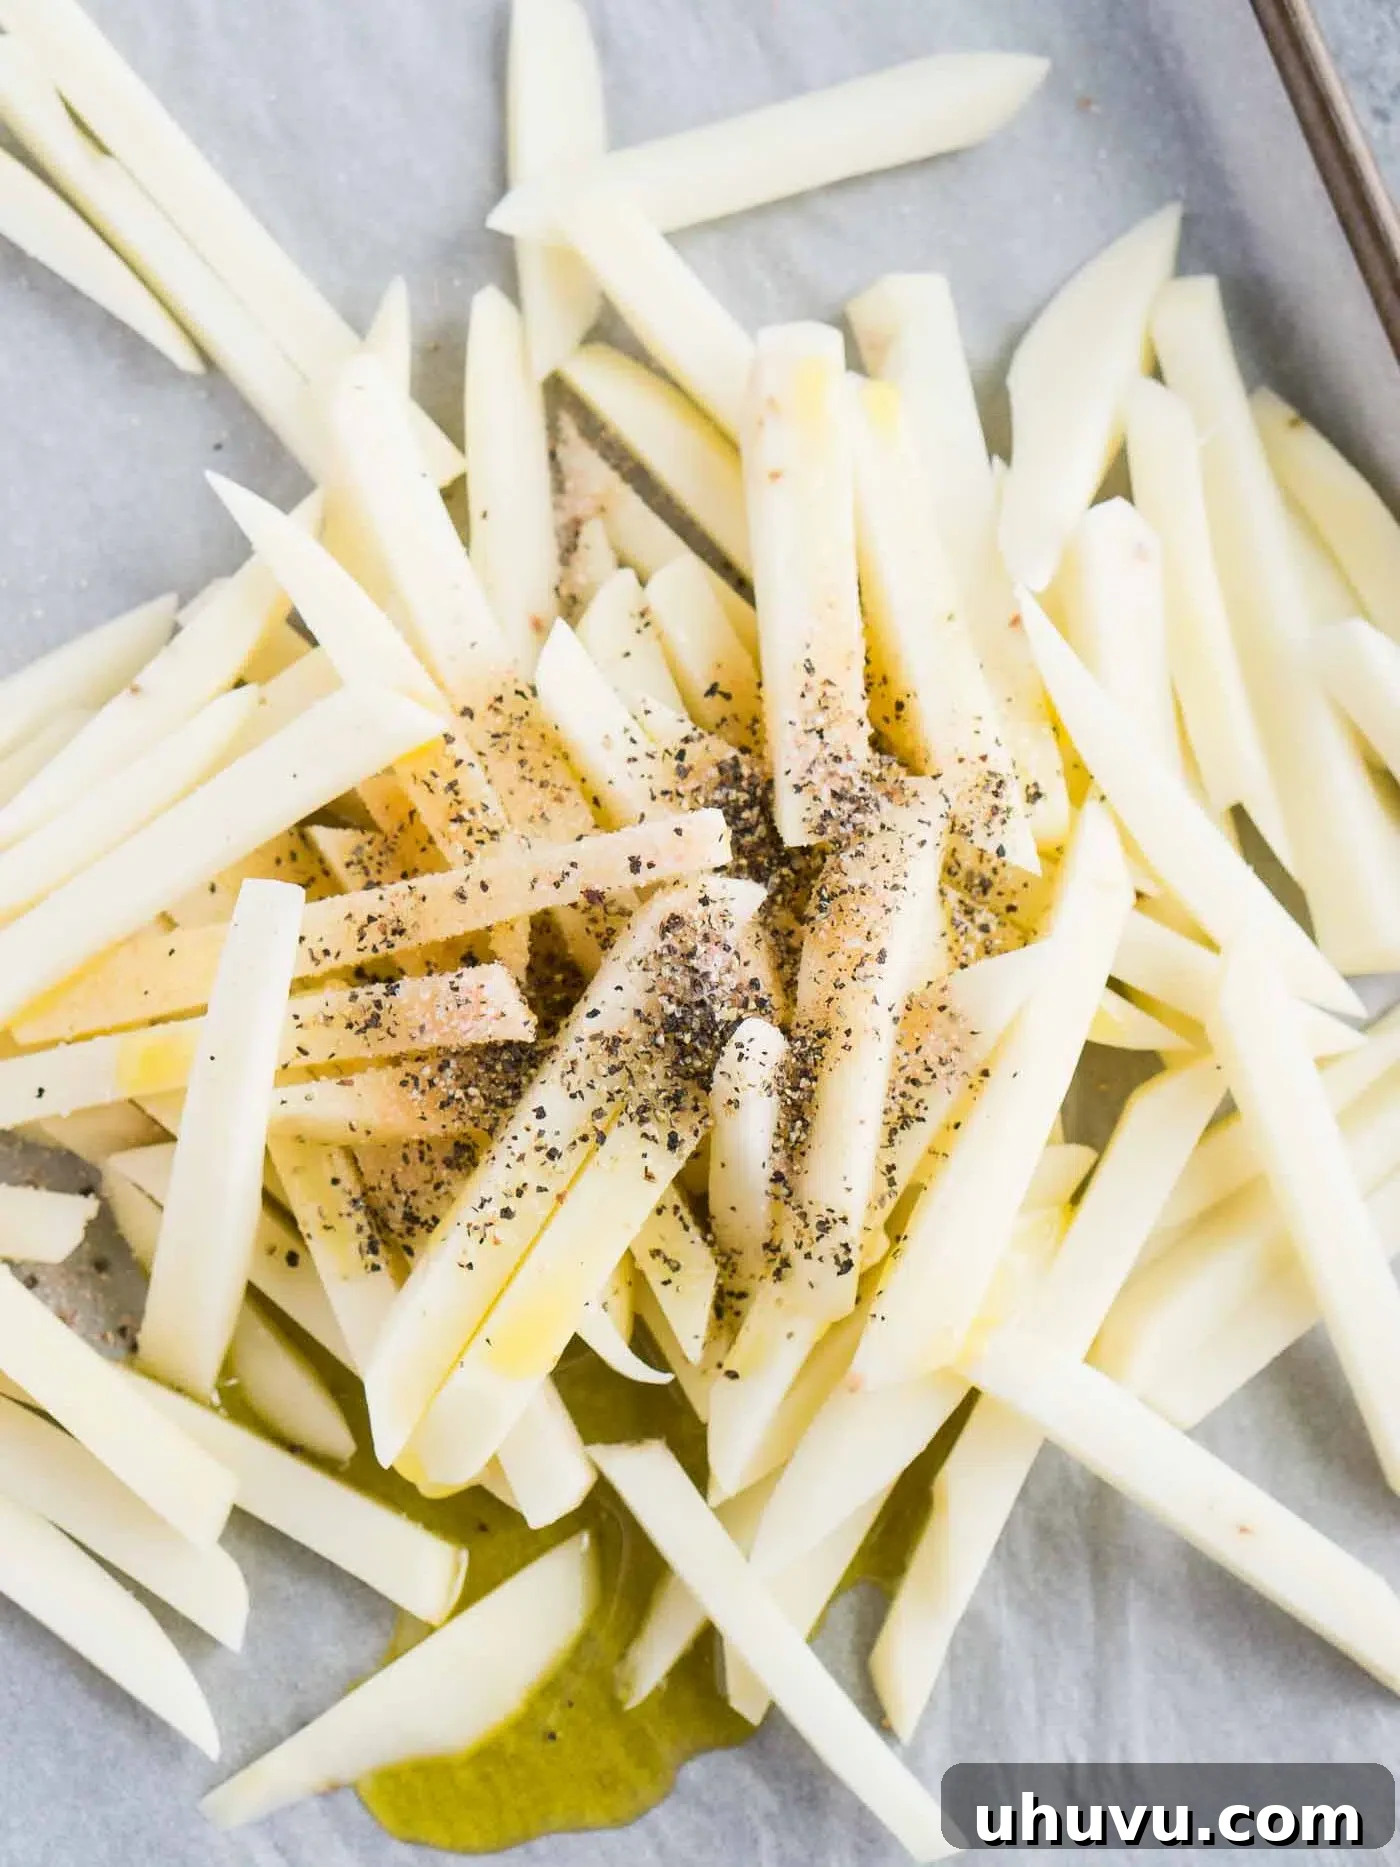
Step 5: Season and Spread Evenly. Transfer your thoroughly dried fries to a large bowl. Drizzle them generously with olive oil and sprinkle with your chosen seasoned salt. Toss everything together vigorously until every single fry is thoroughly and evenly coated with both oil and seasoning. Then, spread the seasoned fries in a single layer on your parchment-lined baking sheet. It’s absolutely vital not to overcrowd the pan; leave space between each fry to allow air to circulate, ensuring they roast rather than steam. If necessary, use two baking sheets.
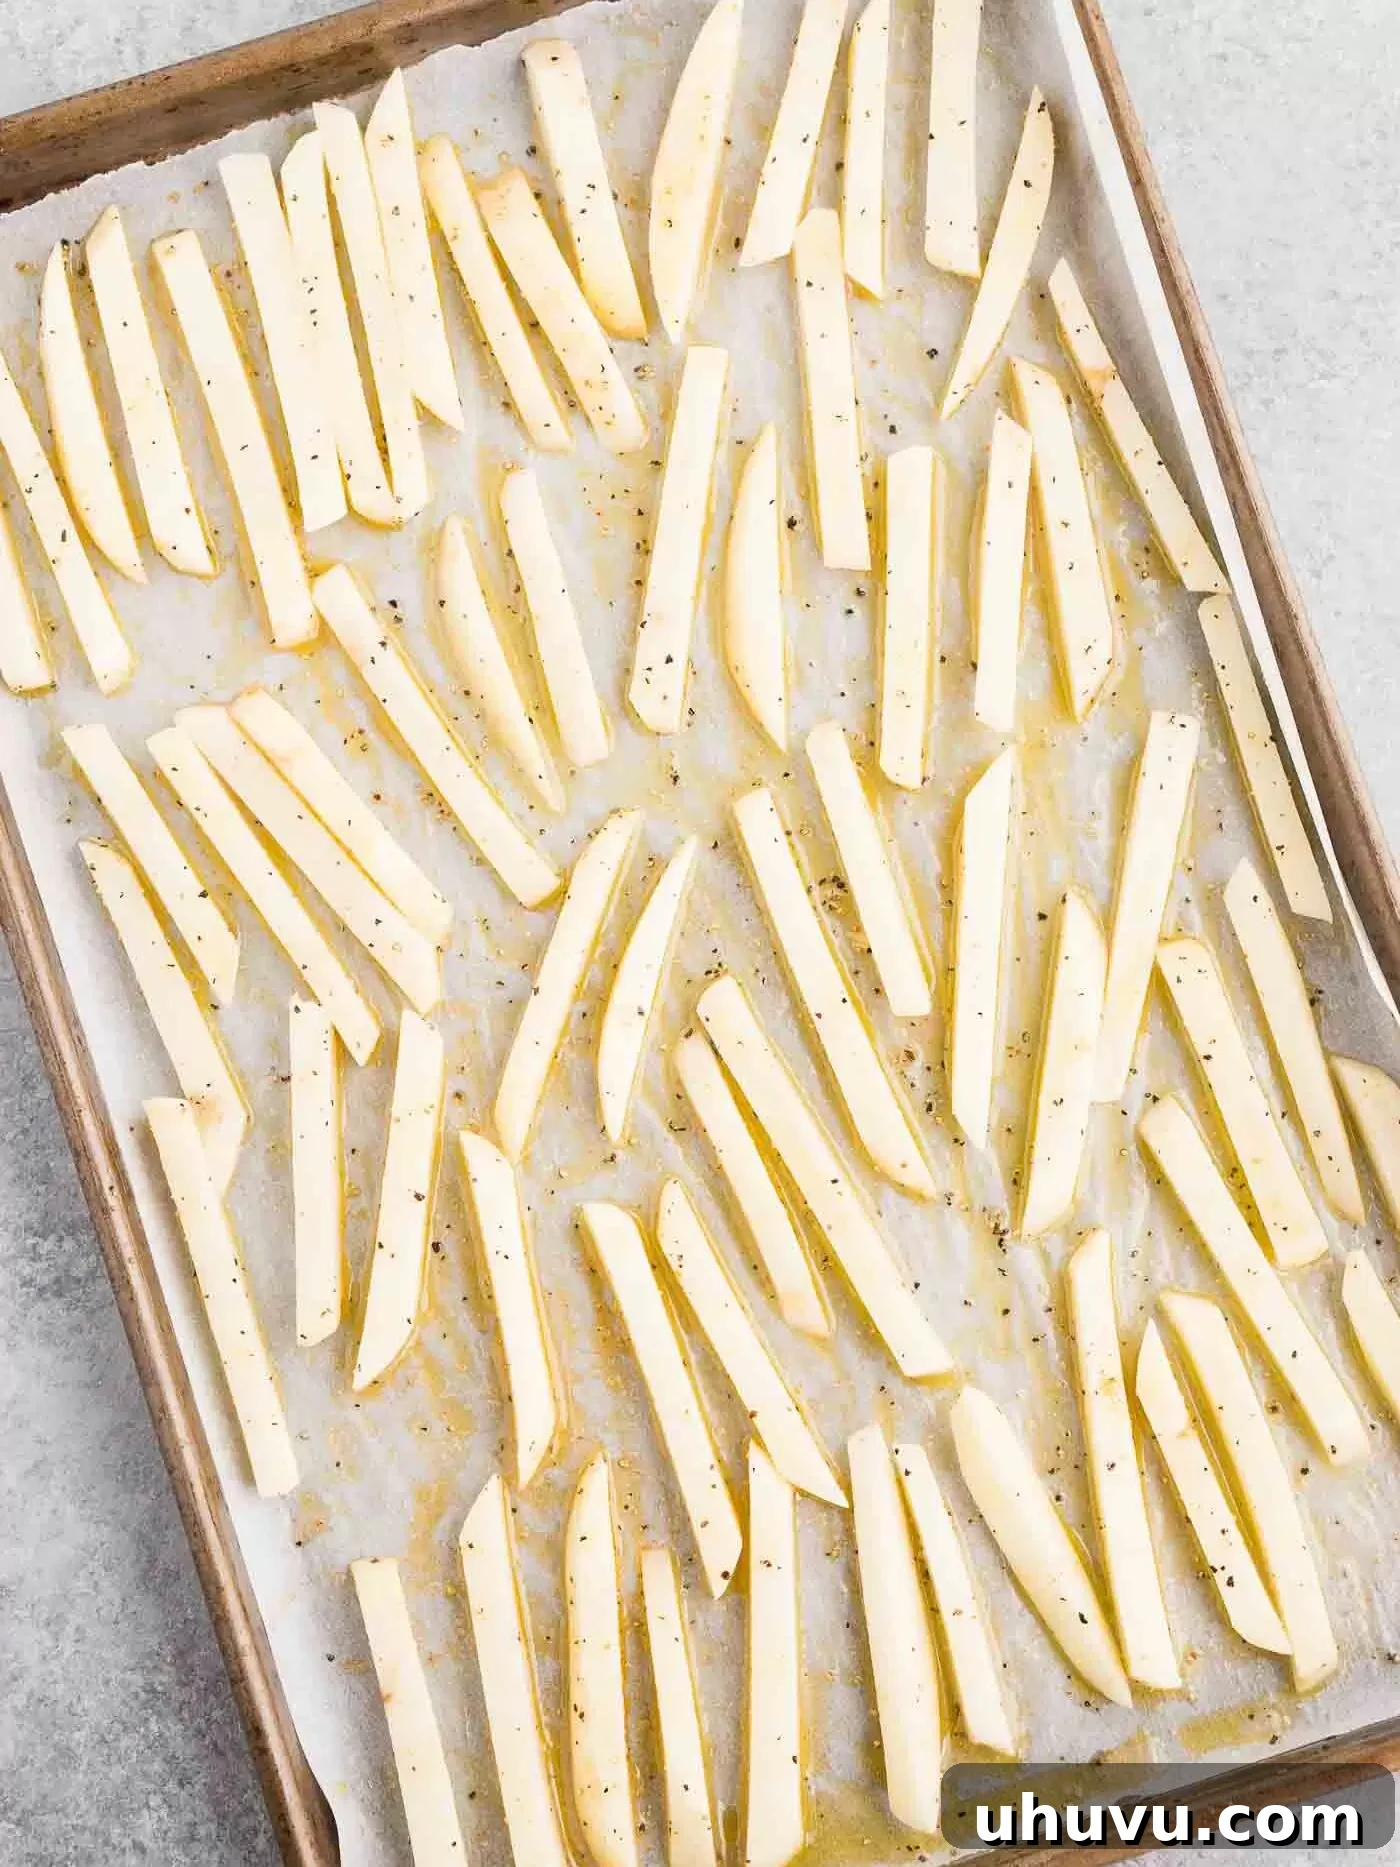
Step 6: Bake to Golden Brown Perfection. Place the baking sheet into your preheated oven. Bake the fries for 20 minutes at 375°F (190°C). After this initial bake, significantly increase the oven temperature to 425°F (220°C) and continue cooking for another 20-25 minutes, or until the fries are beautifully golden brown and incredibly crispy. Keep an eye on them during the final stage, as oven temperatures can vary. You might want to gently flip them halfway through this higher-temperature bake for even crisping. Once done, remove from the oven and serve immediately for optimal crispness.
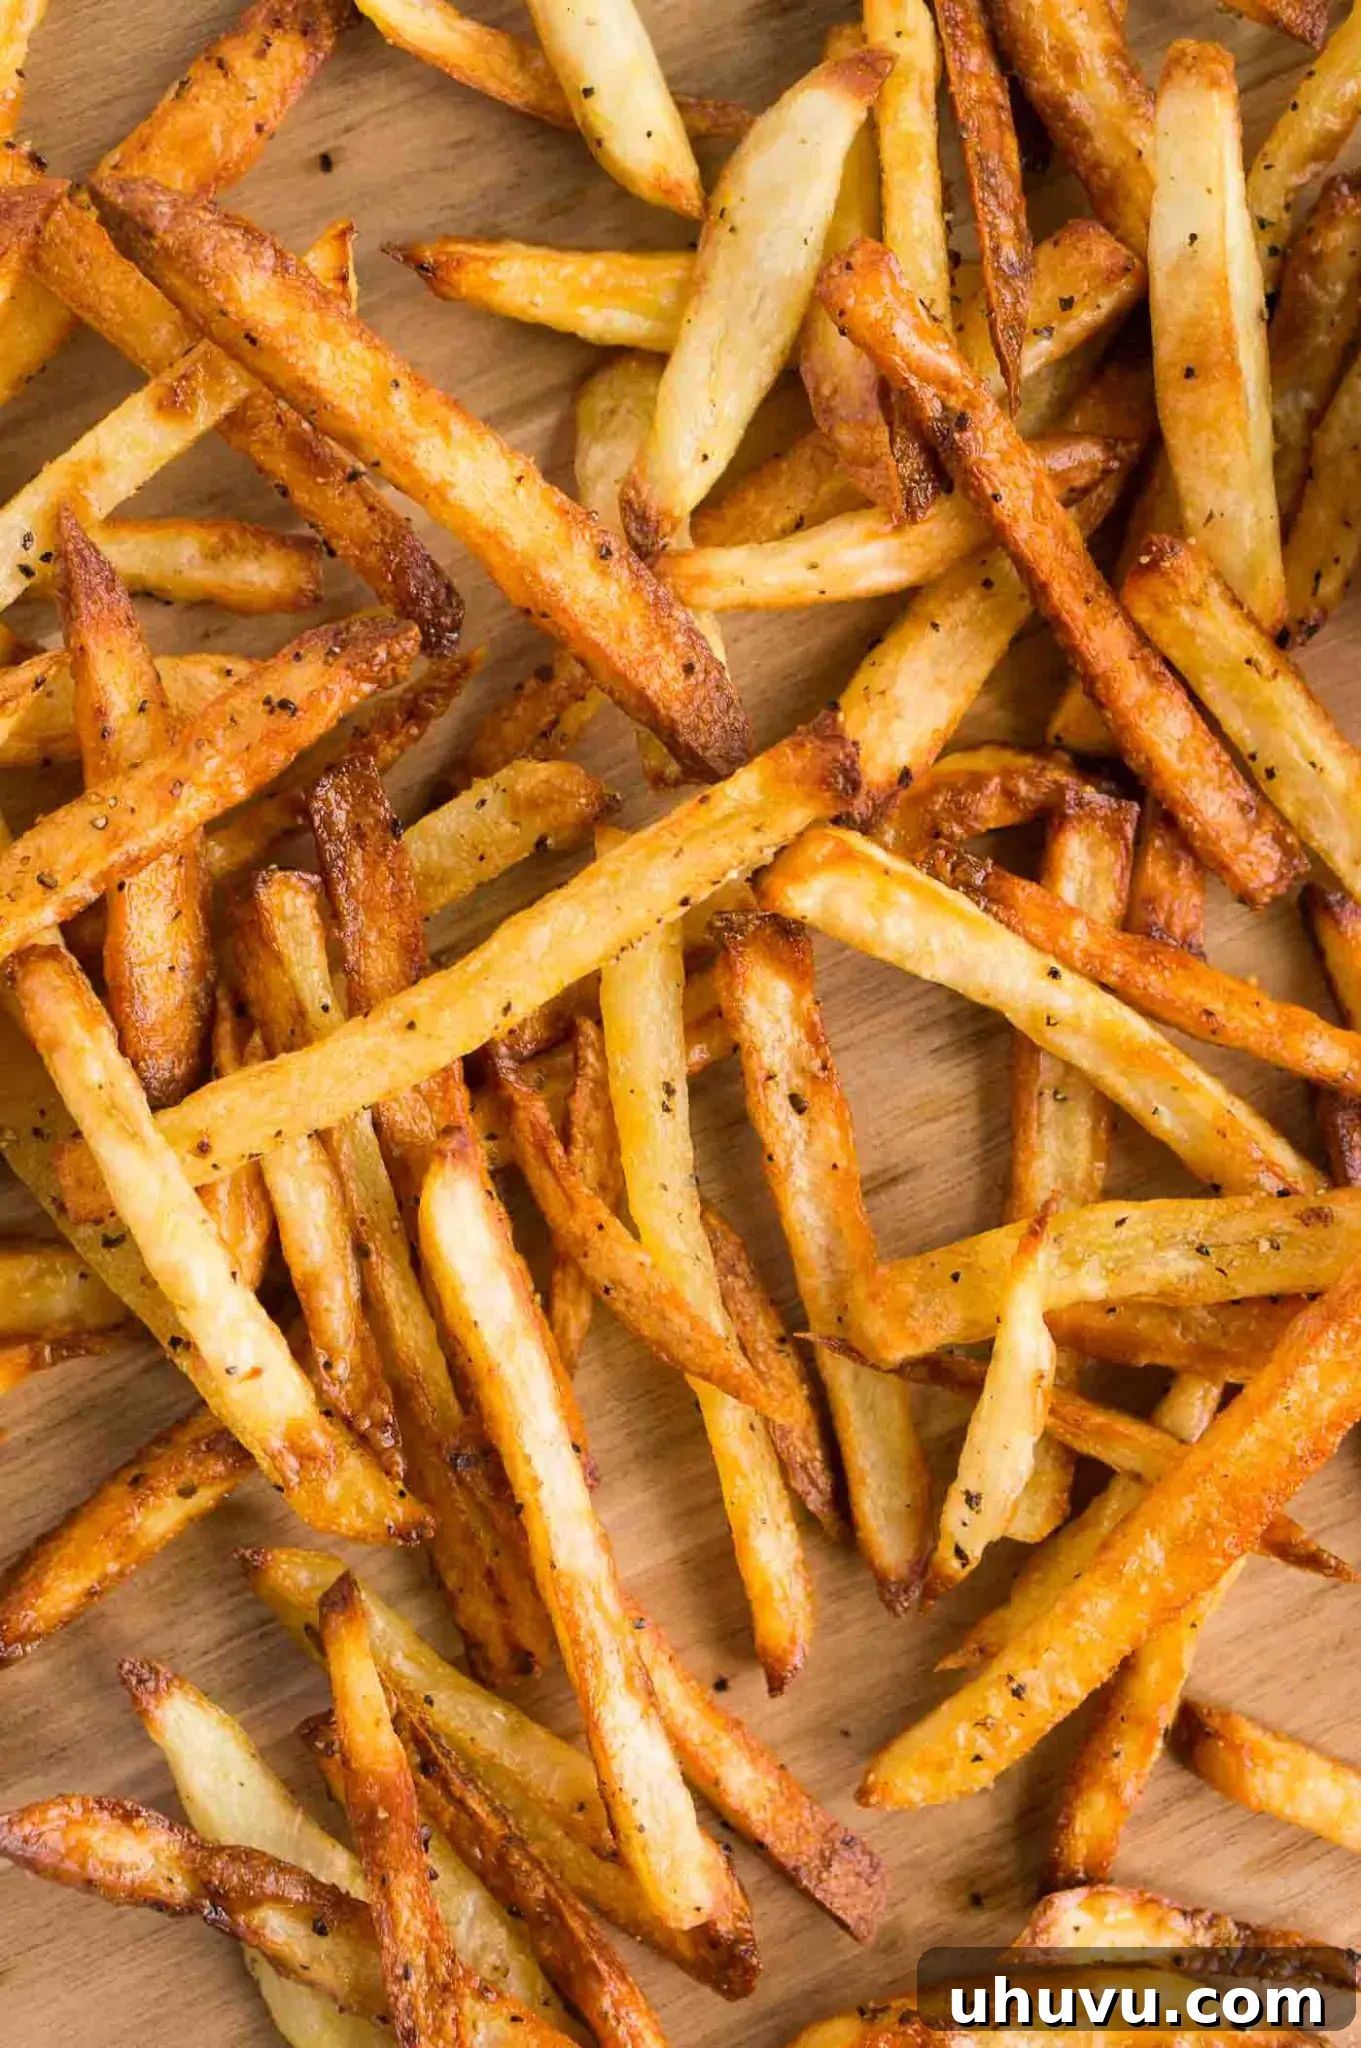
NELI’S KITCHEN PRO TIPS FOR PERFECT FRIES
Top Tips For The Ultimate Crispy Baked French Fries
Achieving restaurant-quality crispy fries at home is entirely possible with these expert tips:
- The best potatoes for making homemade fries are starchy baking potatoes, such as Russets. Their unique high starch and low moisture content are essential for fries that develop a beautifully crispy exterior while remaining wonderfully fluffy on the inside. Waxy potatoes, conversely, will lead to a softer, less satisfying texture.
- You have the option to peel the potatoes or leave the skin on. If you choose to keep the skins, just ensure you give them a good scrub under running water to remove any dirt or blemishes. The skin can add a rustic charm and extra fiber!
- Consistency in cutting is paramount. Strive to cut all your potatoes as evenly as possible. Uniform fries will cook at the same rate, preventing some from burning while others remain undercooked or soggy. A good chef’s knife and careful technique, or a handy French fry cutter, will make a big difference here.
- Make sure you always soak the cut potatoes in cold water for at least 30 minutes. This critical step leaches out excess surface starch, which is the main inhibitor of crispiness. Skipping this step is a common mistake that leads to disappointing, limp fries.
- Following the soak, it’s equally important to thoroughly dry your potatoes. Pat them vigorously with paper towels or a clean kitchen towel until there is no visible moisture. Any water left on the surface will create steam in the oven, hindering the browning and crisping process.
- Do not skimp on the oil. While we’re baking for a healthier option, a sufficient amount of oil is necessary to achieve that desirable crispy exterior. Ensure that every single potato stick is coated evenly; a light, glossy sheen on all surfaces indicates proper oil distribution.
- Season the potatoes generously and really well. Bland fries are a missed opportunity! Don’t be shy with your chosen seasoning. I often love to experiment with different spice blends, but my all-time personal favorite for perfectly balanced flavor is my homemade seasoned salt.
- Finally, spread the fries in a single layer on your baking sheet and avoid overcrowding it. This is one of the most crucial tips for achieving maximum crispness. If the fries are piled up, they will steam instead of roast, resulting in soft, rather than crispy, results. Use multiple baking sheets if needed to give them enough space to breathe and brown beautifully.
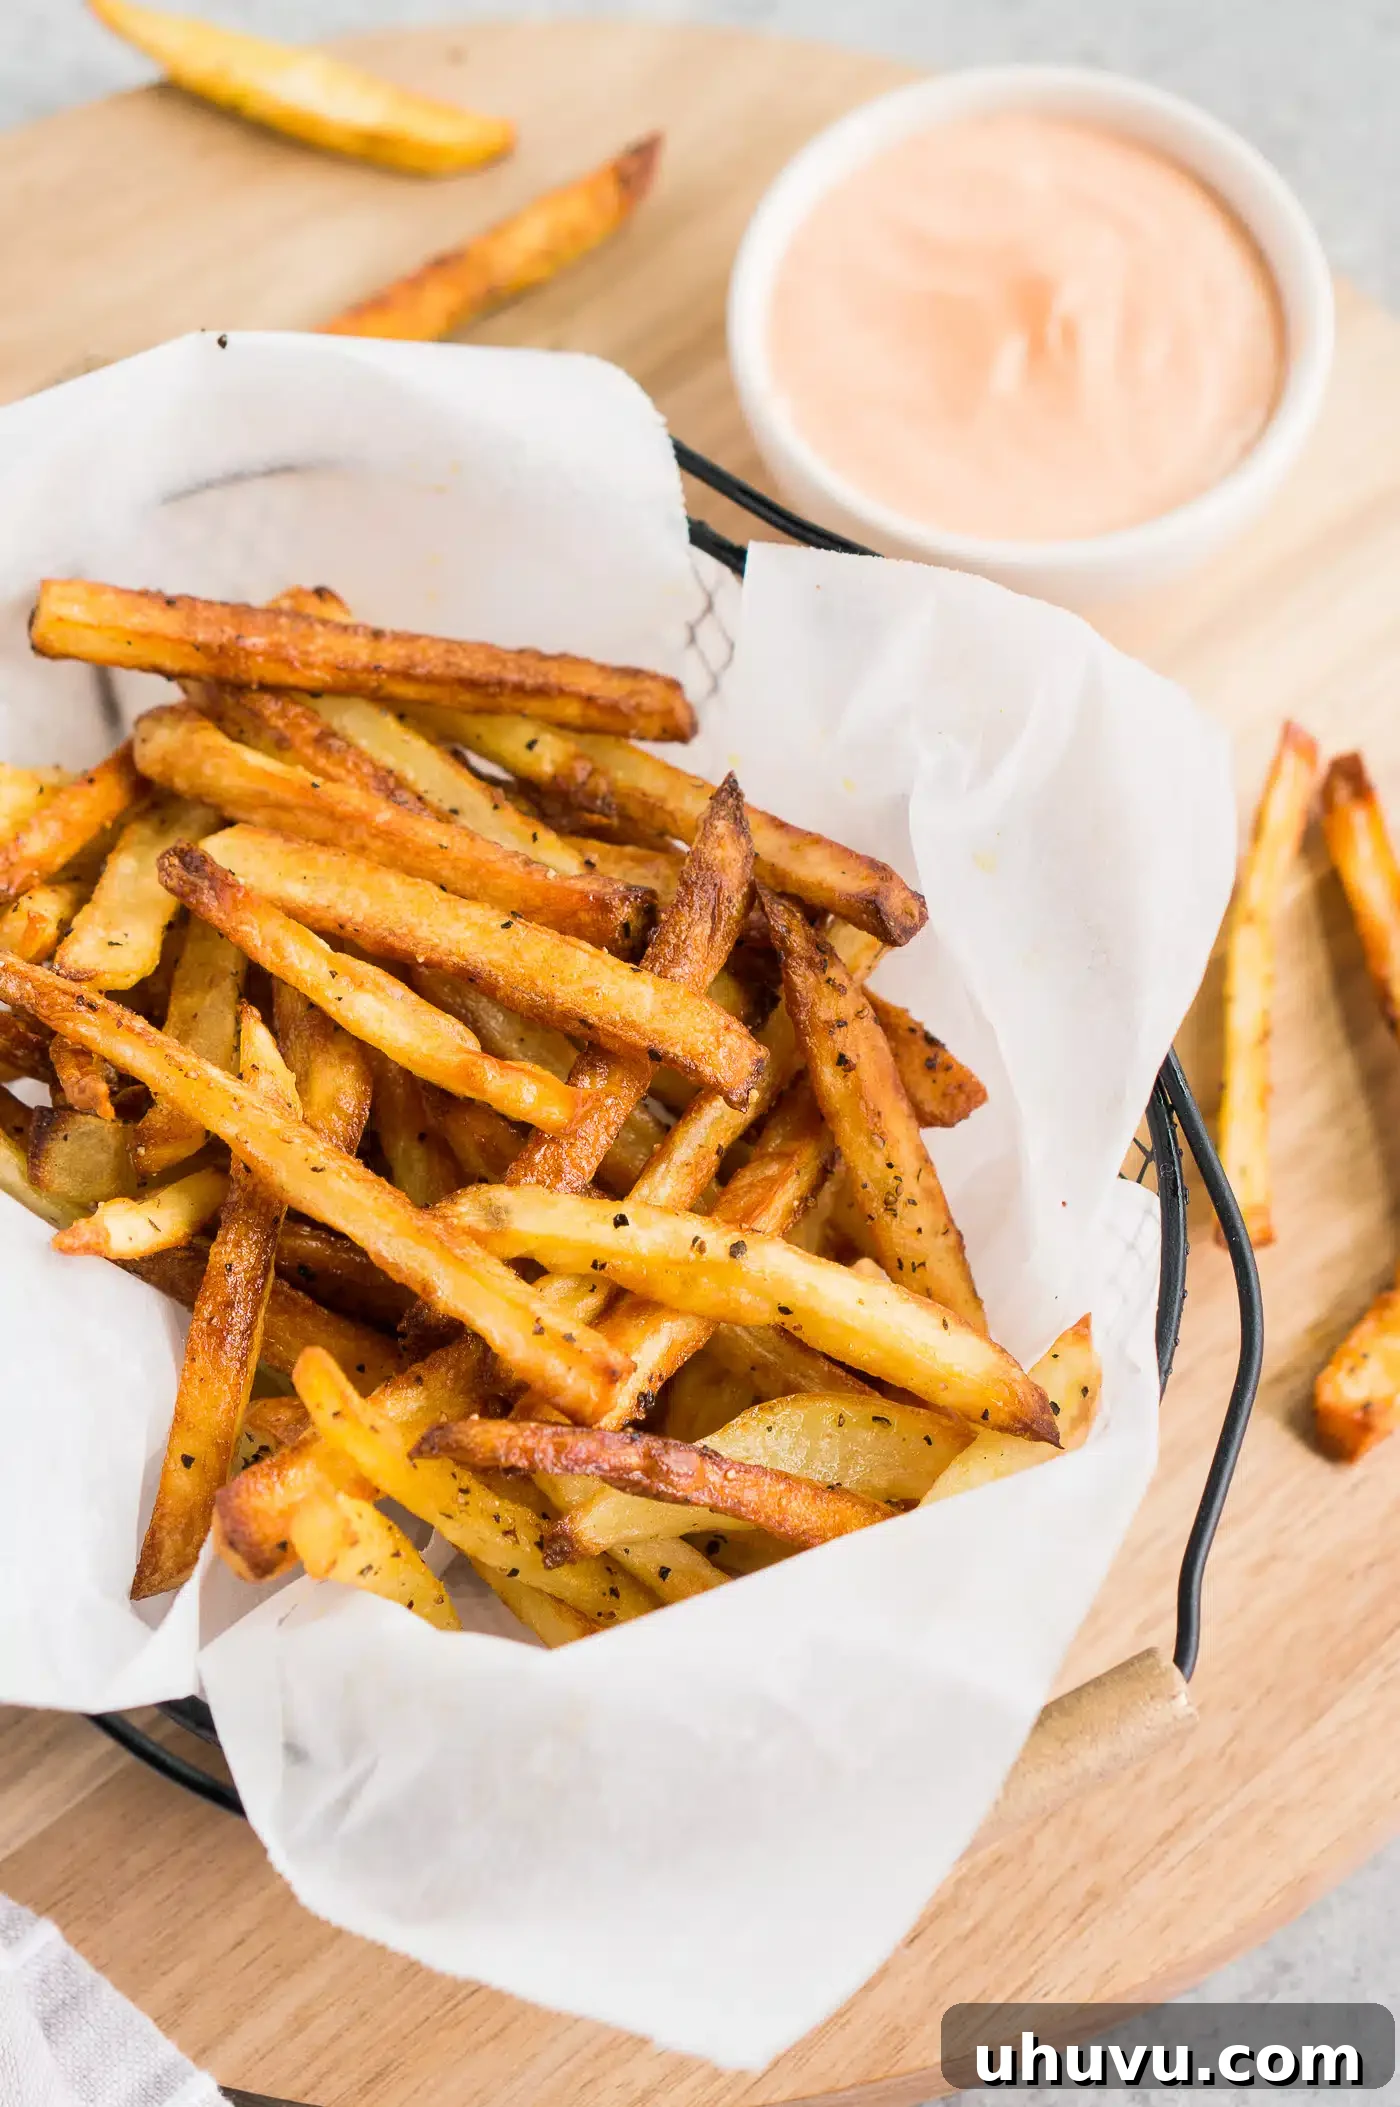
Make Ahead & Leftover Tips for Homemade Fries
These crispy homemade fries are truly at their best when enjoyed fresh, straight out of the oven, when their crispness is at its peak. However, if you’re looking to save time on busy days, you can absolutely get a head start on the prep. You can complete the soaking step (Step 4) ahead of time. Simply cut and soak your potatoes, then dry them thoroughly and store them in an airtight container or a zip-top bag in the refrigerator for up to 24 hours. When you’re ready to bake, just toss them with oil and seasoning, and proceed with baking.
Should you find yourself with any delicious leftovers (a rare occurrence with these fries!), they will keep well for 2 to 3 days in an airtight container in the refrigerator. To bring them back to life and restore their glorious crispness, it’s best to reheat them quickly at a high temperature. Spread them out on a baking sheet and bake at 400°F (200°C) for about 5-10 minutes, or until they are hot and re-crisped to your liking. Avoid microwaving, as this will only make them soggy.
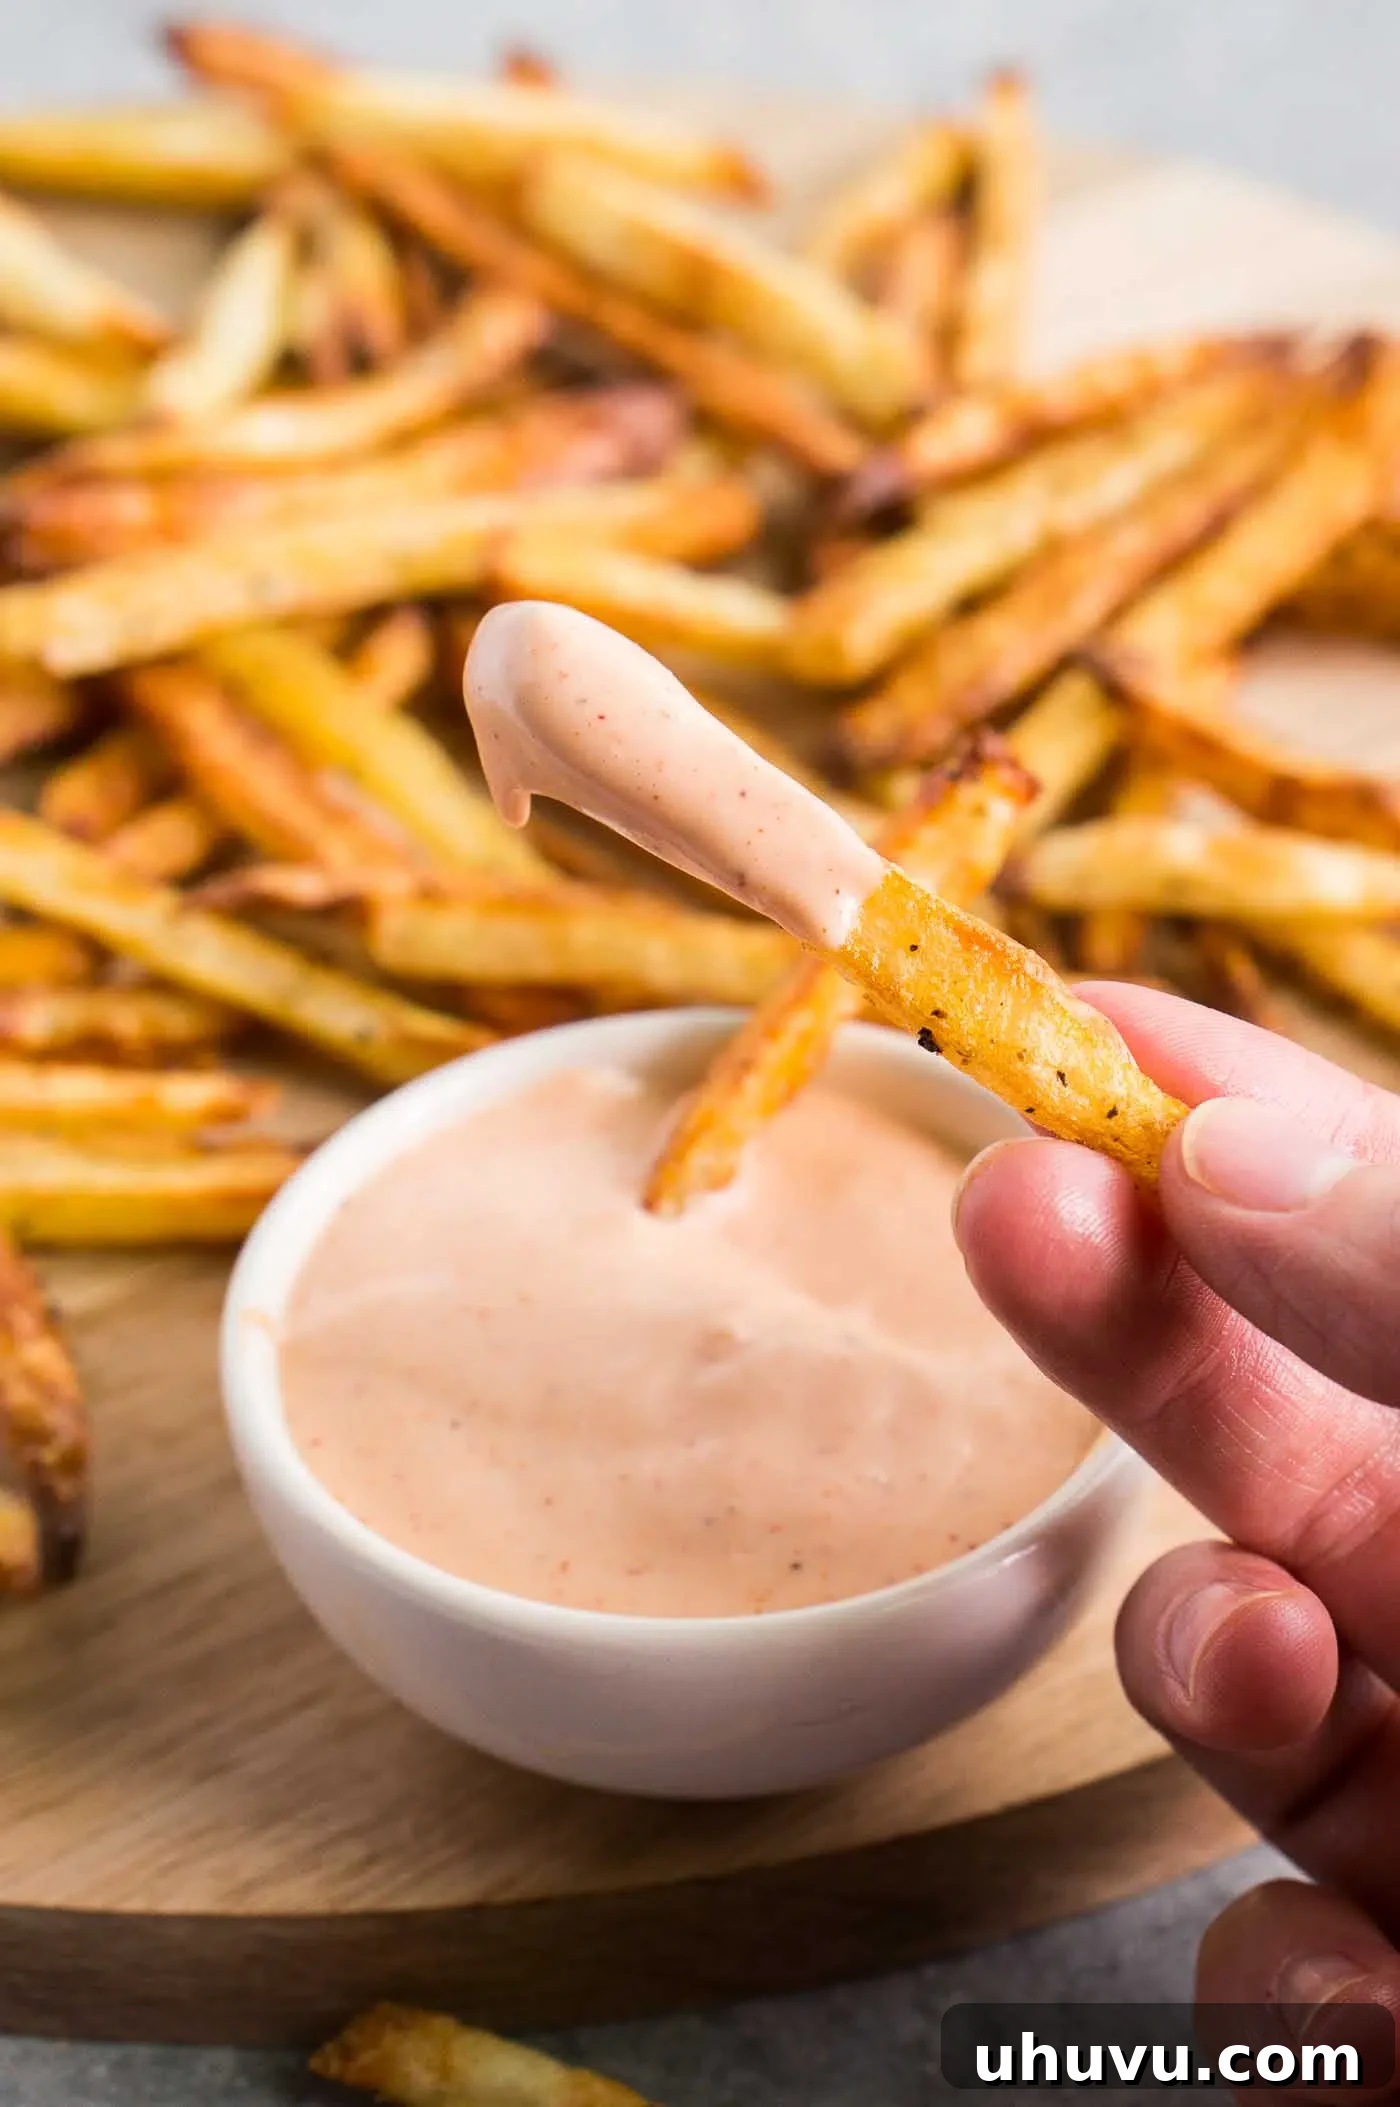
Delightful Ways to Serve Your Homemade Crispy Fries
These easy homemade baked fries are incredibly versatile and can elevate almost any meal. Their satisfying crunch and savory flavor make them a fantastic partner to a wide array of dishes. They are a true staple at our family gatherings, always served with a selection of dips, allowing everyone to customize their experience. While classic ketchup is always a hit, we particularly love pairing them with a vibrant paprika garlic aioli, a creamy garlic aioli, or my special, highly requested homemade fry sauce. Here are some perfect main dishes that beautifully complement these irresistible fries:
- Sticky BBQ Chicken Wings
- Sweet and Savory Maple Mustard Salmon
- Flavorful Crab Cakes
- Hearty Salmon Patties
- Perfectly Cooked Sous Vide Steak
- Crispy Fish Cakes with Jalapeno Remoulade
- Classic juicy burgers or sliders
- Grilled chicken breasts or tenders
- Crisp, fresh green salads for a balanced meal
Recipe Help & Frequently Asked Questions (FAQs)
Yes, absolutely! Homemade baked fries are generally considered a much healthier alternative to their deep-fried counterparts. Potatoes themselves, when consumed in moderation, are nutritious and provide essential vitamins and minerals. By choosing to bake your fries at home, you gain complete control over the ingredients and preparation method. This means you can use minimal amounts of high-quality extra virgin olive oil and avoid unnecessary additives, unhealthy trans fats, or excessive sodium often found in commercially prepared or deep-fried versions. It’s a delicious way to enjoy fries without the guilt!
When I first ventured into making French fries from scratch, I quickly learned the invaluable importance of soaking the potatoes. My initial attempts often resulted in soft, rather than crispy, potato wedges! Whatever you do, do not skip this crucial step. Soaking the cut potatoes in cold water effectively removes excess surface starch. This starch, if left on, can make the fries stick together and prevent them from crisping up properly in the oven. By washing away this starch, you encourage the potatoes to brown beautifully and develop that irresistible crunch. I’ve found that a 30-minute soak works wonders, but you can certainly extend the soaking time if your schedule allows. Remember to pat them thoroughly dry before seasoning for extra crispness!
For the best homemade French fries, starchy potatoes are your top choice. Varieties like Russets or Idaho potatoes are ideal. These types of potatoes have a relatively high starch content and lower moisture, which is the perfect combination for achieving a soft, fluffy interior. Their somewhat rough texture also helps create that ideal crispy exterior when baked. While Yukon Gold potatoes can also work well, they are slightly less starchy. It’s best to avoid waxy potatoes (like red or new potatoes), as their higher moisture content and denser texture will result in fries that are less crispy and more prone to becoming dense or chewy.
More Delicious Potato Recipes to Explore
- Hearty Instant Pot Potato Soup
- Perfectly Seasoned Garlic Roasted Potatoes
- Crispy Baked Potato Wedges
- Comforting Baked Chicken and Potatoes
If you enjoyed this recipe or any other recipe on my blog, please leave a ⭐ star rating and let me know how it went in the 📝 comments below. Your feedback is greatly appreciated! Thanks for visiting!
Pin this now to find it later
Pin It

☝ Tap stars to rate (feature removed in static HTML)
Homemade French Fries
Neli Howard
10 minutes
40 minutes
30 minutes
1 hour 20 minutes
4 servings
Ingredients
- 3 – 4 large baking potatoes (Russet potatoes), about 1.5 lbs, peeled or leave the skin on if you prefer
- 3 – 4 tablespoons olive oil
- ½ Tablespoon seasoned salt
- fry sauce (for serving), optional
Instructions
-
Preheat the oven to 375°F (190°C) and line a baking sheet with parchment paper.
-
Wash and peel potatoes (or leave skins on) and cut them into thin, uniform fries (I prefer ¼” thick).
-
Let potatoes soak in cold water in a bowl for at least 30 minutes to remove excess starch. Remove from water and dry very well with a paper towel.
-
Toss fries with olive oil and seasoned salt until thoroughly coated. Spread evenly in a single layer on the parchment-lined baking sheet, ensuring no overcrowding.
-
Bake for 20 minutes at 375°F (190°C). Then, turn the oven up to 425°F (220°C) and continue cooking for about 20-25 minutes more, or until the fries are golden brown and crispy.
Notes
- The best potatoes for making homemade fries are starchy baking potatoes (like Russet potatoes).
- You can peel the potatoes, but you don’t have to. You can just give them a good scrub to remove any dirt.
- Cut the potatoes as evenly as you can so that they cook through at the same time.
- Make sure you soak the potatoes in water to remove excess starch for crispiness.
- Be sure to thoroughly dry your potatoes after they come out of the water to prevent steaming.
- Don’t skimp on the oil. Make sure all of the potatoes are coated in the oil to get that crispy exterior.
- Season the potatoes really well. You don’t want to eat bland potatoes. I like to experiment with different seasonings, but my personal favorite is this recipe for seasoned salt.
- Spread them in a single layer on your baking sheet and don’t overcrowd it. This will ensure they get crispy all over.
Nutrition
Calories: 219kcal |
Carbohydrates: 29g |
Protein: 3g |
Fat: 11g |
Saturated Fat: 1g |
Polyunsaturated Fat: 1g |
Monounsaturated Fat: 8g |
Sodium: 880mg |
Potassium: 666mg |
Fiber: 2g |
Sugar: 1g |
Vitamin A: 2IU |
Vitamin C: 9mg |
Calcium: 21mg |
Iron: 1mg
Nutrition Disclaimer: Nutritional values are estimates and may vary with ingredients, brands, and portion sizes. For accuracy, use your preferred nutrition calculator.
Enjoyed this recipe? Share your thoughts and rate it below!