
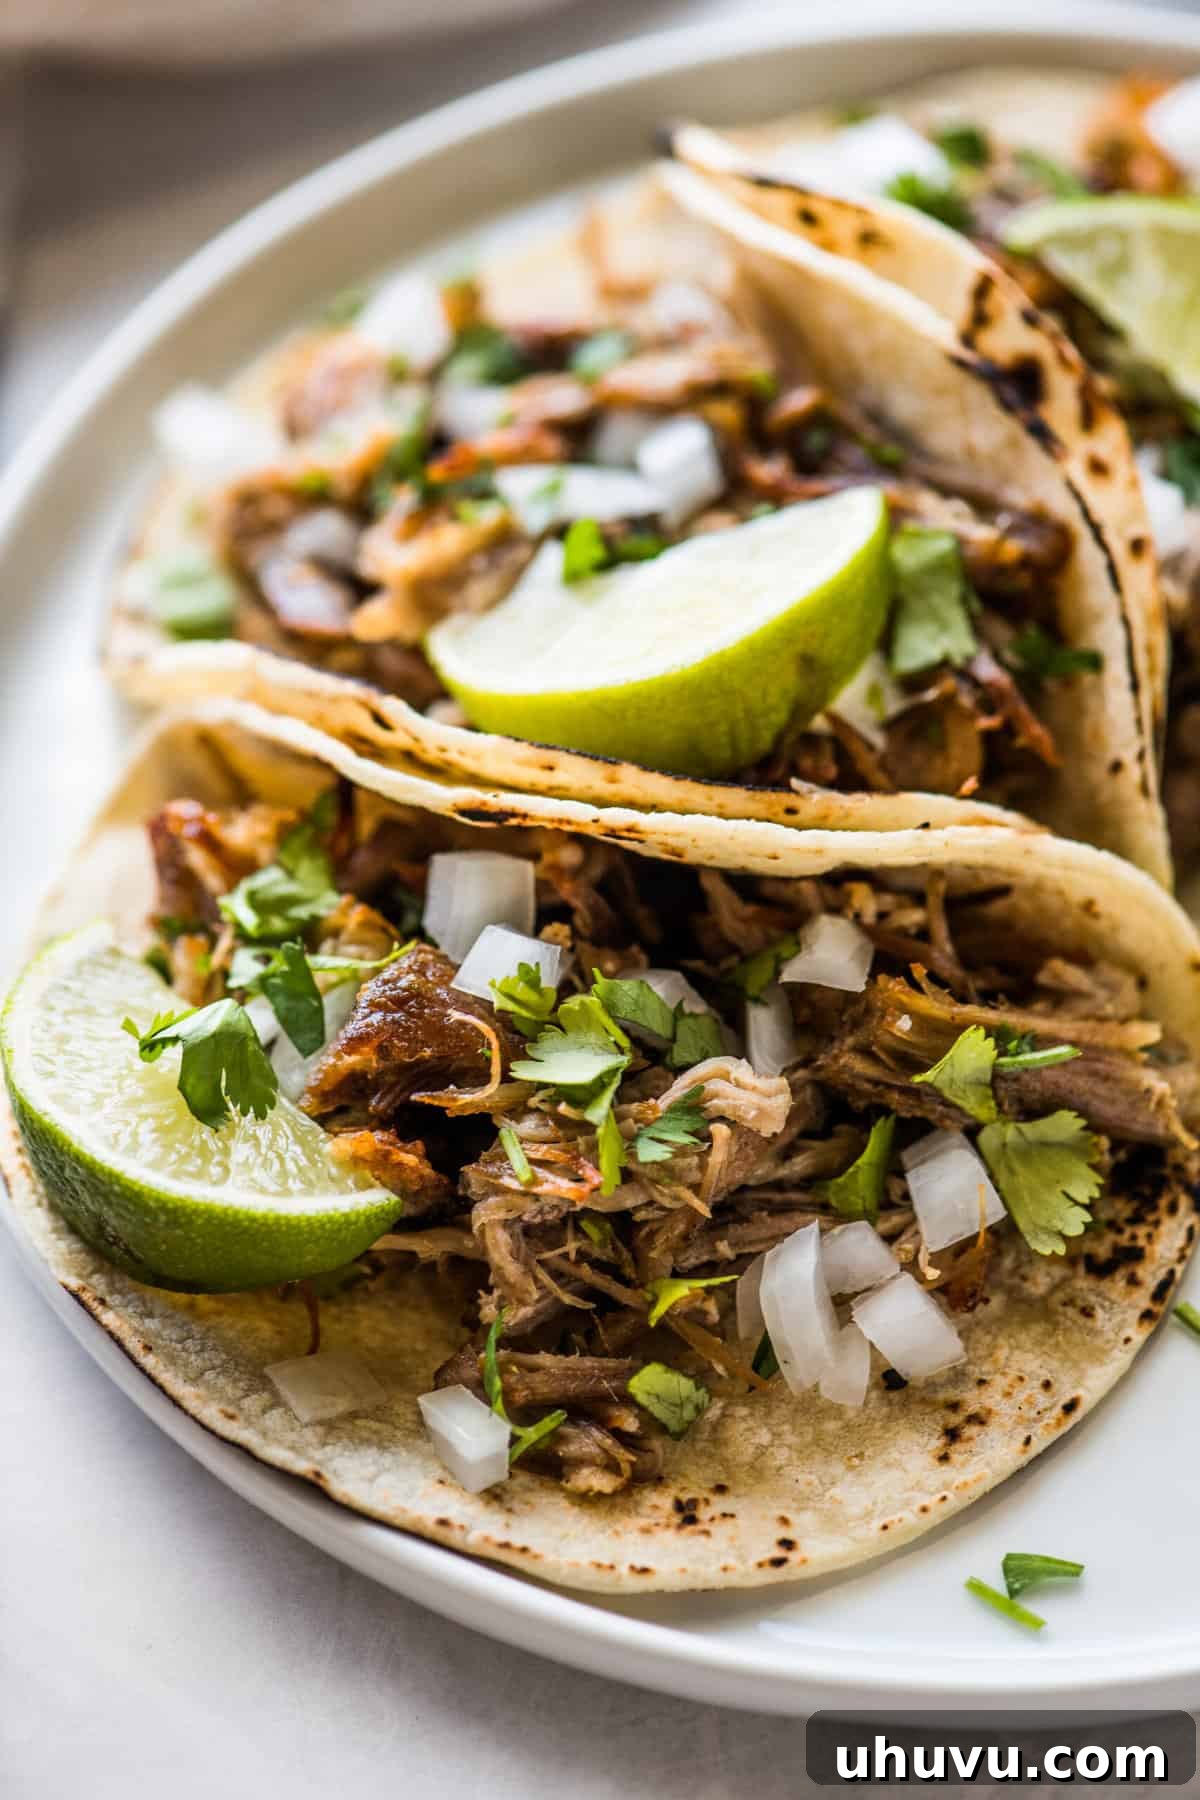
Authentic Carnitas Recipe: Unlock the Secrets of Irresistible Mexican Pulled Pork
Prepare to embark on a culinary journey to the heart of Mexico with this authentic Carnitas recipe! Carnitas, meaning “little meats,” are a cherished staple in Mexican cuisine, renowned for their incredibly tender, juicy, and flavorful slow-cooked pork. Once you master this recipe, you’ll understand why it’s a favorite for creating mouth-watering tacos, burritos, gorditas, tostadas, sopes, nachos, and countless other Mexican delights.
This comprehensive guide provides foolproof instructions for achieving perfect carnitas using your slow cooker, oven, or Instant Pot, ensuring success regardless of your preferred cooking method. Get ready to impress your family and friends with a dish that embodies comfort, tradition, and unforgettable flavor!
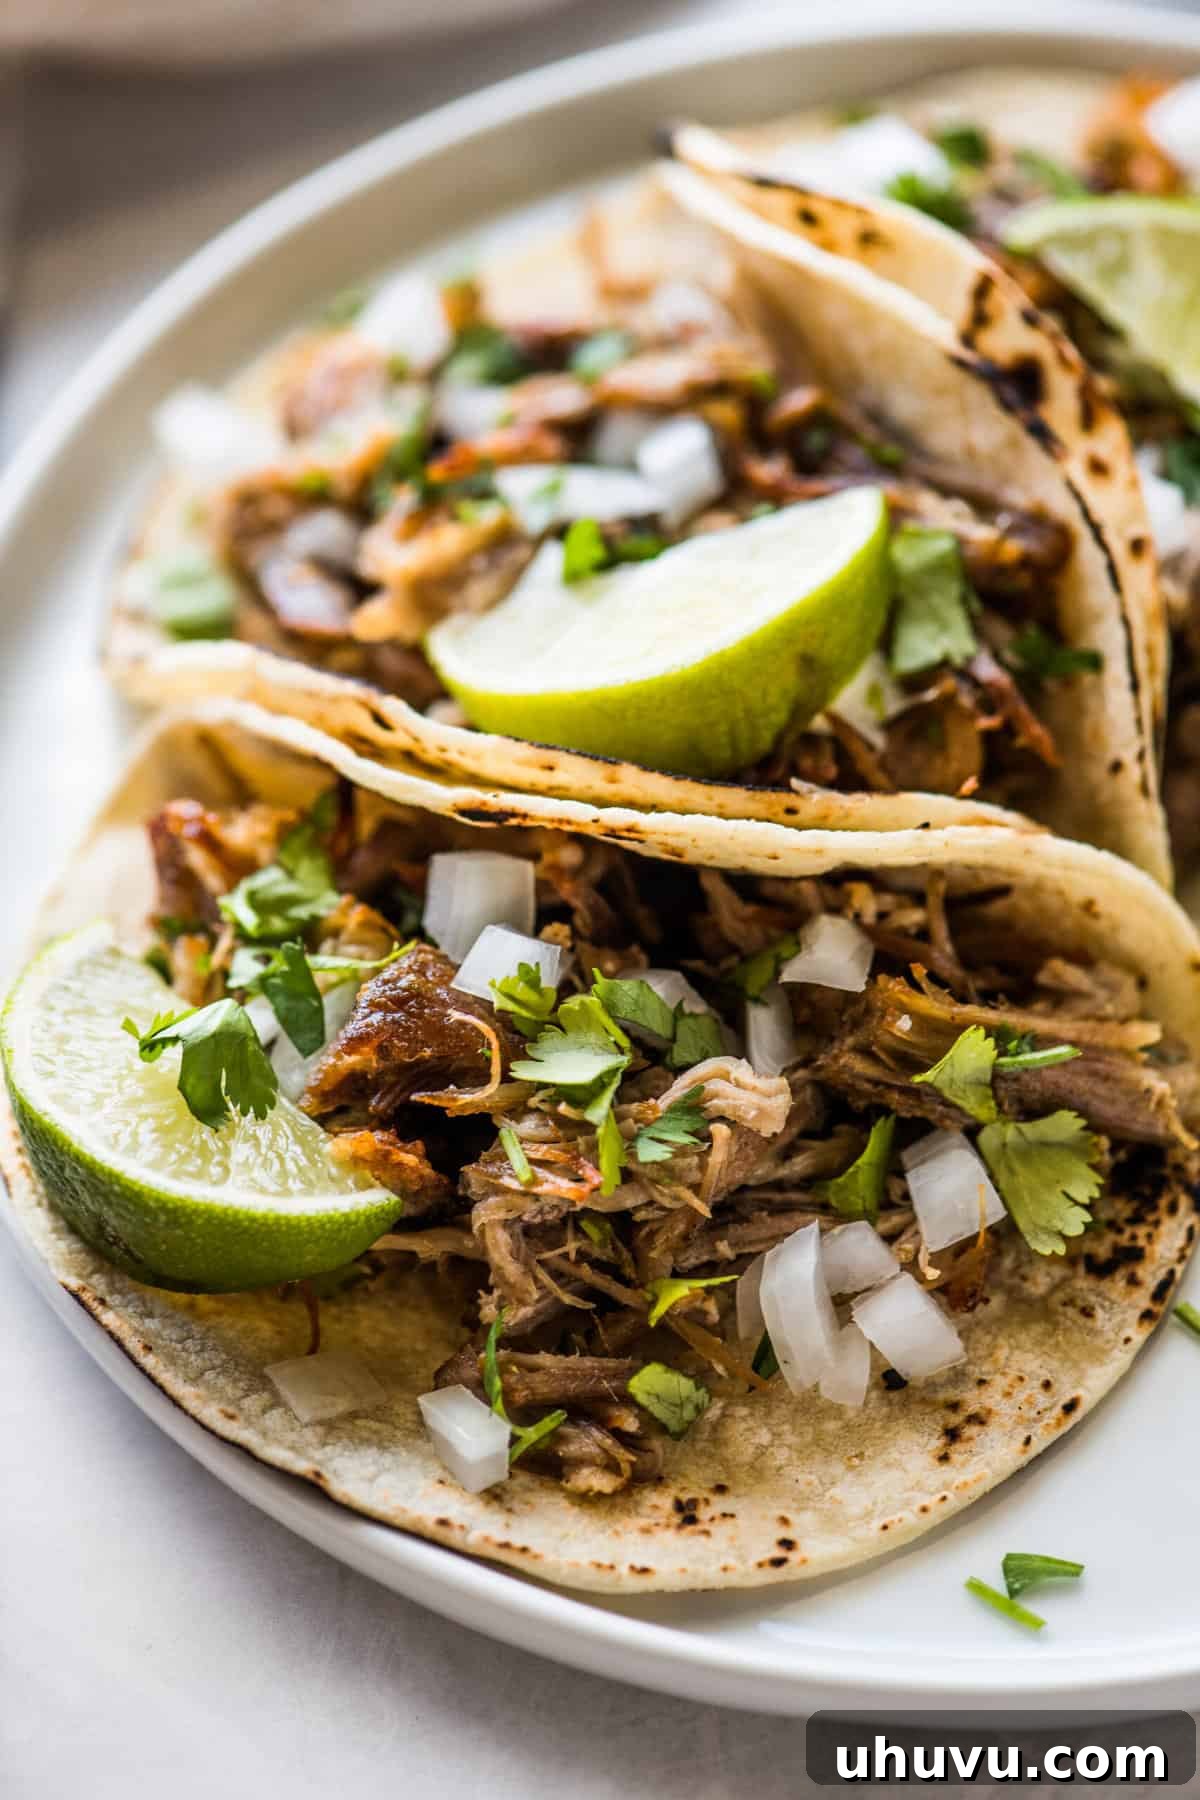
If you’re a connoisseur of Mexican food, the delightful taste and texture of carnitas are undoubtedly familiar to you. These succulent pieces of pork are a testament to the magic of slow cooking, transforming a simple cut of meat into an extraordinary culinary experience. Their tender, juicy consistency and rich, savory flavor make them an ideal choice for a satisfying meal that requires minimal hands-on preparation.
Carnitas are not only incredibly versatile but also perfect for entertaining. Their ease of preparation in large batches and excellent reheating qualities make them a go-to dish for celebrations like Cinco de Mayo, game days, or any festive gathering. Imagine serving up a spread of homemade tacos, tostadas, vibrant salads, loaded nachos, hearty burritos, flavorful bowls, or cheesy quesadillas – all featuring your perfectly cooked carnitas. This recipe is designed to be incredibly easy and consistently yields perfect results every time, truly a fail-proof approach to authentic Mexican pulled pork.
What Are Carnitas? Understanding This Mexican Delicacy
Carnitas are often described as the Mexican equivalent of pulled pork, but with a unique and distinctive character. The word “carnitas” itself is Spanish for “little meats,” a fitting description for the small, flavorful, and incredibly tender pieces of pork that result from this traditional cooking method. Originating from the state of Michoacán, Mexico, authentic carnitas are traditionally prepared by simmering pork in its own fat (lard) for several hours until it’s exceptionally tender. The meat is then often fried or broiled until deliciously crispy on the edges, creating a delightful contrast of textures.
The key to their melt-in-your-mouth tenderness and rich flavor lies in the choice of meat: pork shoulder, also known as pork butt. This cut is favored for its higher fat content and ample connective tissue, which, through the long, slow cooking process, renders down to keep the meat moist, juicy, and ultimately, fall-apart tender. While traditional methods involve large copper pots and hours of simmering, this recipe adapts the beloved flavors and textures for home cooks using more accessible methods.
Beyond being a fantastic filling for tacos, burritos, and nachos, carnitas can also be enjoyed as a hearty main dish on their own, often accompanied by rice and beans. Their versatility makes them a beloved component of any Mexican-inspired feast.
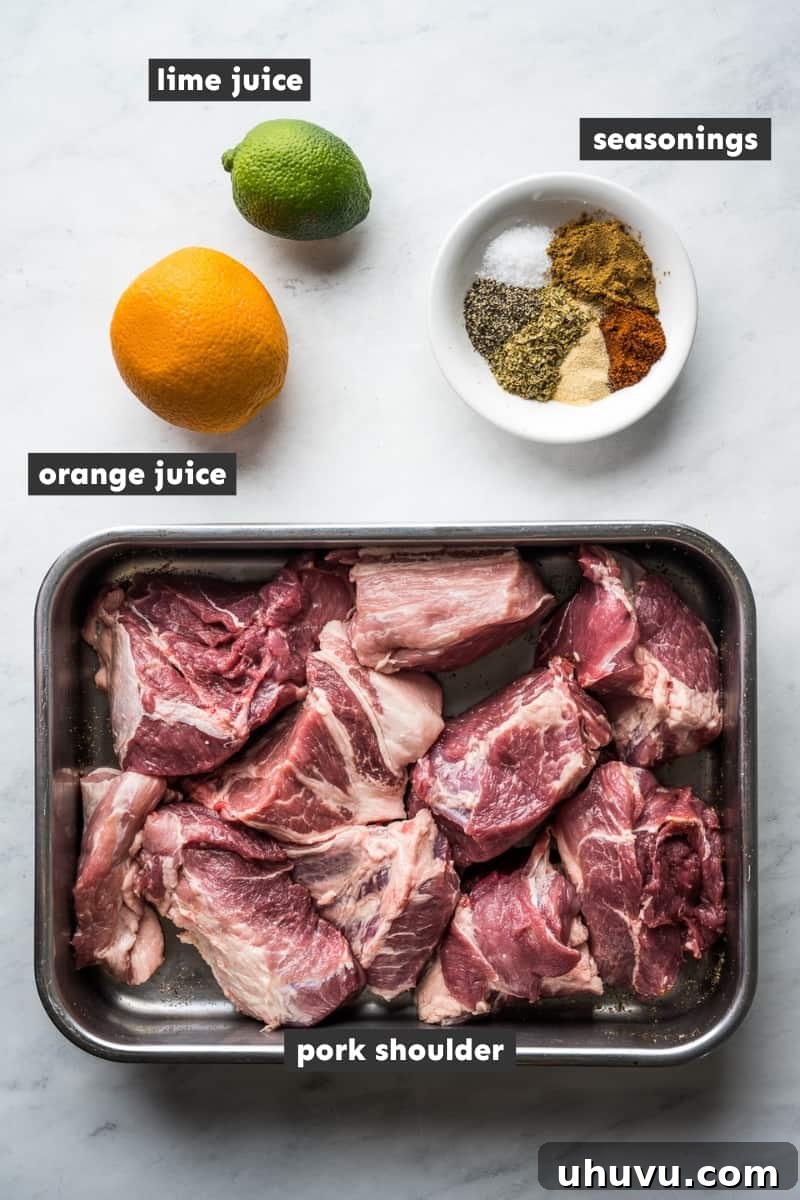
Key Ingredients for Flavorful Carnitas
Crafting exceptional carnitas starts with selecting the right ingredients. Each component plays a vital role in developing the deep, rich, and balanced flavors characteristic of this iconic dish.
- Pork Shoulder (or Pork Butt): This is the star of the show. I highly recommend using a bone-in or boneless pork shoulder, cut into large 3-4 inch pieces. Its generous marbling and higher fat content are crucial for producing genuinely juicy, tender, and irresistibly succulent carnitas that effortlessly shred every single time. As the pork slow cooks, the fat renders, basting the meat and contributing immense flavor and moisture.
- Orange and Lime Juice: These citrus juices add a bright, acidic counterpoint to the rich pork and spices. Beyond just flavor, the acidity helps to tenderize the pork, breaking down muscle fibers and ensuring an even more tender result. It also beautifully balances the savory spice blend, adding a subtle tang that’s essential for authentic Mexican carnitas.
- Aromatic Seasonings: A carefully chosen blend of pantry staples creates the signature, mouth-watering flavor profile.
- Cumin: Imparts a warm, earthy, and slightly pungent flavor that is foundational in Mexican cuisine.
- Chili Powder: Adds a mild, smoky depth and a hint of warmth without overpowering the other flavors.
- Garlic Powder & Onion Powder: These provide a concentrated, savory base that enhances the overall umami of the pork.
- Mexican Oregano: Distinct from Mediterranean oregano, Mexican oregano has stronger, more citrusy, and slightly peppery notes, essential for an authentic flavor.
- Kosher Salt & Freshly Ground Black Pepper: Fundamental for seasoning, bringing out all the natural flavors of the pork and spices.
This combination of spices ensures every bite is packed with incredible, finger-licking goodness!
Step-by-Step Guide to Making Perfect Carnitas
Achieving perfectly tender and crispy carnitas is simpler than you might think. Follow these easy steps for a delicious meal:
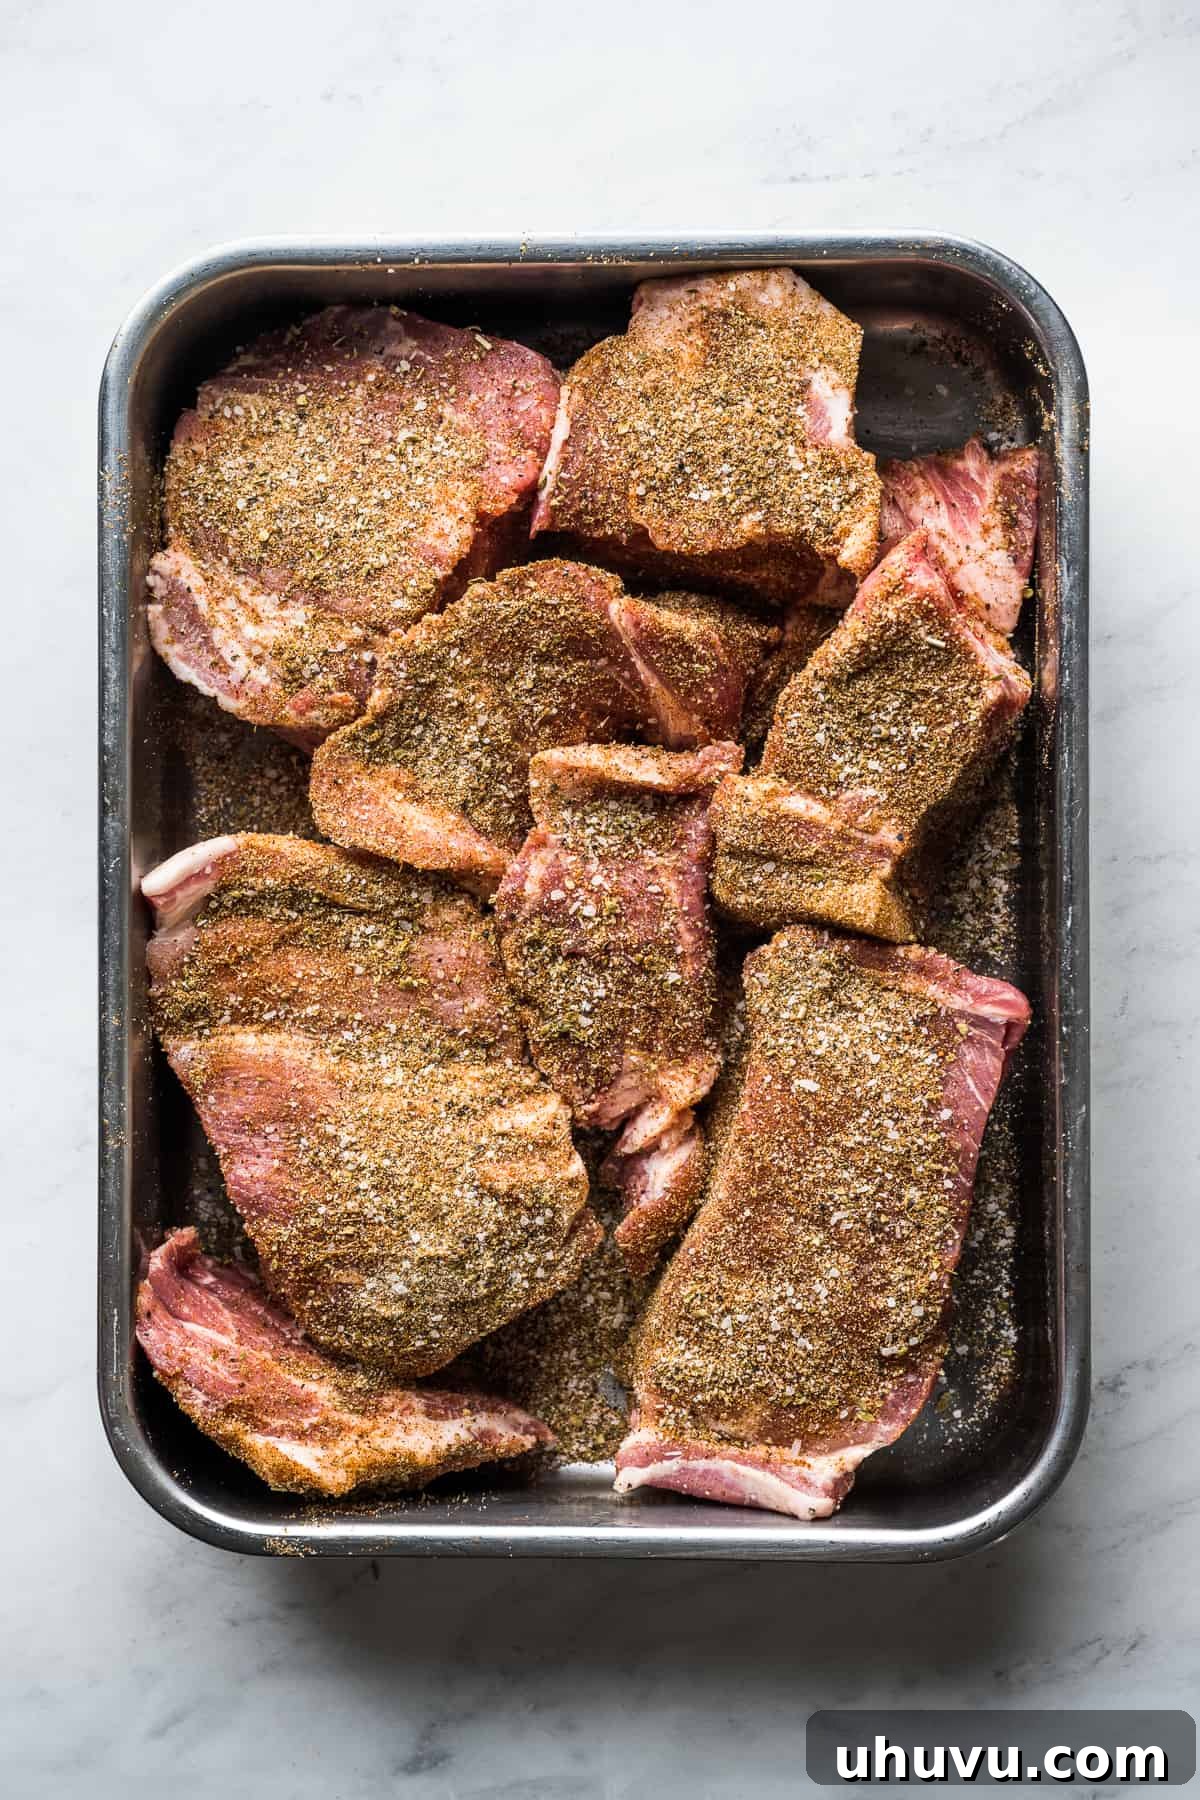
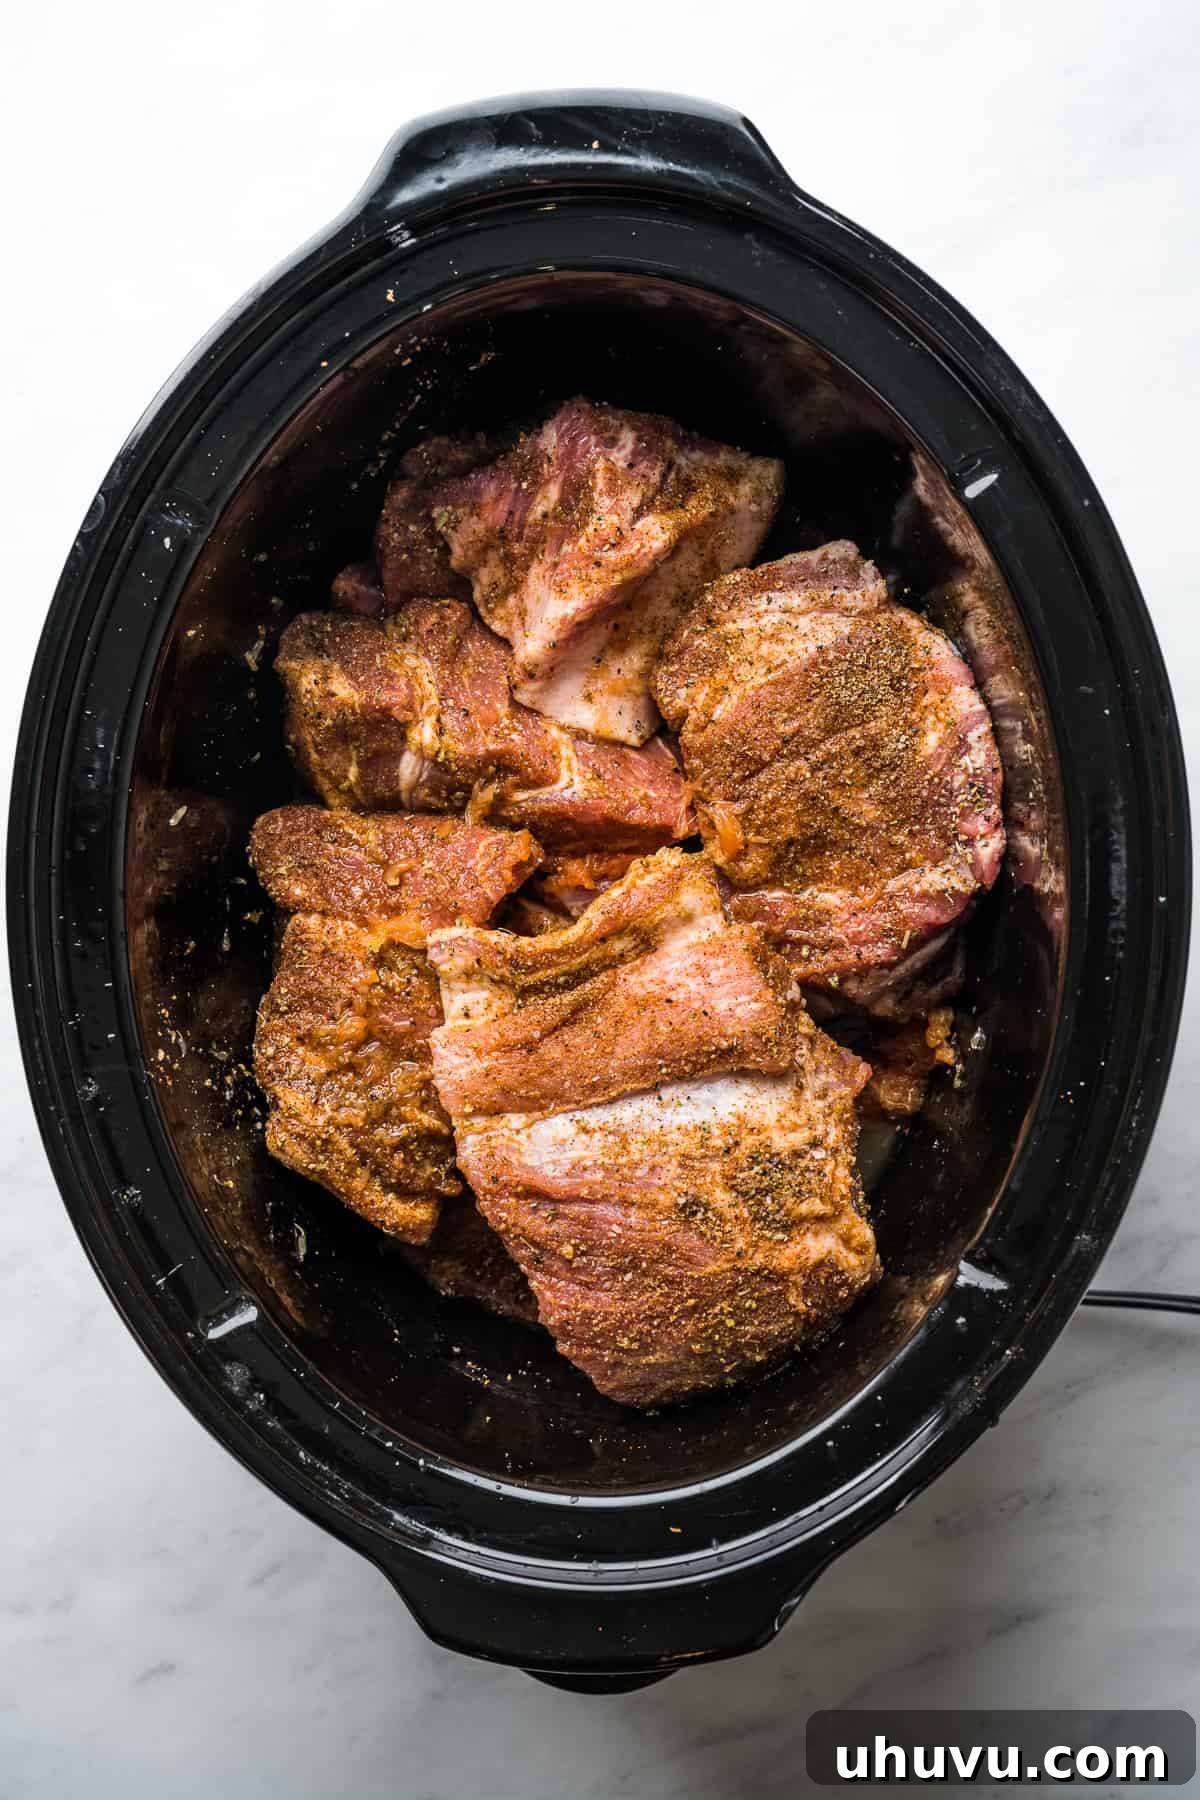
1. Prepare and Season the Pork: Begin by patting your pork shoulder pieces dry with paper towels. In a small bowl, combine the kosher salt, freshly ground black pepper, ground cumin, chili powder, garlic powder, dried oregano, and onion powder. Generously rub this spice blend over all sides of the pork shoulder chunks, ensuring each piece is thoroughly coated. This initial seasoning is crucial for building deep flavor.
2. Add Liquids to the Slow Cooker: Pour the fresh orange juice and lime juice into the bottom of your slow cooker. These citrus juices contribute flavor and tenderness. Carefully place the seasoned pork shoulder pieces on top of the liquid in the slow cooker.
3. Slow Cook to Perfection: Cover your slow cooker with its lid. Cook the carnitas on the “low” setting for 8 hours, or on the “high” setting for 4-5 hours. The pork is ready when it is incredibly tender and easily pulls apart with a fork. The long, slow cooking process allows the fat to render and the connective tissues to break down, resulting in succulent meat.
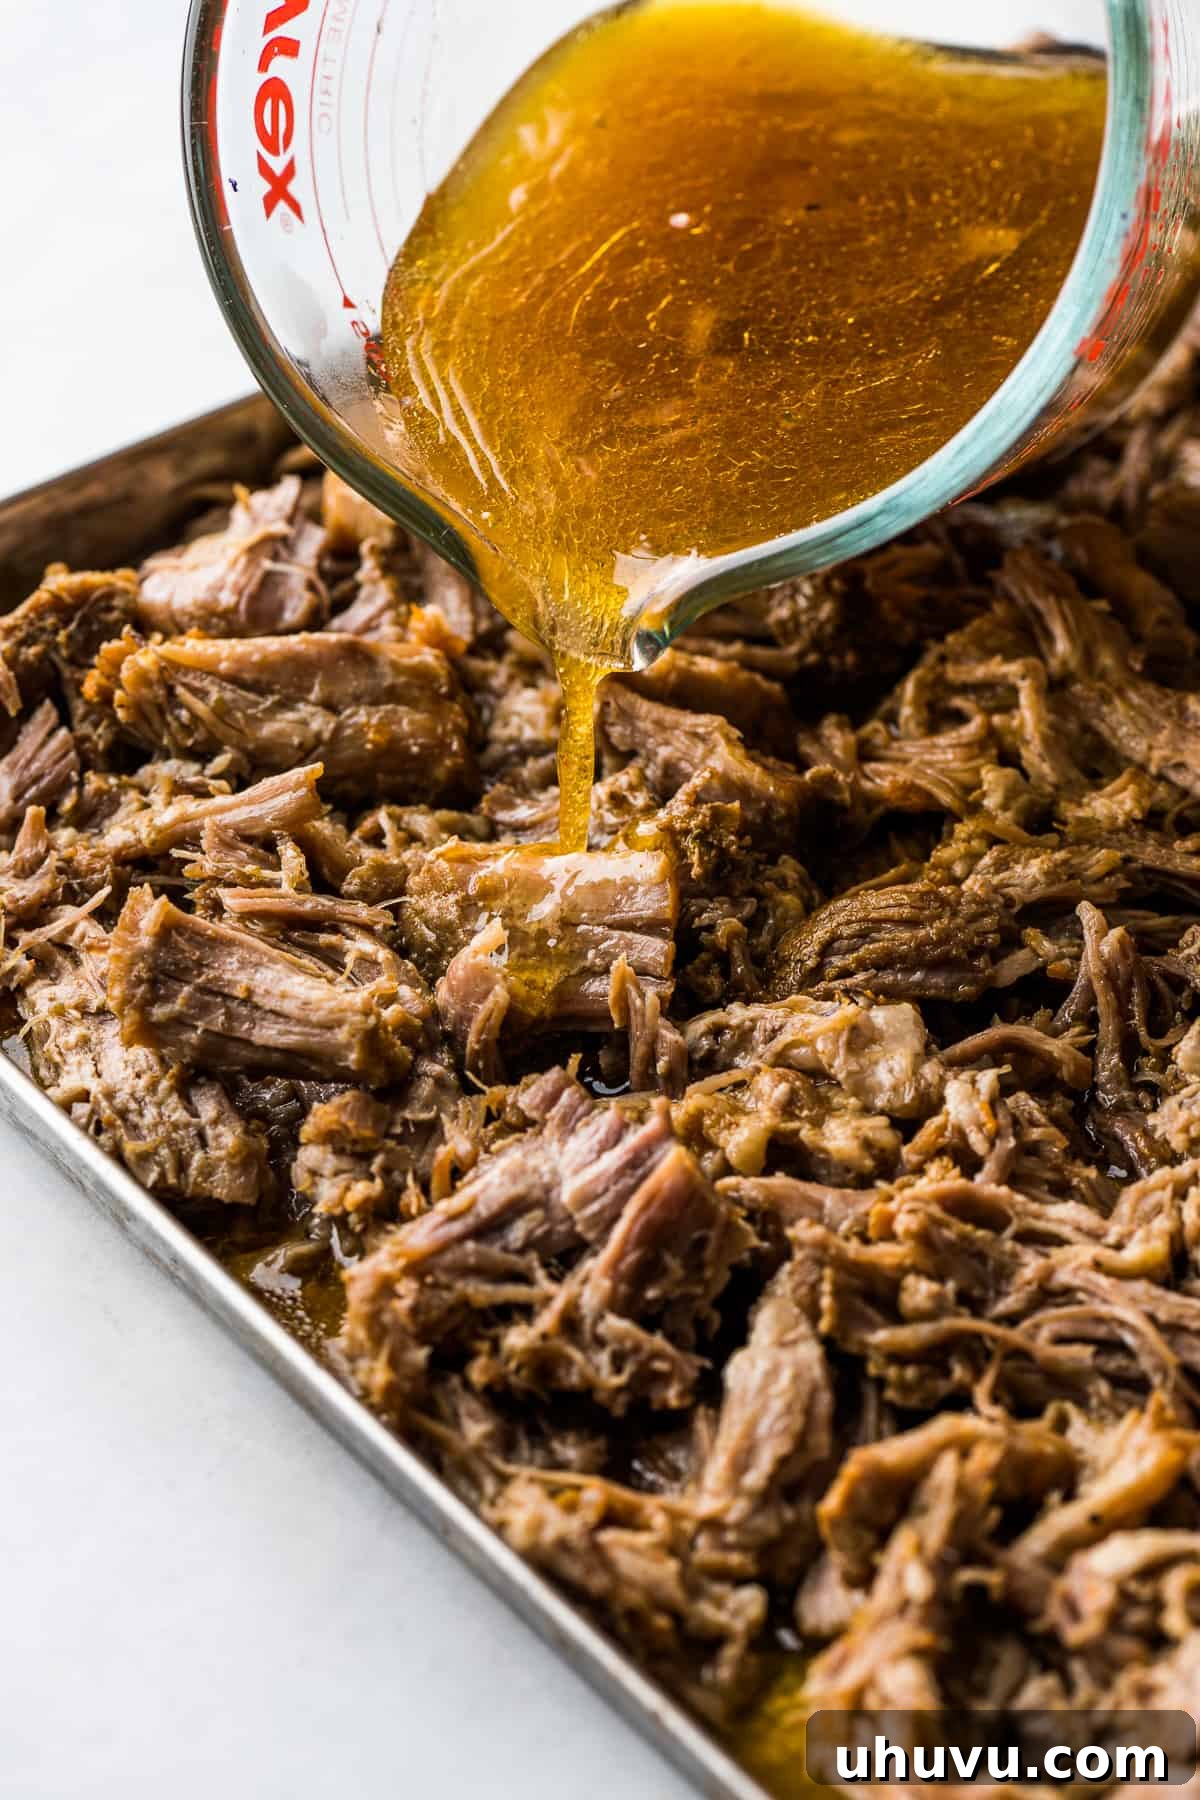
4. Shred the Pork: Once cooked, use a slotted spoon to carefully transfer the tender meat from the slow cooker onto a large baking sheet. Discard any large pieces of rendered fat or bone. Using two forks, shred the pork into bite-sized pieces. The meat should be so tender that it practically falls apart on its own.
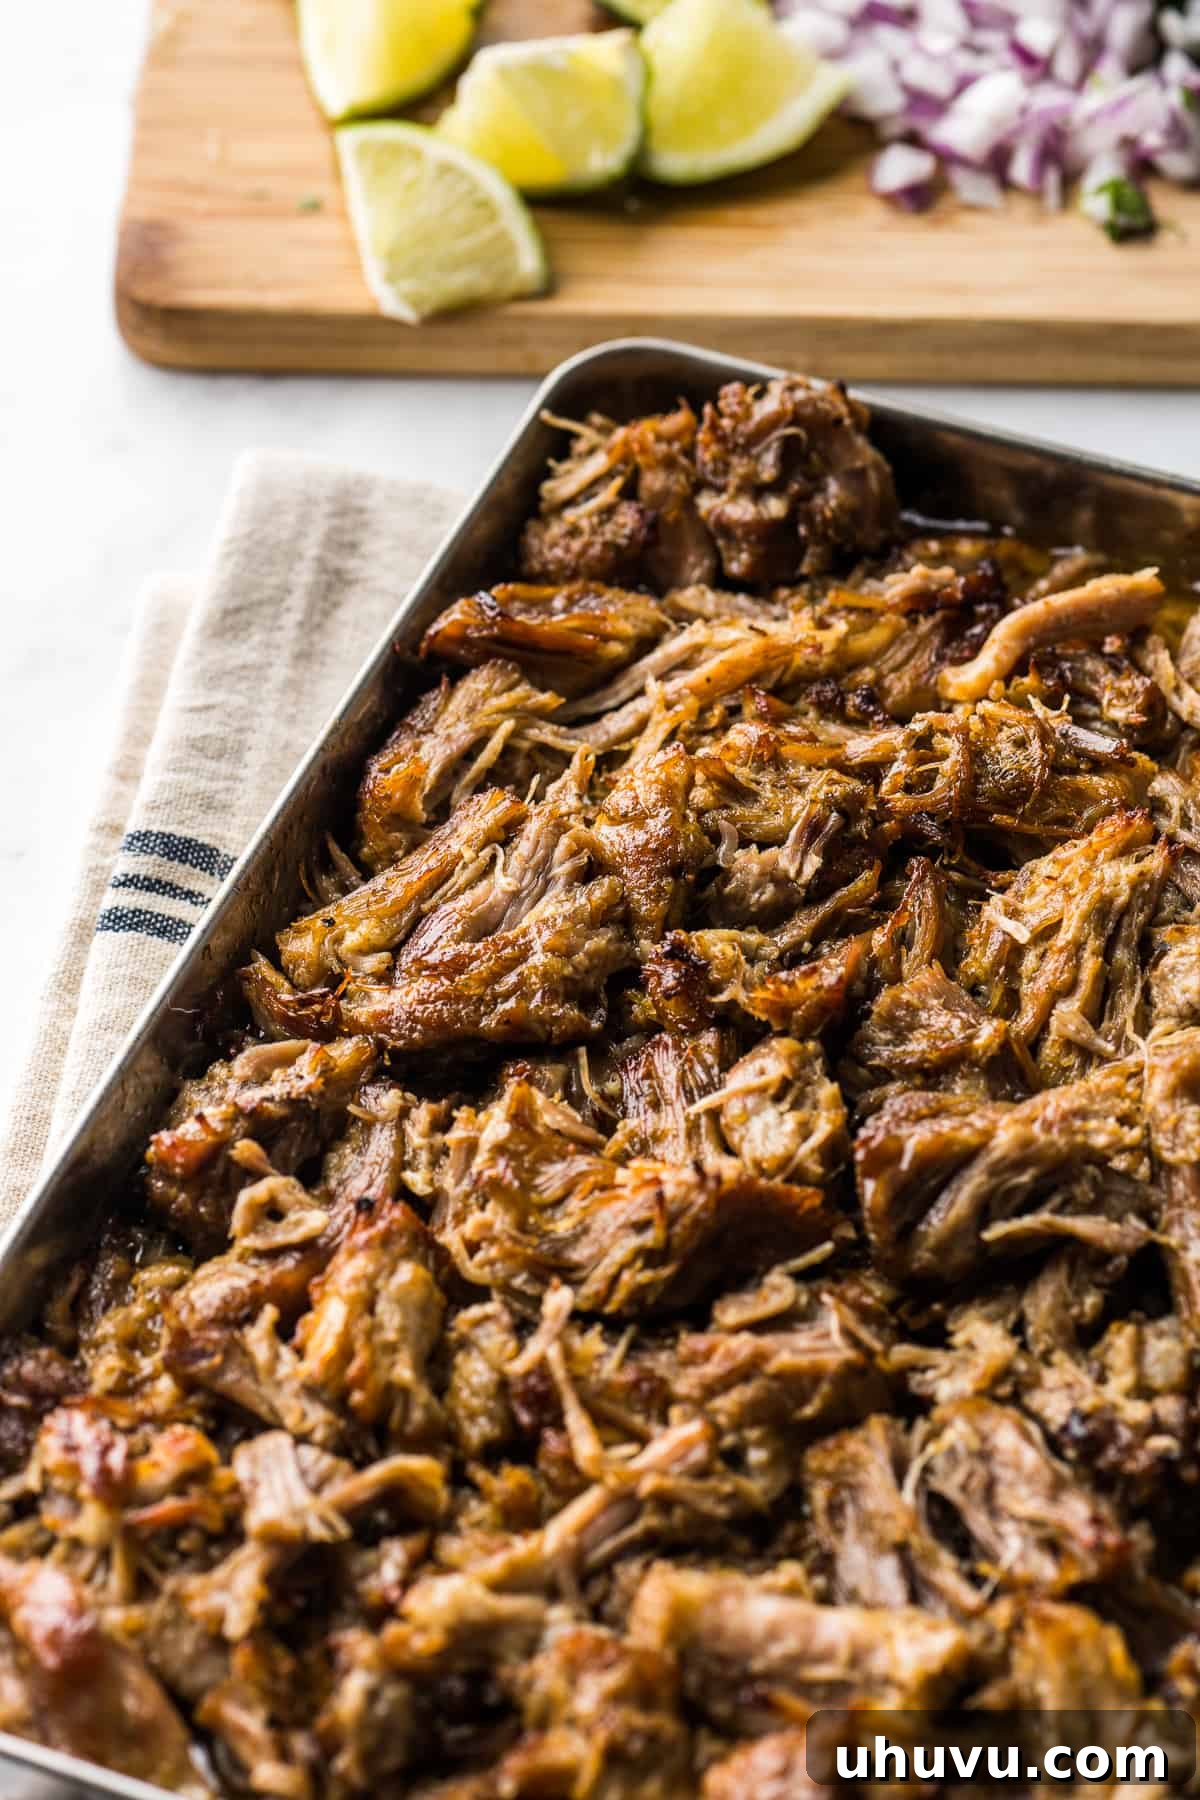
5. Crisp Up the Carnitas (Optional but Highly Recommended): For that irresistible crispy texture, position an oven rack directly under your broiler and preheat the broiler to high. Ladle about ½ to 1 cup of the flavorful cooking liquid from the slow cooker over the shredded pork on the baking sheet. Toss the pork gently to ensure it’s well coated with the liquid. Broil for 8 to 10 minutes, stirring the carnitas halfway through to ensure even browning and crispiness. Keep a close eye on it to prevent burning, as broilers can vary in intensity.
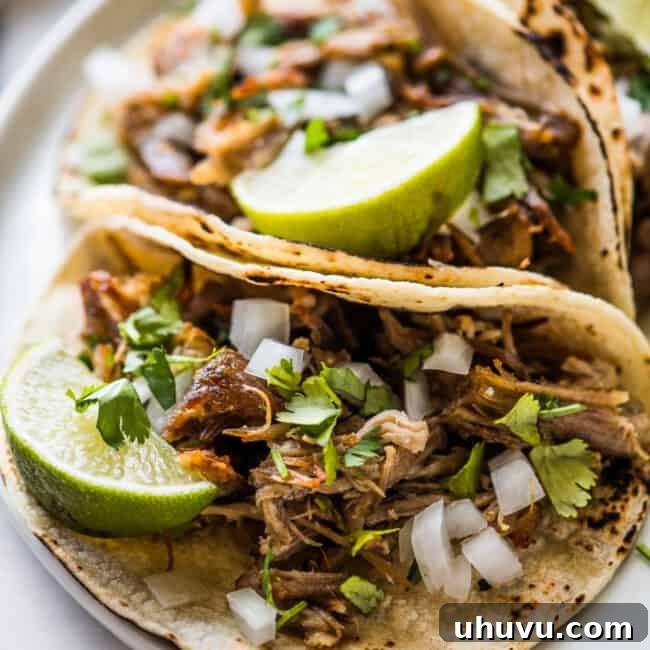
6. Serve and Enjoy: Garnish your freshly made carnitas with a sprinkle of chopped cilantro and an extra squeeze of fresh lime juice for brightness. Serve immediately in your favorite Mexican dishes like tacos, gorditas, tostadas, burritos, nachos, salads, or bowls. The combination of tender and crispy textures with rich, savory flavors is truly divine!
The comprehensive recipe card below provides detailed instructions for preparing carnitas not only in the slow cooker but also in the oven and Instant Pot.
Frequently Asked Questions About Carnitas
No, crisping the carnitas is entirely optional. While many prefer the delightful contrast of crispy edges and tender interiors, you can absolutely serve them directly out of the slow cooker or pot. They will still be incredibly flavorful and juicy!
Pork shoulder (or pork butt) is the traditional and recommended cut for carnitas due to its ideal fat content and connective tissue. However, you can experiment with leaner cuts like pork loin or pork tenderloin. If you choose a leaner cut, be aware that the final product might not achieve the same level of tenderness and juiciness as fattier cuts. To compensate, I recommend adding 2 to 4 tablespoons of extra fat (such as olive oil, coconut oil, or lard) and 1 cup of liquid (broth or water) to help keep the meat moist during cooking.
Absolutely! Carnitas are an excellent make-ahead dish. In fact, many believe the flavors deepen and improve when made a day in advance, allowing the spices to fully meld with the pork. You can cook them through and store them, then crisp them up just before serving.
Yes! This versatile recipe can be adapted for various cooking methods. You’ll find detailed Instant Pot and oven instructions conveniently located in the “Notes” section at the bottom of the recipe card.
Yes, for the slow cooker method, the amount of liquid specified (orange and lime juice) is sufficient. Pork shoulder is a well-marbled cut of meat, and as it slow cooks, its natural fat renders out, creating a rich and flavorful cooking liquid that keeps the meat incredibly moist. However, if you are using the Instant Pot or oven methods, you *will* need to add additional liquid, typically 1 cup of broth or water, as outlined in the recipe notes.
Delightful Ways to Serve Carnitas
Once you’ve prepared a batch of glorious carnitas, the possibilities for delicious meals are endless. Here are some of my favorite ways to enjoy this versatile Mexican pulled pork throughout the week:
- Classic Tacos: This is perhaps the most iconic way to enjoy carnitas. Load your favorite warm corn tortillas with a generous portion of crispy, tender carnitas. Top them with classic taco accompaniments such as finely diced white onions, fresh chopped cilantro, crumbled queso fresco, and a final refreshing squeeze of lime juice. Add your favorite salsa for an extra kick!
- Hearty Burritos: Create a fulfilling meal by wrapping carnitas in large flour tortillas. Combine them with fluffy cilantro lime rice, savory beans, shredded cheese, and a dollop of your favorite salsa or sour cream for a truly satisfying burrito experience.
- Wholesome Carnitas Bowls: For a lighter or customizable option, build a delicious bowl. Start with a base of cooked rice or quinoa, then layer on your carnitas. Enhance it with toppings like hearty Instant Pot black beans, vibrant roasted vegetables, zesty salsa verde, and creamy guacamole.
- Traditional Mexican Favorites: Elevate other beloved Mexican dishes with carnitas. Stuff them into thick, savory gorditas with melted cheese, serve them atop crispy sopes, generous huaraches, or crunchy homemade tostada shells for an authentic and flavorful experience.
- Carnitas Nachos and Quesadillas: Layer carnitas over tortilla chips with cheese and your favorite nacho toppings, or melt them between two tortillas for an irresistible quesadilla.
Storing and Freezing Your Carnitas
One of the best qualities of carnitas is how well they store and reheat, making them perfect for meal prepping or enjoying leftovers. Proper storage ensures their juicy texture and rich flavor are preserved.
For refrigeration, always store cooked carnitas in an airtight container along with some of their flavorful cooking liquid. This liquid acts as a protective layer, keeping the pork moist and preventing it from drying out. Stored this way, carnitas will remain fresh in the refrigerator for up to one week.
If you wish to store them for longer, carnitas freeze beautifully. First, allow the carnitas to cool completely in the refrigerator. Then, transfer them to an airtight freezer bag or a freezer-safe container, ensuring you include some of the cooking liquid. Leave about 2 inches of space at the top of the bag or container to allow for expansion during freezing. Carnitas can be safely stored in the freezer for 4-6 months without significant loss of quality.
When it’s time to reheat, you have several excellent options to restore their deliciousness:
- Skillet Reheating: For best results, heat the carnitas in a skillet over medium heat. Add a splash of the reserved cooking liquid or a little broth to prevent dryness. Cook until thoroughly warmed through, and if desired, continue cooking until the edges begin to crisp up again.
- Microwave Reheating: For a quick reheat, place carnitas in a microwave-safe dish, covered with a damp paper towel. This helps retain moisture. Microwave in short bursts until heated through.
- Oven Broiling for Crispness: To restore that signature crispy texture, spread the carnitas (ideally thawed if frozen) on a baking sheet and broil for a few minutes, similar to the initial crisping step. Keep a close watch to avoid burning.
More Delicious Mexican Recipes
- Birria
- Mole Sauce (Mole Poblano)
- Barbacoa
- Elotes (Mexican Street Corn)
- Carne Asada
- Tacos al Pastor
- Chicken Enchiladas
- Chicken Tacos
Carnitas (Mexican Pulled Pork)
Ingredients
For the Carnitas
- 4-5 pounds pork shoulder, cut into large 4-inch pieces
- 1 tablespoon kosher salt
- 4 teaspoons ground cumin
- 2 teaspoons chili powder
- 2 teaspoons garlic powder
- 2 teaspoons dried oregano (Mexican oregano preferred)
- 2 teaspoons onion powder
- 1 teaspoon freshly ground black pepper
- 4 tablespoons orange juice (about 1 large orange)
- 2 tablespoons lime juice (about 1 lime)
Instructions
-
Season all sides of the pork shoulder generously with the combined salt, ground cumin, chili powder, garlic powder, dried oregano, onion powder, and black pepper.
-
Pour the orange juice and lime juice into the slow cooker, then carefully place the seasoned pork shoulder pieces on top.
-
Cover the slow cooker and cook on the low setting for 8 hours, or on the high setting for 4-5 hours, until the pork is incredibly tender and easily shredded. (Refer to the notes section for alternative cooking methods using an Instant Pot or oven.)
-
Once cooked, use a slotted spoon to transfer the tender meat onto a large baking sheet. Using two forks, shred the pork into desired pieces.
-
To achieve crispy carnitas, adjust an oven rack to be directly under the broiler and preheat the broiler to high heat.
-
Pour about ½ to 1 cup of the rich carnitas cooking liquid over the shredded pork on the baking sheet. Toss to coat evenly. Broil for 8 to 10 minutes, stirring the pork halfway through, until the edges are deliciously crispy and golden brown.
-
Garnish your finished carnitas with fresh chopped cilantro and an additional squeeze of fresh lime juice. Serve immediately in tacos, gorditas, tostadas, burritos, nachos, salads, or any of your favorite Mexican dishes.
Video
Notes
- Instant Pot Instructions: To make carnitas in an Instant Pot, follow the same seasoning steps. Add the seasoned pork shoulder, orange juice, and lime juice to the Instant Pot, along with an additional 1 cup of broth (chicken, beef, or vegetable). Close the lid, move the valve to the sealing position, and press the Manual or Pressure Cook button to cook on high pressure for 50 minutes. Allow the pressure to release naturally for 15 minutes before manually releasing any remaining pressure using the vent valve. Proceed with shredding and crisping as directed.
- Oven Instructions: For oven-braised carnitas, season the pork as instructed. Place everything into a large Dutch oven or other oven-safe pot, adding an additional 1 cup of broth (chicken, beef, or vegetable). Cover the pot tightly and braise in a preheated 325°F (160°C) oven for 4 hours, or until the pork is fork-tender. Then shred and crisp according to the recipe.
- Using Pork Loin (Leaner Cut): If you opt to use a leaner cut of meat like pork loin, you’ll need to add moisture and fat to prevent it from drying out. Incorporate 2 to 4 tablespoons of extra fat (such as olive oil, coconut oil, or lard) along with 1 cup of liquid (broth or water). While the meat won’t be as inherently juicy as pork shoulder, it will still yield a delicious result.
- Freezing Carnitas: To freeze cooked carnitas, first ensure they are thoroughly cooled in the refrigerator. Then, transfer the carnitas, along with some of the cooking liquid, to an airtight freezer bag or container. Leave approximately 2 inches of headspace to allow for expansion. Freeze for up to 6 months. Thaw in the refrigerator overnight before reheating.
Nutrition
Nutrition information is automatically calculated, so should only be used as an approximation.