
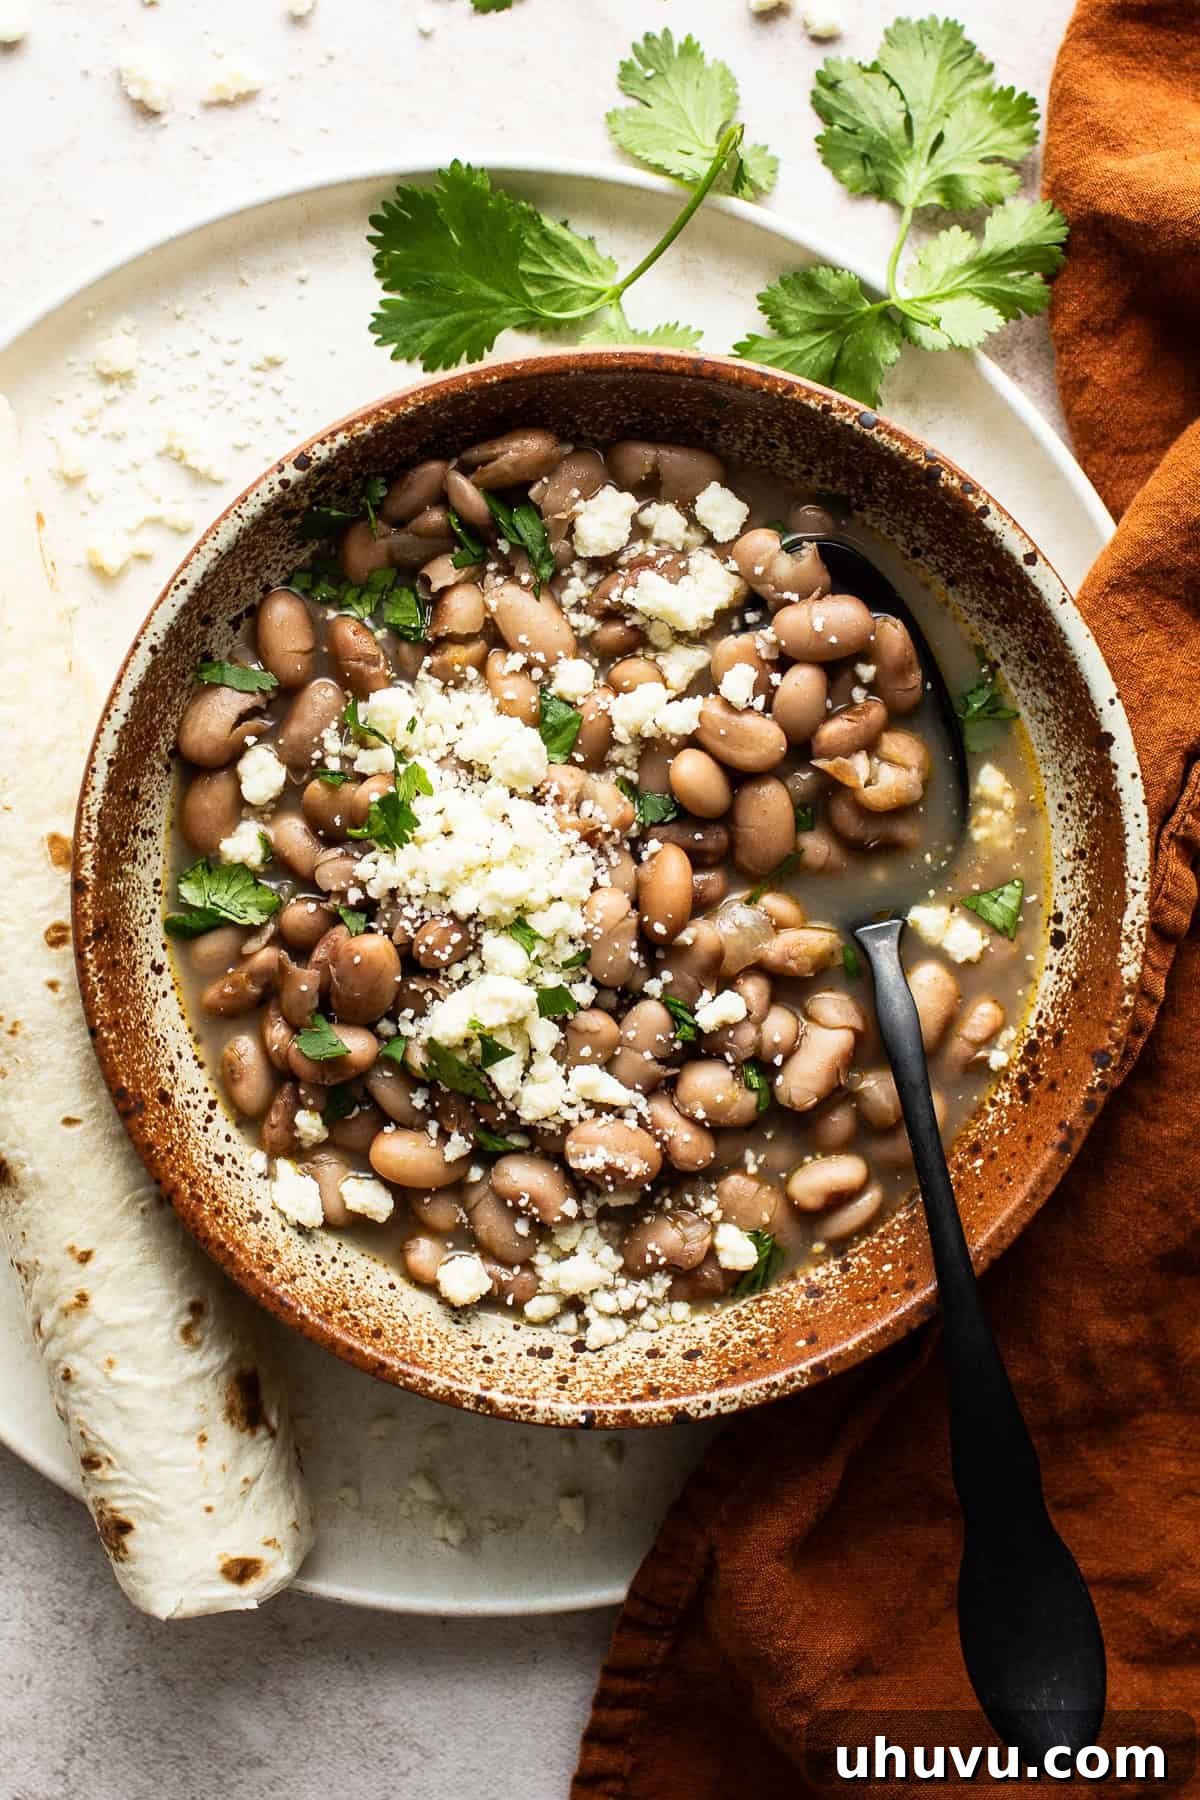
Forget canned beans! Unlock the rich, authentic flavors of homemade Mexican cuisine with this incredible pinto bean recipe. Pinto beans are a staple in Mexican kitchens for a reason: they’re incredibly versatile, budget-friendly, and packed with nutrition. Whether you’re a seasoned cook or new to dried beans, this guide will walk you through preparing perfect, creamy pinto beans on your stovetop. We’ll cover both soaking and non-soaking methods, ensuring you get delicious results every time.
Why Homemade Pinto Beans Are a Kitchen Essential
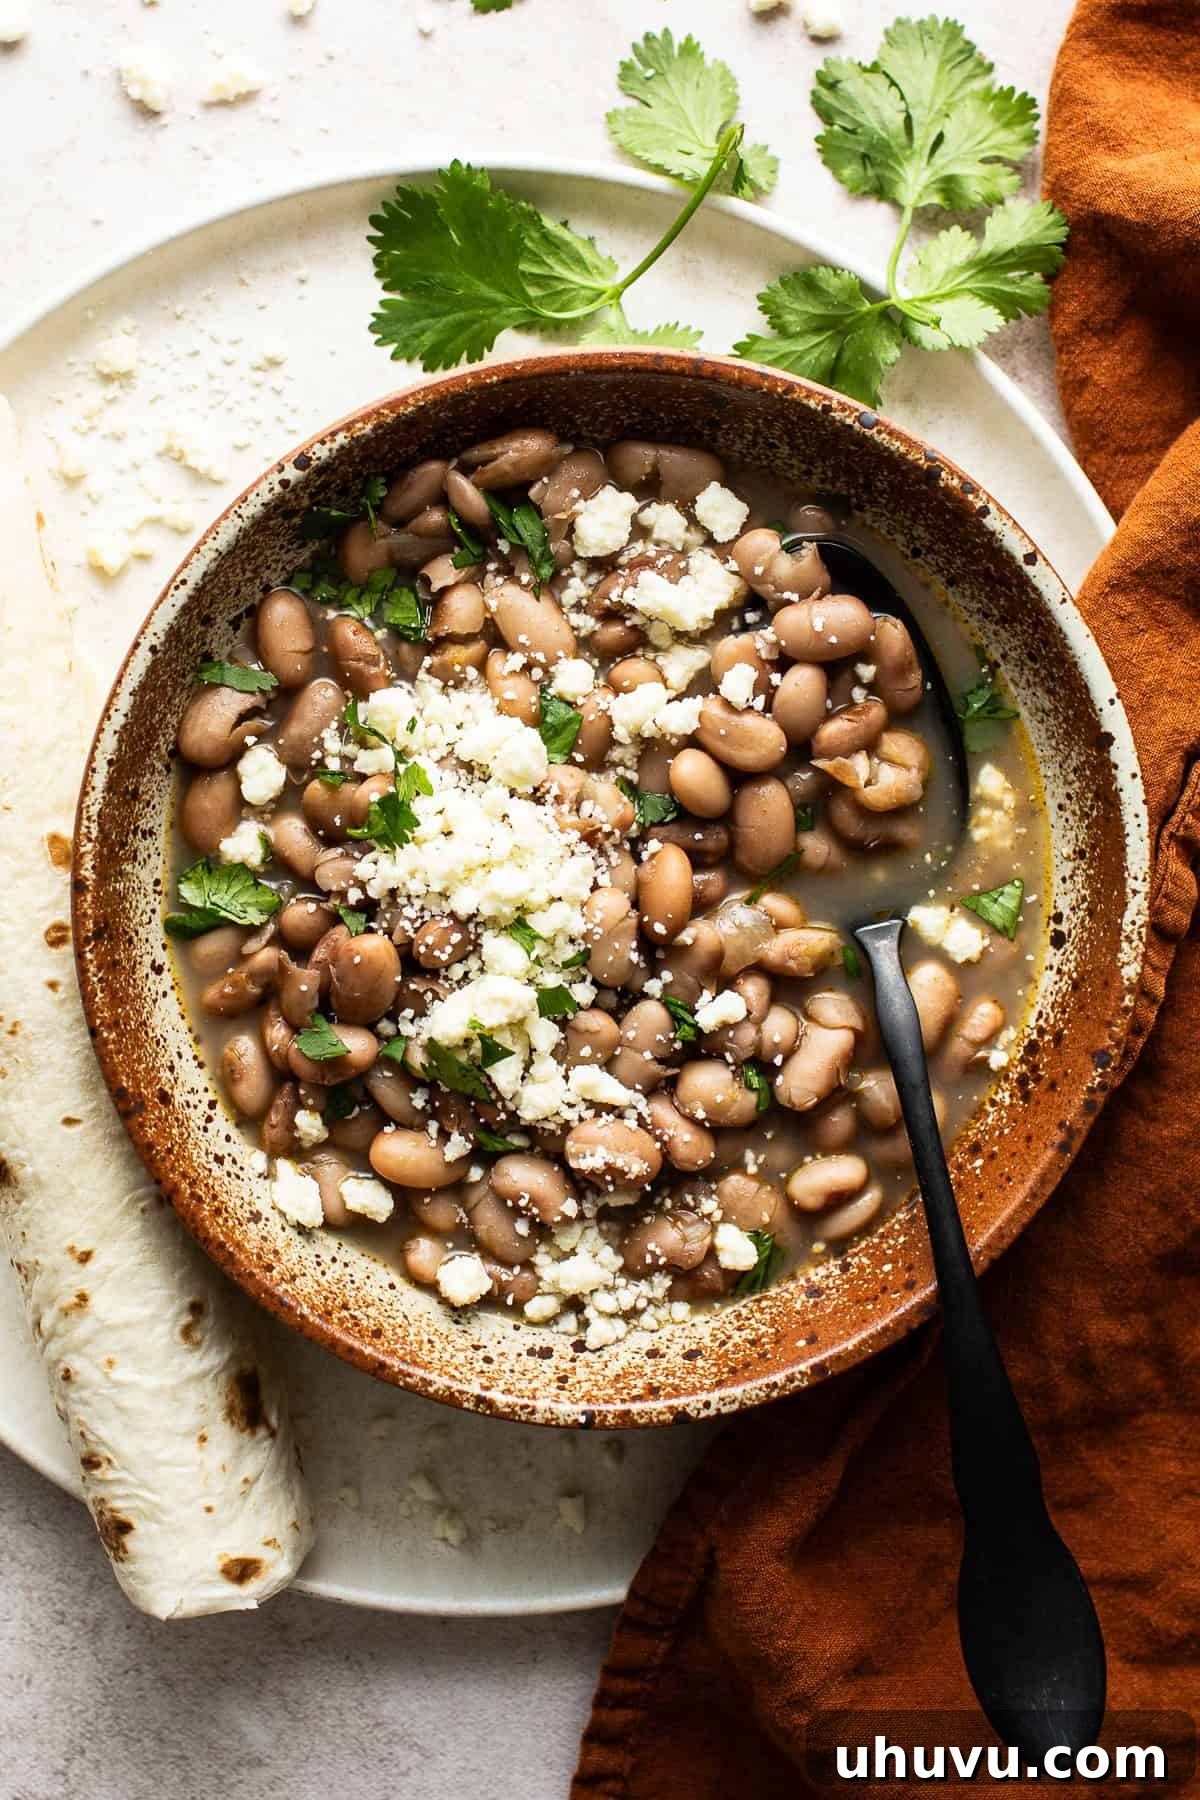
In my family’s kitchen, you’ll always find two ingredients: dried pinto beans and fresh flour tortillas. Growing up, my mom would consistently prepare a large pot of pinto beans at the beginning of the week. These versatile legumes would then be incorporated into various dishes, from savory sopes and hearty burritos to comforting enfrijoladas. But my fondest childhood memory always involved a simple, large bowl of plain pinto beans, generously topped with crumbled queso fresco, fresh cilantro, and accompanied by warm, pillowy flour tortillas. It’s a testament to the humble pinto bean’s ability to shine even as a standalone dish.
There are countless reasons to fall in love with this authentic pinto bean recipe:
-
Economical & Budget-Friendly
Pinto beans are one of the most cost-effective ingredients available at any grocery store. A small bag of dried pinto beans can yield a surprisingly large quantity of cooked beans, making them an excellent choice for feeding a family without breaking the bank. With just a few additional simple pantry staples, you can transform them into a meal packed with incredible flavor and substance.
-
Incredibly Versatile for Any Meal
From a foundational ingredient to a delicious side or even a satisfying main course, pinto beans are exceptionally versatile. Use them as a creamy filling in nachos, burritos, and quesadillas. Transform them into the base for rich sopes, classic enfrijoladas, or savory molletes. Their mild, earthy flavor makes them adaptable to a wide array of Mexican and Tex-Mex dishes, allowing your creativity in the kitchen to truly flourish.
-
Nutritious, Healthy & Satisfying
Pinto beans are a nutritional powerhouse. They are an excellent source of plant-based protein, making them a fantastic choice for vegetarian and vegan diets. Beyond protein, they’re loaded with dietary fiber, essential vitamins, and minerals, contributing to digestive health and sustained energy. Incorporating them into your meals is a simple way to add wholesome goodness and make your dishes more filling and satisfying.
The Great Bean Debate: Soaking vs. Not Soaking Pinto Beans
When it comes to preparing dried pinto beans, the first decision you’ll face is whether to soak them beforehand. Both methods can result in deliciously tender and creamy pinto beans, but I personally prefer to soak them, and here’s why:
-
Easier Digestion & Less Bloating
Soaking dried beans in water helps to break down complex sugars and fibers present in the beans. These compounds are often responsible for causing gas and bloating. By pre-soaking, you initiate the breakdown process, making the beans gentler on your digestive system and reducing the likelihood of discomfort after your meal.
-
Faster & More Even Cooking
When pinto beans are soaked, they rehydrate significantly, absorbing water and plumping up. This rehydration means they will cook much faster and more uniformly once they hit the pot. Unsoaked beans take considerably longer to cook and can sometimes result in an uneven texture, with some beans remaining firmer than others.
-
Enhanced Color and Texture
Beyond digestion and cooking time, soaking can also impact the visual appeal and final texture of your pinto beans. Soaked beans tend to cook up with a richer, more appealing brown color. In contrast, I’ve found that unsoaked beans can sometimes appear darker and have a slightly grayish hue, and their texture can be a bit firmer or less creamy.
Despite these advantages, if you find yourself short on time and unable to soak your pinto beans, don’t worry! You can absolutely still make this recipe. Just be prepared for a slightly longer cooking time, usually an additional hour or so, to achieve the desired tenderness. The results will still be delicious!
Essential Ingredients for Authentic Homemade Pinto Beans
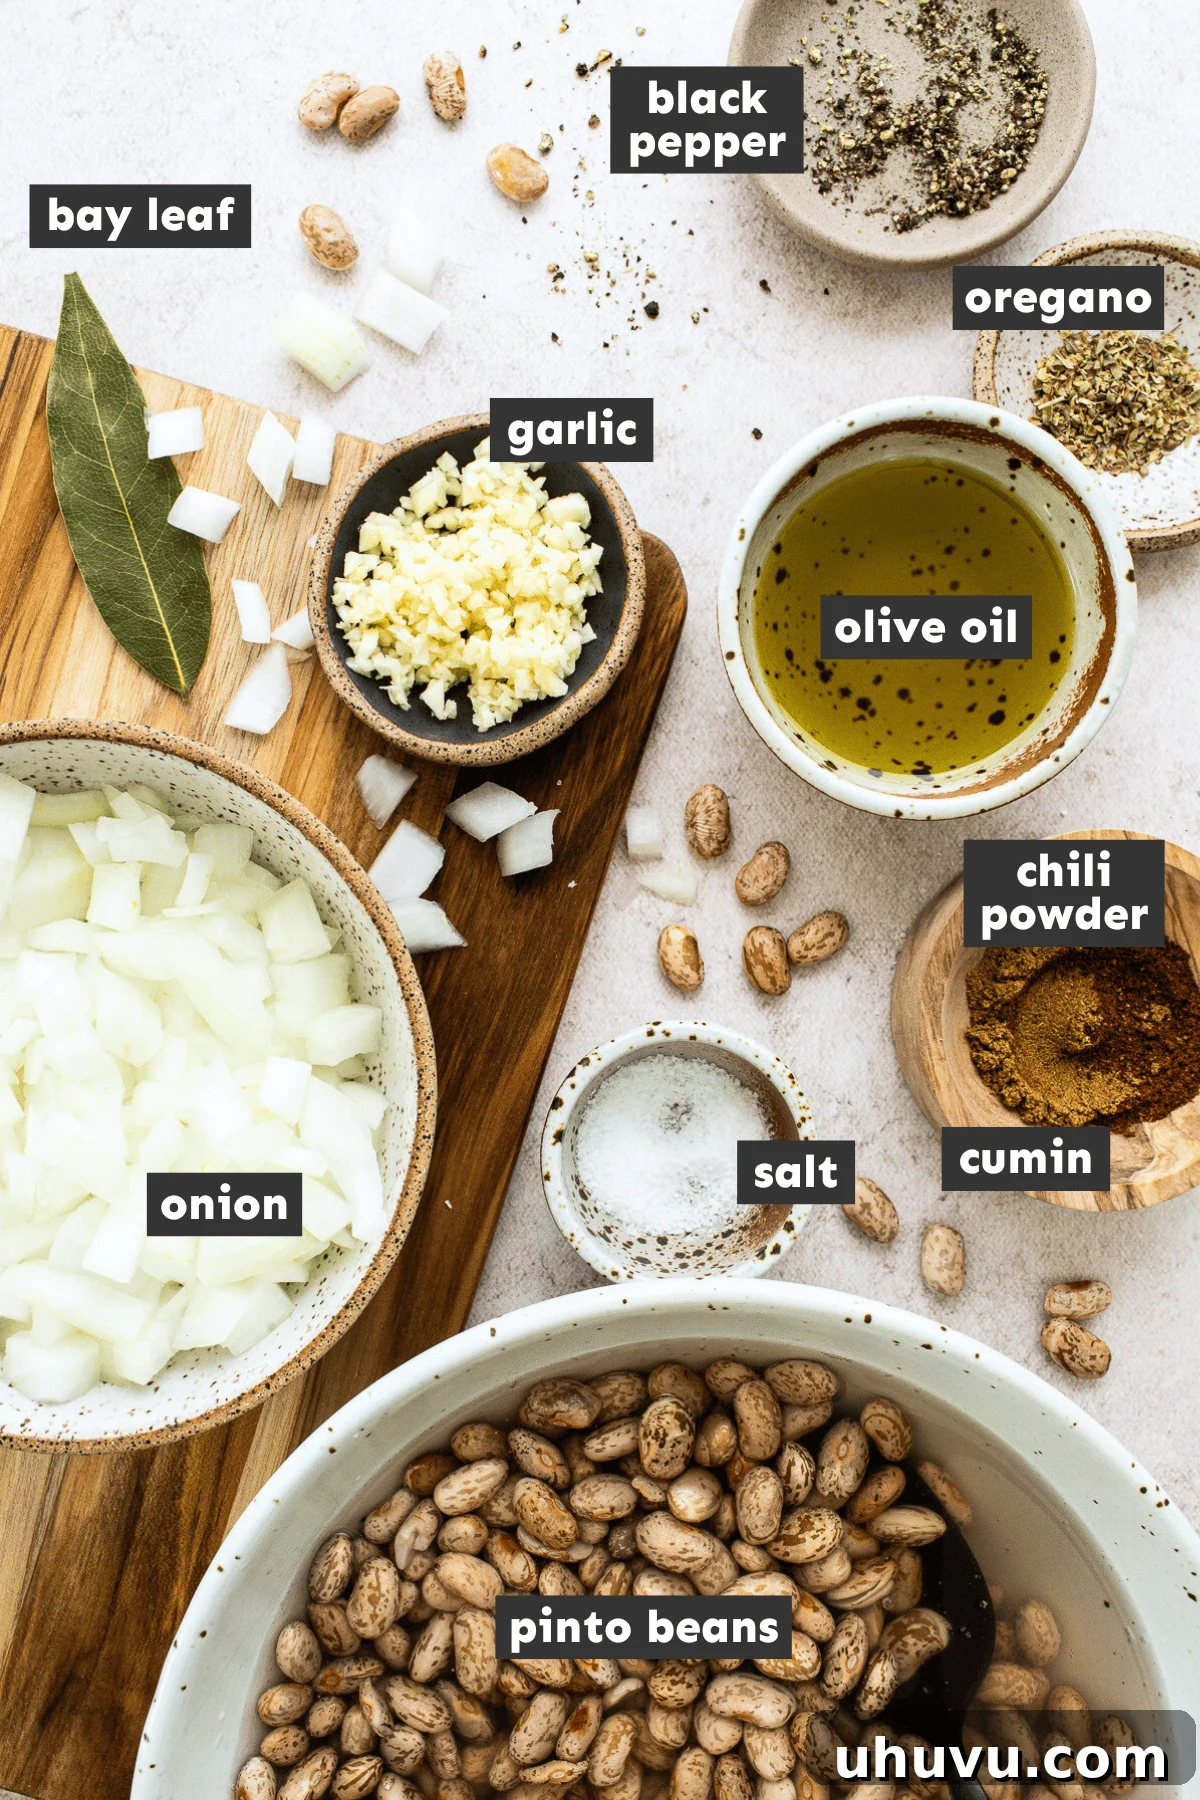
Crafting the perfect pot of pinto beans requires a few simple, yet flavorful ingredients. Here’s a breakdown of what you’ll need and why each component is important:
- Dried Pinto Beans: The star of our dish! A standard 1-pound bag of dried pinto beans will yield a generous amount, perfect for multiple meals or meal prepping. You can easily adjust the quantity based on how many servings you need. Look for beans that are plump and uniform in color.
- Water: Essential for both soaking and cooking. While water is perfectly fine, you can elevate the flavor significantly by substituting it with chicken, beef, or vegetable stock.
- Olive Oil: Used for sautéing the aromatics, olive oil adds a subtle richness and helps to carry the flavors. Feel free to use other neutral-tasting oils like avocado, canola, or vegetable oil if you prefer.
- Onion and Garlic: These two aromatics form the flavorful foundation of our pinto beans. Cooked until tender and fragrant, they infuse the beans with a deep, savory base that is characteristic of authentic Mexican cooking. White or yellow onions work best.
- Seasonings: A simple yet powerful blend of spices transforms plain beans into a flavor explosion. We use:
- Chili Powder: Adds a mild, earthy warmth and characteristic red hue.
- Ground Cumin: Brings a distinct warm, earthy, and slightly pungent flavor that is quintessential to Mexican cuisine.
- Dried Oregano: Mexican oregano is preferred for its citrusy, earthy notes, but regular dried oregano works too.
- Freshly Ground Black Pepper: Adds a hint of spice and aroma.
- Bay Leaf: A single bay leaf adds a subtle, herbaceous note that complements the other flavors beautifully. Remember to remove it before serving.
- Salt: Crucial for seasoning, I recommend using kosher salt for its clean taste. The amount of salt you use is entirely up to your personal preference and taste. A vital tip: add salt at the very end of cooking. Adding salt too early can significantly increase the cooking time and prevent the beans from becoming creamy and soft, instead leaving them stiff or grainy.
Mastering Homemade Pinto Beans: A Step-by-Step Guide
Follow these simple steps to create a pot of the most delicious, authentic pinto beans you’ve ever tasted:
-
Prepare the Beans: Sort and Rinse
Begin by carefully sorting through your dried pinto beans. Spread them out on a clean surface or tray and inspect them for any cracked or split beans, as well as small rocks or debris. Discard any imperfections. Once sorted, place the beans in a colander and rinse them thoroughly under cold running water to remove any dust or impurities.
-
Soak (Optional, but Recommended)
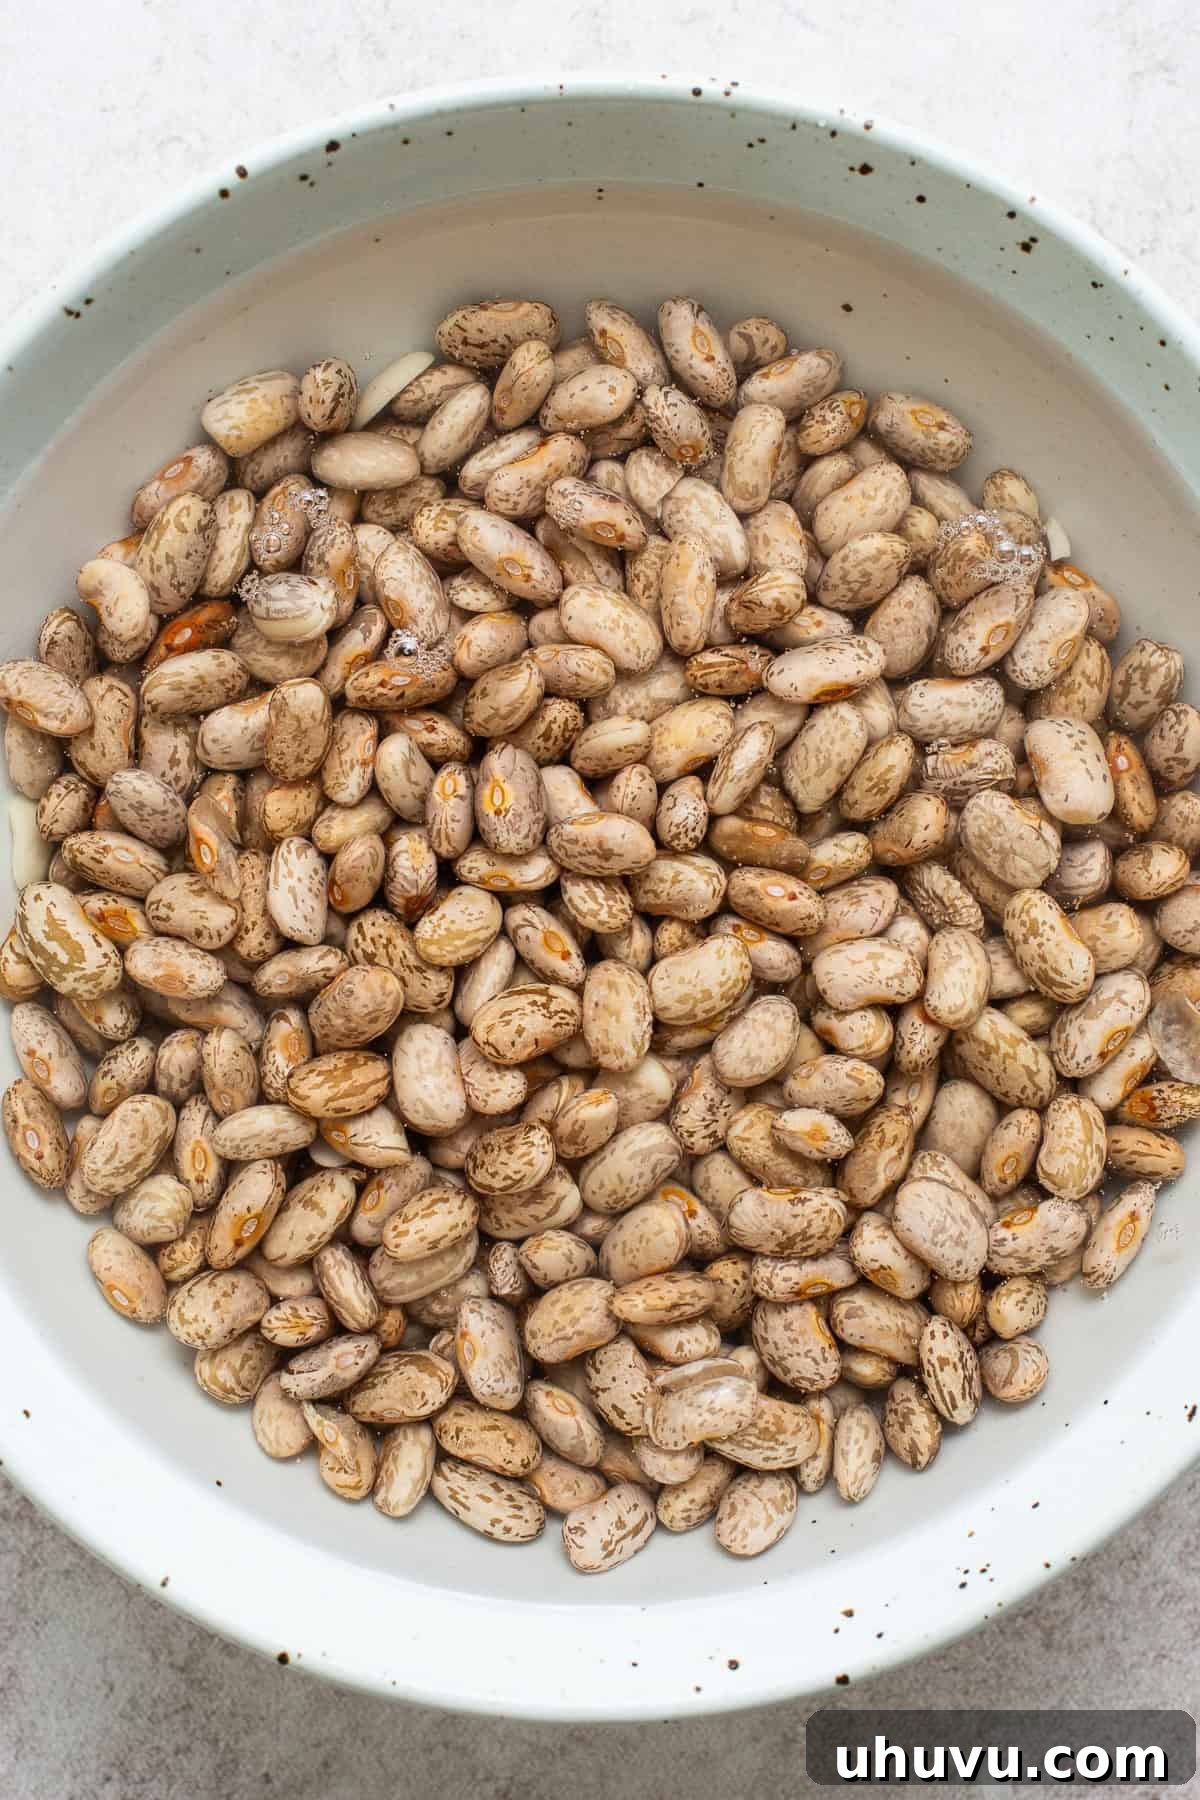
Transfer the rinsed beans to a large bowl. Cover them generously with fresh water, ensuring there’s at least 3 inches of water above the bean line. Allow them to soak at room temperature for a minimum of 8 hours, or ideally, overnight (up to 24 hours). If you choose not to soak your beans, simply skip this step, but be prepared for a longer cooking time.

-
Drain and Rinse Soaked Beans
After soaking, drain the beans in a colander and give them another quick rinse under cool water. This helps to remove any residual compounds from the soaking water that contribute to gas. Set the beans aside while you prepare the aromatics.
-
Sauté the Aromatics
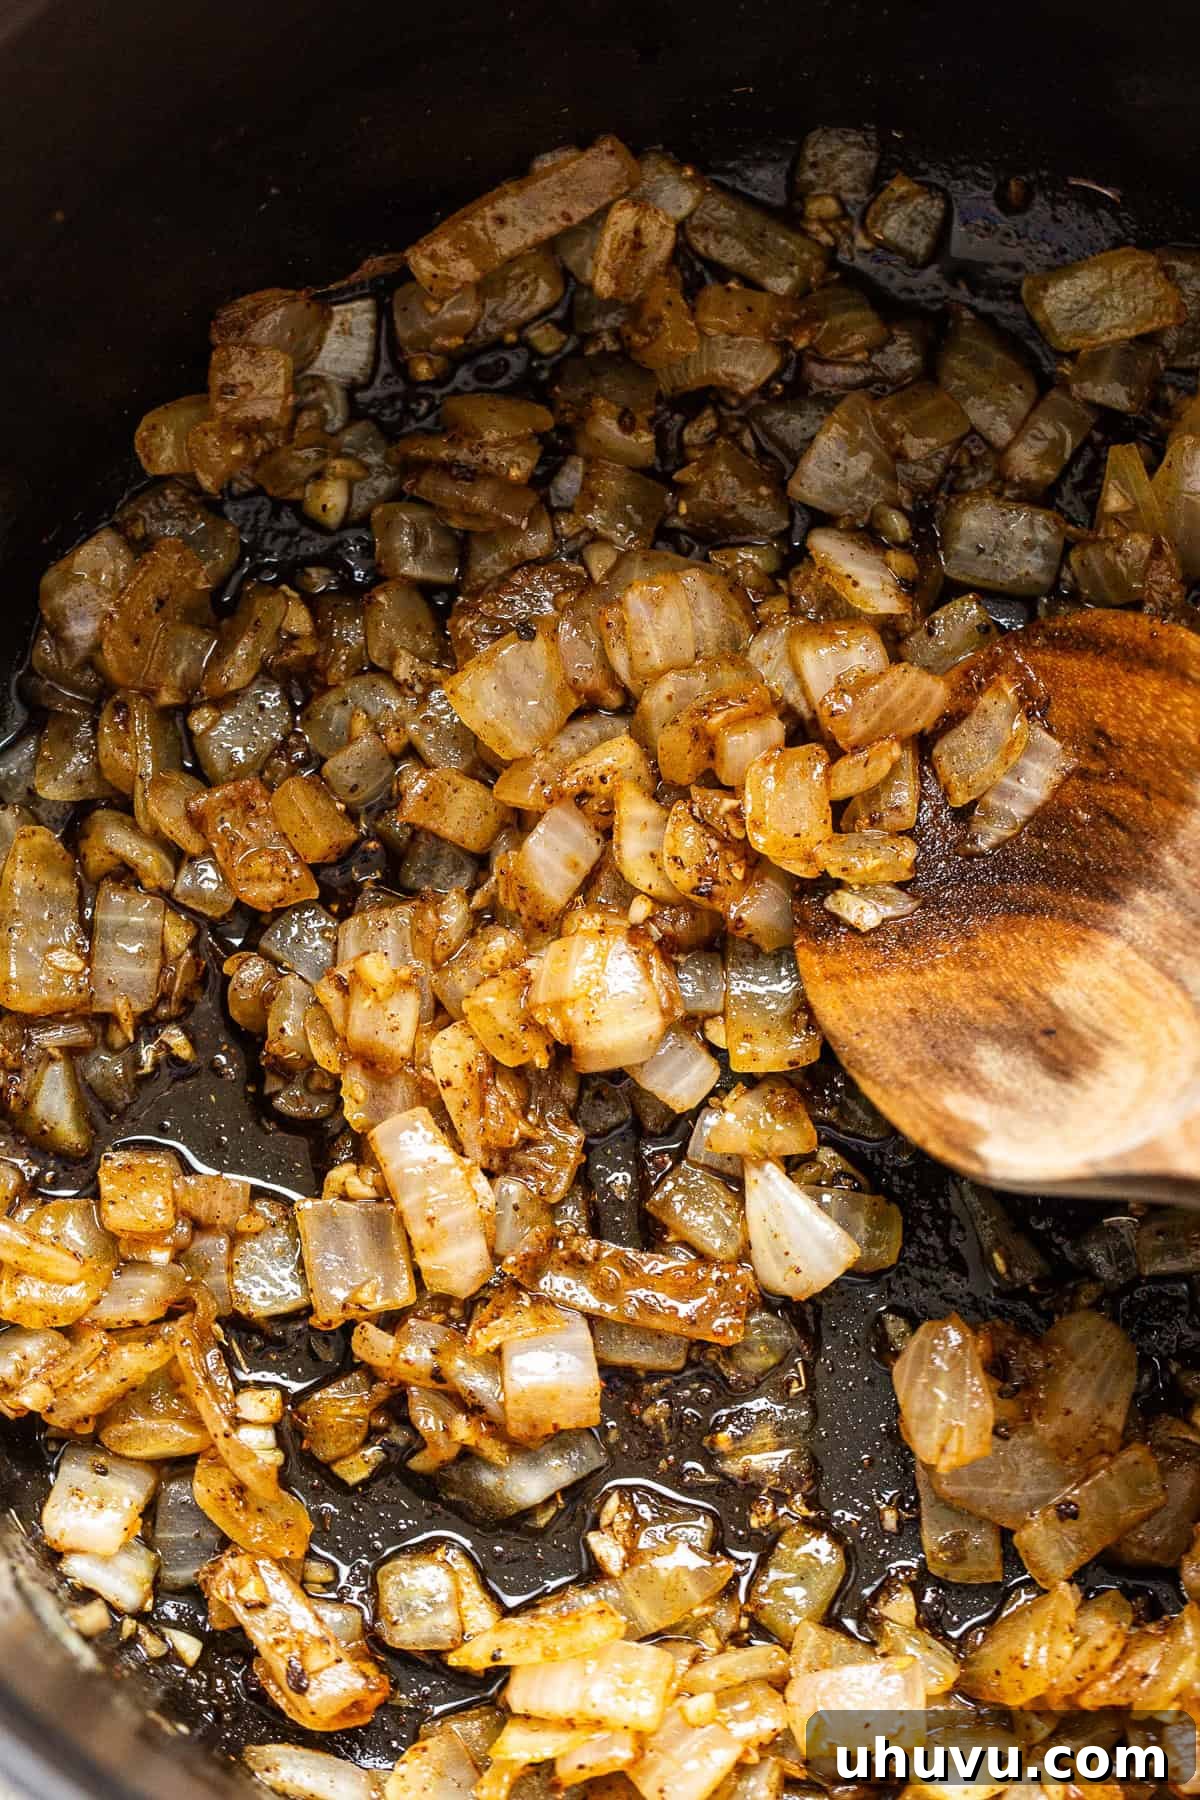
In a large, heavy-bottomed pot or a Dutch oven, heat the olive oil over medium-high heat. Add the chopped onions and cook, stirring occasionally, until they become soft, translucent, and fragrant, which typically takes about 5 minutes. Next, add the minced garlic and continue to stir for an additional minute until it releases its aromatic scent. Be careful not to burn the garlic.
-
Add Spices
Stir in the chili powder, ground cumin, dried oregano, and freshly ground black pepper with the sautéed onions and garlic. Cook for only about 30 seconds, stirring continuously. This brief toast helps to bloom the spices, releasing their full flavor and aroma, but prevents them from burning.
-
Combine with Beans and Water
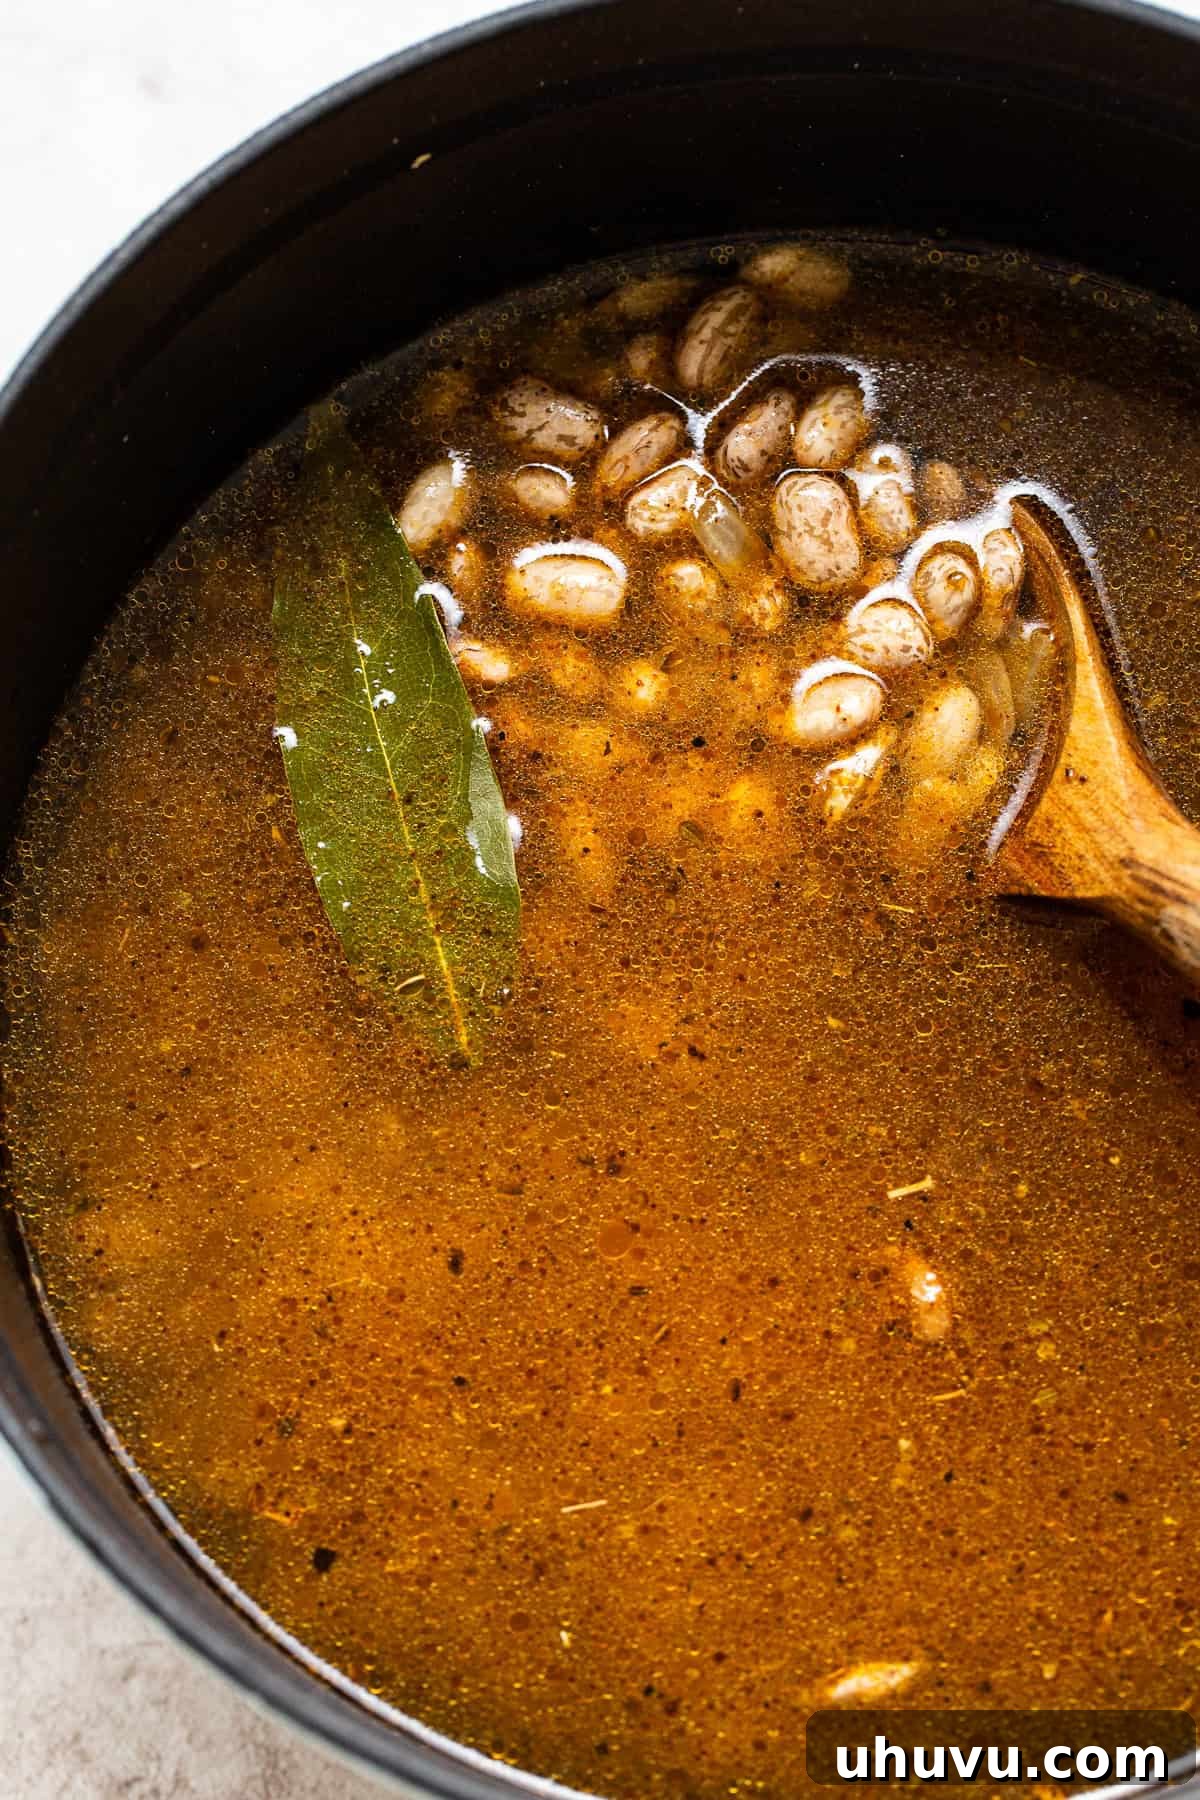
Add the drained pinto beans to the pot, along with 6 cups of fresh water (or broth, for extra flavor) and the bay leaf. Stir everything together gently to ensure the aromatics and spices are well combined with the beans.
-
Simmer to Perfection
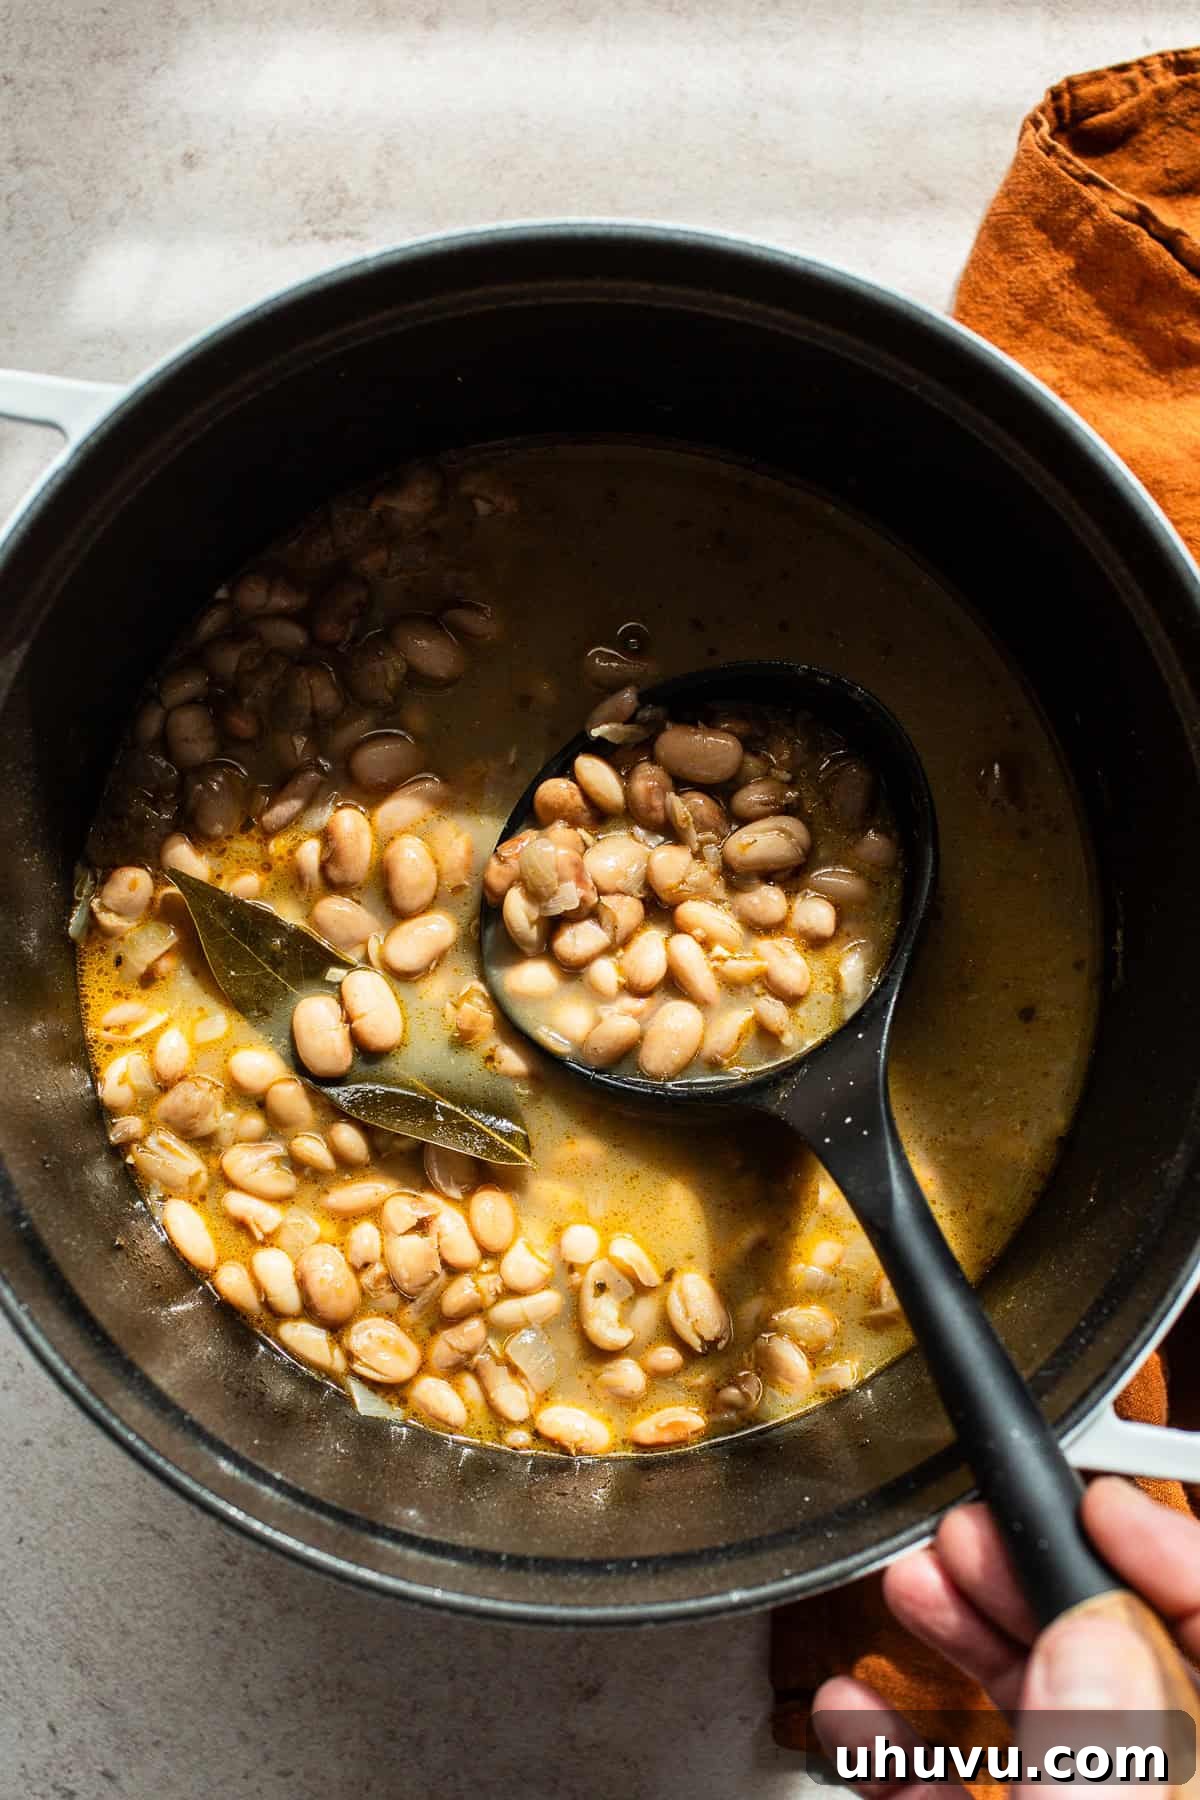
Bring the water to a full boil over high heat. Once boiling, reduce the heat to a very gentle simmer, just enough to see small bubbles. Cover the pot with a lid and cook for 1 hour if you soaked the beans. If you didn’t soak them, cook for 1 hour and 30 minutes. After this initial cooking period, uncover the pot and continue to cook for an additional 30 minutes (if soaked) or 45 minutes to 1 hour (if unsoaked). Uncovering the pot during the final stage allows the bean broth to thicken slightly, contributing to a wonderfully creamy consistency.
-
Season and Serve
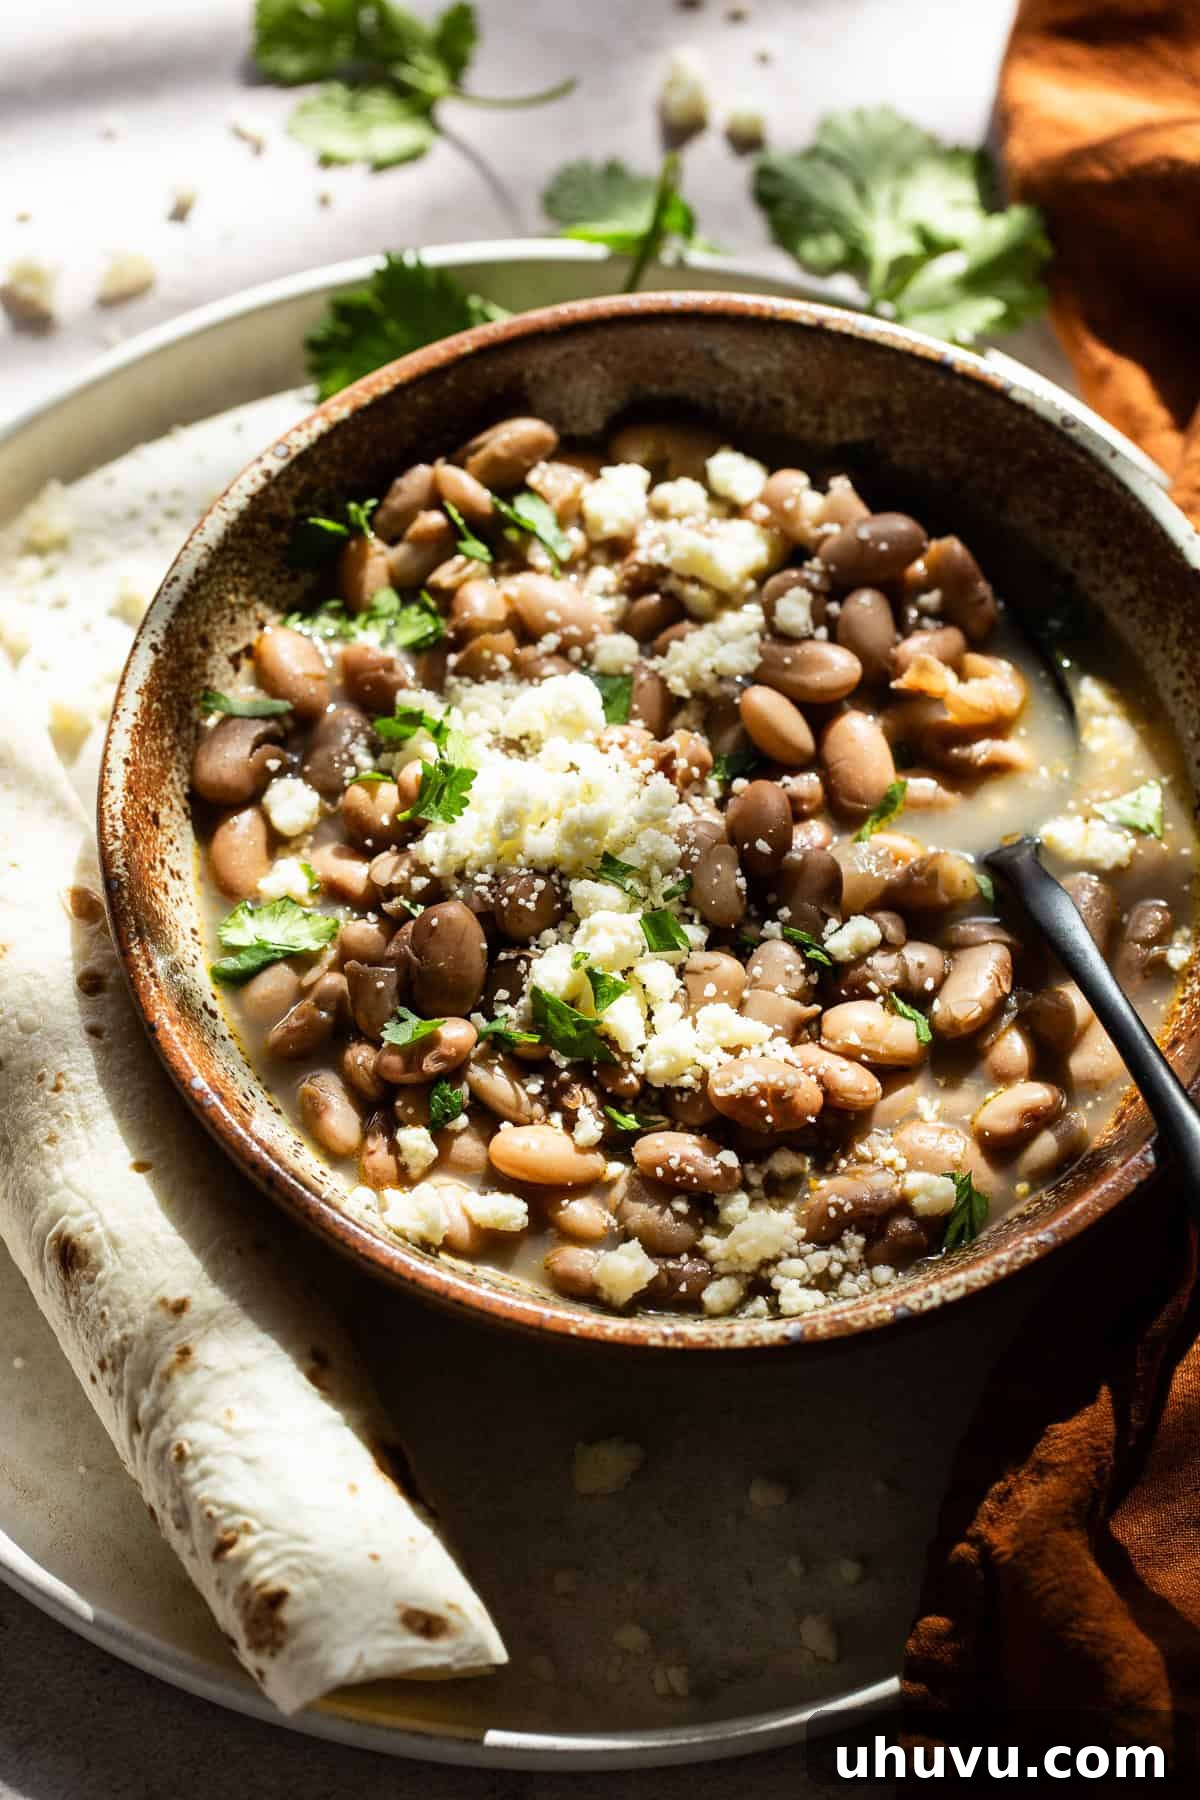
Once the beans are tender and creamy, remove the bay leaf. Stir in 1 teaspoon of kosher salt, then taste and adjust the seasoning as needed. Remember, it’s always easier to add more salt than to remove it. Serve your freshly cooked pinto beans immediately! They are fantastic topped with queso fresco and accompanied by warm flour tortillas, or as a flavorful side dish to your favorite Mexican meal.
Expert Tips for the Best Homemade Pinto Beans
- Amplify the Flavor: For an even richer taste, consider replacing some or all of the water with chicken, beef, or vegetable stock. You can also add a piece of smoked ham hock, bacon, or a fresh jalapeño or serrano pepper to the pot while the beans simmer for an extra layer of savory depth and heat.
- No Time for Soaking? No Problem!: If you didn’t get a chance to soak your beans, simply increase the initial cooking time. After bringing the beans to a boil, cover and simmer for 1 hour and 30 minutes. Then, uncover and continue cooking for an additional 45 minutes to 1 hour, or until the beans are perfectly tender.
- Gentle Simmer is Key: Pay close attention to the heat. It’s crucial that the beans cook at a gentle simmer, not a rolling, roaring boil. High heat can cause the bean skins to peel and burst before the beans are fully cooked and tender, leading to a less desirable texture.
- Salt at the End: This tip is worth repeating! Always add salt after the beans are cooked through and tender. Adding salt too early in the cooking process can “toughen” the bean skins, significantly increasing the cooking time and resulting in a grainy, rather than creamy, texture.
- Don’t Over-Stir: While stirring occasionally is fine, avoid excessive stirring during the simmering process, especially once the beans start to soften. Too much agitation can break the beans apart prematurely.
- Bean Conversions for Easy Planning:
- 1 pound dried pinto beans yields approximately 6 cups of cooked beans.
- 1 ½ cups of cooked pinto beans is roughly equivalent to one 15-ounce can of cooked beans.
Endless Possibilities: Delicious Ways to Use Pinto Beans
Pinto beans are incredibly versatile and can be incorporated into a countless array of dishes. Their mild, creamy texture and earthy flavor make them a perfect foundation or accompaniment. Here are some popular and delicious ways to enjoy your homemade pinto beans:
- As a Flavorful Base: These perfectly cooked pinto beans are the ideal starting point for more elaborate bean dishes. They are commonly used as a base in recipes like hearty charro beans, savory borracho beans, and creamy refried beans. Simply follow those recipes, starting with your homemade cooked pinto beans.
- In Classic Mexican Dishes:
- Burritos and Tacos: A fantastic, protein-rich filling for bean and cheese burritos, or as a hearty addition to any taco.
- Sopes: Spread them on thick corn cakes for a delicious and traditional appetizer or light meal.
- Enfrijoladas: Drench tortillas in a rich pinto bean sauce, often filled with cheese or chicken.
- Molletes: A Mexican open-faced sandwich, typically featuring beans, cheese, and salsa on toasted bread.
- Tetelas: Triangular corn tortillas filled with a savory bean paste.
- Simple Side Dish: Served plain or with a sprinkle of cheese and cilantro, they make a comforting and healthy side dish for almost any meal.
- Salads and Bowls: Add them cold to salads for extra protein and fiber, or build vibrant grain bowls with rice, vegetables, and a generous scoop of beans.
- Soups and Stews: Their creamy texture is wonderful in various soups and stews, adding body and nutrition. Think chili, bean soup, or even a vegetable stew.
- Dips: Mash them slightly with some spices for a quick and healthy bean dip, perfect with tortilla chips.
Alternative Cooking Methods: Slow Cooker and Instant Pot Pinto Beans
While the stovetop method delivers beautifully cooked pinto beans, you absolutely have other convenient options if you prefer a different approach or are short on time. Both slow cookers and Instant Pots are excellent tools for preparing dried beans:
-
Slow Cooker Pinto Beans
For a truly hands-off approach, the slow cooker is your best friend. Simply combine your sorted and rinsed beans (soaking is still recommended for best results but optional), water (or broth), aromatics, and seasonings in the slow cooker. Let it simmer on low for several hours (typically 6-8 hours) or high (3-4 hours) until creamy and tender. This method is perfect for busy days when you want to set it and forget it, returning home to a comforting pot of beans. Find a detailed crockpot pinto bean recipe here.
-
Instant Pot Pinto Beans
When time is of the essence, the Instant Pot is an unparalleled solution. Pressure cooking significantly reduces the cooking time for dried beans, delivering tender results in a fraction of the time compared to the stovetop or slow cooker. With the Instant Pot, you can have perfectly cooked pinto beans in under an hour (plus pressure building and releasing time), making it ideal for last-minute meal preparations. Explore our Instant Pot pinto bean recipe for precise instructions.
Storing and Reheating Your Homemade Pinto Beans
One of the best things about making a big batch of pinto beans is the ease of storage and reheating. They are perfect for meal prep!
- Storing: Allow the cooked beans and their broth to cool completely. Transfer them to an airtight container and refrigerate for up to 1 week. For longer storage, cooked pinto beans freeze beautifully for up to 3 months. Portion them into freezer-safe bags or containers with some of their broth to maintain moisture.
- Reheating: To reheat, simply place the beans and their broth in a large skillet or pot over medium-high heat. Stir occasionally until they are warmed through and the broth begins to gently bubble. You can also easily reheat individual portions in the microwave, stirring halfway through for even heating. If the beans have thickened too much, add a splash of water or broth to reach your desired consistency.
Explore More Authentic Mexican Recipes
If you loved this pinto bean recipe, we invite you to explore more of our authentic Mexican culinary creations:
- Slow Cooker Pork Carnitas for Tacos
- Authentic Birria (Beef Stew)
- Traditional Mexican Tamales
- Hearty Pork Chile Verde
- Classic Red Chicken Enchiladas
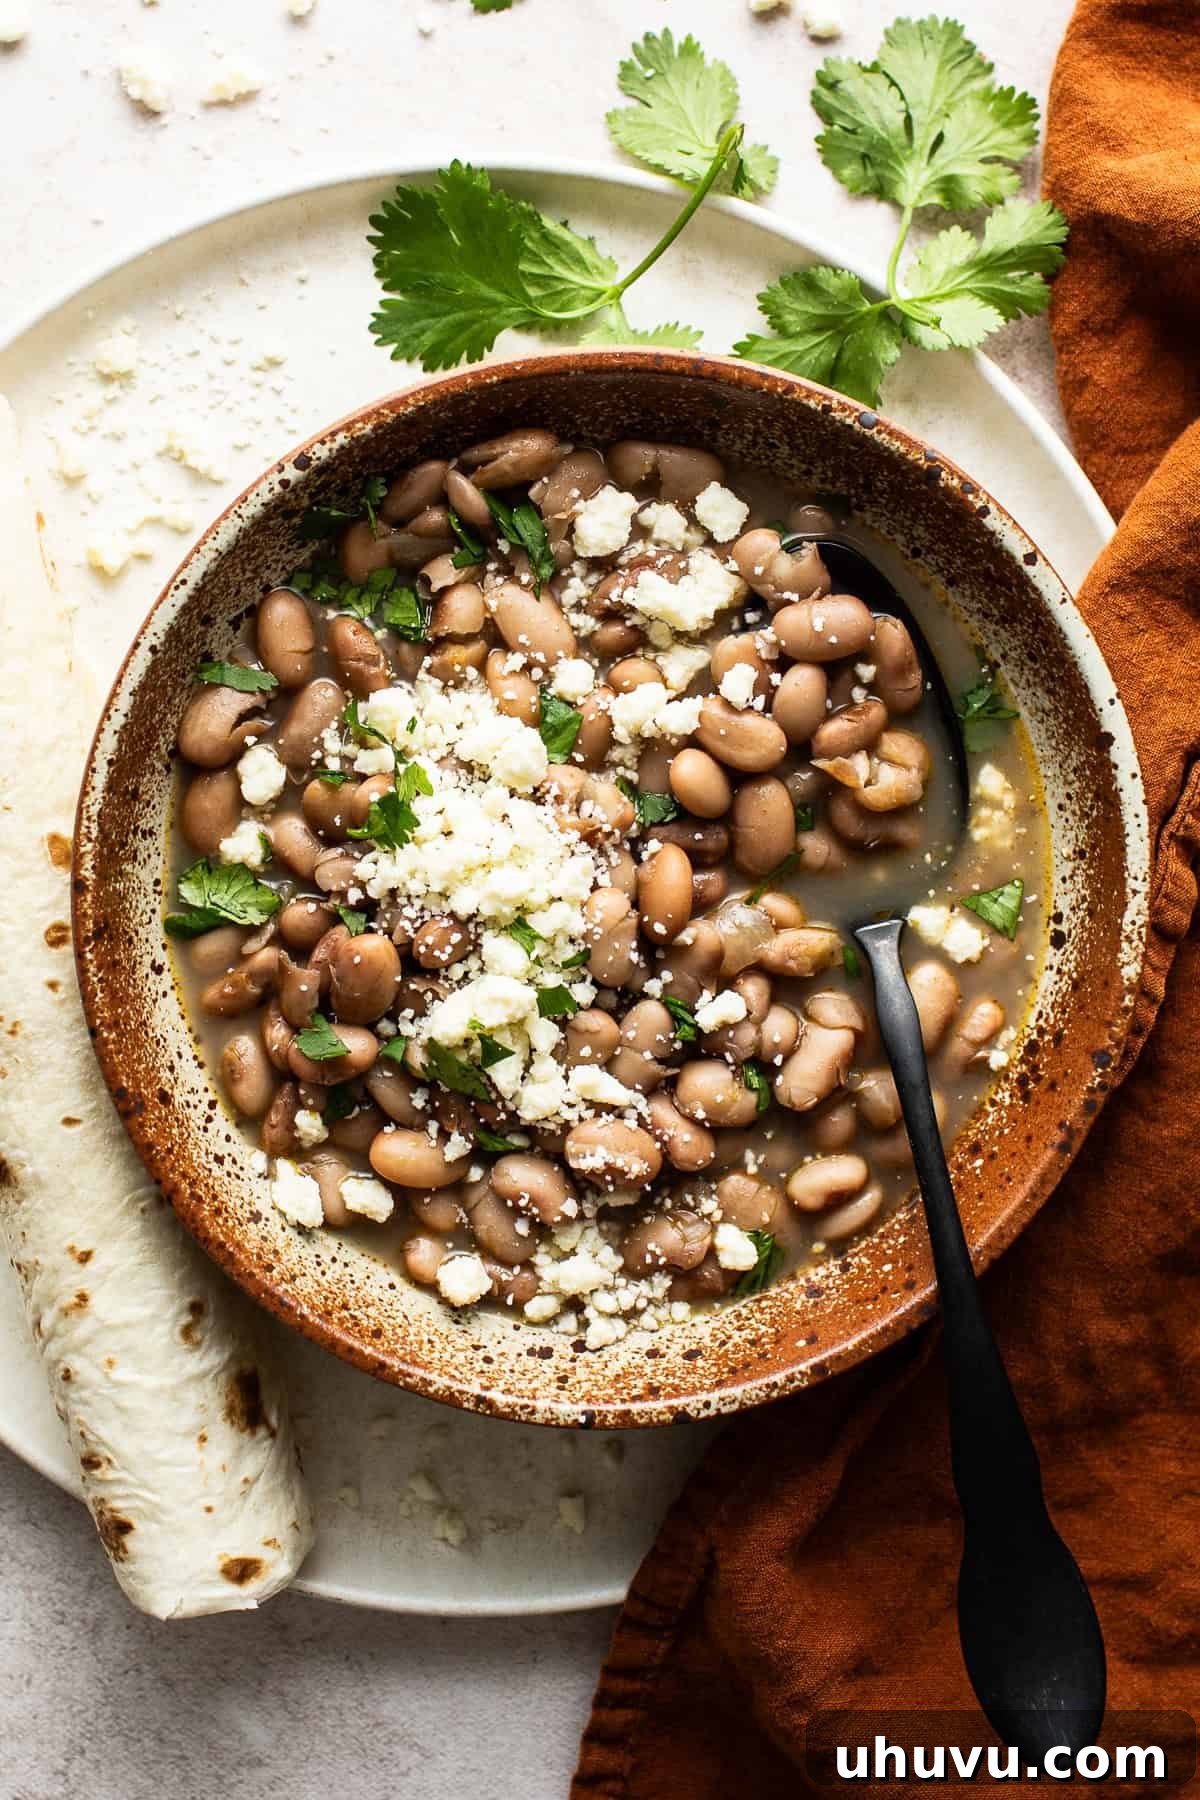
How to Cook Pinto Beans on the Stove
By: Isabel Orozco-Moore
Learn how to cook pinto beans on the stove using this authentic and flavorful pinto bean recipe. They’re inexpensive and easy to make!
- Prep Time: 5 minutes
- Cook Time: 1 hour 30 minutes
- Total Time: 9 hours 35 minutes (includes soaking time)
- Servings: 12 servings (1/2 cup each)
Ingredients
- 1 pound dried pinto beans
- 6 cups water, plus more for soaking (or substitute with chicken, beef, or vegetable stock)
- 3 tablespoons olive oil
- 1 small onion, chopped (white or yellow)
- 4 cloves garlic, minced
- 1 teaspoon chili powder
- 1 teaspoon ground cumin
- ½ teaspoon dried oregano
- ¼ teaspoon freshly ground black pepper
- 1 bay leaf
- 1 teaspoon kosher salt, plus more to taste (add at the end)
- For serving: crumbled cotija cheese or queso fresco, chopped fresh cilantro, warm flour tortillas
Instructions
- Sort through the dried pinto beans, removing and discarding any cracked or split beans, as well as any rocks or debris. Rinse the beans thoroughly under running water and drain.
- To soak (recommended): Transfer the rinsed beans to a large bowl and cover them completely with water, ensuring at least 3 inches of water is above the beans. Let them soak at room temperature for 8 hours or overnight (up to 24 hours).
- After soaking, drain the beans and rinse them again under cool water. Set aside.
- In a large pot or Dutch oven, heat the olive oil over medium-high heat. Add the chopped onion and cook until it softens and becomes translucent, about 5 minutes. Add the minced garlic and sauté for 30 seconds until fragrant, being careful not to burn it.
- Stir in the chili powder, ground cumin, dried oregano, and black pepper. Cook for an additional 30 seconds, stirring continuously, to bloom the spices.
- Add the soaked (or unsoaked) pinto beans, 6 cups of water (or broth), and the bay leaf to the pot. Stir to combine all ingredients.
- Increase the heat to high and bring the water to a boil. Once boiling, reduce the heat to a very gentle simmer. Cover the pot with a lid and cook for 1 hour (if beans were soaked) or 1 hour 30 minutes (if beans were not soaked). Then, uncover and continue cooking for an additional 30 minutes (if soaked) or 45 minutes to 1 hour (if not soaked), until the beans are tender and the broth has thickened slightly.
- Remove the bay leaf. Stir in 1 teaspoon of kosher salt, then taste and add more salt if desired.
- Serve immediately with crumbled cotija cheese or queso fresco and warm flour tortillas, or use as your favorite side dish or ingredient in other recipes.
Notes
- Slow cooker and Instant Pot methods: You can also make this recipe in a slow cooker (slow cooker pinto beans) or Instant Pot (Instant Pot pinto beans) for alternative convenience.
- Add more flavor: For a richer taste, use chicken, beef, or vegetable stock instead of water.
- Don’t have time to soak?: If you skip soaking, increase the initial simmer time to 1 hour 30 minutes, then uncover and cook for an additional 45 minutes to 1 hour until tender.
- Watch the heat: Ensure the beans are cooking at a gentle simmer, not a vigorous boil, to prevent the skins from peeling and bursting prematurely.
- Add salt at the end of cooking: Adding salt too early can toughen the beans and increase cooking time.
Nutrition
Serving: 0.5 cup cooked | Calories: 131kcal | Carbohydrates: 24g | Protein: 8g | Fat: 1g | Saturated Fat: 1g | Sodium: 5mg | Potassium: 527mg | Fiber: 6g | Sugar: 1g | Vitamin C: 2mg | Calcium: 43mg | Iron: 2mg
Nutrition information is automatically calculated, so should only be used as an approximation.
Did you make this recipe? We’d love to hear from you!
Leave a comment and star rating below to share your experience and thoughts on these authentic stove top pinto beans!
This post was originally published in March 2020 and has been updated with new photos, more helpful tips and tricks, and an improved recipe to ensure the best possible results for our readers.
If you’re looking for the previous version of the recipe, you can access that here.
Photography by Ashley McLaughlin.