
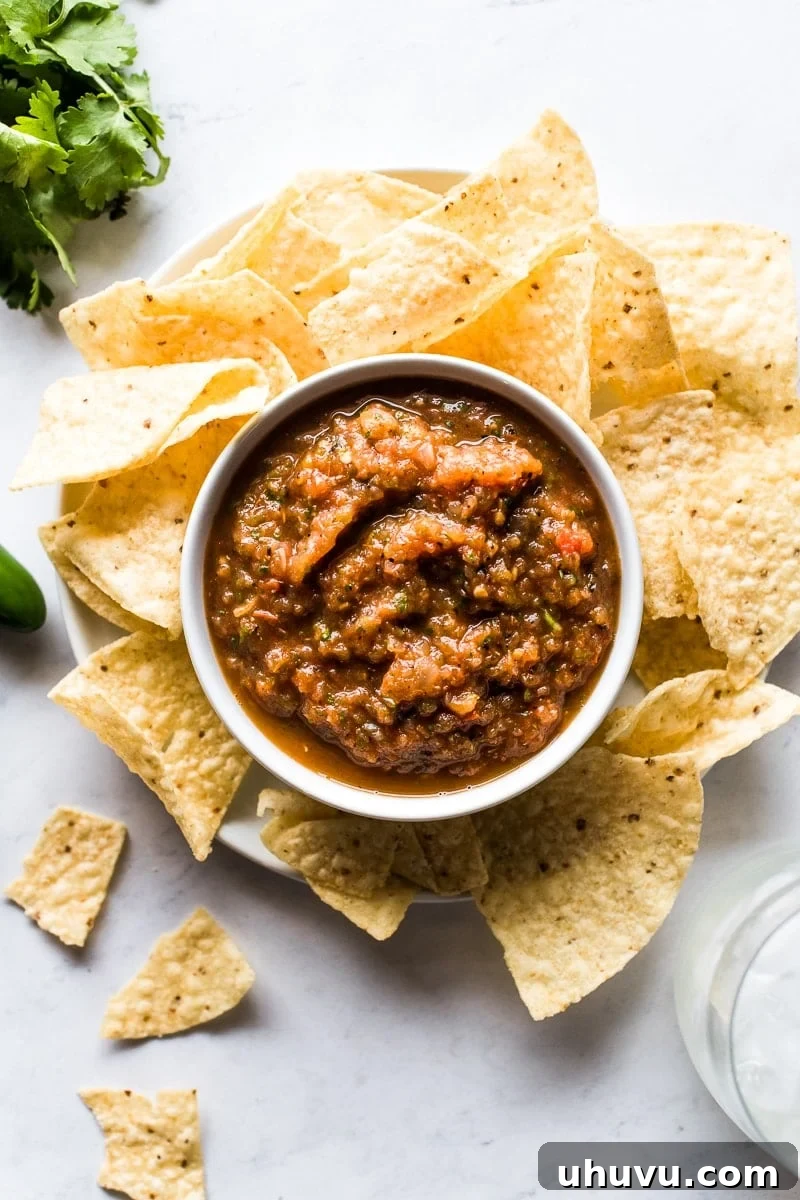
Prepare to elevate your snacking and mealtime experience with the most tantalizing homemade Roasted Tomato Salsa. This easy-to-follow recipe transforms fresh, ripe tomatoes, sweet onions, fiery jalapeños, aromatic garlic, vibrant cilantro, and zesty lime juice into a smoky, sweet, and perfectly spiced dip that’s far superior to any store-bought version. Unlock the secret to an incredibly flavorful salsa ideal for tortilla chips, tacos, burritos, and countless other dishes, ready in just minutes with minimal effort. This is not just a condiment; it’s a culinary revelation that will quickly become a staple in your kitchen.
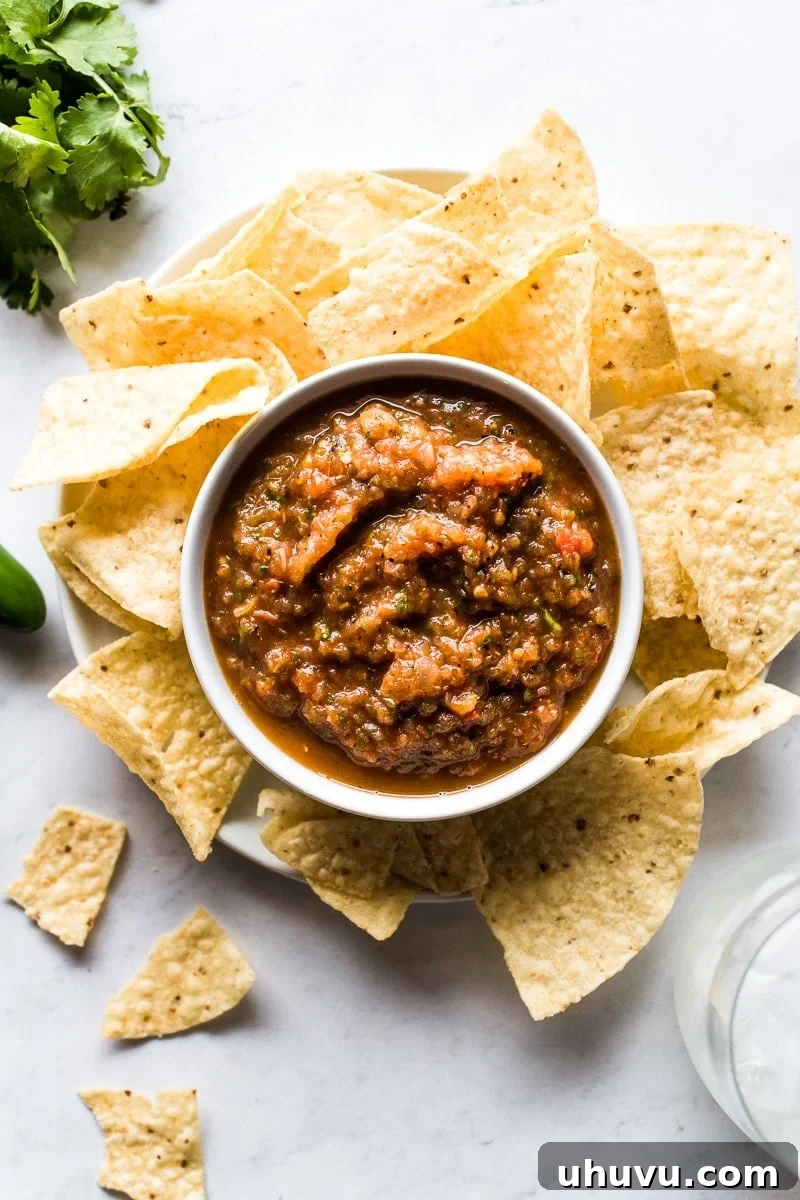
There’s an undeniable joy that comes from gathering with loved ones around a table laden with delicious food. And what could be more inviting than a generous spread of crispy homemade tortilla chips, a refreshing chilled frozen margarita, and a big, beautiful bowl of fresh, homemade salsa? This particular Roasted Tomato Salsa isn’t just an appetizer; it’s a celebration in a bowl, consistently my go-to choice for any social occasion. Its universal appeal and straightforward preparation make it a crowd-pleaser every single time, guaranteeing smiles and satisfied palates.
Similar to my classic fresh homemade salsa recipe, this version features the quintessential Mexican-inspired ingredients: ripe tomatoes, pungent onions, fiery jalapeños, aromatic garlic, fresh cilantro, and a burst of zesty lime juice. However, the crucial distinction lies in the preparation method. By roasting these core ingredients, we embark on a transformative culinary journey. The intense heat of the oven coaxes out the inherent sweetness of the tomatoes and peppers, intensifying their natural flavors to an unprecedented level. What’s more, the roasting process imparts a delectable smoky char, infusing every bite with a complex, rustic aroma that elevates the entire salsa experience. This simple step, while adding a mere 10-15 minutes to your total preparation time, is incredibly worthwhile, promising a depth of flavor that simply can’t be achieved otherwise. It’s the secret to moving your salsa from good to absolutely phenomenal.
Whether you’re scooping it up with golden tortilla chips, generously spooning it into hearty burritos, adding a fresh kick to your favorite tacos, or using it as a vibrant topping for grilled meats, this Roasted Tomato Salsa is guaranteed to become a new favorite in your culinary repertoire. Its versatility, robust flavor profile, and ease of preparation make it an essential addition to any meal, transforming ordinary dishes into extraordinary feasts. Get ready to impress your family and friends with this homemade delight!
Why Roasting is the Game-Changer for Your Salsa
The act of roasting vegetables for salsa isn’t just an extra step; it’s the heart of what makes this recipe truly special and sets it apart from typical fresh salsas. When tomatoes, onions, jalapeños, and garlic are exposed to high heat, a magical transformation occurs. The natural sugars within the vegetables caramelize, creating a profound sweetness and a depth of umami that contrasts beautifully with the inherent acidity of the tomatoes and the piquant heat of the peppers. Simultaneously, the outer layers blister and char, imbuing the salsa with a wonderful smokiness and an earthy complexity that is simply unmatched by raw ingredients. This process intensifies and concentrates all the individual flavors, melding them together into a more robust, well-rounded, and utterly irresistible final product. It’s an easy technique that yields restaurant-quality results, elevating your homemade Roasted Tomato Salsa to gourmet status and making it an unforgettable experience for your taste buds.
How to Make the Best Roasted Tomato Salsa: A Detailed Guide
Creating this delicious salsa is surprisingly simple, yet the roasting step adds an incredible layer of flavor. Follow these easy steps to perfection:
Step 1: Prepare and Roast Your Vegetables for Maximum Flavor
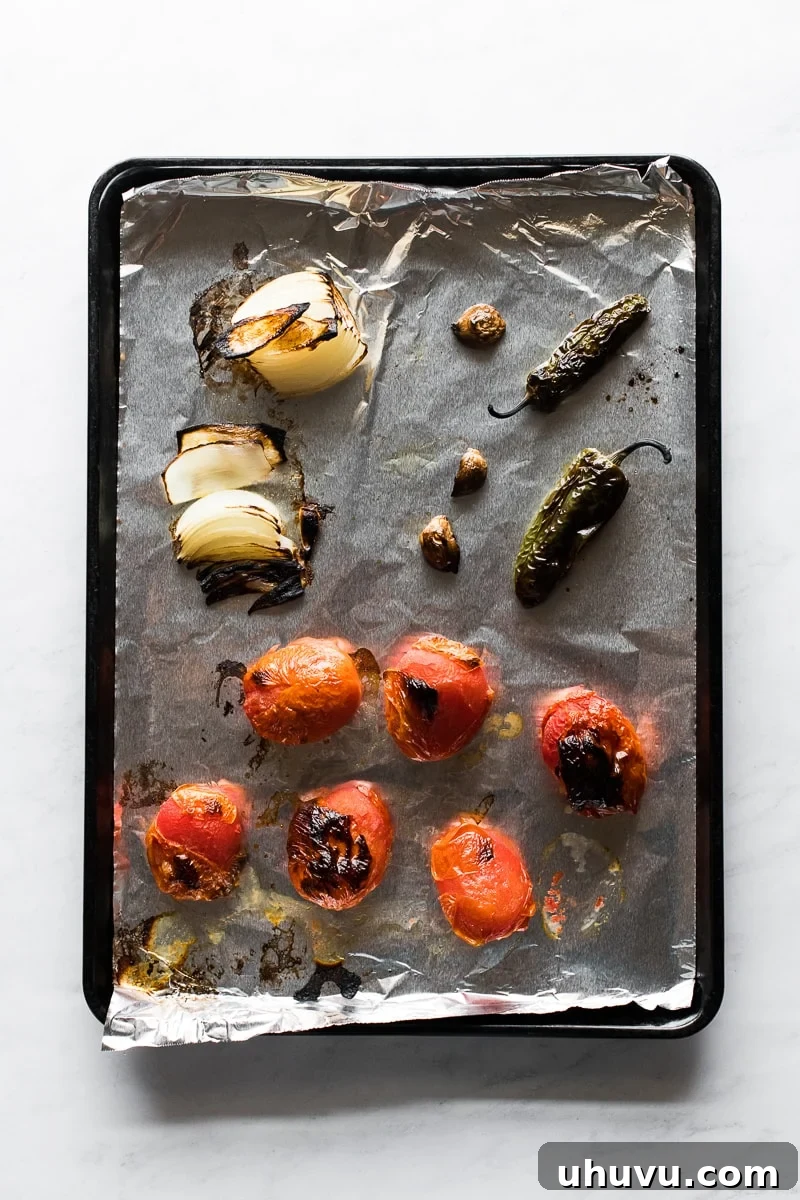
Begin by preheating your broiler to high. For the quickest and easiest cleanup, line a large baking sheet with aluminum foil. This will catch any juices and charred bits, making post-cooking tidying a breeze. Carefully arrange your core vegetables – the Roma tomatoes, onion halves (cut side up or down, doesn’t matter much), whole jalapeño peppers, and individual garlic cloves – evenly on the prepared baking sheet. Ensure they are in a single layer to allow for even roasting and charring. Drizzle them generously with about one teaspoon of olive oil, then use your fingers to gently rub and ensure all the vegetables are nicely coated. This thin layer of oil helps them achieve that beautiful, desired char and prevents them from sticking to the foil.
Carefully place the baking sheet in the oven, positioning it about 4-6 inches from the broiler element. Broil for approximately 10-15 minutes. It’s crucial to stay vigilant during this stage, as broilers can vary in intensity and charring happens quickly. Keep a close eye on your vegetables and use tongs to flip them halfway through, ensuring they blister and blacken evenly on all sides. You’re looking for that desirable smoky char, which signifies the development of deep, complex flavors and a slight softening of the vegetables.
If you have access to a gas stove or an outdoor grill, you can achieve an even more pronounced smoky flavor by roasting the vegetables directly over an open flame. Simply place them on the grill grates or directly over a burner, turning frequently with tongs until their skins are beautifully blackened and blistered. This method often results in a more intense smoky flavor profile. Whichever method you choose, the goal is that characteristic smoky char – it’s the key to this salsa’s incredible taste!
Step 2: Blend for Perfection and Adjust Spice Levels
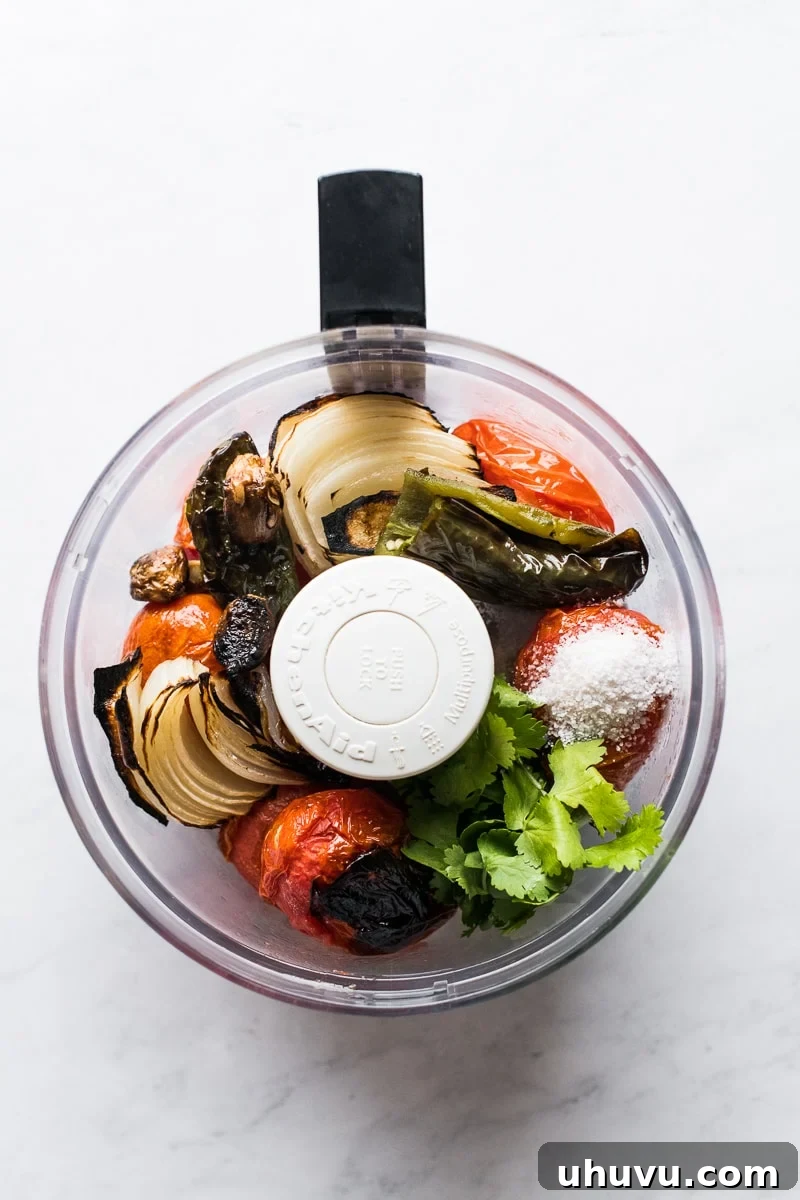
Once your vegetables are perfectly charred and slightly cooled (allowing them to cool for about 5-10 minutes makes them easier to handle), it’s time to bring all the delicious components of the salsa together. First, carefully remove the stems from the jalapeños. Don’t worry about peeling off any of the blackened skin from the tomatoes or peppers – that char is precisely what contributes so much incredible depth and a subtle smoky flavor to your salsa! If you prefer a milder salsa, this is the moment to remove and discard the jalapeño seeds and membranes, which hold most of the pepper’s heat. For those who love a spicy kick, feel free to leave them in.
Transfer all the roasted vegetables into a food processor or a high-speed blender. Add in fresh sprigs of cilantro for herbaceous brightness, a good pinch of kosher salt to enhance all the flavors, and a generous squeeze of fresh lime juice for that essential zing and acidity that cuts through the richness. If cilantro isn’t your favorite herb, or you have the gene that makes it taste like soap, you can certainly reduce the amount or omit it entirely; the roasted flavors will still shine through beautifully. A small amount of fresh parsley or oregano could also be a substitute, though it will alter the classic flavor profile.
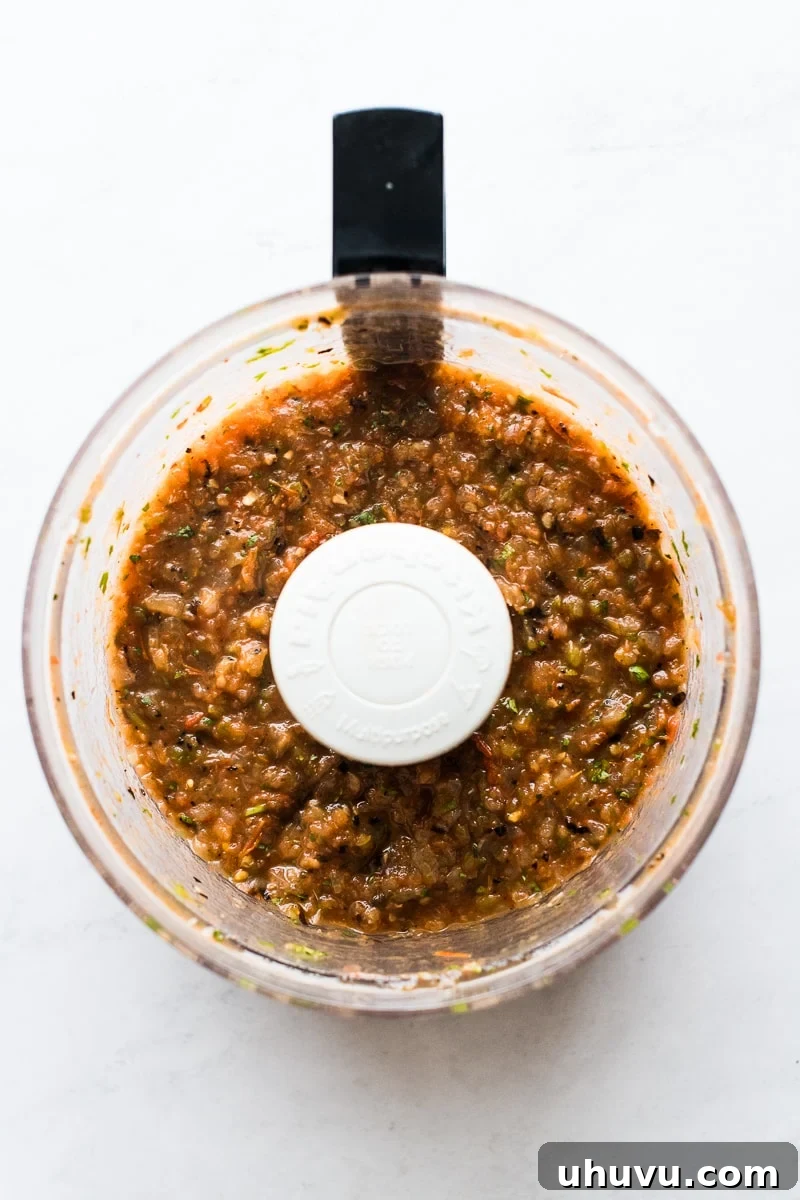
Step 3: Achieve Your Desired Consistency and Season to Taste
Now, it’s time to pulse or blend your ingredients until the salsa reaches your preferred consistency. For a delightfully chunky salsa with plenty of texture and rustic appeal, give the food processor or blender just a few quick pulses, allowing some larger pieces of roasted vegetables to remain. This creates a satisfying mouthfeel perfect for dipping. If you’re aiming for a silky-smooth salsa that coats the back of a spoon and pours beautifully, blend it continuously for about one minute, or until completely pureed with no visible chunks. The choice is entirely yours, depending on how you plan to serve it!
The final, crucial step is to taste and adjust the seasoning. This is where your personal preference comes into play! Add more salt if necessary to truly brighten and balance all the flavors. Remember that the saltiness of your tortilla chips can also influence how much salt your salsa needs. If your chips are already quite salty, you might need less salt in the salsa. Conversely, if your chips are mild, a bit more salt in the salsa will help create a perfect balance. Don’t hesitate to add an extra squeeze of lime juice if it needs more acidity and zing, or another touch of jalapeño (or a tiny pinch of cayenne pepper) if you crave more heat. Adjust until it’s absolutely perfect for your palate. This homemade salsa is all about customizability!
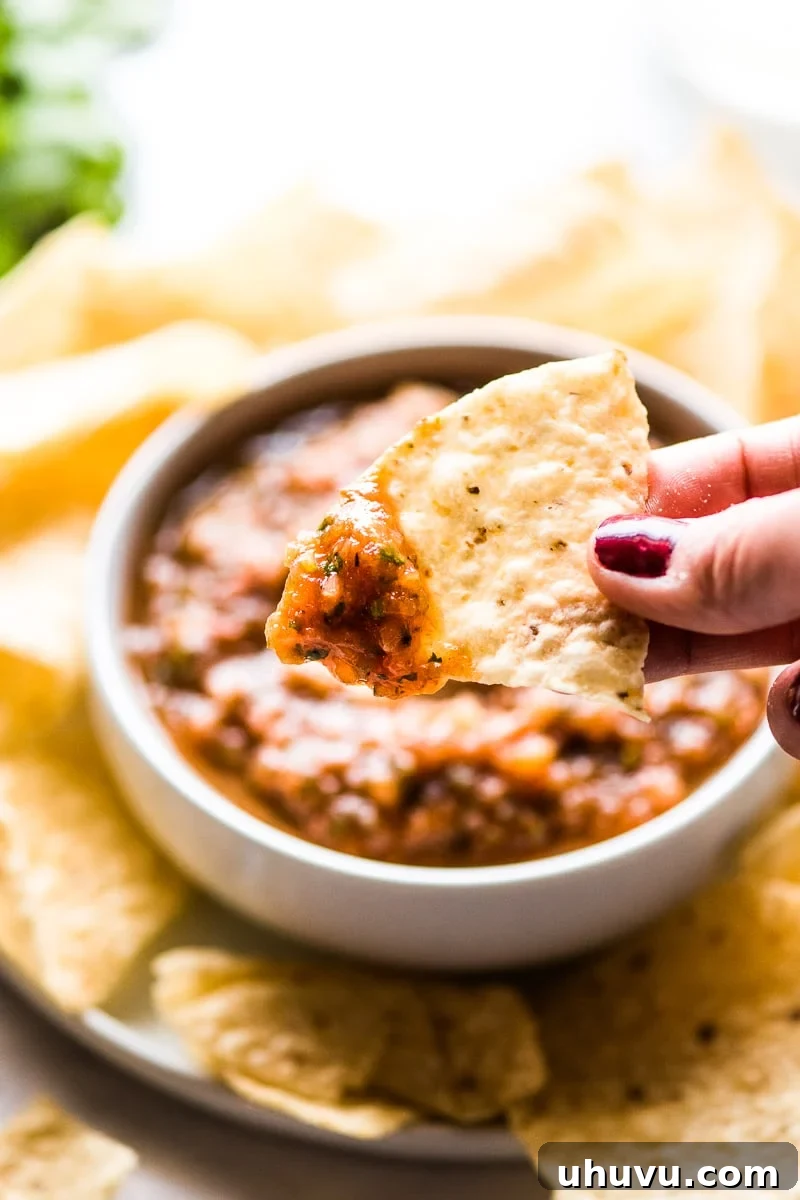
Serving Suggestions for Your Roasted Tomato Salsa
This versatile Roasted Tomato Salsa is a true chameleon in the kitchen, adapting beautifully to a multitude of dishes. While it’s absolutely divine served simply with a pile of warm tortilla chips, its rich, smoky, and slightly sweet flavor profile makes it much more than just a dip. Its robust character can enhance a wide range of meals. Consider these exciting ways to incorporate it into your culinary creations:
- Classic Dipping: The most obvious, yet always satisfying, pairing is with crunchy tortilla chips, corn chips, or even vegetable sticks. Its robust flavor stands up perfectly to any chip.
- Taco & Burrito Booster: Elevate your weeknight tacos, burritos, burrito bowls, or enchiladas. A generous spoonful of this salsa adds a fresh, zesty, and smoky dimension that transforms ordinary fillings into something extraordinary.
- Egg Enhancer: Drizzle it over scrambled eggs, omelets, frittatas, or huevos rancheros for a breakfast or brunch with an authentic Mexican flair. It adds moisture and a burst of flavor.
- Grilled Meats & Fish Topping: Use it as a vibrant and flavorful topping for grilled chicken, steak, pork chops, or white fish. The smoky notes in the salsa complement the char from the grill beautifully, creating a harmonious blend of flavors.
- Quesadillas & Nachos: Serve it on the side or dollop it directly onto cheesy quesadillas, crispy nachos, or loaded fries for an extra layer of freshness and spice.
- Grain Bowls & Salads: Incorporate it into your healthy grain bowls, such as quinoa or brown rice bowls, or use it as a zesty dressing base for a Southwestern-inspired salad.
- Avocado Toast Twist: Take your avocado toast to the next level with a generous scoop of roasted salsa for an instant upgrade.
- Sandwich & Wrap Spread: Use it as a flavorful alternative to mayonnaise or mustard in sandwiches and wraps.
Don’t be afraid to get creative! Its bold flavor profile can inspire countless culinary adventures and become your secret ingredient for adding excitement to everyday meals.
Storing Your Homemade Roasted Tomato Salsa
Once your homemade Roasted Tomato Salsa has reached peak flavor perfection, you have a few options for serving and storage. You can, of course, serve it immediately and enjoy its fresh, vibrant taste at its prime. However, if you’ve made a larger batch or want to prepare it ahead of time, proper storage is key to maintaining its quality and extending its shelf life, allowing you to savor it for days to come.
To store, transfer the salsa to a clean, airtight container. A glass jar with a tight-fitting lid works wonderfully, preventing air exposure that can degrade freshness. Store it in the refrigerator, where it will remain fresh and delicious for up to 1 week. In fact, many people find that the flavors often meld and deepen even further after a day or two in the fridge, making it an excellent make-ahead option for parties, gatherings, or busy weeknights. When it comes to serving temperature, personal preference reigns supreme. I find this salsa particularly delightful served warm or at room temperature, as these temperatures allow its complex roasted flavors to truly shine and its aromas to be more pronounced. However, it’s also perfectly enjoyable chilled, especially on a hot day. Simply pull it from the fridge and let it sit on the counter for 15-20 minutes before serving, or warm it gently in a saucepan over low heat if you prefer it warm, stirring occasionally until heated through. Freezing is generally not recommended as it can alter the texture of fresh salsa, making it watery.
More Salsa Recipes to Explore
If you’ve fallen in love with the vibrant, fresh, and complex flavors of homemade salsa, you’re in for a treat! The world of salsa is vast and exciting, offering endless possibilities for delicious snacking and meal enhancements. Here are some other incredible salsa recipes from my kitchen that you absolutely must try:
- Salsa Mexicana con Aguacate (Pico de Gallo with Avocado): A fresh and chunky classic, enhanced with creamy avocado for an irresistible texture.
- Pineapple Salsa: A delightful sweet and savory explosion, perfect with grilled fish, pork, or even chicken tacos.
- Black Bean and Corn Salsa: A hearty and colorful salsa, great as a dip, a side salad, or a topping for various Tex-Mex dishes.
- Salsa Verde (Green Tomatillo Salsa): Tangy and bright with a kick, a staple for enchiladas, chilaquiles, and all your favorite green salsa dishes.
- Guacamole Salsa: The best of both worlds – creamy guacamole meets zesty salsa for a truly unique and addictive dip.
- Grilled Corn Salsa: Sweet grilled corn kernels combined with fresh veggies for a delightful smoky-sweet salsa that’s perfect for summer.
Each recipe offers a unique flavor profile and texture, promising endless possibilities for delicious snacking and meal enhancements. Dive into these recipes and discover your next favorite homemade salsa!
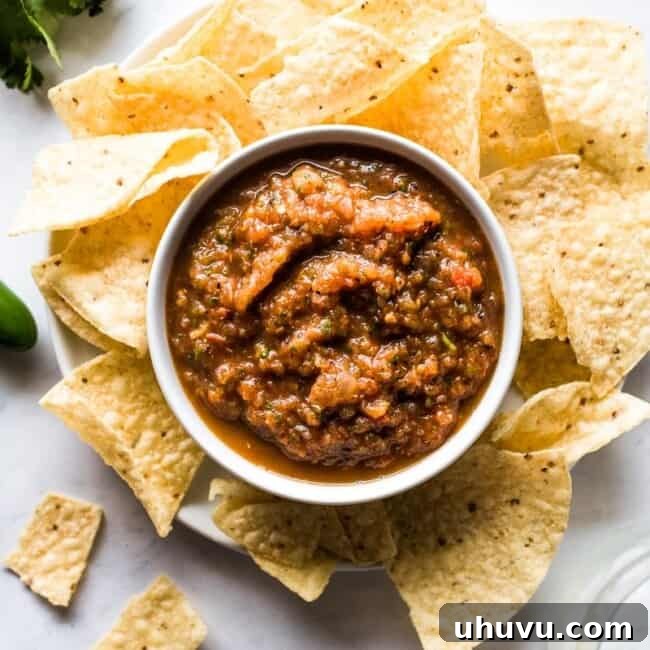
Roasted Tomato Salsa
Ingredients
- 1 teaspoon olive oil
- 6 Roma tomatoes (or plum tomatoes)
- 1 small onion, halved (yellow or white)
- 2 jalapeño peppers
- 3 cloves garlic
- 10 sprigs cilantro
- 1 tablespoon lime juice (about 1/2 lime)
- 1 teaspoon kosher salt, plus more to taste
Instructions
-
Preheat your broiler to high. For easiest cleanup, line a large baking sheet with aluminum foil.
-
Place the Roma tomatoes, onion halves, jalapeños, and garlic cloves evenly on the prepared baking sheet. Drizzle with olive oil and rub to ensure all vegetables are coated.
-
Place the baking sheet under the preheated broiler for 10-15 minutes, carefully flipping the vegetables halfway through, until their skins are visibly blistered and blackened. Alternatively, you can roast them over an open gas flame or grill until charred.
-
Carefully remove the stems from the jalapeños. If you prefer a milder salsa, remove and discard the seeds and membranes.
-
Transfer all the roasted vegetables to a food processor or blender. Add the fresh cilantro sprigs, lime juice, and kosher salt.
-
Pulse a few times for a chunky salsa, or blend for about one minute for a smoother consistency. Taste the salsa and adjust with more salt, lime juice, or jalapeño if needed to suit your preference.
Video
Notes
- Alternative Roasting Method: If you have a gas stove or an outdoor grill, you can achieve an even more intense char and smoky flavor by carefully roasting the vegetables directly over the open burner or grill grates until blackened and blistered. Use tongs for easy turning and safety.
- Storage: This delicious homemade roasted tomato salsa can be stored in an airtight container in the refrigerator for up to 1 week. The flavors often improve after a day as they meld together.
- Adjusting Heat: For a spicier salsa, leave some or all of the jalapeño seeds and membranes in. For a milder version, remove them completely. You can also add a pinch of cayenne pepper for an extra kick.
- Tomato Choice: Roma or plum tomatoes are recommended due to their firm flesh and lower water content, which prevents the salsa from becoming too watery. However, any ripe, flavorful tomato will work, just be mindful of excess liquid.
- Cilantro Variation: If you’re not a fan of cilantro, you can reduce the amount or omit it entirely. You might try adding a tiny pinch of dried Mexican oregano or fresh parsley for a different herbaceous note.
Nutrition
Calories: 23kcal |
Carbohydrates: 4g |
Protein: 1g |
Fat: 1g |
Saturated Fat: 1g |
Sodium: 337mg |
Potassium: 175mg |
Fiber: 1g |
Sugar: 2g |
Vitamin A: 695IU |
Vitamin C: 15mg |
Calcium: 12mg |
Iron: 1mg
Nutrition information is automatically calculated, so should only be used as an approximation.
Did you make this recipe?
Leave a comment and star rating below!