
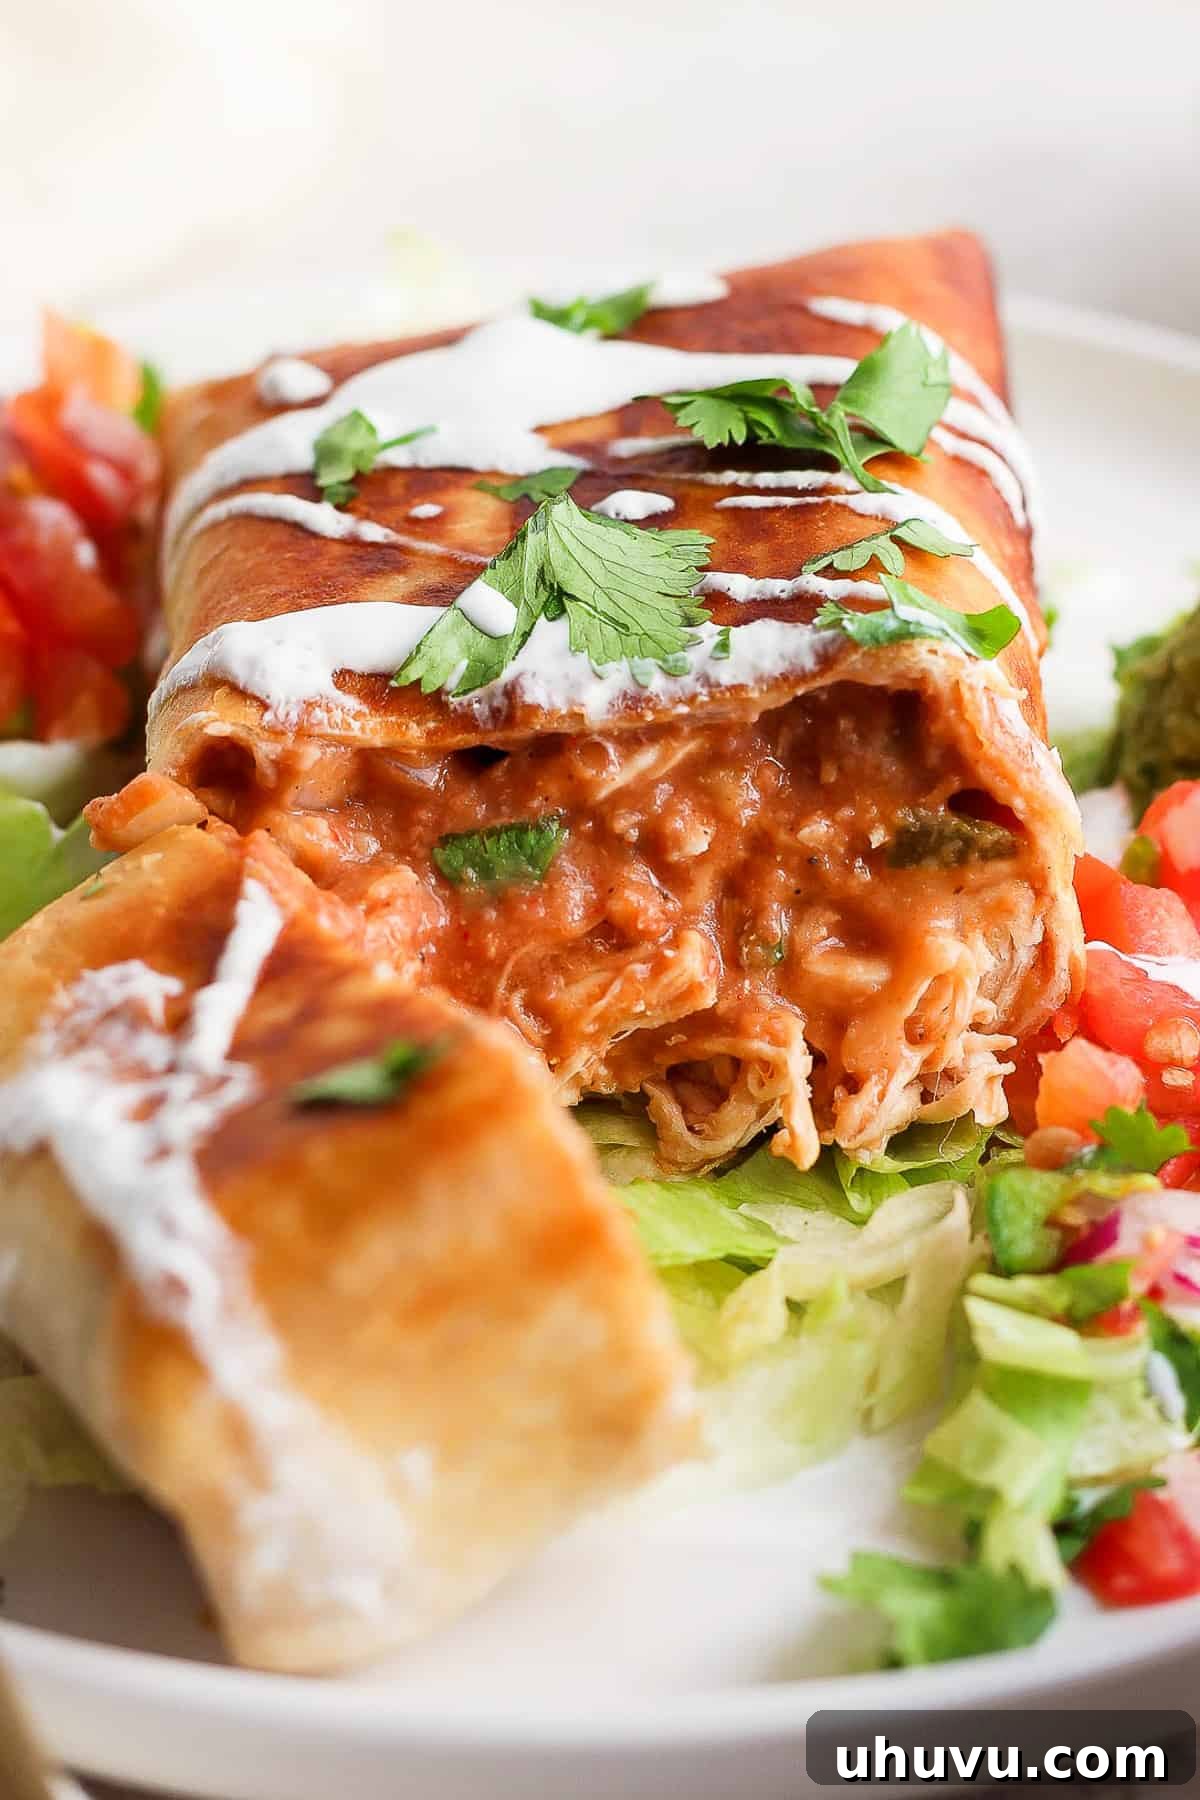
Homemade Chicken Chimichangas: Crispy, Flavorful, and Easy to Make!
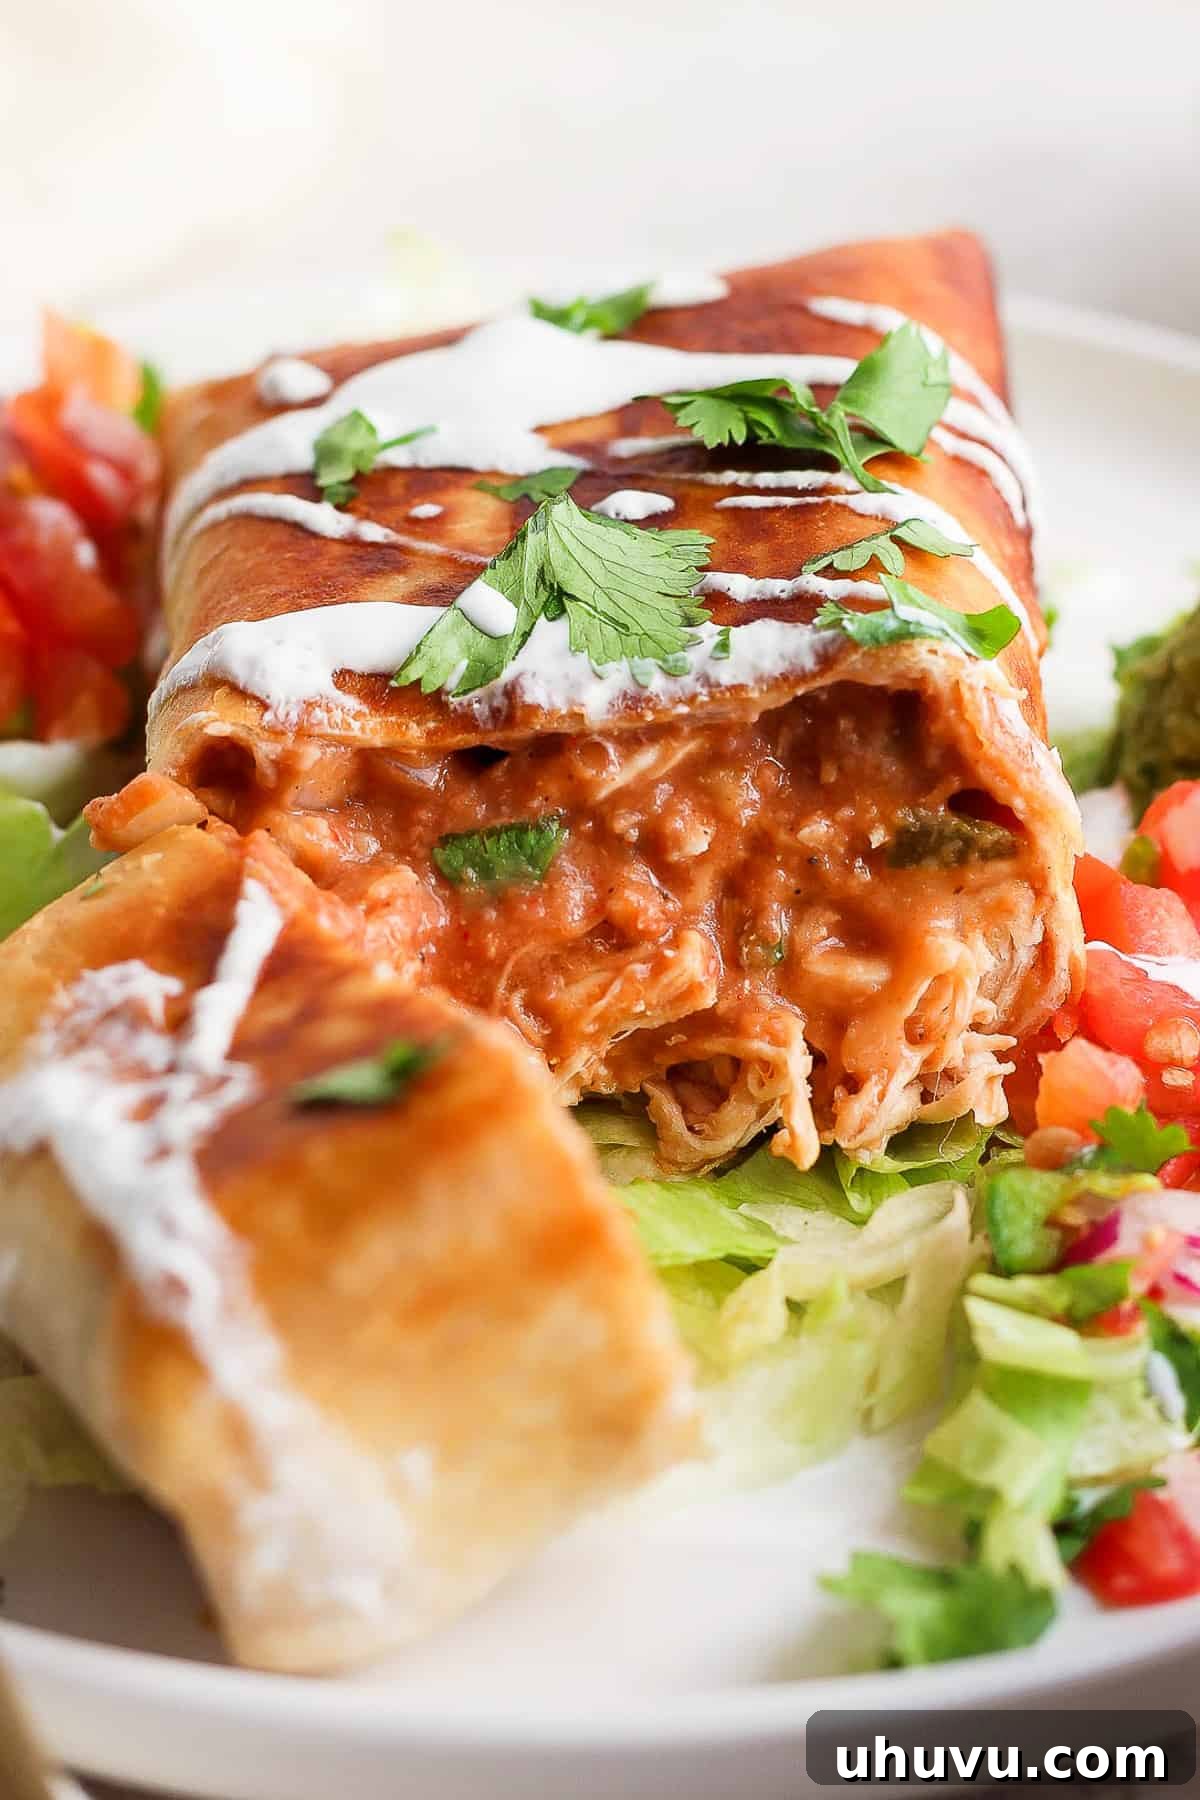
Dive into the delicious world of homemade chimichangas with this incredibly easy recipe! Bursting with a savory filling of tender shredded chicken, creamy refried beans, zesty salsa, and melty cheese, these golden pockets of joy are wrapped in flour tortillas and cooked to crispy perfection. Whether you prefer to pan-fry, bake, or air fry, we’ve got you covered with simple instructions for a restaurant-quality Tex-Mex meal right in your own kitchen.
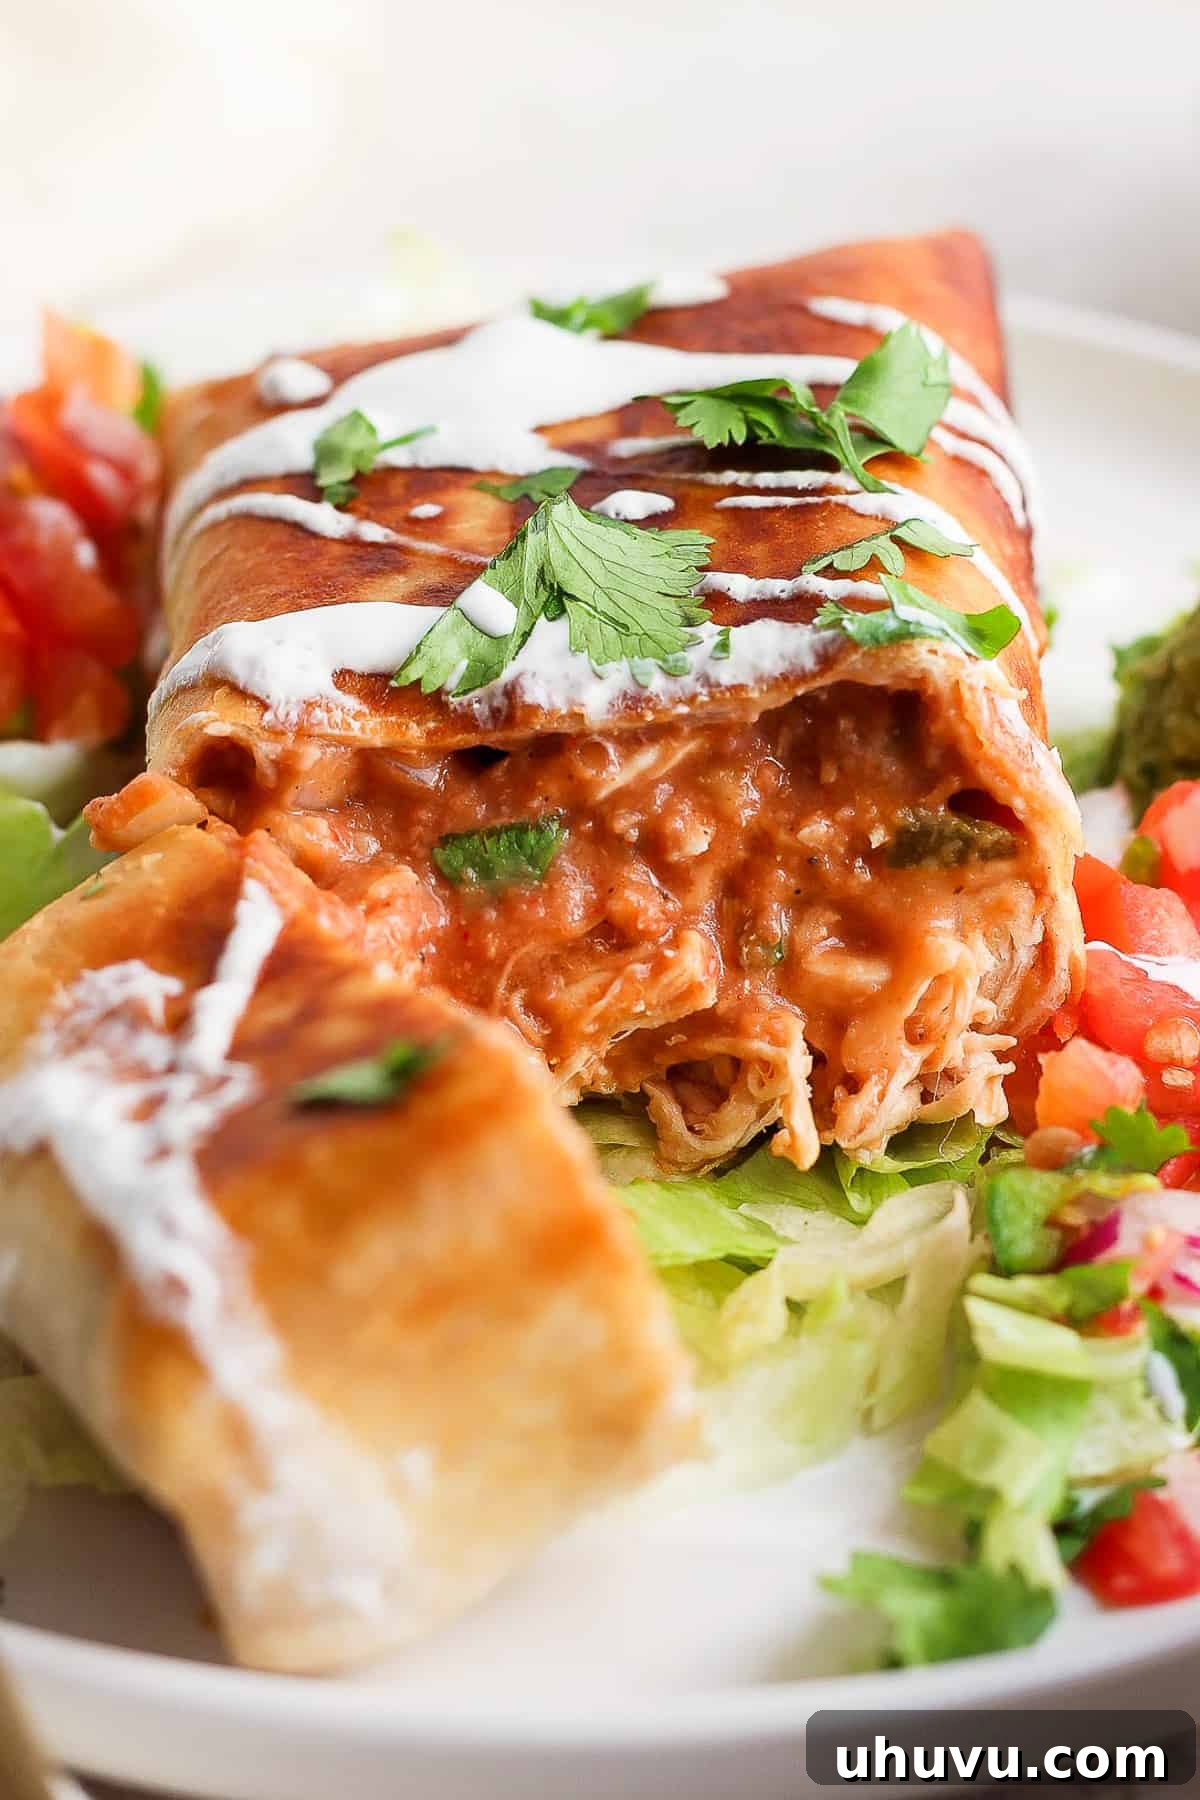
Few dishes evoke such universal delight as the chimichanga. These delightful fried burritos, though often considered a Tex-Mex invention rather than an authentic Mexican staple, have cemented their place in the hearts and on the tables of countless food enthusiasts across the country. And honestly, who can resist their irresistible combination of crispy tortilla and rich, flavorful filling?
While traditional restaurant chimichangas are typically deep-fried to achieve that signature golden-brown, crunchy exterior, making them at home doesn’t have to be a messy or intimidating affair. My recipe offers a fantastic alternative: pan-frying in a skillet with just a touch of oil, delivering the same incredible crispiness with less hassle. For those who prefer to skip frying altogether, I’ve also included detailed instructions for baking them in the oven or preparing them in an air fryer, ensuring you can enjoy a perfectly crunchy chimichanga, no matter your preferred method.
This recipe is designed for ease and maximum flavor, making it a perfect choice for a weeknight dinner or a fun family meal. Get ready to impress your taste buds with these simple yet sensational chicken chimichangas!
What Are Chimichangas?
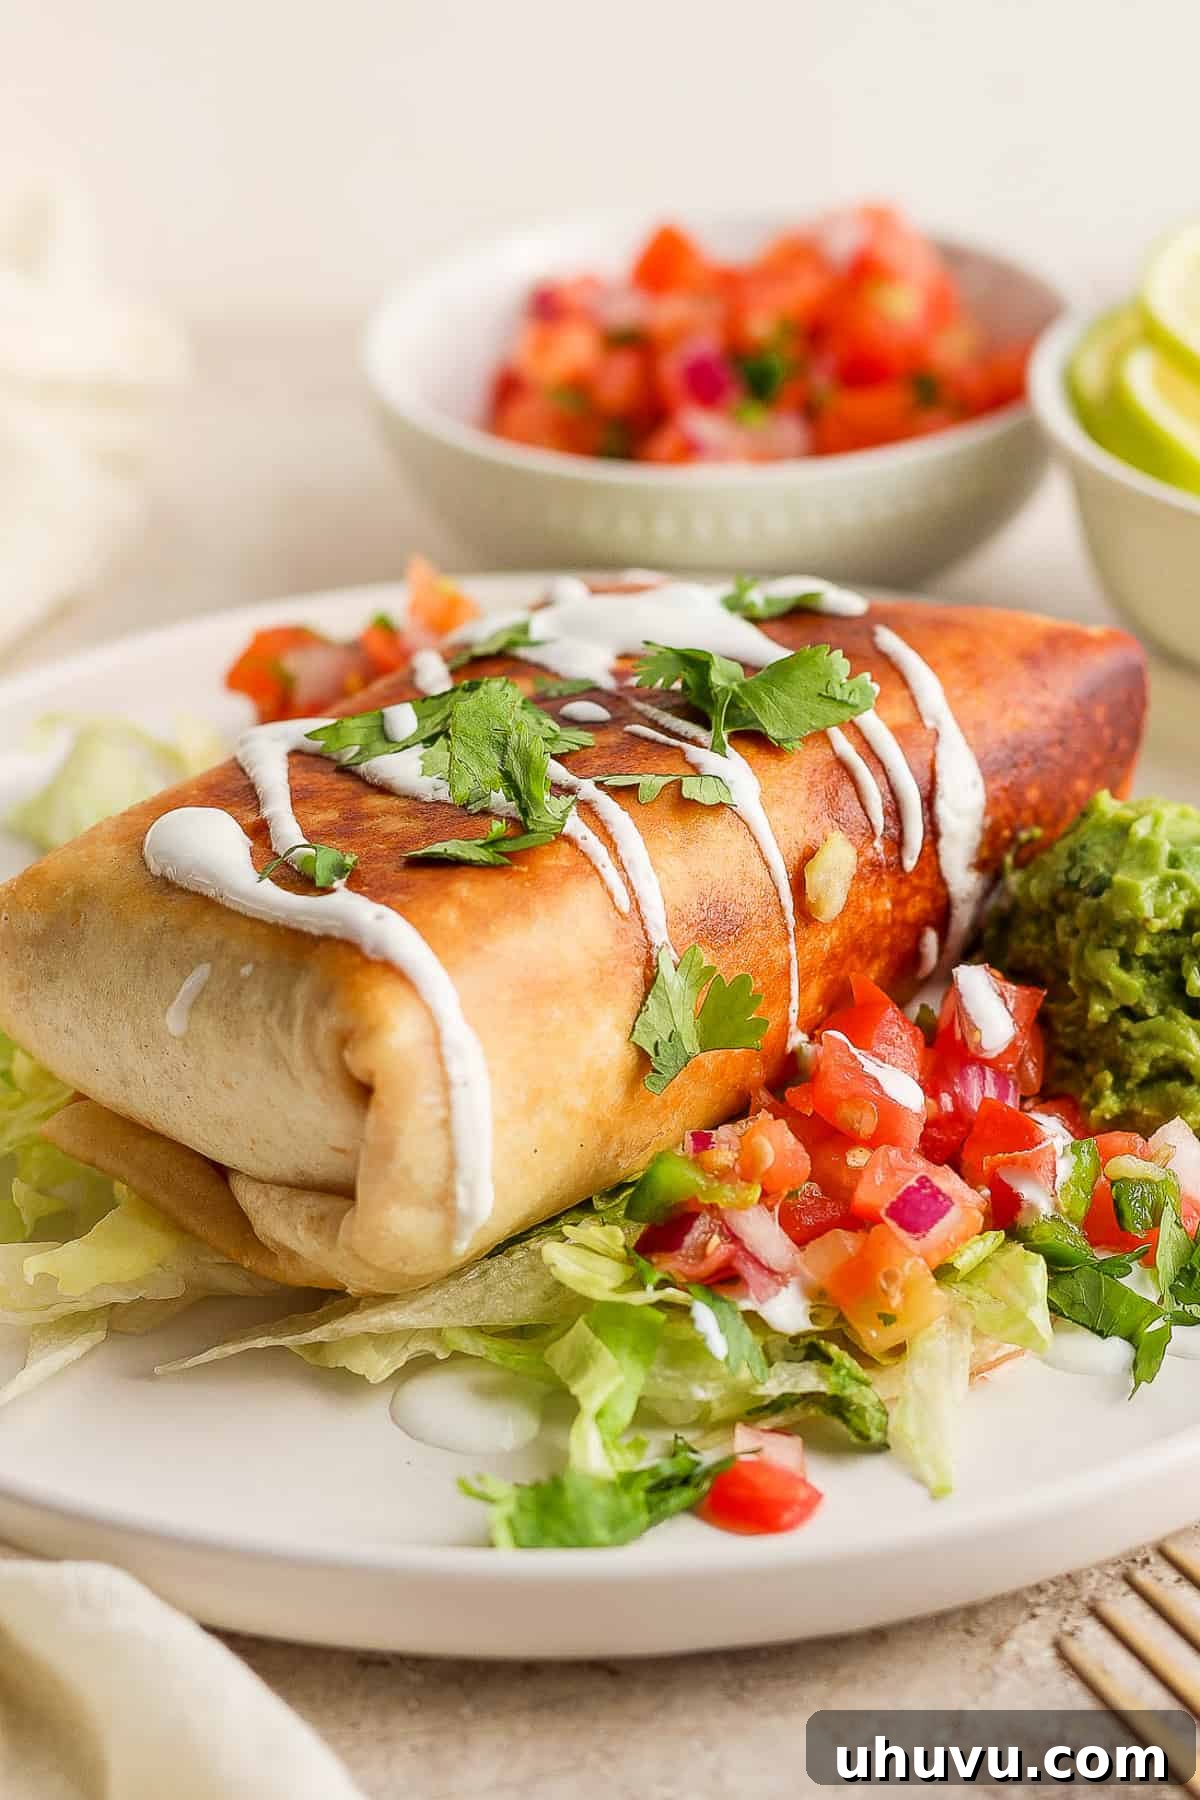
Chimichangas are a beloved Tex-Mex and Mexican-inspired dish, essentially deep-fried burritos. They typically consist of large flour tortillas generously stuffed with a variety of fillings, such as seasoned meat (often shredded chicken or beef), savory refried beans, and plenty of cheese. Once filled and expertly folded, they are fried until the tortilla turns beautifully crispy and golden brown, encasing the warm, melty interior. These delicious creations are commonly served adorned with a dollop of sour cream or authentic Mexican crema, fresh pico de gallo, creamy guacamole, and a side of fluffy Mexican rice. They originated in the Southwest United States, with popular origin stories often citing Arizona as their birthplace, evolving from the popular burrito.
Chimichanga vs. Burrito: What’s the Difference?
The distinction between a burrito and a chimichanga is quite simple, yet it makes all the difference! Both dishes feature similar core components: flavorful fillings of beans, cheese, and meat, all wrapped snugly in a large flour tortilla. The crucial difference lies in their preparation: chimichangas are deep-fried, pan-fried, baked, or air-fried until crispy, resulting in a firm, golden exterior, whereas burritos are typically served soft and un-fried. This frying process gives the chimichanga its unique texture and rich, toasted flavor that sets it apart from its soft-wrapped cousin.
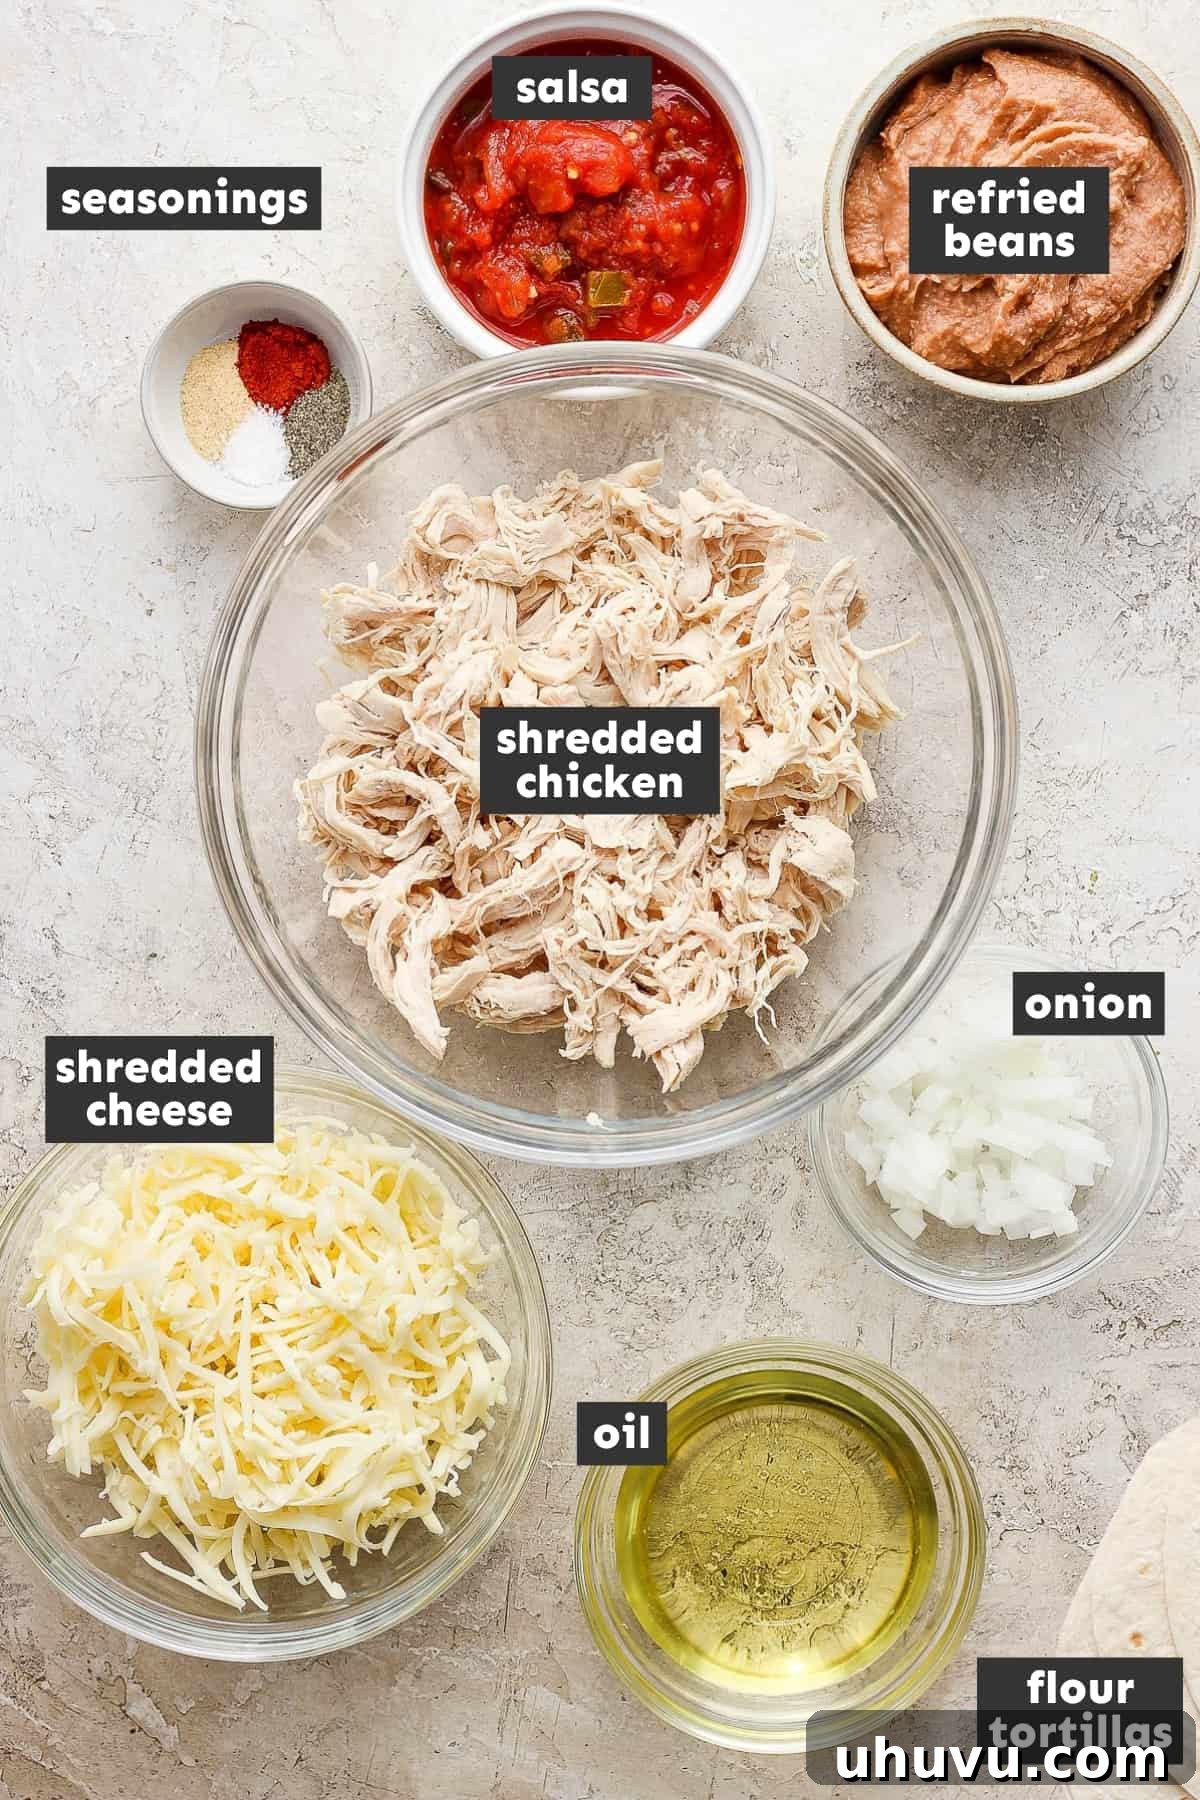
Essential Ingredients for Delicious Chicken Chimichangas
Crafting the perfect chicken chimichanga begins with selecting quality ingredients. Here’s what you’ll need, along with tips for optimal flavor and convenience:
- Shredded Chicken: The star of our filling! You’ll need about 2 ½ cups of cooked, shredded chicken. To save valuable time, a pre-cooked rotisserie chicken from your local grocery store is an excellent choice. Simply shred the meat from the bone, and you’re good to go. Alternatively, you can prepare your own homemade shredded chicken using breasts or thighs, which can be boiled, baked, or cooked in an Instant Pot for tender results.
- Refried Beans: A 16-ounce can of refried beans offers incredible convenience and a creamy texture that binds the filling beautifully. For an extra touch of homemade goodness and depth of flavor, you can always opt for 1 ½ cups of authentic Mexican refried beans.
- Cheese: We’re aiming for that irresistible melty goodness! Shredded Monterey Jack cheese is a fantastic choice for its creamy texture and mild flavor that complements the other ingredients without overpowering them. However, feel free to use your favorite shredded cheese; cheddar, pepper jack, or a sharp cheddar all work wonderfully for a richer, more pronounced cheesy flavor.
- Salsa: This adds a vital layer of moisture and a tangy kick to our filling. A store-bought mild chunky salsa is ideal for a balanced flavor profile, but don’t hesitate to adjust the spice level to your preference with medium or hot salsa. For an even more authentic and fresh taste, consider making your own; my roasted tomato salsa or fresh homemade salsa recipes are excellent options.
- Large Flour Tortillas: The vessel for all our delicious fillings! You’ll need 10-inch flour tortillas, often labeled as “burrito-size” in stores. These larger tortillas are essential for properly folding and sealing the chimichangas without overfilling. If you’re feeling ambitious, homemade flour tortillas elevate this dish to another level.
- Onion: A small amount of finely diced white onion (about ¼ cup) provides a subtle crunch, a hint of pungency, and a refreshing contrast to the richness of the other ingredients.
- Seasonings: A simple blend of smoked paprika, garlic powder, salt, and black pepper enhances the overall flavor profile of the filling. Smoked paprika adds a lovely depth and smokiness, while garlic powder provides a savory base. Remember to taste the mixture once everything is combined and adjust the salt, pepper, or other spices as needed to suit your palate.
- Oil for Cooking: Essential for achieving that coveted crispy exterior. For pan-frying, about ½ cup of vegetable oil is recommended. Canola oil, avocado oil, or corn oil are great neutral-tasting options that have a high smoke point. If you choose to bake or air fry, you’ll only need a little cooking spray or a light brush of olive oil on the tortillas.
- Optional Toppings: Elevate your chimichangas with classic Tex-Mex toppings! Think fresh pico de gallo, a drizzle of Mexican crema or a dollop of sour cream, and a generous scoop of creamy guacamole. Shredded lettuce and chopped cilantro also add freshness and color.
Step-by-Step: How to Make Perfect Chicken Chimichangas
Making delicious chicken chimichangas at home is simpler than you might think! Follow these steps for a satisfying meal:
Prepare the Flavorful Filling
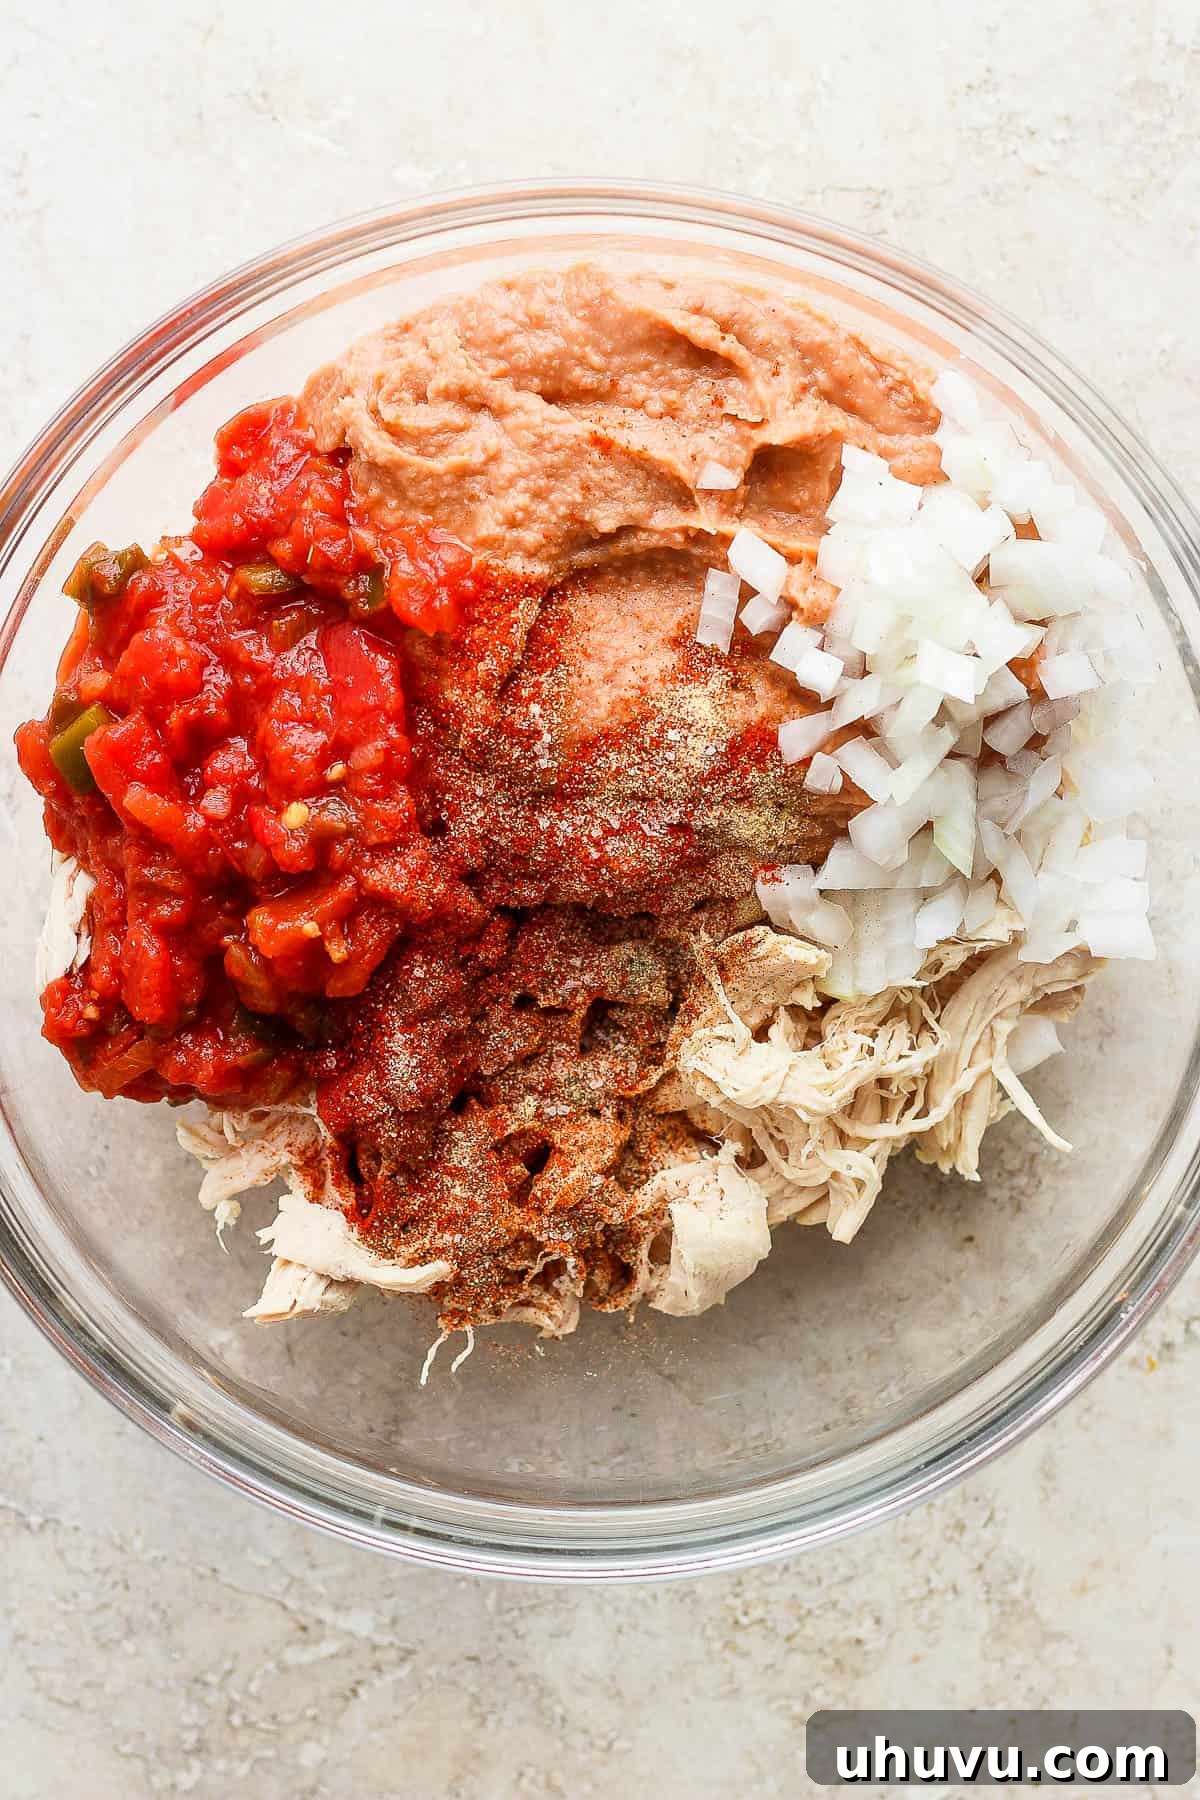
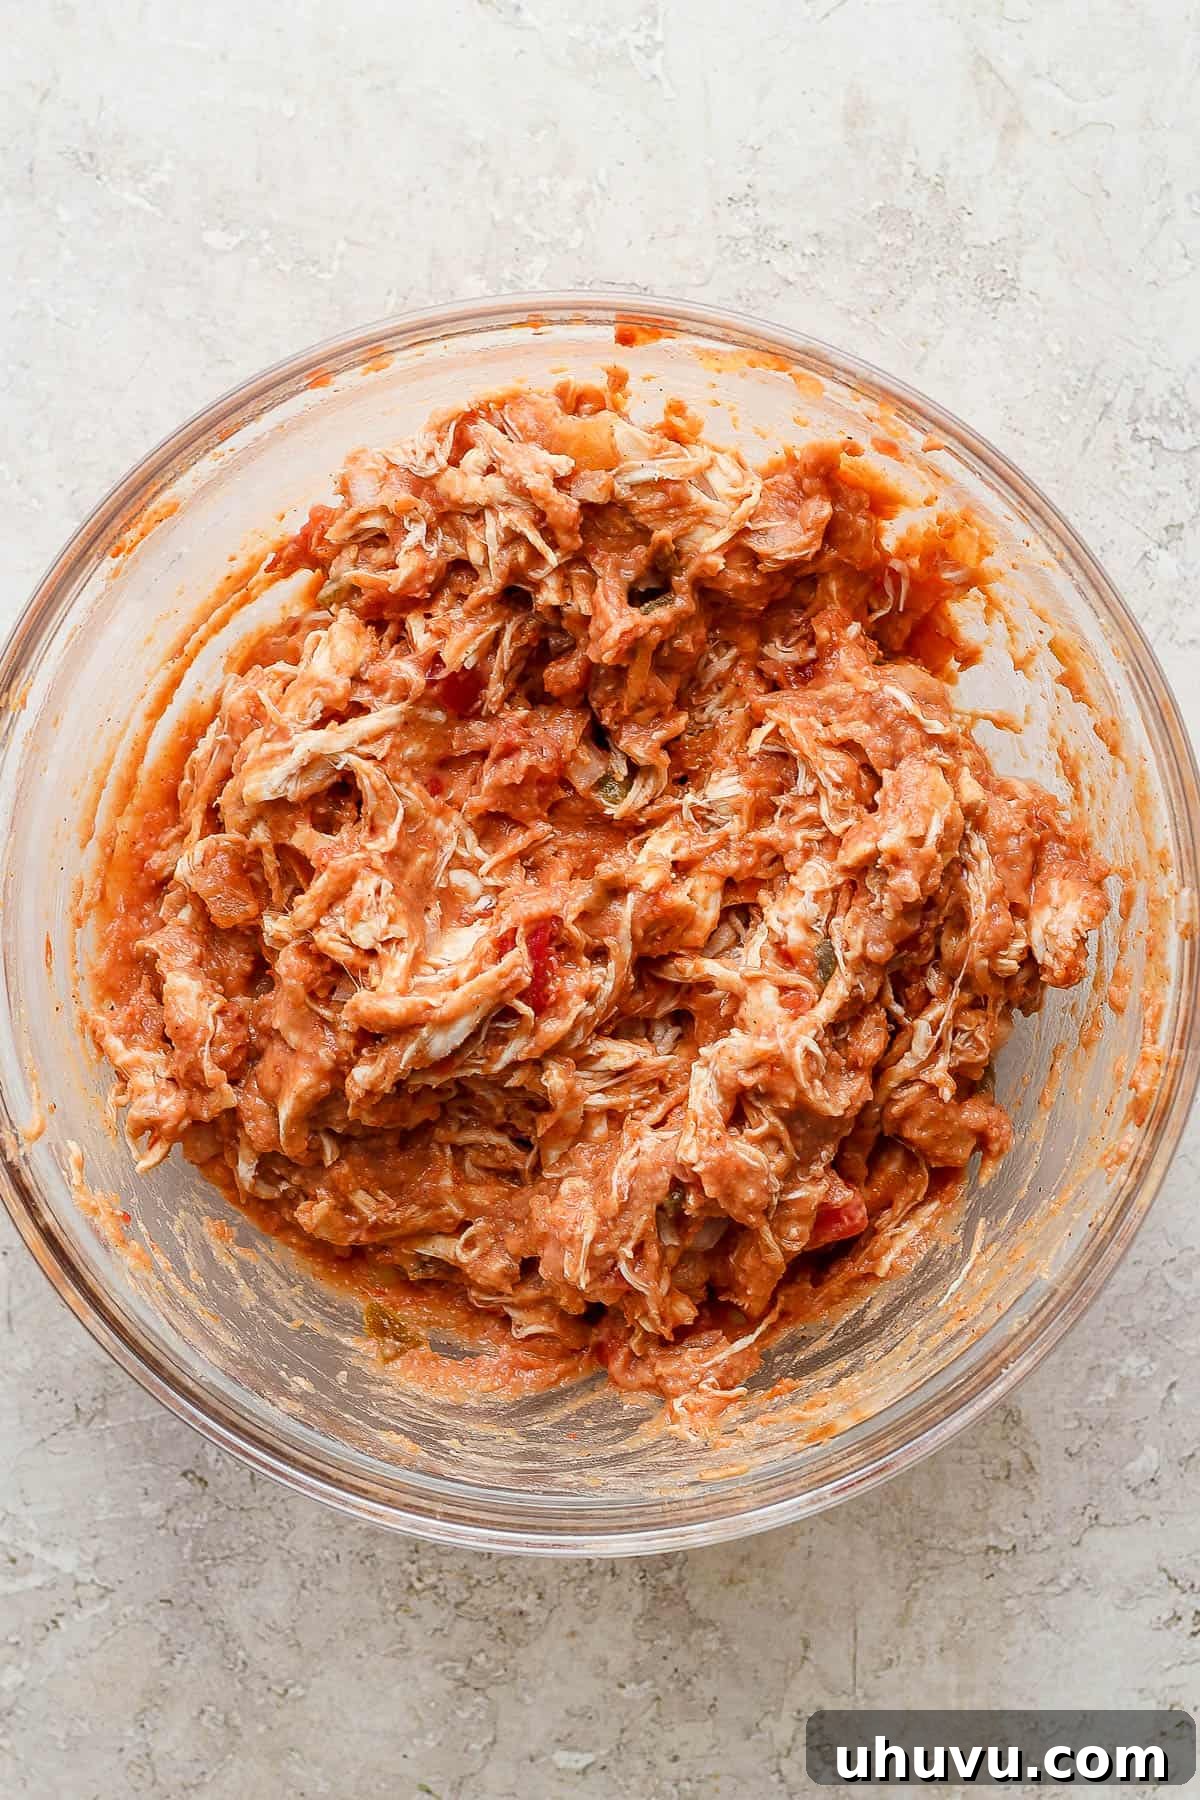
- Combine Ingredients: In a large mixing bowl, thoroughly combine the cooked shredded chicken, refried beans, chunky salsa, finely diced white onions, smoked paprika, garlic powder, kosher salt, and freshly ground black pepper. Use a sturdy spoon or your hands to ensure all ingredients are evenly distributed.
- Taste and Adjust: Once mixed, taste the filling and adjust seasonings if necessary. You might want a little more salt, a pinch more paprika, or even a dash of hot sauce for an extra kick.
Assemble Your Chimichangas
- Warm Tortillas (Optional but Recommended): Gently warm your flour tortillas in the microwave for 15-20 seconds or on a dry skillet for a few moments. This makes them more pliable and easier to fold without tearing.
- Fill Each Tortilla: Lay one large flour tortilla flat. Scoop about ½ cup of the chicken filling onto the center of the tortilla, forming a neat log shape.
- Add Cheese: Sprinkle approximately ¼ cup of shredded Monterey Jack cheese evenly over the filling.
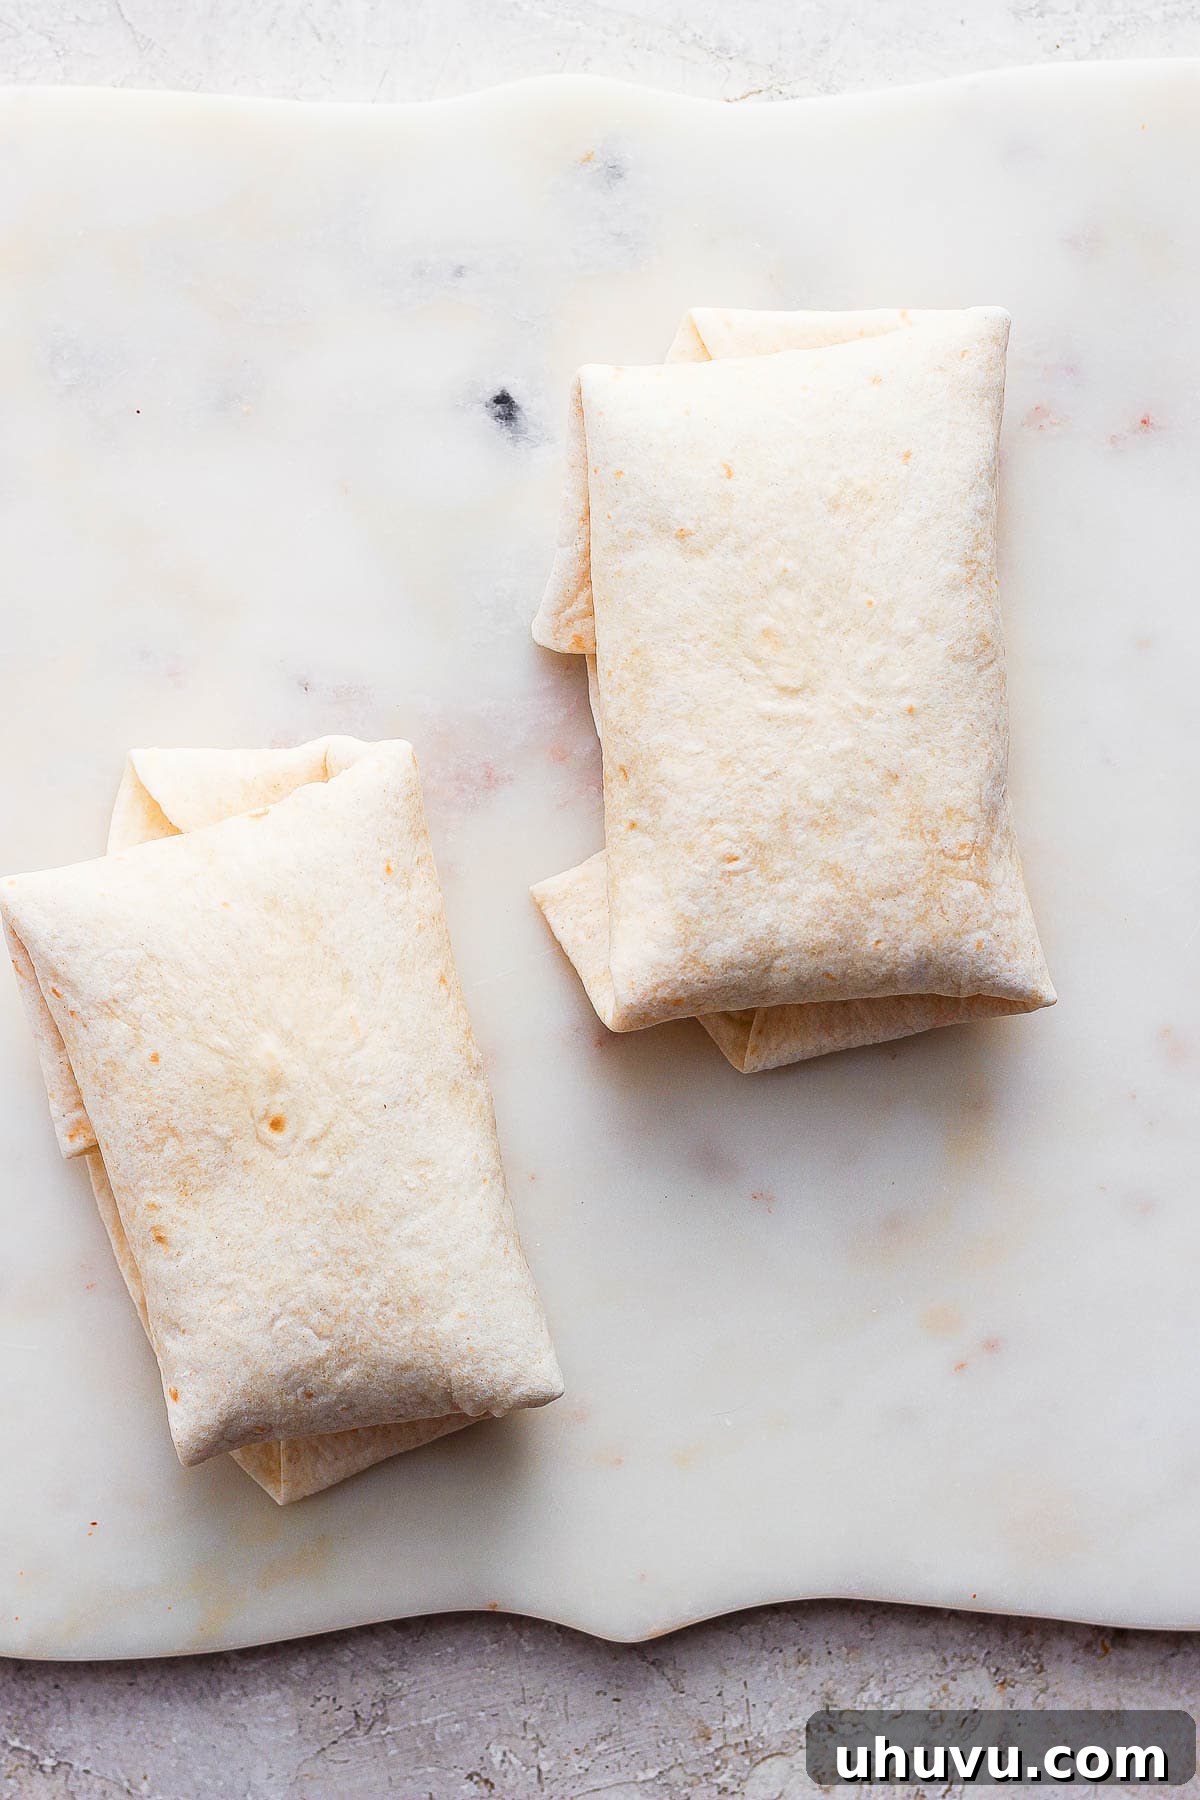
- Fold and Roll: To assemble a tight chimichanga, first fold the bottom edge of the tortilla up and over the filling, tucking it in firmly. Next, fold in the sides towards the center. Finally, roll the tortilla up tightly from the bottom, creating a compact, sealed package. The key is to not overfill, which can lead to leaks during cooking, and to roll them as snugly as possible to keep the filling secure.
Cook to Golden Perfection (Pan-Frying Method)
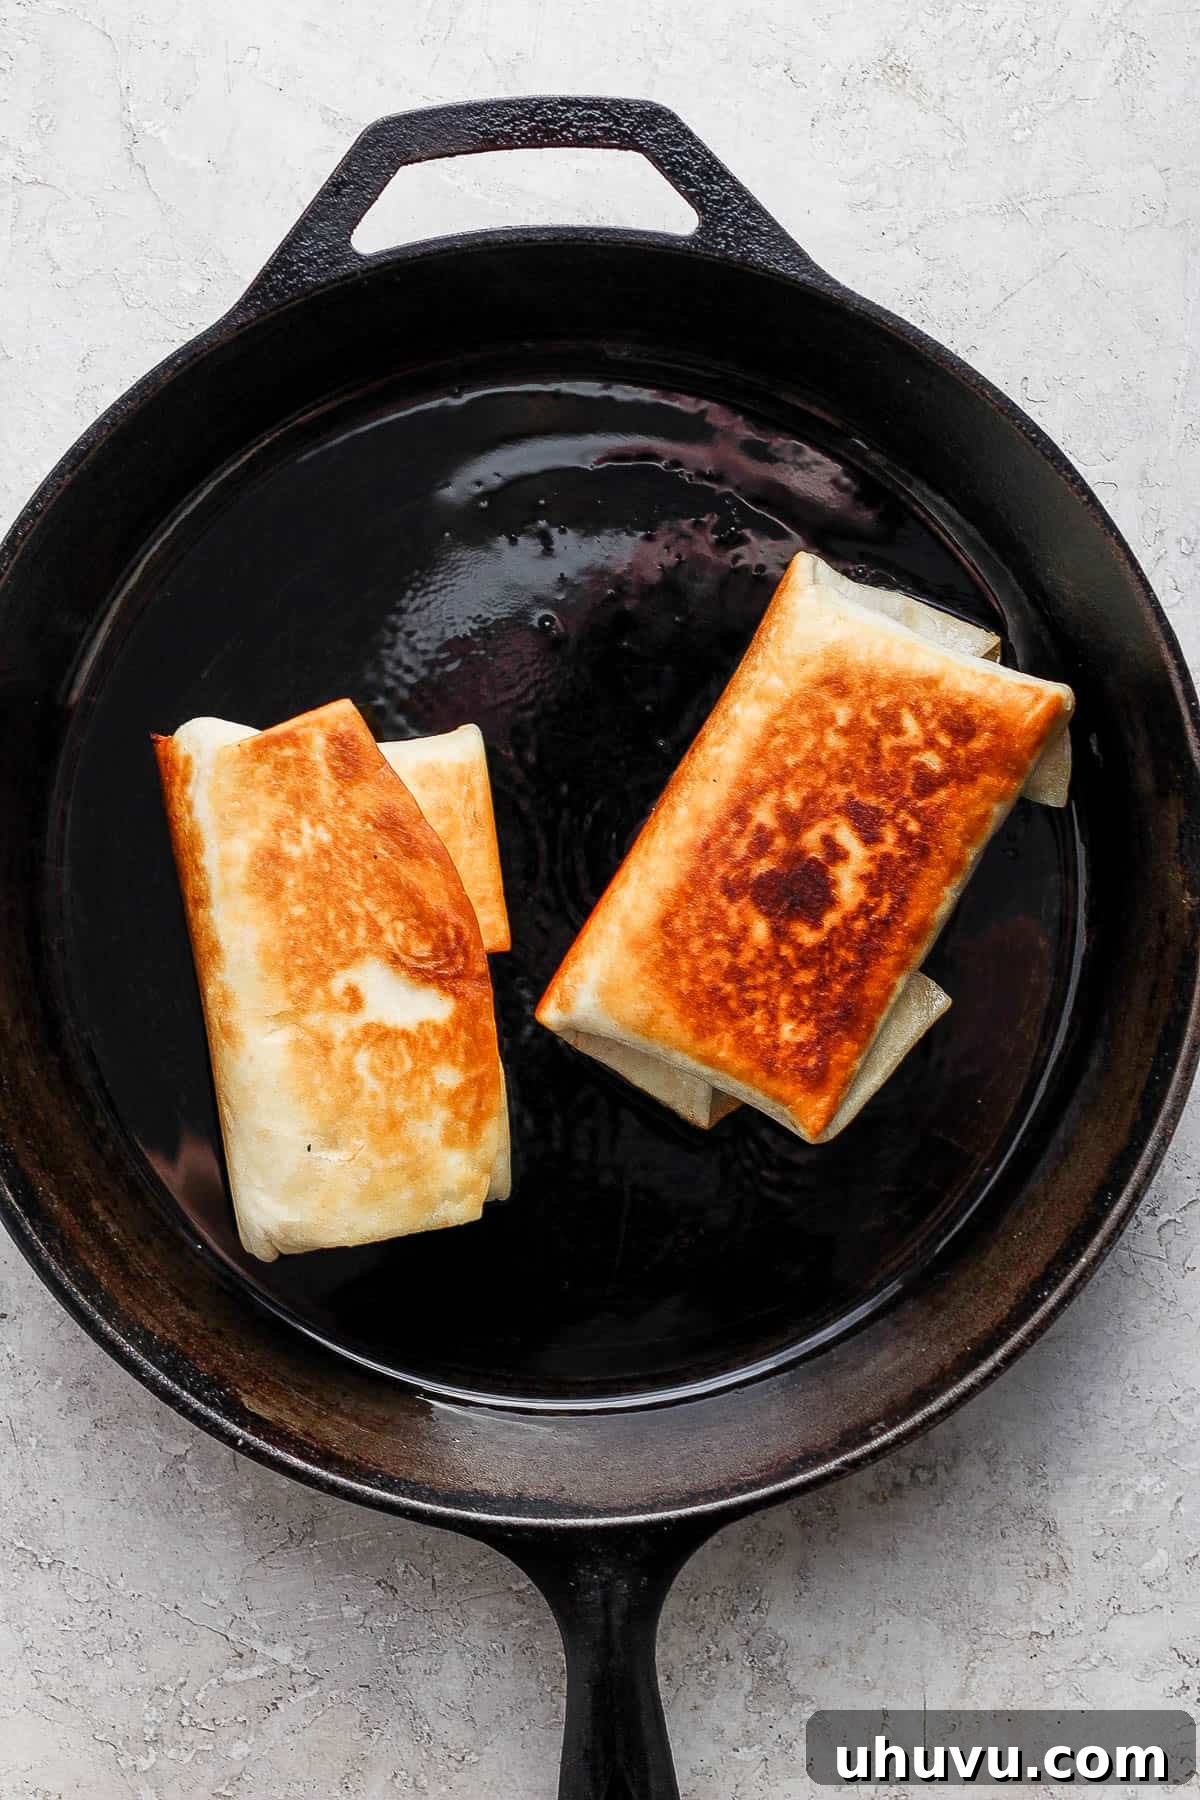
- Heat Oil: In a large skillet or sauté pan, heat about ½ cup of vegetable oil over medium-high heat. The oil should be hot enough to sizzle when a small drop of water is flicked into it, ideally reaching around 350°F (175°C).
- Fry in Batches: Carefully place 2-3 chimichangas into the hot oil, seam-side down first, ensuring not to overcrowd the pan.
- Cook Until Golden: Fry for approximately 3 minutes per side, flipping halfway through, until each chimichanga is beautifully golden brown and crispy on all sides. The tortilla should be firm and crunchy.
- Drain Excess Oil: Once cooked, transfer the chimichangas to a plate lined with paper towels to absorb any excess oil, helping them stay extra crispy.
Serve and Enjoy!
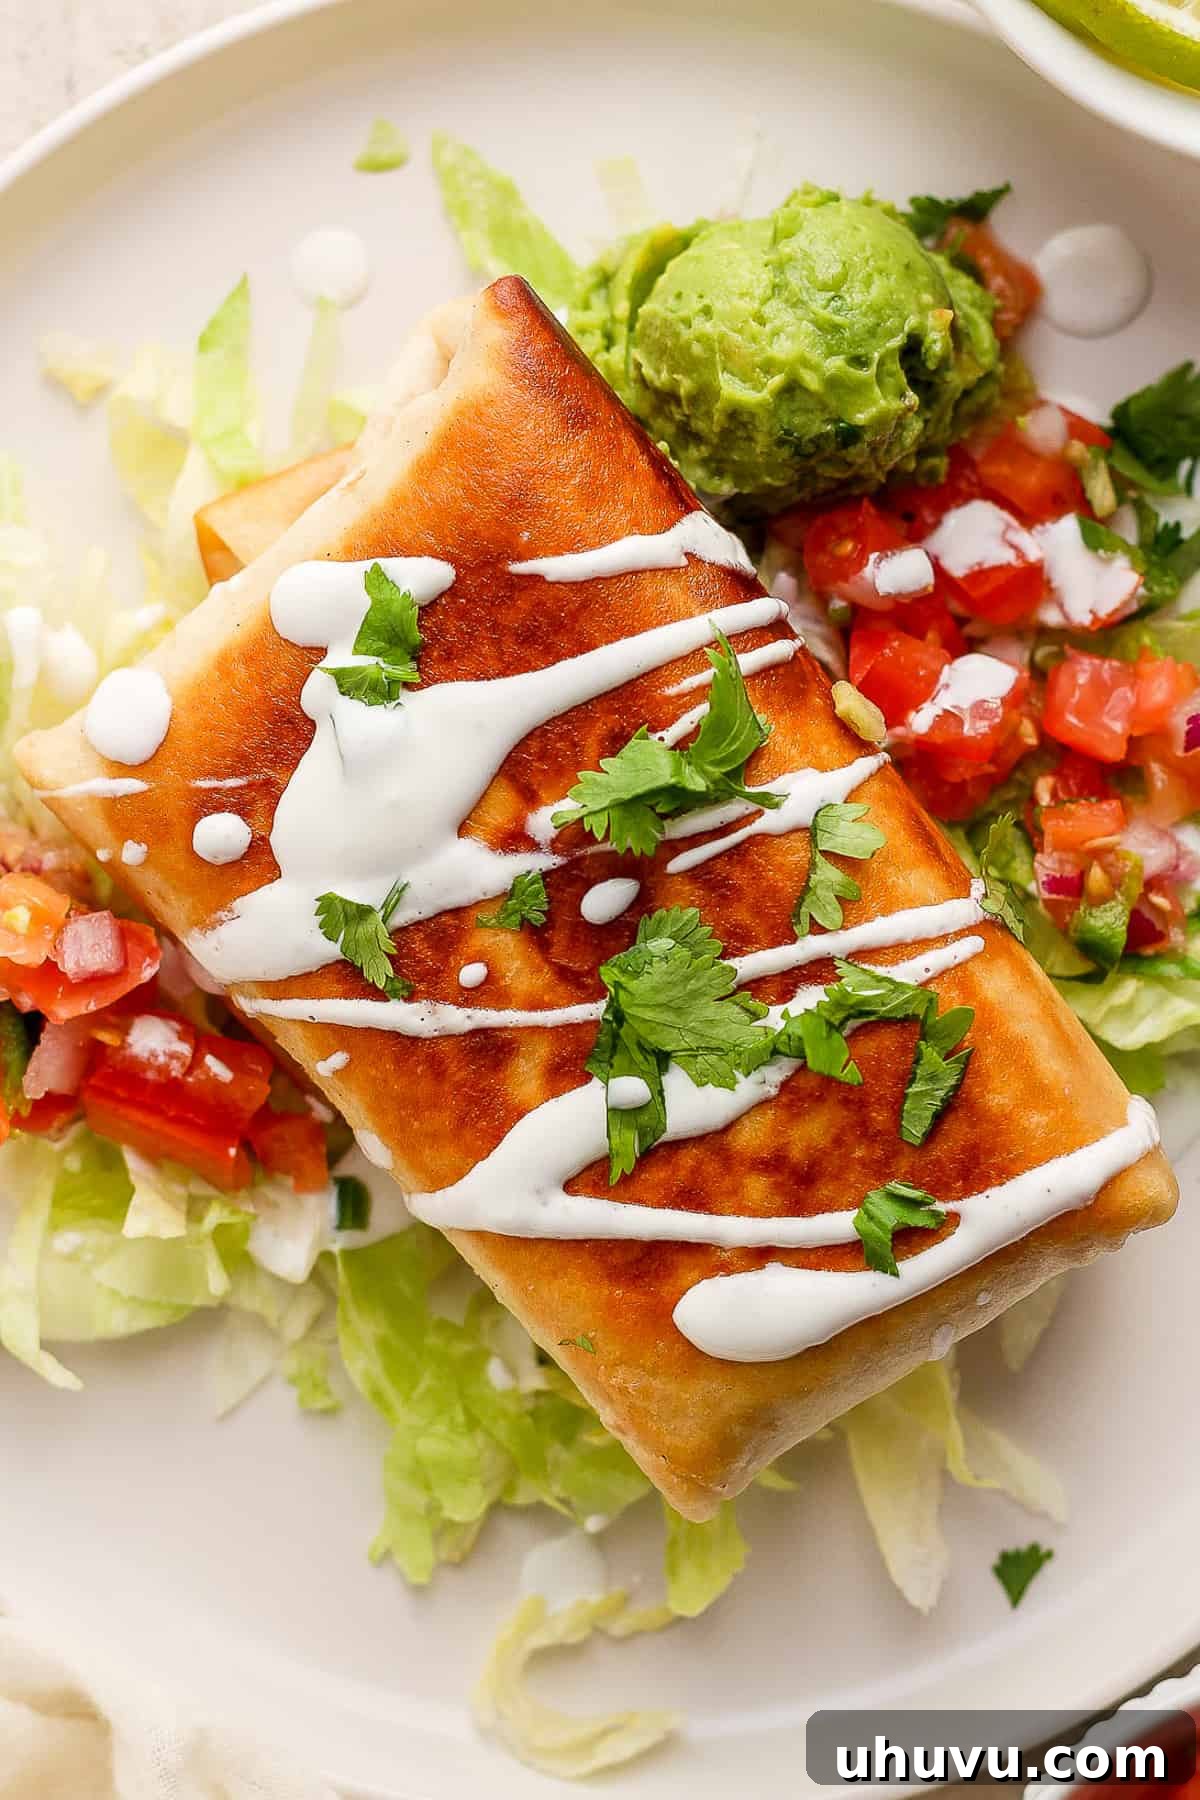
- Garnish and Present: Serve your freshly cooked chimichangas immediately. A bed of shredded lettuce provides a fresh base. Top each chimichanga with a generous drizzle of Mexican crema or a dollop of sour cream, a spoonful of vibrant pico de gallo or your favorite salsa, and a scoop of creamy guacamole. Garnish with a sprinkle of fresh cilantro for an extra touch of flavor and color. This makes for the best Tex-Mex family dinner night ever!
Healthier Alternatives: Oven-Baked & Air Fryer Chimichangas
For those seeking a lighter approach without sacrificing that irresistible crunch, baking or air frying your chimichangas are excellent alternatives to pan-frying. Both methods achieve a wonderfully crispy exterior with significantly less oil.
Oven-Baked Chimichangas
To make chimichangas in the oven: Preheat your oven to 400°F (200°C). Lightly brush the tops and bottoms of each assembled chimichanga with a little vegetable oil or spray them generously with cooking spray. This step is crucial for achieving a golden, crispy crust. Arrange the chimichangas in a single layer on a large baking sheet lined with parchment paper to prevent sticking and make cleanup easier. Bake for approximately 25-30 minutes, or until they are beautifully golden brown and thoroughly crispy on all sides, flipping halfway through for even cooking. The internal filling should also be heated through and the cheese melted.
Air Fryer Chimichangas
To make chimichangas in the air fryer: Preheat your air fryer to 380°F (190°C). Similar to the oven method, lightly brush the tops and bottoms of the chimichangas with a small amount of oil or spray with cooking spray for that desirable crispiness. Place the chimichangas in the air fryer basket in a single layer, making sure not to overcrowd it (cook in batches if necessary for optimal results). Air fry for 12-15 minutes, flipping them carefully halfway through, until they are perfectly golden brown and crispy. Air fryers are fantastic for a quick and even crisp!
Flavorful Variations to Customize Your Chimichangas
One of the best things about chimichangas is their versatility! Feel free to customize the filling to suit your taste or what you have on hand:
- Explore Different Proteins: Instead of shredded chicken, try other cooked and shredded meats.
- Shredded Beef: Use tender barbacoa or juicy slow-cooked shredded beef for a richer flavor.
- Shredded Pork: Savory carnitas (slow-cooked pork) make an excellent and flavorful alternative.
- Ground Meat: Seasoned ground beef or turkey can also be used for a quicker preparation. Ensure it’s cooked and drained well before mixing with other ingredients.
- Make it Vegetarian or Plant-Based: Easily transform these into a delicious meat-free meal. Omit the chicken and add in a variety of vegetables or plant-based proteins:
- Corn and Zucchini: Sautéed corn and diced zucchini add sweetness and texture.
- Black Beans: Replace refried beans with well-seasoned black beans, or add them in addition for extra protein and fiber.
- Rice: Cooked Mexican rice or cilantro-lime rice can be a hearty base.
- Plant-Based Crumbles: Your favorite vegetarian protein crumbles, seasoned with taco or fajita spices, can mimic the texture of ground meat.
- Roasted Sweet Potato: Diced and roasted sweet potato adds a wonderful sweetness and creamy texture.
- Spice It Up: Add diced jalapeños, a pinch of cayenne pepper, or a dash of your favorite hot sauce to the filling for an extra kick.
- Cheese Blends: Experiment with different cheese blends like Mexican blend, Colby Jack, or even a smoky provolone for unique flavor notes.
Storing and Reheating Chimichangas: Keep Them Crispy!
Proper storage and reheating are key to enjoying your homemade chimichangas even after they’ve cooled. Here’s how to keep them fresh and reheat them to maintain their delicious crispiness:
Storage
- Refrigerator: To store cooked chimichangas, allow them to cool completely. Then, place them in an airtight container in the refrigerator. They will remain fresh for up to 3 days.
- Freezer: For longer storage, you can freeze chimichangas. Individually wrap each cooled chimichanga tightly in plastic wrap, then place them in a freezer-safe bag or container. They can be frozen for up to 3 months. This is perfect for meal prepping!
Reheating
To ensure your chimichangas stay as crispy as possible, I strongly advise against reheating them in the microwave. Microwaving tends to make the tortillas soggy. If reheating from frozen, it’s best to thaw them completely in the refrigerator first.
- Reheat in the Oven: Preheat your oven to 350°F (175°C). Place the chimichangas on a baking sheet. Heat for 10-15 minutes, or until they are warmed through and crispy again. For extra crispiness, you can brush them with a tiny bit of oil before reheating.
- Reheat in the Air Fryer: Preheat your air fryer to 350°F (175°C). Place the chimichangas in the air fryer basket in a single layer. Heat for 5-8 minutes, or until they are hot and crispy. The air fryer is excellent for bringing back that fresh-fried texture.
- Reheat in a Skillet: Heat 1 or 2 tablespoons of vegetable oil in a skillet over medium-high heat. Once the oil is hot, place the chimichangas in the skillet. Heat for 8-10 minutes, flipping them halfway through, until they are golden and crispy on all sides and thoroughly warmed.
More Tex-Mex & Mexican-Inspired Recipes to Explore
If you loved these chicken chimichangas, you’re sure to enjoy these other flavorful recipes from our collection:
- Crispy Chicken Flautas
- Hearty Bean and Cheese Burritos
- Creamy White Chicken Enchiladas
Chimichangas Recipe
By: Isabel Orozco-Moore
These chimichangas are filled with shredded chicken, cheese, salsa, and refried beans. Pan fry, bake, and air fry instructions included.
Prep Time: 10 minutes
Cook Time: 25 minutes
Total Time: 35 minutes
Servings: 8 chimichangas
Ingredients
- 2 ½ cups cooked shredded chicken
- 1 (16-ounce) can refried beans
- ¾ cup chunky salsa
- ¼ cup diced white onion
- ½ teaspoon smoked paprika
- ½ teaspoon garlic powder
- ¼ teaspoon kosher salt, plus more to taste
- ¼ teaspoon freshly ground black pepper
- 2 cups shredded Monterey Jack cheese, divided
- 8 large flour tortillas (10-inch tortillas are often called “burrito-sized”)
- ½ cup vegetable oil, if frying (less if baking or air frying)
- For topping: pico de gallo, Mexican crema or sour cream, guacamole
Instructions
- Combine the chicken, refried beans, salsa, onion, smoked paprika, garlic powder, salt, and black pepper in a large bowl.
- Assemble the chimichangas by layering ½ cup of the chicken filling onto the center of each tortilla, then top with ¼ cup of shredded cheese.
- Fold the bottom edge of each tortilla up and over the filling. Then fold in the sides and finish by rolling the tortilla up from the bottom.
- To pan-fry: Heat ½ cup vegetable oil in a skillet or sauté pan over medium-high heat until it reaches 350°F (175°C). Working in batches of 2, fry the chimichangas for 3 minutes, flipping halfway through, until the outsides are golden brown and crispy. Transfer to a plate lined with paper towels to absorb any excess oil.
- To bake: Brush the tops of the chimichangas with a little oil. Transfer them to a large baking sheet lined with parchment paper. Bake in a 400°F (200°C) oven for 25 minutes or until golden brown and crispy.
- To air-fry: Brush the tops of the chimichangas with a little oil. Transfer them to the air fryer and air fry for 12 minutes at 380°F (190°C) or until golden brown and crispy.
- Serve with Mexican crema or sour cream, pico de gallo or salsa, and guacamole if desired.
Notes
- Chicken: Any cooked and shredded chicken will work. To save time, I like using a store-bought rotisserie chicken and shredding it at home, but you could also make your own shredded chicken if you prefer.
- Cheese: I used Monterey Jack in this recipe, but your favorite shredded cheese works great. I like using cheddar, pepper jack, or extra sharp cheddar.
Nutrition
Serving: 1 chimichanga | Calories: 435kcal | Carbohydrates: 21g | Protein: 22g | Fat: 29g | Saturated Fat: 8g | Polyunsaturated Fat: 6g | Monounsaturated Fat: 12g | Trans Fat: 0.05g | Cholesterol: 61mg | Sodium: 851mg | Potassium: 236mg | Fiber: 3g | Sugar: 3g | Vitamin A: 506IU | Vitamin C: 1mg | Calcium: 268mg | Iron: 2mg
Nutrition information is automatically calculated, so should only be used as an approximation.