
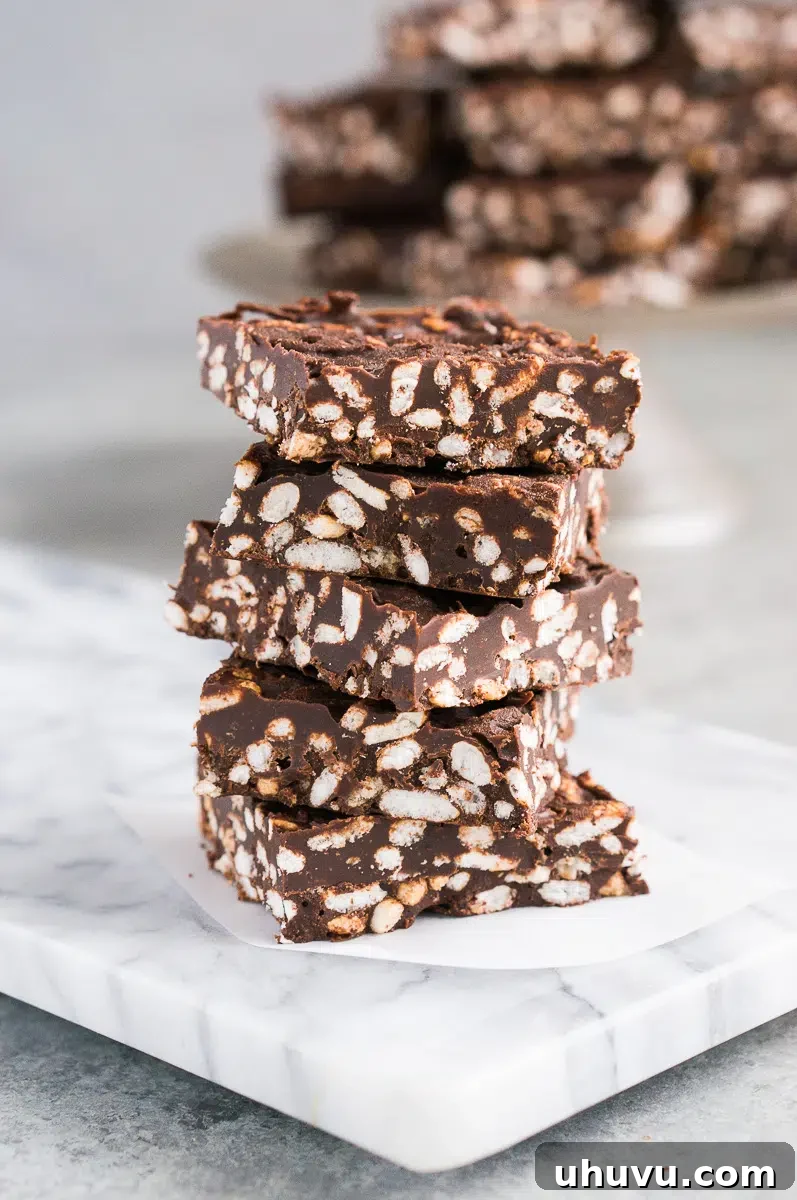
Irresistible No-Bake Chocolate Crunch Bars: Your New Favorite Homemade Treat
Satisfy your sweet tooth with these incredibly delicious homemade chocolate crunch bars that require absolutely no baking. With just a few simple, wholesome ingredients, you can whip up a truly delightful treat in mere minutes, perfect for any occasion or craving.
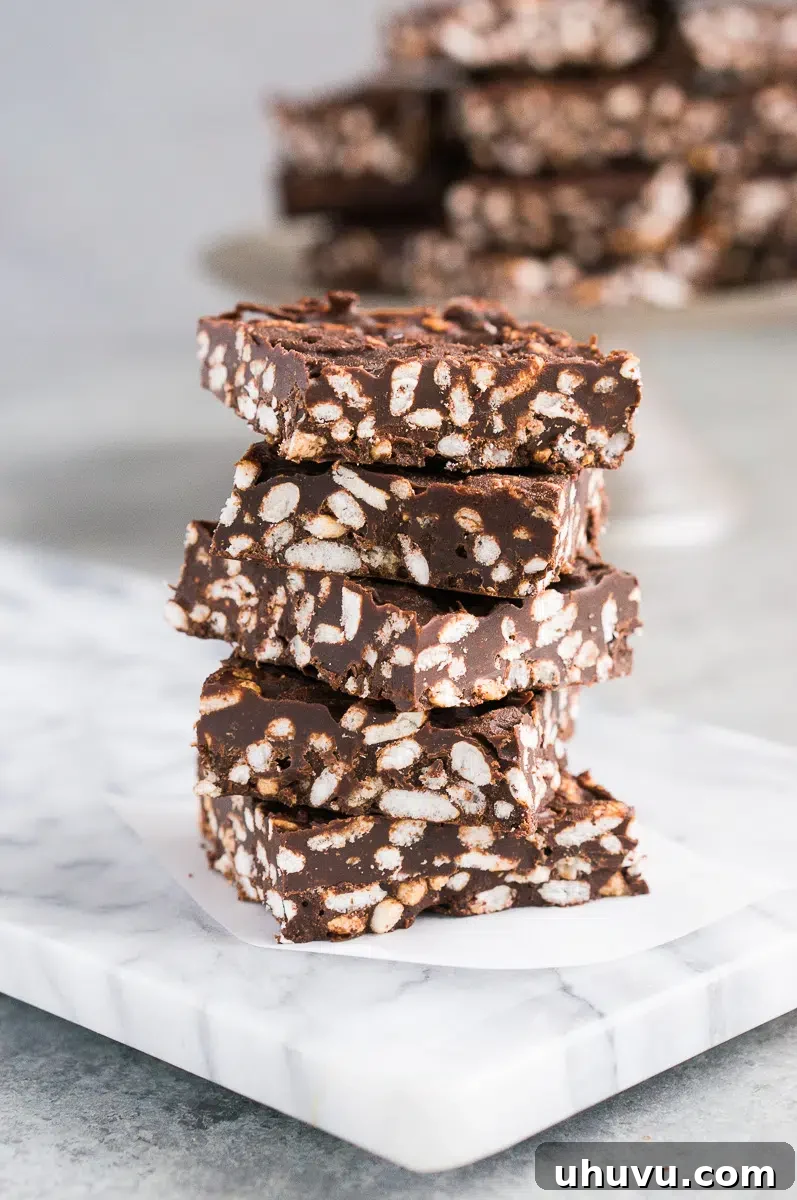
These rich peanut butter chocolate crunch bars have quickly become my absolute favorite way to conquer sweet cravings. They are crafted with incredibly simple ingredients and are astonishingly easy to prepare, making them a staple in my kitchen for years. My entire family, especially my kids, absolutely adore them, and I couldn’t be happier to finally share this cherished recipe with you today. They truly are the perfect, effortless snack to always have at hand, whether for a quick bite or a wholesome dessert.
Whether you’re searching for a speedy afternoon pick-me-up, a naturally sweetened dessert option, or a delightful treat to share with friends and family at your next gathering, these delightful chocolate crunch bars are an impeccable choice. Their ease of preparation, excellent storage capabilities, and fantastic versatility allow for endless customization to perfectly suit your unique taste preferences.
For those who appreciate the convenience and deliciousness of no-bake treats, be sure to explore more recipes on our blog, like my Cranberry Pistachio Chocolate Bark and Frozen Yogurt Bark with Strawberries. These recipes offer similar ease and fantastic flavor profiles, expanding your repertoire of simple, healthy indulgences.
Why You’ll Fall in Love with These No-Bake Crunch Bars!
- Wholesome, Simple Ingredients: From the deep, rich flavor of organic chocolate to the natural sweetness of maple syrup, every ingredient in this recipe is carefully selected for its quality and flavor. These peanut butter chocolate bars allow you to indulge in a truly guilt-free, wholesome snack without ever compromising on taste. You’ll feel good knowing exactly what goes into your treats.
- Effortless No-Bake Perfection: One of the greatest advantages of these homemade crunch bars is that they require absolutely NO baking whatsoever! You only need a few minutes of active preparation to mix the ingredients. The rest of the magic happens in your freezer, as they chill to a firm, irresistible texture. This makes them ideal for busy schedules or hot summer days when turning on the oven is out of the question.
- Incredibly Easy to Make: The process couldn’t be simpler! Just melt your chocolate, combine all the ingredients in a single bowl, spread the mixture into a baking pan, and let it chill. In about an hour, you’ll have a batch of delectable bars ready to cut and savor. It’s a fool-proof recipe that even beginner cooks can master with confidence.
Essential Ingredients and Clever Substitutions
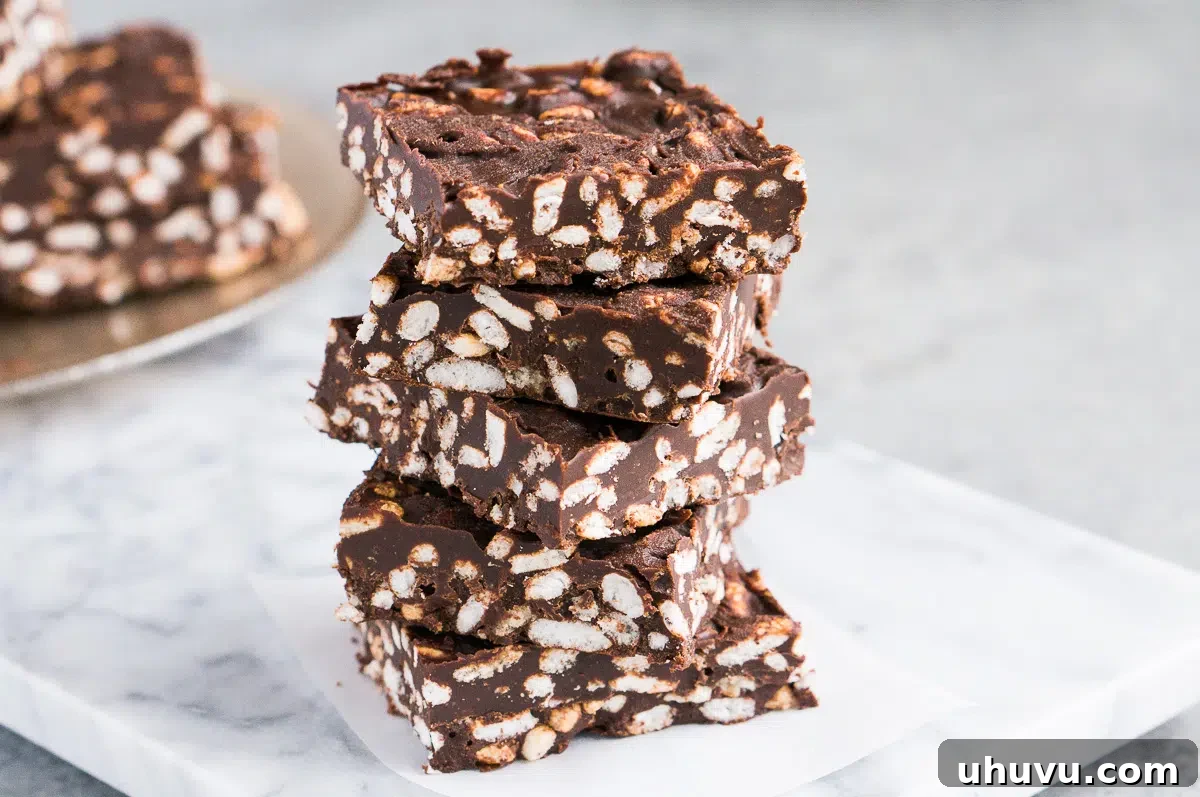
Crafting these delectable no-bake chocolate crunch bars requires only a handful of readily available ingredients. Below is a detailed look at what you’ll need, along with smart substitution ideas to tailor the recipe to your pantry and preferences.
- Organic Unsweetened Chocolate: For the deepest chocolate flavor, I typically opt for 100% cacao unsweetened dark chocolate bars. However, feel free to use any chocolate you prefer, including semi-sweet or milk chocolate chips. If using sweetened chocolate, be sure to significantly reduce the amount of maple syrup in the recipe to avoid an overly sweet result. High-quality chocolate makes a noticeable difference in the final taste!
- Puffed Rice Cereal: This is the secret to that signature crunch! I use organic puffed rice, which is light and airy. You can also use organic crispy rice cereal, like Rice Krispies. For a different texture or a gluten-free option, consider puffed quinoa or puffed millet.
- Peanut Butter: Peanut butter adds incredible creaminess, rich flavor, and helps bind the bars together. I highly recommend using a natural, organic peanut butter made solely from peanuts and sea salt, without any added sugars or oils. Brands like Costco’s Kirkland’s organic peanut butter, made with US Valencia peanuts, offer superior quality. If you have a peanut allergy or simply prefer a different taste, almond butter or cashew butter are excellent alternatives. For a completely nut-free option, you can omit the peanut butter entirely, though you may need to adjust the coconut oil slightly for binding.
- Maple Syrup: This natural sweetener provides a lovely depth of flavor. Pure maple syrup is preferred. If you don’t have maple syrup on hand, raw honey can be used as a substitute, offering a slightly different, equally delicious sweetness. Remember, if your chosen chocolate is already sweetened, you’ll want to reduce the amount of sweetener to maintain balance.
- Coconut Oil: Coconut oil plays a crucial role in helping all the ingredients meld together beautifully, contributing to a smooth texture and preventing the mixture from being too crumbly. It also helps the bars firm up nicely in the freezer. While it can be omitted, you might need to add a touch more peanut butter (or your chosen nut butter) to ensure the mixture binds well.
- Vanilla Extract: Just a teaspoon of good quality vanilla extract can elevate all the other flavors, adding a warm, aromatic note that completes the profile of these delicious bars. Don’t skip it!
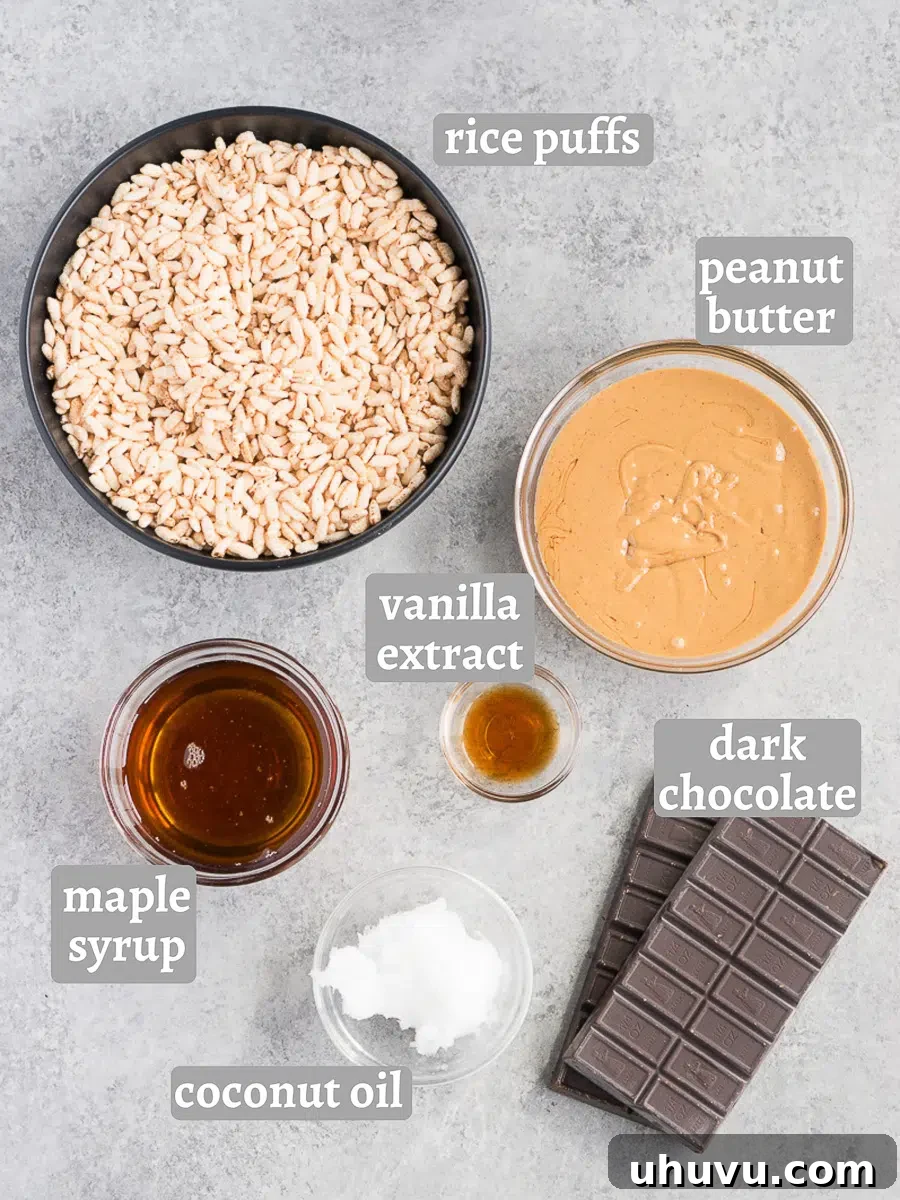
Simple Steps to Craft Your Own Chocolate Crunch Bars
Making these no-bake chocolate crunch bars is incredibly straightforward and requires minimal effort. Follow these easy steps for a perfect batch every time:
- Prepare Your Baking Dish: Begin by lining a 9 x 13-inch baking dish or a similarly sized deep baking tray with parchment paper. Ensure the parchment paper hangs over the edges, creating “handles” that will make it easy to lift the solidified bars later. Set this prepared dish aside.
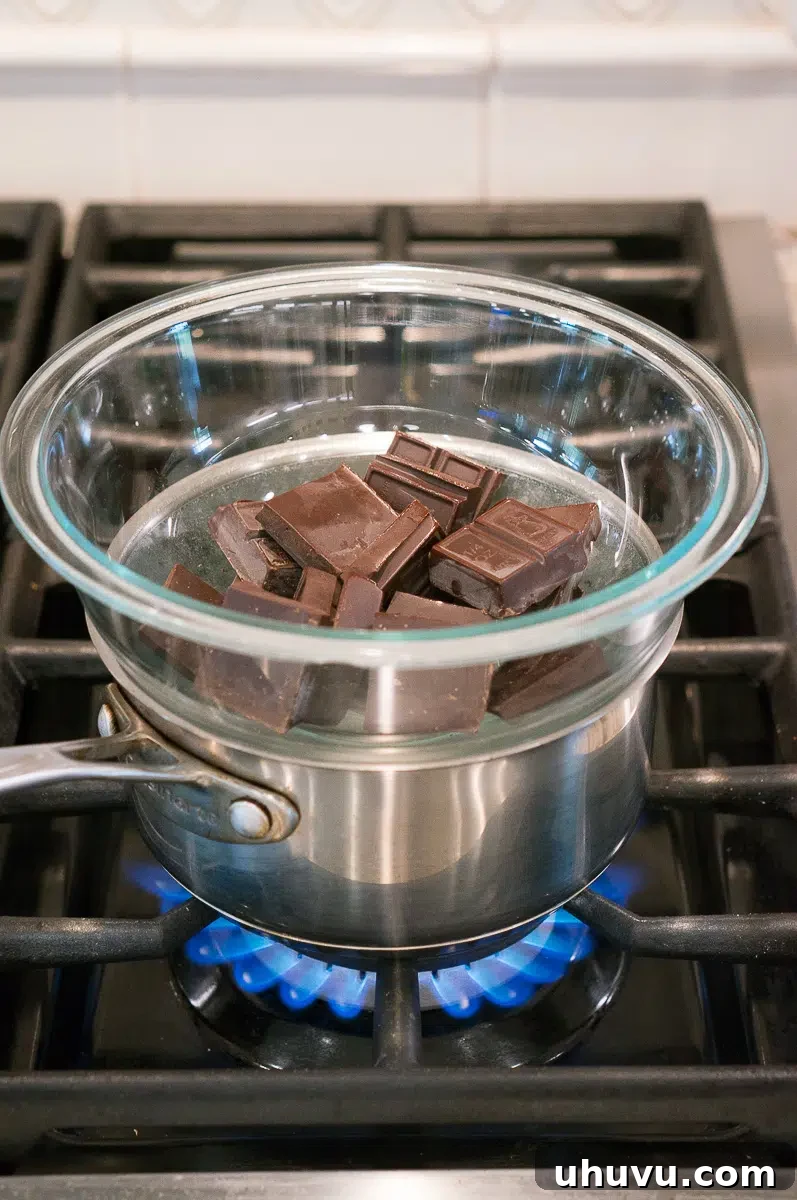
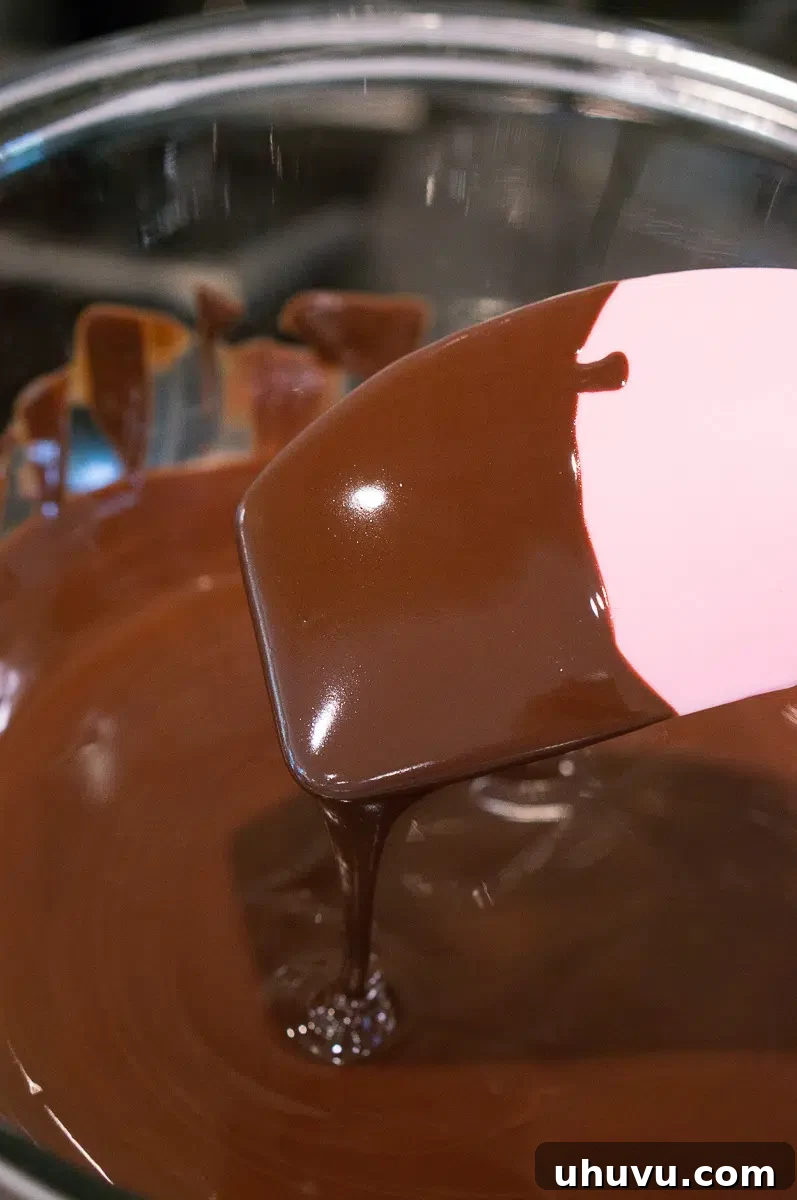
- Melt the Chocolate to Perfection: Gently melt 8 ounces of your chosen unsweetened chocolate. The best method for this is a double boiler: place the chocolate in a heatproof bowl set over a small saucepan of simmering water. Ensure the bottom of the bowl does not touch the water. Keep the heat on low and stir continuously until the chocolate is smooth and fully melted. This slow, gentle melting prevents the chocolate from burning or seizing. Alternatively, you can melt the chocolate in the microwave in 20-second intervals, stirring well after each interval, until completely smooth.
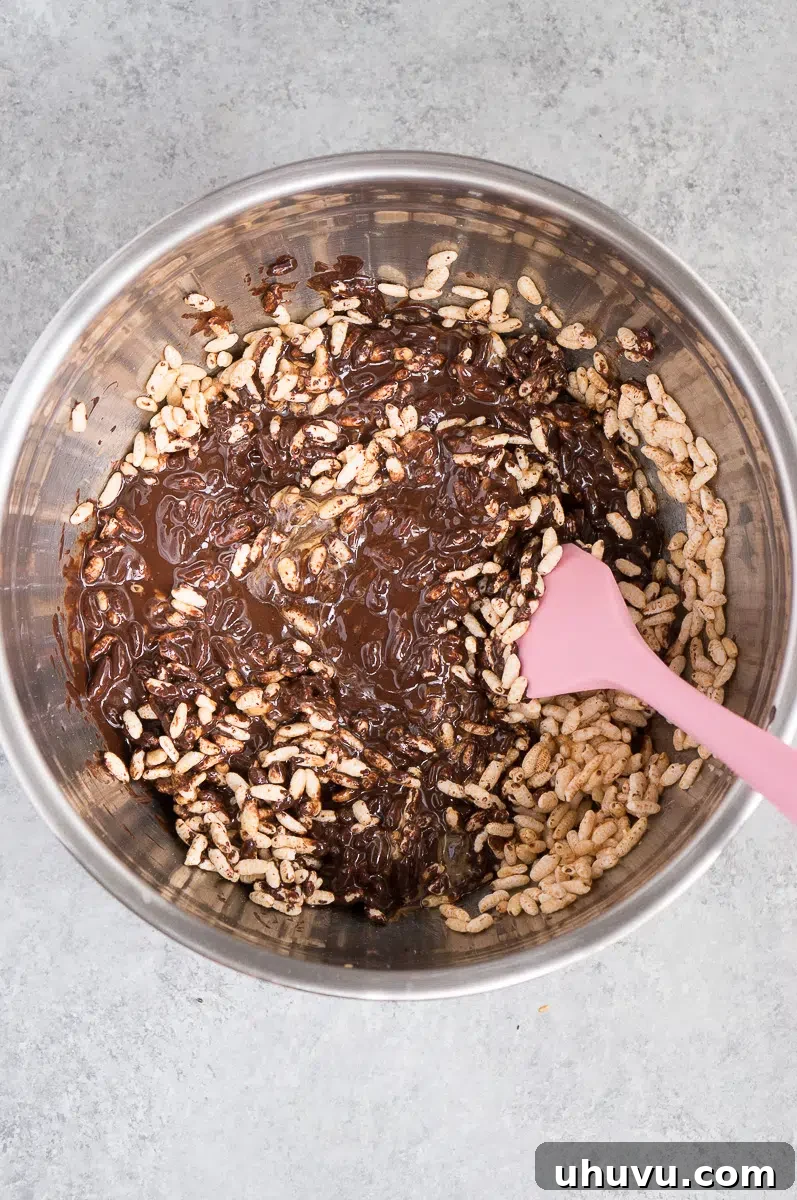
- Combine All Ingredients: In a large mixing bowl, combine 3 cups of puffed rice cereal, 1 cup of creamy peanut butter, ½ cup of maple syrup, ¼ cup of melted coconut oil, and 1 teaspoon of vanilla extract. Once your chocolate is melted and smooth, pour it directly over this mixture. Stir everything together thoroughly with a spatula until all the puffed rice is evenly coated with the rich chocolate and peanut butter mixture. At this point, taste a small amount of the mixture and add a little more maple syrup if you desire additional sweetness.
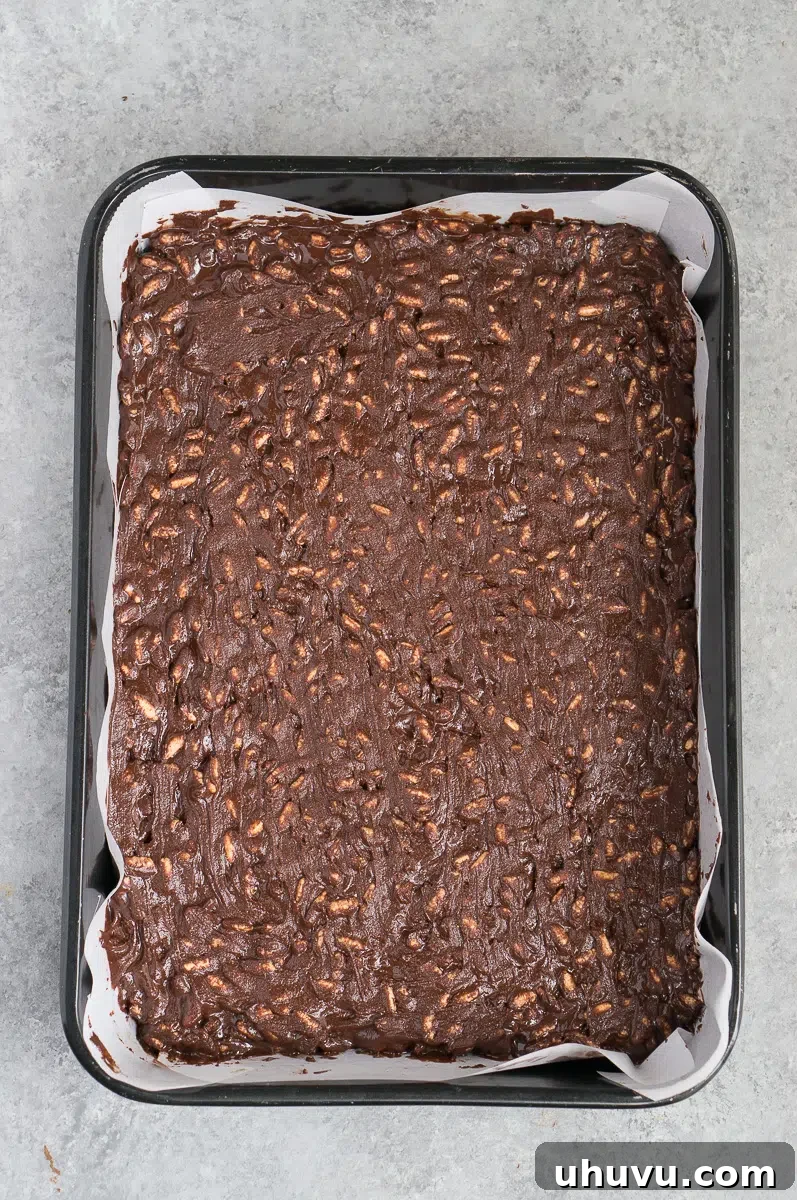
- Chill Until Firm: Carefully pour the chocolate crunch mixture into your prepared baking dish. Using a spatula or the back of a spoon, spread it out evenly across the bottom of the dish. Press down firmly to compact the mixture, ensuring a dense bar that won’t crumble easily. Place the dish into the freezer for approximately one hour, or until the bars are completely firm to the touch.
- Cut and Savor Your Creation: Once the chocolate mixture is firm, remove the dish from the freezer. Using the parchment paper handles, lift the entire block of chocolate crunch onto a clean cutting board. With a sharp knife (a warm knife works wonders for cleaner cuts, as detailed in our tips below), cut the mixture into bars of your desired size – whether small bite-sized squares or larger, satisfying rectangles. Store the finished bars in an airtight container in the fridge or freezer. Now, it’s time to enjoy your homemade, irresistible chocolate crunch bars!
EXPERT TIPS FOR PERFECTION
Top Tips For Perfect Peanut Butter Chocolate Crunch Bars
Achieving perfectly crisp and delicious Homemade Chocolate Crunch Bars is easy with these expert tips and tricks:
- Master the Chocolate Melting: When melting chocolate using the double boiler method, always keep the heat low and stir frequently. A crucial detail is to ensure the water in the saucepan doesn’t touch the bottom of the bowl holding the chocolate. Overheating can cause the chocolate to “seize,” turning it grainy and unusable. As an alternative, you can melt the chocolate in the microwave in short bursts of 20 seconds, stirring thoroughly between each interval, until it’s smooth and fully melted.
- Room Temperature Ingredients are Key: For a smooth, well-incorporated mixture, make sure ingredients like maple syrup, peanut butter, and coconut oil are at room temperature. This helps them mix much more easily and uniformly with the melted chocolate, preventing any clumping.
- Crisp Cereal for Maximum Crunch: For an extra layer of crunch, consider lightly toasting your puffed rice cereal in a dry pan over low heat for a few minutes before adding it to the mixture. This will enhance its flavor and crispness.
- The Power of a Sharp, Warm Knife: A sharp knife is essential for cutting clean, even bars without them crumbling or cracking. For an even smoother cut, run your knife under hot water and then quickly dry it off before slicing through the chilled bars. Reheat and wipe as needed between cuts.
- Invest in Quality Chocolate: The flavor of your bars will largely depend on the quality of your chocolate. Opt for high-quality dark chocolate for a richer, more nuanced taste that truly elevates these simple bars.
- Press Down Firmly: When spreading the mixture into the pan, use a spatula or the back of a spoon to press down very firmly. This ensures the bars hold together well and have a dense, satisfying texture, rather than being crumbly.
Get Creative: Customization Tips to Make Them Yours
One of the most delightful aspects of these homemade chocolate crunch bars is how easily you can customize them to perfectly match your preferences, dietary needs, or simply to add a creative twist. Here are a few ideas to inspire you:
- Add a Nutty Dimension: For an additional layer of crunch, texture, and a boost of healthy protein, try mixing in about ½ cup of finely chopped nuts. Almonds, walnuts, pecans, or even pistachios would all be fantastic choices, adding a sophisticated flavor profile.
- Introduce Dried Fruit for Chewiness: If you enjoy a touch of natural sweetness and a chewy contrast to the crisp texture, incorporate about ½ cup of dried fruit. Cranberries, raisins, finely chopped apricots, or even dried cherries are excellent options that add both flavor and visual appeal.
- Explore Different Nut Butters: While classic peanut butter is undeniably delicious, don’t hesitate to experiment! Switching to almond butter, cashew butter, or even a mixed nut butter can dramatically change the flavor profile, offering new and exciting taste experiences. Ensure your chosen nut butter is natural and unsweetened for the best results.
- A Sprinkle of Sea Salt: For a gourmet touch that truly enhances the chocolate’s depth, sprinkle a light dusting of flaky sea salt over the top of the bars just before they set in the freezer. The sweet and salty combination is simply divine.
- Make Them Extra Decadent: For those special occasions or when you’re seeking a more indulgent treat, consider drizzling a contrasting chocolate over the dark chocolate layer. Melted white chocolate, milk chocolate, or even a different colored candy melt can create a beautiful and delicious finish.
- Spice It Up: A pinch of warm spices like cinnamon, cardamom, or a touch of chili powder (for a Mexican hot chocolate flair) can add unexpected depth and warmth to your bars. Start with a small amount and adjust to taste.
- Add Seeds: For an extra nutritional boost and subtle crunch, try adding chia seeds, flax seeds, or hemp hearts to the mixture. They blend in seamlessly and add healthy fats and fiber.
Delightful Serving Suggestions
These versatile chocolate crunch bars are perfect for a myriad of occasions and can be enjoyed in so many ways:
- Your Go-To Snack Time Solution: Keep a batch in the fridge for a quick, satisfying, and energy-boosting snack between meals. They’re a much healthier alternative to processed snack bars.
- A Wholesome Lunchbox Treat: Pack these delightful bars into your lunchbox or your kids’ lunchboxes for a special, homemade treat that’s far more appealing than store-bought options. They hold up well and provide sustained energy.
- An Effortless Dessert: Serve them as a light, yet incredibly satisfying, dessert after lunch or dinner. My kids absolutely love them as an evening indulgence! For an extra special presentation, crumble them over a scoop of vanilla ice cream or a dollop of Greek yogurt for a truly decadent treat.
- Crowd-Pleasing Party Treats: Cut the bars into smaller, bite-sized pieces and arrange them artfully on a platter for an instant crowd-pleaser at parties, potlucks, or gatherings. Their appealing look and irresistible taste make them a guaranteed hit.
- Post-Workout Refuel: With wholesome ingredients like peanut butter and maple syrup, these bars make a great post-workout snack to replenish energy stores and satisfy cravings.
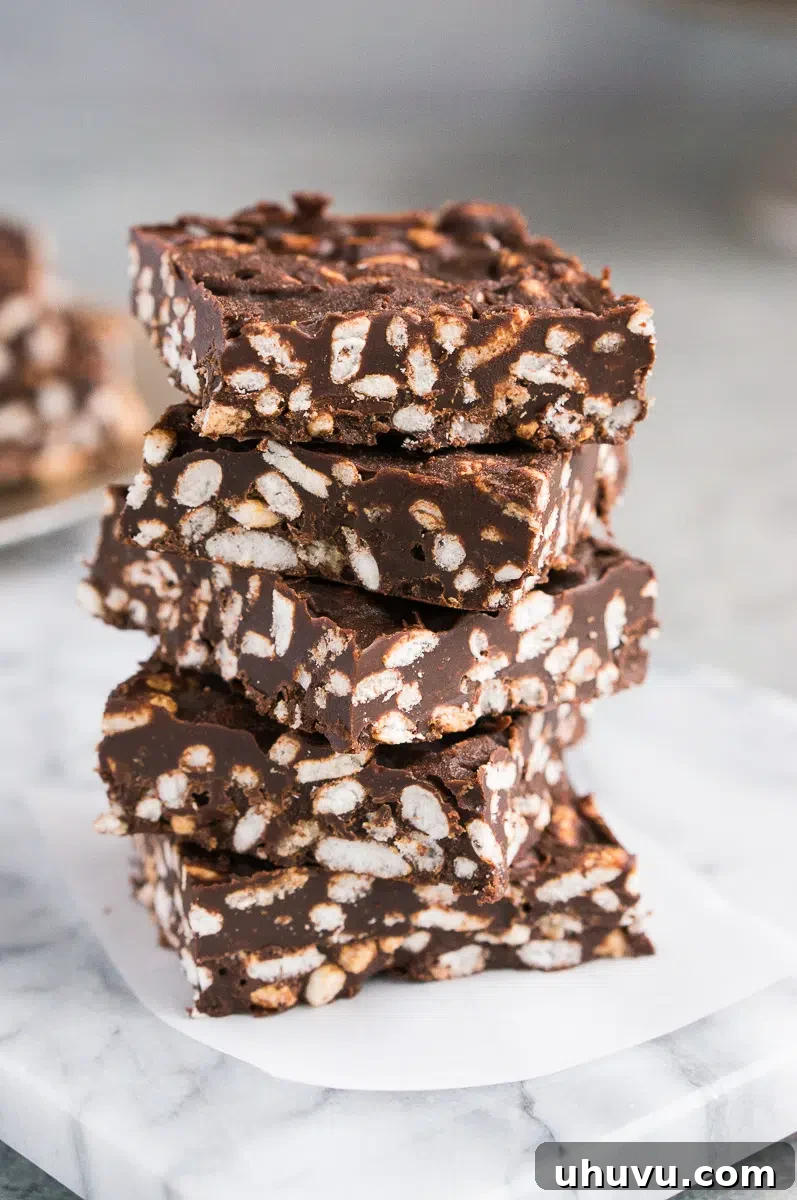
Storage Tips for Freshness
Proper storage ensures your delicious chocolate crunch bars remain fresh and enjoyable for longer:
Refrigerate: For optimal freshness and texture, keep the bars in an airtight container in the refrigerator. They will stay perfectly delicious for up to two weeks.
Freeze: These bars are excellent for longer-term storage in the freezer. Place them in a freezer-safe, airtight container, separating layers with parchment paper to prevent sticking. They can last beautifully in the freezer for up to three months. When you’re ready to enjoy a frozen treat, simply remove a bar from the freezer and let it sit on the counter for a few minutes to soften slightly, making it easier to bite into and appreciate its rich flavor and satisfying crunch.
Commonly Asked Questions About Chocolate Crunch Bars
If puffed rice isn’t available or you’re looking for an alternative, you have several great options! Try using puffed quinoa, puffed millet, or even lightly crushed cornflakes for a different yet equally satisfying texture and flavor. Each will impart a unique character to your crunch bars.
Absolutely! You can certainly omit the nut butter entirely for a plain chocolate crunch bar. The texture will be slightly different, perhaps a bit firmer, but still delicious. Ensure your chocolate and puffed rice are also certified nut-free if severe allergies are a concern.
Yes, the beauty of this recipe is its flexibility! You can use dark, milk, or white chocolate, or even a combination. Each type will impart a distinct flavor and sweetness level to your bars. Remember to adjust the maple syrup if you’re using sweeter chocolate varieties.
To achieve an even greater crunch, lightly toast the puffed rice cereal (or any nuts you might add) in a dry pan over medium-low heat for a few minutes before mixing them in. This enhances their flavor and provides an intensified crispy texture. Using a crispy rice cereal variety will also boost the crunch factor.
Absolutely! This is where your creativity can shine. Add a few drops of extracts like almond, coconut, or peppermint for a unique twist. Spices such as cinnamon or cardamom can also add warmth and depth. A pinch of flaky sea salt elevates the chocolate flavor beautifully.
Yes, this recipe can easily be made vegan! Ensure you use a dairy-free and vegan-friendly dark chocolate (many unsweetened varieties are naturally vegan). All other ingredients like puffed rice, peanut butter, maple syrup, coconut oil, and vanilla extract are typically vegan. Double-check labels to be sure.
For best results, aim for at least one hour in the freezer until the bars are completely firm. If your kitchen is particularly warm, or if you prefer a very solid bar, you can extend the chilling time slightly. A well-chilled bar will cut much more cleanly.
Explore More No-Bake Healthy Treats
If you loved the simplicity and deliciousness of these chocolate crunch bars, you’ll definitely want to try these other fantastic no-bake recipes from our collection:
Desserts
No-Bake Coconut Date Bites
Gluten-Free
No-Bake Chocolate Bites
Desserts
Chocolate Peanut Butter Cups
Desserts
No-Bake Chocolate Tarts
If you enjoyed this Chocolate Crunch Bars recipe or any other recipe on my blog, please leave a ⭐ star rating and let me know how it went in the 📝 comments below. Your feedback means the world to me! Thanks for visiting Delicious Meets Healthy!
Pin this delicious recipe now to easily find it later!
Pin It to Pinterest
Chocolate Crunch Bars
By: Neli Howard
Satisfy your sweet tooth with these delicious homemade chocolate crunch bars that require no baking. With just a few simple ingredients, you can whip up a tasty treat in no time!
Prep Time: 5 minutes
Cook Time: 10 minutes
Chill Time: 1 hour
Total Time: 1 hour 15 minutes
Servings: 18 bars
Ingredients
- 8 oz organic unsweetened chocolate
- 3 cups organic puffed rice
- 1 cup organic peanut butter
- ½ cup organic maple syrup, at room temperature
- ¼ cup organic coconut oil
- 1 tsp vanilla extract
Instructions
- Prepare the dish. Line a 9 x 13-inch baking dish or deep baking tray with parchment paper, allowing excess to hang over the sides for easy lifting. Set it aside.
- Melt the chocolate. Melt 8 oz of unsweetened chocolate in a heatproof bowl over a small amount of simmering water (double boiler method) on low heat. Stir continuously to prevent burning and ensure a smooth consistency.
- Mix it all together. In a large mixing bowl, combine 3 cups of puffed rice, 1 cup peanut butter, ½ cup maple syrup, ¼ cup coconut oil, and 1 tsp vanilla extract. Pour the melted chocolate over this mixture and stir thoroughly until everything is well combined and the puffed rice is evenly coated. Taste the mixture and add more maple syrup if desired for extra sweetness.
- Chill. Pour the chocolate mixture into the prepared baking dish. Spread it out evenly and press down firmly with a spatula or the back of a spoon to compact it. Place the dish in the freezer for about an hour, or until the mixture is completely firm.
- Cut into bars and enjoy. Once firm, remove the dish from the freezer. Lift the entire block of chocolate crunch using the parchment paper handles and place it on a cutting board. Cut the mixture into bars of your desired size. Store the finished bars in an airtight container in the fridge for up to two weeks, or in the freezer for up to three months. Enjoy your homemade treat!
Nutrition
Serving: 1 bar | Calories: 220kcal | Carbohydrates: 17g | Protein: 4g | Fat: 16g | Saturated Fat: 7g | Polyunsaturated Fat: 2g | Monounsaturated Fat: 6g | Trans Fat: 0.004g | Cholesterol: 0.4mg | Sodium: 6mg | Potassium: 193mg | Fiber: 2g | Sugar: 10g | Vitamin A: 5IU | Calcium: 26mg | Iron: 3mg
Nutrition Disclaimer: Nutritional values are estimates and may vary with ingredients, brands, and portion sizes. For accuracy, use your preferred nutrition calculator.