
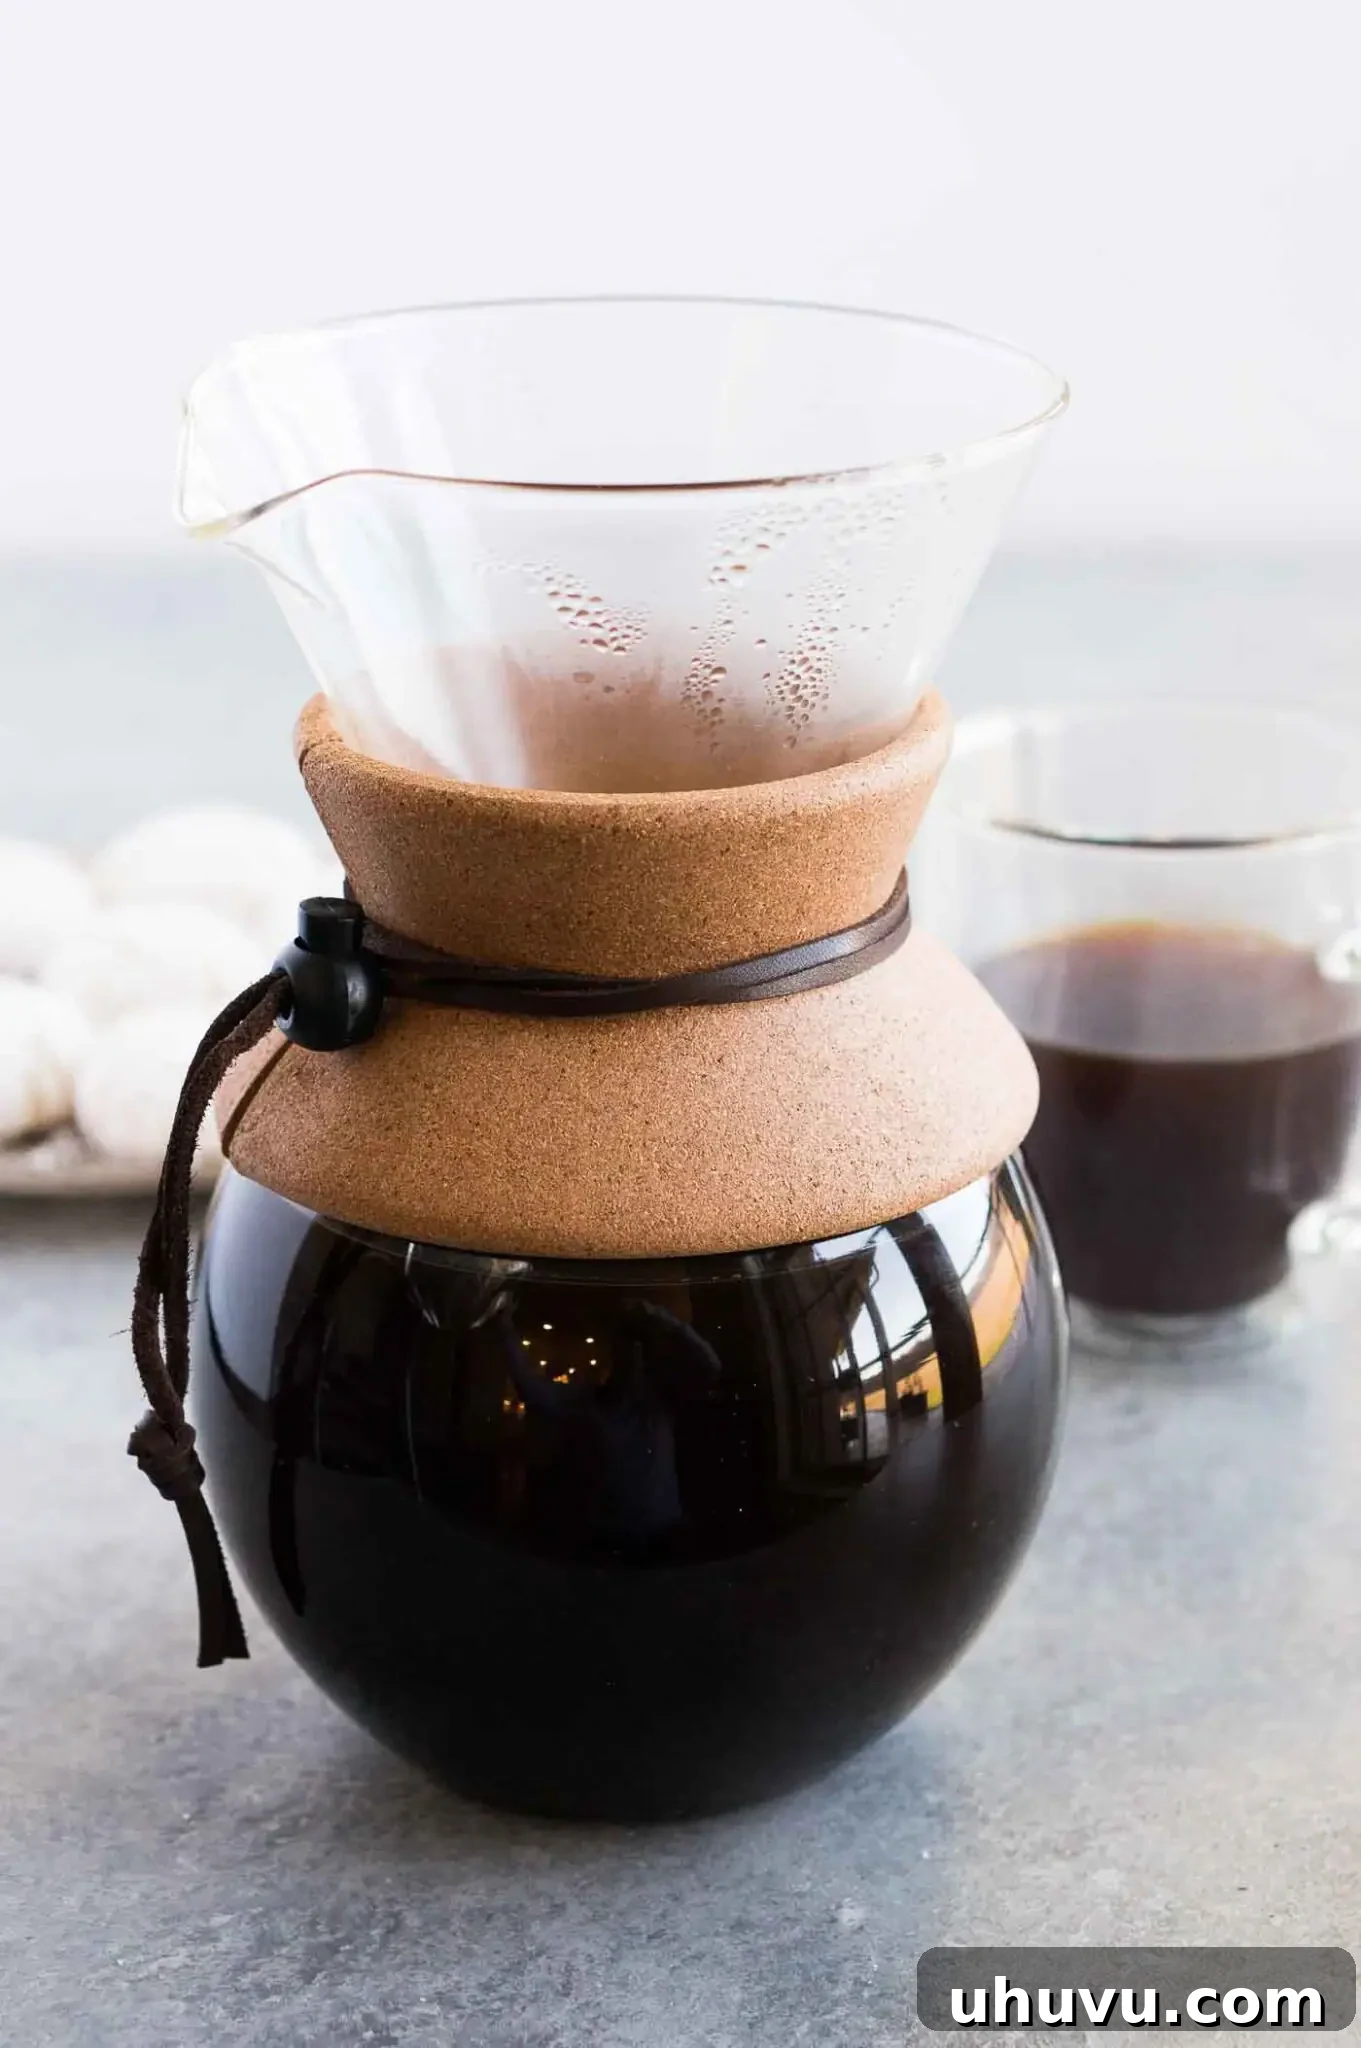
Tired of expensive coffee shop visits? Imagine waking up to the rich aroma of freshly brewed coffee, crafted precisely to your taste, right in your own kitchen. Mastering the art of pour over coffee is not only more economical but also a deeply satisfying ritual that yields an exceptionally clean, vibrant, and complex cup. Forget the queues and generic flavors; our comprehensive guide will walk you through everything you need to know to make delicious, barista-quality pour over coffee from scratch in minutes. Get ready to transform your morning routine and elevate your daily caffeine fix effortlessly.
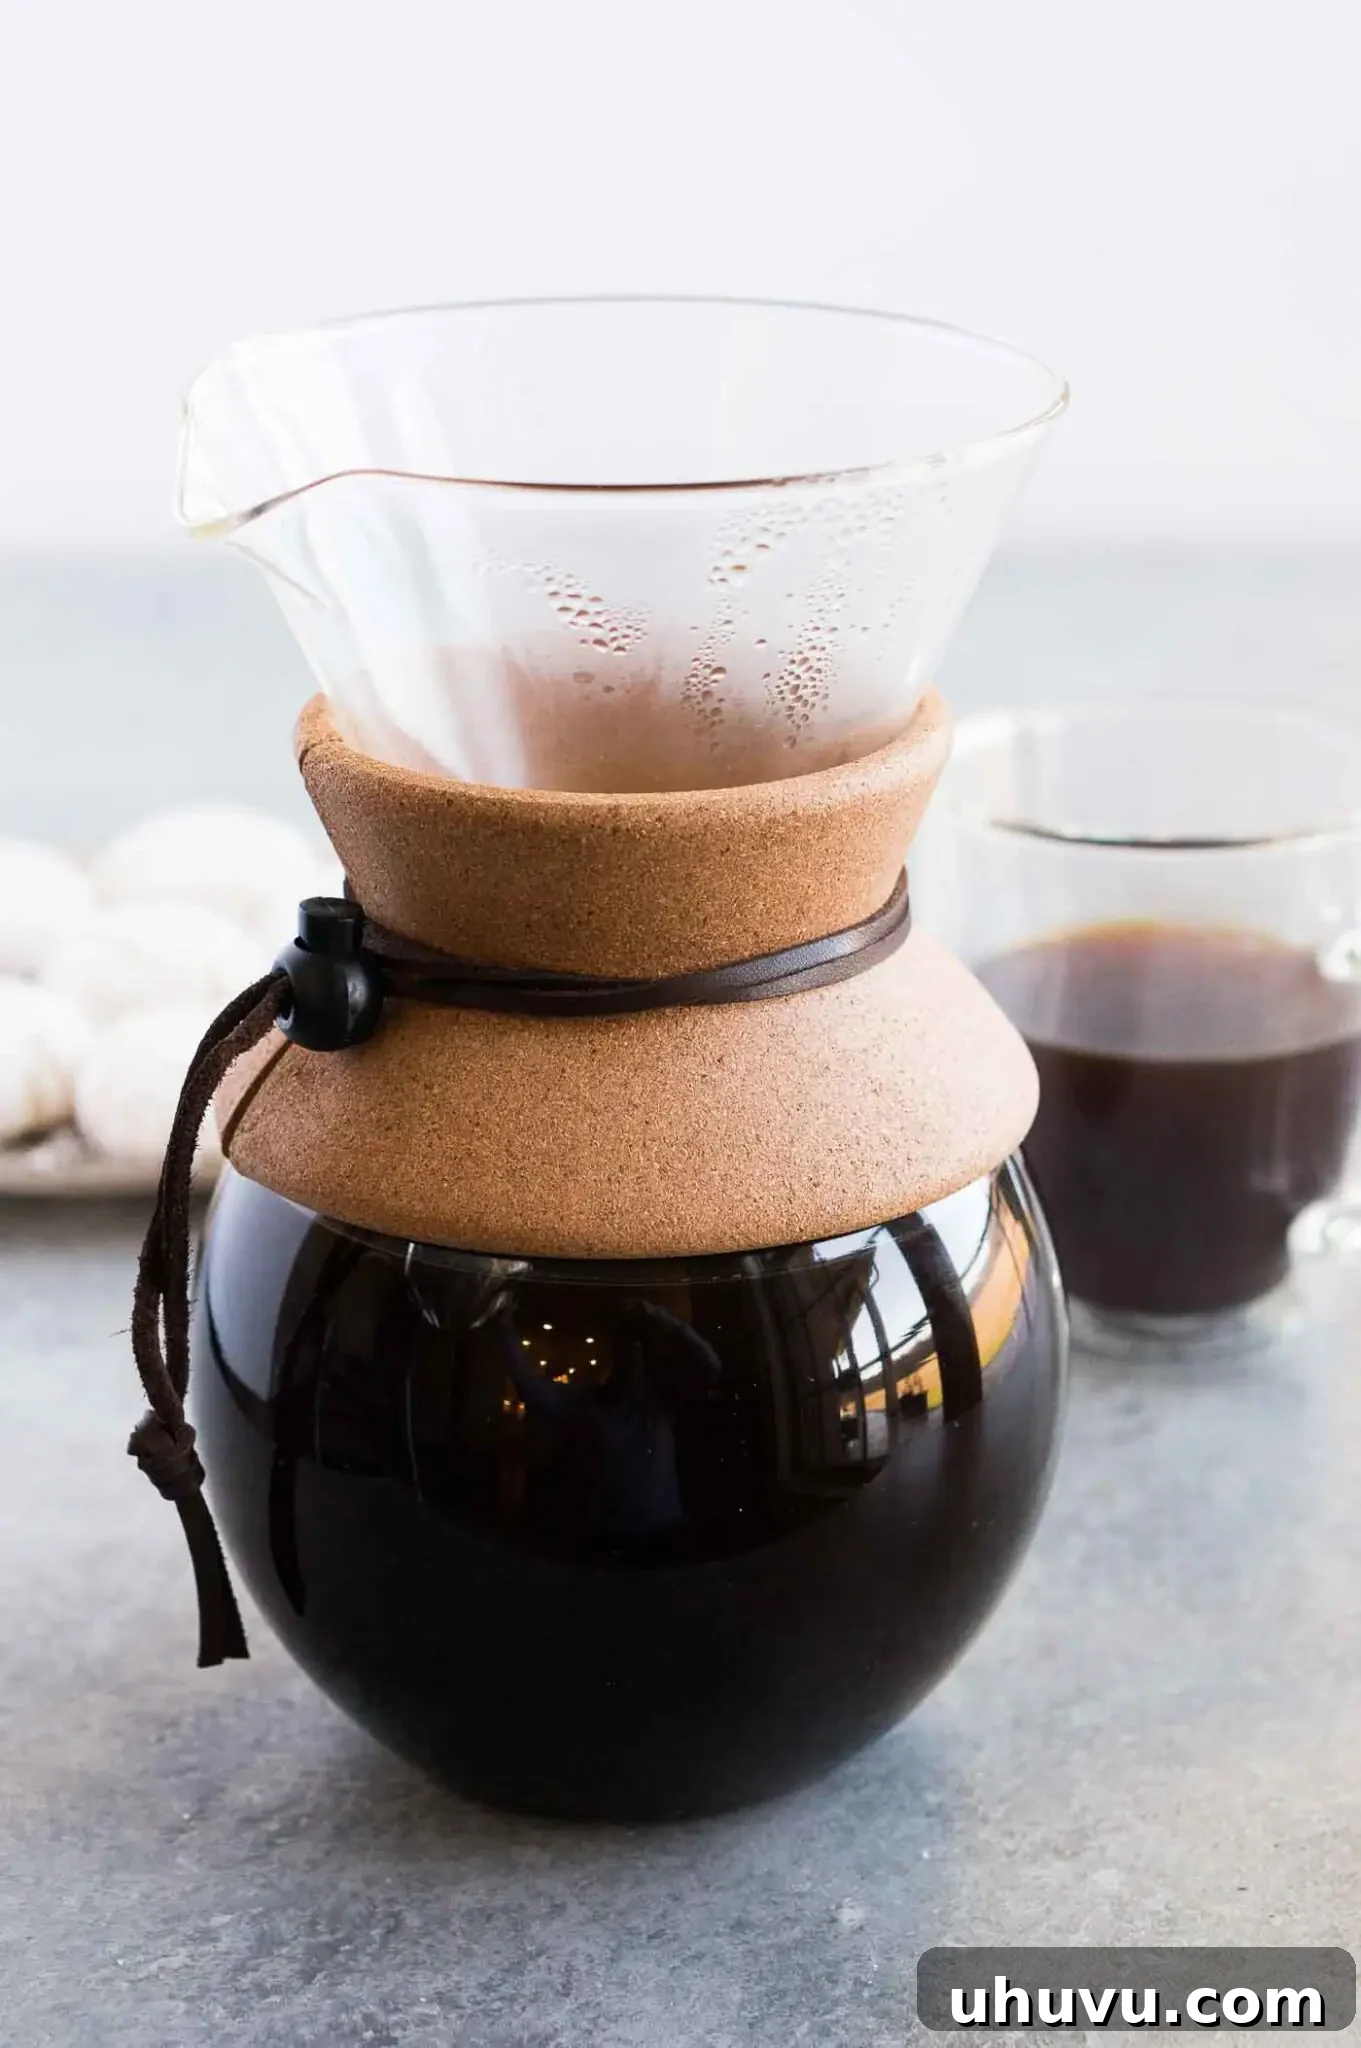
If you’re like me, deeply fond of the sophisticated flavors found in premium coffee shops but not so keen on the escalating costs, then this article is for you. The pour over method, especially when using revered brewing devices like the Chemex, delivers an undeniably rich and nuanced drink, meticulously crafted from freshly ground coffee beans. It’s a superb way to replicate that coveted freshly brewed taste in the comfort of your home. By embracing this manual brewing technique, you’re not just skipping Starbucks; you’re stepping into a world of unparalleled flavor control and personal satisfaction.
Beyond pour over, don’t miss out on exploring other delightful coffee beverages! Be sure to try my Mocha Coffee for a chocolatey indulgence and the trendy, frothy Dalgona Coffee for a unique whipped experience!
Why You’ll Absolutely Love Crafting Your Own Pour Over Coffee!
- Remarkably Budget-Friendly: One of the most compelling reasons to switch to home brewing is the significant savings. Making your own meticulously brewed coffee at home is vastly more economical than a daily takeout habit. It doesn’t just save you money; it also saves precious time spent waiting in lines.
- Effortless & Engaging: Despite its reputation for precision, the pour over method is surprisingly easy to master. It transforms your morning caffeine fix into a mindful and engaging ritual. The simple drip method is perfect for anyone looking to enjoy exceptional coffee without complicated machinery.
- Unquestionably Delicious: It can be challenging to say goodbye to those beloved coffee shop visits, but this perfect pour over coffee recipe makes the transition much easier! The resulting brew is incredibly clean, bright, and highlights the unique flavor profiles of your chosen beans, offering a taste experience that often surpasses commercial offerings.
- Ultimate Control Over Your Brew: Unlike automated drip machines, pour over grants you complete command over every crucial variable: water temperature, grind size, and pour rate. This hands-on approach allows for fine-tuning to achieve your personal ideal cup, ensuring consistency and perfection with every brew.
- A Soothing Daily Ritual: Beyond just a drink, brewing pour over coffee becomes a meditative part of your day. The deliberate process of grinding, heating, and pouring creates a moment of calm and focus, making your coffee not just a beverage, but an experience.
What Exactly is Pour Over Coffee? A Deep Dive into this Elegant Brewing Method
Pour over coffee, often interchangeably referred to as filter coffee or drip coffee, represents a time-honored brewing technique celebrated for its ability to produce an exceptionally clean and nuanced cup. This method involves carefully pouring hot water over a bed of ground coffee, which is held within a filter and a dripper. Gravity then slowly draws the water through the coffee grounds, extracting soluble compounds and depositing the brewed coffee into a vessel positioned below.
The essence of pour over lies in its meticulous control and the deliberate pace of extraction. By controlling the flow rate of water, its temperature, and the coarseness of the grind, brewers can achieve a level of precision that maximizes the desirable flavors and aromas from the coffee beans, while minimizing bitterness and sediment. The result is a cup of coffee that is remarkably bright, aromatic, and complex, allowing the intricate characteristics of the specific coffee bean – be it fruity, floral, nutty, or chocolatey – to truly shine through. This slow, methodical interaction between water and coffee yields a depth of flavor and a clean finish that is difficult to achieve with other brewing methods.
Essential Tools You Need for Your Pour Over Setup
While the pour over method is simple in concept, having the right tools makes all the difference in achieving consistently excellent results. Investing in quality equipment is a step towards true coffee mastery:
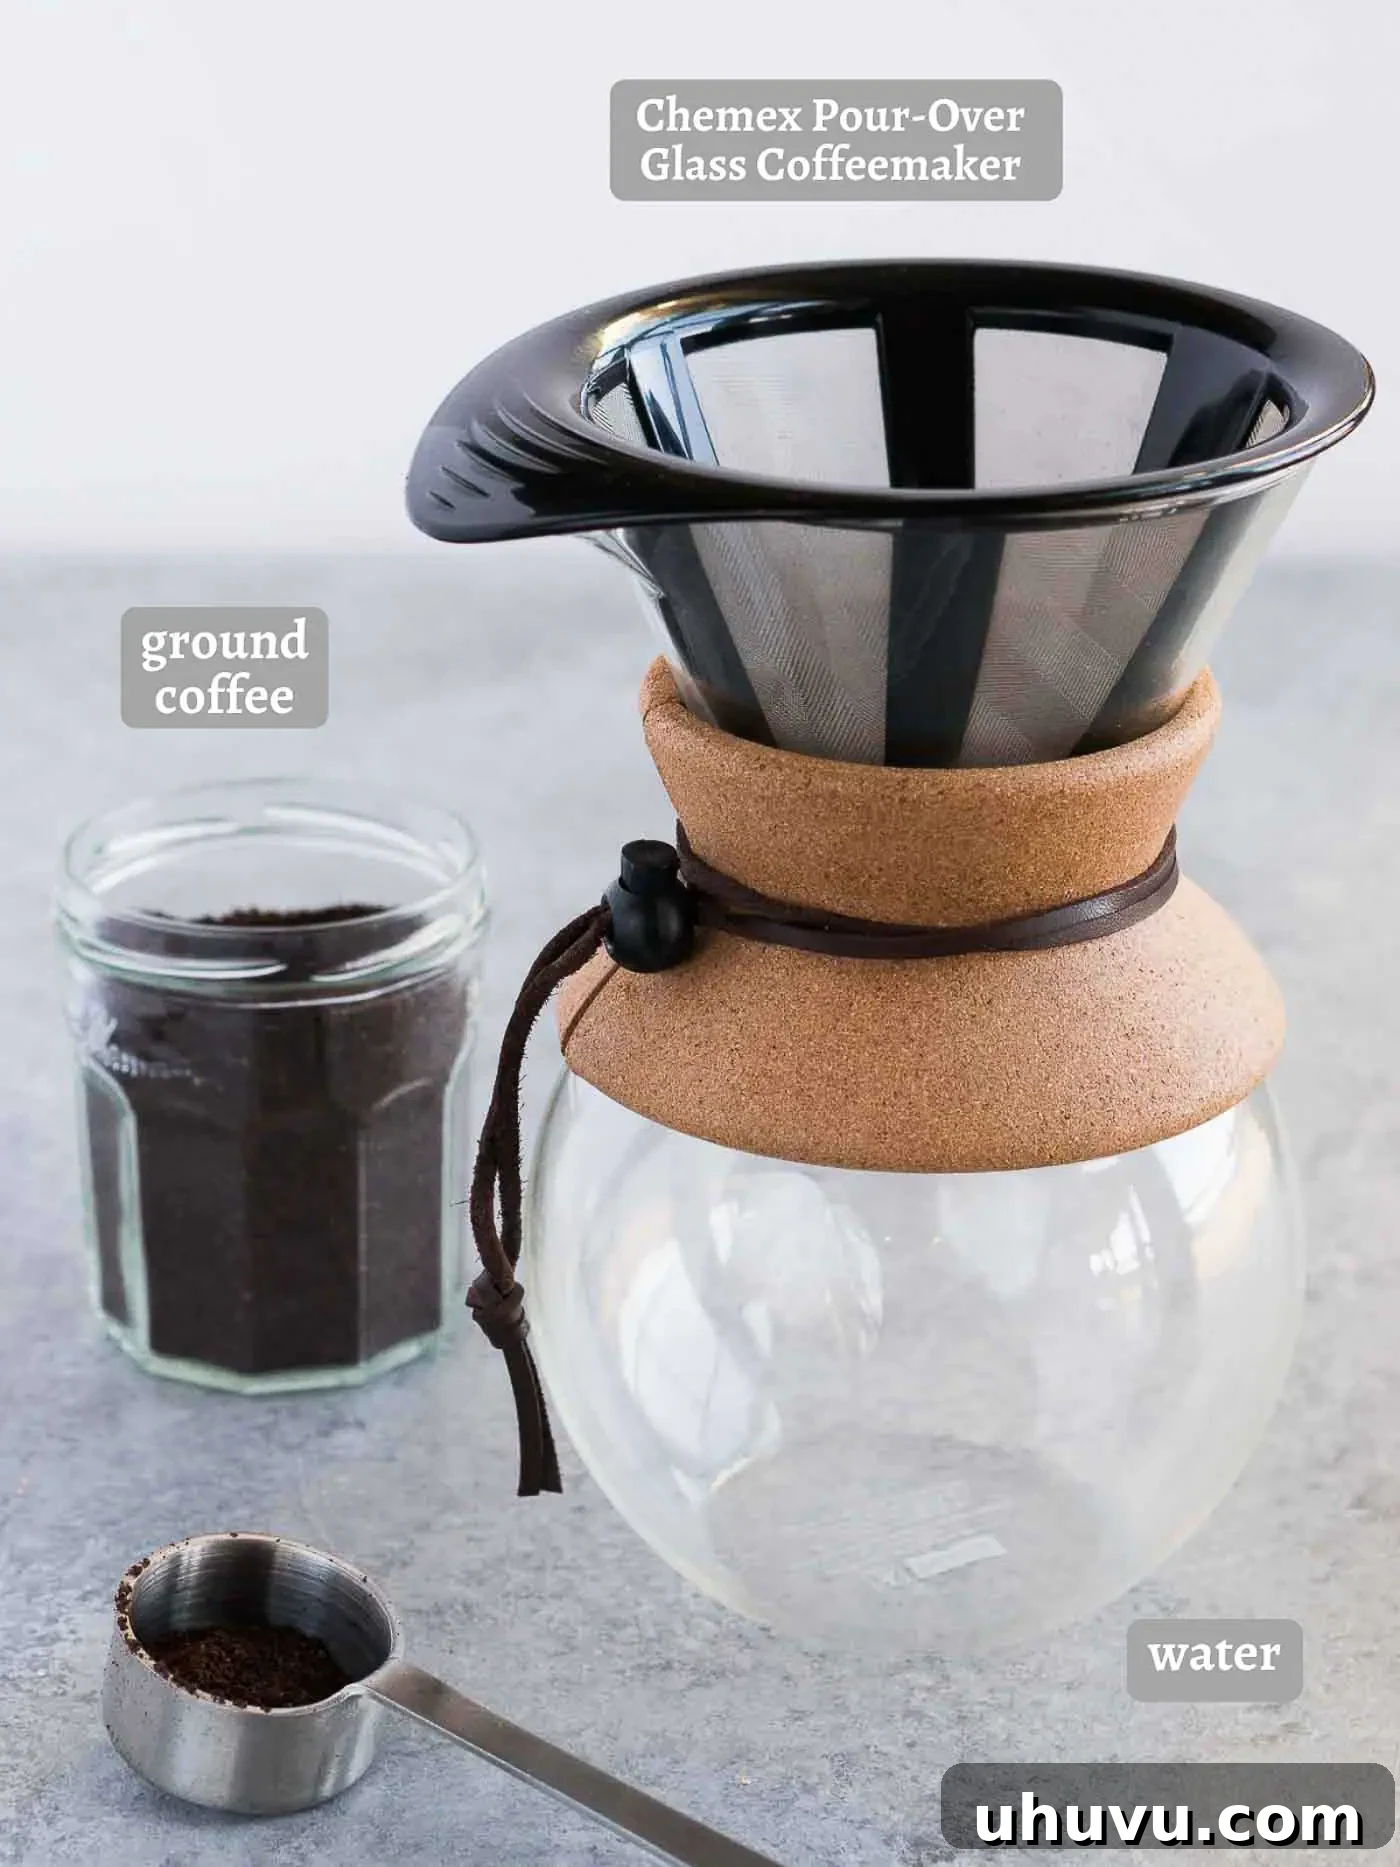
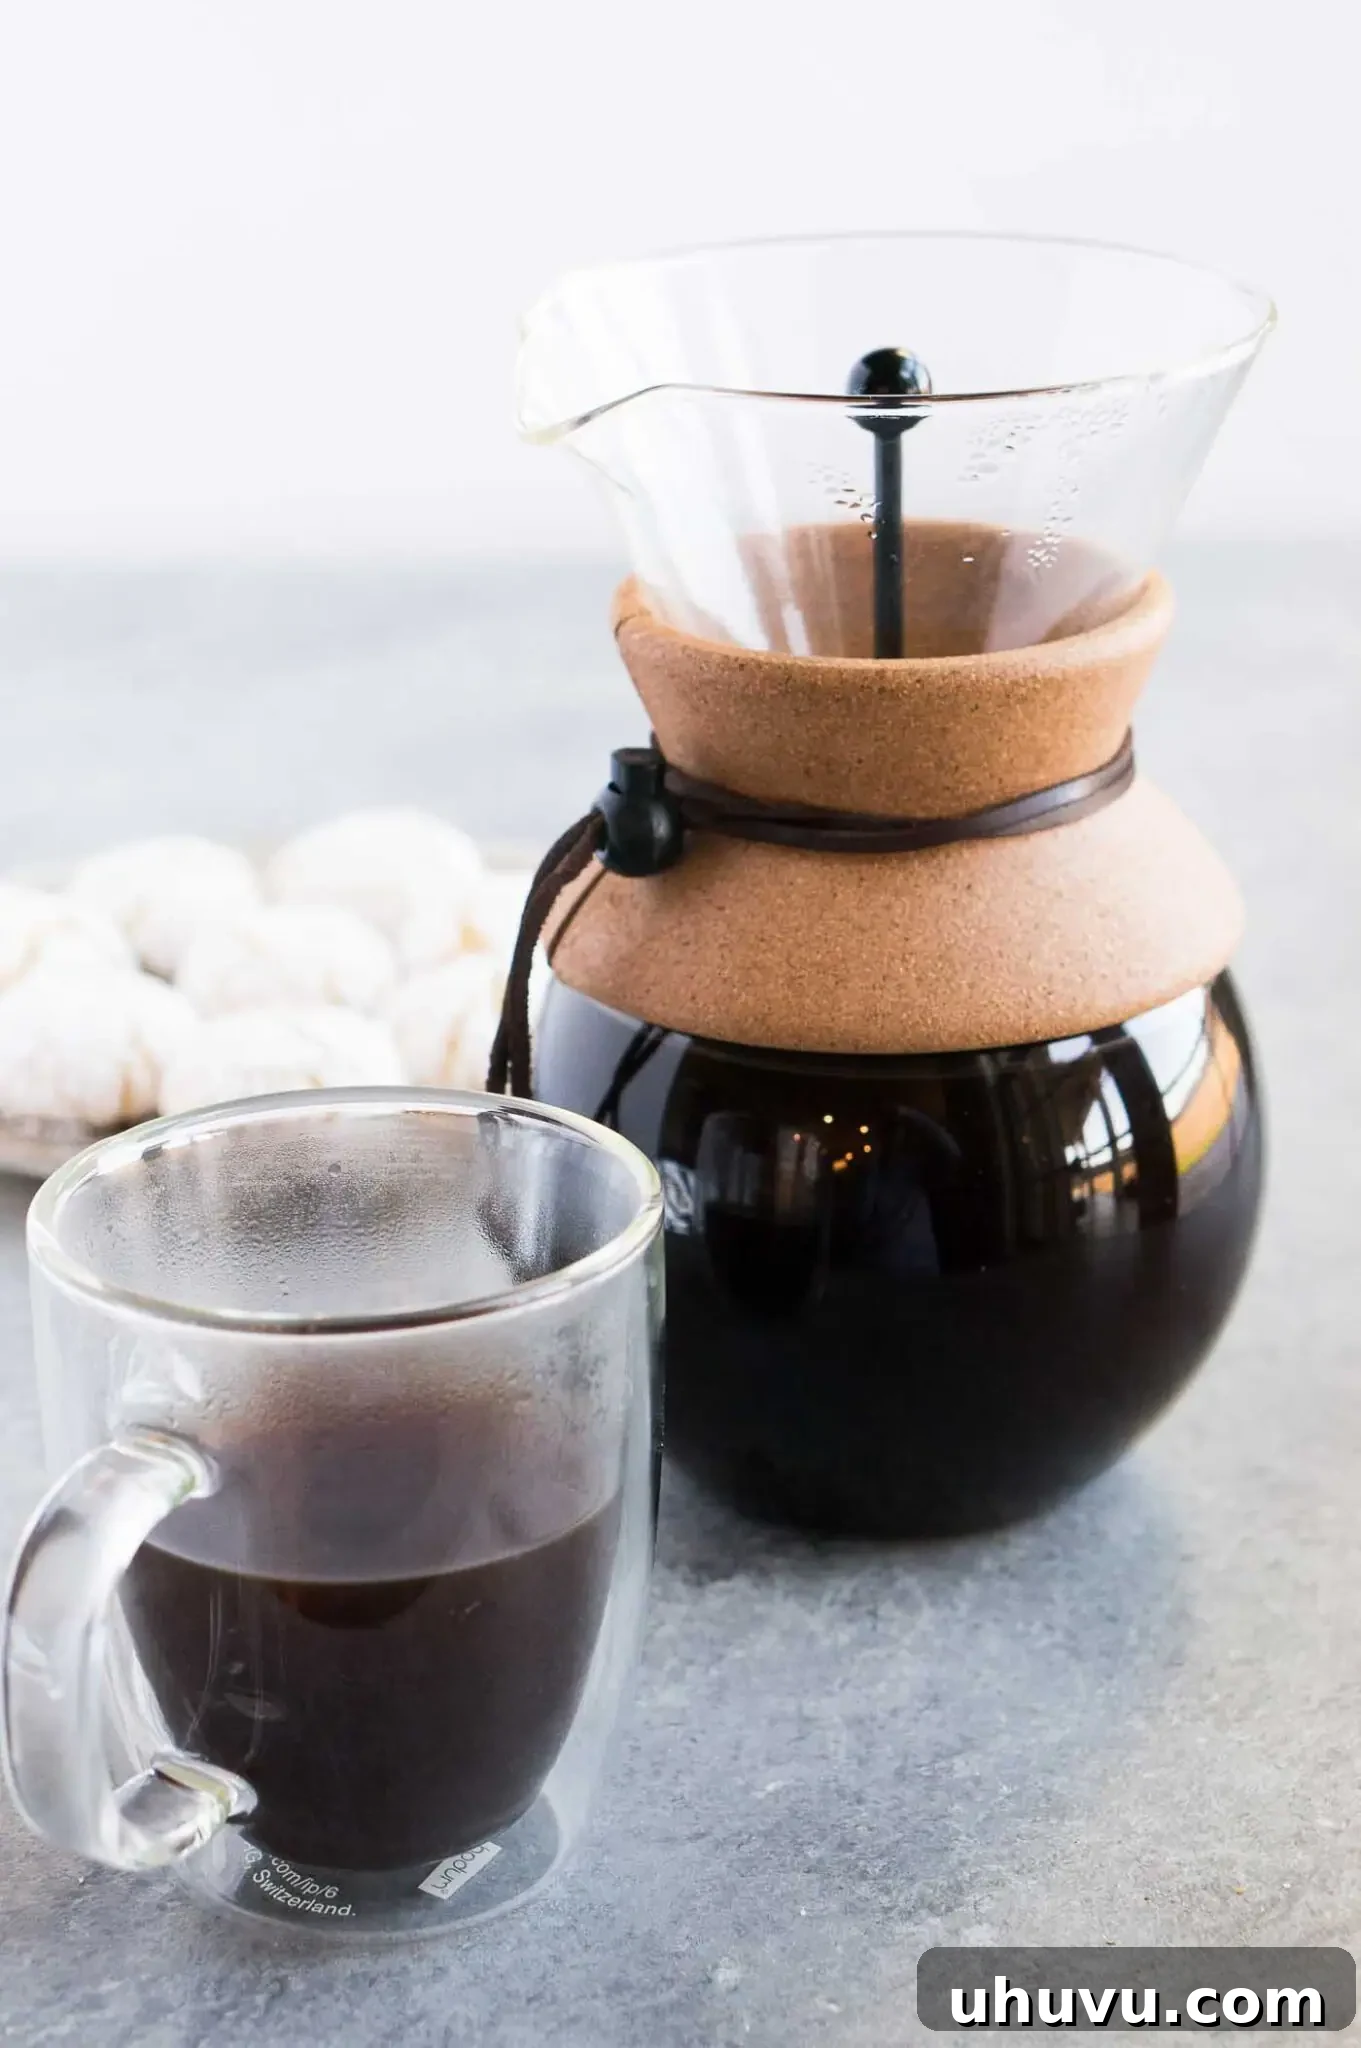
- Pour Over Coffee Maker (Dripper): This is the central piece of equipment. I personally enjoy using a Bodum pour over coffee maker, which often comes with a reusable filter. However, the world of pour over offers diverse options. The Chemex is celebrated for its elegant design and thicker filters, which produce an exceptionally clean cup. Conical drippers like the Hario V60 offer a fast flow rate, while flat-bottomed drippers such as the Kalita Wave 185 are known for their even extraction. Each style can subtly influence the flavor profile of your brew, offering room for experimentation.
- Gooseneck Electric Kettle with Temperature Control: Precision in water temperature is paramount. An electric kettle with temperature control is invaluable, as it eliminates guesswork and allows you to heat water to the exact optimal temperature (around 200°F or 93°C) every time without the need for a separate thermometer. The gooseneck spout is crucial for a controlled, even, and gentle pour, which is essential for proper extraction.
- Pour Over Coffee Filters: Filters are vital for separating the grounds from the brewed coffee. Your dripper will typically come with specific filter recommendations. You can use the reusable filter that often accompanies makers like Bodum, or purchase separate paper filters. Paper filters contribute to a very clean cup, free of sediment, while metal or cloth filters might allow more oils and micro-fines, resulting in a slightly fuller body.
- Digital Scale: Achieving consistency requires accurate measurements. A digital scale is essential for precisely measuring both your coffee beans and your water. This ensures you maintain your desired coffee-to-water ratio for a balanced and reproducible flavor profile. Even slight variations in quantity can significantly alter the final taste.
- Measuring Cup: While a digital scale offers superior precision, a measuring cup can be used for measuring water volume, especially if you’re just starting your pour over journey. However, for serious brewers aiming for consistency, a scale is highly recommended.
- Burr Grinder: The importance of freshly ground coffee cannot be overstated. If you’re using whole beans (which you absolutely should for the best flavor), a burr grinder is a non-negotiable item. Unlike blade grinders which chop beans unevenly, a burr grinder grinds beans to a uniform size of particles. This consistency is critical for even extraction. A good burr grinder allows you to select the precise coarseness or fineness that best suits the pour over method, typically a medium-fine grind.
The Ingredients: Choosing for Optimal Flavor
The quality of your final cup of pour over coffee is fundamentally dependent on the quality of your ingredients. Here’s how to choose wisely:
- Fresh, High-Quality Coffee Beans: The star of the show! You can use whatever coffee beans you prefer – whether it’s a smooth light roast, a well-balanced medium roast, or a rich dark roast. For pour over, fresh, whole beans, ideally roasted within the last two to three weeks, are crucial. Look for roast dates on the packaging. A good starting point for your coffee-to-water ratio is approximately 40 grams of coffee beans for every 600 ml (or grams) of water. This ratio can be fine-tuned to your personal taste.
- Filtered Water: Coffee is composed of over 98% water, making water quality a critical factor. I strongly advocate for using filtered water over tap water for a cleaner, purer taste. Filtered water removes chlorine, sediment, and undesirable minerals that can negatively impact your coffee’s delicate flavors and aromas. Using clean, neutral-tasting water ensures that the true character of your coffee beans can shine through without interference.
How to Make Perfect Pour Over Coffee: A Step-by-Step Guide
Follow these detailed instructions to brew a consistently delicious and perfectly extracted cup of pour over coffee at home:
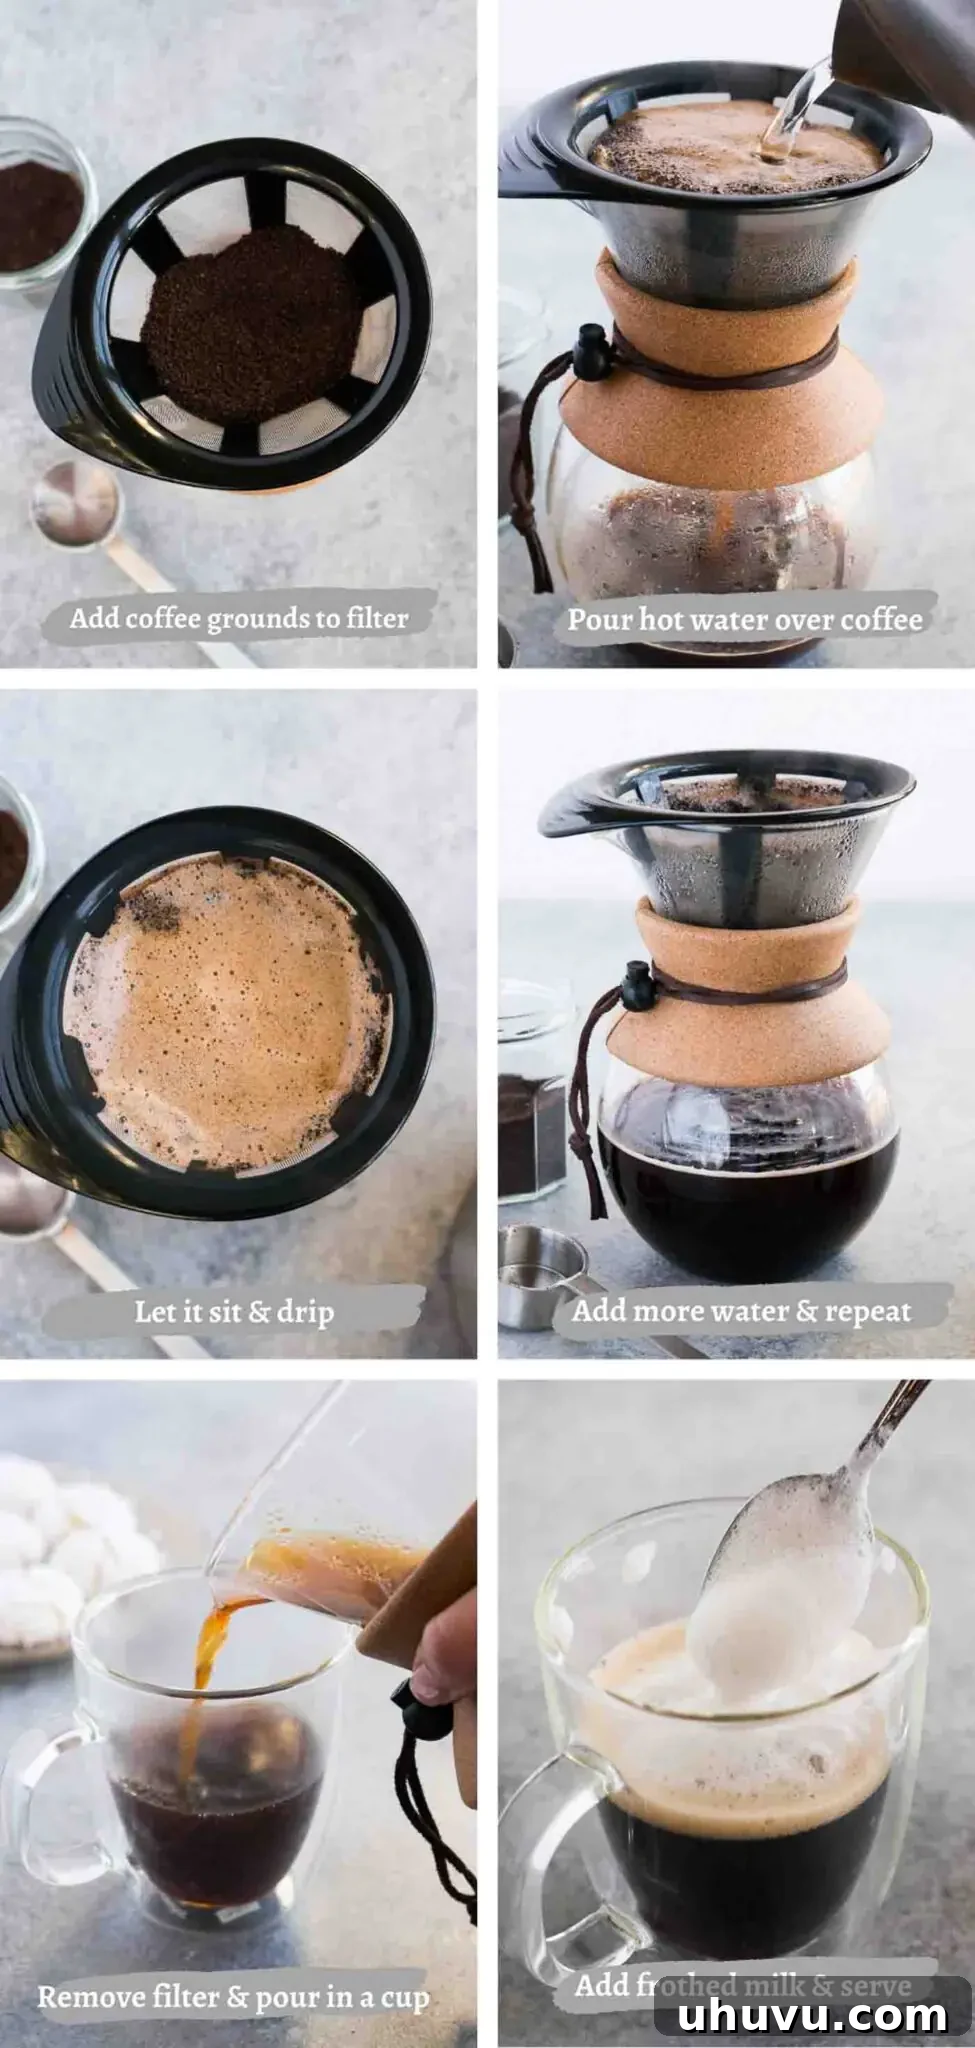
- Step 1: Grind Your Coffee Beans. Begin by accurately measuring your coffee beans. For a standard brew, aim for approximately 40 grams of whole coffee beans. Using a high-quality burr grinder, grind the beans to a medium-fine consistency. The texture should resemble coarse salt or Panko breadcrumbs. A uniform grind is critical for even extraction; too fine will lead to over-extraction and bitterness, while too coarse will result in under-extraction and a weak, sour taste.
- Step 2: Heat Your Water Precisely. Fill your gooseneck electric kettle with 600 ml of filtered water. Heat the water to the ideal brewing temperature of 200°F (93°C). If your kettle doesn’t have temperature control, bring the water to a full boil and then allow it to cool for about 30 seconds off the heat before you begin pouring. This ensures you don’t scorch the coffee grounds.
- Step 3: Prepare Your Dripper and Filter. Place your chosen pour over dripper (such as a Chemex or Hario V60) securely on top of your mug or serving carafe. Insert a paper filter into the dripper (if you’re using one) and thoroughly rinse it with a small amount of your hot water. This step helps remove any papery taste from the filter and also preheats your brewing apparatus, ensuring a stable temperature during extraction. Discard the rinse water before proceeding.
- Step 4: Add Ground Coffee. Carefully transfer your freshly ground coffee into the rinsed filter. Gently shake the dripper from side to side to create a flat and even bed of coffee grounds. You can also make a small divot in the center to aid in the initial water saturation.
- Step 5: Execute the Bloom. This is a crucial step! Slowly pour about 80-100 ml (approximately 1/3 cup) of your 200°F water over the coffee grounds. Ensure all the grounds are evenly saturated, starting from the center and spiraling outwards. Allow the coffee grounds to “bloom” for 30-45 seconds. This phenomenon, where the coffee bed expands and bubbles, is the release of carbon dioxide from the fresh coffee, which is essential for a more flavorful and less acidic brew.
- Step 6: Perform the Main Pour. After the bloom, resume pouring the remaining water (approximately 500-520 ml) slowly and steadily over the grounds. Continue pouring in consistent, concentric circles, avoiding pouring directly onto the filter walls. Your goal is to maintain an even water level above the coffee bed and ensure a continuous, gentle flow. This main pouring phase should take approximately 2 to 3 minutes, depending on your grind size and dripper. Keep an eye on the total brew time.
- Step 7: Final Drain & Enjoy. Once all the water has been poured, allow the remaining water to fully drain through the coffee bed. This typically takes an additional 30-60 seconds. The total brew time, from the start of the bloom to the final drip, should ideally be between 3 to 4 minutes. Once drained, carefully remove the filter and dripper from your server or mug, and your perfectly brewed pour over coffee is ready to savor!
TIPS FROM NELI’S KITCHEN
Achieving Pour Over Perfection: Expert Tips & Troubleshooting
Even small details can make a significant difference in your pour over experience. Here are some advanced tips to help you consistently brew your best cup:
- Fine-Tune Your Grind Size: This is arguably the most impactful variable. I typically opt for a medium grind, but don’t be afraid to experiment. If your coffee tastes too weak, it’s likely that your grind is too coarse, allowing water to pass through too quickly. Conversely, if your coffee is too strong, bitter, or extracts too slowly, a finer grind might be the culprit, leading to over-extraction. Adjust your burr grinder in small increments and taste the difference.
- Adjusting Strength to Taste: If you find your brewed coffee too strong, simply add a small amount of extra hot water to your cup to dilute it to your preferred strength. For a stronger brew, you can slightly increase the coffee-to-water ratio on your next attempt (e.g., from 1:16 to 1:15).
- Never Use Boiling Water: Direct boiling water can “scorch” your coffee grounds, extracting harsh and unpleasant bitter notes. Always bring your water to a boil, then remove it from the heat and let it cool for about 30 seconds before beginning your pour. This usually brings the temperature to the ideal range of 195-205°F (90-96°C).
- Monitor Total Brew Time: For a batch of about 600ml of coffee, the entire brewing process, from the start of the bloom to the final drip, should ideally take around 3 to 4 minutes. If it’s too fast, your grind might be too coarse. If it’s too slow, your grind might be too fine. Use a timer to track and adjust accordingly.
- Explore Different Drippers: While a large Chemex coffee maker is excellent for brewing multiple servings, don’t overlook individual coffee drippers. Options like the Kalita Wave 185 are renowned for their flat bottom and three holes, which promote an incredibly even extraction, leading to some of the best-tasting coffee. The Hario V60, with its single large hole and conical shape, allows for faster flow and more control for skilled brewers. Experimenting with different drippers can uncover new flavor dimensions.
- Pour Over vs. Electric Drip Machines: While both fundamentally involve dripping water through coffee grounds, the pour over method offers unparalleled control over the brewing process. With pour over, you actively manage each variable – grind size, water temperature, pour rate, and bloom time – each of which makes a notable difference in the type, taste, and texture of the resulting coffee. This hands-on approach allows for a level of customization and quality that automated electric drip coffee makers simply cannot match.
Customizing Your Perfect Cup of Pour Over
While many pour over enthusiasts prefer their coffee black to fully appreciate its nuanced flavors, the beauty of this brewing method is its versatility. Feel free to personalize your cup to match your preferences:
- Dairy or Non-Dairy Additions: If you enjoy a creamier coffee, add your favorite milk or cream. The clean, un-muddled base of pour over coffee pairs beautifully with both dairy and plant-based milks, allowing the coffee’s inherent flavors to still shine through.
- Sweeteners: Sweeten your pour over with sugar, honey, maple syrup, or any sweetener of your choice. Start sparingly, as a well-brewed pour over can possess a natural sweetness that may require less added sugar than you’re used to.
- Flavor Syrups: For a café-style indulgence, consider adding a dash of flavored syrup like vanilla, caramel, or hazelnut. These can complement the complex notes of your coffee without overpowering it.
- Iced Pour Over: To enjoy a refreshing iced pour over, simply brew your coffee directly over a heat-resistant glass filled with ice. Adjust your water quantity slightly (use less hot water) during brewing to account for the ice melting, ensuring your iced coffee maintains its strength and flavor.
Pour Over Coffee FAQs: Your Questions Answered
Pour over coffee is incredibly popular among those who enjoy black coffee due to its intense clarity, vibrant flavors, and lack of bitterness. This brewing method truly allows the distinct characteristics of the coffee bean to shine. However, it’s completely up to your personal preference! You can absolutely enjoy your pour over with milk or cream, and add sweeteners or flavored syrups if that’s how you typically prefer your coffee. The clean base of a pour over often means these additions enhance rather than mask the coffee’s natural profile.
While I highly recommend making this recipe with dark roast whole coffee beans that you grind freshly for the best possible flavor and aroma, you can certainly use pre-ground coffee beans if you don’t have a coffee grinder. Just ensure you purchase them ground to a medium-fine consistency suitable for pour over. The main drawback of pre-ground coffee is that it loses its freshness and complex flavors much more rapidly than whole beans. If you opt for pre-ground, try to buy smaller quantities and store them in an airtight container to preserve their qualities for as long as possible.
A commonly recommended starting point for pour over coffee is a coffee-to-water ratio of 1:15 or 1:16. This means for every 1 gram of coffee, you would use 15 or 16 grams (or milliliters) of water. For instance, if you’re using 40 grams of coffee, you’d aim for 600-640 ml of water. This ratio can be adjusted to suit your personal taste preferences; use slightly more coffee for a stronger brew, or a little more water for a lighter, more delicate cup.
To preserve the optimal freshness, flavor, and aroma of your coffee beans, store them in an opaque, airtight container in a cool, dark place, away from direct sunlight, heat, and moisture. Avoid storing coffee in the refrigerator or freezer for everyday use, as temperature fluctuations and condensation can degrade their quality rapidly. It’s best to buy whole beans in smaller quantities that you can consume within a couple of weeks.
Paper filters are designed for single use and should be discarded after each brew. Reusing them can impart undesirable off-flavors from stale coffee oils and sediment into your fresh coffee. If you’re using a reusable mesh or cloth filter, it should be thoroughly rinsed clean after every use and allowed to air dry completely to prevent residue buildup and maintain a pure coffee flavor.
Explore More Delicious Drink Recipes
If you’ve enjoyed crafting your perfect pour over, we encourage you to try these other fantastic drink recipes to expand your home beverage repertoire:
- Bulletproof Coffee
- How To Make Chai Latte
- Ginger Tea
- Hot Lemon Tea
If you tried this Pour Over Coffee Recipe or any other recipe on my blog, please take a moment to leave a 🌟 star rating and share your experience in the 📝 comments section below. Your feedback is greatly appreciated and helps other readers discover delicious recipes! Thanks for visiting Delicious Meets Healthy!
Pin this now to find it later
Pin It
☝ Tap stars to rate
Perfect Pour Over Coffee
Saved!
Pin
Rate
Save This Recipe
Enter your email and we’ll send the recipe directly to you!
(Email subscription form removed due to JavaScript code.)
By submitting a form here, you would typically consent to receive emails from Delicious Meets Healthy.
Ingredients
- 40 grams coffee beans (whole beans, medium roast recommended for balanced flavor)
- 600 ml filtered water, or approximately 2.5 cups (heated to 200°F / 93°C for optimal extraction)
Instructions
-
Grind Coffee: Using a high-quality coffee grinder, grind 40 grams of whole coffee beans to a medium-fine consistency, resembling coarse salt or Panko breadcrumbs.
-
Heat Water: Using a gooseneck electric kettle, heat 600 ml of filtered water to precisely 200°F (93°C). If lacking temperature control, boil water and let it rest for 30 seconds.
-
Prepare Dripper: Place your pour over dripper onto your mug or server. Insert a paper filter, rinse it with hot water, and discard the rinse water. Add the ground coffee to the filter, gently shaking to level the bed.
-
Bloom the Coffee: Slowly pour about 1/3 cup (80-100 ml) of hot water over the coffee grounds, ensuring even saturation in a spiral motion. Allow the coffee to “bloom” for 30-45 seconds to release gases.
-
Main Pour: Slowly and steadily pour the remaining water (approx. 500-520 ml) over the grounds in consistent, concentric circles. Maintain an even water level and avoid pouring directly onto the filter walls. This pour should take 2-3 minutes.
-
Final Drain: Once all water is poured, allow the pour over to sit for an additional 30-60 seconds to fully drain. The total brew time should be between 3 to 4 minutes.
-
Serve: Remove the filter and dripper, and enjoy your perfectly brewed pour over coffee!
Notes for the Perfect Brew
- Grind Consistency: If your coffee tastes too weak, try a finer grind. If it’s too strong or bitter, a coarser grind might be needed. Consistency in grind size is key for even extraction.
- Adjusting Strength: For a stronger cup, slightly increase the coffee-to-water ratio (e.g., 1:15 instead of 1:16). If it’s too strong, add a little extra hot water to your cup after brewing to dilute it.
- Optimal Water Temperature: Avoid boiling water as it can scorch the coffee. Letting your kettle cool for about 30 seconds after boiling typically brings it to the ideal 200°F (93°C).
- Total Brew Time: Aim for a total brew time of 3 to 4 minutes. This includes the bloom and main pour. Adjust your grind size to control the flow rate and hit this target.
- Dripper Choice: While a large Chemex is great, individual coffee drippers like the Kalita Wave 185 (flat-bottom for even extraction) or Hario V60 (conical for a faster flow) are popular alternatives, each offering a slightly different flavor profile.
- Control is Key: The beauty of pour over is the control it offers. Unlike electric drip machines, you dictate the water temperature, pour speed, and bloom, allowing you to fine-tune every variable for your ideal cup.
Nutrition Information
Nutrition Disclaimer: Nutritional values are estimates and may vary with ingredients, brands, and portion sizes. For accuracy, use your preferred nutrition calculator.
Like this recipe? Rate and comment below!