
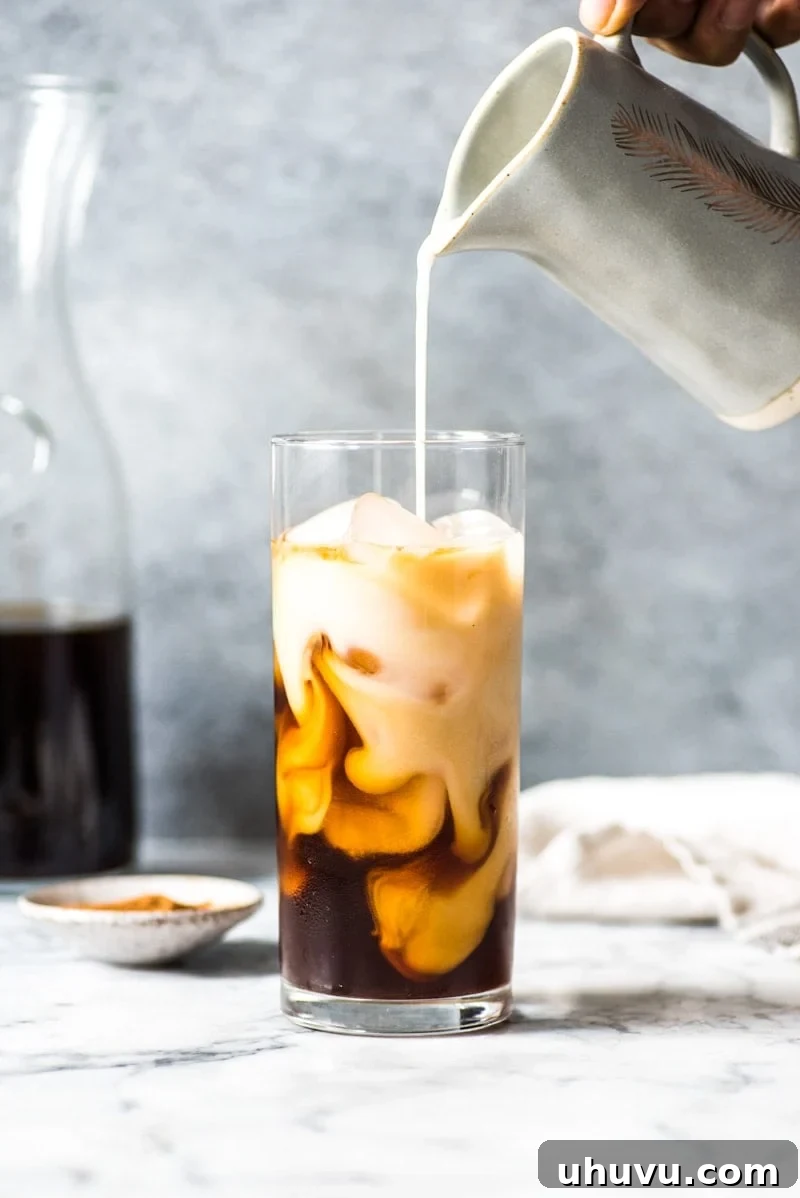
Are you tired of spending a fortune on your daily iced coffee fix? Do those expensive café lattes drain your wallet faster than you can say “extra shot”? Imagine crafting delicious, smooth, and refreshing cold brew coffee right in your own kitchen for a fraction of the cost. This comprehensive guide will show you exactly how to make perfect cold brew at home, transforming your coffee routine and saving you money without sacrificing taste.
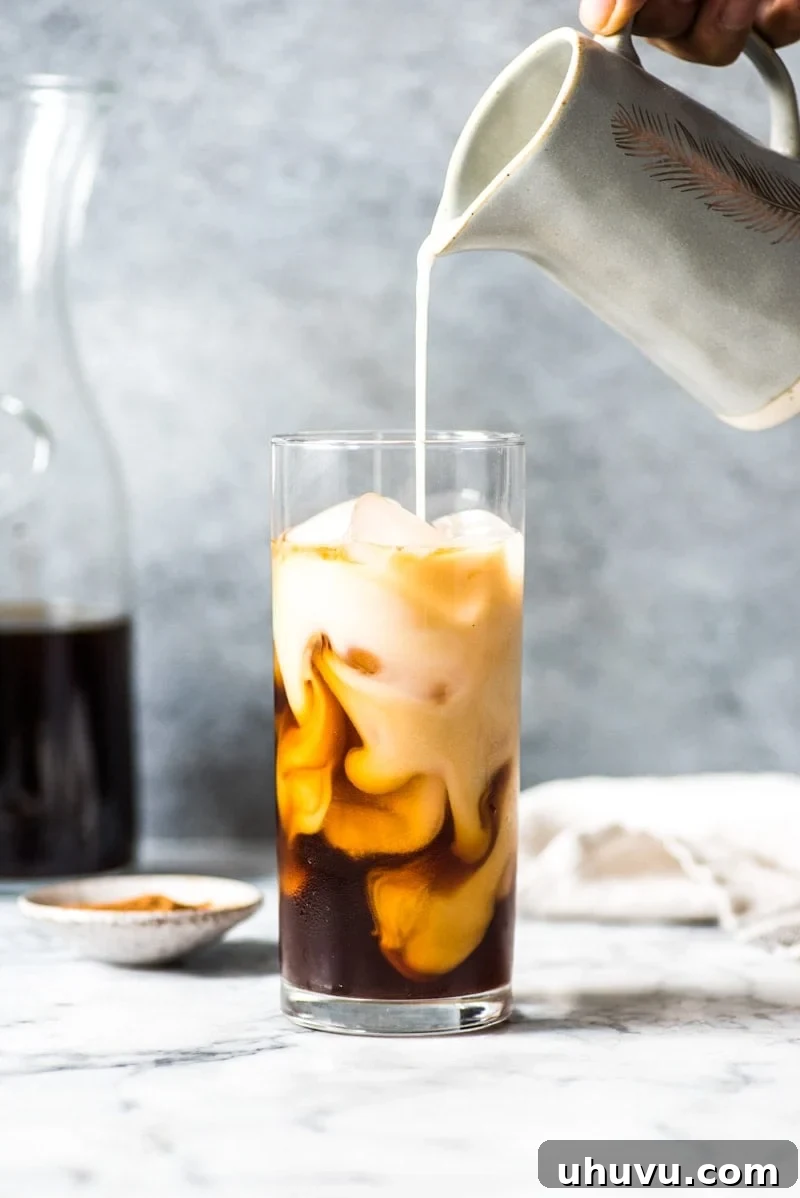
For many of us, the allure of a perfectly chilled iced latte or a robust cold brew from our favorite coffee shop is undeniable. It’s a daily ritual, a much-needed afternoon pick-me-up, or a refreshing start to a warm day. However, these small indulgences can quickly add up, especially if you’re trying to stick to a budget or save for a big goal, like a down payment on a new home. My husband, John, and I found ourselves in this exact situation. What started as an occasional treat soon became a regular habit, and the cumulative cost was astonishing. That’s when I realized: it was time to master the art of homemade cold brew.
Making cold brew coffee at home is not only incredibly cost-effective – often four times cheaper than buying it out – but it’s also surprisingly simple. You don’t need fancy equipment or advanced barista skills. With just a few basic items and a little patience, you can consistently produce a superior coffee concentrate that’s perfect for all your iced coffee cravings. Say goodbye to bitter, watered-down iced coffees and hello to the smooth, rich taste of your own artisanal brew.
What Exactly Is Cold Brew Coffee?
Cold brewing is a distinctive method of coffee preparation that sets itself apart by completely avoiding heat. Unlike traditional hot brewing methods, which use hot water to extract flavors from ground coffee beans, cold brew involves steeping coarse coffee grounds in room-temperature or cold water for an extended period, typically between 12 to 24 hours. This gentle, slow immersion process yields a unique coffee concentrate with several desirable characteristics.
The Science Behind Cold Brew’s Superior Smoothness
The absence of heat during the brewing process is key to cold brew’s signature flavor profile. Hot water tends to extract more acids, bitter compounds, and oils from coffee beans, which can result in a more astringent or bitter taste. Cold water, however, extracts these compounds much more slowly and selectively. This leads to a concentrate that is remarkably:
- Low in Acidity: Cold brew is significantly less acidic than hot coffee, making it a much gentler option for those with sensitive stomachs or acid reflux. Its smoother profile also allows the subtle flavors of the coffee bean to shine through.
- Smooth and Mellow: The slow extraction process produces a coffee that is inherently smoother, less bitter, and often has a naturally sweeter taste. Many describe cold brew as having a chocolatey or nutty undertone.
- Highly Concentrated: Cold brew is a concentrate, meaning it’s much stronger than regular drip coffee. This makes it ideal for iced coffee drinks because it won’t become diluted or “watered down” when poured over ice, maintaining its rich flavor from the first sip to the last. This concentration also means a batch lasts longer, as you dilute it with water or milk before serving.
- Versatile: Its concentrated nature makes it incredibly versatile. You can enjoy it black, dilute it with water, add milk or cream, mix in syrups, or even use it as a base for creative coffee cocktails.
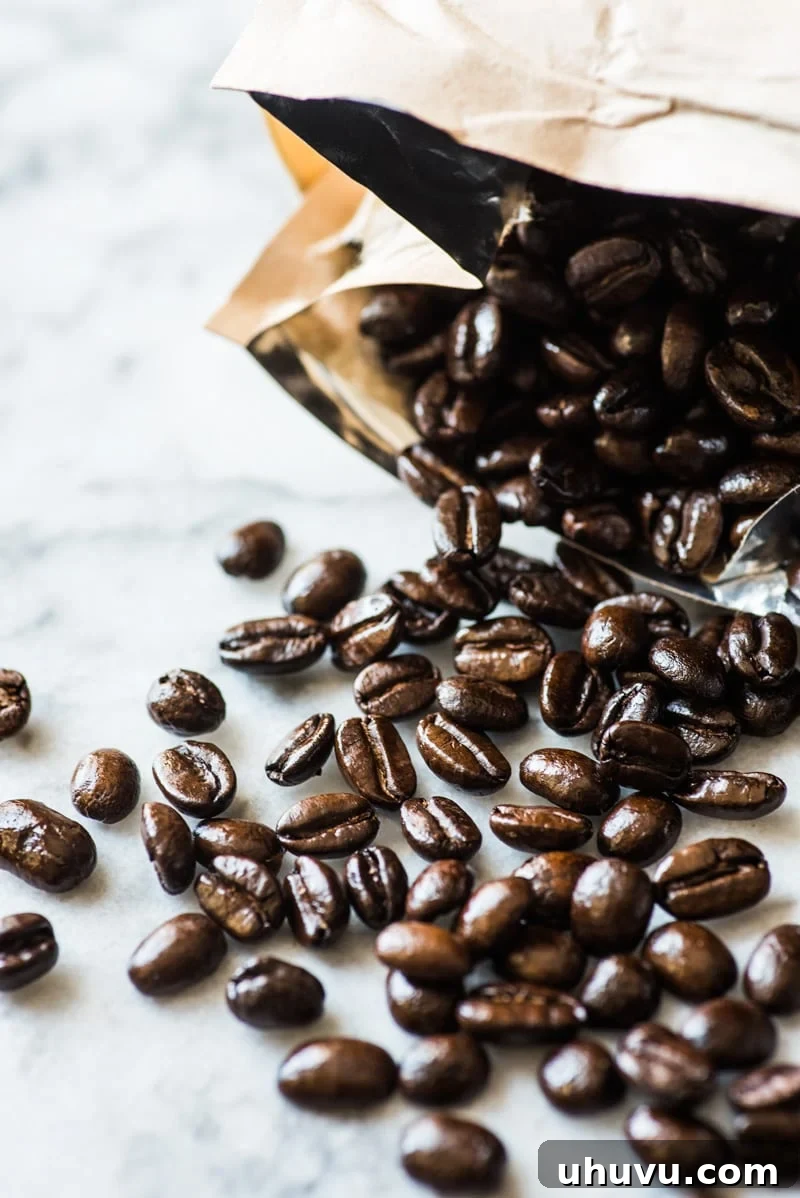
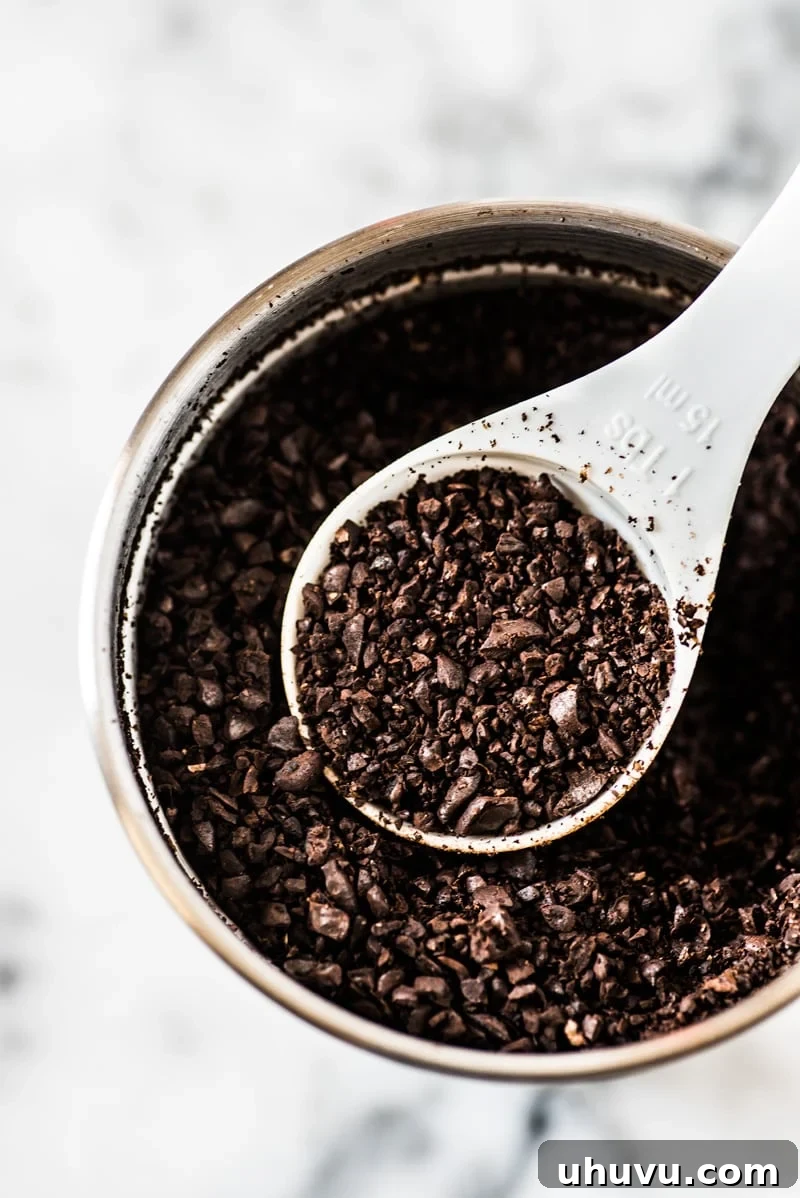
To embark on your cold brew journey, you’ll need a few simple components: quality coarsely ground coffee beans, a large vessel like a jar or pitcher, some cheesecloth or a fine-mesh strainer, and, of course, water. The simplicity of the process is one of its greatest appeals!
Choosing the Right Coffee Beans for Cold Brew
One of the beauties of cold brew is its flexibility when it comes to coffee bean selection. There’s no single “best” type of bean or roast required, as the cold brewing process tends to mellow out the characteristics of almost any coffee. However, your choice of beans will significantly influence the final flavor profile of your cold brew concentrate.
Roast Levels and Flavor
- Light Roasts: While less common for cold brew, a light roast can produce a bright, vibrant, and sometimes fruity cold brew. If you enjoy the delicate nuances of single-origin coffees, a light roast might be an interesting experiment. Be aware that some of its acidity might still come through, albeit less than with hot brewing.
- Medium Roasts: This is a popular choice for cold brew because it offers a balanced flavor. Medium roasts typically have notes of chocolate, nuts, and caramel, which are beautifully enhanced by the cold extraction process, resulting in a smooth, well-rounded, and approachable cold brew.
- Dark Roasts: My personal favorite, dark roasts, deliver a deep, rich, and bold flavor that translates exceptionally well into cold brew. The cold brewing process reduces the typical bitterness often associated with dark roasts, allowing their intense chocolatey and smoky notes to shine in a surprisingly smooth manner.
Ultimately, the best coffee beans for your cold brew are the ones you enjoy most. Feel free to experiment with different roasts and origins to discover your perfect cold brew blend. Many cold brew enthusiasts also prefer using fresh, high-quality beans, as freshness significantly impacts the flavor.
The Critical Importance of a Coarse Grind
The grind size of your coffee beans is arguably the most crucial factor in successful cold brewing. For cold brew coffee, you need beans that are ground to a coarse or medium-coarse consistency, resembling coarse sea salt or breadcrumbs. This is distinctly different from the fine grind used for espresso or the medium grind for drip coffee.
Why Coarse Grind Matters:
- Optimal Extraction: A coarse grind allows for slow, even extraction over the extended steeping time. If the grind is too fine, the coffee particles have a larger surface area exposed to water, leading to over-extraction and a bitter, muddy flavor.
- Smooth Filtration: This is perhaps the most practical reason. Finer grounds are much harder to filter out at the end of the brewing process. They can clog your strainer or cheesecloth, making filtration a frustrating and messy endeavor. More importantly, fine particles can pass through your filter, leaving your cold brew with an undesirable gritty or grainy texture—the dreaded “sand-in-my-coffee” experience.
- Preventing Sludge: A coarse grind minimizes the amount of “sludge” or fine sediment at the bottom of your cold brew concentrate, resulting in a cleaner and more pleasant mouthfeel.
If you have a burr grinder at home, set it to the coarsest or second-coarsest setting. If you don’t own a grinder, consider buying whole beans and asking your local coffee shop to grind them coarsely for cold brew. Avoid pre-ground coffee if possible, as it’s often too fine for cold brewing and can be stale. Investing in a good burr grinder is highly recommended for any serious coffee enthusiast.
The Perfect Cold Brew Ratio and Steeping Time
Achieving the ideal cold brew concentrate hinges on two critical factors: the coffee-to-water ratio and the steeping duration. These can be adjusted to match your personal preference for strength and flavor.
Recommended Ratio
My preferred ratio is **1 cup of whole coffee beans (which equates to about 4 oz by weight) to 4 cups of room-temperature water**. This yields a robust concentrate that can be diluted later. This amount typically lasts John and me for about a week, as we enjoy iced coffee 2-3 times a week. If you’re brewing for a single person or prefer a smaller batch, you can easily halve this ratio, using 1/2 cup of coffee beans to 2 cups of water.
For those who prefer a stronger concentrate or plan to dilute it heavily, a ratio of 1:3 (1 cup coffee to 3 cups water) can be used. Conversely, for a milder concentrate, you might experiment with a 1:5 ratio (1 cup coffee to 5 cups water). The beauty of cold brew is its adaptability!
Optimal Steeping Time
The steeping time directly impacts the strength and flavor extraction. The general recommendation is between **12 to 24 hours**.
- 12 Hours: This will produce a lighter, brighter cold brew concentrate. It’s a good starting point if you’re new to cold brew.
- 18-20 Hours: This is often considered the sweet spot for many, yielding a well-balanced, rich, and flavorful concentrate.
- 24 Hours: For the boldest, most intense flavor and highest concentration, steep for a full 24 hours. Be cautious not to over-steep beyond this, as it can occasionally lead to some bitterness, though less so than with hot brewing.
Experimentation is key! You might find your ideal steeping time falls somewhere in between, depending on the beans you use and your desired strength. Always steep at room temperature for consistency, or in the refrigerator if you prefer a slower, even gentler extraction over a longer period (up to 36-48 hours).
How to Make Cold Brew Coffee: Step-by-Step Instructions
Ready to brew? Follow these simple steps to create your own delicious cold brew concentrate:
- Grind Your Beans: Measure 1 cup of whole coffee beans and grind them to a coarse or medium-coarse consistency. This is crucial for flavor and ease of filtration.
- Combine Coffee and Water: Pour 4 cups of room-temperature water into a large jar, pitcher, or any non-reactive container. Add the freshly ground coffee beans. Gently stir the mixture to ensure all the coffee grounds are fully wet and saturated. This prevents dry pockets and ensures even extraction.
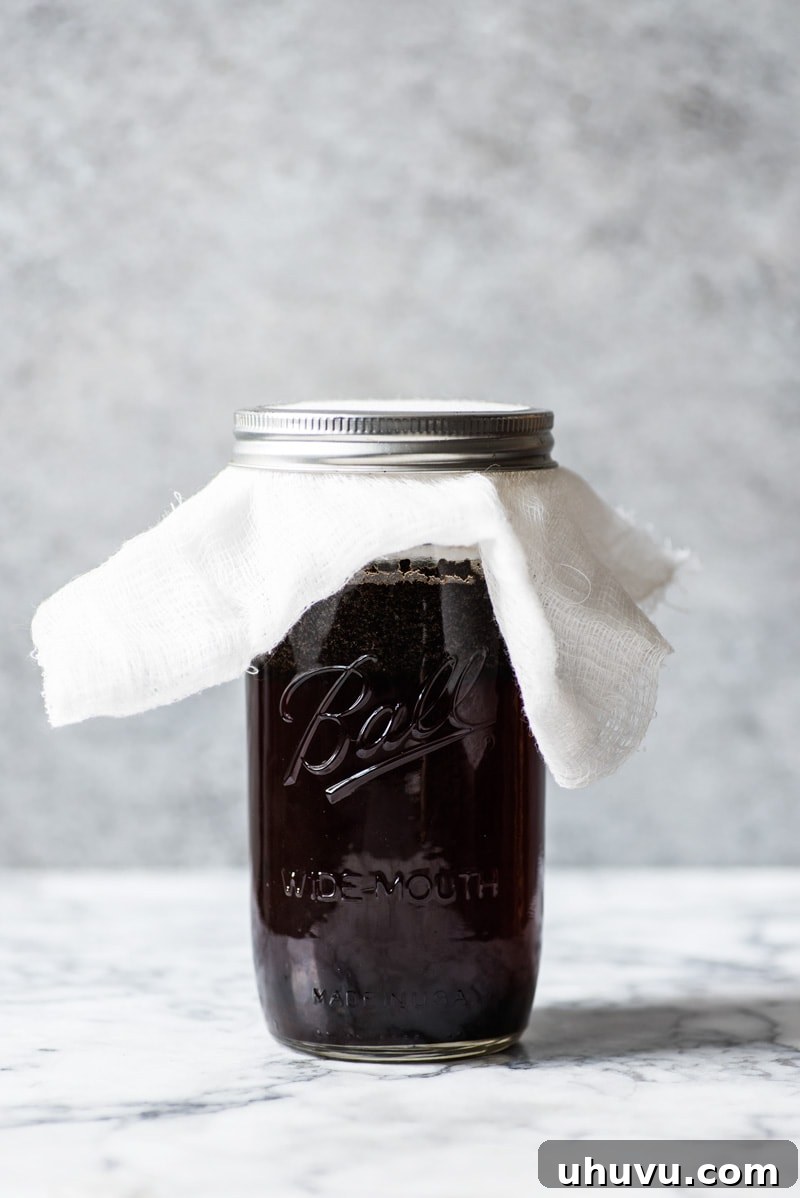
- Steep: Cover the jar or pitcher with a lid (or cheesecloth secured with a rubber band to allow for air circulation, preventing off-flavors). Let the coffee steep undisturbed at room temperature for 12 to 24 hours. If your kitchen is particularly warm, you might opt for the shorter end of the steeping time.
- Filter the Concentrate: Once steeping is complete, it’s time to filter. Place a fine-mesh strainer over a clean container (another jar or pitcher). Line the strainer with a piece of cheesecloth (folded into 2-3 layers for better filtration) or a dedicated cold brew filter bag. Carefully pour the coffee mixture through the lined strainer. Avoid pressing down on the coffee grounds, as this can force fine sediment through the filter and result in a cloudy or gritty concentrate. Allow the liquid to drip naturally.
- Second Filtration (Optional but Recommended): For an extra-smooth, sediment-free concentrate, you can perform a second filtration using a fresh piece of cheesecloth or a paper coffee filter set inside your fine-mesh strainer. This step guarantees a pristine cold brew.

Serving Your Homemade Cold Brew
Now for the best part – enjoying your perfectly brewed cold brew concentrate! Since it’s highly concentrated, you’ll want to dilute it to your preference. Pour your desired amount of cold brew over ice. Then, add a little water or your favorite milk (dairy or non-dairy, like almond, oat, or soy milk) until it reaches your preferred strength and creaminess. Start with a 1:1 ratio of cold brew to water/milk and adjust from there.
Delicious Flavor Variations:
- Classic & Simple: Just cold brew, ice, and a splash of milk or cream. Perhaps a touch of simple syrup for sweetness.
- Mexican Twist: A pinch of ground cinnamon adds a warm, aromatic depth that’s incredibly satisfying and makes it feel extra fancy. You can also add a tiny dash of cocoa powder for a “mocha” hint.
- Spiced Delights: Experiment with other spices like a tiny bit of nutmeg, cardamom, or even a dash of pumpkin spice for seasonal treats.
- Sweetened Perfection: Enhance with homemade vanilla syrup, caramel syrup, or a drizzle of honey.
- Coffee Cocktails: Use your cold brew as a base for adult beverages like an Espresso Martini or a spiked cold brew with a dash of Kahlua.
The possibilities are endless! Don’t be afraid to get creative and tailor your cold brew creations to your taste.
Storing Your Cold Brew Concentrate
One of the many advantages of cold brew is its excellent shelf life. Once filtered, store your cold brew concentrate in an airtight container (like a glass jar with a tight-fitting lid) in the refrigerator. It will stay fresh and delicious for up to 1 week, though some argue it can last even longer. The lack of heat in its preparation helps prevent oxidation, preserving its flavor.
Tips for the Best Storage:
- Airtight is Key: Exposure to air can cause flavors to degrade. Ensure your container is tightly sealed.
- Glass Containers: Glass is preferred over plastic as it doesn’t absorb odors or flavors.
- Do Not Dilute for Storage: Always store the concentrate undiluted. Dilute individual servings as needed.
Troubleshooting Common Cold Brew Issues
While cold brew is generally forgiving, you might encounter a few common issues. Here’s how to address them:
- Too Weak or Watery:
- Solution: Increase steeping time (up to 24 hours), use a slightly higher coffee-to-water ratio (e.g., 1:3), or ensure your beans are freshly ground.
- Too Bitter or Over-extracted:
- Solution: Reduce steeping time, ensure your grind is coarse enough (a fine grind can over-extract), or try a different roast level (lighter roasts tend to be less prone to bitterness).
- Gritty or Cloudy:
- Solution: This is almost always due to too fine a grind or pressing the grounds during filtration. Make sure your grind is coarse and perform a second filtration through a finer filter like a paper coffee filter or multiple layers of cheesecloth.
- Mold or Off-Flavors:
- Solution: Ensure all your equipment is thoroughly clean before brewing. Use fresh, quality coffee beans and filtered water. Store in an airtight container in the refrigerator. If you see mold, discard the batch immediately.
Why Make Cold Brew Your Go-To Coffee?
Beyond the cost savings, making cold brew at home offers numerous benefits. It’s incredibly convenient to have a batch ready in your fridge, saving you trips to the coffee shop. It’s healthier, as you control the ingredients and can avoid excessive sugars found in many commercially prepared drinks. And most importantly, it’s an enjoyable process that empowers you to customize your coffee experience exactly to your liking.
So, take the plunge! Embrace the world of homemade cold brew coffee. Your taste buds and your wallet will thank you. No more expensive, overpriced iced lattes – make your own with cold brew!
More Delicious Drink Recipes You May Also Enjoy:
- Cafe de Olla
- Horchata Recipe
- Mexican Hot Chocolate
- Cucumber Agua Fresca

Homemade Cold Brew Coffee
By: Isabel Orozco-Moore
Craft the perfect smooth, low-acidity cold brew coffee concentrate at home. Save money and enjoy barista-quality iced coffee anytime!
Prep Time: 5 minutes
Steep Time: 12-24 hours
Total Time: 12 hours 5 minutes (minimum)
Yields: 8 servings (as concentrate)
Ingredients
- 1 cup medium or dark roast coffee beans, whole
- 4 cups room temperature filtered water
- Large jar or pitcher (at least 6-cup capacity)
- Fine-mesh strainer
- Cheesecloth (or cold brew filter bag)
- Clean container for storage
Instructions
- Grind coffee beans until coarse or medium-coarse, resembling sea salt.
- Pour room temperature filtered water into your large jar or pitcher. Add the ground coffee and gently mix together until all coffee grounds are fully saturated with water.
- Cover the jar or pitcher with a lid (or cheesecloth secured with a rubber band). Let the coffee steep at room temperature for 12 to 24 hours. For bolder flavor, steep longer.
- After steeping, place a fine-mesh strainer over a clean container. Line the strainer with 2-3 layers of cheesecloth. Carefully pour the steeped coffee mixture through the cheesecloth-lined strainer into the clean container. Do not press the coffee grounds to extract more liquid, as this can result in a gritty cold brew.
- For an even smoother concentrate, you may repeat the filtration process with fresh cheesecloth or a paper coffee filter.
- To serve, pour your concentrated cold brew over ice. Taste and dilute with water or milk (dairy or non-dairy) to your liking. A 1:1 ratio is a good starting point.
- Optional: Add a pinch of ground cinnamon for a delightful flavor twist.
Video
Watch a quick guide on how to make cold brew coffee at home.
Notes
Store leftover cold brew concentrate in an airtight container in the refrigerator for up to 1 week. Always dilute before serving.
Try adding a pinch of ground cinnamon, nutmeg, cocoa powder, vanilla extract, or even pumpkin spice for a fun flavor twist!
Nutrition (per 1/8th of recipe, concentrate before dilution)
Serving: 1/8th of recipe | Calories: 5kcal | Carbohydrates: 0g | Protein: 0g | Fat: 0g | Saturated Fat: 0g | Polyunsaturated Fat: 0g | Monounsaturated Fat: 0g | Trans Fat: 0g | Cholesterol: 0mg | Sodium: 0mg | Potassium: 0mg | Fiber: 0g | Sugar: 0g | Vitamin A: 0IU | Vitamin C: 0mg | Calcium: 0mg | Iron: 0mg
Nutrition information is automatically calculated and should only be used as an approximation. It may vary based on ingredients and preparation methods.
Did you make this recipe?
Leave a comment and star rating below to let us know how it turned out!