
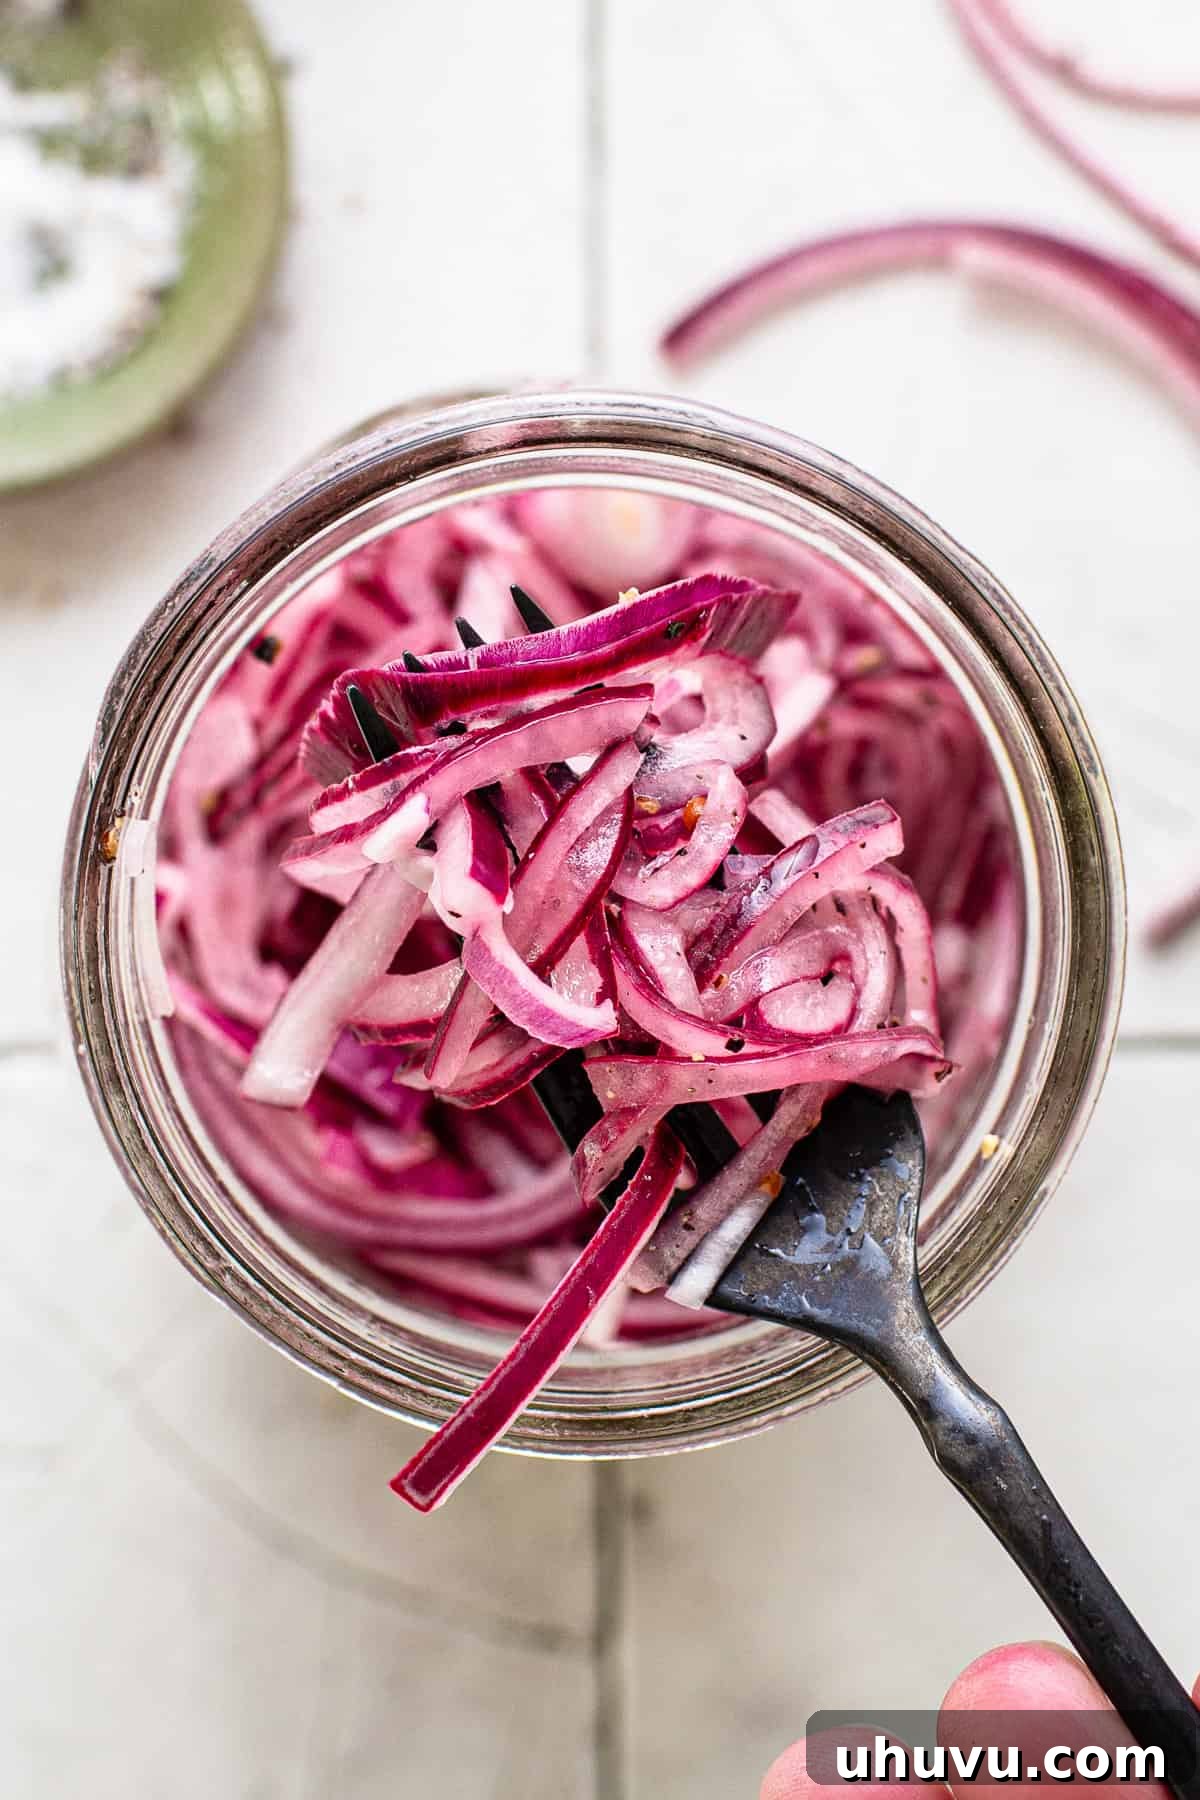
Unlock the secret to vibrant, flavor-packed meals with this incredibly easy recipe for quick Mexican pickled red onions. Known in Mexico as Cebollas Encurtidas, these bright, crunchy, and tangy onions are a true culinary game-changer. Requiring just four basic ingredients and ready in as little as 35 minutes, they’re not just a condiment; they’re an essential topping that elevates tacos, tostadas, gorditas, burritos, and virtually all your favorite Mexican dishes. Prepare to transform your cooking with this simple yet powerful addition!
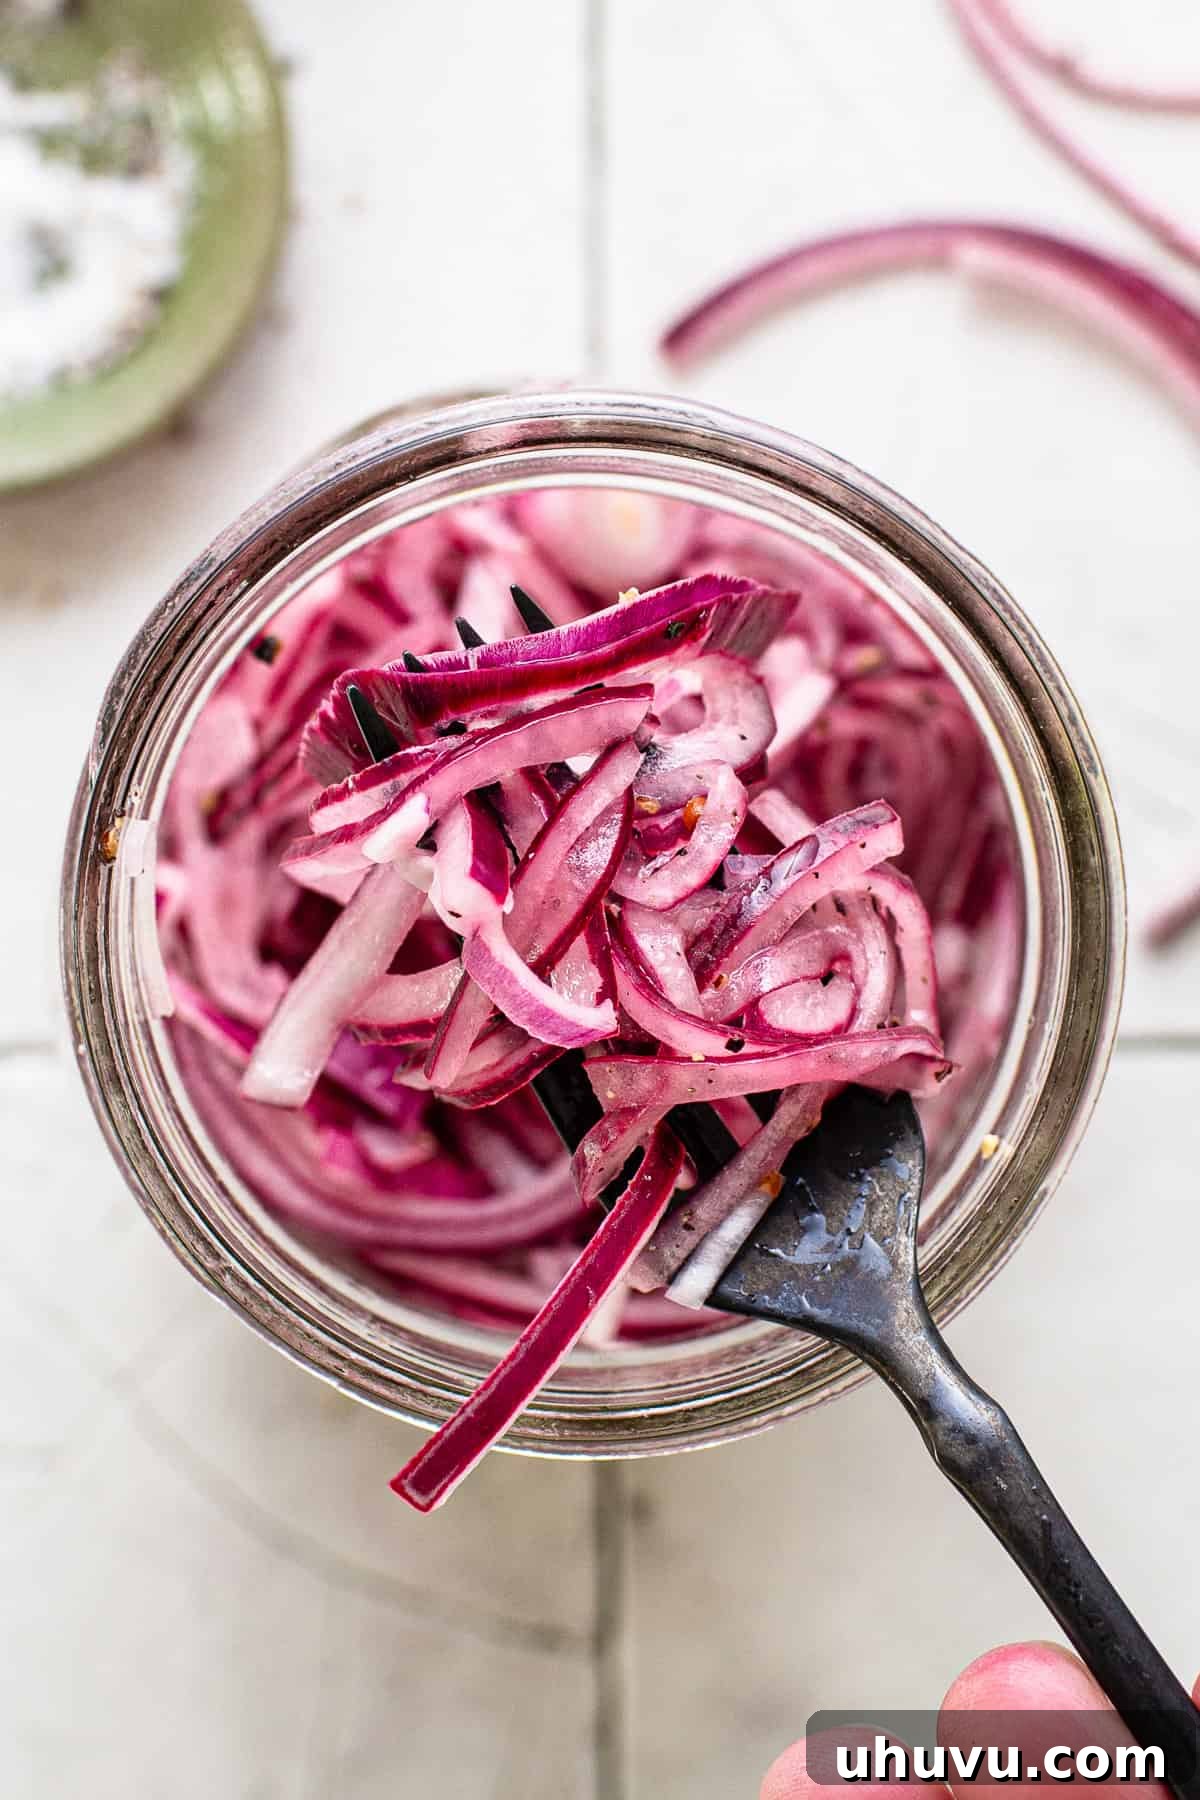
Mexican pickled onions are a beloved staple in authentic Mexican cuisine, cherished for their ability to infuse dishes with a delightful tangy and citrusy bite. You’ll find them brightening up rich tacos, savory enchiladas, and countless other Mexican dinner recipes. Their popularity extends beyond home kitchens; they are frequently offered as a refreshing side or snack in many Mexican restaurants, often paired with warm, freshly made flour tortillas.
My personal journey with quick-cured pickled onions began a few years ago when I watched renowned chef Rick Bayless demonstrate his method of soaking them purely in lime juice on his acclaimed PBS show. The simplicity and effectiveness of this technique immediately resonated with me. Since then, this fast-acting version has become one of my absolute go-to toppings, a testament to its irresistible flavor and ease of preparation. Honestly, they’re so good, I’ve been known to eat them straight out of the jar – no judgment necessary when something tastes this delicious!
What Are Mexican Pickled Onions? (Cebollas Encurtidas)
Mexican pickled onions, or cebollas encurtidas, are a vibrant and essential condiment made from thinly sliced red onions. Unlike traditional pickling which often involves a long fermentation process, these quick pickled onions are typically cured in an acidic liquid like fresh lime juice, vinegar, or a combination of both. Seasoned simply with salt and black pepper, they transform from pungent raw onions into crisp, tangy, and subtly sweet jewels.
These distinctively colored, bright pink onions play a crucial role in balancing the rich, savory, and often heavily spiced flavors characteristic of many traditional Mexican dishes. Their sharp, acidic profile provides a refreshing contrast, cutting through the richness of meats such as succulent carnitas, flavorful cochinita pibil, and tender barbacoa. They are a must-have for adding a layer of complexity and zest that truly completes a dish.
Why This Quick Pickled Onion Recipe Will Become Your New Favorite
- Effortless and Rapid Preparation: Forget complicated techniques or long waiting times. This recipe utilizes only a handful of common ingredients and skips the boiling step found in many other pickling recipes. From start to finish, you’re looking at just 5 minutes of active preparation time, followed by a mere 30-minute curing period in the refrigerator. Before you know it, these delightful onions are ready to be savored!
- Incredibly Versatile for Any Meal: The beauty of these Mexican pickled onions lies in their adaptability. They are the ultimate companion for a vast array of dishes. Imagine them piled high on sizzling carne asada, complementing the robust flavors of tacos al pastor, or adding a crucial tangy layer to hearty Mexican sandwiches like tortas. Beyond traditional Mexican fare, they can brighten up fresh salads, add a pop of color and zing to grain bowls, or even elevate simple grilled meats. Their crisp texture and bright flavor make them a fantastic addition to almost anything.
- Fresh, Vibrant Flavor Profile: The quick pickling process with fresh lime juice highlights the natural sweetness and sharp zest of red onions, creating a condiment that is intensely flavorful, perfectly balanced, and wonderfully refreshing. This isn’t just a topping; it’s a flavor enhancer that makes every bite more exciting.
- Visually Appealing: As they pickle, red onions transform into a stunning fuchsia color, adding an eye-catching element to your plates. Their vibrant hue makes any dish look more appetizing and professionally prepared.
Essential Ingredients for Perfect Pickled Onions
Crafting these quick pickled red onions requires only four simple ingredients, each playing a vital role in achieving their signature tangy flavor and crisp texture. Here’s a detailed look at what you’ll need and why:
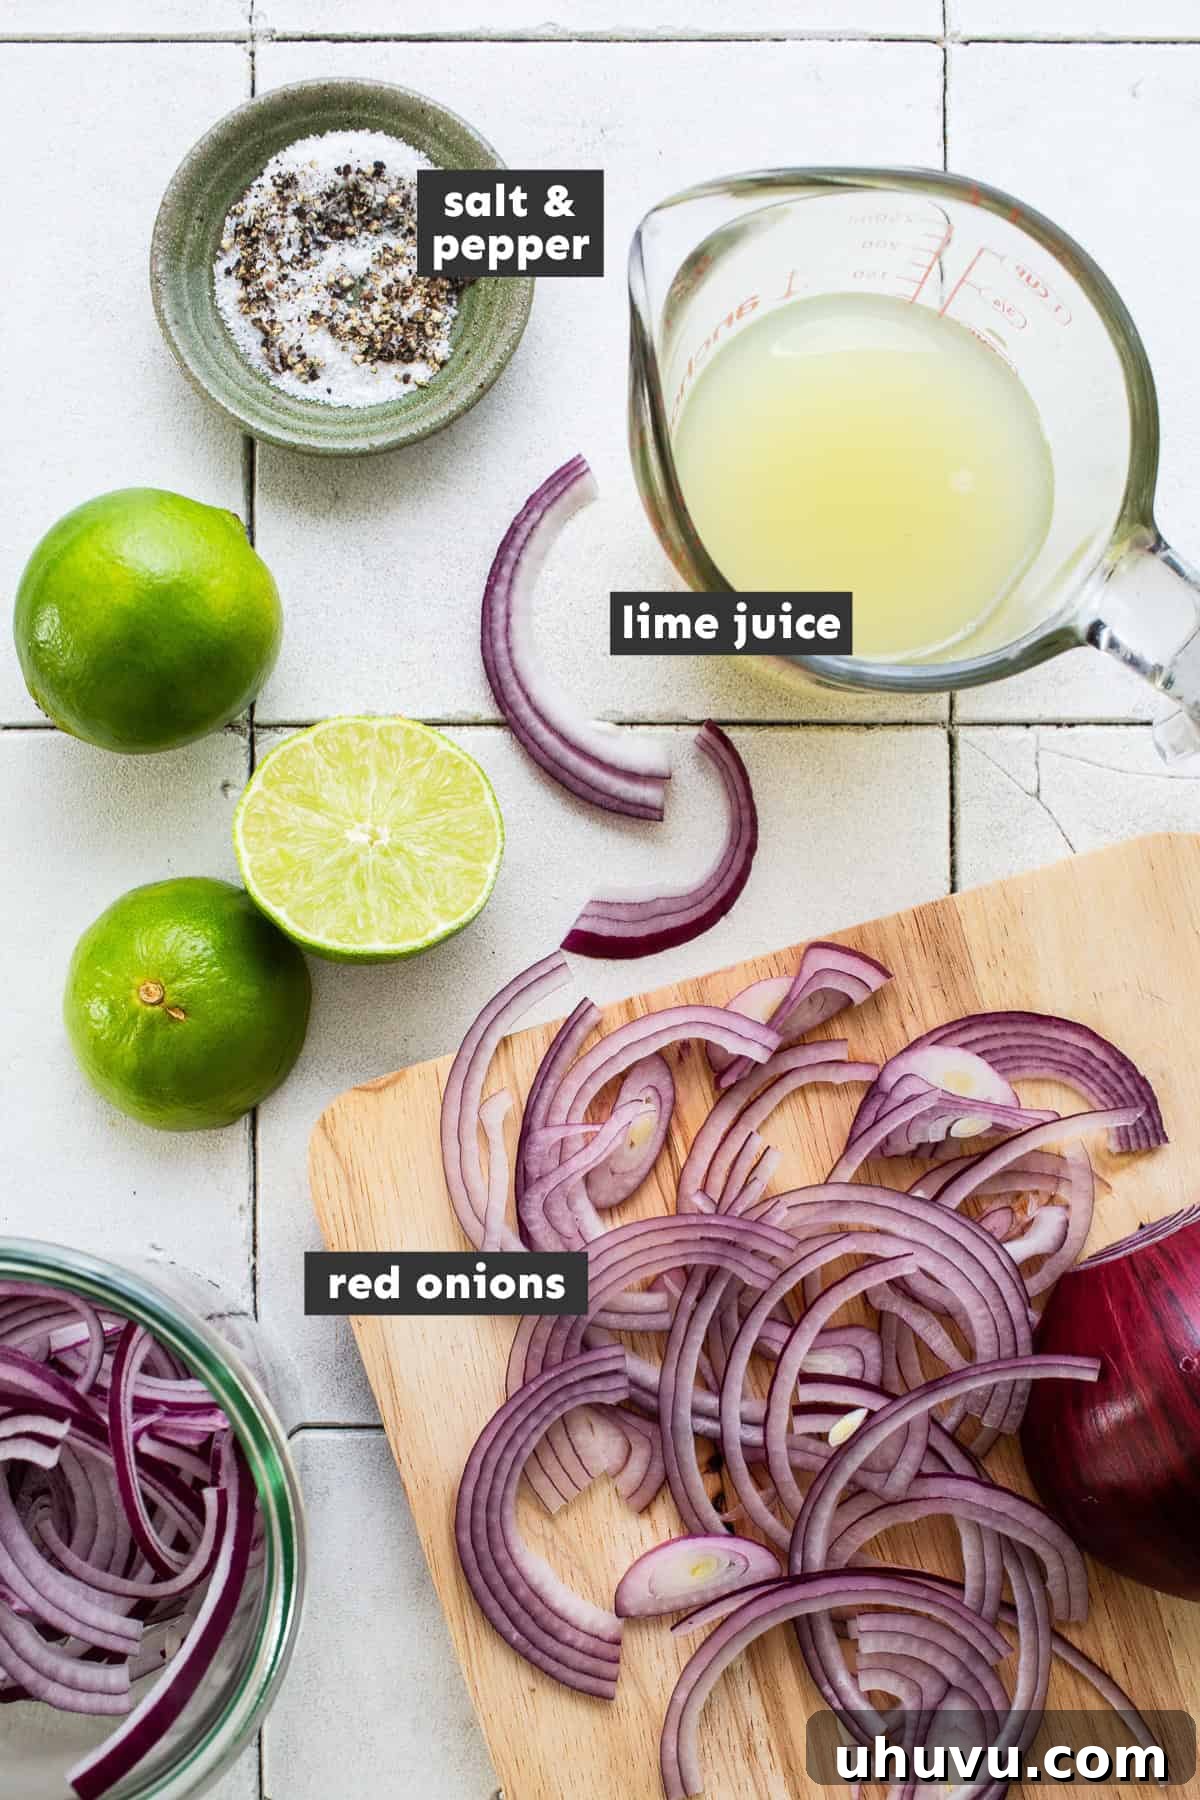
- Red Onions: These are the star of the show and irreplaceable for this recipe. Red onions possess a distinctively bright, zesty, and slightly sweet flavor that becomes beautifully enhanced through the pickling process. Their vibrant purple skin is also responsible for the stunning fuchsia color of the finished product. I highly recommend against substituting with white or yellow onions, as they will not yield the same flavor profile or visual appeal. For the best texture and maximum absorption of the pickling liquid, thinly slice your red onions. If you find slicing onions causes your eyes to water, try refrigerating them for 10-15 minutes beforehand; the cold helps reduce the release of irritants.
- Fresh Lime Juice: This is the primary curing agent and the cornerstone of the signature bright, tangy, and refreshing flavor of Mexican pickled onions. The acidity of the lime juice not only “cooks” the onions, softening them slightly while maintaining their crunch, but also infuses them with an unmistakable citrusy zest. For the freshest and most flavorful result, it is absolutely crucial to use freshly squeezed lime juice. Bottled lime juice simply cannot compare in terms of vibrant taste and aroma. Aim for firm, heavy limes with smooth, bright green skin, as these tend to yield the most juice.
- Kosher Salt: A touch of kosher salt is essential for seasoning and enhancing the overall flavor of the pickled onions. It also plays a subtle role in the curing process, drawing out some of the onion’s moisture and contributing to the desired texture. Start with the recommended amount and adjust to your personal preference after the onions have cured for a bit. Kosher salt is preferred for its pure flavor and larger flakes, which are easier to measure and distribute than finer table salt.
- Freshly Ground Black Pepper: Adding freshly ground black pepper introduces a subtle warmth and a gentle hint of spice that complements the tanginess of the lime. The fresh grind ensures maximum flavor and aroma. While a small amount makes a significant difference, you can adjust the quantity based on your desired level of peppery notes.
Crafting Your Homemade Mexican Pickled Onions: A Simple Guide
Making these delicious Mexican pickled onions is incredibly straightforward, involving just two main steps. You’ll be amazed at how quickly you can transform simple ingredients into a vibrant, flavor-packed condiment.
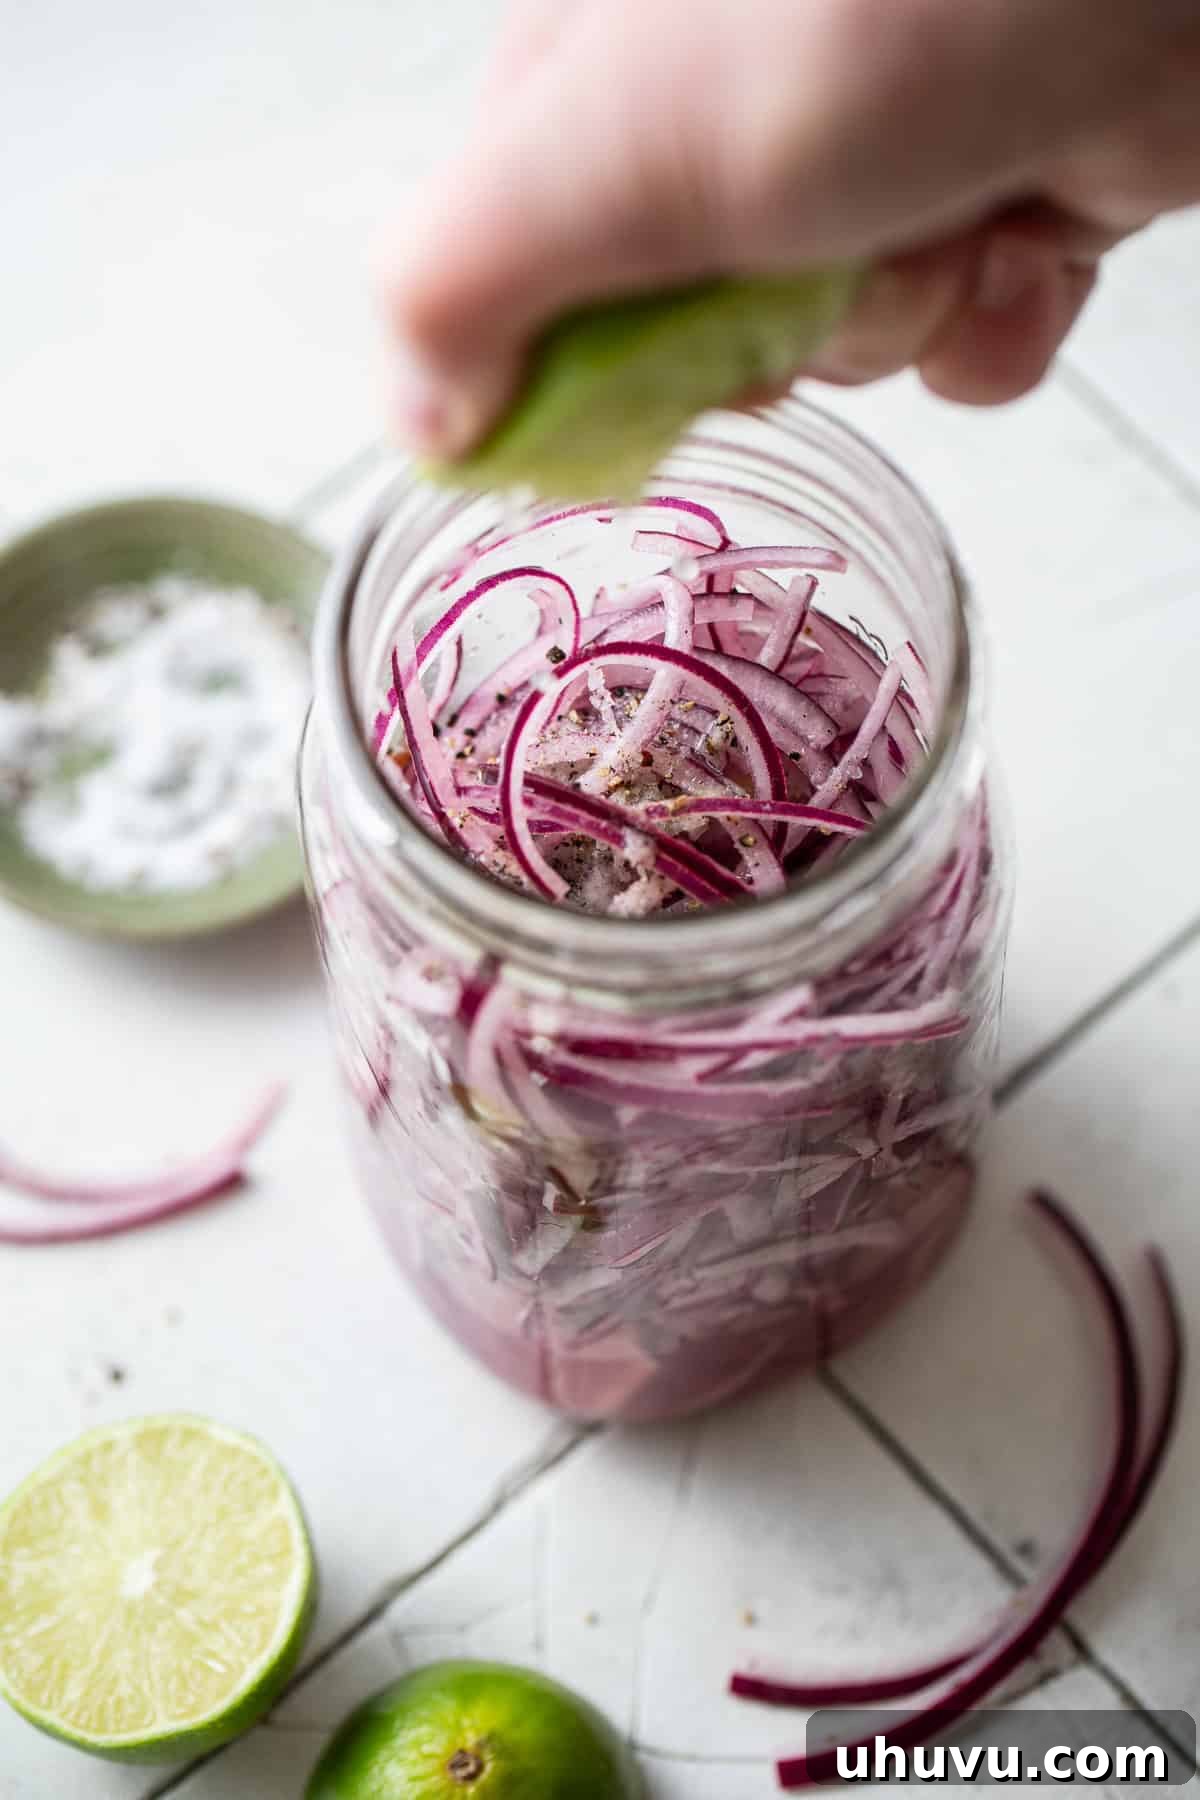
Step 1: Combine the Ingredients. In a clean, glass mason jar or a glass storage container with a tight-fitting lid, combine your thinly sliced red onions, freshly squeezed lime juice, kosher salt, and freshly ground black pepper. Ensure the onions are well-distributed within the container. Once all ingredients are in, securely cover the container with its lid.
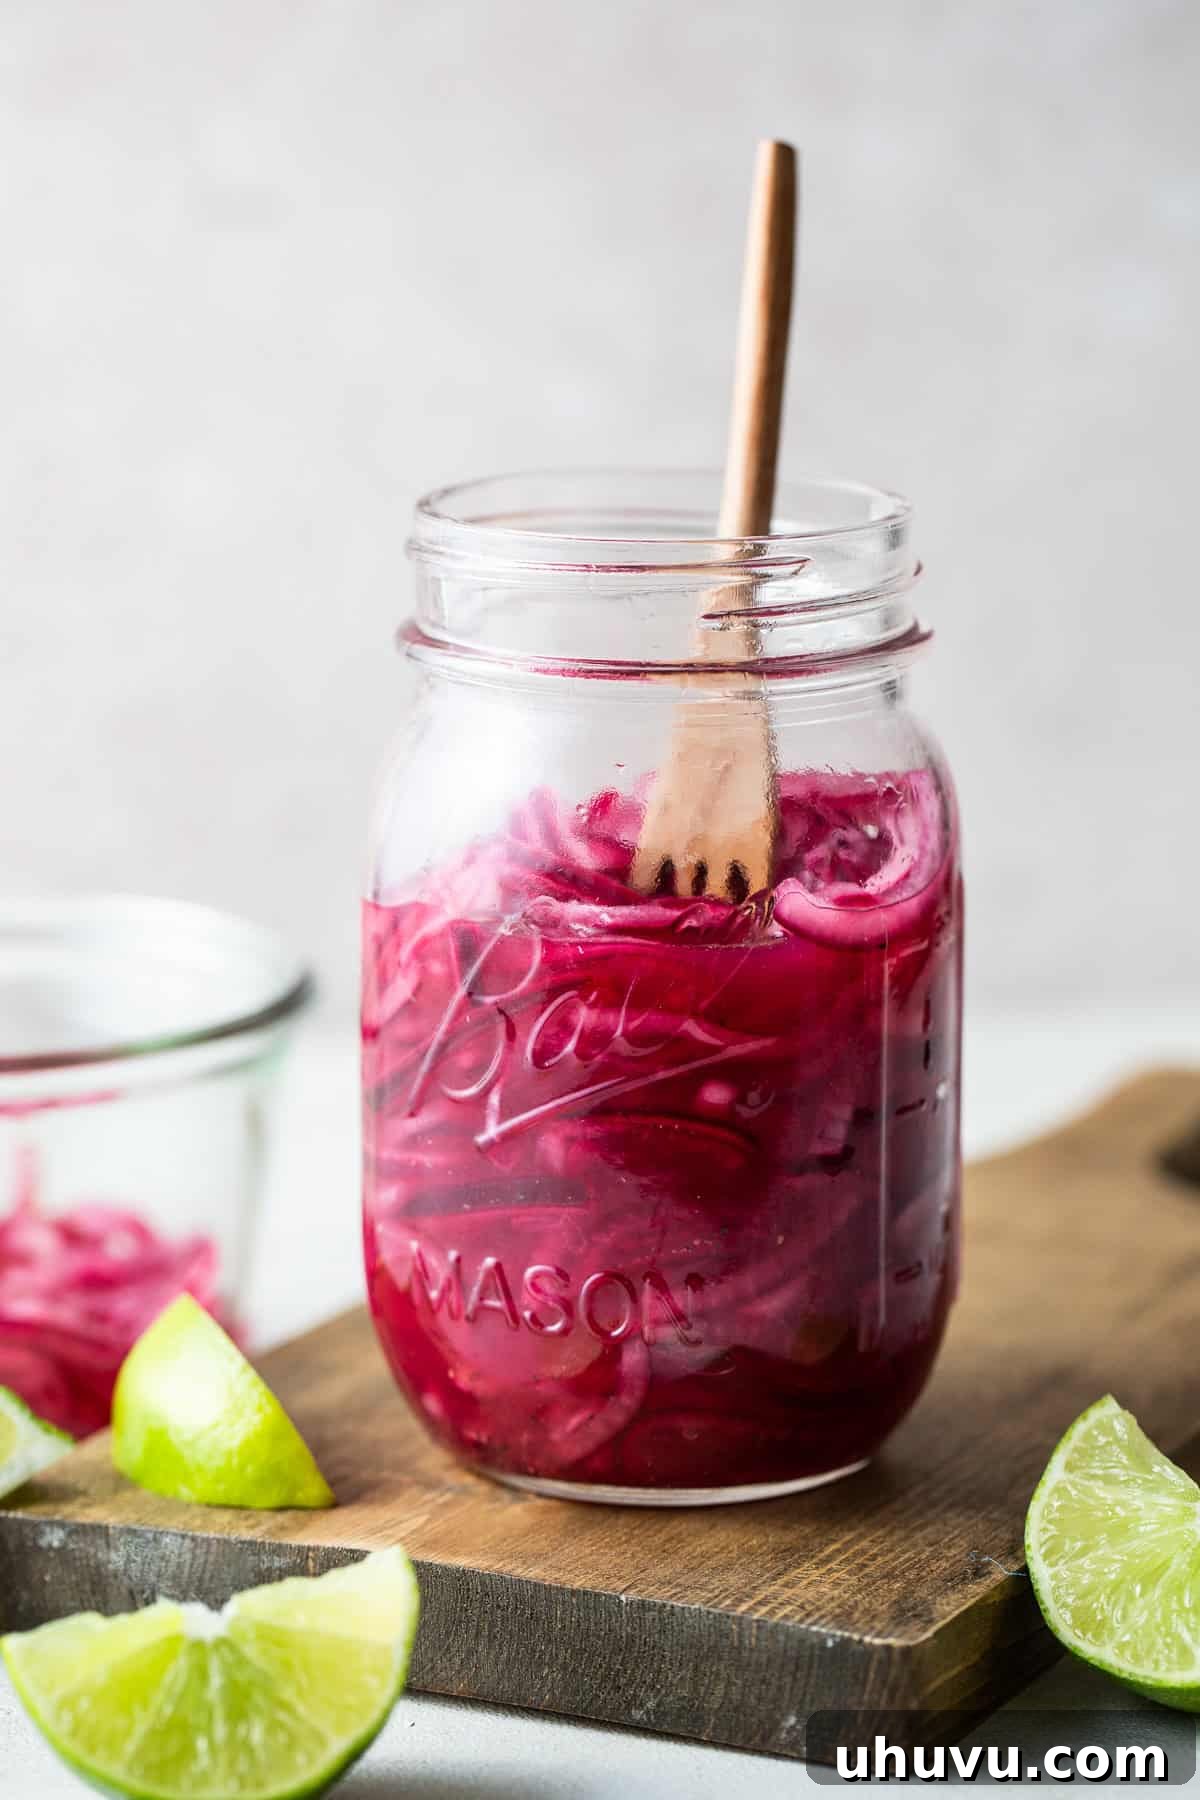
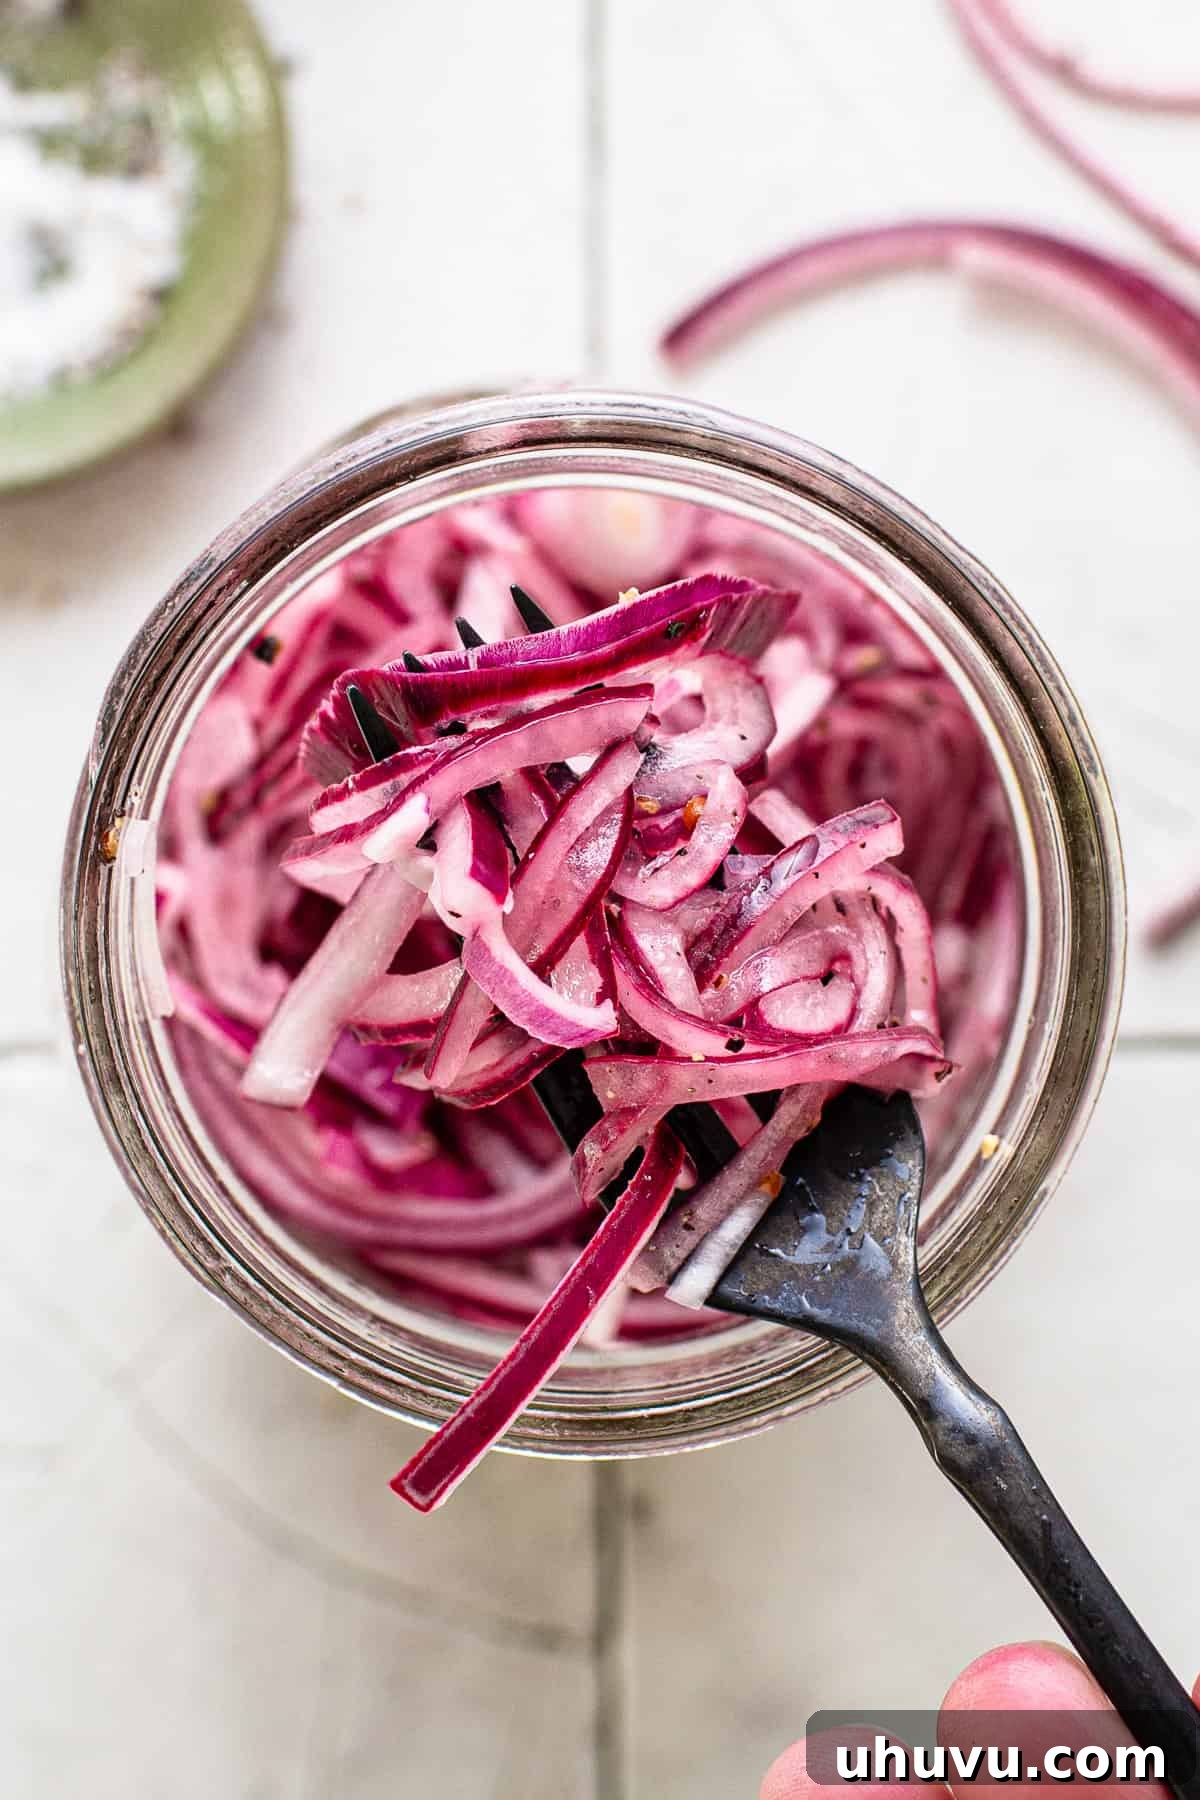
Step 2: Cure and Serve. Place the covered container in the refrigerator to allow the red onions to cure. This process should take at least 30 minutes, but for an even deeper flavor, you can let them sit longer. Halfway through the curing time (around 15 minutes), give the container a good stir or shake to ensure all the onion slices are thoroughly coated in the tangy liquid. This helps them pickle evenly and achieve that beautiful, uniform fuchsia color. Once cured, they are ready to serve immediately! Before serving, taste and adjust the salt if needed to match your preference. Enjoy the incredible tangy crunch!
Expert Tips for the Best Quick Pickled Onions
- Always Use Fresh Lime Juice: This cannot be stressed enough. The quality and flavor of your pickled onions are directly proportional to the freshness of your lime juice. Freshly squeezed juice provides a vibrant, complex tang that bottled varieties simply cannot replicate. Opt for firm, juicy limes for the best results.
- Choose the Right Container: When pickling, glass jars or containers are the superior choice. The acidity of the lime juice can react with plastic containers over time, potentially leaching unwanted flavors or chemicals into your food. Glass is non-reactive, ensuring the pure taste of your pickled onions. Mason jars are ideal not only for pickling but also for attractive storage and serving.
- Observe the Color Transformation: A reliable indicator that your onions are perfectly cured is their color. They will transition from their raw purple hue to a stunning, bright fuchsia. This color change signifies that the lime juice has worked its magic, transforming their texture and flavor.
- Slice Uniformly Thin: Aim for very thin, consistent slices of red onion. This allows for quicker and more even absorption of the pickling liquid, ensuring every piece is perfectly tangy and crisp. A mandoline slicer can be very helpful for achieving uniform thinness, but a sharp knife and a steady hand work just as well.
- Don’t Skimp on the Curing Time (or extend it!): While 30 minutes is the minimum for these quick pickled onions, allowing them to cure for an hour or even a few hours in the fridge can further deepen their flavor and slightly soften their bite. Experiment to find your preferred texture and intensity.
Customizing Your Pickled Onions: Substitutions & Exciting Variations
While the basic recipe yields a fantastic condiment, these Mexican pickled onions are wonderfully adaptable. Feel free to experiment with these additions and substitutions to tailor the flavor to your liking:
- Spice It Up with Add-ins: For those who love a bit of heat, consider adding thinly sliced jalapeños or a fiery habanero pepper directly to the jar alongside the onions. If you prefer a more subtle warmth, a pinch of red pepper flakes or a few whole peppercorns (in place of or in addition to ground black pepper) can do the trick. For additional aromatic depth, bay leaves, a teaspoon of coriander seeds, or a sprinkle of dried Mexican oregano can introduce delightful layers of traditional flavor.
- Experiment with Citrus Juices: While lime is classic, you can introduce other citrus notes. For a slightly sweeter and brighter twist, try adding the juice of one small orange or lemon along with the lime juice. The orange juice, in particular, is a popular addition in some regional Mexican pickling methods, contributing a unique sweetness that complements the onions beautifully.
- A Touch of Sweetness: For a more balanced sweet and sour profile, a small pinch of sugar (white or brown) can be dissolved into the pickling liquid. Start with a quarter teaspoon and adjust to taste. This can mellow the acidity and enhance the overall complexity.
Exploring Different Pickling Liquids
While our quick recipe focuses on the simplicity and vibrant taste of lime juice, you can pickle red onions using various acidic liquids, each imparting a distinct flavor profile:
- Pure Lime Juice (Our Recipe): This method, featured in our recipe, delivers a crisp, incredibly bright, and intensely citrusy flavor. It’s truly fantastic and pairs exceptionally well with the rich, savory notes of traditional Mexican dishes, providing that essential refreshing counterpoint. This cold-curing method is ideal for quick results and maximum fresh citrus taste.
- Vinegar Only: Opting for only vinegar, such as white vinegar or apple cider vinegar, will result in a more pungent, sharply tangy, and classic pickled flavor. If you choose to use only vinegar, the process differs slightly: you will need to dilute the vinegar. A good ratio is 1 cup of water for every ½ cup of vinegar. Bring this pickling liquid to a simmer on the stovetop, then pour it over your sliced onions and other ingredients in the container. Let it cool before refrigerating for at least 30 minutes. The hot liquid helps to soften the onions more quickly.
- Lime Juice and Vinegar Combination: For the best of both worlds – the bright zest of lime and the sharp tang of vinegar – you can combine the two. I recommend using mostly lime juice (as in our recipe) and substituting 2 tablespoons of lime juice with 2 tablespoons of apple cider vinegar or another mild-flavored vinegar. This blend maintains the fresh citrus character while adding an extra layer of traditional pickling depth. This combination can also be cold-cured in the refrigerator.
Elevate Your Meals: Incredible Ways to Use Pickled Red Onions
Once you’ve experienced the delightful crunch and tangy burst of these quick pickled red onions, you’ll want to put them on everything! They are a fantastic way to add a punch of flavor, acidity, and color, particularly to rich or heavy dishes. Here are just a few of my favorite recipes and serving suggestions where these vibrant onions truly shine:
- Classic Tacos: From beef to chicken to fish, any taco benefits from a sprinkle of pickled onions. They provide a much-needed acidic contrast to rich meats. Try them on Pambazos, Chicken Tacos, or Tilapia Fish Tacos for an authentic Mexican touch.
- Hearty Burritos & Bowls: Add a generous spoonful inside your Bean and Cheese Burritos or on top of any burrito bowl to cut through the richness of rice, beans, and meat.
- Loaded Nachos: For an incredible upgrade, scatter them over cheesy Sheet Pan Nachos. Their tanginess provides a perfect balance to the gooey cheese and savory toppings.
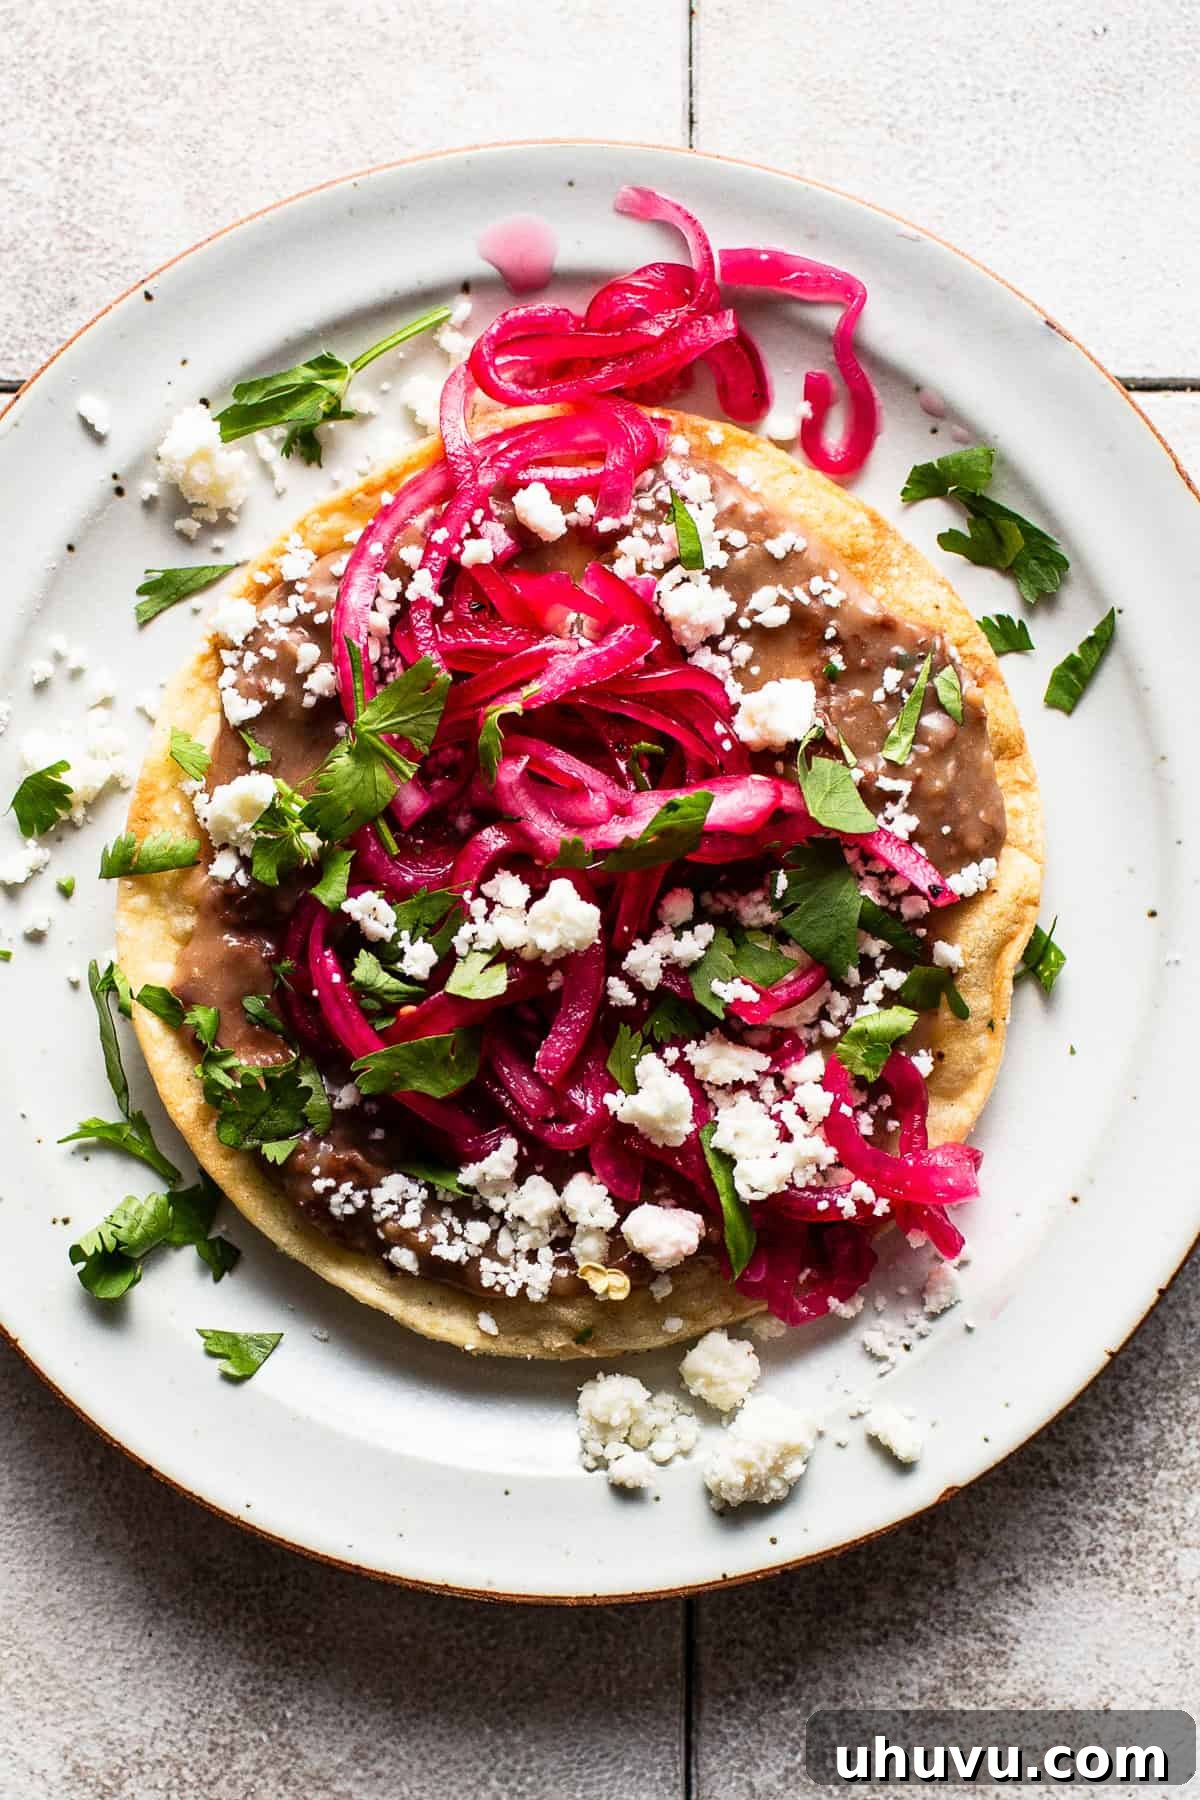
- Authentic Tostadas: Like in the image above, pickled onions are a mandatory topping for tostadas, adding a layer of flavor and texture that makes each bite irresistible.
- Grilled Meats: Serve them alongside grilled steak, chicken, or pork. Their acidity acts as a natural palate cleanser and brightens up the smoky flavors.
- Sandwiches and Burgers: Forget plain raw onions! These pickled red onions are a gourmet addition to any sandwich, burger, or even a simple cheese and charcuterie board.
- Salads and Grain Bowls: For a burst of color and a zesty kick, chop them finely and add them to your everyday salads or grain bowls.
- Scrambled Eggs or Omelets: For an unexpected but delicious twist, add a few pickled onions to your breakfast eggs.
Essential Container Tip!
I highly recommend using glass mason jars or other quality glass storage containers for pickling. Not only are they super versatile for various cooking and storage needs, but glass also doesn’t react with the acidity of pickling juices. Plastic containers, on the other hand, can absorb odors, stain, and potentially leach chemicals when exposed to acidic ingredients over time. Stick to glass for the purest flavor and safest storage!
Frequently Asked Questions About Mexican Pickled Onions
Absolutely! Customizing your pickled onions with additional aromatics and spices is a fantastic way to create unique flavor profiles. Common and highly recommended additions include thinly sliced jalapeños or whole habanero peppers for a spicy kick, garlic cloves (smashed or sliced), bay leaves for a subtle herbaceous note, a pinch of dried Mexican oregano, or even sliced carrots or cauliflower for added texture and visual appeal. Feel free to experiment with what you love!
It depends on the liquid you’re using. If you are exclusively using fresh lime juice, as in our quick recipe, there is no need to heat it. The onions will cure perfectly in the refrigerator with cold lime juice. If you opt to use only vinegar, or a higher proportion of vinegar in a mix, heating the vinegar (often diluted with water) until simmering before pouring it over the onions can help tenderize them more quickly and infuse flavor. However, for a simple lime juice cure, cold is perfectly fine and preferred to maintain the fresh citrus zest.
Red onions are hands down the best choice for making Mexican pickled onions. They are naturally slightly sweeter and possess a bright, zesty flavor that is wonderfully enhanced by the pickling process. Additionally, their vibrant purple color transforms into a beautiful fuchsia when pickled, adding a visually appealing element to your dishes. White onions are the next best option due to their crisp texture and bright flavor, but they won’t achieve the same striking color. Yellow onions are generally too strong and less ideal for pickling in this style.
For optimal freshness and flavor, these quick Mexican pickled red onions should be stored in a sealed glass container in the refrigerator and consumed within two weeks. While they might technically be safe to eat a little longer, their texture will soften, and their vibrant flavor will begin to diminish past this point. Always use clean utensils when serving to prevent contamination and extend their shelf life.
Yes, you absolutely can! Adding a small amount of sugar (granulated or brown sugar works well) to the pickling liquid can help balance the tartness of the lime juice and create a slightly sweeter, more complex flavor profile. Start with a quarter to half a teaspoon, dissolve it completely in the lime juice before adding the onions, and then adjust to your taste preference. This is a common variation, especially if you prefer a less overtly tart condiment.
Proper Storage for Lasting Freshness
To ensure your homemade Mexican pickled red onions remain fresh, crisp, and flavorful, proper storage is key. Always refrigerate them in a clean, airtight glass container. Stored this way, they will maintain their optimal freshness and delightful texture for up to 2 weeks. Beyond this period, they may still be safe to eat, but their texture might become too soft and their vibrant flavor could begin to diminish. Always use a clean utensil when scooping out onions to avoid introducing bacteria.
I do not recommend freezing pickled red onions. The freezing and thawing process can significantly alter their texture, making them mushy, and can also dull their bright, tangy flavor, which is the very essence of this delicious condiment.
Discover More Essential Mexican Condiments
If you’ve enjoyed making these quick pickled onions, you’ll love exploring other homemade Mexican condiments that can dramatically enhance your meals. Here are a few more must-try recipes:
- Salsa Macha: A rich, smoky, and spicy oil-based salsa from Veracruz.
- Mexican Crema: The perfect cool, tangy, and creamy topping for tacos, soups, and more.
- Homemade Chamoy Sauce: A unique sweet, sour, salty, and spicy fruit-based sauce.
If you tried this fantastic Mexican pickled onions recipe, please take a moment to leave a rating and comment below! Your feedback is incredibly valuable and helps other home cooks discover and enjoy this recipe too.
Print Recipe
Quick & Easy Mexican Pickled Red Onions
Isabel Orozco-Moore
Learn how to make vibrant and tangy Mexican pickled red onions with this incredibly simple, 4-ingredient recipe. Ready in just 35 minutes, they’re the perfect crunchy topping for all your favorite Mexican dishes!
5 minutes
35 minutes
8 servings
Ingredients
- 1 large red onion, thinly sliced
- 10 tablespoons fresh lime juice (from about 5 medium limes)
- 1 teaspoon kosher salt
- ¼ teaspoon freshly ground black pepper
Instructions
- Add the thinly sliced red onion, freshly squeezed lime juice, kosher salt, and black pepper to a glass mason jar or suitable glass storage container. Securely cover with a lid.
- Refrigerate for at least 30 minutes to allow the red onions to cure. Midway through (after about 15 minutes), stir or gently shake the container to ensure all the onion slices are evenly coated in the flavorful liquid. This promotes uniform pickling and color.
- Once cured, taste the pickled onions and adjust the salt level as needed to suit your preference. Serve immediately as a delightful topping, or store in the refrigerator for up to 2 weeks for optimal freshness.
Notes
This quick pickling method, particularly using only lime juice, was inspired by watching Rick Bayless, a technique I’ve cherished ever since.
- For Best Flavor: Always use freshly squeezed lime juice. Bottled lime juice will not yield the same vibrant and tangy results.
- Container Choice: Glass jars or containers are highly recommended for pickling, as they do not react with the acidity of the lime juice like plastic might.
- Color Cues: Your onions are perfectly pickled and ready to enjoy when they’ve transformed into a beautiful, bright fuchsia color.
Nutrition Information
Serving: 1 serving | Calories: 10 kcal | Carbohydrates: 3 g | Protein: 0.2 g | Fat: 0.03 g | Saturated Fat: 0.01 g | Polyunsaturated Fat: 0.01 g | Monounsaturated Fat: 0.003 g | Sodium: 292 mg | Potassium: 43 mg | Fiber: 0.3 g | Sugar: 1 g | Vitamin A: 10 IU | Vitamin C: 7 mg | Calcium: 6 mg | Iron: 0.1 mg
Nutrition information is automatically calculated and should only be used as an approximation. Individual results may vary based on exact ingredients and preparation.
Did you make this recipe? Leave a comment and star rating below to share your experience!
This post was originally published in April 2019 and has been thoroughly updated in January 2025 with fresh photos, more comprehensive helpful tips, and an overall enhanced recipe guide to ensure the best possible experience for our readers.
Photography by Ashley McLaughlin.