
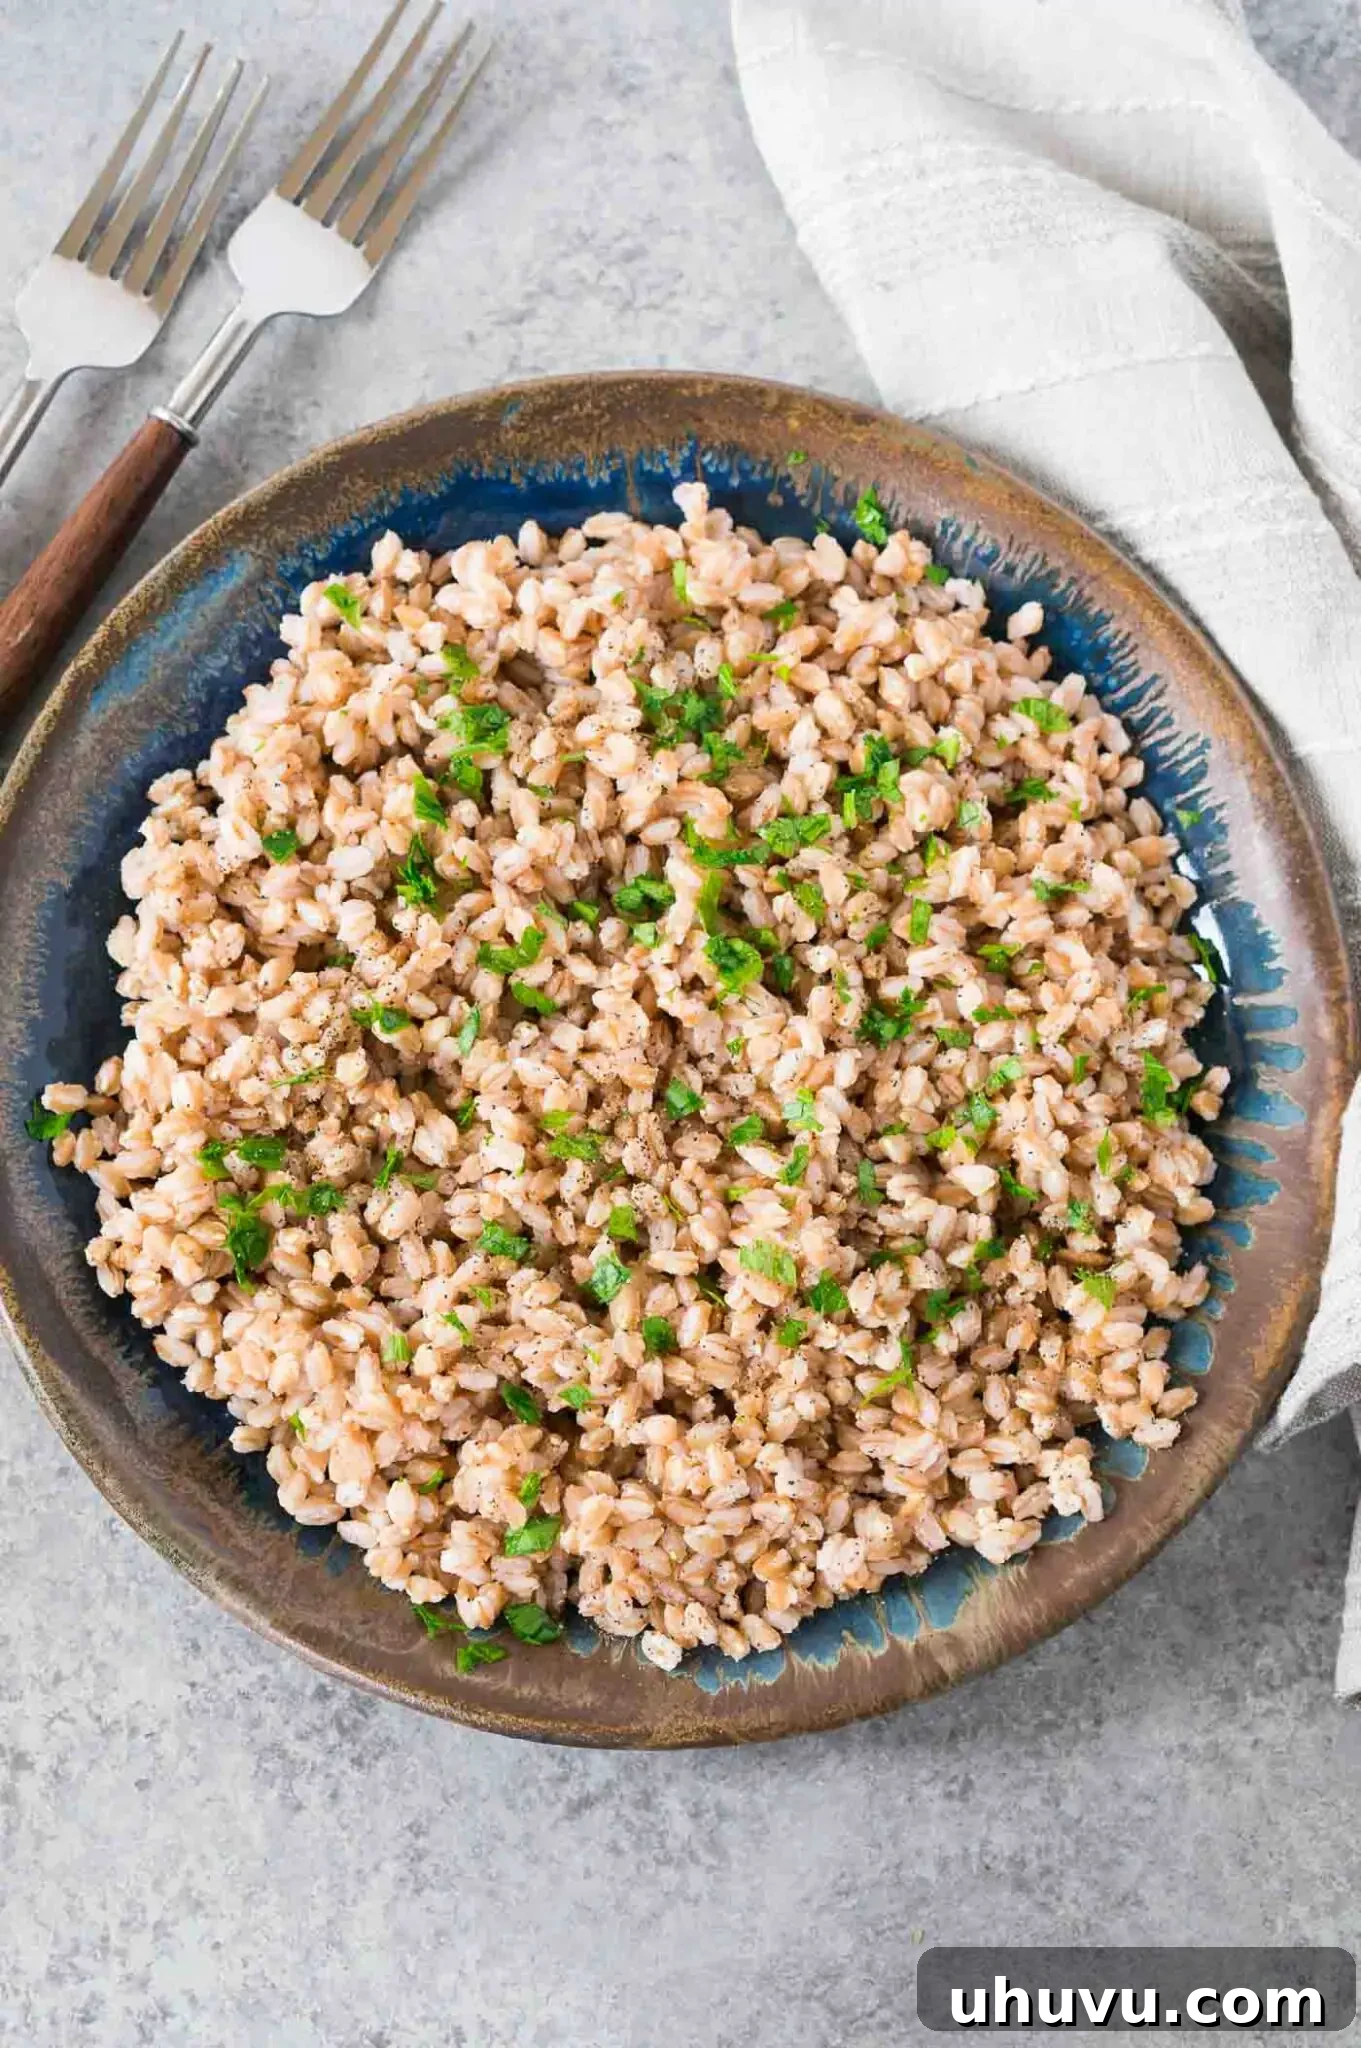
Discover the simple secrets to cooking **farro** perfectly on your stovetop, transforming this ancient grain into a delicious and versatile addition to countless meals. Often hailed for its hearty texture and distinct nutty flavor, farro is a grain that’s surprisingly easy to prepare once you’re equipped with a few key tips and a straightforward method. If you’ve been looking to broaden your culinary horizons with nutritious grains beyond rice or quinoa, farro is an excellent choice, offering a satisfying chewiness that elevates any dish.
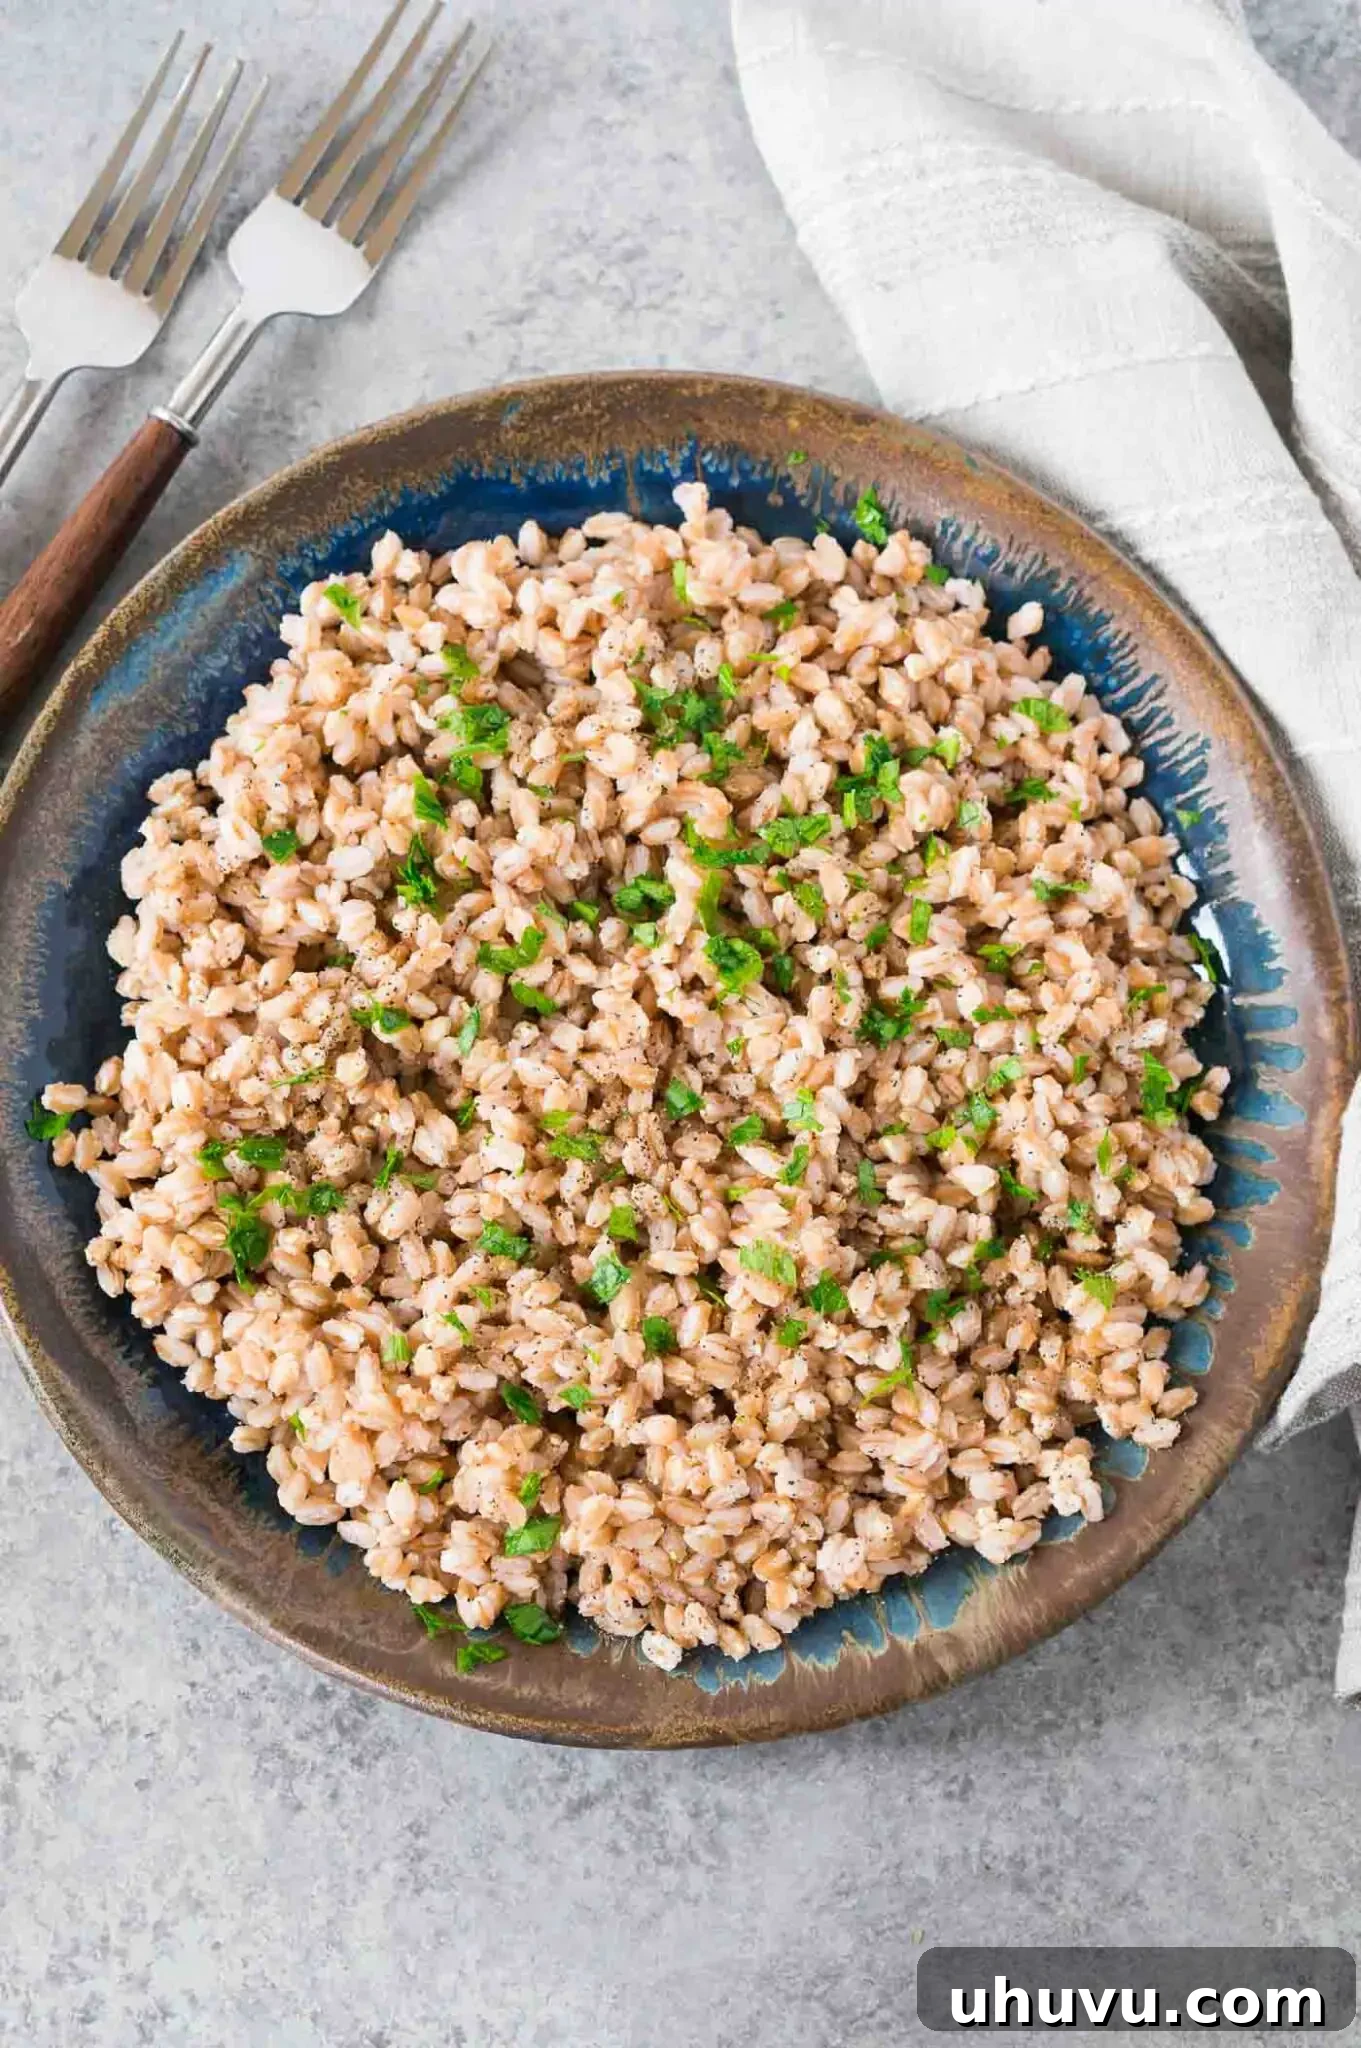
If you’re new to cooking farro, rest assured, the process is incredibly straightforward – arguably as simple as preparing pasta or rice. This delightful grain, which has been a staple in parts of Europe for centuries, offers a denser, chewier texture compared to barley, with a wonderfully earthy and nutty taste. It serves as an excellent foundation for vibrant salads, comforting soups, and hearty stews, or simply as a nutritious side dish that complements any weeknight meal. Master the art of cooking farro today, and you’ll consistently achieve perfectly tender, flavorful results, ideal for effortless meal prep throughout your week.
For more essential kitchen skills and grain-cooking guides, be sure to explore my posts on How To Cook Quinoa and How To Cook Lentils, which will further equip you with the knowledge to create wholesome and delicious dishes.
Why You’ll Love Learning to Cook Farro!
Farro isn’t just another grain; it’s a culinary gem that offers a wealth of benefits and culinary possibilities. Here’s why mastering this simple cooking technique will become one of your favorite kitchen skills:
- Incredible Versatility: Farro boasts a distinctive chewy texture and a delightful nutty, earthy flavor that makes it incredibly adaptable. It’s a fantastic addition to almost any dish, from serving as the base for a vibrant grain bowl, adding substance to a light salad, thickening up a hearty soup or stew, or acting as a wholesome alternative to rice or pasta. Its robust nature means it holds up well in a variety of culinary applications, absorbing flavors beautifully.
- Effortlessly Simple: You truly only need farro and water (or broth!) to embark on this culinary journey. There are no complicated techniques, precise ratios, or extensive equipment required. This fuss-free approach makes it perfect for beginners and seasoned cooks alike. Once you understand the basic “pasta method” of cooking, you’ll be able to prepare perfectly tender farro every single time.
- Perfect for Meal Prep: Cooked farro is a dream come true for meal prep enthusiasts. Preparing a larger batch at the beginning of the week saves invaluable time on busy days. It stores exceptionally well in the refrigerator for several days and is also freezer-friendly, allowing you to have a healthy, cooked grain on hand whenever inspiration strikes or hunger calls. This makes it an invaluable component for quick, nutritious meals.
- Nutrient-Dense Powerhouse: Beyond its great taste and ease of preparation, farro is packed with nutritional benefits. It’s an excellent source of fiber, which aids digestion and promotes satiety, helping you feel fuller for longer. Rich in protein, it supports muscle health and provides sustained energy. Farro also delivers essential vitamins and minerals like magnesium, zinc, and B vitamins, contributing to overall well-being.
Essential Ingredients for Cooking Farro
One of the beauties of cooking farro is its simplicity, requiring just a few basic ingredients to achieve a delicious result. Here’s a closer look at what you’ll need and how to enhance its flavor:
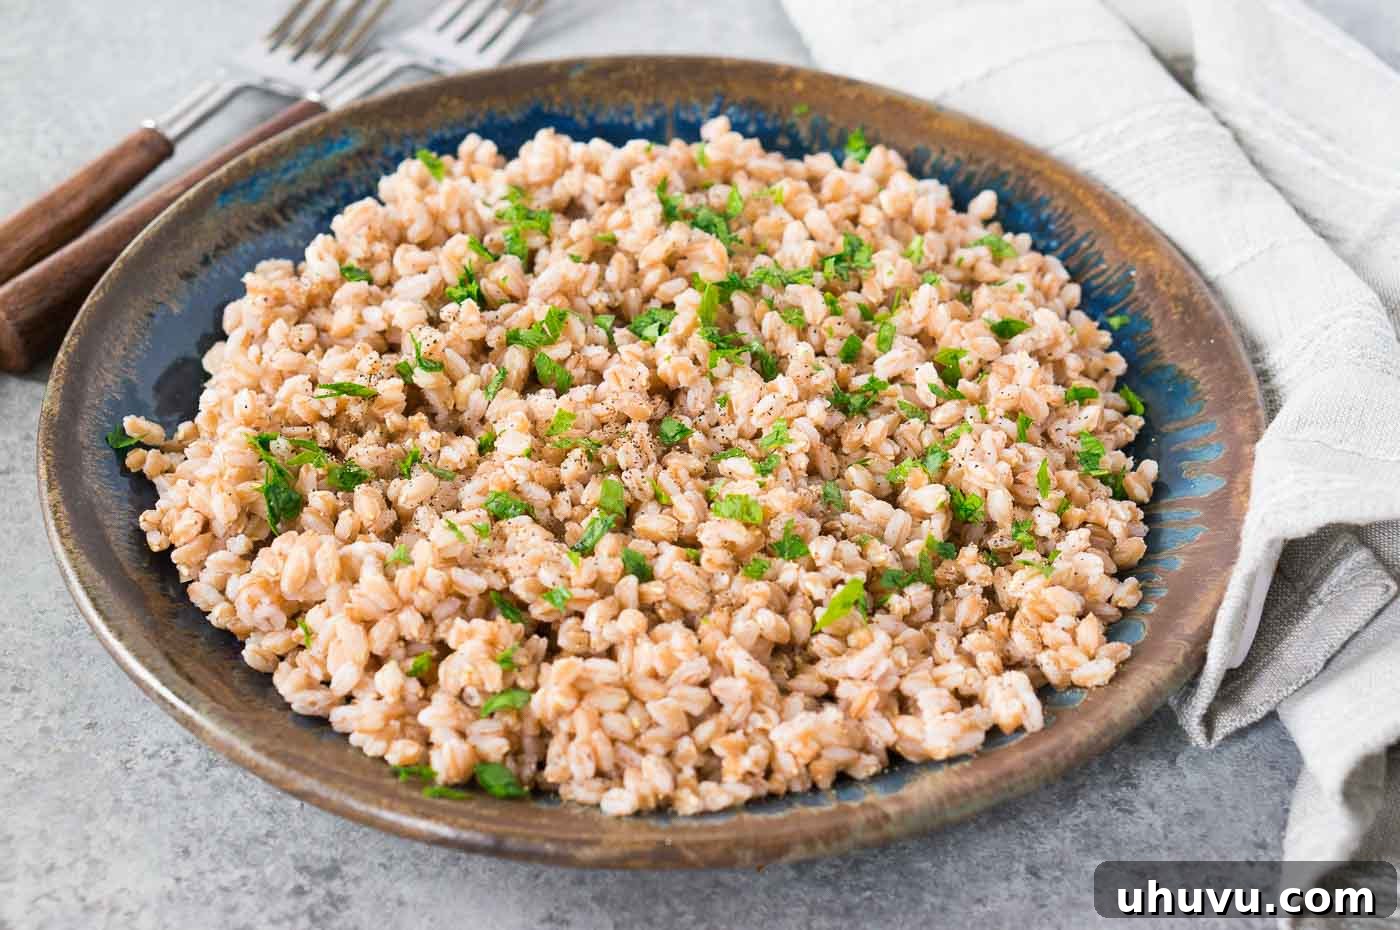
- Farro: The star of our recipe! When selecting farro, you’ll typically encounter three main types, which largely dictate cooking times:
- **Pearled Farro:** This is the most common variety found in the U.S. and cooks the fastest because the outer bran layer has been removed. It will yield a slightly softer texture.
- **Semi-Pearled Farro:** With some of the bran removed but not all, this type retains more nutrients and takes a moderate amount of time to cook. It offers a good balance of chewiness and tenderness.
- **Whole Farro:** This is the most nutritious form, as the entire bran layer is intact. It requires the longest cooking time and often benefits from a pre-soak, but rewards you with the most fiber and a robust, chewy texture.
Beyond the processing, farro also comes in different species: *farro piccolo* (einkorn), *farro medio* (emmer), and *farro grande* (spelt). While often confused, Emmer is the most frequently sold variety in American markets and is generally harder than einkorn. This guide focuses on the most common varieties you’ll find, providing clear cooking times for each.
- Water: Regular tap water is perfectly suitable for cooking farro. However, to infuse your farro with additional depth of flavor, I highly recommend using vegetable or chicken broth (or stock) instead of water. This simple swap significantly elevates the taste, making your cooked farro even more savory and delicious, especially when serving it as a standalone side dish or as the base for a grain bowl.
- Salt and Black Pepper: Essential for seasoning! A pinch of salt added to the cooking water will enhance the natural flavors of the farro. Freshly ground black pepper can be added after cooking for an extra layer of taste.
- Optional Fresh Herbs or Seasonings: To further customize and boost the flavor profile, consider adding fresh chopped parsley, chives, or a sprinkle of your favorite dry seasonings (like garlic powder, onion powder, or a blend of Italian herbs) either during the last few minutes of cooking or immediately after draining. This is a simple way to make your farro more aromatic and flavorful, tailored to the dish it will accompany.
Step-by-Step Guide: How to Cook Farro to Perfection
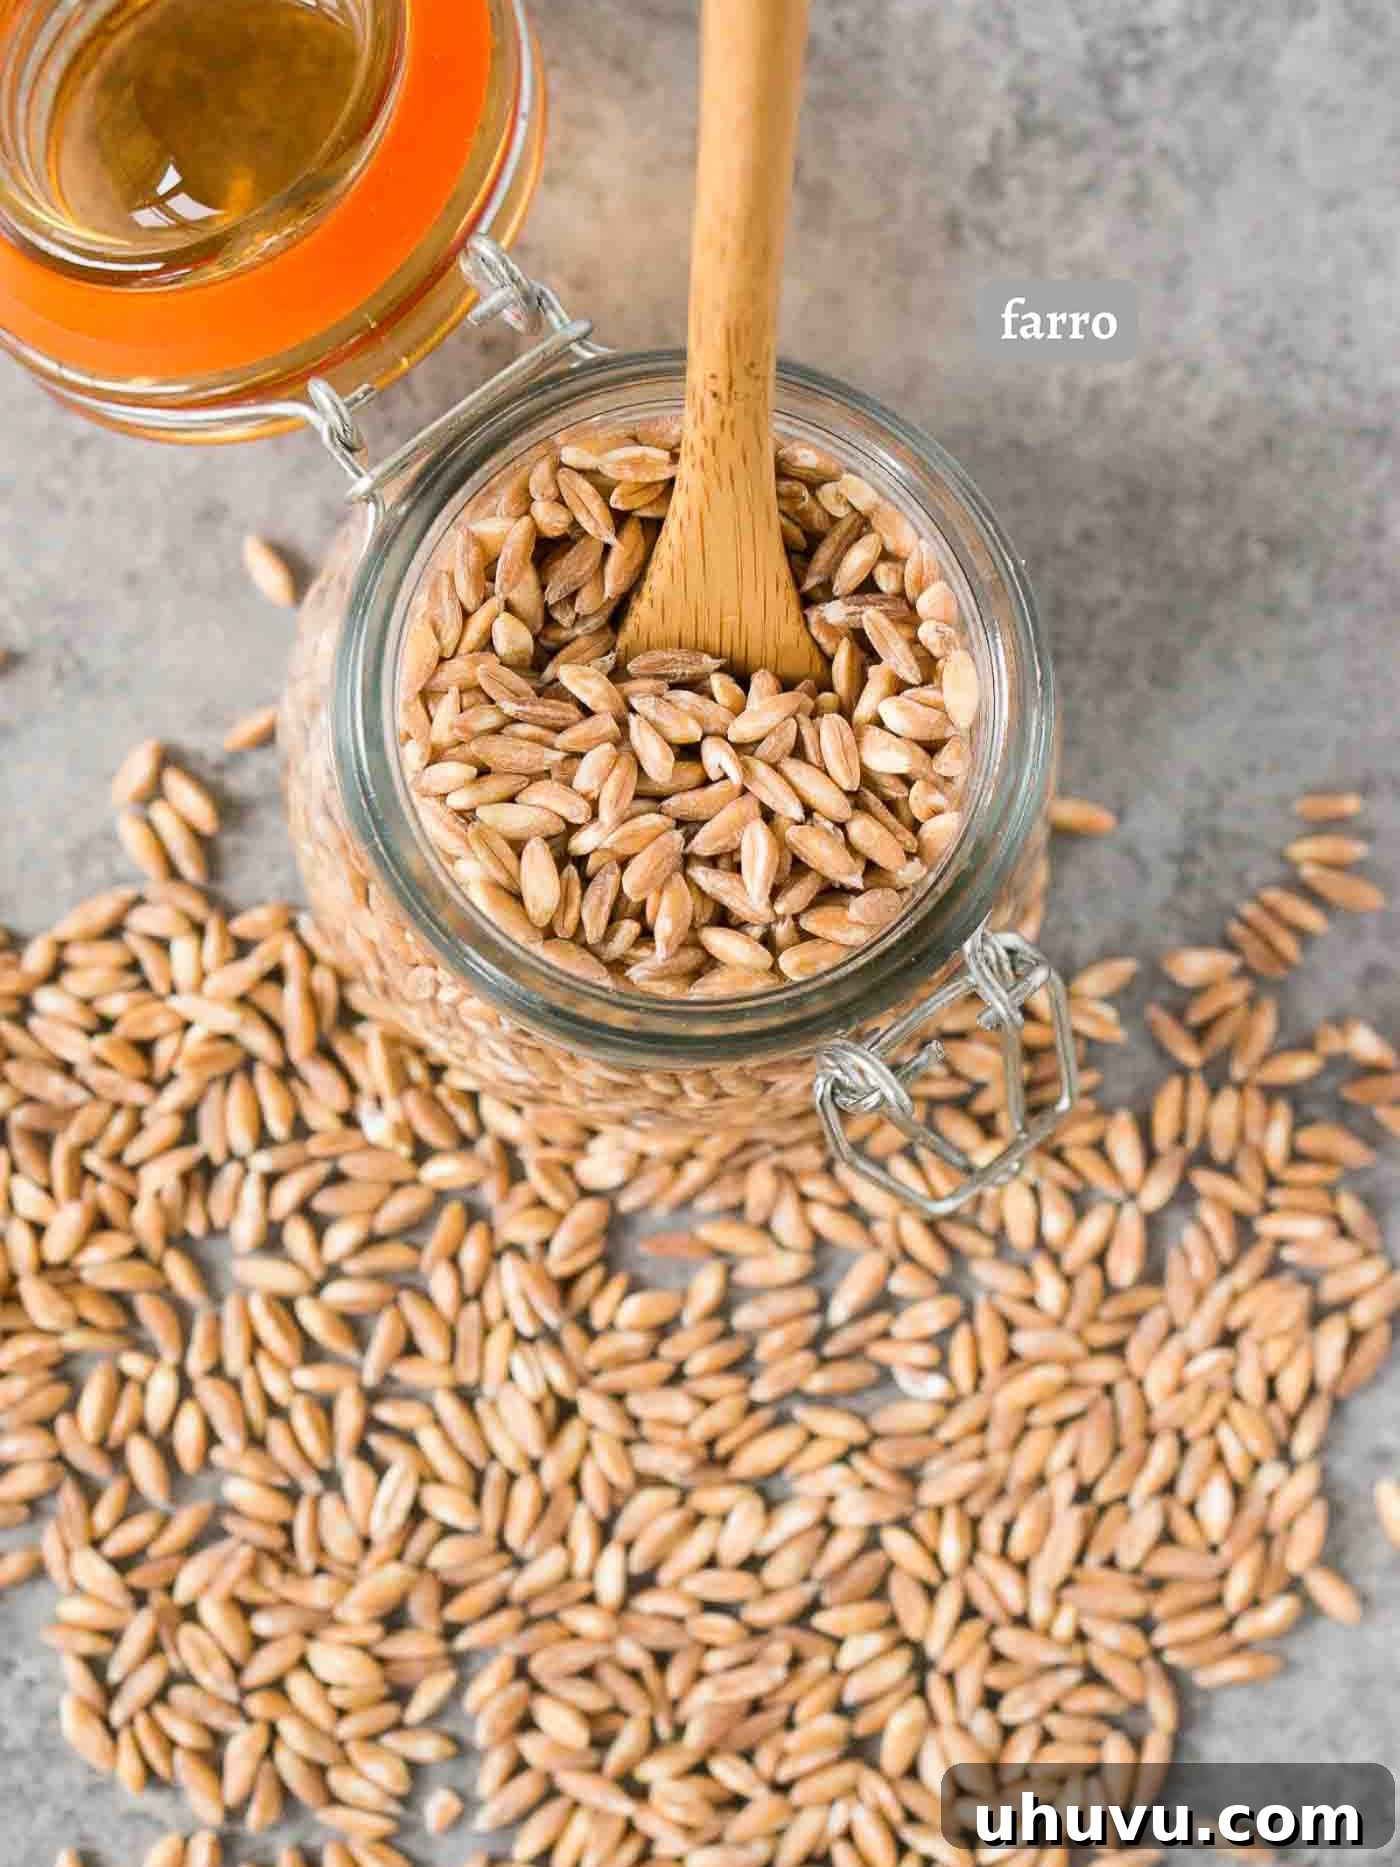
Cooking farro on the stovetop is a simple “pasta method” that yields consistently tender, chewy grains. Follow these easy steps for perfectly cooked farro every time:
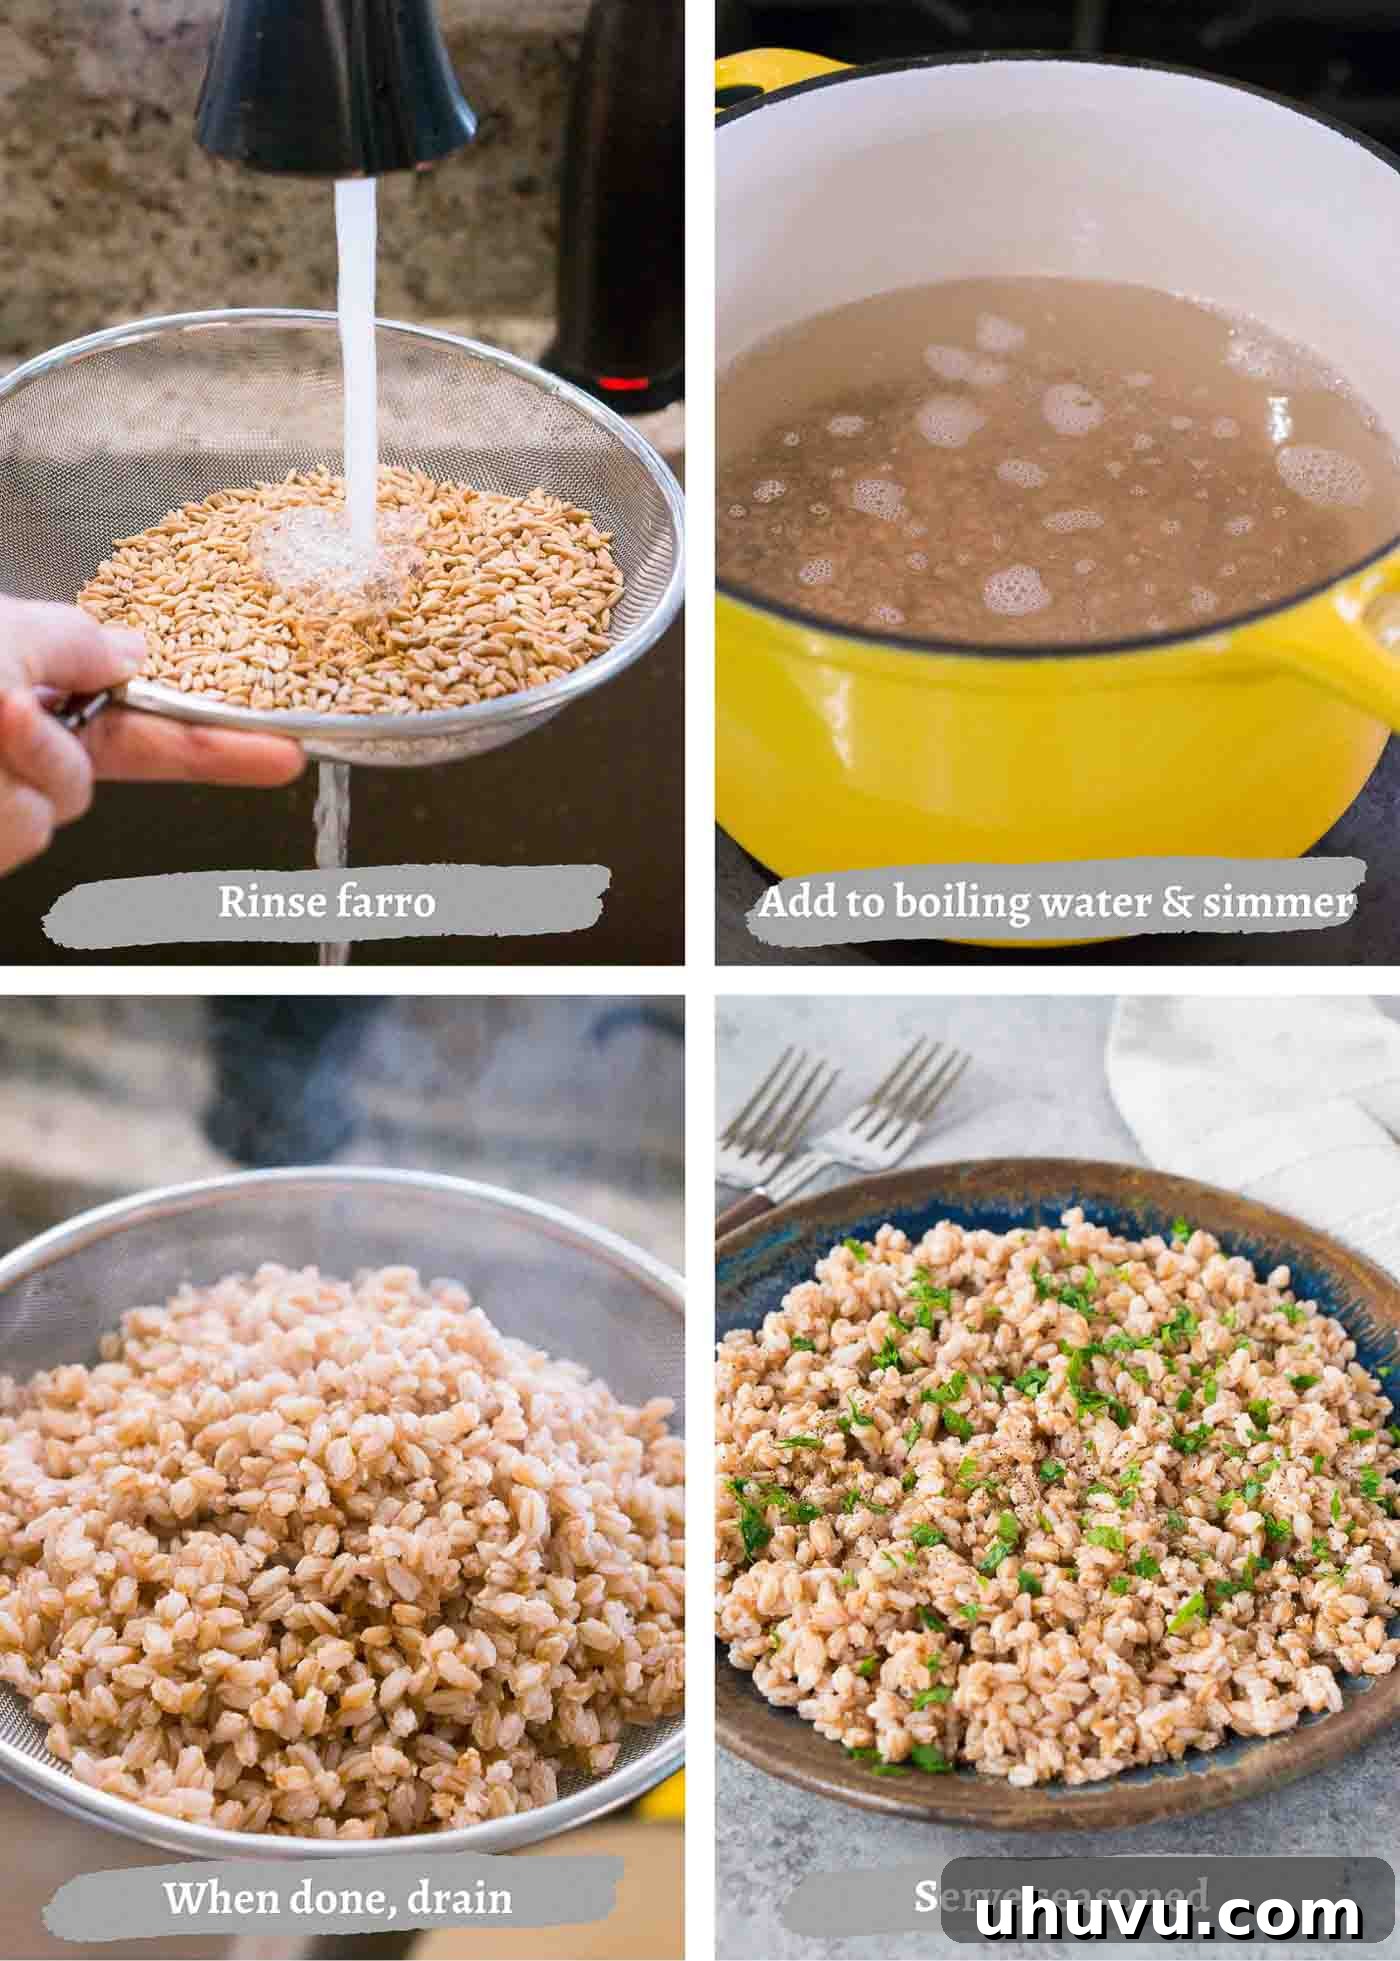
- **Step 1: Rinse the Farro:** Before cooking, it’s crucial to rinse your farro thoroughly under cold running water. Place the dry farro in a fine-mesh strainer and rinse until the water runs clear. This step helps remove any excess starch and debris, which can otherwise lead to mushy or gummy grains.
- **Step 2: Bring Water to a Boil:** Fill a medium to large pot about half full with water (or broth for added flavor). Bring the water to a rapid rolling boil over high heat. Adding farro to already boiling water ensures even cooking and helps prevent the grains from sticking together.
- **Step 3: Simmer Until Tender:** Carefully add the rinsed farro to the boiling water. Once the farro is added, reduce the heat to medium-low, allowing it to simmer gently. Cook until the farro is tender yet still possesses a pleasant chewiness – an “al dente” bite, similar to perfectly cooked pasta. The cooking time will vary significantly based on the type of farro you’re using:
- **Pearled Farro:** Typically cooks in 15 to 20 minutes.
- **Semi-Pearled Farro:** Requires 20 to 30 minutes.
- **Whole Farro:** Can take up to 40 minutes, and some prefer to soak it overnight to reduce this time (though it’s not strictly necessary for this method).
Taste a grain occasionally towards the end of the suggested cooking time to check for desired tenderness.
- **Step 4: Drain and Cool:** Once the farro has reached your desired texture, promptly drain it using a fine-mesh strainer. Transfer the drained farro onto a large plate or a rimmed baking sheet, spreading it out in a single layer to allow it to cool and dry for approximately 20 minutes. This critical step prevents the residual heat from continuing to steam the grains, which would lead to an undesirable mushy consistency. Proper cooling ensures each grain remains distinct and perfectly chewy.
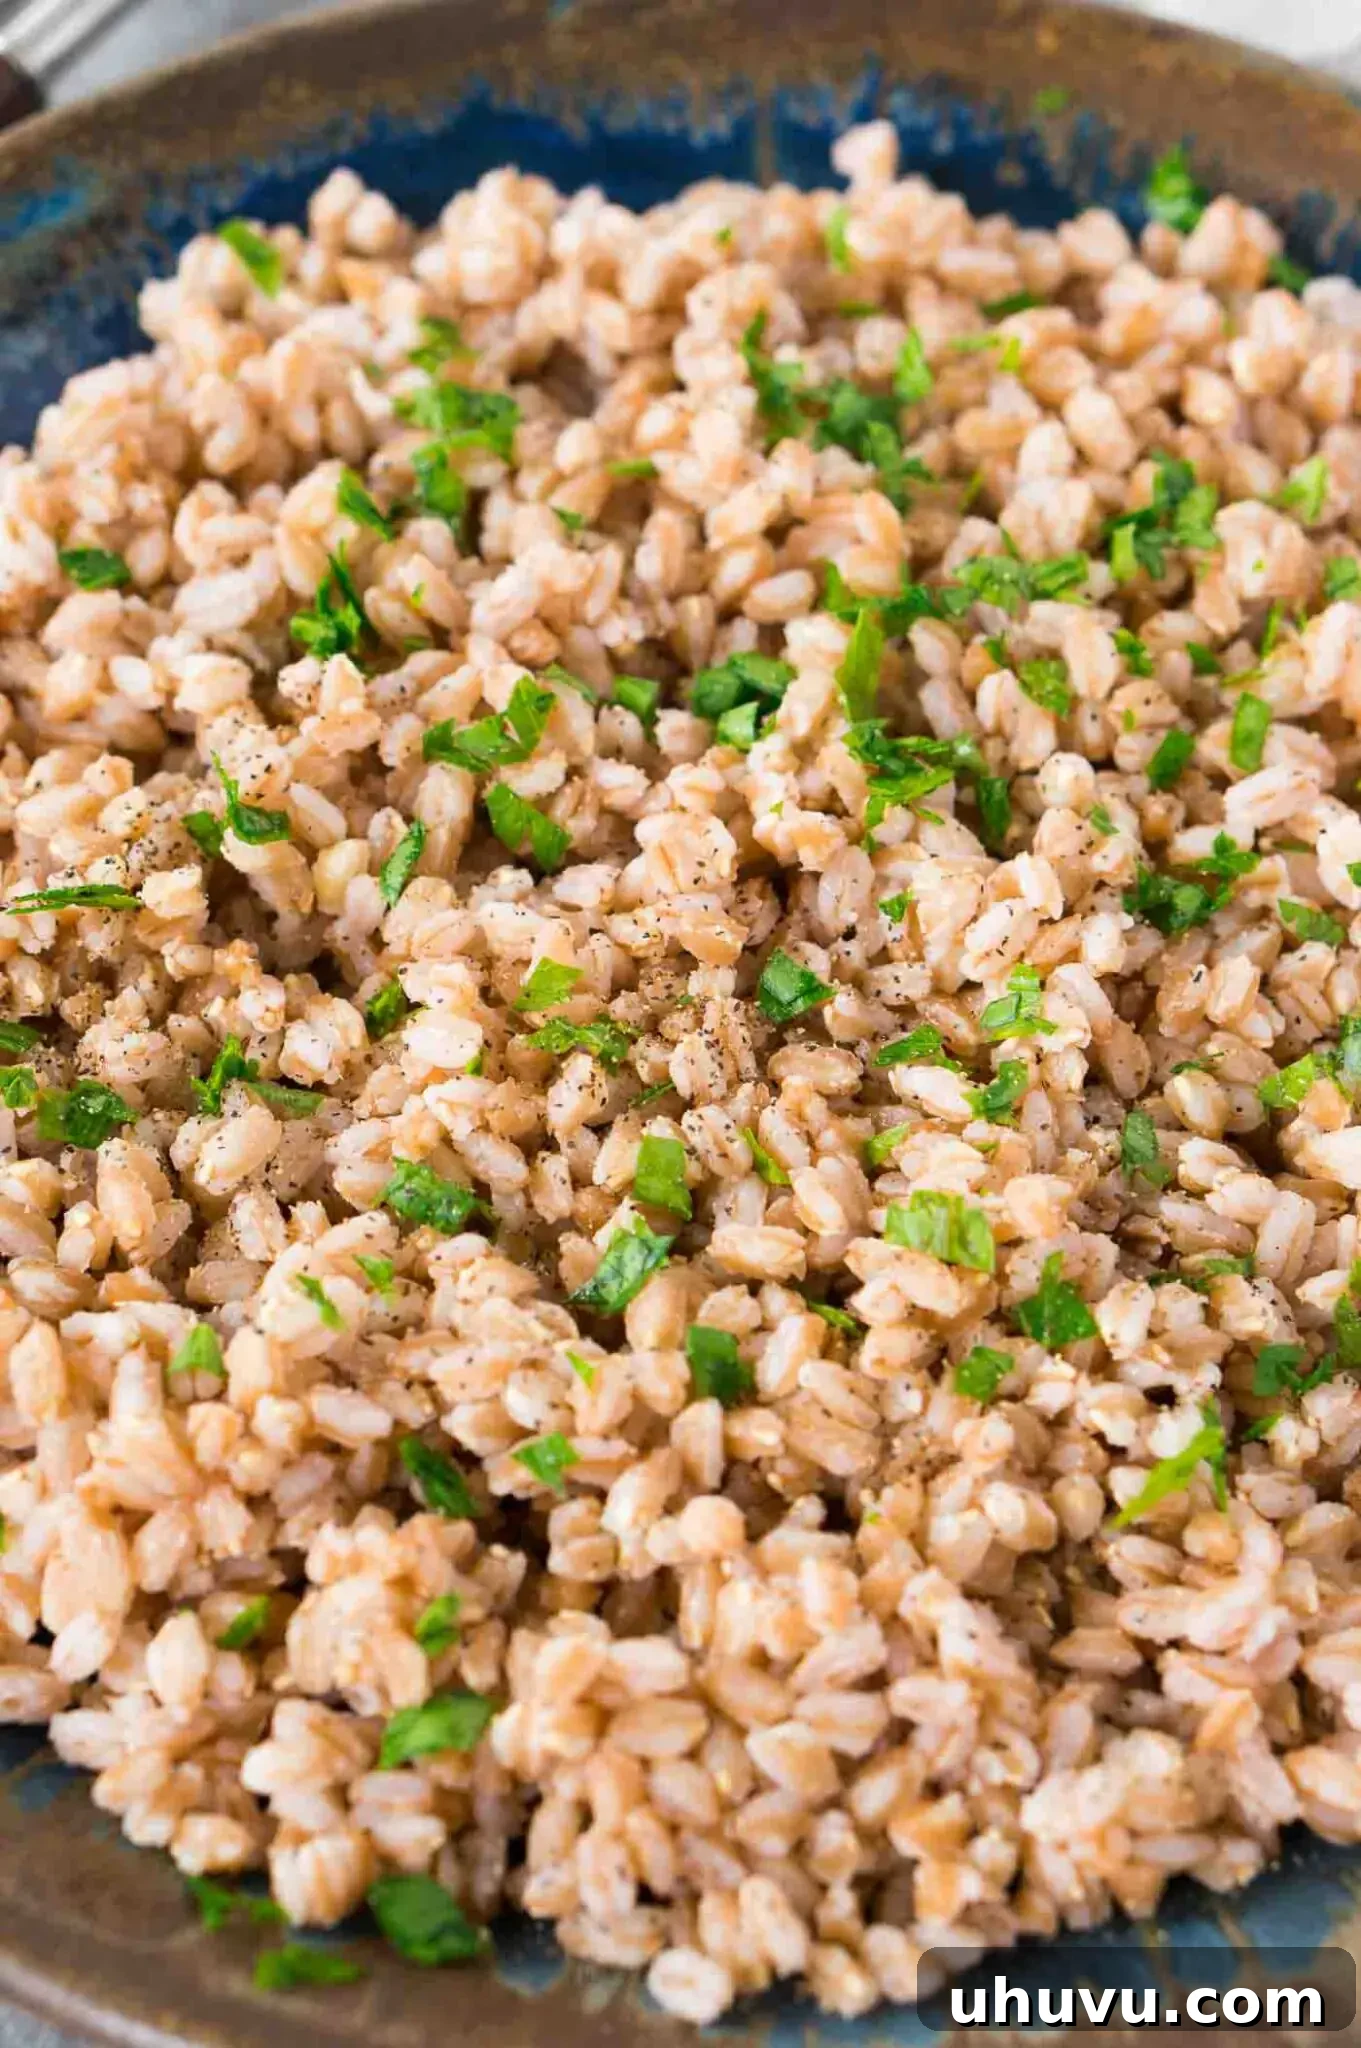
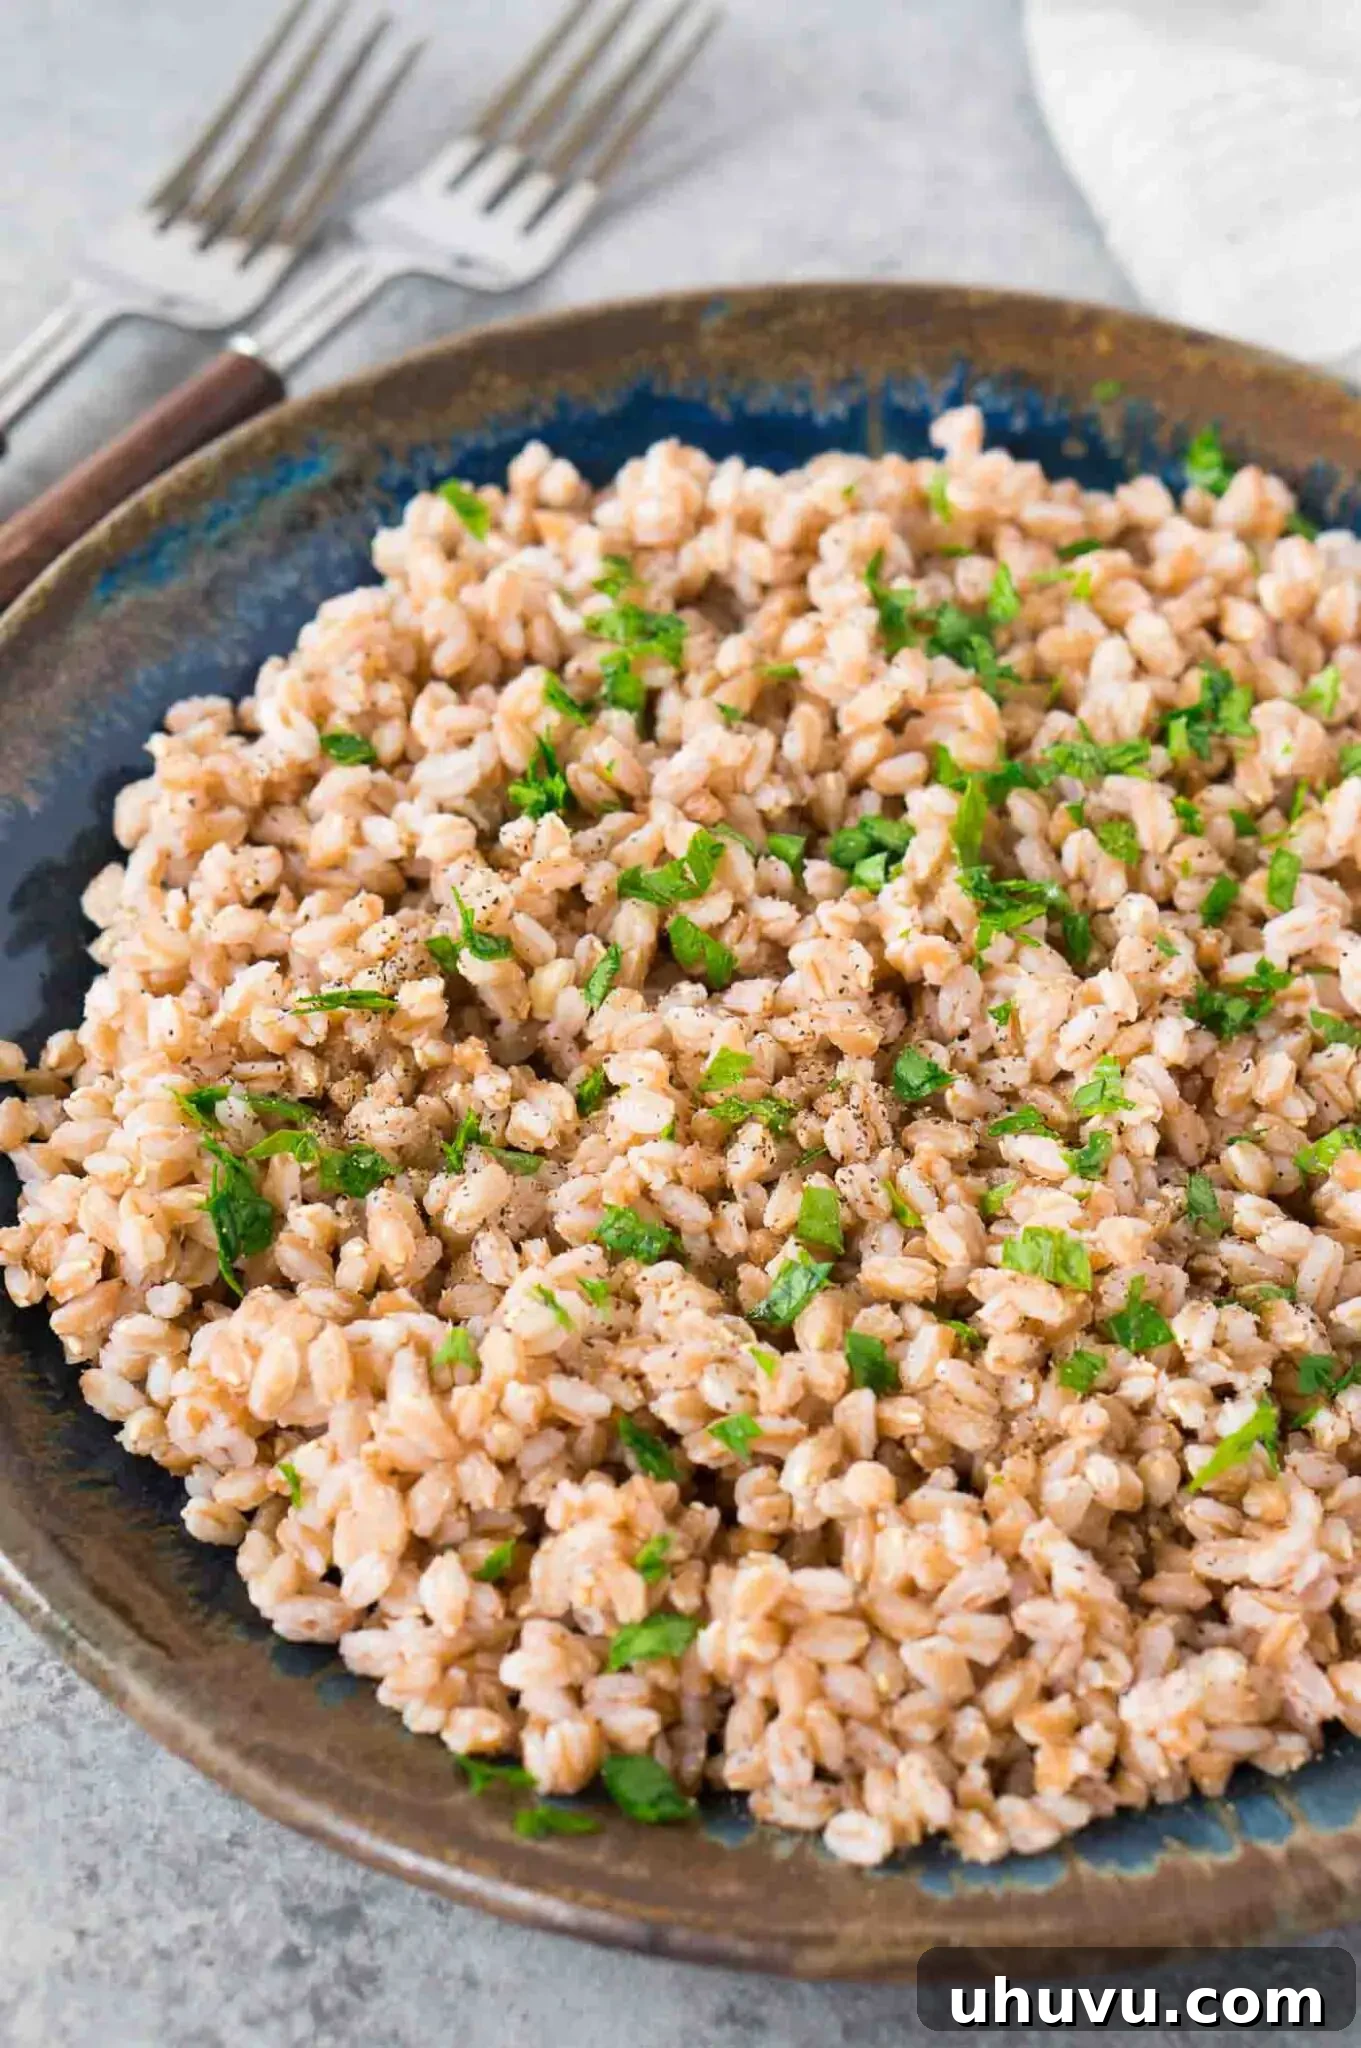
- **Step 5: Fluff and Season:** After cooling, use a fork to gently fluff the farro, separating the grains. Season generously with salt and freshly ground black pepper to taste. At this point, your perfectly cooked farro is ready to be incorporated into your favorite recipes or served as a flavorful side dish.
EXPERT KITCHEN TIPS
Essential Recipe Notes and Tips for Perfect Farro
Achieving perfectly cooked farro is simple, but a few expert tips can make all the difference, ensuring a consistently delicious result every time:
- **Rinse Thoroughly:** Always rinse the farro well under cold running water before cooking. This removes surface starches and any dust, contributing to a cleaner, fluffier end product and preventing the grains from becoming gummy. Don’t skip this quick but crucial step!
- **No Soaking Required (Mostly):** For pearled and semi-pearled farro, there’s generally no need to soak it prior to cooking. The cooking method described here is designed for direct cooking. If you happen to be using whole farro and wish to significantly reduce its cooking time, you may choose to soak it overnight, but it’s not mandatory for success.
- **Always Add to Boiling Water:** Introduce the farro into actively boiling water, not cold water. This technique, often referred to as the “pasta method,” ensures that the grains cook evenly from the start, preventing them from becoming waterlogged, gummy, or mushy. It helps maintain their distinct texture.
- **Taste for Doneness:** The best way to know if your farro is done is to taste it! It should be tender and pleasantly chewy, retaining a slight “al dente” bite. Avoid overcooking, which can lead to a soft, undesirable texture. Start tasting a few minutes before the minimum suggested cooking time for your farro type.
- **Season the Water:** Don’t forget to add a pinch of salt to the cooking water. This seasons the farro from the inside out, enhancing its natural flavor significantly.
- **Prevent Steaming after Draining:** As detailed in the cooking steps, spreading the drained farro onto a plate or baking sheet to cool and dry for about 20 minutes is key. This stops the cooking process and allows excess moisture to evaporate, ensuring individual, fluffy grains instead of a sticky, mushy mass.
The Best Way to Store Cooked Farro for Meal Prep
Cooking a generous batch of farro at the beginning of the week is a fantastic strategy for efficient meal planning. It’s incredibly versatile and saves significant time when preparing diverse meals. Here’s how to properly store your cooked farro to maintain its freshness and quality:
- Refrigerator Storage: Once your farro is cooked and has completely cooled down (remember the 20-minute drying step!), transfer it to an airtight container. Store it in the refrigerator, where it will remain fresh and delicious for up to 5 days. Cooked farro can be used directly from the fridge in cold dishes like salads, or reheated for warm meals. Its firm texture holds up exceptionally well.
- Freezer Storage: For longer-term storage, cooked farro freezes beautifully. To prevent it from clumping, spread the cooled farro in a single layer on a baking sheet and freeze until solid (this is called flash freezing). Once frozen, transfer the individual grains to a freezer-safe bag or an airtight container. Frozen farro will keep well for up to 2 months. You can thaw it at room temperature for use in cold dishes, or simply add the frozen grains directly into simmering soups, stews, or casseroles, where they will gently reheat and separate.
Creative Ways to Add Farro to Your Favorite Meals
Farro’s versatile texture and nutty flavor make it an excellent alternative to many popular grains, including rice, quinoa, buckwheat, and barley. Once you’ve mastered cooking it, the possibilities for incorporating it into your daily meals are endless. Here are some inspiring ideas:
- **Hearty Salads:** Farro is a fantastic base for both warm and cold salads. Its chewy bite adds substance and makes salads feel more satisfying. Try it with roasted vegetables, fresh herbs, a light vinaigrette, or as in my delightful Watermelon Feta Salad with Farro.
- **Nourishing Grain Bowls:** Create custom grain bowls by combining cooked farro with your favorite protein (chicken, tofu, chickpeas), a variety of colorful vegetables, a flavorful dressing, and a sprinkle of nuts or seeds.
- **Soups and Stews:** Add cooked farro during the last 10-15 minutes of cooking to thicken and enrich your favorite soups and stews. It provides a comforting and hearty element, absorbing the flavors of the broth beautifully.
- **Stir-Frys and Bowls:** Serve stir-fried vegetables and protein over a bed of farro instead of rice for a satisfying and nutritious meal.
- **Pilafs and Risottos:** While it’s not traditional, farro can be used to make a unique and delicious “farrotto” (farro risotto) or a savory pilaf, offering a delightful twist on classic dishes.
- **Breakfast Porridge:** For a wholesome start to your day, cook farro with milk (dairy or non-dairy), fruits, nuts, and a touch of sweetener for a hearty breakfast porridge.
- **Stuffings and Casseroles:** Use farro as a base for savory stuffings for vegetables like bell peppers or squash, or incorporate it into casseroles for added texture and nutrients.
- **Side Dish Extraordinaire:** Simply season cooked farro with a drizzle of olive oil, salt, pepper, and fresh herbs to serve as an elegant and wholesome side dish to almost any main course.
Commonly Asked Questions About Cooking Farro
No, farro is a form of wheat, specifically an ancient wheat grain. Therefore, it contains gluten and is not suitable for individuals with celiac disease or severe gluten intolerance. However, compared to modern wheat, it generally has a lower gluten content, which some people with mild gluten sensitivities may find easier to digest. Always consult a healthcare professional if you have dietary concerns.
Absolutely! You can easily scale up this farro recipe if you wish to prepare a larger batch for meal prepping or to serve a bigger crowd. The general ratio for cooking farro in the pasta method is to use plenty of water for cooking, similar to pasta. For direct measurement, if you use 1 cup of dry farro, it will yield approximately 2 1/2 cups of cooked farro and typically serves 4 people as a side dish. To double the recipe, simply use 2 cups of dry farro and proportionally increase the cooking water in your pot. Ensure you use a large enough pot to accommodate the expansion of the grains.
Farro is a nutrient-dense grain offering numerous health benefits. It’s an excellent source of dietary fiber, which aids digestion, promotes gut health, and helps regulate blood sugar levels. It also provides a significant amount of plant-based protein, essential for muscle repair and satiety. Furthermore, farro is rich in minerals such as magnesium, zinc, and iron, as well as B vitamins, all contributing to overall energy production and bodily functions.
Farro is becoming increasingly common and can typically be found in the grain or pasta aisle of most well-stocked grocery stores. Look for it near quinoa, barley, or specialty rice. Health food stores, organic markets, and international food stores are also great places to find various types of farro (pearled, semi-pearled, or whole). Additionally, it’s readily available for purchase online from a variety of retailers.
Expand Your Culinary Skills with More Kitchen Guides
Once you’ve mastered cooking farro, continue your journey to kitchen confidence with these other helpful tutorials:
- How To Cook Rice
- How to Cook Bacon in the Oven
- How to Peel Tomatoes
- How to Make Scrambled Eggs
If you found this How To Cook Farro tutorial helpful or enjoyed any other recipe on my blog, please consider leaving a ⭐ **star rating** and share your experience in the 📝 **comments** below. Your feedback is greatly appreciated! Thanks for visiting!
Pin this now to find it later
Pin It
How To Cook Farro
Neli Howard
2
20
20
42
4
servings
Ingredients
-
1
cup
uncooked farro,
rinsed -
2
cups
water (or vegetable/chicken broth for more flavor) -
½
teaspoon
salt (or to taste) -
Black pepper,
to taste (optional) -
Fresh herbs (e.g., parsley) or dry seasonings,
for garnish or added flavor (optional)
Instructions
-
Fill a medium pot with at least 4-6 cups of water (or broth) and bring it to a rolling boil over high heat. Add the rinsed farro and salt to the boiling water.
-
Reduce the heat to medium-low and let the farro simmer gently until it is tender and chewy, with a slight al dente bite. Cooking times vary by farro type: Pearled farro: 15-20 minutes; Semi-pearled farro: 20-30 minutes; Whole farro: up to 40 minutes.
-
Once cooked to your liking, drain the farro thoroughly using a fine-mesh strainer. Immediately spread the drained farro onto a large plate or a rimmed baking sheet to cool and dry for about 20 minutes. This essential step prevents residual steam from making the farro mushy.
-
Fluff the cooled farro with a fork. Season with additional salt and black pepper to taste, and add any optional fresh herbs or seasonings if desired. Your farro is now ready to be served or added to your favorite recipes.
Notes
- Rinse the farro well before cooking under cold running water to remove excess starch.
- Always add the farro to boiling water, not cold water, to ensure even cooking and prevent stickiness.
- Taste the farro before draining to ensure it is tender and chewy with a slight bite, avoiding overcooked mushiness.
- Spreading the farro to cool after draining is crucial for fluffy, distinct grains.
Nutrition
Calories:
176
kcal
|
Carbohydrates:
39
g
|
Protein:
5
g
|
Fat:
1
g
|
Saturated Fat:
1
g
|
Polyunsaturated Fat:
1
g
|
Monounsaturated Fat:
1
g
|
Sodium:
10
mg
|
Potassium:
140
mg
|
Fiber:
8
g
|
Sugar:
1
g
|
Vitamin A:
11
IU
|
Calcium:
18
mg
|
Iron:
1
mg
Nutrition Disclaimer: Nutritional values are estimates and may vary with ingredients, brands, and portion sizes. For accuracy, use your preferred nutrition calculator.
Enjoyed this recipe? Share your thoughts below!