
Embarking on a gardening journey is incredibly rewarding, filled with moments of discovery and learning. Just last week, I celebrated a significant milestone in my own gardening adventure by filming and publishing my very first YouTube video! This video delves into a crucial, yet often overlooked, aspect of growing carrots: the art of thinning and carefully transplanting carrot seedlings. If you’re eager to see the process in action, you can scroll down to the bottom of this page to watch the full tutorial. And if you find the content helpful and inspiring, please consider subscribing to my YouTube channel for more beginner-friendly gardening tips and updates!
For those who’ve been following along, you know that I am a complete novice when it comes to gardening. My childhood memories are filled with glimpses of my mother’s impressive collection of ornamental plants and vibrant houseplants. However, I don’t recall her ever venturing into vegetable gardening. My father, on the other hand, enjoyed a degree of success with fruit trees like pears and plums, alongside summer staples like melons and corn. Yet, as a child, I was completely absorbed in my own world, far too busy to pay any attention to the intricacies of planting and nurturing these crops.
My disinterest in gardening persisted throughout my formative years. Depending on my age, you could find me either engrossed in video games with my older brothers or perfecting my dance moves to the latest N’Sync or Backstreet Boys CD – yes, those were the days, and I embrace the nostalgia! Despite being surrounded by some form of greenery, the concept of gardening simply didn’t pique my interest. It’s fascinating how much things can change!
So, how did this former gardening-averse individual transform into someone enthusiastically sharing tips on thinning carrots? My learning journey has been multifaceted and incredibly enriching, primarily drawing from three key sources. Firstly, I enrolled in an invaluable beginner gardening class offered by a wonderful local organization called Grow Pittsburgh. This provided me with a solid foundational understanding of gardening principles.
Secondly, I immersed myself in knowledge by reading countless gardening books and articles. There’s a wealth of information available, and I found myself devouring details on soil health, pest control, and plant-specific care. And finally, perhaps my favorite learning method: YouTube videos. The power of visual learning, combined with auditory instruction, makes gardening concepts incredibly accessible. Unlike flipping through indexes and dense paragraphs in a book, where answers sometimes remain elusive or hard to interpret, videos offer direct, actionable demonstrations that resonate deeply with visual and auditory learners like myself. They make complex tasks seem manageable and even enjoyable.
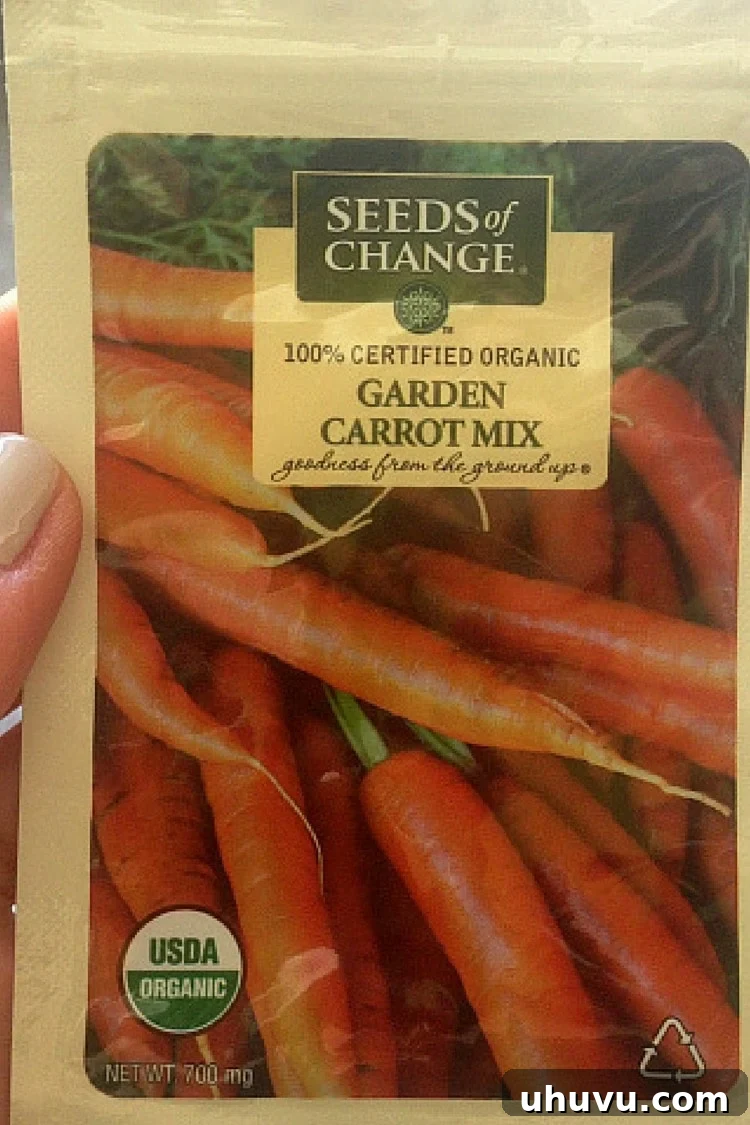
However, I also understand the immense value of having clear, written instructions to complement visual learning. There’s a unique benefit to reading a step-by-step guide and then reinforcing that understanding by watching someone perform the task. With that in mind, this post aims to provide you with comprehensive, easy-to-follow instructions on how to thin carrots effectively. Furthermore, for those feeling adventurous, I’ll also guide you through the process of transplanting some of those thinned carrot seedlings – a practice that can sometimes yield surprising results! If you haven’t yet planted your carrot seeds this season, there’s still plenty of time! I highly recommend the Garden Carrot Mix seeds from Seeds of Change, which I successfully planted in my own garden. They are renowned for their quality and are certified organic, ensuring a healthy start for your crop.
Mastering Carrot Thinning: Ensuring Healthy Growth
Thinning carrots is a critical step that often gets overlooked by beginner gardeners, but it’s absolutely essential for a successful and abundant harvest. Why is it so important? Simply put, carrots need ample space to grow and develop their characteristic taproots. Carrot seeds are notoriously tiny, making it incredibly challenging and time-consuming to sow them individually with precise spacing of 2-4 inches apart. Many gardeners, myself included, opt for a quicker method: sprinkling the seeds liberally in a row, often using the palm of one’s hand. This approach saves a lot of time initially, but it inevitably leads to crowded seedlings that must be thinned later. While some might argue that the time saved upfront is then spent on thinning, for many, it’s a practical compromise that streamlines the initial planting phase.
If you’ve sown your carrot seeds using this “lazy” method, as I affectionately call it, you’ll need to know when the right time to thin is. A good indicator is when your carrot tops reach approximately 4 inches in height. At this stage, the seedlings are strong enough to handle the process. Some gardeners prefer a two-stage thinning process: a “first thinning” when the tops are about 2 inches tall, and a “second thinning” once they reach 4 inches. While this meticulous approach can be beneficial, I found success with a single thinning at the 4-inch mark. My aim here is to share my personal experience and what worked for me, demonstrating that gardening doesn’t always have to adhere to the strictest rules.
Proper thinning allows each remaining carrot plant to access sufficient nutrients, water, and sunlight, leading to larger, healthier, and better-formed carrots. Without thinning, carrots will compete intensely, resulting in small, stunted, or oddly shaped roots that are less flavorful and desirable. Let’s dive into the step-by-step process:
- Prepare the Soil with Moisture: Before you begin the thinning process, make sure to thoroughly water your growing carrots. Moist soil is much more forgiving and makes it significantly easier to gently pull out unwanted seedlings without disturbing the roots of the carrots you intend to keep. Dry, compacted soil can make pulling difficult and might damage adjacent plants.
- Assess and Measure Spacing: Start at one end of your carrot row. You can use a ruler, a small stick, or even just your thumb and index finger to visually estimate the ideal spacing. Aim to leave approximately 2 inches of space between each remaining carrot top. This ensures each plant has enough room to flourish.
- Identify the Strongest Seedlings: As you approach a cluster of carrots growing too close together, take a moment to carefully examine them. Look for the carrot tops that appear the healthiest – those with robust stems and well-developed foliage. These are the ones you’ll want to keep in the ground, as they have the best potential for strong growth.
- Make Your Selection and Separate: Now comes the challenging part: deciding which carrots to remove. Sometimes, two carrots might be growing so tightly together that they appear as one. Do your best to distinguish individual plants. If you encounter such a situation, gently try to separate them. If left unseparated, they will compete for resources, and neither will reach its full potential, often resulting in misshapen roots.
- Grasp the Carrot Firmly: Once you’ve chosen a carrot to remove, firmly grasp its entire top at the very bottom of the stem, right where it emerges from the soil. Be extremely careful not to accidentally grab the stem of an adjacent carrot that you intend to keep. Precision here is key to avoiding unintentional damage.
- Pull Straight Up with Care: With a firm but gentle hand, pull the chosen carrot top straight upwards. Avoid yanking or pulling at an angle, as this can loosen the soil around neighboring carrots or damage their delicate roots. The goal is to remove the unwanted seedling cleanly while minimizing disturbance to the survivors.
- Maintain Consistent Spacing: Continue this process along the entire row until you have achieved an approximate 2-inch spacing between each remaining carrot. This consistent spacing is crucial for promoting even growth and development across your entire crop.
Transplanting Carrot Thinnings: A Beginner’s Experiment
Transplanting carrot thinnings is often considered a bit of a gardening gamble. Unlike many other seedlings that readily tolerate being moved, carrots, with their sensitive taproots, typically don’t take well to transplanting. The primary reason for this difficulty lies in the potential for root disturbance, which can stunt their growth or cause them to “fork” (develop multiple, unsightly roots) rather than a single, straight carrot. Despite this common wisdom, I’ve read fascinating accounts from other gardeners who have successfully transplanted their carrot thinnings, resulting in beautiful, edible carrots at harvest time.
Inspired by these stories and armed with a healthy dose of beginner’s optimism, I decided to conduct my own little transplanting experiment. “Why not?” I thought. I figured I had a 50/50 chance, and even if it didn’t work, it would be a valuable learning experience. The worst that could happen is a few fewer carrots, but the best could be a surprising bonus harvest. Here’s a detailed account of what I did. Make sure you have a pen or pencil handy that you don’t mind getting a little dirty – it’s going to be your primary tool for creating new homes for your tiny carrots.
- Select and Prepare the New Site: Choose a suitable location for your carrot thinnings. This could be another section of your garden bed, a raised bed, or even a large container. Ensure the soil is well-drained, loose, and rich in organic matter. Leave about 2 inches of space between your newly transplanted carrot and any existing carrots or other plants to give it adequate room to grow without competition.
- Create the Planting Hole: Using your pen or pencil, gently push it straight down into the soil as far as it can go. This creates a narrow, deep hole that will perfectly accommodate the carrot’s delicate taproot without bending or breaking it. The depth should be similar to how deep the carrot was in its original location.
- Carefully Retrieve the Carrot Thinning: With extreme caution, grab your chosen carrot thinning by its stem, at the same point where you would grasp it if you were merely thinning it out of the ground. Handle it as little as possible and avoid touching the root itself.
- Position the Carrot in the Hole: Gently guide the carrot into the prepared hole. The most crucial part here is to ensure the taproot goes straight down into the hole without bending or curving. A bent taproot is a common reason for transplant failure or malformed carrots.
- Gently Backfill and Firm the Soil: Using your other hand, carefully push soil around the transplanted carrot. Once the hole is mostly filled, gently press the soil around the base of the carrot to secure it upright and in place. The goal is to eliminate any air pockets around the root, which can cause the plant to dry out, but without compacting the soil too much.
- Repeat for All Thinnings: Continue this process from the beginning for each carrot thinning you wish to transplant. Work methodically and gently, giving each seedling the best possible chance of survival.
- Provide Immediate Post-Transplant Care: Once all your carrot thinnings are in their new homes, gently water them. This helps to settle the soil around their roots and eases their transition to the new environment. Keep the soil consistently moist for the first few days to weeks, as the transplanted seedlings are particularly vulnerable to dehydration. Providing some temporary shade during the hottest part of the day can also help reduce transplant shock.
What to Expect and Looking Ahead
I’m genuinely excited, yet a little nervous, to see how my transplanted carrot thinnings will fare. Will they thrive and grow into full-sized carrots, or will they simply wilt away? Only time will tell, but it’s an experiment worth undertaking for any curious gardener. I’ll be sure to keep you updated on their progress, so stay tuned for future posts about this exciting venture! Gardening, after all, is a continuous cycle of learning, experimenting, and celebrating small victories. Whether you’re thinning for the first time or attempting to transplant, every step is a valuable part of cultivating your green thumb.
This page contains affiliate links. If you make a purchase on Amazon after clicking one of my links, I may receive a small commission. The price of the item stays the same for you, and any money I make goes directly to supporting the content and growth of this blog. I only endorse products and services that I genuinely believe in and use myself.