
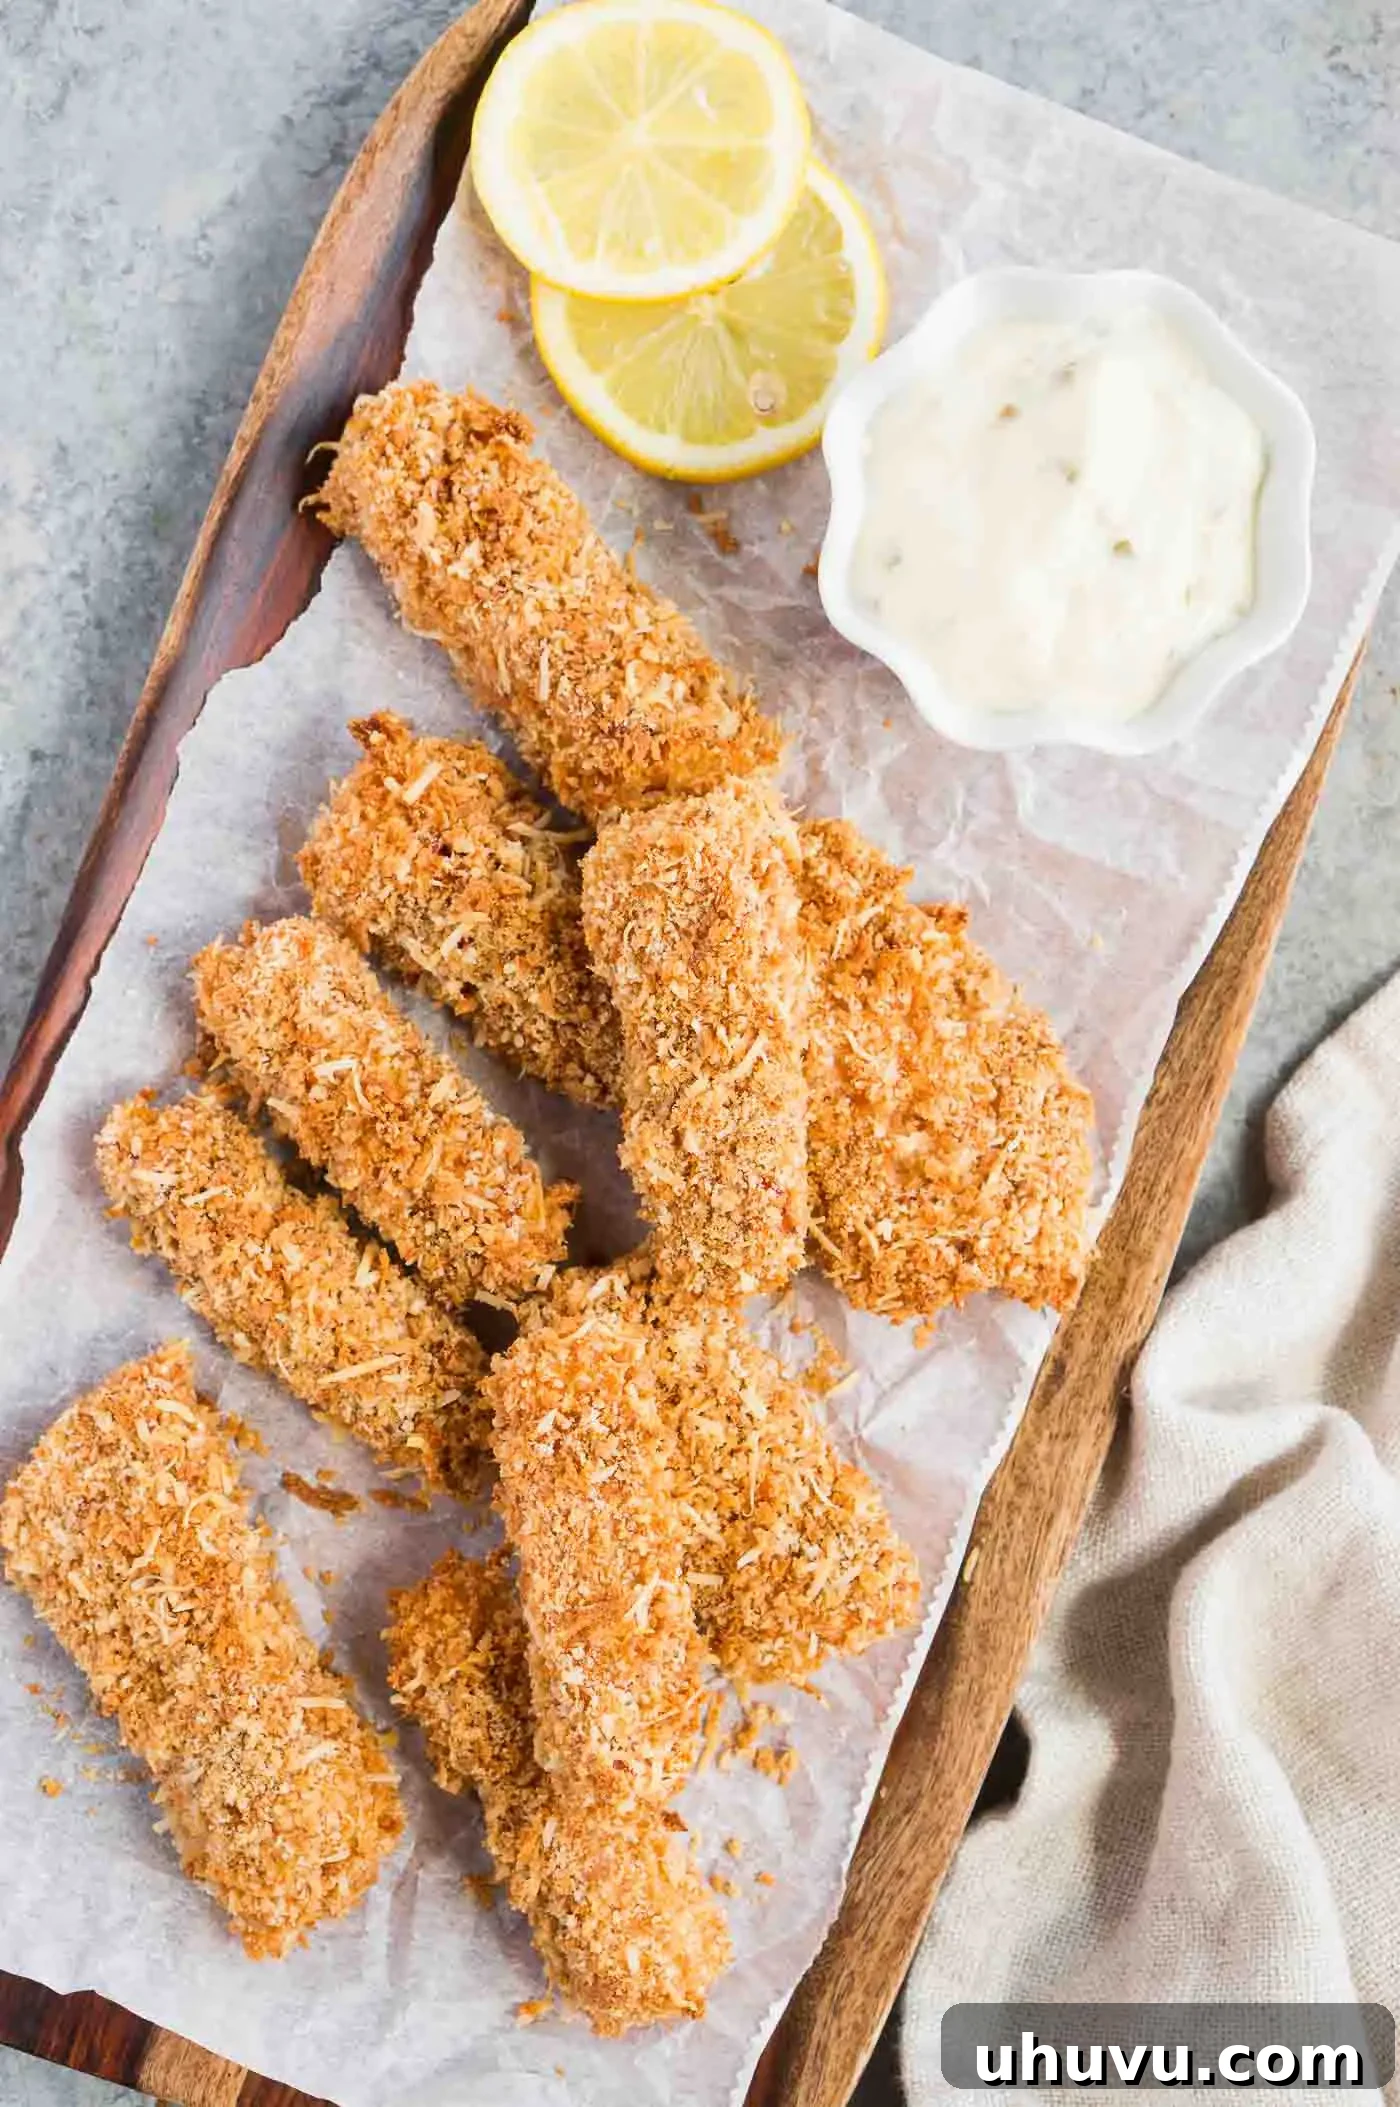
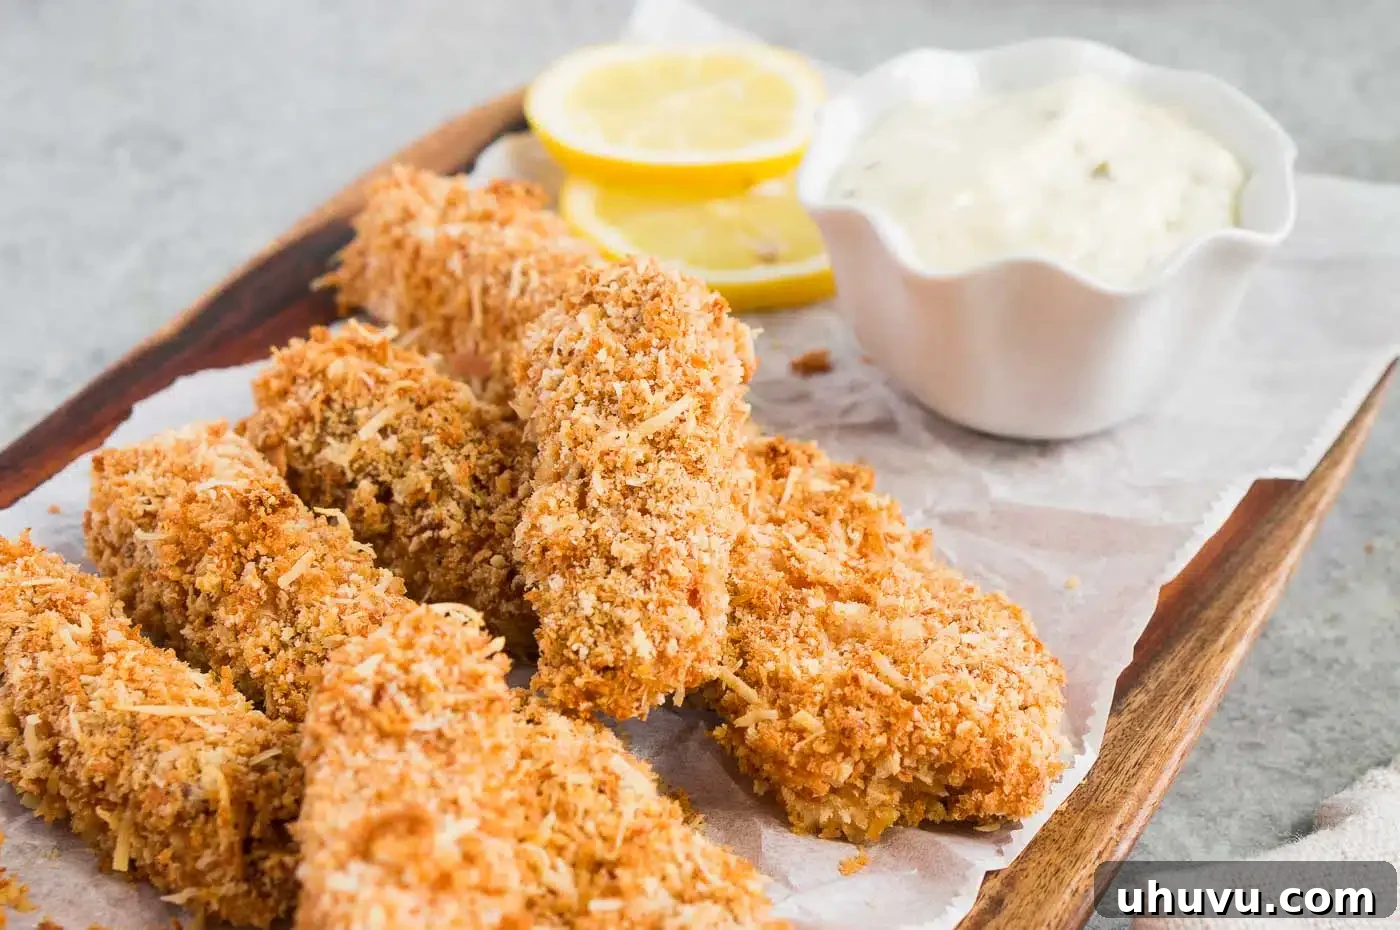
Say goodbye to bland, store-bought frozen options and hello to these incredibly homemade baked fish sticks! Perfectly crispy on the outside, tender and flaky on the inside, and bursting with flavor, these fish fingers are an absolute game-changer. Made with succulent cod strips coated in seasoned panko breadcrumbs, they are surprisingly easy to whip up and can be on your table in less than 30 minutes, making them an ideal choice for a quick, wholesome, and utterly delicious family meal.
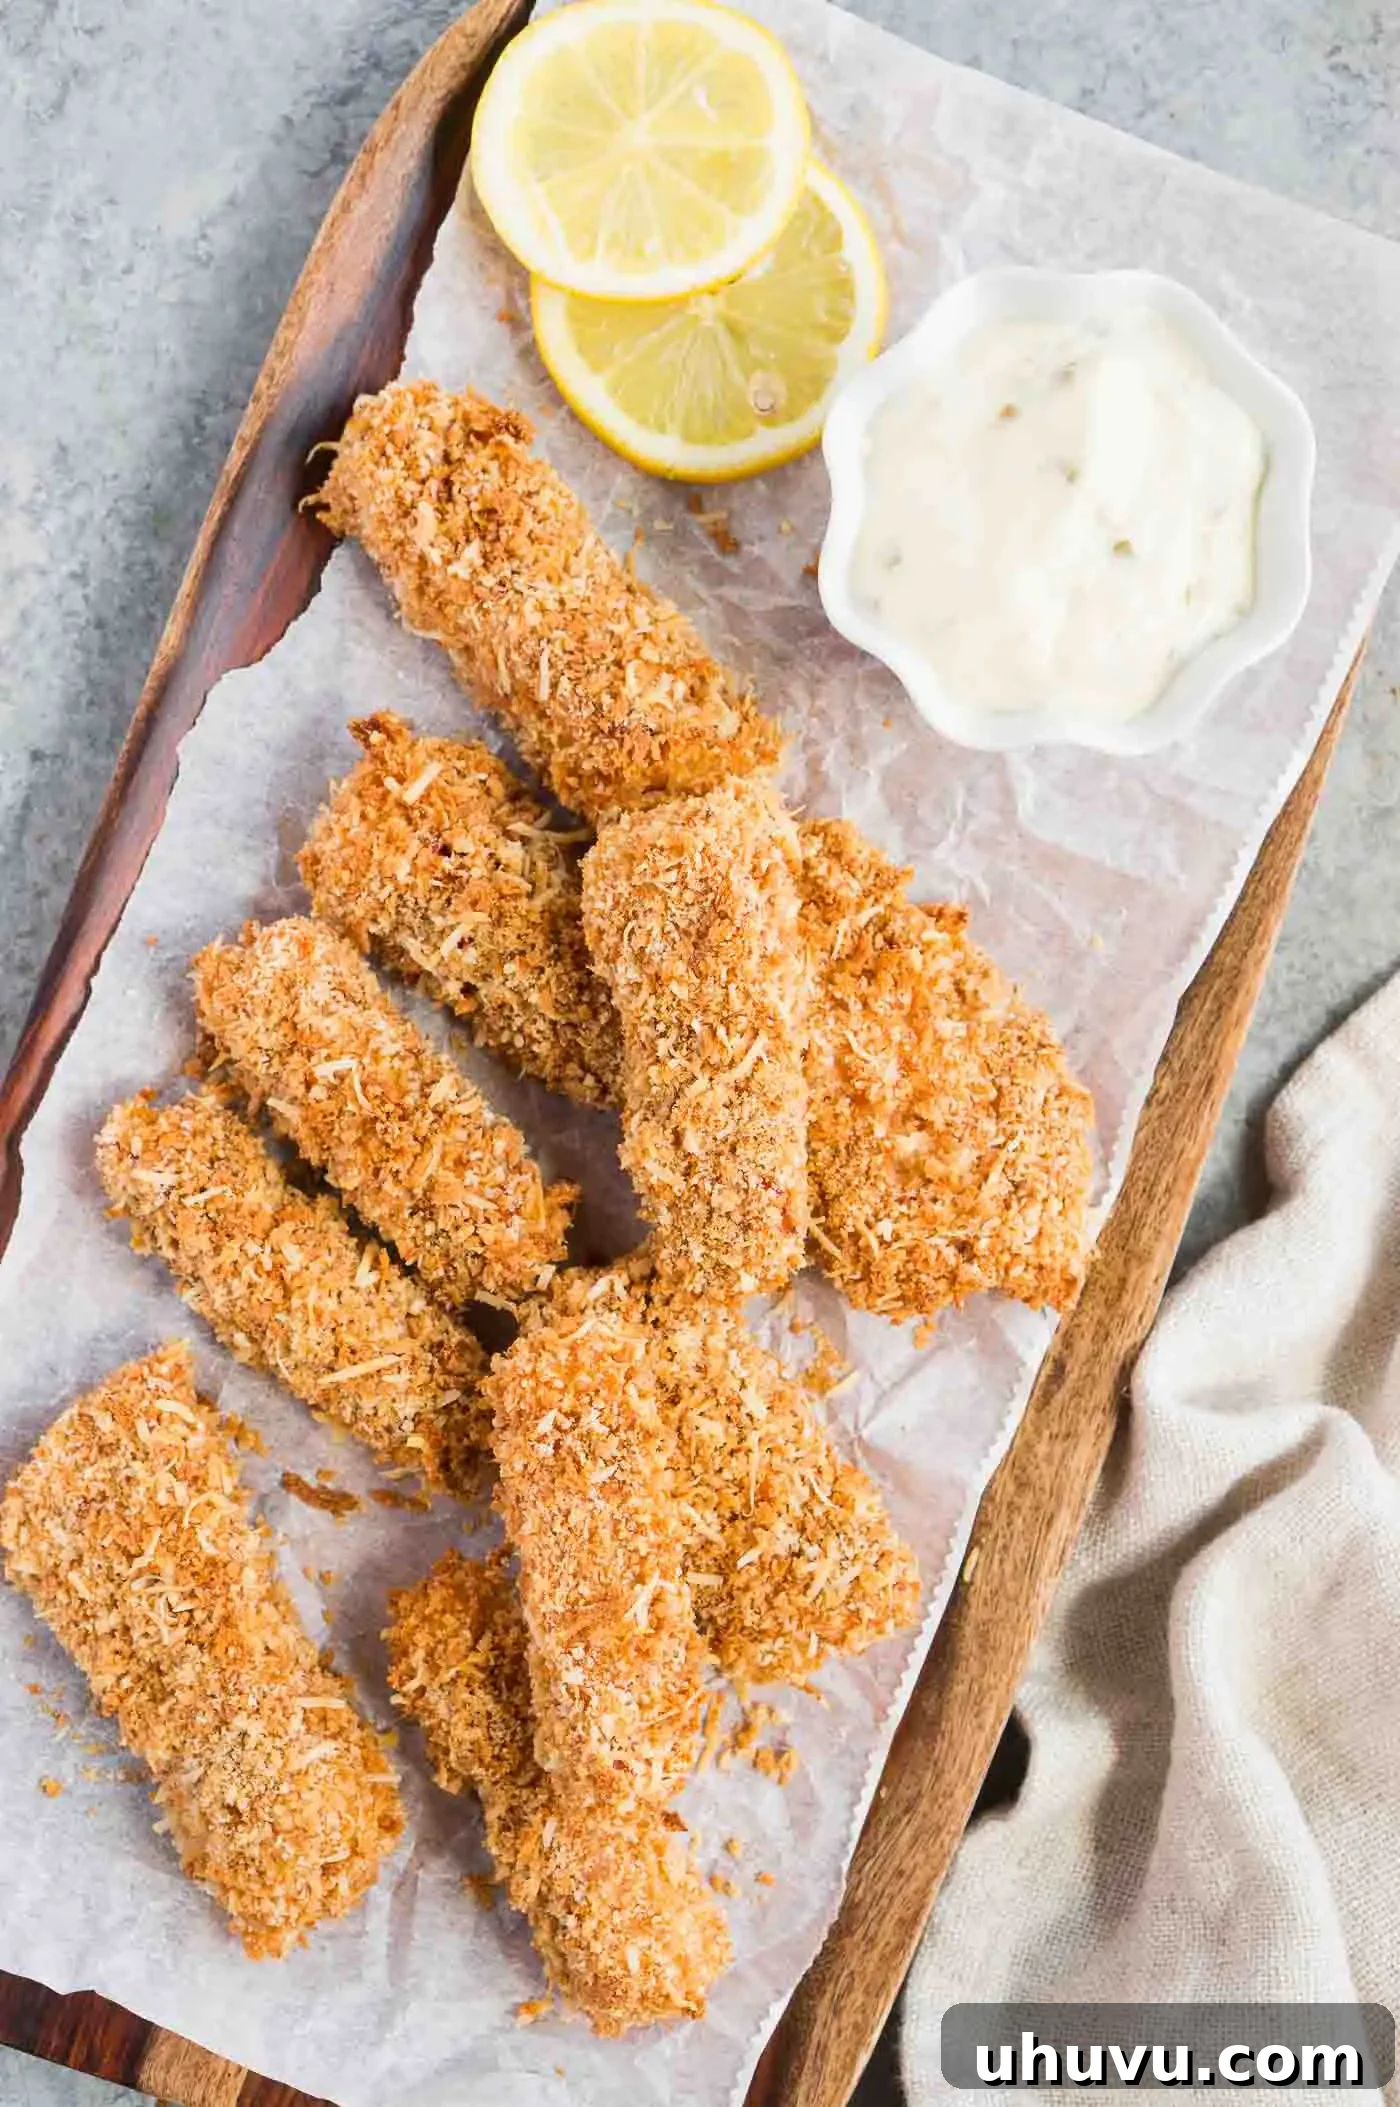
Homemade fish fingers are truly one of life’s simple pleasures, and this recipe is an absolute must-try! They transform a simple meal into a fun and delicious experience, perfect for kids and adults alike. These golden-brown cod fish sticks achieve their irresistible crispiness thanks to a coating of light and airy panko breadcrumbs, all without the need for deep frying.
Serve them traditionally with a generous dollop of homemade tartar sauce for dipping, enjoy them as a satisfying main course with your favorite sides, or get creative and pop them into some fresh tacos for a delightful twist. Whether you’re a seasoned chef or a kitchen novice, these baked fish sticks are sure to become a cherished recipe in your home.
While you’re here, don’t miss out on exploring other fantastic seafood recipes like my savory Salmon Patties and delectable Crab Cakes!
Why You’ll Adore These Homemade Baked Fish Sticks!
There are countless reasons to fall in love with this easy and delicious recipe, making it a staple for busy weeknights or relaxed weekend meals:
- Effortlessly Quick & Simple: Forget complicated techniques! Preparing these crispy cod sticks is incredibly straightforward, requiring only a handful of readily available ingredients. From prep to plate, you’re looking at under 30 minutes, which is faster than most takeout options! This recipe is perfect for beginners and seasoned cooks looking for a no-fuss meal.
- A Healthier Alternative: Unlike their deep-fried counterparts, these fish sticks are baked to golden perfection. You achieve that sought-after crunchy texture and beautiful golden-brown color without the excess oil and calories associated with deep frying. It’s a smart way to enjoy a classic comfort food while keeping health in mind.
- Unanimously Family-Friendly: These delightful fish bites are a guaranteed hit with picky eaters and adventurous palates alike. Their fun shape, appealing crispiness, and mild flavor make them universally loved by kids of all ages. To say they are a crowd-pleaser is truly no exaggeration – prepare for requests for seconds!
- Superior Flavor & Texture: The combination of fresh cod and toasted panko breadcrumbs creates a culinary experience far superior to any store-bought frozen variety. You control the quality of ingredients and the seasoning, resulting in a fresh, vibrant taste and an irresistibly crunchy coating that simply can’t be beaten.
- Customizable & Versatile: This recipe serves as an excellent base for various flavor profiles. Feel free to experiment with different seasonings or herbs to match your family’s preferences. Plus, these fish sticks are incredibly versatile, pairing well with a wide array of sides and sauces.
Essential Ingredients For The Crispiest Baked Fish Sticks
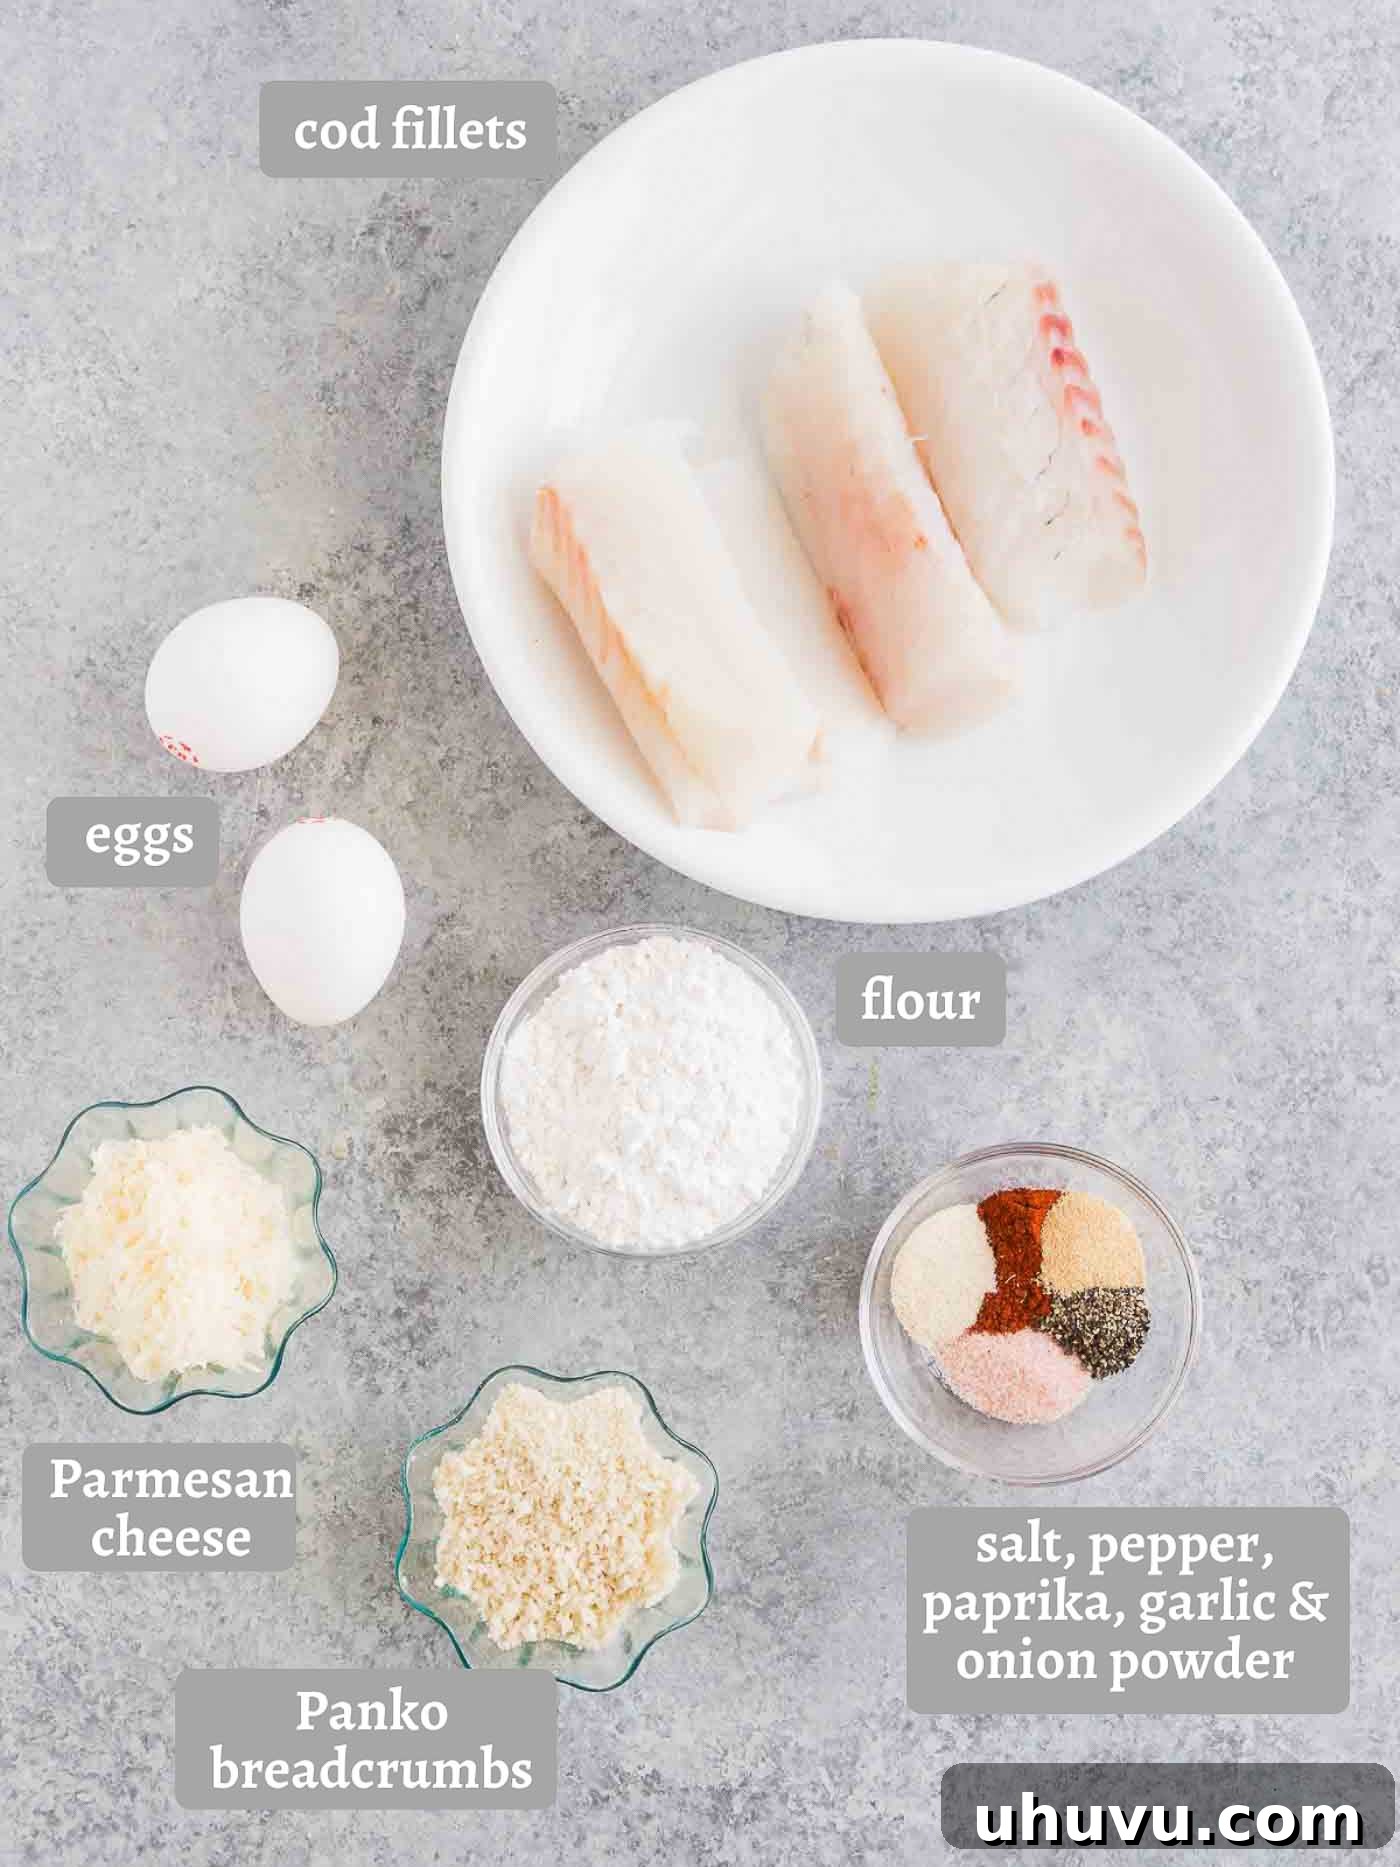
Crafting these delectable fish sticks requires a simple lineup of ingredients that work together to create an explosion of flavor and texture:
- Firm White Fish Fillets: The star of our show! I personally love making these homemade fish sticks with fresh cod due to its mild flavor and flaky texture when cooked. However, this recipe is incredibly adaptable and works wonderfully with other firm white fish varieties such as haddock, bass, pollock, or even mahi-mahi. Ensure your fillets are fresh and of good quality for the best results.
- Flavorful Seasonings: A blend of salt, black pepper, paprika, onion powder, and garlic powder elevates the natural taste of the fish and creates a savory base for the breading. Paprika adds a lovely subtle warmth and a beautiful color to the coating.
- All-Purpose Flour: This acts as the initial coating, creating a dry surface that helps the egg wash adhere properly to the fish strips. For those following a specific diet, a gluten-free all-purpose flour blend can be easily substituted here without compromising on results.
- Large Eggs: Whisked eggs form the essential “glue” layer between the flour and the breadcrumbs. This ensures a thick, even coating that becomes wonderfully crisp during baking.
- Panko Breadcrumbs: This is the secret to ultimate crispiness! Panko breadcrumbs are Japanese-style breadcrumbs known for their lighter, airier, and flakier texture compared to regular breadcrumbs. They absorb less oil and become incredibly crunchy when baked, making them perfect for these fish sticks. While fine breadcrumbs can be used in a pinch, they won’t yield the same superior crispy texture.
- Freshly Grated Parmesan Cheese: Adding grated Parmesan to the panko breadcrumb mixture provides an extra layer of savory, nutty flavor that complements the fish beautifully and enhances the golden crust.
Step-by-Step Guide: How To Make The Best Baked Fish Sticks
Follow these simple instructions to create perfectly crispy and flavorful fish sticks right in your own kitchen:
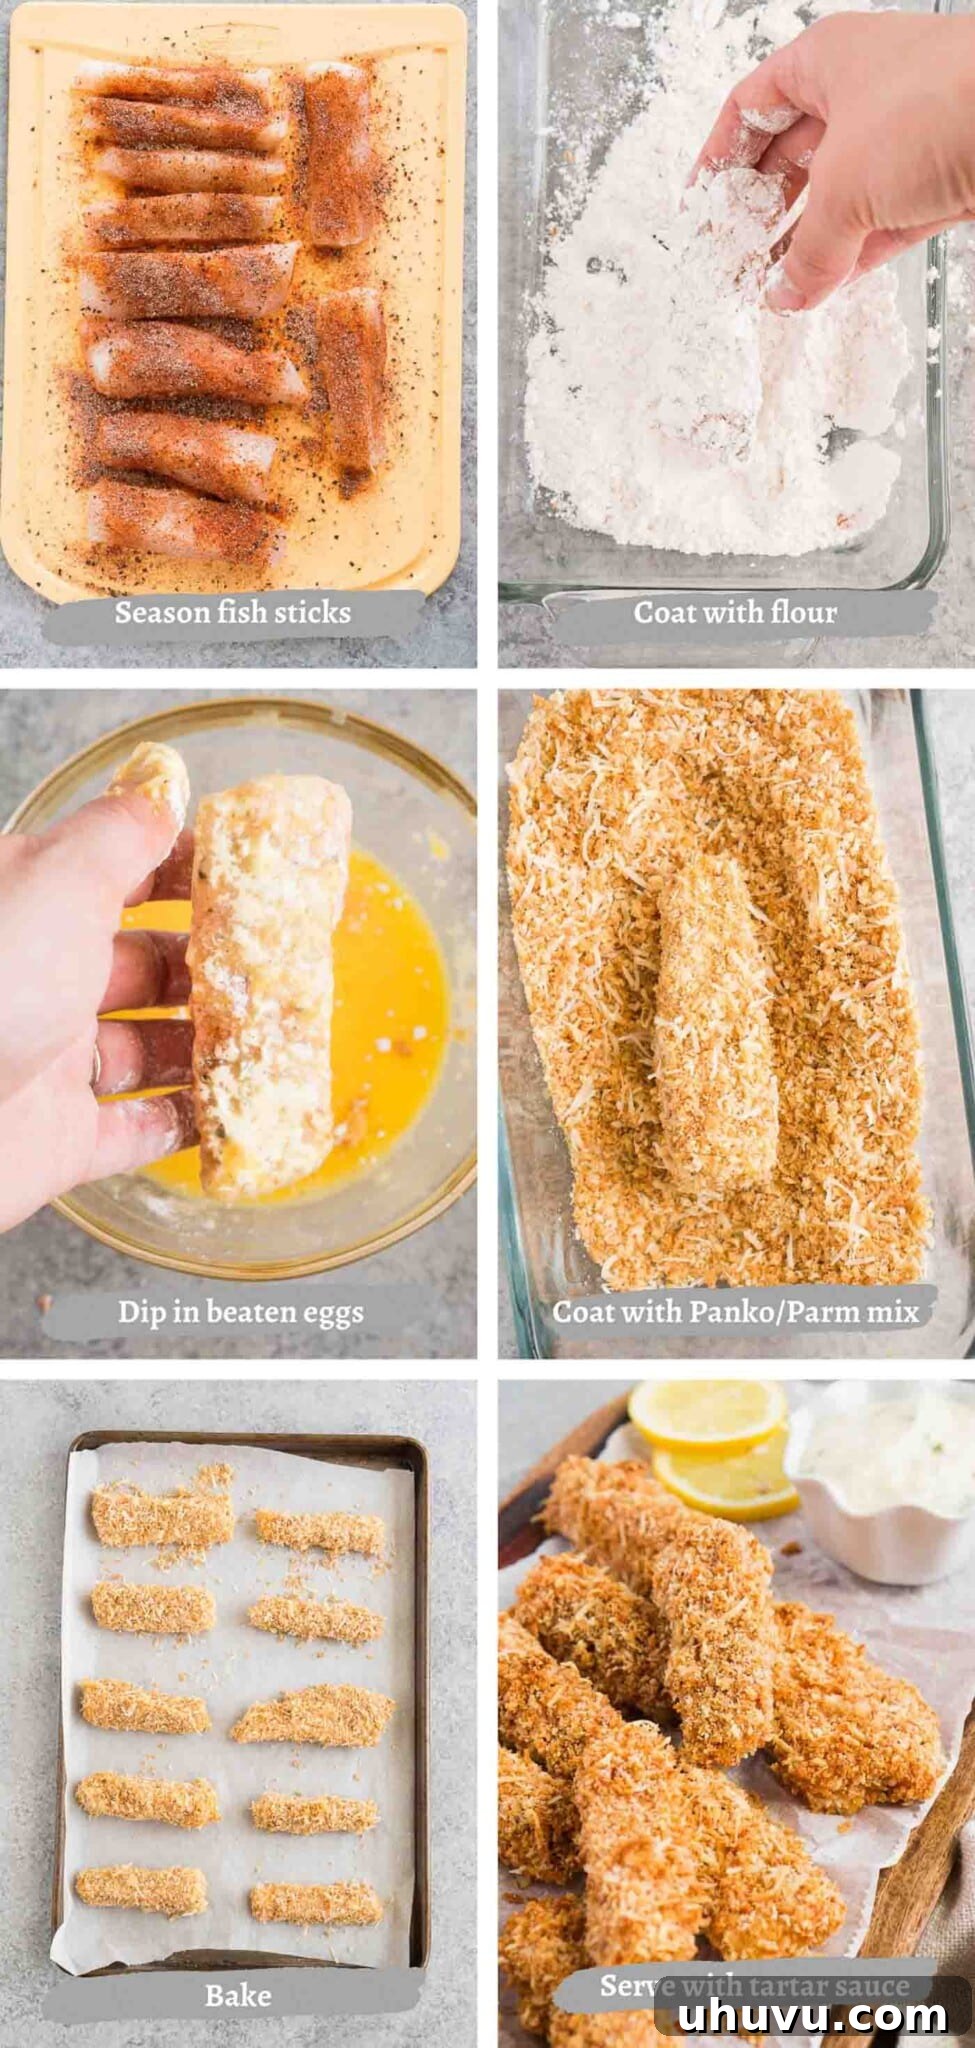
- Prepare Your Oven and Toasted Panko: Begin by preheating your oven to 400°F (200°C). This ensures the oven is hot enough for immediate crisping. Next, spread the panko breadcrumbs in an even, thin layer on a large baking sheet lined with parchment paper. Bake the panko for just 2-3 minutes until lightly golden. Give them a quick stir, then continue baking for another 2-3 minutes, or until they achieve a beautiful golden-brown color. Watch them closely, as panko can burn quickly! Immediately remove the toasted breadcrumbs from the hot sheet and transfer them to a shallow dish. Stir in the freshly grated Parmesan cheese. This crucial step of toasting the panko beforehand significantly enhances the crispiness of your fish sticks.
- Season the Fish: While the panko is toasting, pat your fish pieces dry with paper towels – this helps the seasonings and coating adhere better. Cut the cod fillets into uniform 1-inch thick sticks. In a separate shallow dish, combine salt, black pepper, paprika, onion powder, and garlic powder. Season all sides of your fish strips thoroughly with this delicious spice blend.
- Set Up Your Breading Station: Prepare a classic breading station with three shallow dishes: one with the all-purpose flour, one with the beaten eggs, and one with the toasted panko and Parmesan mixture.
- Coat the Fish Sticks: Take each seasoned fish stick and first dredge it lightly in the flour, shaking off any excess. This initial flour layer provides a dry surface for the egg to cling to. Next, dip the flour-coated fish stick into the beaten egg mixture, ensuring it’s fully coated. Finally, transfer it to the panko and Parmesan mixture, pressing gently to ensure the breadcrumbs adhere evenly on all sides. Shake off any loose breadcrumbs.
- Arrange for Baking: Place each breaded fish stick in a single layer on a clean baking sheet lined with fresh parchment paper (or a wire rack set over a baking sheet for extra crispiness). Make sure not to overcrowd the pan, as this can steam the fish sticks instead of baking them crisply. Repeat the breading process with all remaining fish pieces.
- Bake to Perfection: Transfer the baking sheet to your preheated oven and bake for 12 to 15 minutes, or until the fish is cooked through, flaky, and the coating is deeply golden and crispy. For even crispier results, flip the fish sticks halfway through the baking time.
- Serve Immediately: Once baked, remove the fish sticks from the oven and let them rest for about 5 minutes. This allows the internal temperature to equalize and the crust to further set. Garnish with chopped fresh parsley and a generous drizzle of fresh lemon juice for brightness. Serve hot with your favorite tartar sauce and enjoy!
NELI’S KITCHEN PRO TIPS
Recipe Notes and Expert Tips for the Best Fish Sticks Every Time
- Go Gluten-Free with Ease: To make these fish sticks suitable for a gluten-free diet, simply swap the all-purpose flour for your favorite gluten-free flour blend and ensure you use certified gluten-free panko breadcrumbs. The results will be just as delicious and crispy!
- The Secret to Supreme Crispiness: Pre-Toasting Panko: Do not skip the step of browning the panko breadcrumbs before coating the fish! This seemingly small extra few minutes in the oven makes a dramatic difference in the final texture, giving your fish sticks that incredibly crispy, golden-brown finish that mimics deep-frying without all the oil.
- Prevent Sticking & Ensure Even Browning: Always bake your fish sticks on a baking sheet lined with parchment paper or foil. This prevents them from sticking to the pan and makes cleanup a breeze. For maximum crispiness and even browning on all sides, remember to flip the fish sticks halfway through their cooking time.
- Don’t Overcrowd the Pan: When placing the breaded fish sticks on the baking sheet, ensure there’s a little space between each piece. Overcrowding can lead to steaming instead of baking, resulting in a less crispy exterior. If necessary, use two baking sheets.
- Air Fryer Alternative: For an even faster and super crispy result, you can cook these fish sticks in an air fryer! Preheat your air fryer to 380°F (195°C). Lightly spray the basket with cooking oil. Arrange the breaded fish sticks in a single layer and cook for 8-12 minutes, flipping halfway, until golden brown and cooked through. Cooking times may vary depending on your air fryer model.
- Uniform Fish Pieces: Cutting your fish into roughly uniform 1-inch thick sticks ensures that they all cook evenly at the same rate, preventing some pieces from being undercooked while others are overcooked.
Can You Prepare These Fish Fingers in Advance?
Absolutely! These homemade fish sticks are wonderfully versatile for meal prep. To get a head start, you can bread the cod strips up to a day in advance. Simply arrange the breaded fish sticks on a baking sheet, cover them tightly with plastic wrap, and store them in the fridge until you’re ready to bake. This makes weeknight dinners incredibly quick and stress-free.
If you find yourself with leftover cooked cod fish fingers, they will keep well in an airtight container in the fridge for up to 4 days. To reheat and restore their crispiness, place them on a baking sheet in a preheated oven at 350°F (175°C) for about 10 minutes, or until they are heated through and the coating is crisp again. Avoid microwaving, as this will make them soggy.
Can You Use Frozen Fish Fillets for This Recipe?
While fresh fish fillets are always recommended for the best flavor and texture, you can certainly use frozen fish fillets if that’s what you have on hand. The key is proper thawing and moisture removal. Frozen fish fillets can contain a significant amount of excess water, which can lead to a soggy coating if not properly addressed.
If using frozen fish, be sure to thaw them completely in the refrigerator overnight. Once thawed, it is crucial to thoroughly pat the fish dry with several layers of kitchen paper or paper towels. Press firmly to dab away as much excess water as you possibly can before cutting them into sticks and proceeding with the breading process. Removing this extra moisture is essential for achieving that perfectly crispy crust.
Can You Freeze Homemade Fish Sticks?
Yes, these homemade fish sticks are absolutely perfect for freezer meals! Making a big batch and freezing them is an excellent way to ensure you always have quick, wholesome, and delicious dinners on hand. They can be cooked right from frozen, saving you time and effort on busy days. You have the flexibility to freeze them either cooked or uncooked.
- Freezing Uncooked Fish Sticks: After breading the fish sticks, arrange them in a single layer on a parchment-lined baking sheet. Freeze them until completely solid (this usually takes 1-2 hours). Once frozen solid, transfer them to a freezer-safe bag or an airtight container. They will keep well in the freezer for up to 3 months. To cook from frozen, preheat your oven to 400°F (200°C) and bake for approximately 20-25 minutes, flipping halfway, until golden brown and cooked through.
- Freezing Cooked Fish Sticks: If you have leftovers or prefer to pre-cook, allow the baked fish sticks to cool completely to room temperature before freezing. This prevents ice crystals from forming. Arrange them in a single layer on a baking sheet and freeze until solid, then transfer to a freezer bag or container. They can be stored for up to 3 months. To reheat from frozen, bake in a preheated oven at 400°F (200°C) for about 10-15 minutes, or until thoroughly heated and crispy.
Delicious Serving Suggestions for Your Fish Sticks
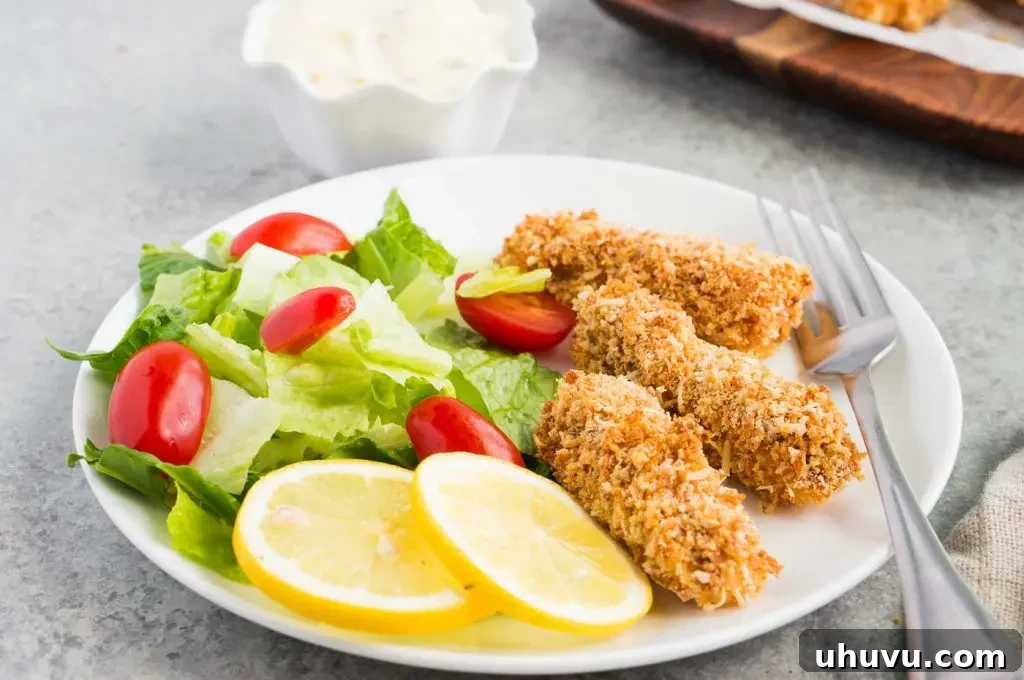
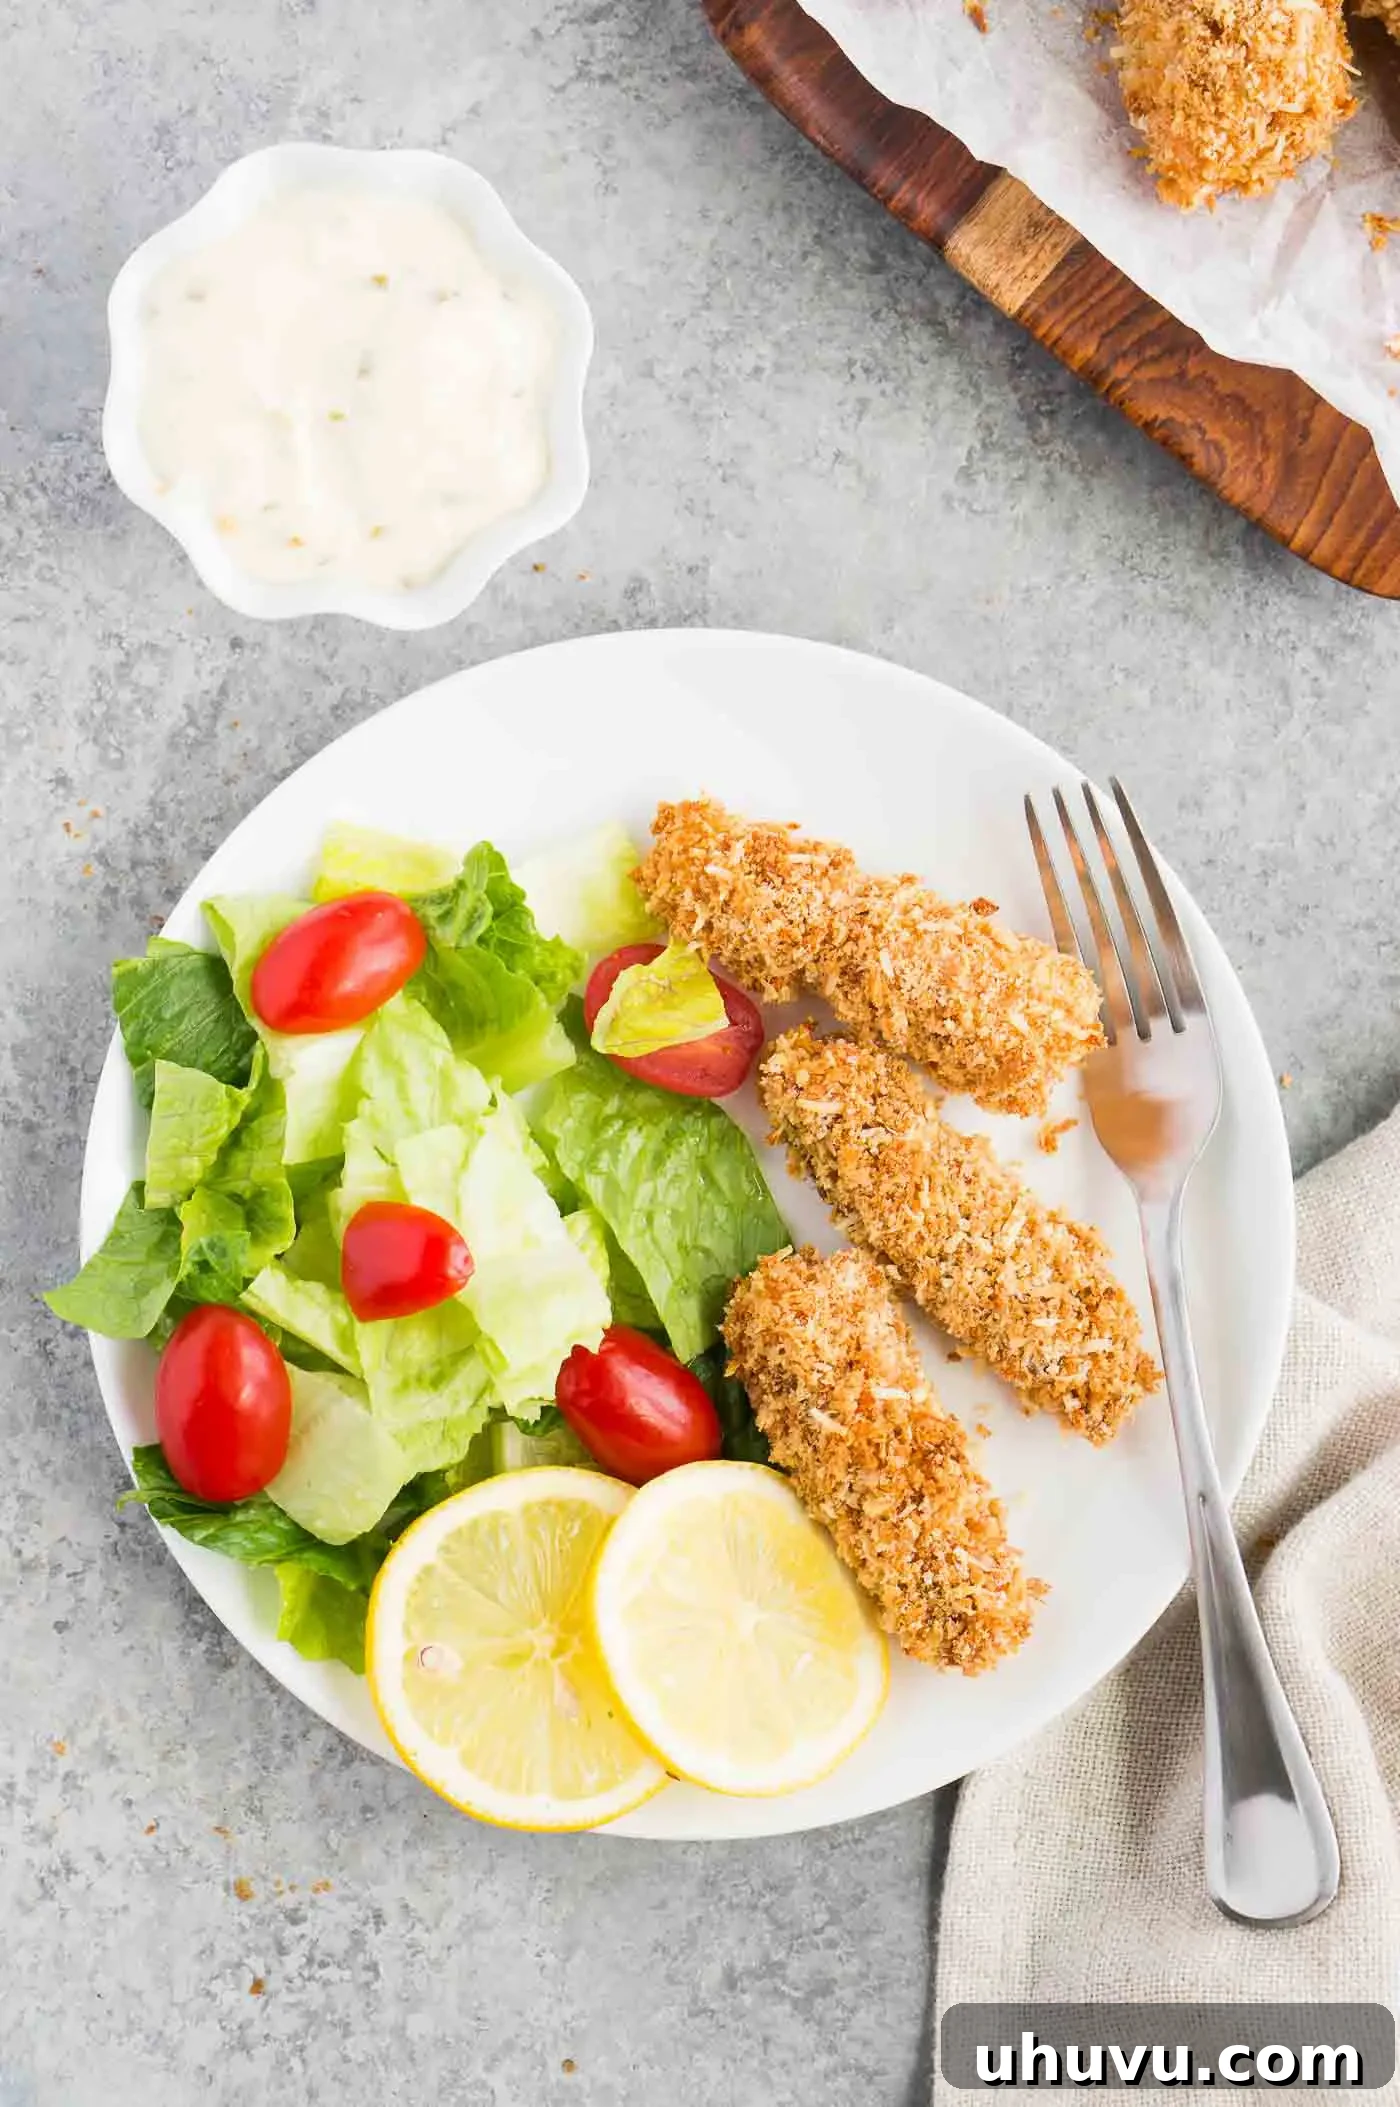
These versatile cod fish sticks pair wonderfully with a variety of sides and sauces, making them a perfect centerpiece for countless meal combinations. Here are some of our favorite ways to serve them:
For a classic “fish and chips” experience, serve them alongside crispy sides like:
- Perfectly golden homemade French fries
- Sweet and savory sweet potato fries
- Hearty baked potato wedges
- Flavorful sweet potato wedges
If you’re looking for lighter, fresher accompaniments, a vibrant side salad is an excellent choice:
- A refreshing Tomato Cucumber Avocado Salad
- A classic and creamy Caesar Salad
- A protein-packed Chickpea Salad
- A simple yet elegant Wedge Salad
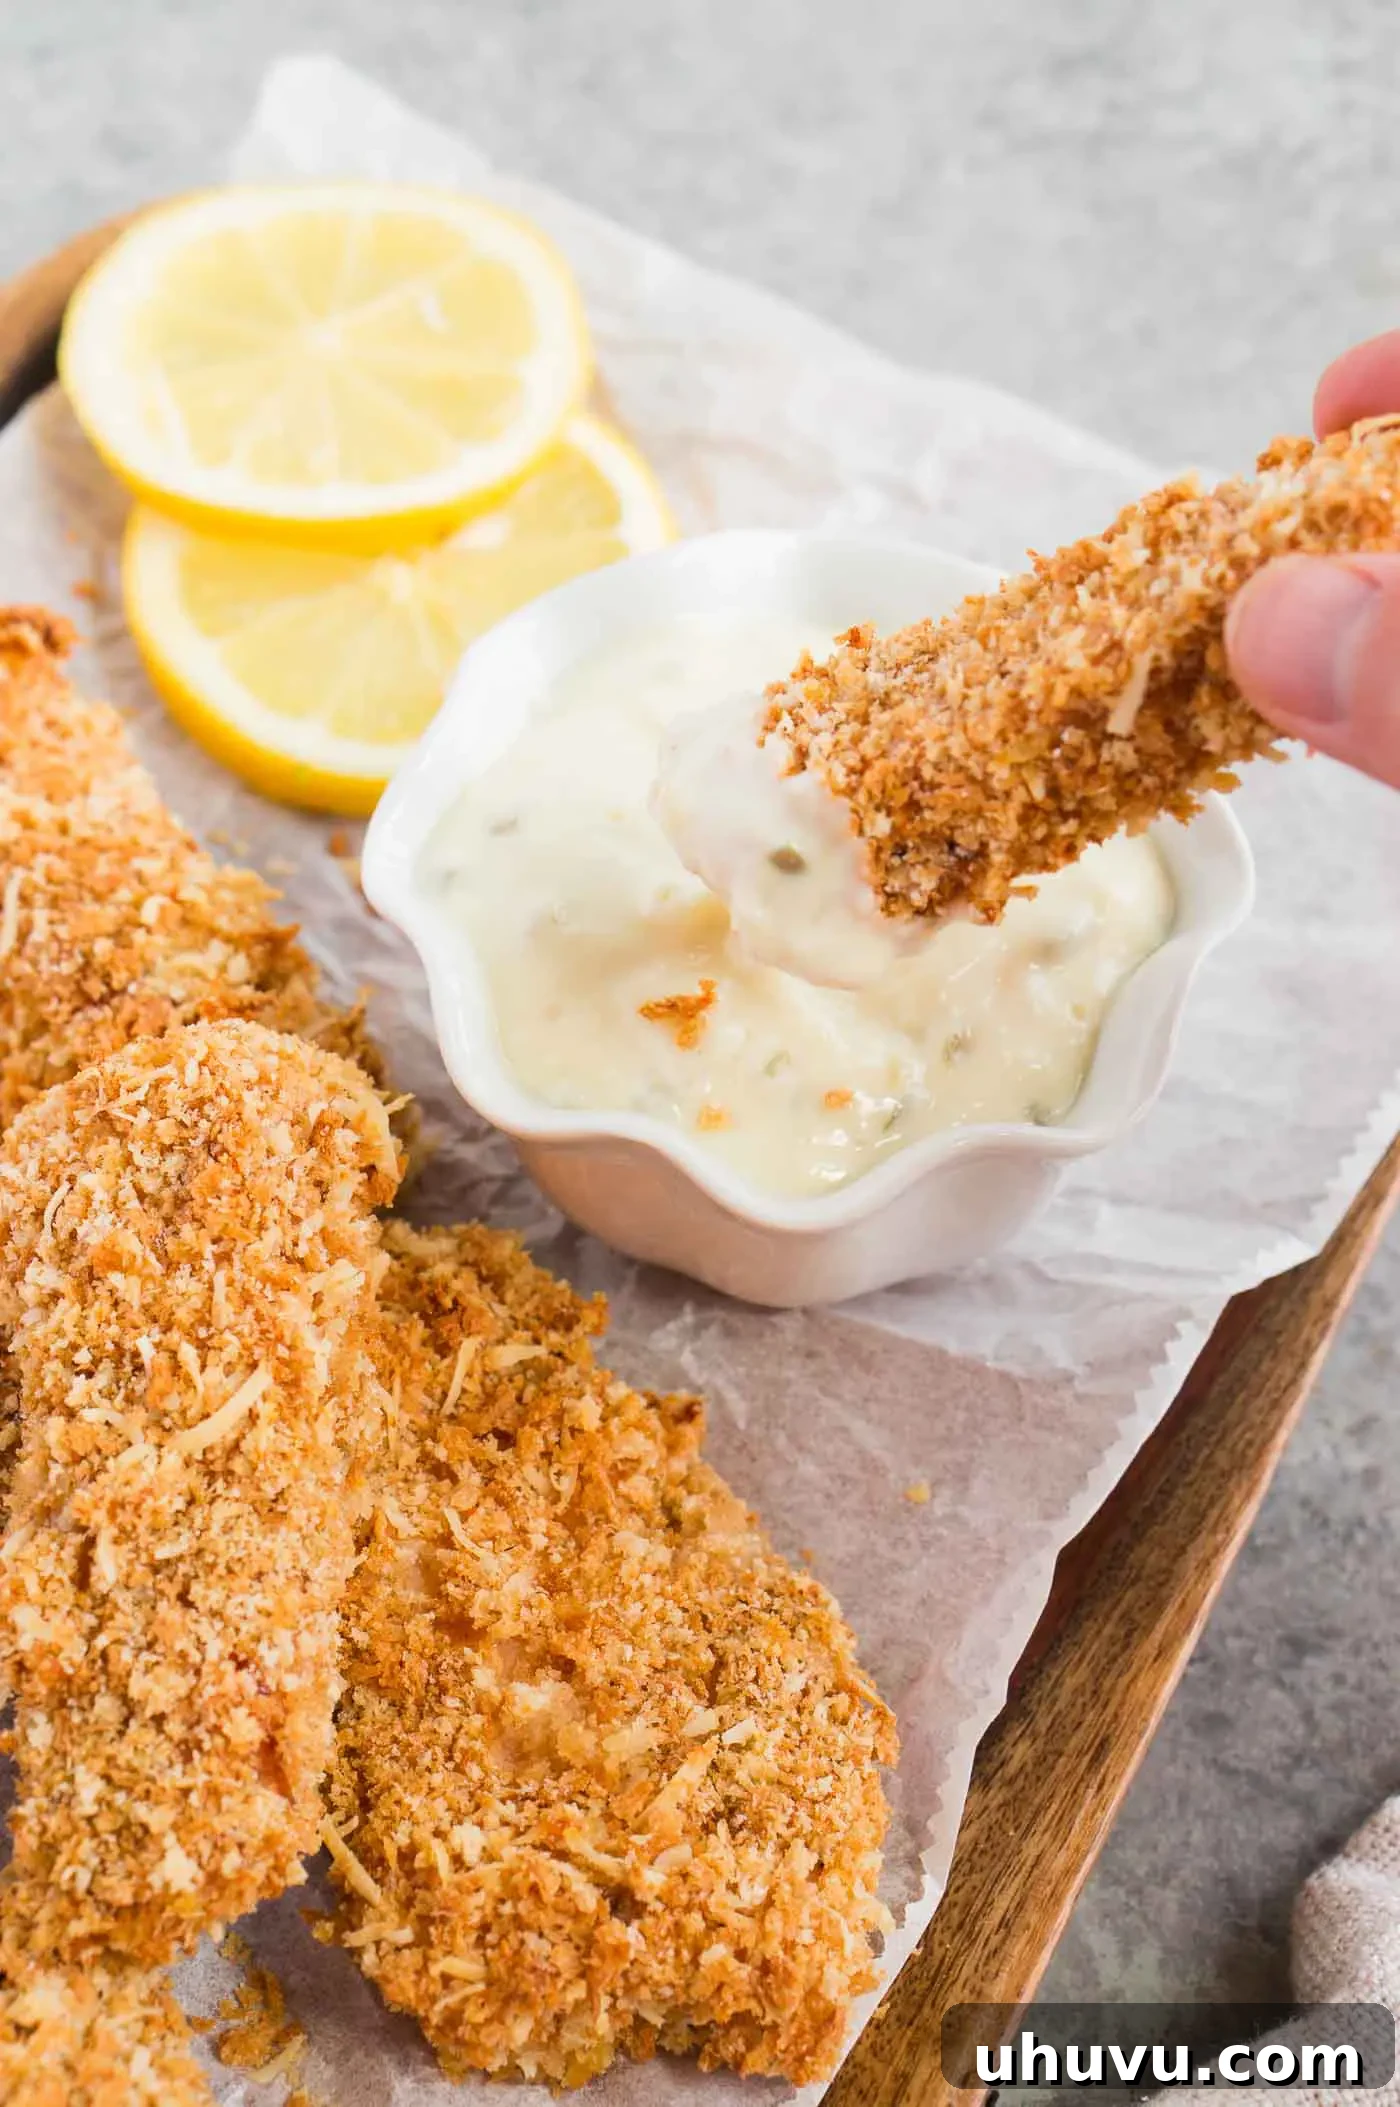
And of course, no fish stick meal is complete without the perfect dipping sauce! This homemade Tartar sauce is absolutely essential – its creamy texture, tangy flavor, and hint of relish perfectly complement the delicate fish and crispy coating. You can also explore other dipping options like classic ketchup, a zesty lemon aioli, or a spicy sriracha mayo for an extra kick.
Explore More Delicious Fish Recipes
If you’re a fan of seafood, you’ll love these other fantastic fish recipes that are sure to impress:
- Zesty Salmon Tacos
- Mahi Mahi with Roasted Pepper Butter Sauce
- Refreshing Mediterranean Tuna Salad
- Sweet & Spicy Honey Sriracha Salmon
If you enjoyed this Homemade Baked Fish Sticks recipe or any other recipe on my blog, please consider leaving a ⭐ star rating and let me know how it went in the 📝 comments below. Your feedback is greatly appreciated! Thanks for visiting!