
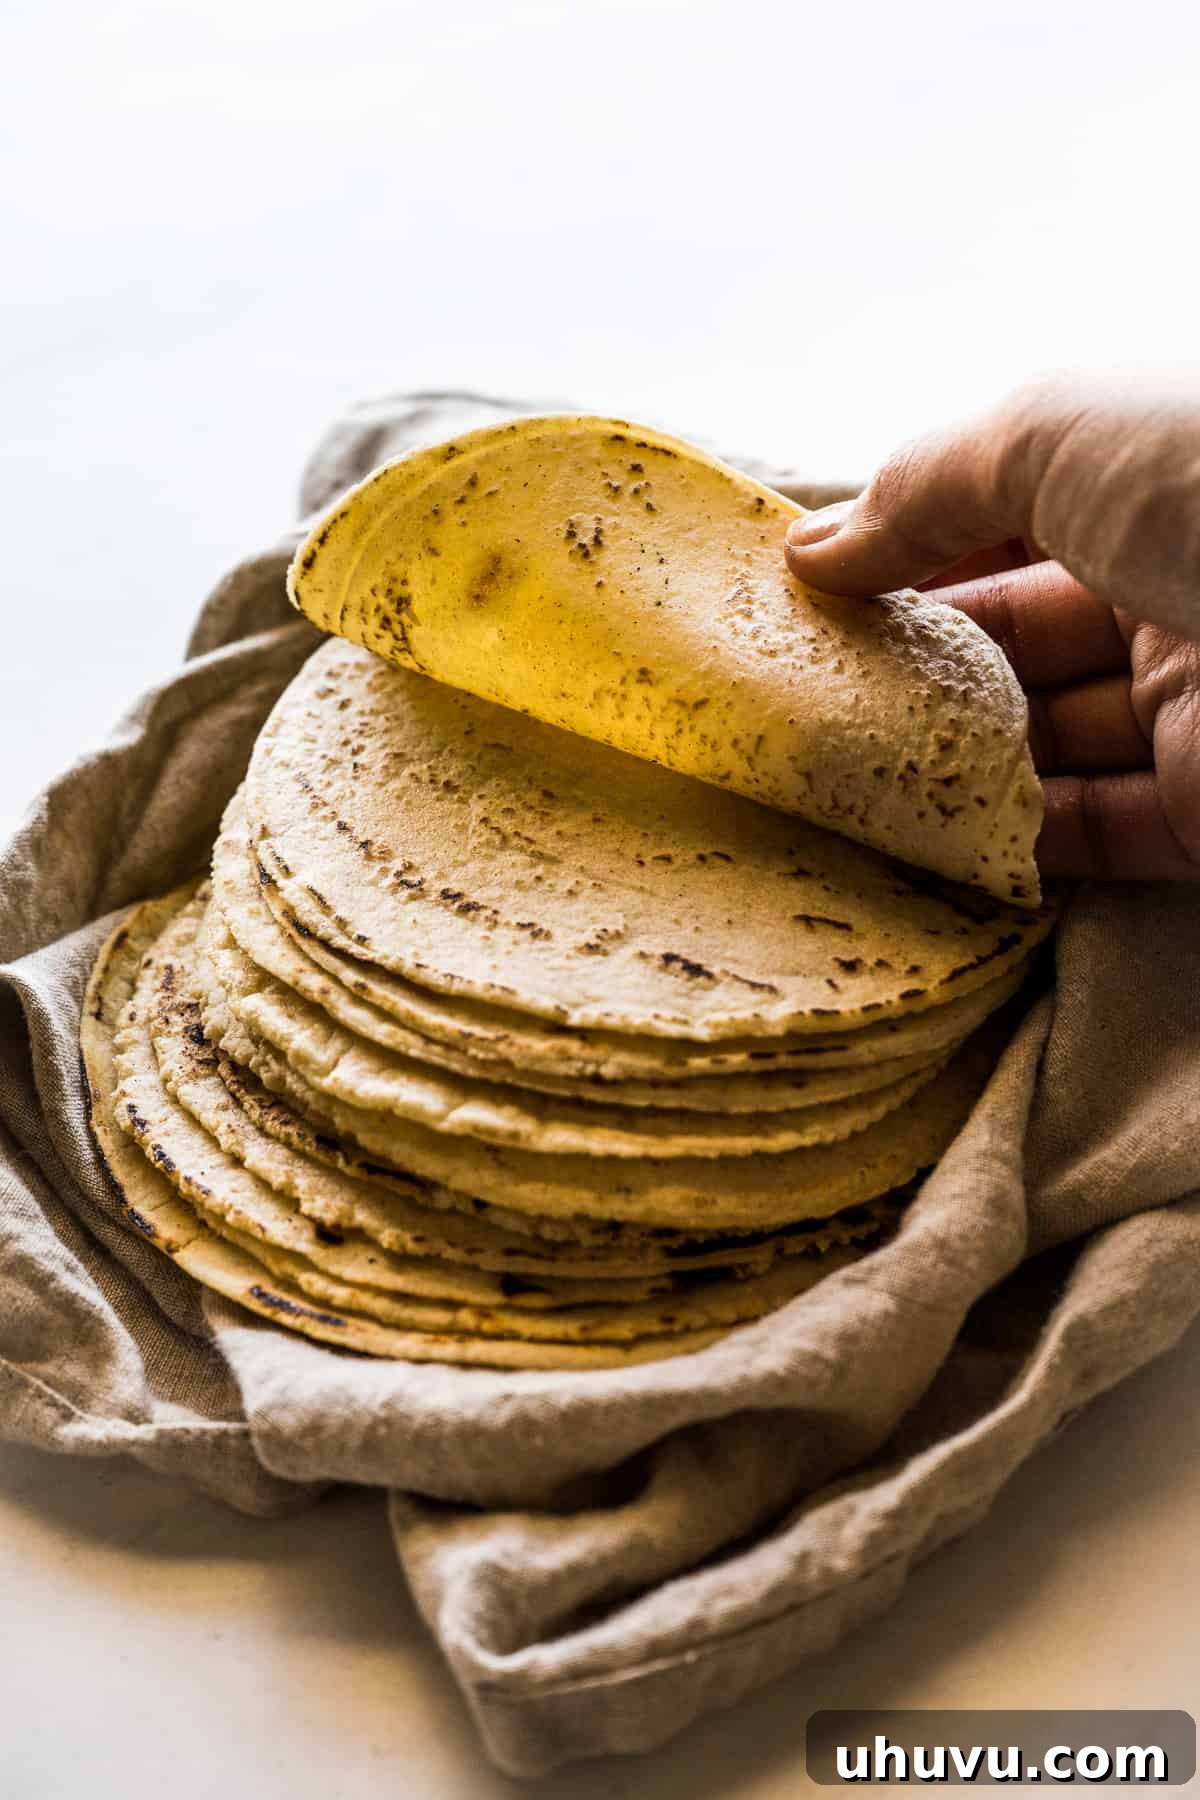
Welcome to the ultimate guide for making perfect homemade corn tortillas! This isn’t just another recipe; it’s a comprehensive resource designed to equip you with everything you need to master the art of crafting authentic corn tortillas right in your own kitchen. From selecting the finest ingredients and essential equipment to following step-by-step instructions and uncovering invaluable tips and tricks, you’ll find all the secrets to creating tortillas that are far superior to anything you can buy in a store.
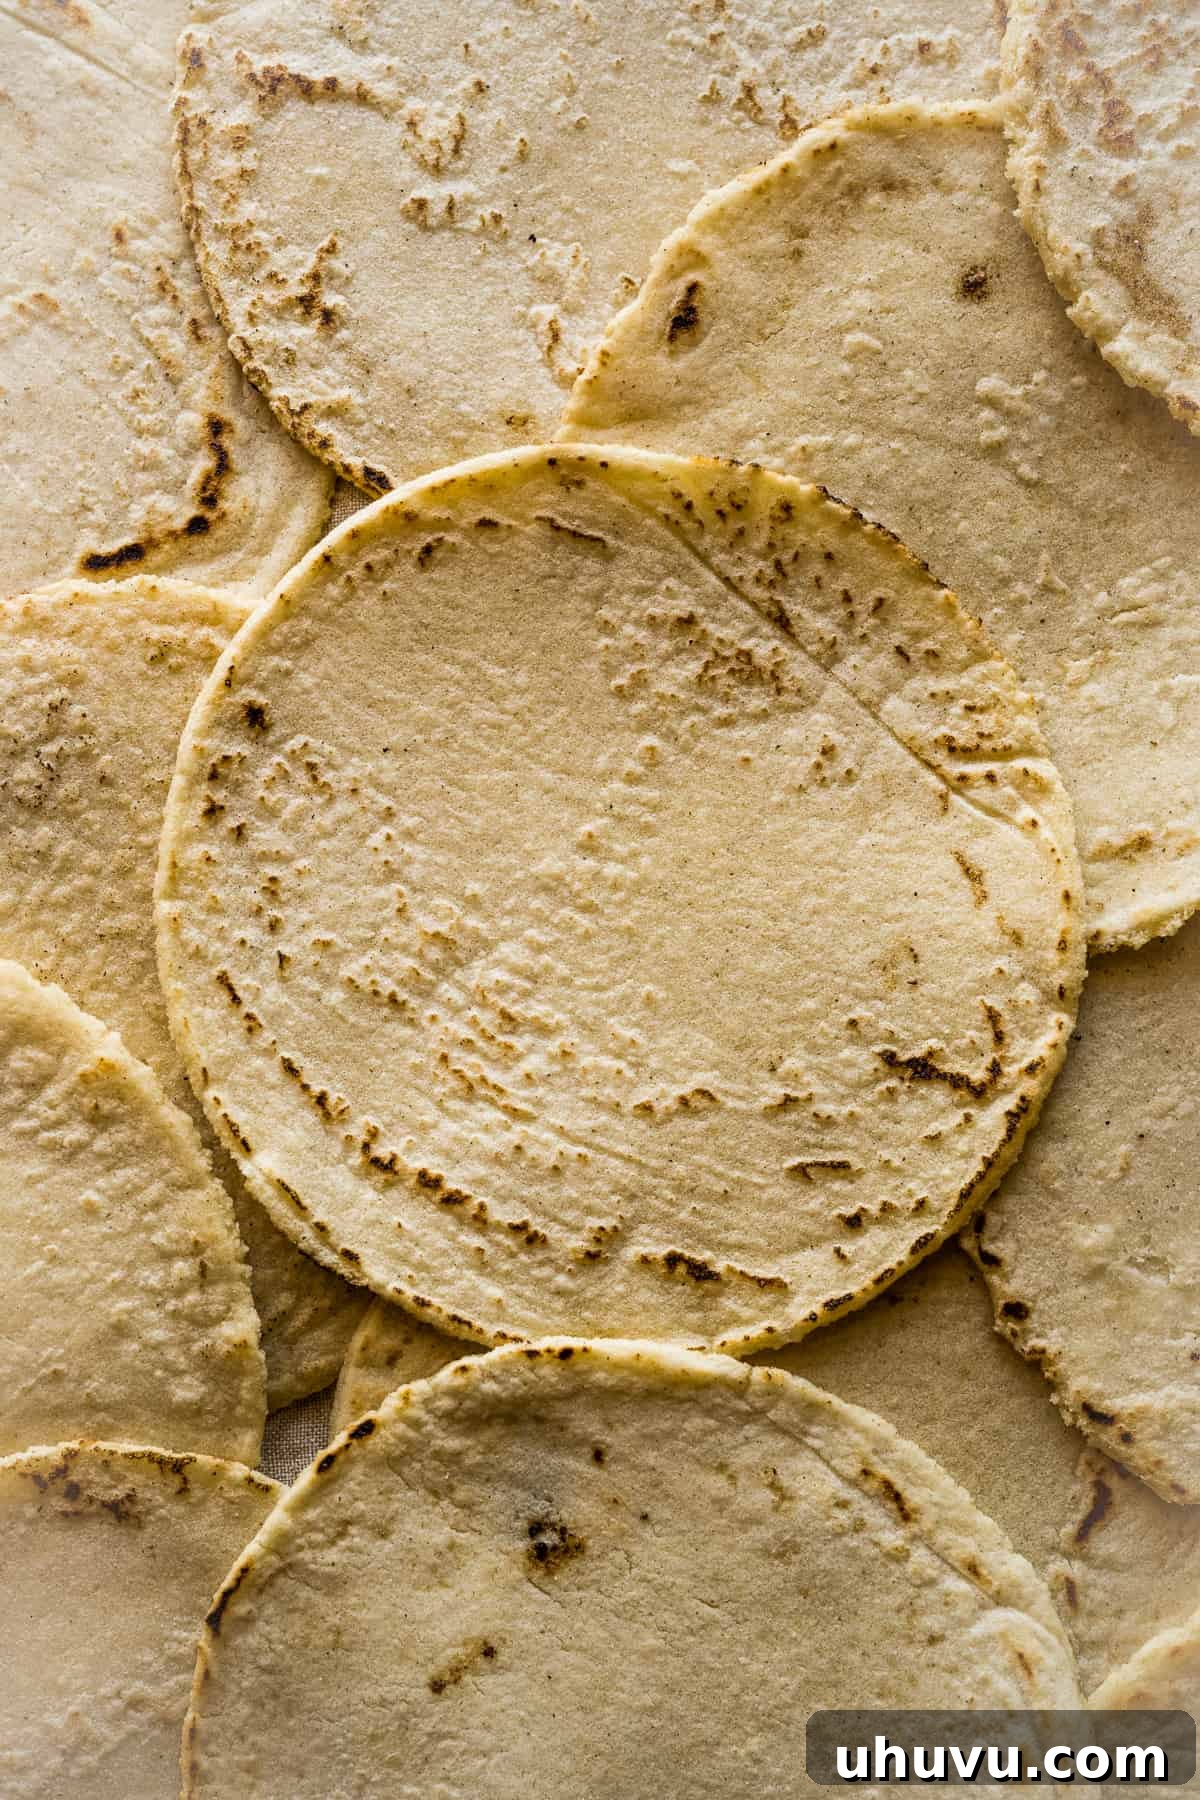
For many families, especially those rooted in Mexican culinary traditions, corn tortillas are more than just a food item; they are a daily necessity, a comforting presence, and an emblem of home. In my household, these golden, warm discs are a fundamental part of every meal, symbolizing a warm embrace from loved ones and a taste of heritage. There’s an undeniable magic in the aroma of fresh masa cooking on a hot griddle that instantly transports you to the heart of Mexico.
Once you experience the unparalleled taste and texture of homemade corn tortillas, you’ll understand why they are truly in a league of their own. They effortlessly surpass their store-bought counterparts in flavor, freshness, and overall quality. Beyond their deliciousness, homemade corn tortillas offer a healthy, naturally gluten-free alternative to flour tortillas, making them an excellent choice for individuals with dietary restrictions or those simply seeking wholesome options.
The versatility of these humble corn tortillas is truly astounding. They serve as the foundation for countless beloved dishes, transforming into crispy tacos filled with savory meats, melty quesadillas perfect for a quick lunch, or crunchy tortilla chips ideal for dipping into your favorite salsa. They also shine as a simple, yet indispensable, side dish, perfect for soaking up the rich, flavorful sauces of traditional Mexican stews and guisados, ensuring not a single drop of deliciousness goes to waste. Learning to make them from scratch is not just cooking; it’s an investment in flavor, health, and a connection to culinary tradition.
Essential Ingredients for Authentic Corn Tortillas
Crafting the perfect homemade corn tortilla requires just a few simple ingredients, but the quality and type of each component play a crucial role in the final outcome. Here’s a breakdown of what you’ll need to gather:
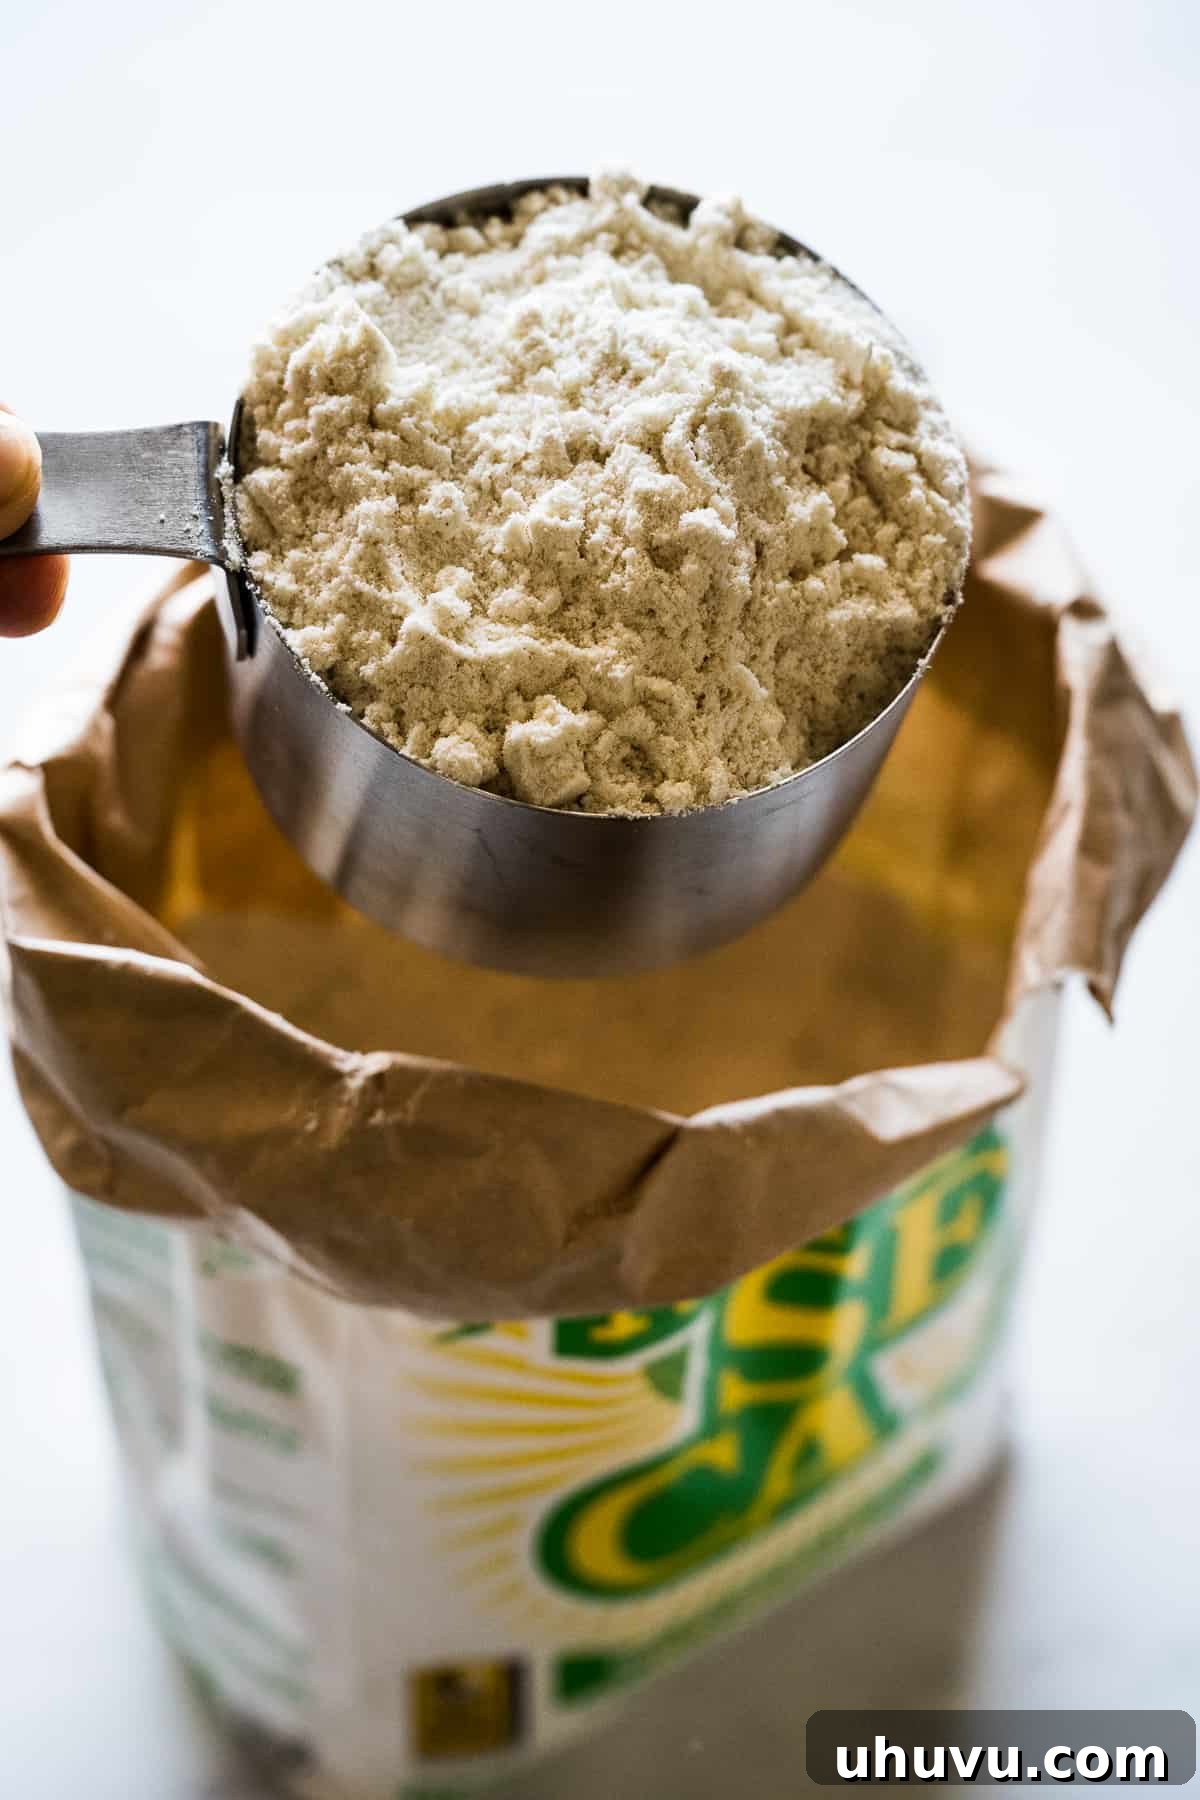
- Masa Harina: This is the star ingredient and absolutely non-negotiable for authentic Mexican corn tortillas. Masa harina is a unique type of corn flour made from nixtamalized corn, a process where corn is cooked and soaked in an alkaline solution, then ground. This process gives masa harina its distinctive flavor, aroma, and pliable texture, which is essential for forming a cohesive, flexible dough. While many brands exist, Maseca is widely available and a popular choice, often used for its consistent results. Other high-quality brands include Masienda, celebrated for its heirloom corn varieties, Bob’s Red Mill, and King Arthur. Masa harina comes in various corn colors—white, yellow, red, or blue—each offering a slightly different hue and subtle flavor profile. Any variety can be successfully used with this recipe to create beautiful and delicious tortillas.
- Warm Water: Water is essential for rehydrating the masa harina and forming the dough. The temperature of the water is important; warm water helps the masa absorb moisture more effectively, leading to a softer, more pliable dough. The exact amount of water can vary based on the specific brand of masa harina you use and even the humidity levels in your kitchen. A good starting point is 1 ½ cups, but always have a little extra on hand to adjust the dough’s consistency as needed. Learning to feel the dough’s texture is key to getting the water content just right.
- Fine Salt: A touch of salt is often overlooked but truly vital. It doesn’t just season the tortilla; it actively enhances and brings out the inherent sweetness and deep, earthy flavor of the corn. This subtle seasoning makes the tortillas so flavorful you might be tempted to eat them plain, fresh off the griddle! For best results, use a fine-grained salt, as it dissolves more easily and distributes evenly throughout the dough compared to coarser kosher salt.
- Fat (Optional: Extra-Virgin Olive Oil or Lard): While traditionalists might omit fat, adding a small amount of extra-virgin olive oil or lard can significantly improve the texture and shelf life of your tortillas. Fat helps keep the tortillas pliable for longer, preventing them from drying out and cracking too quickly. Lard is the traditional choice in Mexican cuisine, imparting a rich, authentic flavor. However, high-quality olive oil works wonderfully as a substitute, offering a lighter taste. This ingredient is entirely optional and depends on personal preference and desired texture. If you prefer a purist approach, feel free to leave it out.
In addition to the ingredients, having the right tools can make your tortilla-making journey much smoother and more enjoyable:
- Tortilla Press (Highly Recommended): A tortilla press is a game-changer for homemade corn tortillas. It dramatically simplifies the process of flattening the dough balls evenly and quickly, ensuring consistent thickness for optimal cooking. These presses are relatively inexpensive and a worthwhile investment if you plan to make tortillas regularly. If you don’t own one, don’t fret! You can still achieve excellent results by pressing your dough between two sheets of parchment paper using a heavy, flat object like a large glass baking dish, a sturdy cutting board, or even the bottom of a heavy skillet. The key is to apply even pressure to ensure a uniform thickness.
- Nonstick Skillet, Comal, or Cast-Iron Pan: For cooking your tortillas, you’ll need a hot surface. Each of these options works well, and your preference might evolve with experience. A traditional comal (a flat, round griddle) or a cast-iron pan provides excellent heat retention and even cooking. Personally, I find a good quality nonstick skillet to be incredibly reliable and easy to manage, even though it’s not the most traditional option. If you have access to different types of pans, experiment by cooking a few tortillas on each to discover which one you prefer. There’s no single “right” answer; the best pan is the one that works best for you.
- Parchment Paper or Plastic: These are essential for preventing the dough from sticking to your tortilla press and for easy transfer. For plastic, a large resealable plastic storage bag (like a Ziploc) works perfectly when cut along the side seams to create a single, large rectangular sheet. Alternatively, two squares of parchment paper are excellent for this purpose.
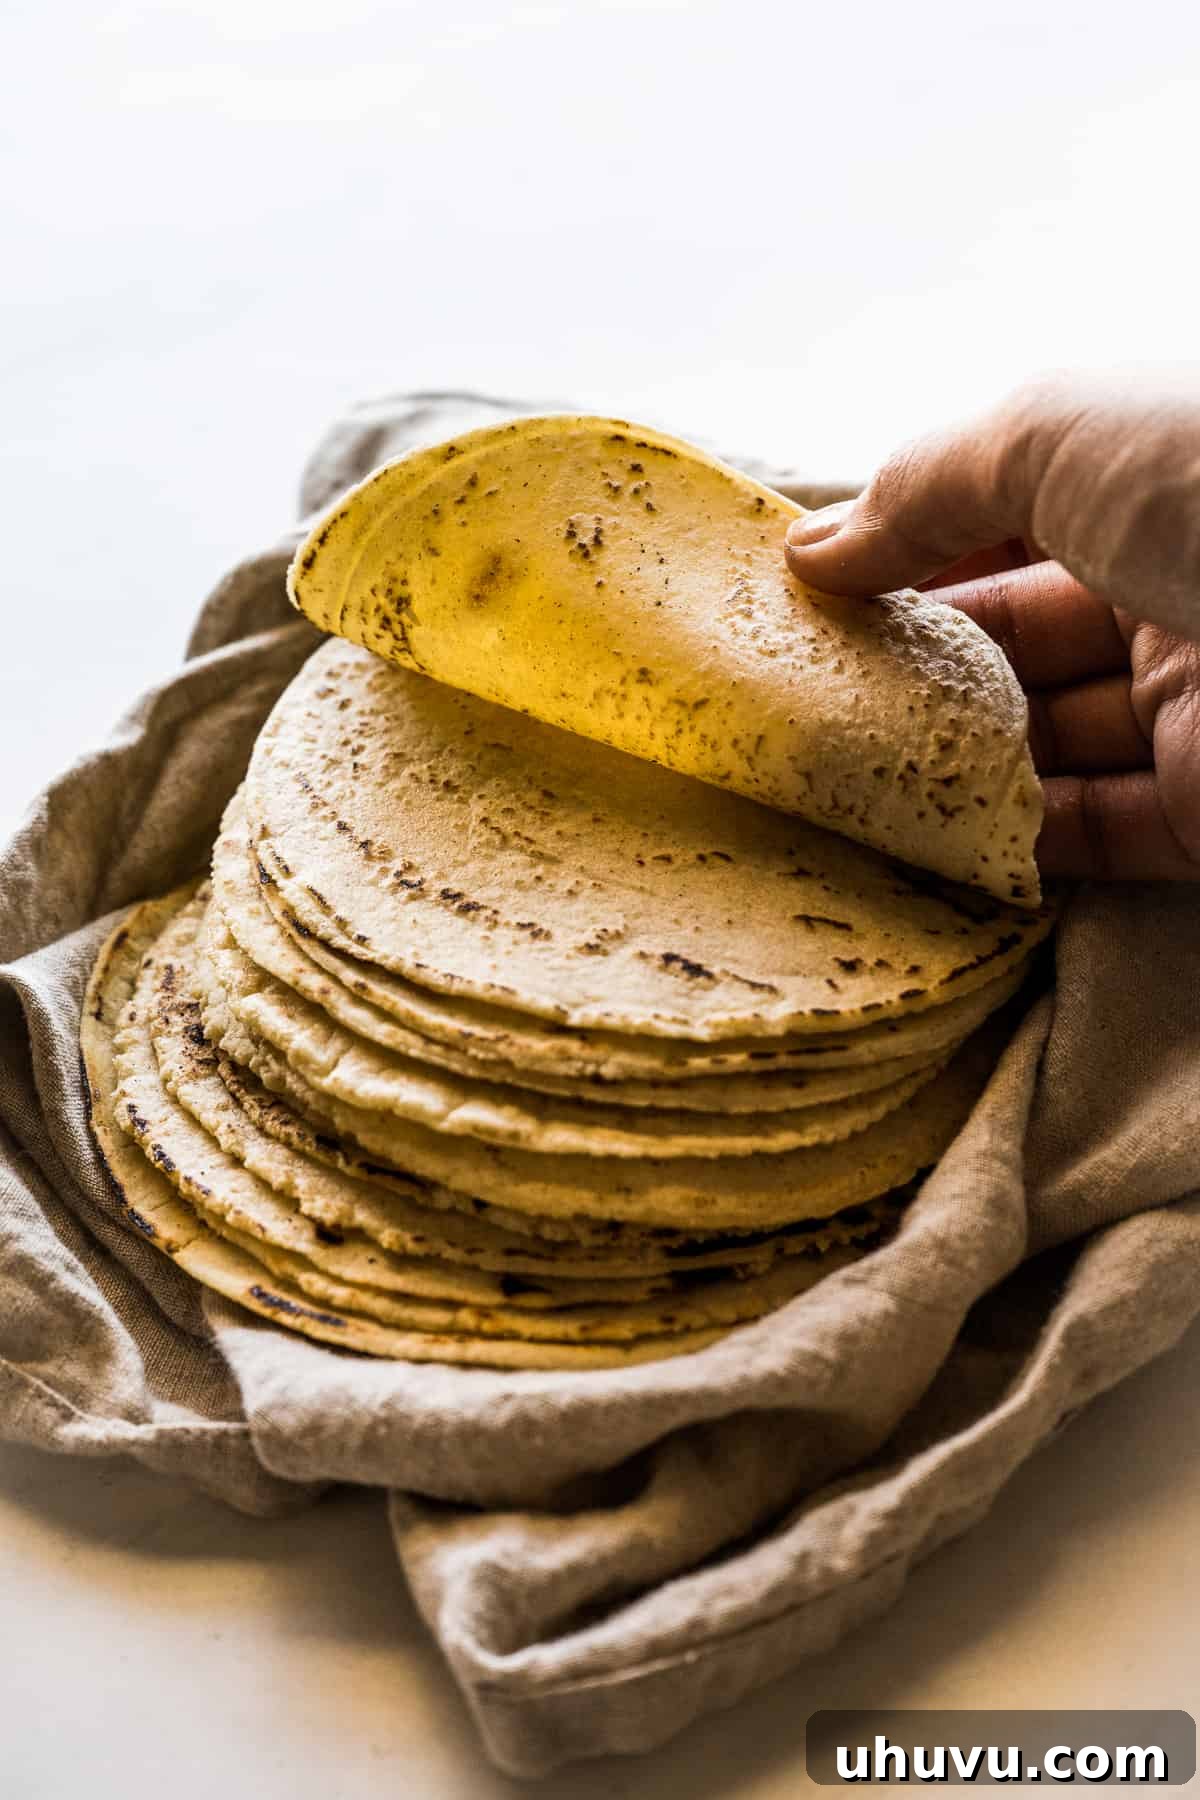
- Tortilla Warmer (Optional but Recommended): As you cook your batch of tortillas, keeping them warm and moist is crucial to maintain their pliability and softness. A tortilla warmer is designed specifically for this task. Alternatively, you can stack the cooked tortillas in a clean kitchen towel and place the towel-wrapped stack inside a large plastic storage bag. This method effectively traps heat and moisture, ensuring your tortillas remain tender and hot until ready to serve.
Step-by-Step Guide to Making Homemade Corn Tortillas
Making homemade corn tortillas is a rewarding process that, with a little practice, becomes incredibly intuitive. Follow these detailed steps for the best results:
Step 1: Combine Dry Ingredients and Form the Dough
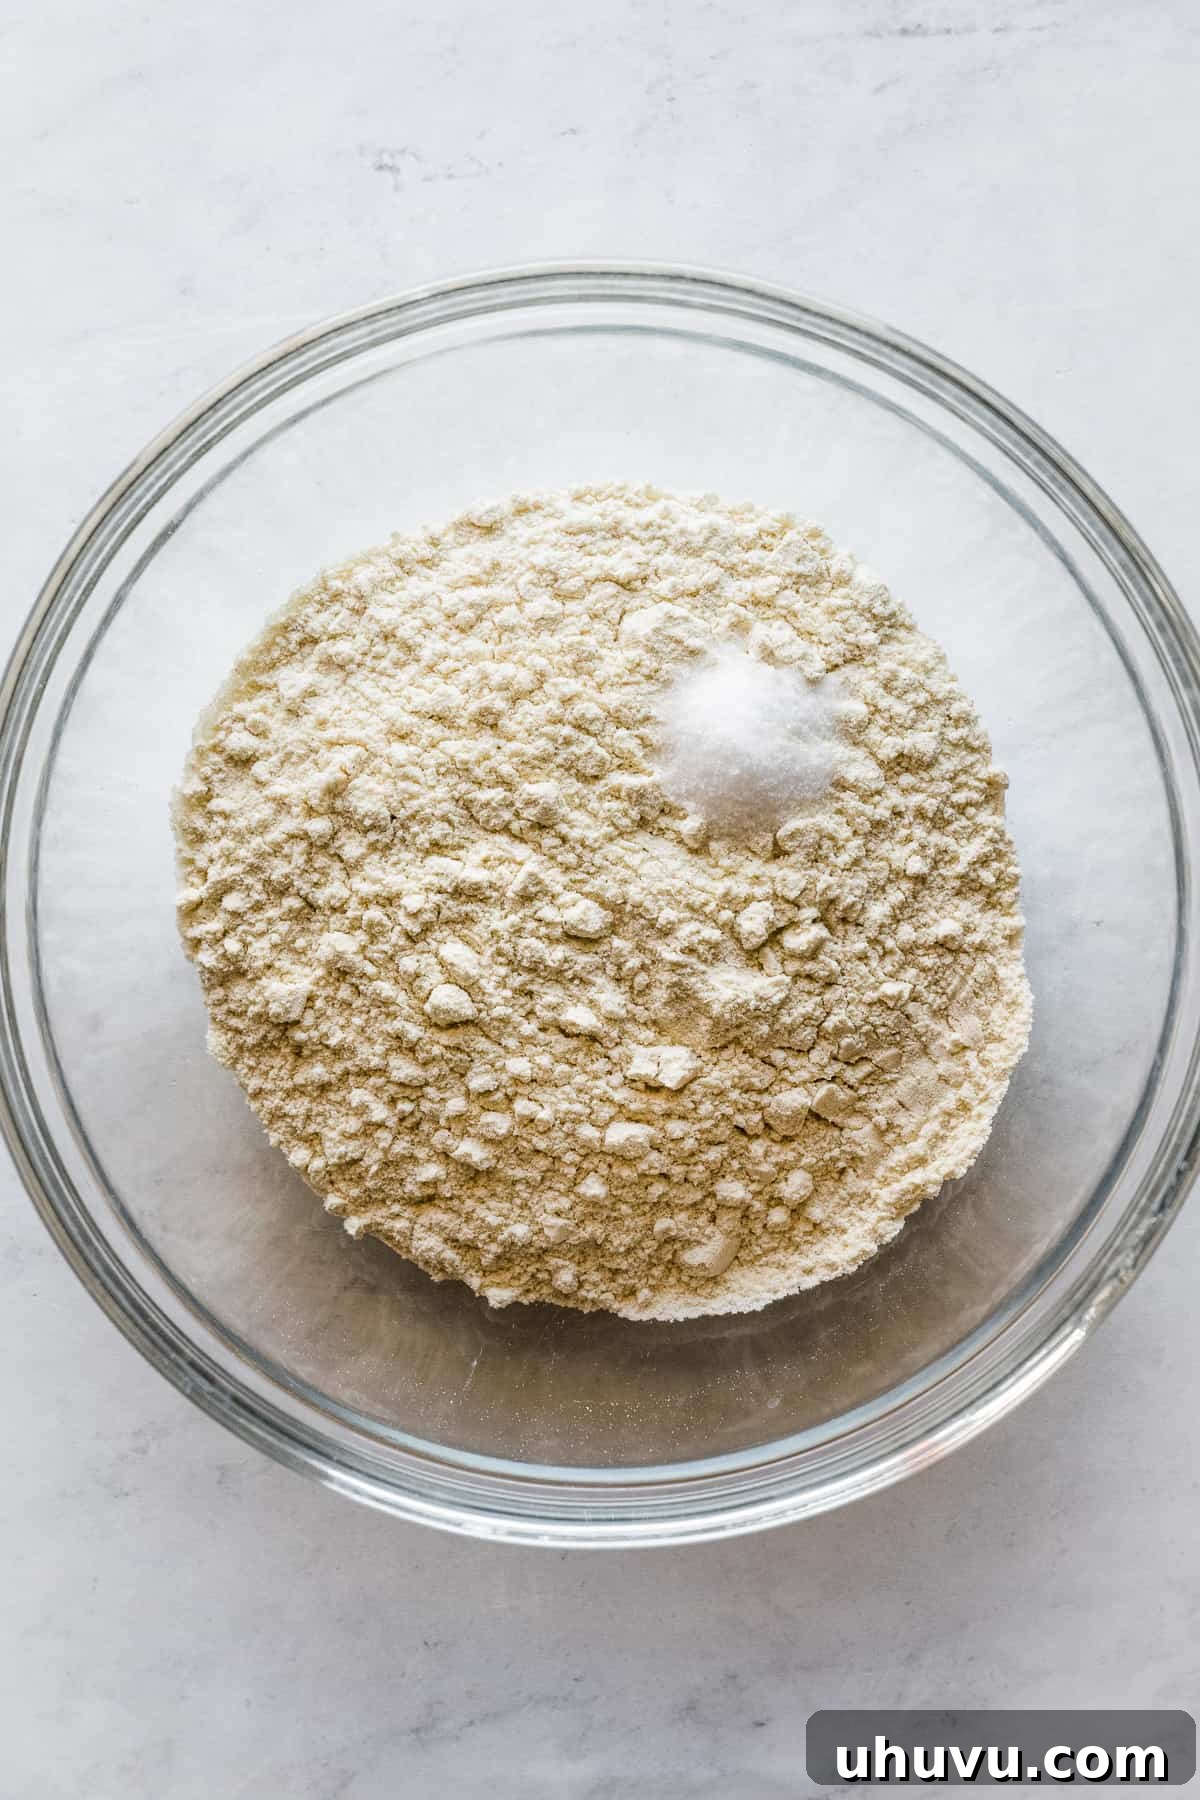
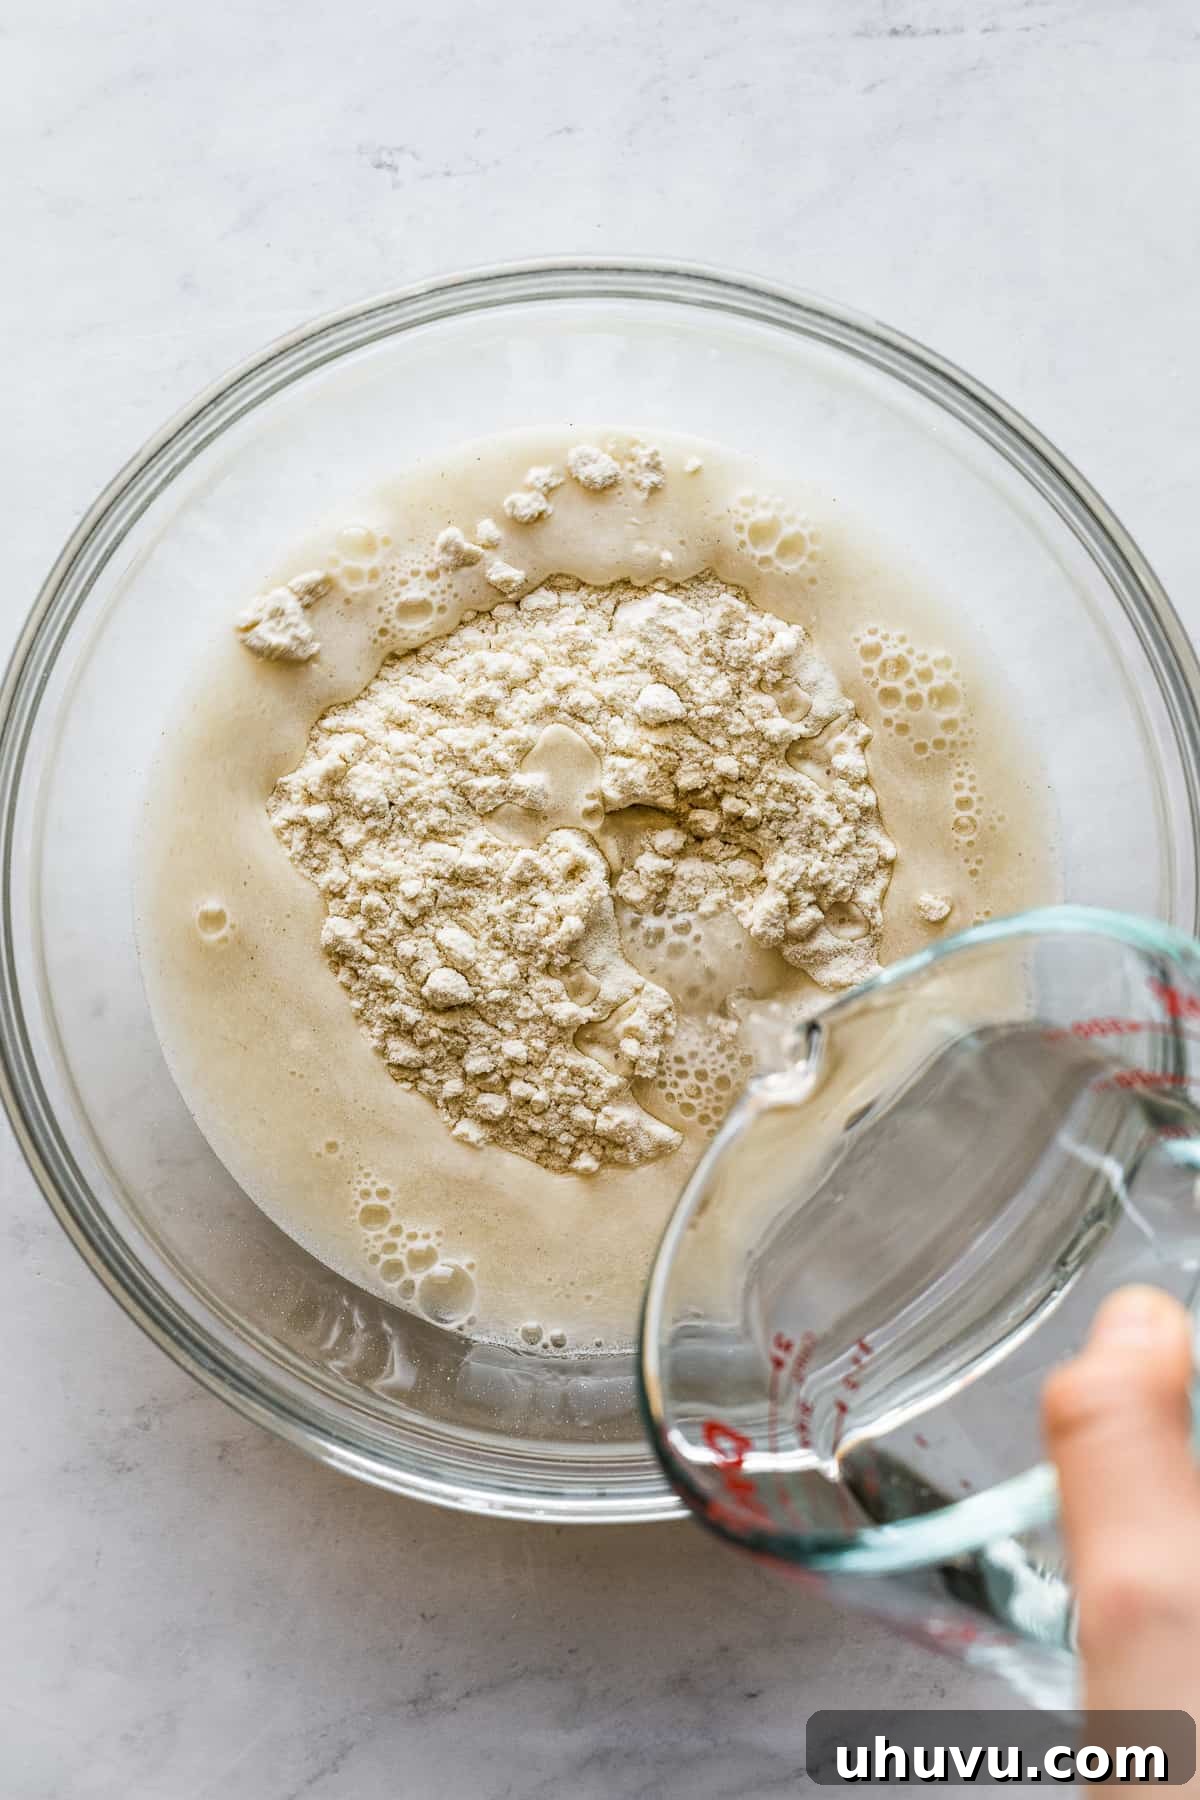
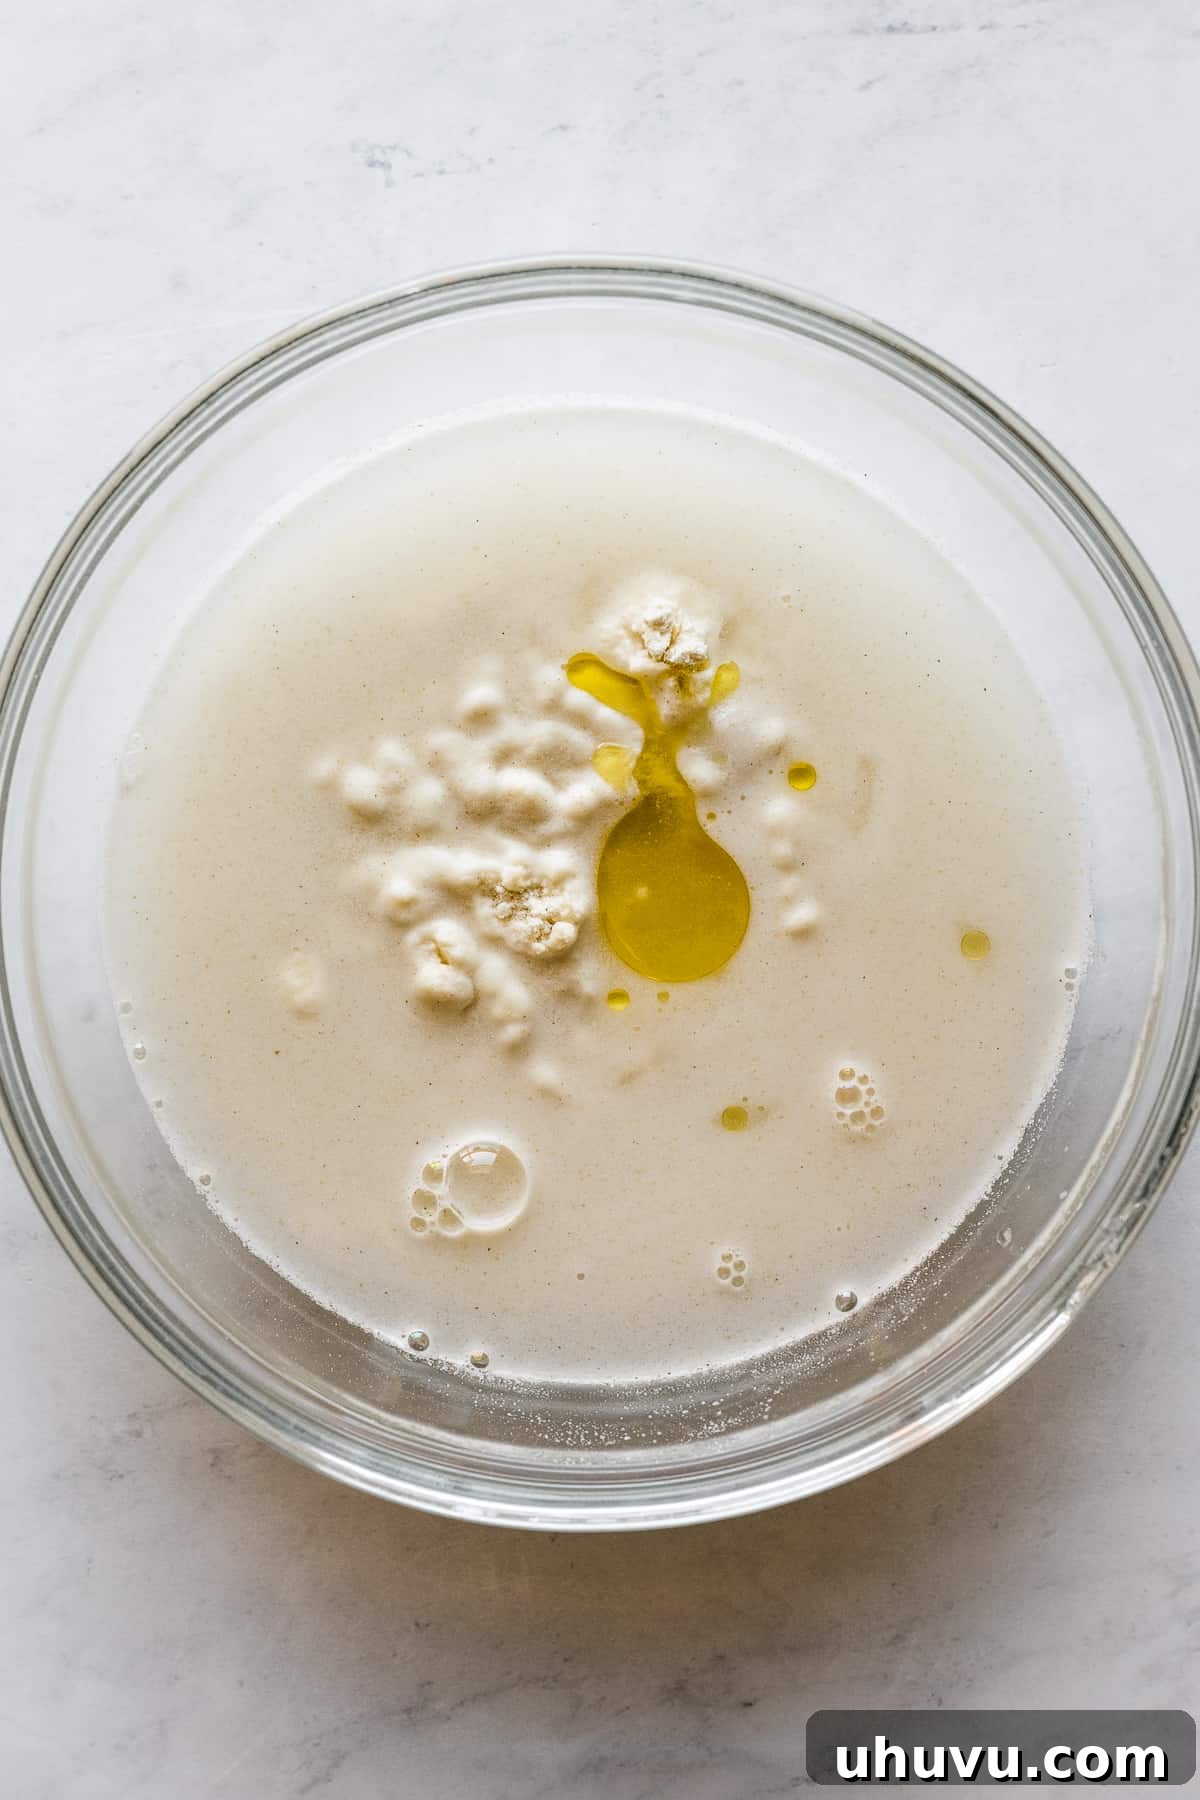
In a spacious mixing bowl, combine the masa harina and fine salt. Use a spoon or whisk to mix them thoroughly, ensuring the salt is evenly distributed. Gradually pour in the warm water and the optional olive oil or lard. Begin stirring with a spoon or your hands until the ingredients start to come together and a shaggy dough forms.
Step 2: Knead the Dough and Check for Correct Consistency
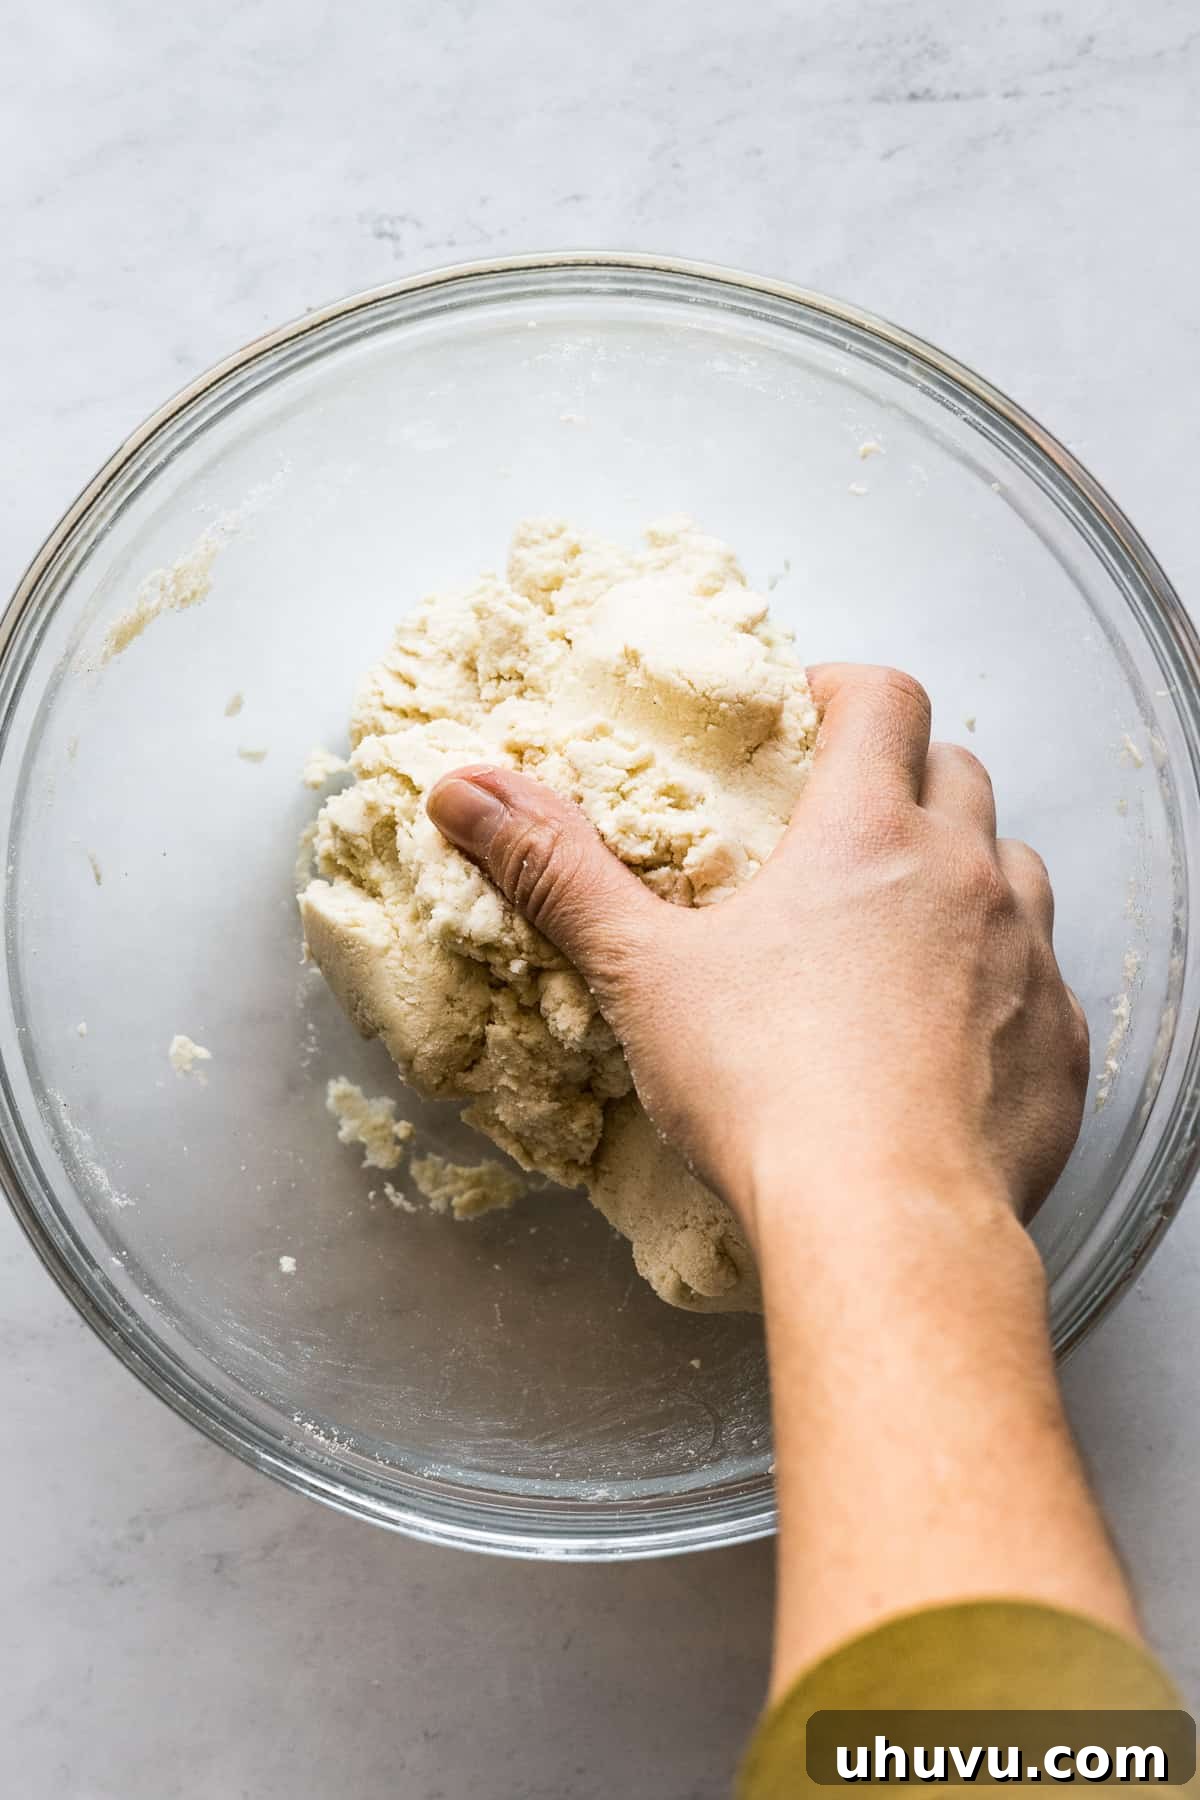
Once the dough has initially come together, switch to kneading with your hands. Continue to knead the dough for approximately 3 minutes. This process is crucial for fully hydrating the masa harina and developing a smooth, cohesive dough. You’ll know the dough is ready when all the water has been absorbed, and it forms a soft, uniform ball without being overly sticky. To test for the perfect consistency, pinch off a small piece of dough and roll it into a ball. Then, gently press down on the ball with your finger or the palm of your hand. If the edges of the flattened disc crack significantly, the dough is too dry and needs a tablespoon or two more of warm water. If the dough feels excessively sticky and adheres stubbornly to your skin, it’s too wet and requires a small amount of additional masa harina. Adjust gradually, kneading after each addition, until it reaches the ideal, pliable texture that passes the crack test. (Refer to the “Recipe Tips” section below for more guidance on dough consistency).
Step 3: Portion and Prepare Dough Balls
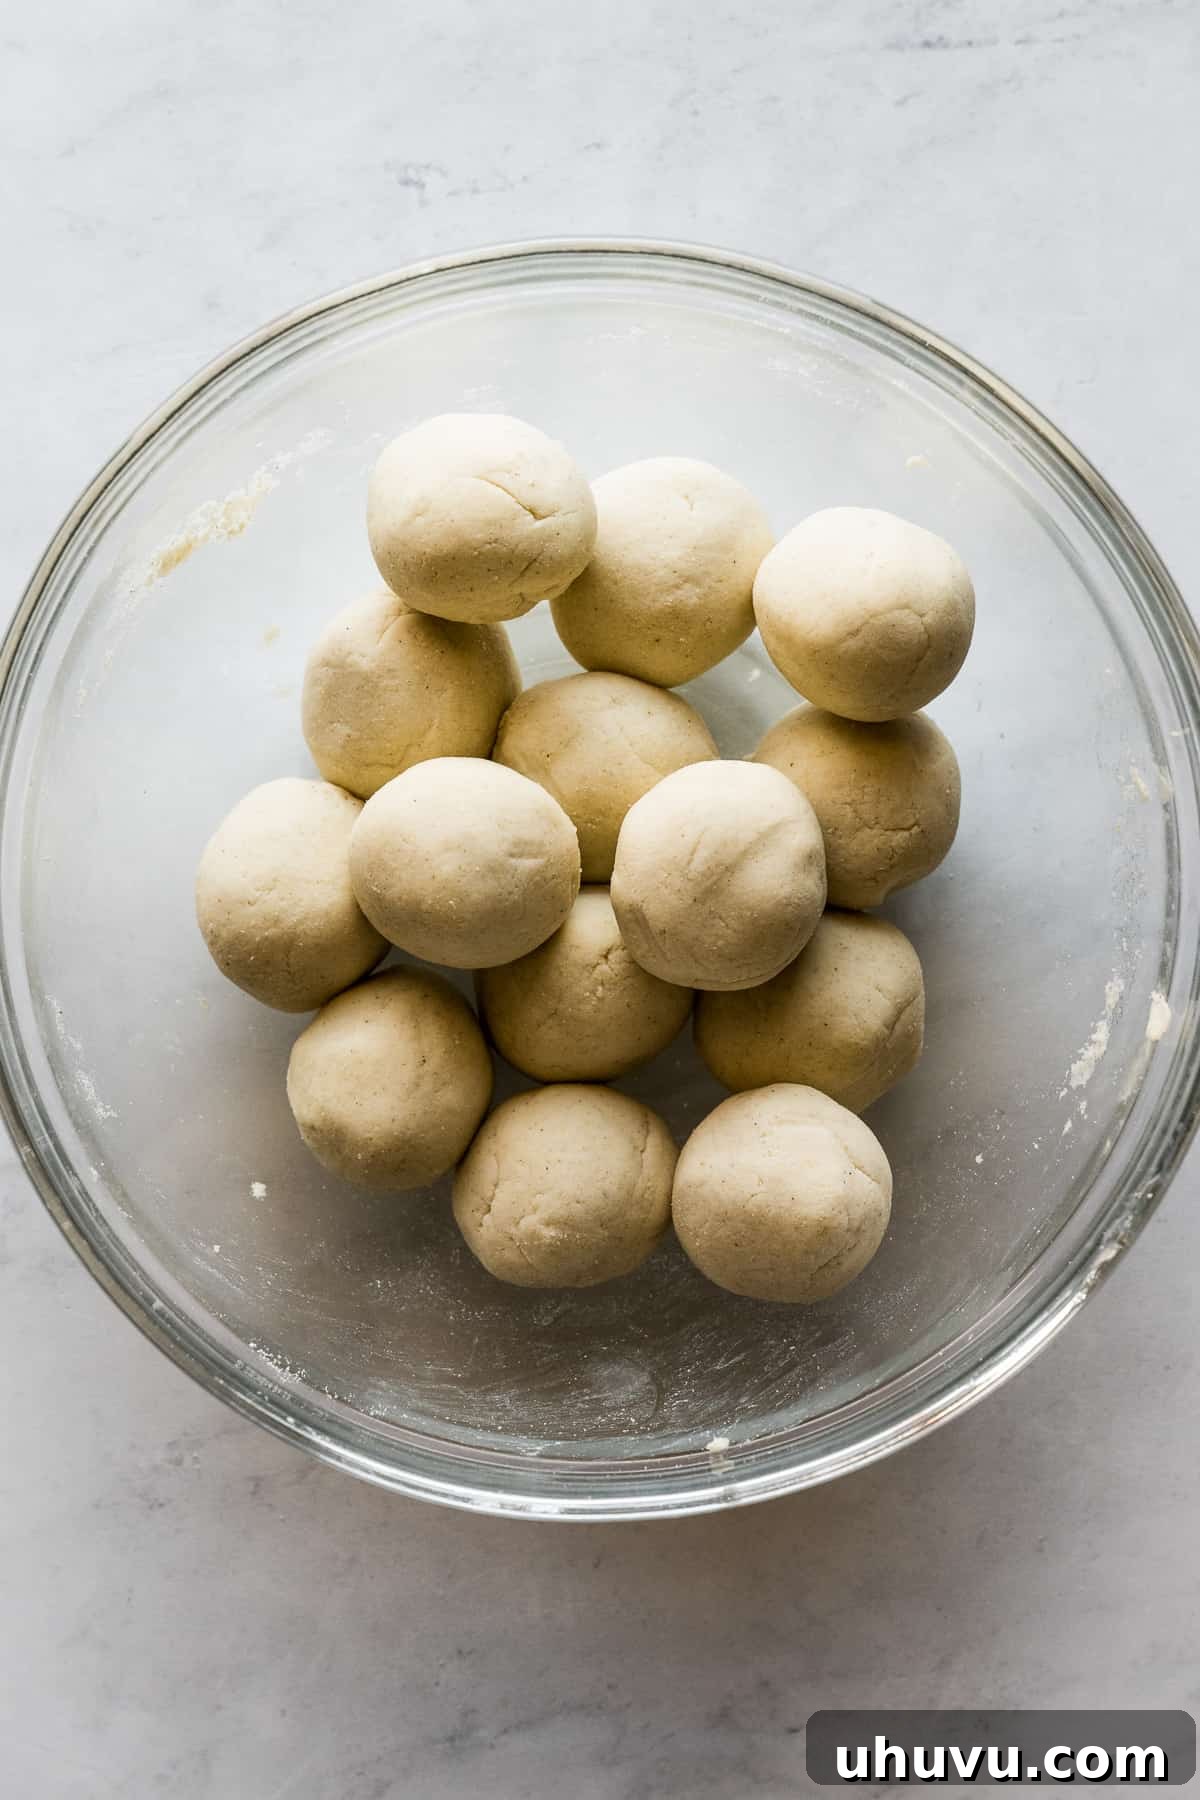
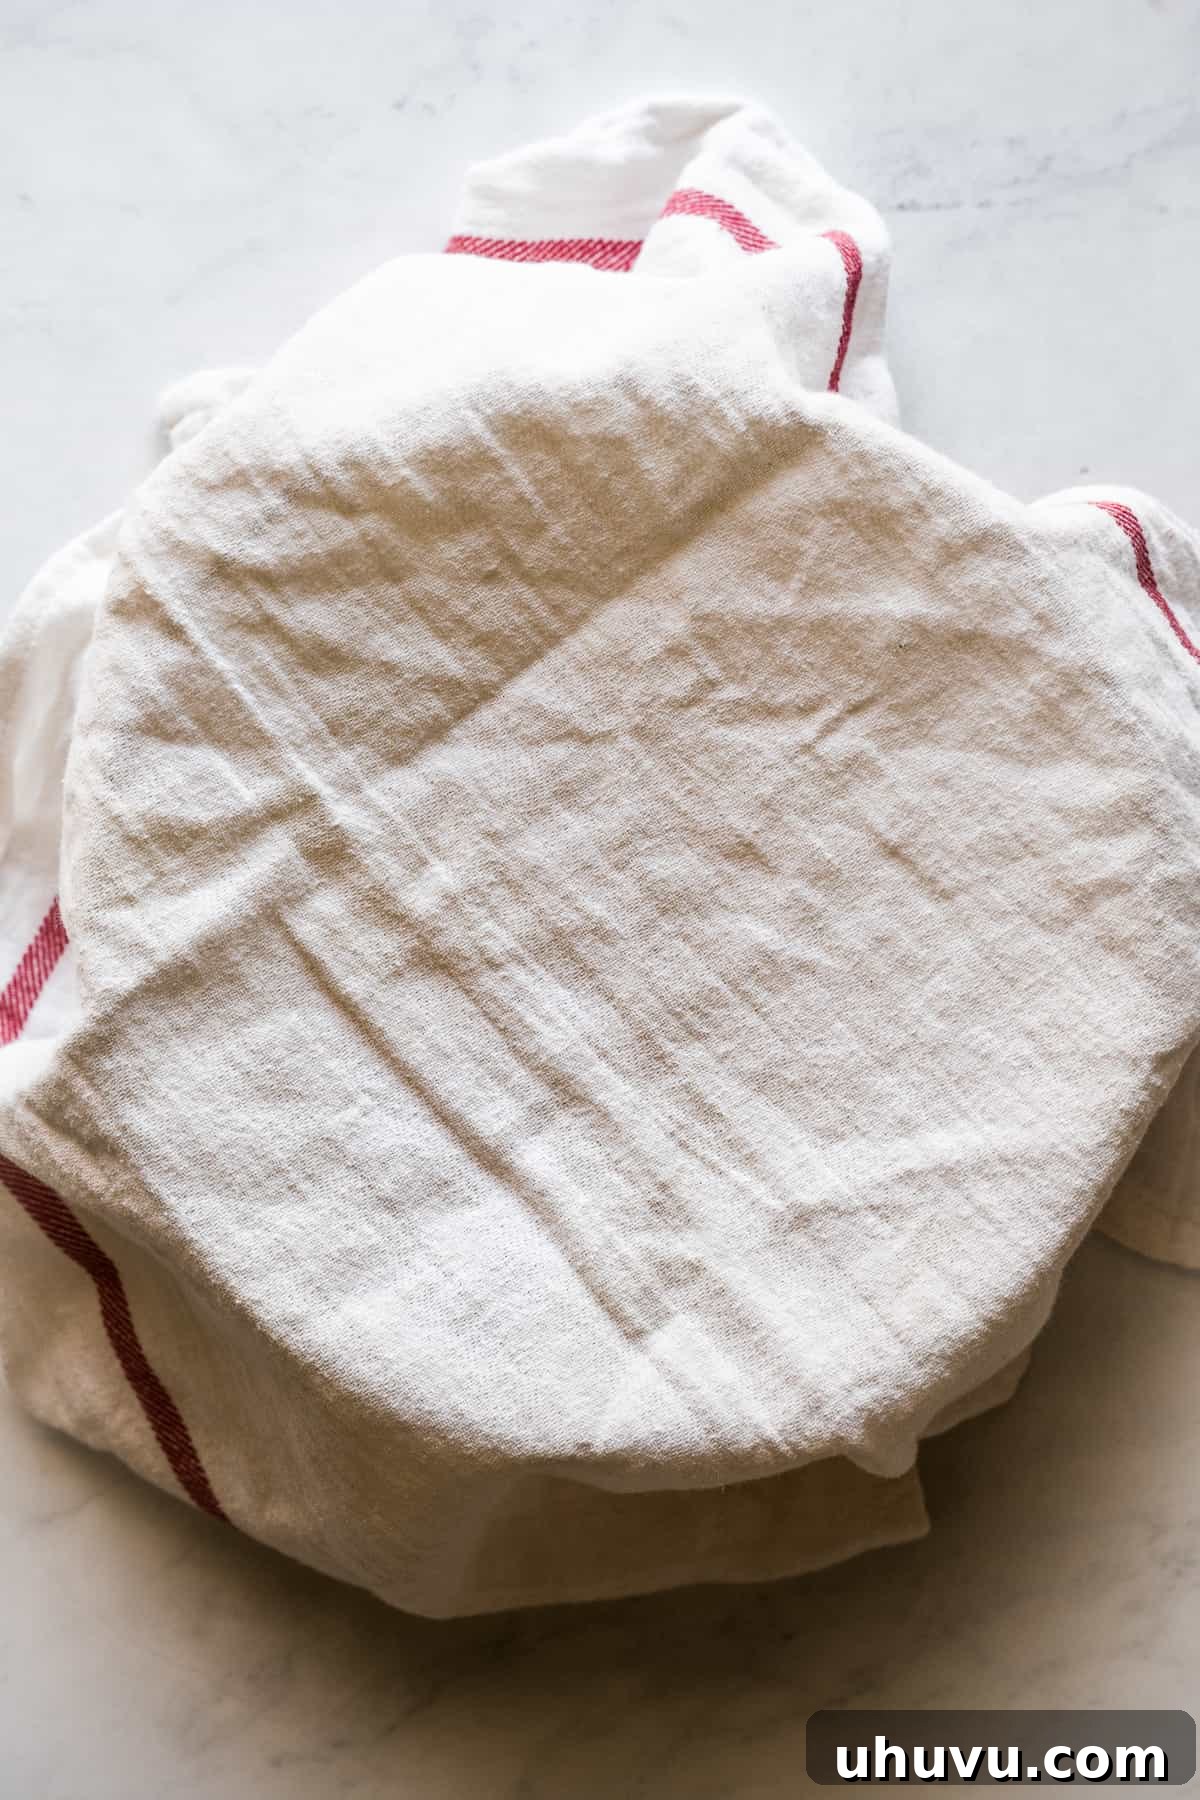
Once your dough has reached the perfect consistency, divide it into 14 equal portions. The easiest way to do this is to roll the dough into a log and cut it into even pieces. Then, take each piece and roll it gently between your palms to form smooth, uniform balls. As you finish rolling each ball, place them in a bowl and immediately cover them with a clean, damp cloth or plastic wrap. This step is crucial to prevent the dough from drying out, which can lead to cracked tortillas during pressing and cooking.
Step 4: Press the Tortillas Using a Tortilla Press (or Alternative Method)
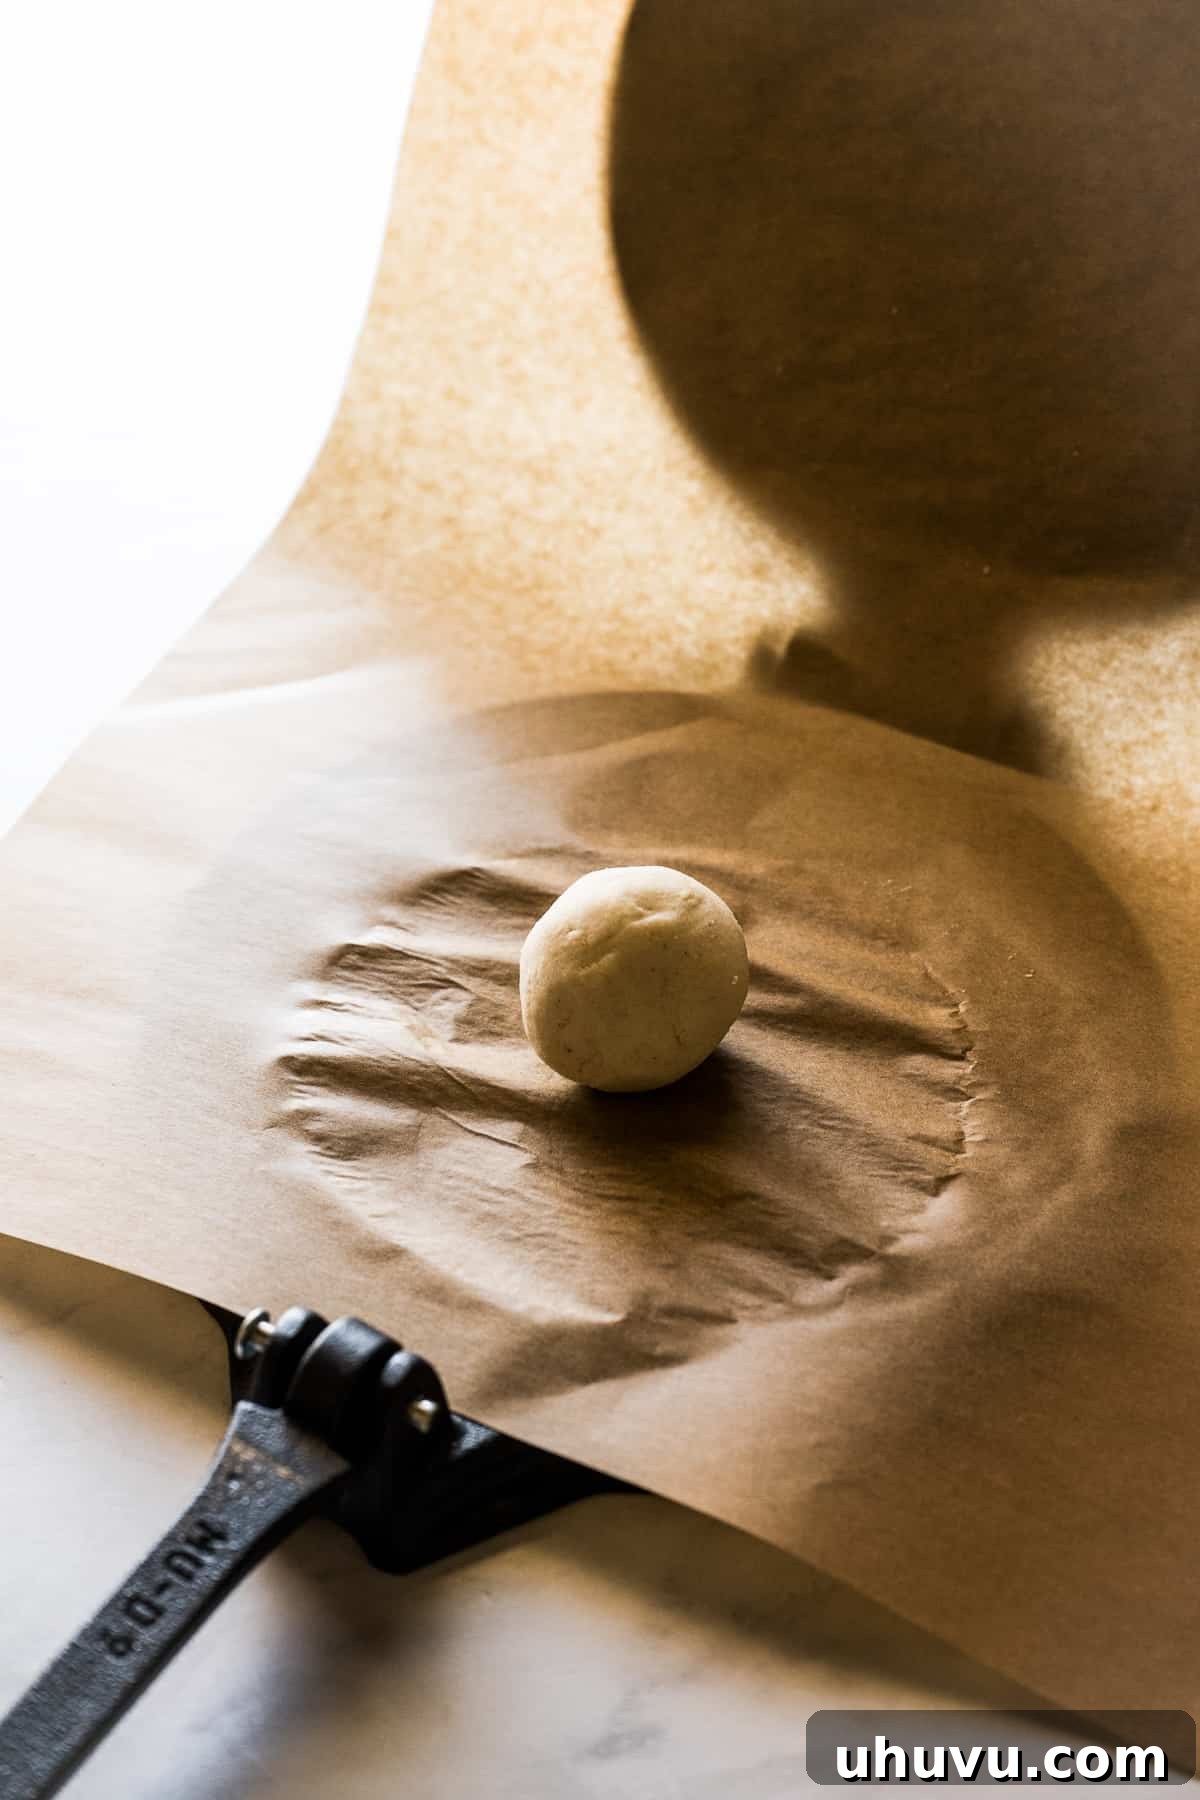
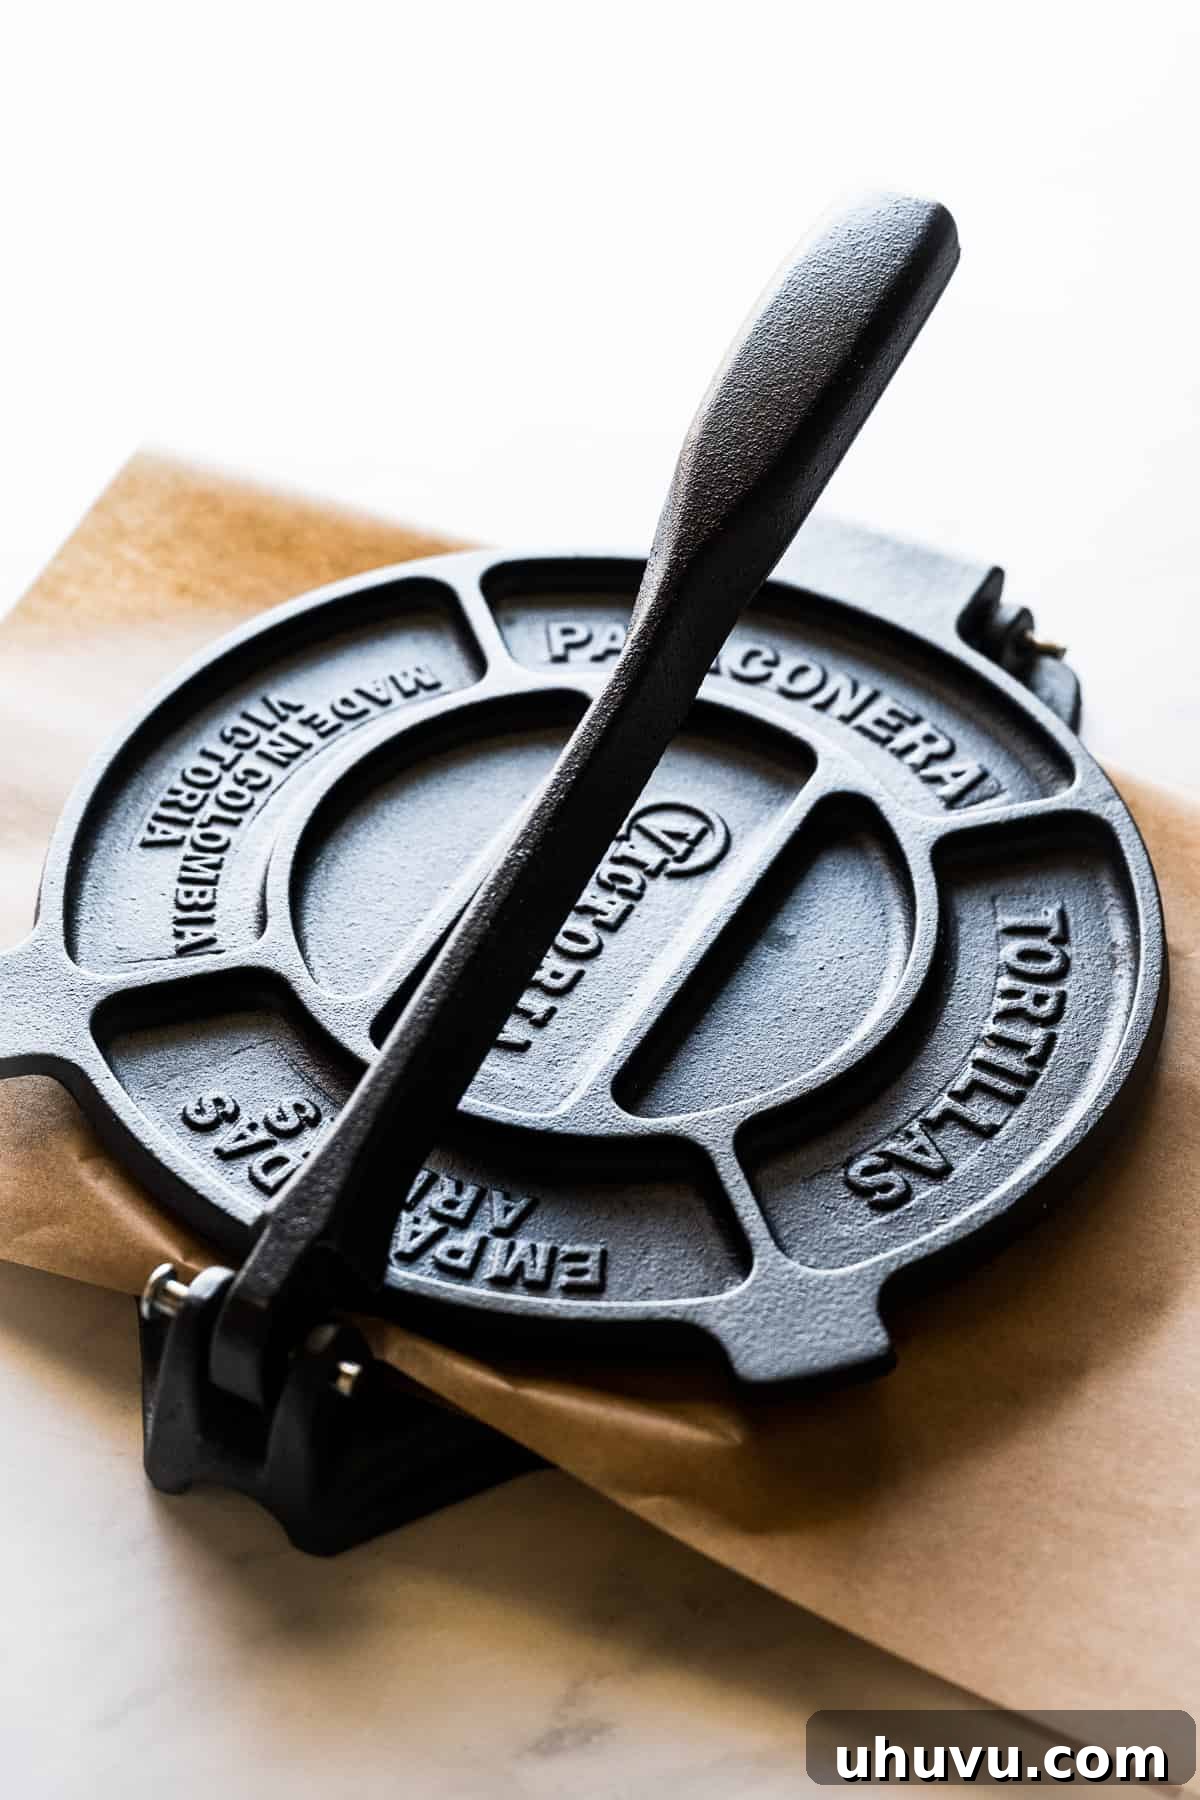
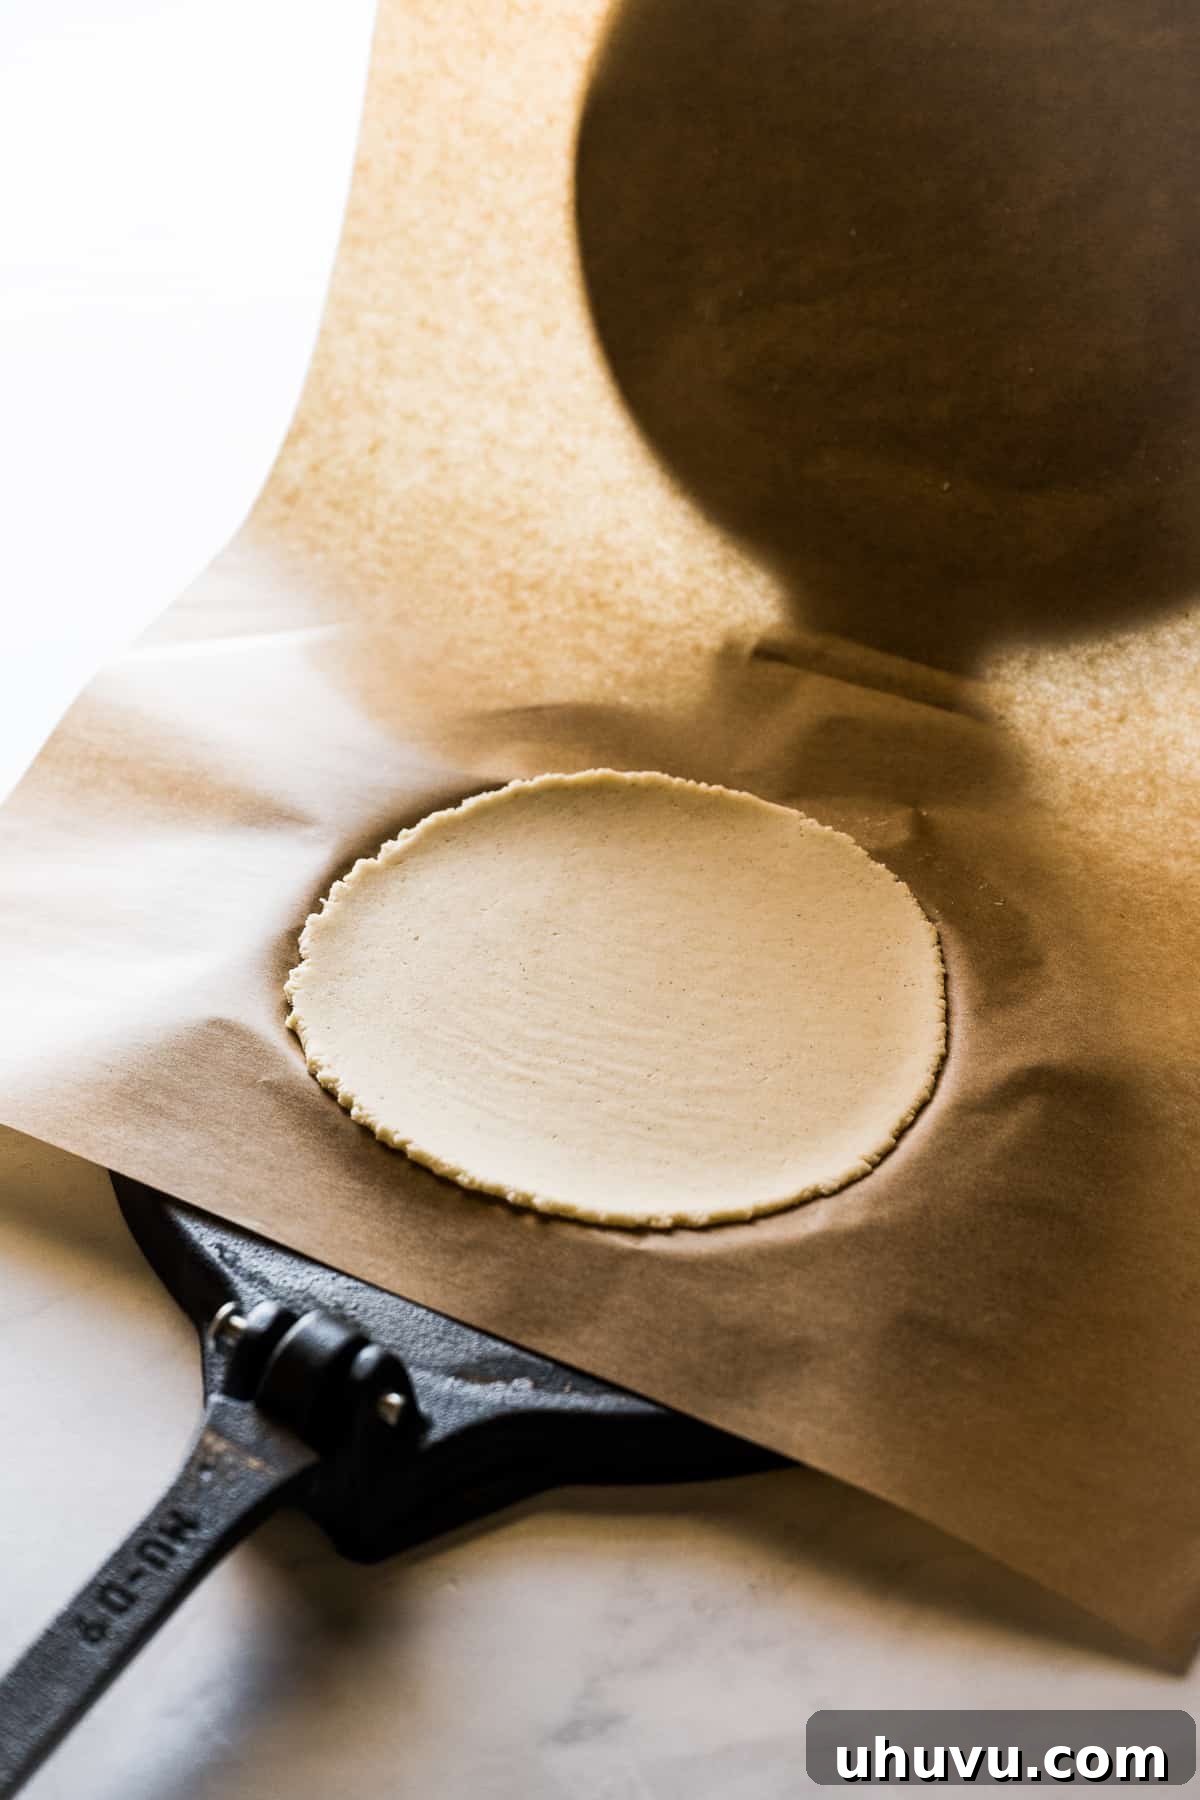
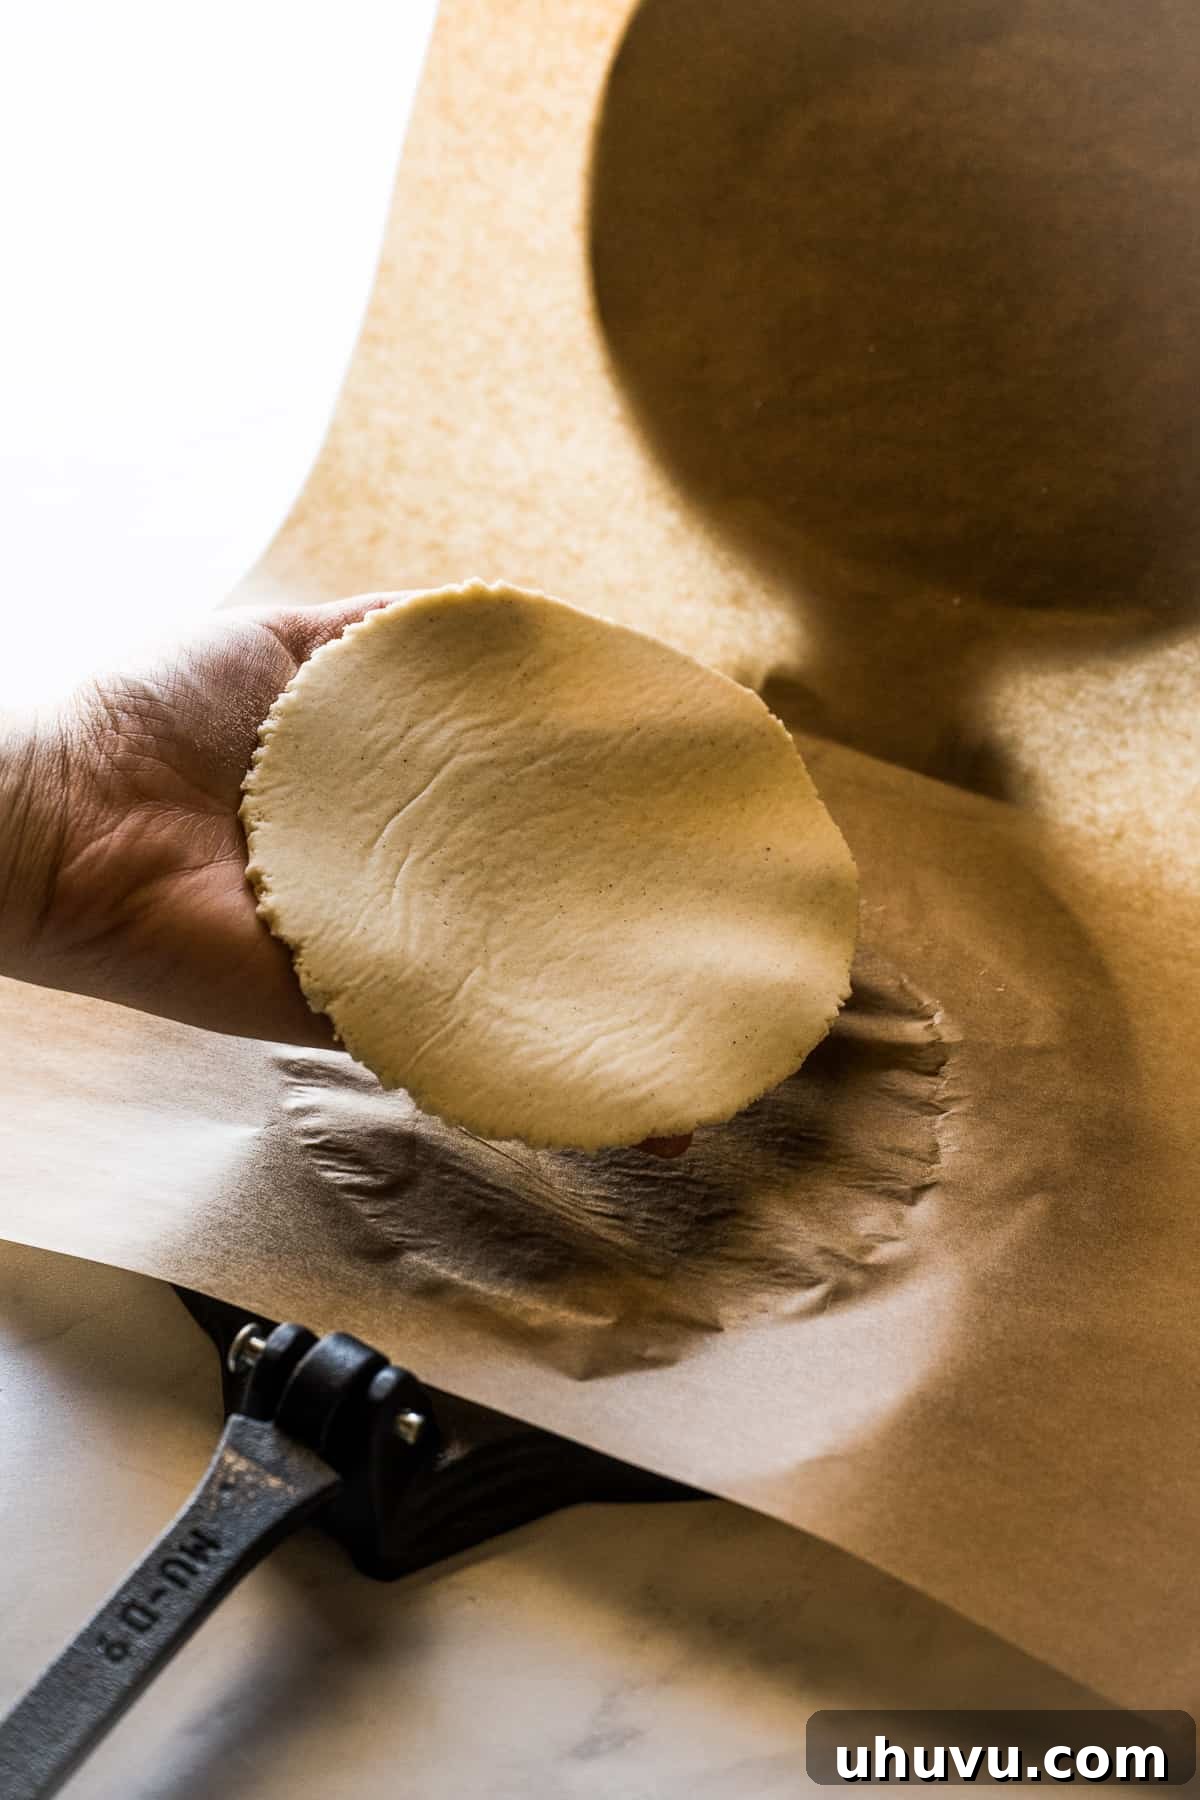
Before you begin pressing, prepare your cooking surface by heating a nonstick skillet, comal, or griddle over medium-high heat. While it heats, line your tortilla press (if using) with plastic or parchment paper. Lay one piece of plastic or parchment on the bottom half of the open press. Place one dough ball directly in the center of the lined bottom half. Fold the other side of the plastic or parchment paper over the dough ball. Gently close the tortilla press, then firmly but evenly press down on the upper handle to flatten the dough. Be careful not to press too hard or too quickly, which can cause the tortilla to thin out unevenly. Open the press and carefully peel back the plastic or parchment paper from the now-flattened tortilla. Delicately transfer the raw tortilla to your hand, taking care not to tear it.
Step 5: Cook the Tortillas to Golden Perfection
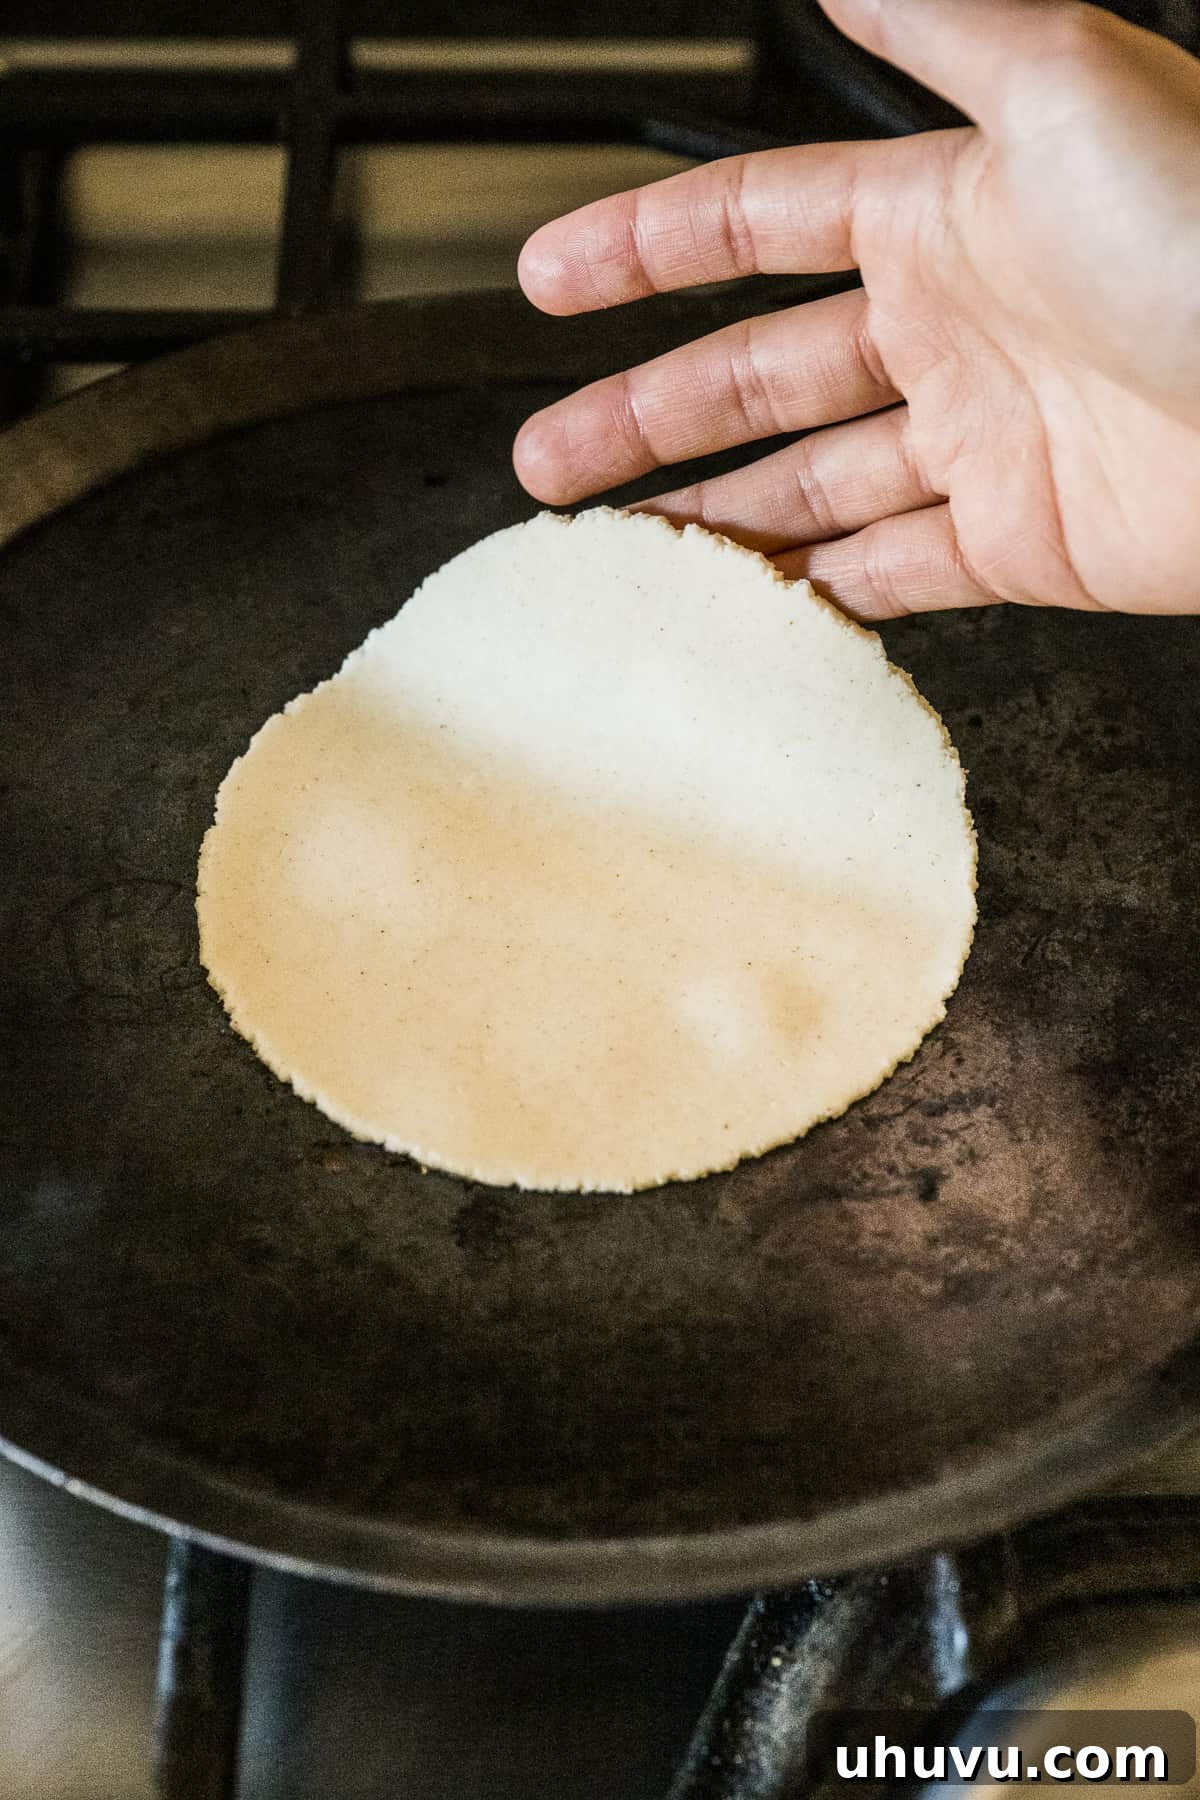
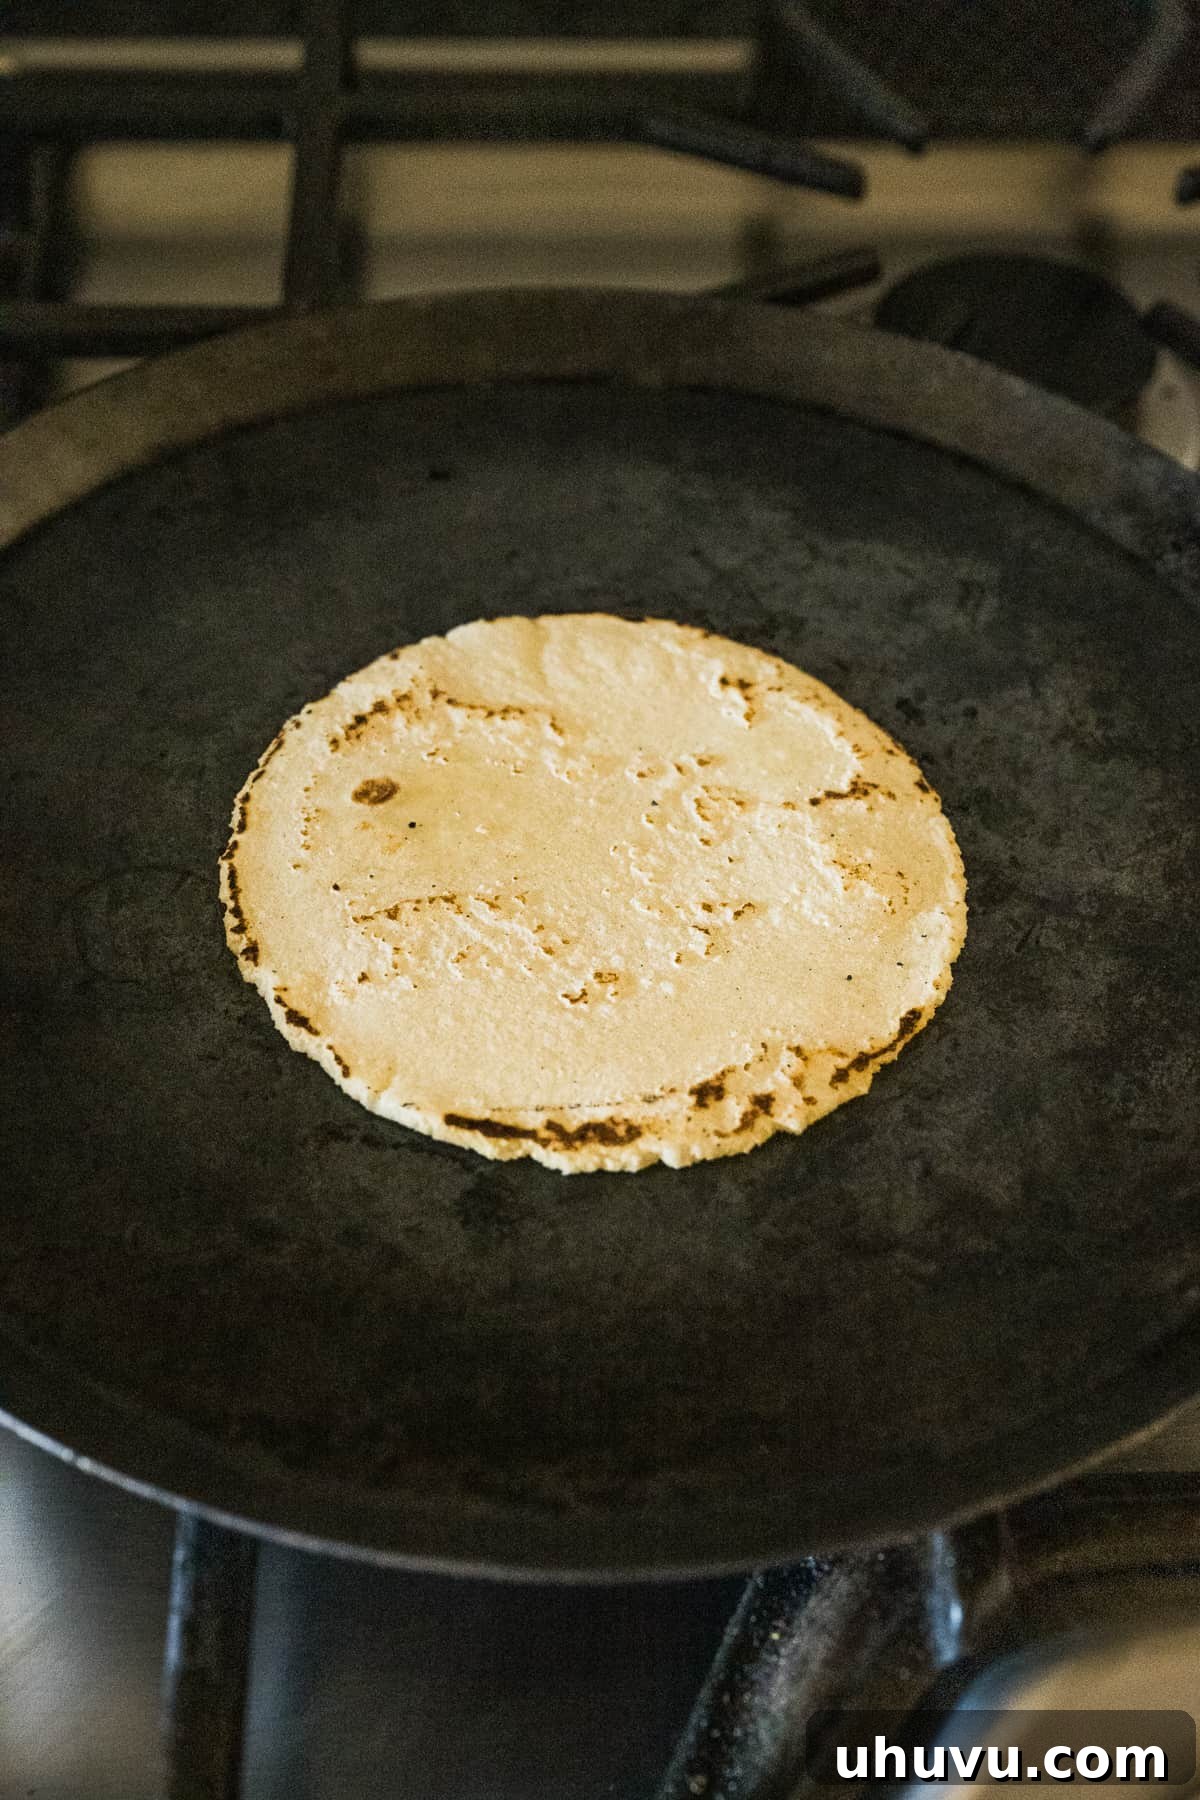
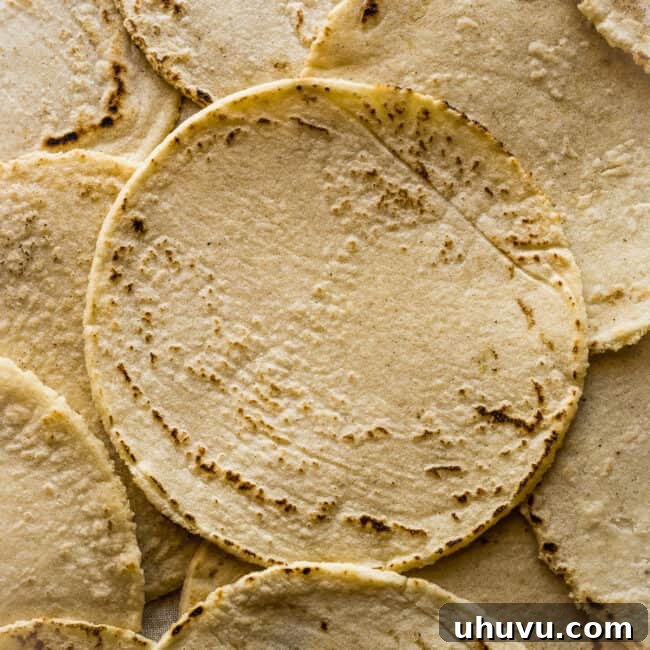
Working with one or two tortillas at a time (depending on your pan size), carefully place the raw tortilla onto your preheated nonstick skillet, comal, or griddle. Cook for an initial 15 to 20 seconds. During this first stage, the tortilla will begin to cook and firm up slightly. Flip the tortilla to the other side and cook for another 15 to 20 seconds. This second quick cook creates a subtle sear, which helps trap steam inside, encouraging the tortilla to puff. Finally, flip the tortilla again and cook for an additional 30 seconds to 1 minute on each side, or until it develops light brown spots and, ideally, puffs up like a balloon. The puffing is a sign of a perfectly cooked tortilla with the right dough consistency and pan temperature.
Step 6: Keep Tortillas Warm and Pliable
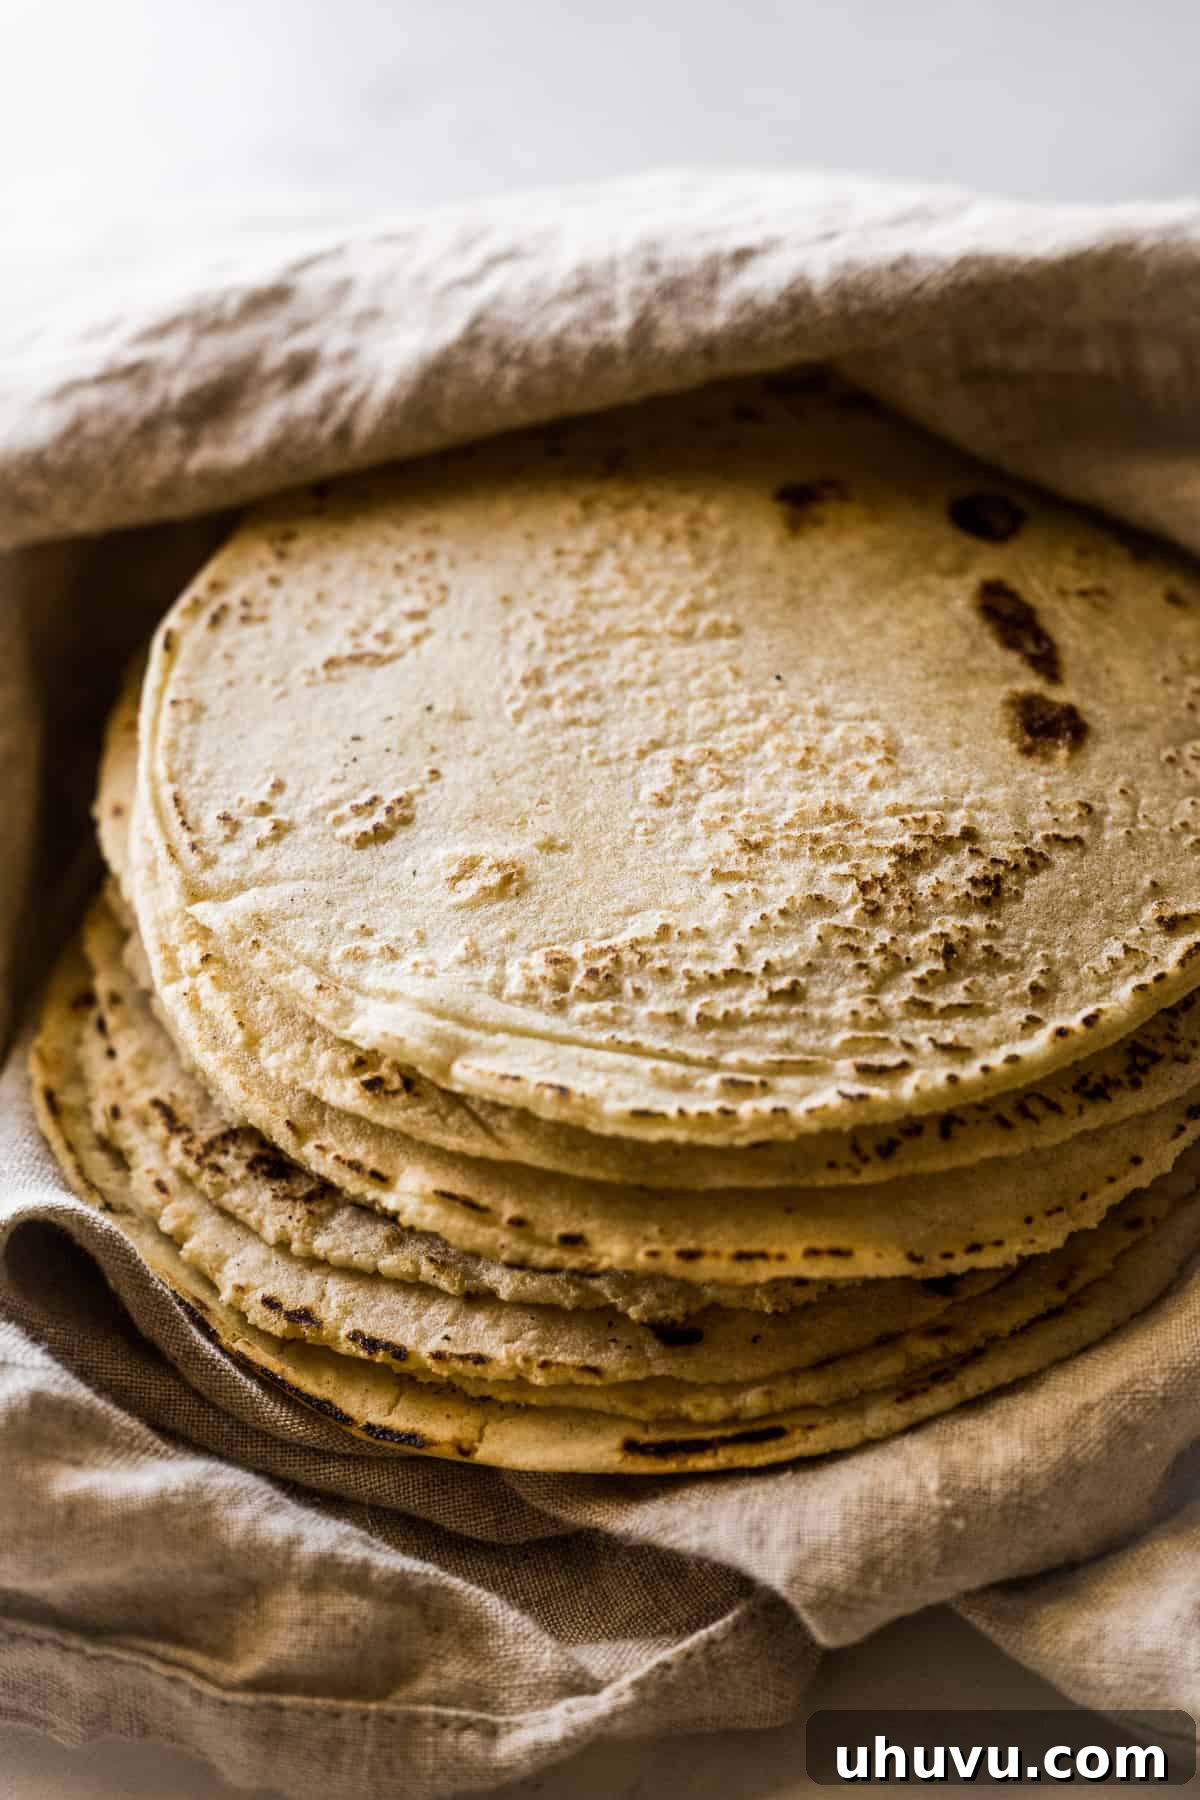
As each tortilla finishes cooking, immediately transfer it to a tortilla warmer. If you don’t have a dedicated warmer, stack them inside a clean kitchen towel, then place the towel-wrapped stack inside a large resealable plastic bag. This method is essential for keeping the tortillas warm, soft, and pliable while you continue cooking the rest of the batch. Trapping the heat and steam prevents them from drying out and becoming stiff.
The dedication and effort it takes to make homemade corn tortillas truly pay off with an explosion of fresh, authentic flavor and an incredibly satisfying texture. Once you’ve tasted these, you’ll find it hard to go back to store-bought options!
Expert Tips for Perfect Corn Tortillas
Achieving consistently perfect corn tortillas comes with practice, but these tips will help you navigate common challenges and elevate your results:
- Mastering Water Content is Key: The most critical factor in successful corn tortillas is the moisture level of the dough. It can be a bit tricky, especially for first-timers. Always start with the recommended 1 ½ cups of water, then add more incrementally, one tablespoon at a time, as needed. You’ll need to trust your hands to gauge the dough’s wetness. The goal is a dough that is as moist as possible without becoming too sticky to handle. If it’s sticking to your hands and falling apart, it’s too wet. If it feels dry and crumbly, it definitely needs more water.
- The “Crack Test” for Dough Readiness: This simple test is your best friend for checking the dough’s hydration. Take a small portion of dough and roll it into a smooth ball. Gently press down on the center of this ball with a finger or the palm of your hand to flatten it slightly. If the edges of the flattened disc show significant cracks, the dough is too dry. Even if it feels okay, trust the crack test. Knead in a tablespoon or two of warm water at a time, then re-test, until the dough passes this consistency check with smooth, crack-free edges.
- Achieving the Coveted Tortilla Puff: A tortilla that puffs up beautifully on the griddle is the ultimate sign of perfection—it means you’ve achieved the ideal dough moisture and cooking conditions. While it takes some practice, once you get a feel for your dough and your stove’s heat, it becomes second nature. The primary factor influencing the puff is the dough’s moisture level. More moisture means more steam is generated during cooking, which gets trapped inside, causing the tortilla to inflate. If your dough’s moisture seems right, then focus on your pan temperature and cooking technique. Are you cooking the tortilla for too long on one side, causing it to dry out before it has a chance to puff? My preferred method is to cook for 15-20 seconds on the first side, flip, cook for another 15-20 seconds, flip again, then cook for about 30 seconds before a final flip. The initial quick flips help create a sear that seals in moisture, enabling the puff!
- No Tortilla Press? No Problem!: If you don’t have a dedicated tortilla press, you can still make perfectly round and flat tortillas. Simply place a dough ball between two sheets of parchment paper. Then, use a heavy, flat object like a large glass baking dish, a cast-iron skillet, or a sturdy cutting board to press down on the dough as evenly as possible. Apply firm, steady pressure, and rotate the dish if needed, to achieve a uniform thickness across the entire tortilla.
How to Keep Your Homemade Tortillas Warm and Soft
To ensure your homemade corn tortillas remain warm, soft, and pliable for serving, it’s crucial to properly store them immediately after cooking. The best method is to place them inside a tortilla warmer. If you don’t have one, wrap the stack of cooked tortillas snugly in a clean kitchen towel, then place the entire bundle inside a large resealable plastic storage bag (such as a Ziploc). This creates a steamy environment that traps both heat and moisture, preventing the tortillas from drying out and becoming stiff.
Storing Leftover Corn Tortillas
For storing any leftover corn tortillas, allow them to cool slightly (they can still be warm, but not piping hot) or completely. Once cooled, wrap them tightly in a clean kitchen towel and place them inside a large plastic storage bag or an airtight container. Stored properly in the refrigerator, homemade corn tortillas will retain their quality for up to one week.
Reheating Corn Tortillas for Best Flavor
The key to enjoying leftover homemade corn tortillas is reheating them correctly to restore their original texture and flavor. The most effective methods involve direct heat: heat them in a dry skillet or comal on the stovetop over medium-high heat, flipping frequently until warmed through and pliable. Alternatively, for a slightly smoky flavor and quick reheat, you can carefully warm them directly over an open flame on a gas stove burner (using tongs) for a few seconds per side.
I strongly advise against reheating corn tortillas in the microwave. Microwaving tends to strip them of their moisture, making them dry, stiff, and prone to cracking, which significantly diminishes their enjoyable texture.
Recommended Tools for Tortilla Making
While you can certainly make tortillas with minimal equipment, these tools make the process much more efficient and enjoyable:
- Tortilla Press: An absolute must-have for anyone serious about making homemade corn tortillas. It ensures consistent thickness and makes the pressing step incredibly easy and fast.
- Tortilla Warmer: This simple device is invaluable for keeping your tortillas warm and tender at the dinner table, ensuring everyone enjoys them at their best.
Delicious Ways to Enjoy Your Homemade Corn Tortillas
The beauty of homemade corn tortillas lies in their incredible versatility. Here are some popular and delicious ways to enjoy your fresh batch:
- Tacos: The most classic use! Fill your warm tortillas with your favorite taco ingredients like savory carnitas, spicy chorizo, or flavorful carne asada, then top with salsa, onion, and cilantro.
- Quesadillas: A quick and satisfying meal. Simply melt your favorite shredded cheese (like Oaxaca or Monterey Jack) in between two warm tortillas on a griddle until gooey and golden.
- Tostadas: For a crispy base, lightly fry your corn tortillas until golden and firm. Then, layer them with refried beans, cheese, shredded lettuce, crema, and your choice of protein or vegetables.
- Tortilla Chips: Transform your tortillas into delicious, crispy chips! Cut them into wedges and then fry, bake, or air-fry them until golden and crunchy. Perfect for serving with guacamole or your favorite homemade salsa!
- Chilaquiles: A fantastic breakfast or brunch dish. Start by making fresh tortilla chips, then toss them in a vibrant salsa roja or a zesty salsa verde. Top with a fried egg, a sprinkle of queso fresco, and a drizzle of crema for an unforgettable meal.
- Enchiladas: Use your freshly made tortillas as the base for traditional enchiladas, filling them with cheese, chicken, or beef, then rolling them and covering them in a rich red or green enchilada sauce before baking.
- Migas: Another hearty breakfast option. Cut tortillas into strips, fry them until crispy, then scramble them with eggs, onions, peppers, and cheese.
Explore More Authentic Mexican Recipes
If you loved making these corn tortillas, you’ll surely enjoy diving into more traditional Mexican dishes. Here are some of our favorites:
- Birria
- Flour Tortillas
- Mole Sauce (Mole Poblano)
- Chile Relleno
- Barbacoa
- Sopes
- Chile Verde
- Pozole Rojo
Corn Tortilla Recipe
Equipment
- Parchment paper or a large resealable plastic storage bag
- Tortilla press
Ingredients
- 2 cups masa harina
- 1 teaspoon fine salt
- 1 ½ cups warm water, plus more as needed
- 1 teaspoon olive oil or lard, optional
Instructions
- In a large bowl, combine the masa harina and salt. Stir in the water and oil until a dough forms.
- Using your hands, knead the dough until it fully comes together and all the water is absorbed, about 3 minutes. To make sure it’s ready, grab a small piece and roll it into a ball. Press down on it with a finger. If the edges of the dough crack, the dough is too dry. If the dough sticks to your skin, it’s too wet. Add more water or masa harina as necessary.
- Divide the dough into 14 equal portions, then roll each into a ball. Cover them with a clean damp cloth or plastic wrap to keep the dough moist while you press and cook the tortillas.
- Heat a griddle or skillet over medium-high heat until hot. While the griddle is heating up, cut the seams off of a large resealable plastic bag so that it makes one large rectangular piece of plastic. Alternatively, you can use parchment paper instead.
- Lay the plastic or parchment paper on the open tortilla press and place 1 dough ball on the bottom half. Fold the other side of the plastic or parchment paper over the dough and gently close and press the upper portion of the tortilla press to flatten it out. Open the tortilla press and carefully peel back the plastic or parchment paper and transfer the tortilla to your hand.
- Cooking 1 or 2 at a time, place the tortilla on the hot griddle and cook for 15 to 20 seconds. Flip and cook the other side for 15 to 20 more seconds. Flip the tortilla again and cook for another 30 seconds on each side.
- Place the cooked tortillas in a tortilla warmer or wrap them in a clean kitchen towel and place them inside of a resealable plastic bag to keep them warm and soft.
- Serve immediately or store tightly wrapped in the fridge for up to 1 week.
Video
Notes
- Fat: A little extra-virgin olive oil or lard is added to help keep the tortillas pliable for longer, as well as to add a touch of flavor. Lard is traditionally used, but olive oil also works! Some tortilla purists don’t add fat at all. It’s all personal preference! If you don’t want to add any, you can leave it out.
- A quick test to see if your dough needs more water: Take a piece of dough and roll it into a ball. Press down on the middle of the ball with a finger or the palm of your other hand. If the edges of the flattened ball crack, it’s too dry and needs more water. It may feel like it doesn’t need more water, but if it cracks, trust me – knead in a tablespoon or two of water at a time until it passes this test.
- Tortilla press: If you don’t have a tortilla press, you can use a large baking dish to flatten the dough in between two sheets of parchment paper. The trick is to press the dough as evenly as possible so that it’s the same thickness all around.
- Tortilla warmer: To keep the tortillas warm and pliable when serving, place them inside a tortilla warmer or wrap them in a clean kitchen towel and place them inside a large resealable storage bag to help them retain heat and moisture.
Nutrition
Serving: 1 tortilla | Calories: 62 kcal | Carbohydrates: 12g | Protein: 2g | Fat: 1g | Saturated Fat: 0.1g | Polyunsaturated Fat: 0.3g | Monounsaturated Fat: 0.4g | Sodium: 167mg | Potassium: 43mg | Fiber: 1g | Vitamin A: 35 IU | Calcium: 22mg | Iron: 1mg
Nutrition information is automatically calculated, so should only be used as an approximation.