
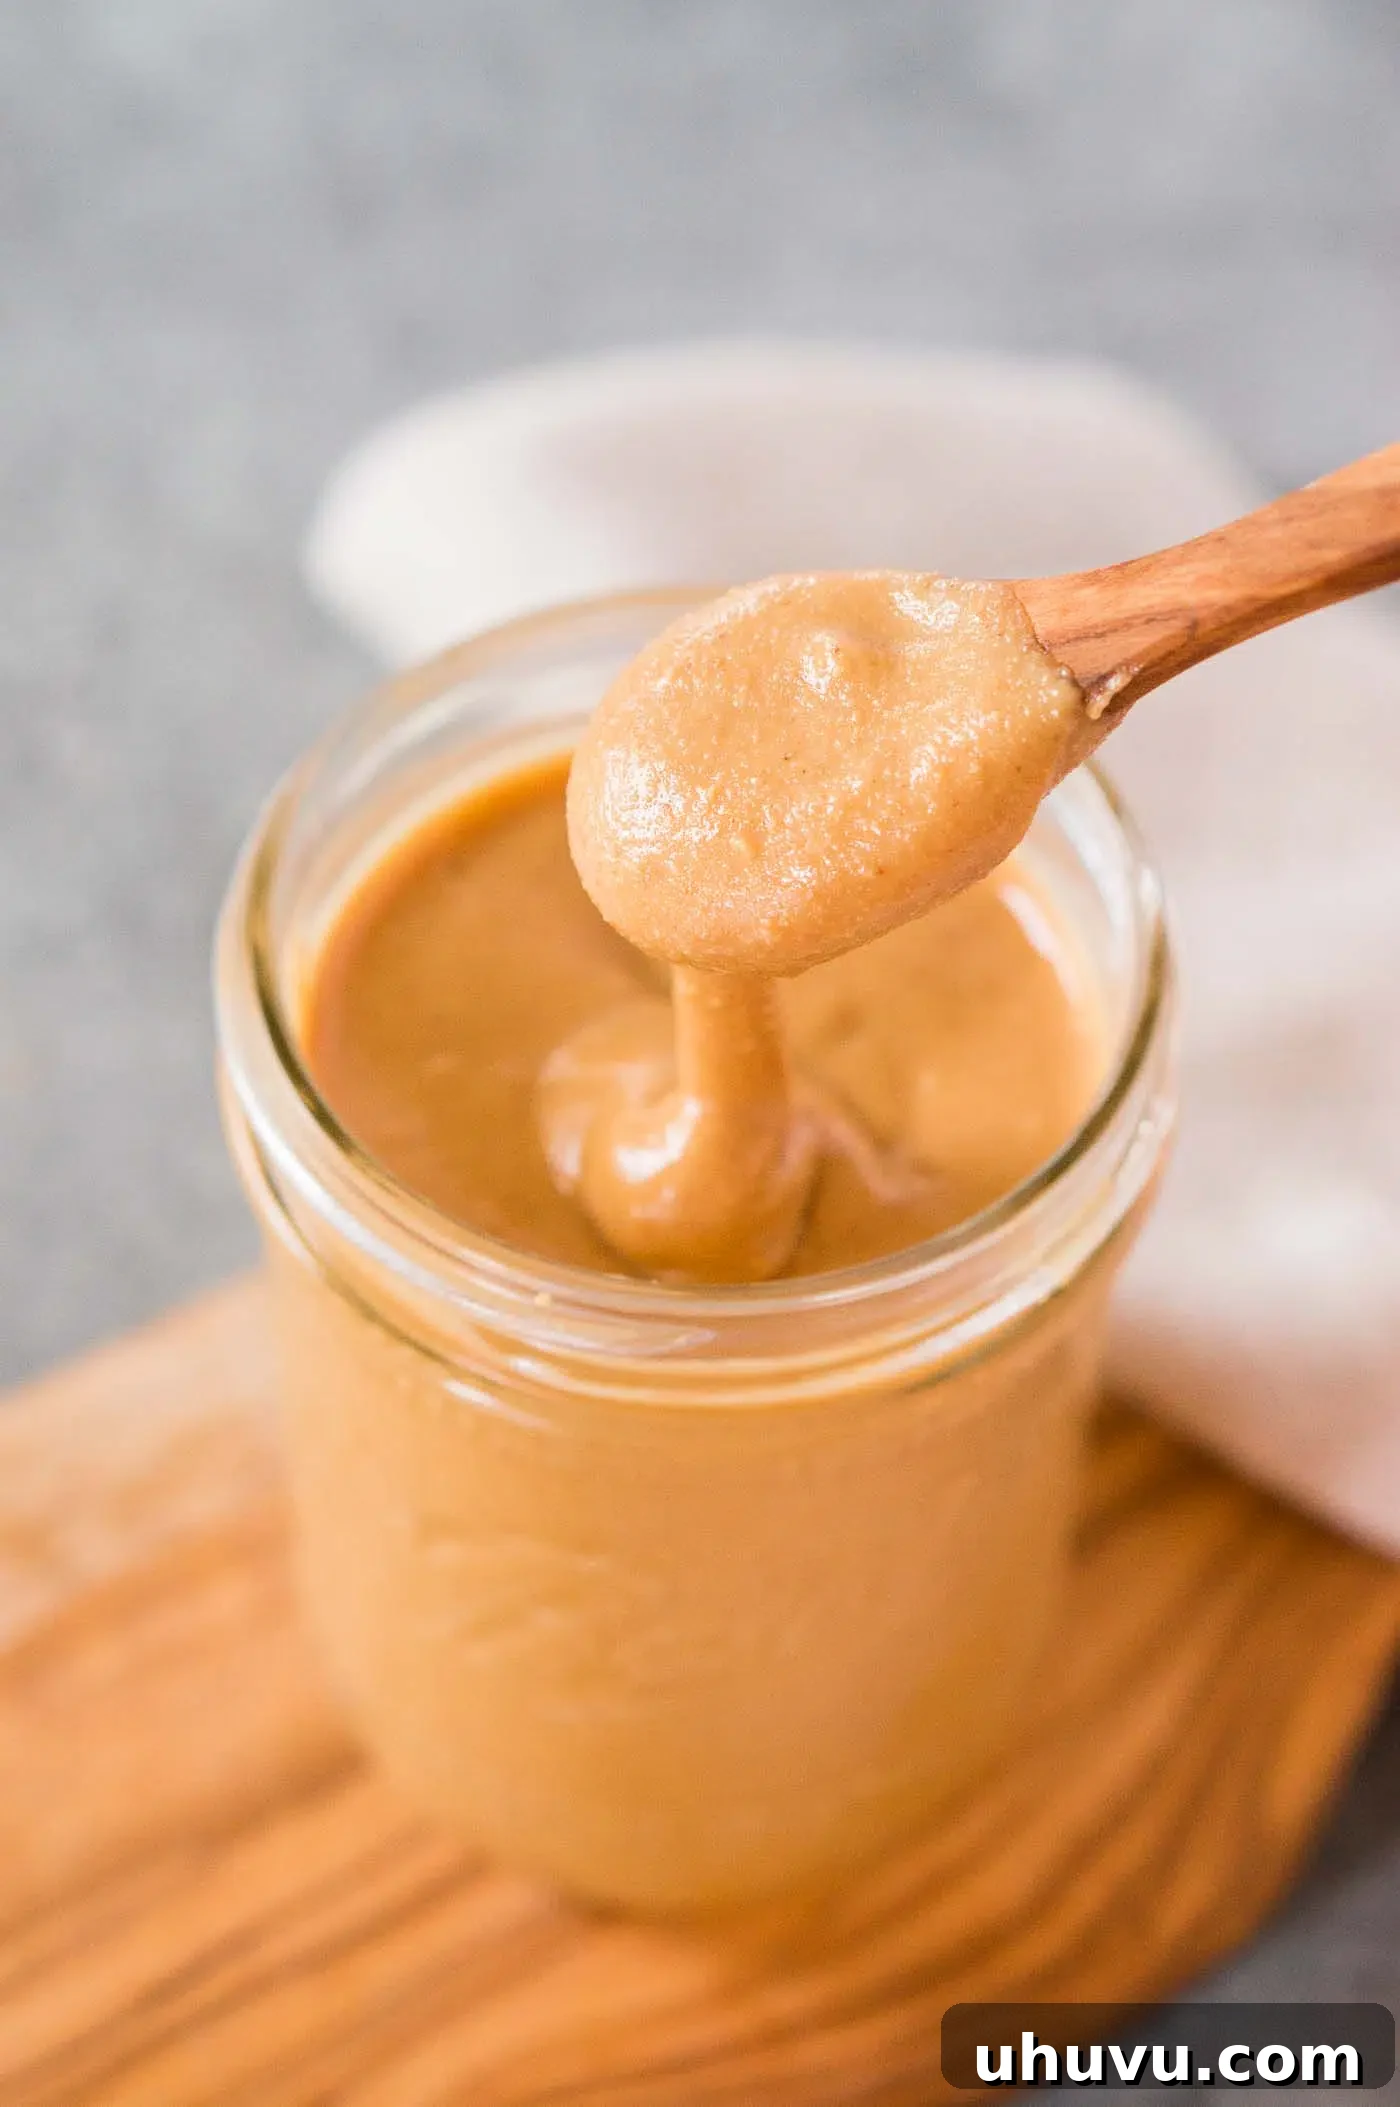
Ditch the store-bought jars and discover the incredible simplicity and deliciousness of making your own **homemade peanut butter** in just a few minutes. With absolutely no added salt, sugar, or unhealthy oils, this pure and natural spread requires only one star ingredient: peanuts. All you need is a reliable food processor or a high-speed blender, and you’re on your way to a healthier, tastier nut butter that’s superior to anything you’ll find on supermarket shelves. Prepare to revolutionize your pantry with this quick, easy, and incredibly versatile staple.
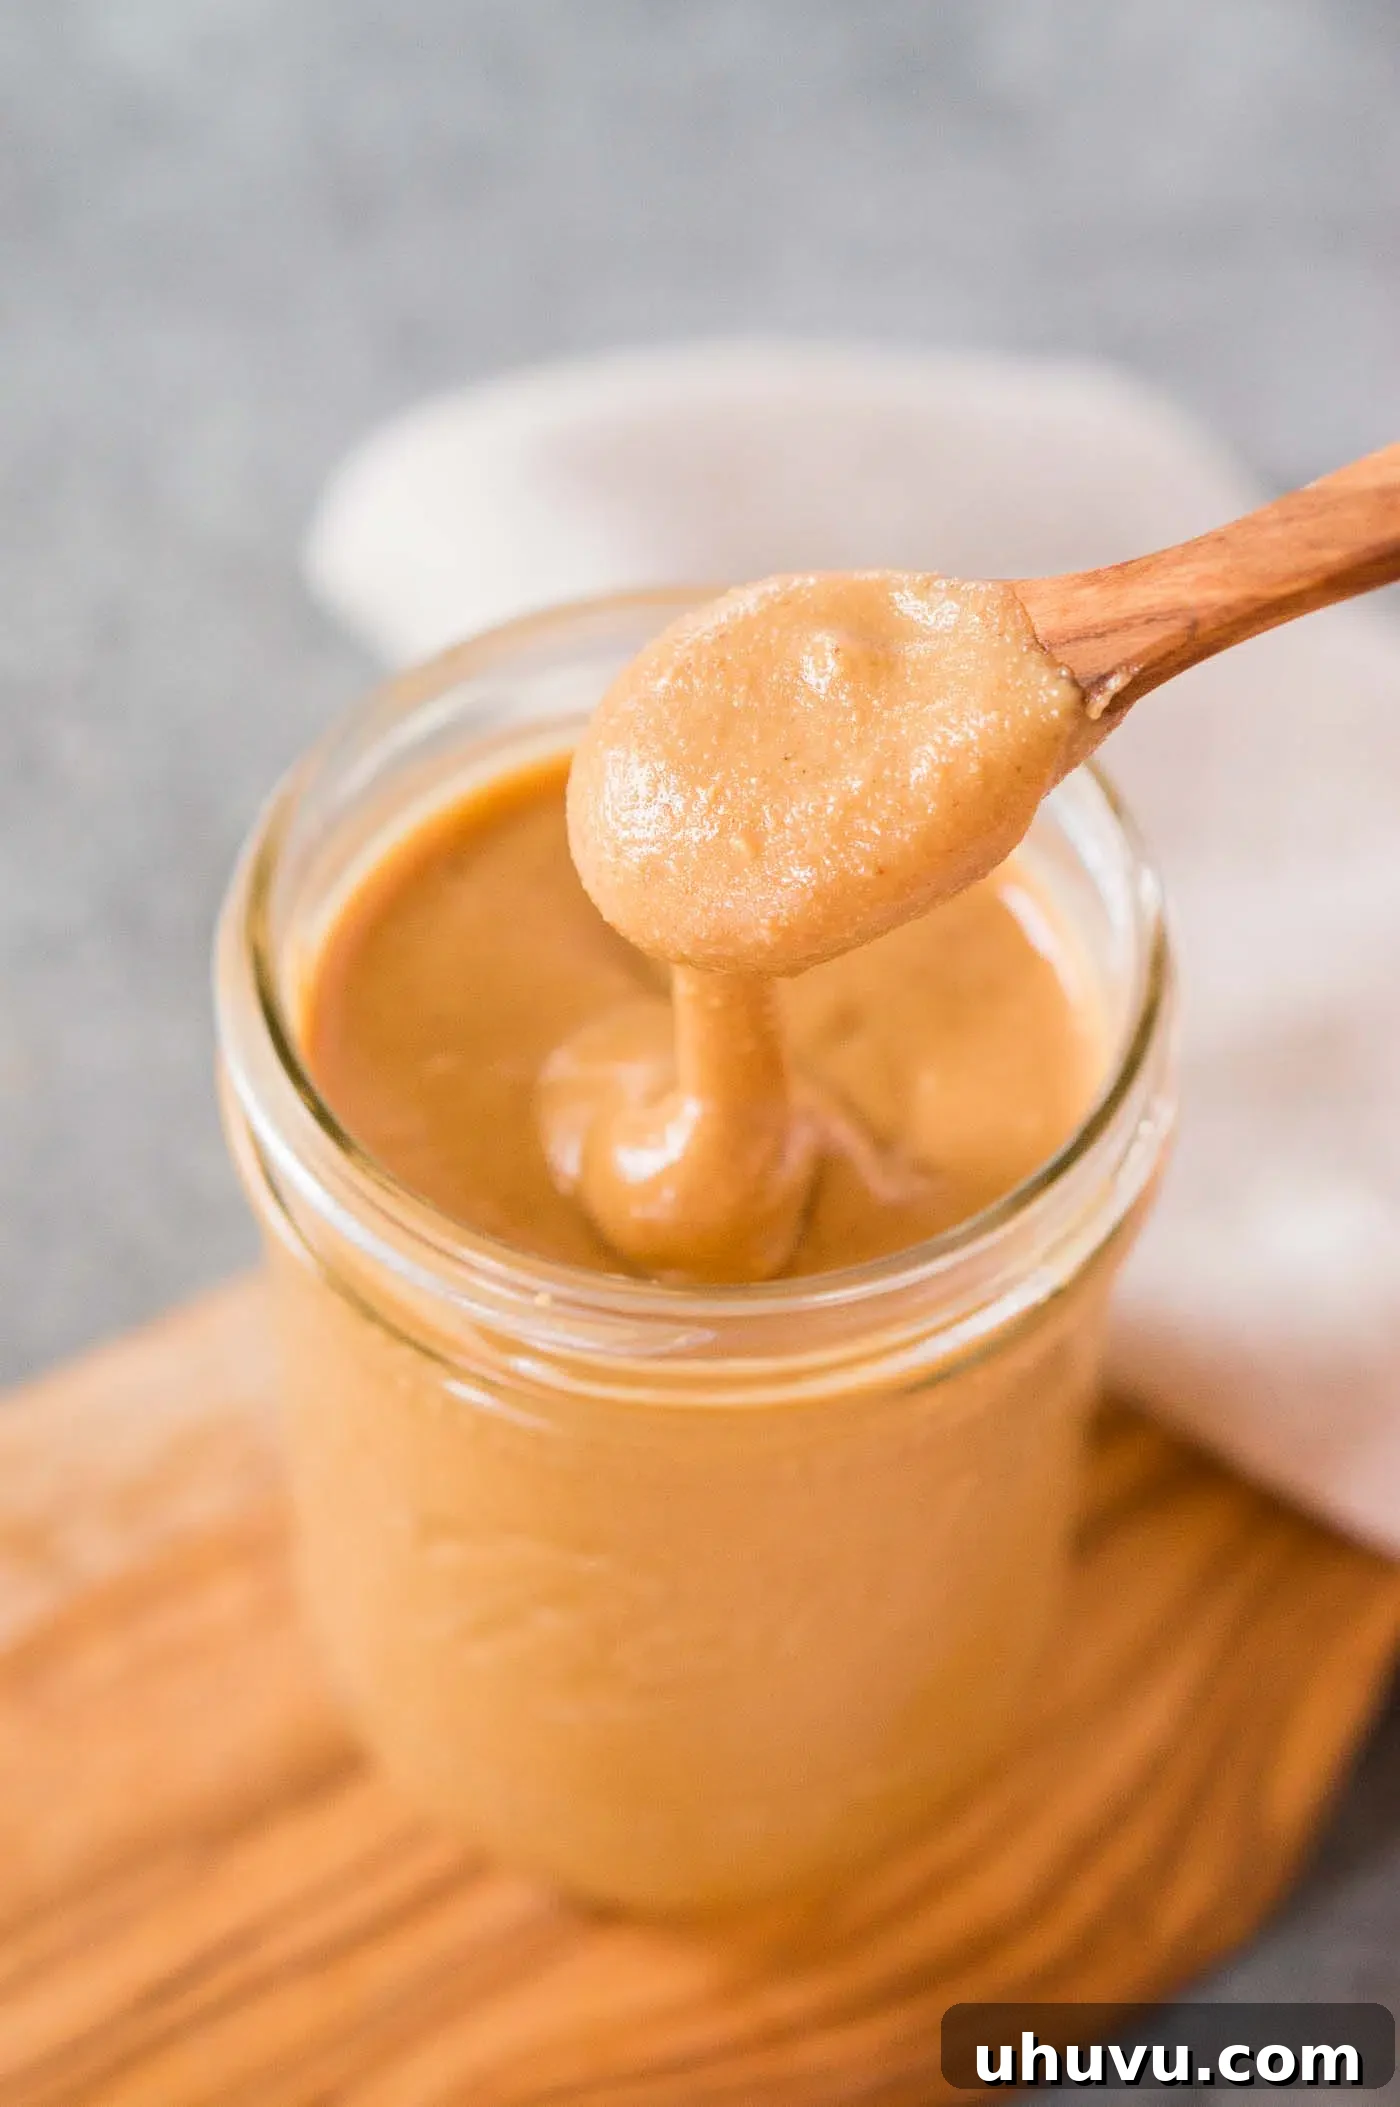
Peanut butter has always been a beloved staple in my kitchen, a versatile delight that can transform a simple piece of toast or elevate a batch of homemade cookies. My journey into making it at home began with a simple curiosity: could I replicate that creamy, nutty goodness without relying on store-bought versions filled with unnecessary additives? The answer, I quickly discovered, was a resounding yes – and the results were even better than I could have imagined!
Crafting your own peanut butter at home is surprisingly simple, takes mere minutes, and delivers a flavor and texture that often surpasses its commercial counterparts. The rich, wonderfully creamy, and smooth consistency is nothing short of addictive. This isn’t just a recipe; it’s a complete game-changer for anyone who loves peanut butter and appreciates wholesome, natural foods.
Once you’ve mastered this recipe, be sure to explore other homemade spreads like my Homemade Almond Butter and the versatile Compound Butter to further expand your culinary horizons!
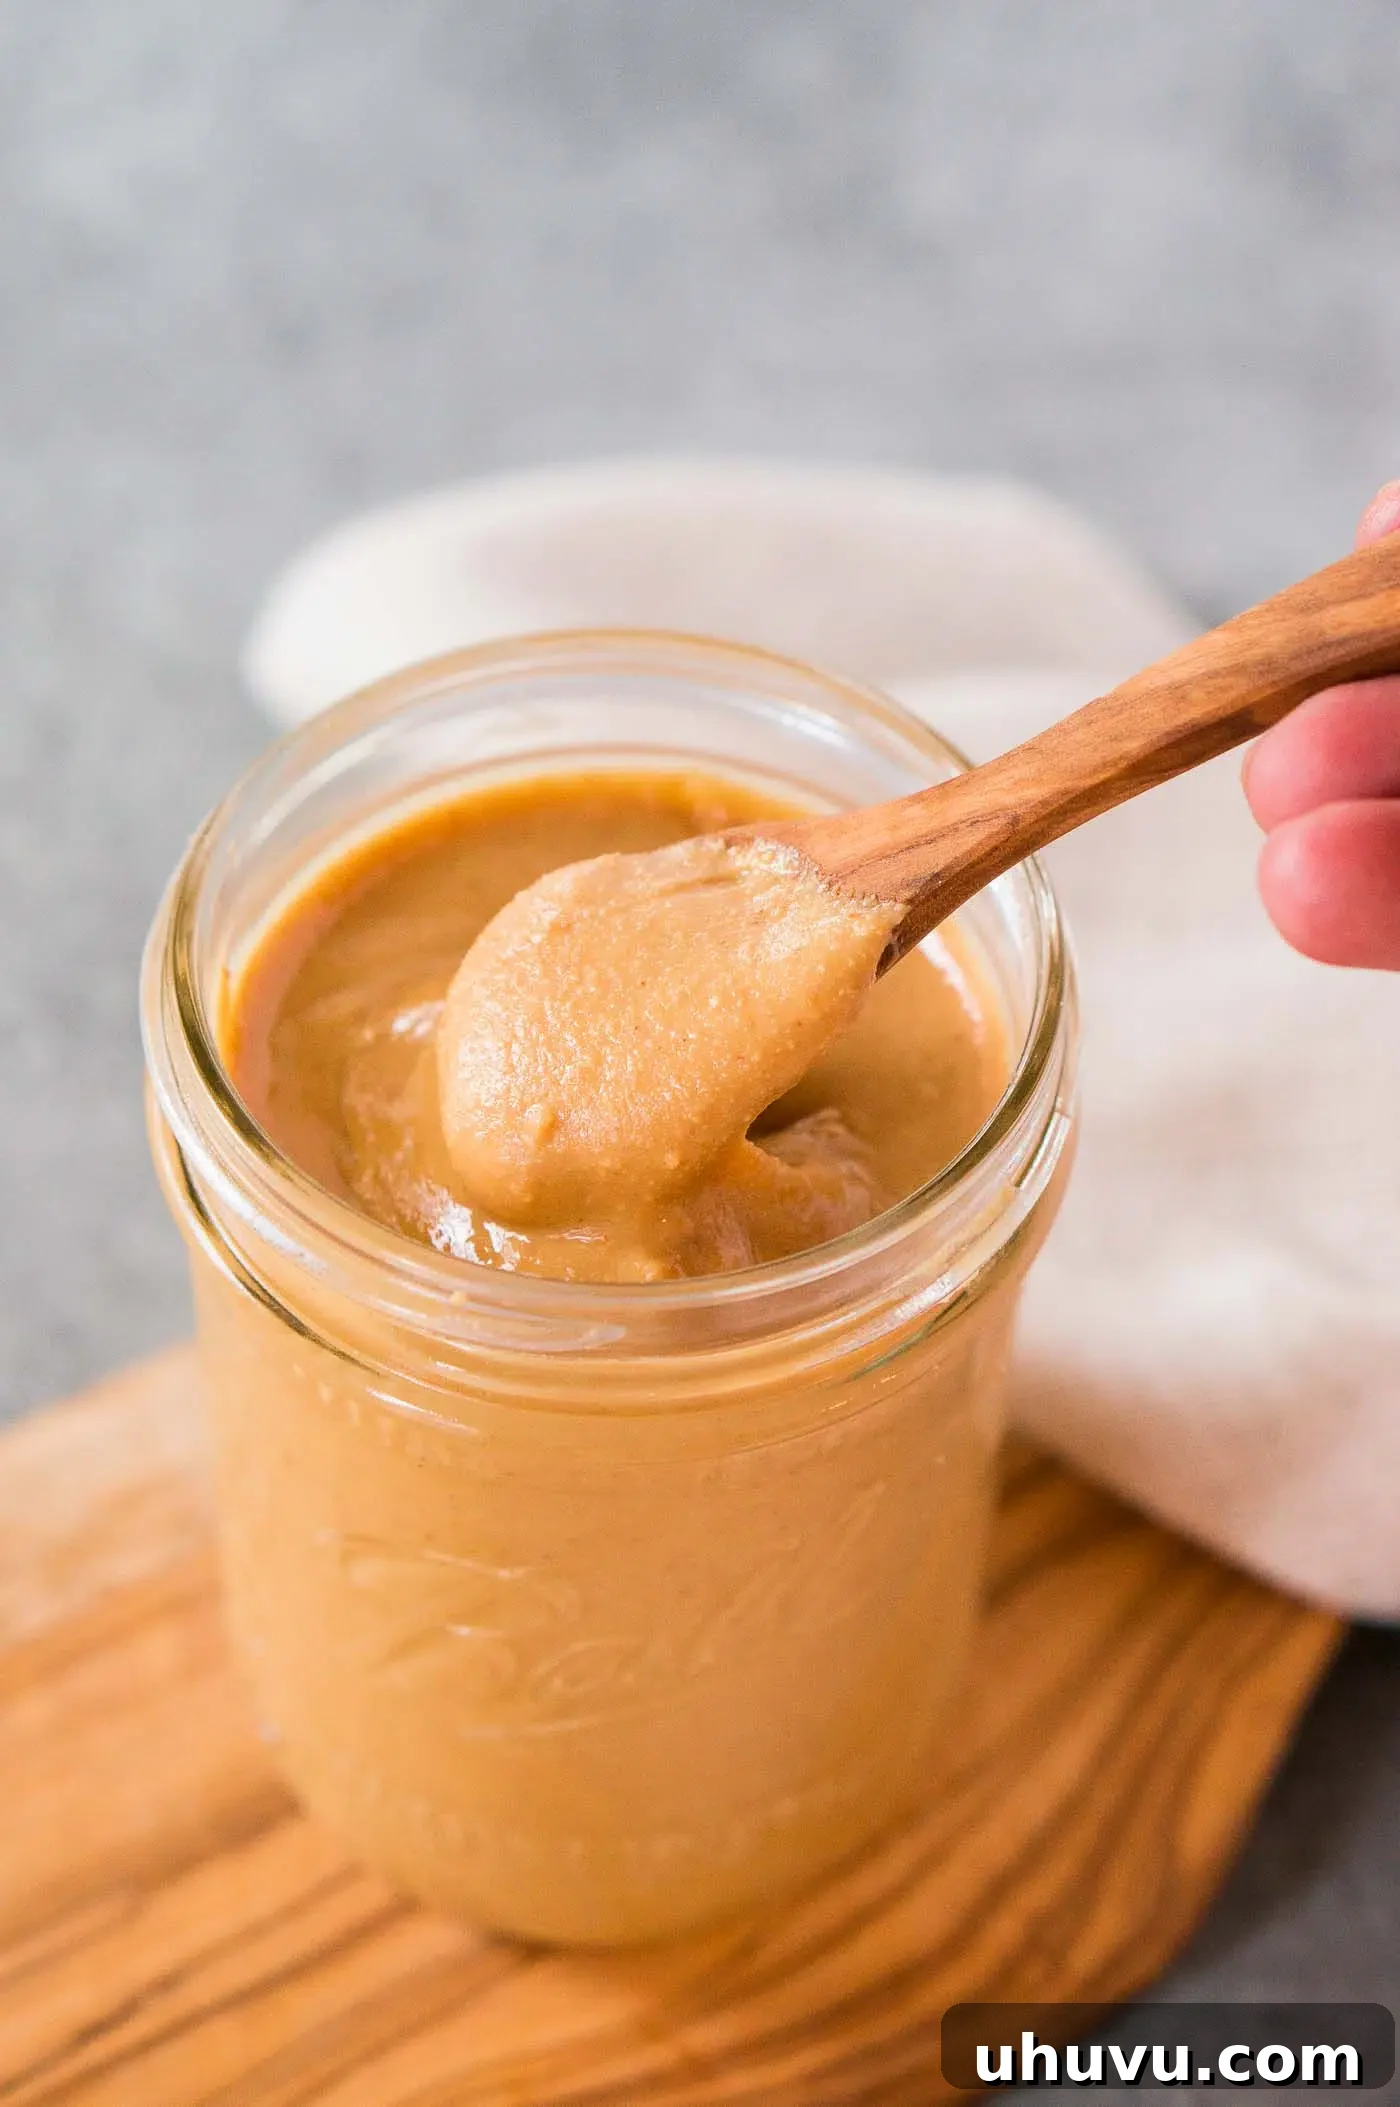
Why You’ll Fall in Love with This Homemade Peanut Butter Recipe!
- Pure and Wholesome: Unlike many store-bought varieties that contain added salts, sugars, and hydrogenated vegetable oils, this **natural homemade peanut butter** is made with just one simple ingredient: peanuts. You have complete control over what goes into your food, ensuring a healthier and more authentic spread.
- Incredibly Quick and Easy: Forget complicated recipes. This may be one of the simplest and quickest recipes you’ll ever make. With minimal effort and just minutes of processing, you’ll have a fresh batch of creamy, delicious peanut butter ready to enjoy. It’s perfect for busy schedules!
- Perfect for Meal Prep: One of the best aspects of making peanut butter at home is its impressive shelf life. Prepare a large batch and store it, knowing you’ll have a wholesome and readily available snack or ingredient for weeks to come. It’s an ideal way to ensure you always have a healthy option on hand.
- Economical Choice: Buying roasted peanuts in bulk can often be more cost-effective than repeatedly purchasing specialty or organic peanut butter brands. Making your own helps you save money in the long run while enjoying a premium product.
- Customizable Flavor: While delightful on its own, homemade peanut butter offers endless possibilities for customization. Adjust the saltiness, sweetness, or even add spices and extracts to match your exact preferences, creating a truly unique spread.
The Simple Ingredient: Peanuts
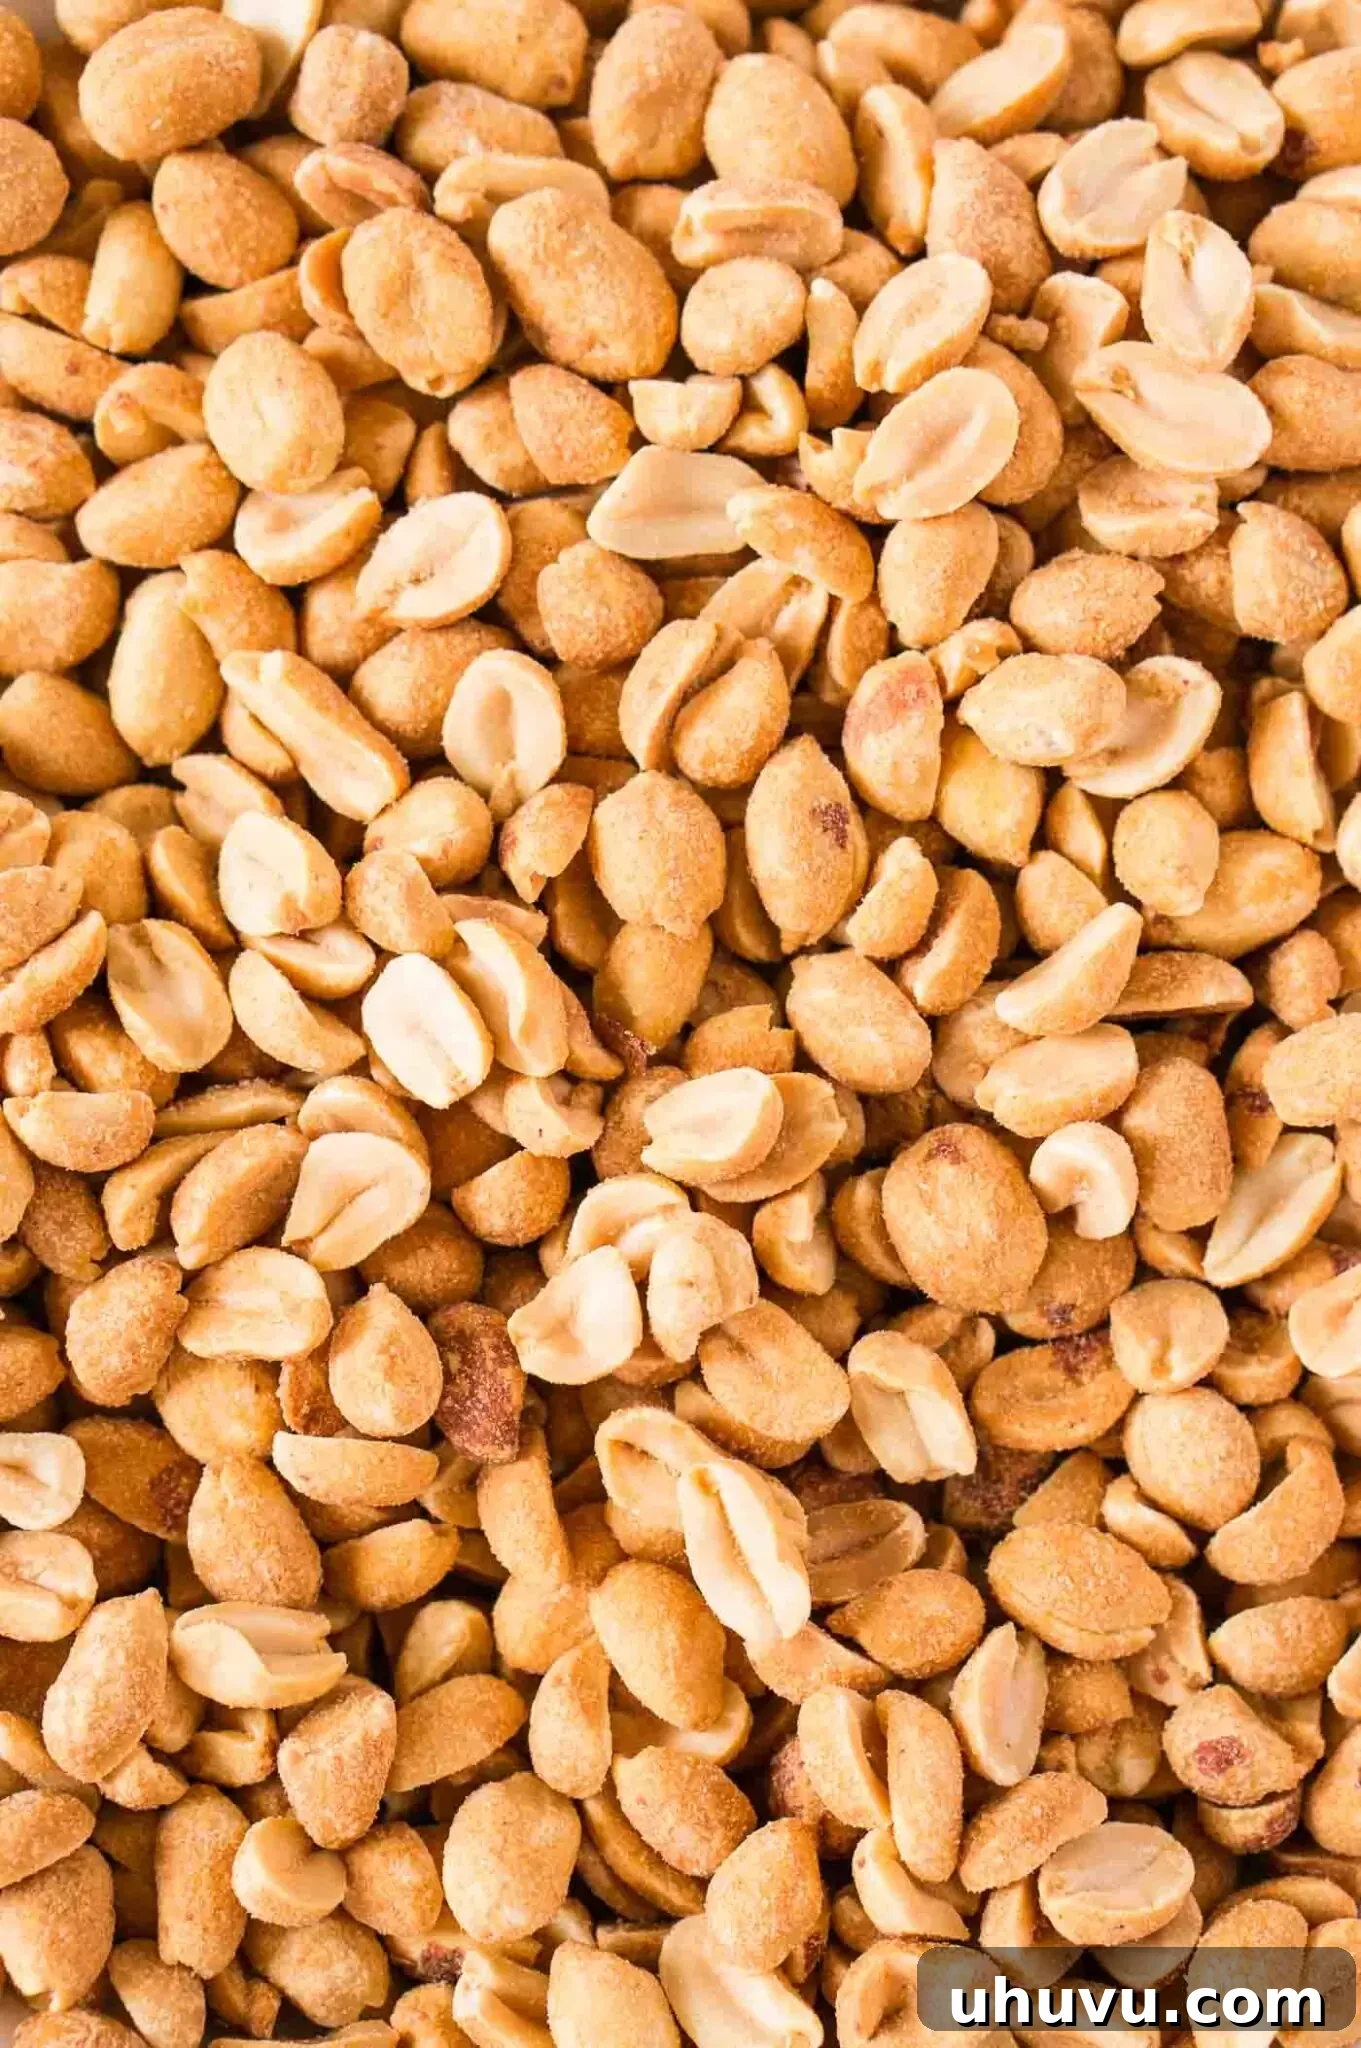
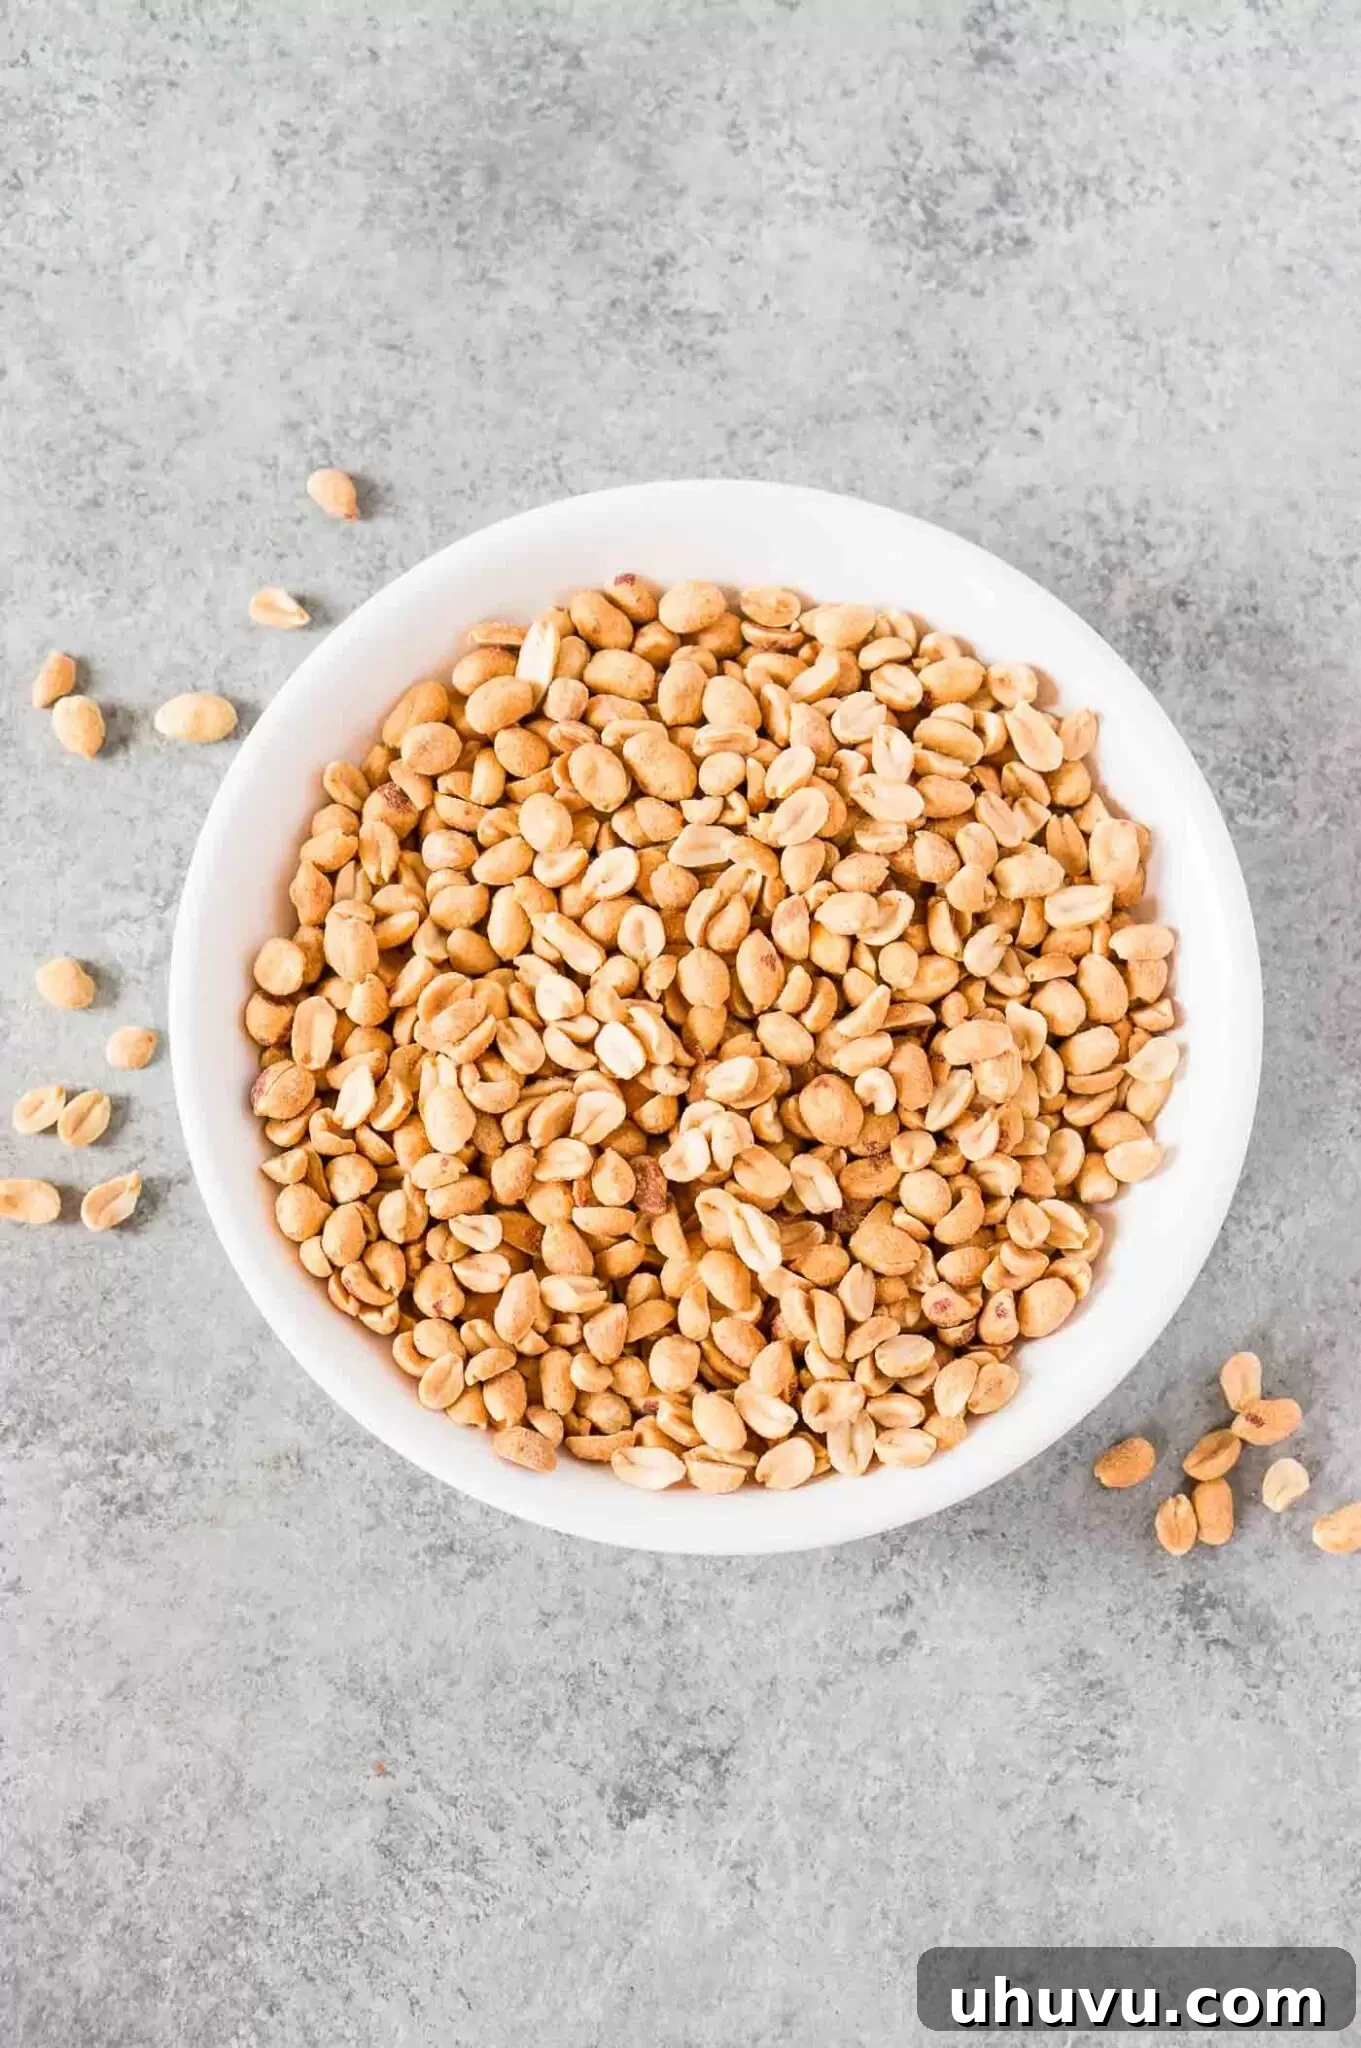
To make the best **homemade peanut butter**, you truly need just one core ingredient: shelled peanuts. For optimal flavor and texture, dry roasted peanuts are highly recommended. You can easily purchase them already roasted from most grocery stores, or if you prefer a deeper, fresher roast, buy raw peanuts and roast them yourself at home. To roast raw peanuts, simply spread them in a single layer on a baking sheet and bake at 350°F (175°C) for 10-15 minutes, stirring occasionally, until they are fragrant and lightly browned. Allow them to cool completely before processing.
Whether you choose salted or unsalted peanuts depends entirely on your taste preferences. If using pre-salted peanuts, you might not need to add any additional salt later. For a healthier option, start with unsalted peanuts and add a pinch of sea salt to taste at the end, if desired.
How to Make Peanut Butter: A Step-by-Step Guide
Making your own **creamy peanut butter** is a fascinating transformation to witness. The key is patience and a powerful appliance.
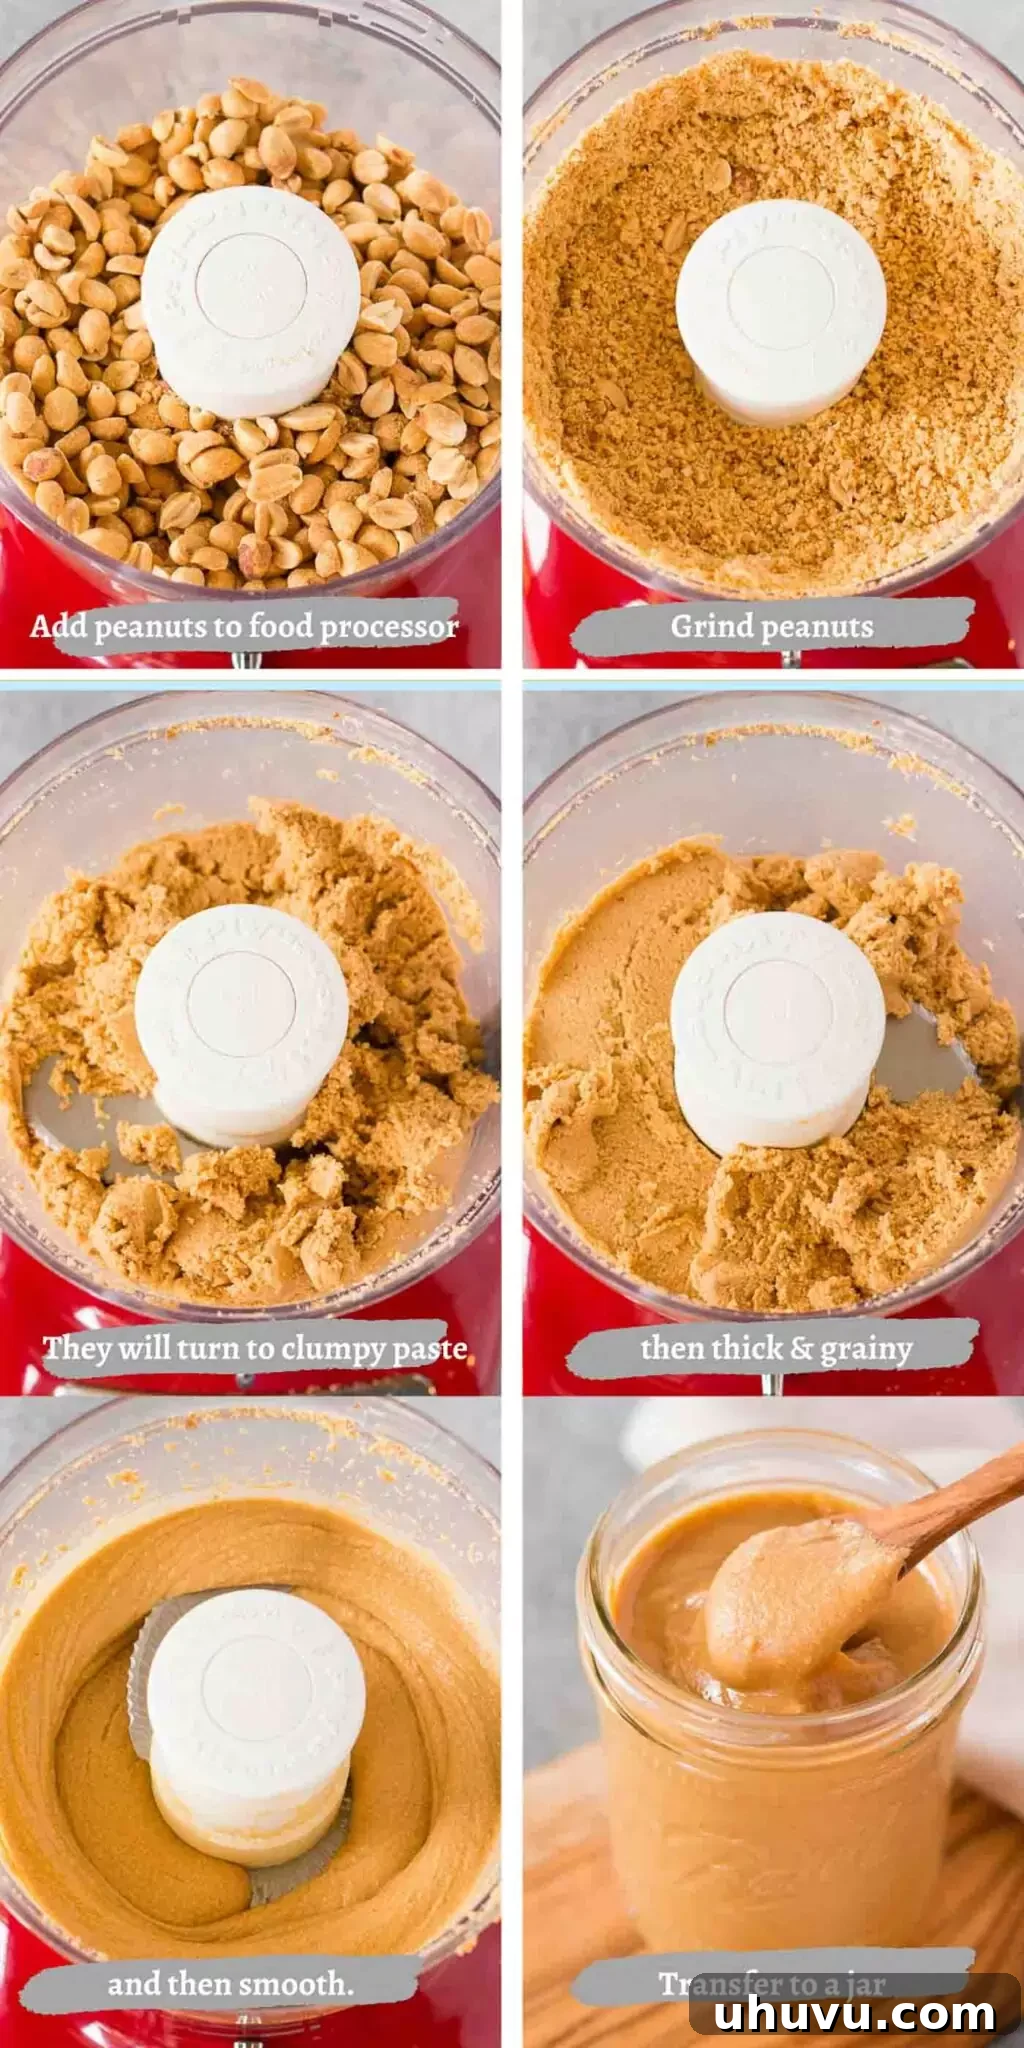
- **Initial Grind**: Begin by adding your roasted, shelled peanuts to a high-powered food processor or a robust high-speed blender (like a Vitamix). Pulse the peanuts initially until they are finely chopped and resemble coarse breadcrumbs. This helps to break them down evenly before continuous processing.
- **The Gritty Stage**: Process or blend on low speed for about 1 minute continuously. Stop the machine, open it carefully, and scrape down the sides of the bowl with a spatula. At this point, the mixture will be dry, gritty, and powdery, similar to peanut flour. It won’t look much like butter yet, but this is a crucial first step.
- **Clumping and Thickening**: Continue processing. After another minute or two, the peanuts will start to release their natural oils and begin to clump together, forming a thick, sticky paste. The texture will be grainy and quite stiff. Again, stop the machine and scrape down the sides to ensure all peanuts are incorporated and processed evenly.
- **The Smooth Transformation**: Keep processing. The mixture will transition from a thick paste to a smoother, more fluid consistency. It will gradually become thick and grainy, then eventually transform into gloriously smooth, creamy peanut butter. This stage requires continuous processing, but remember to stop and scrape down the sides every minute or so. The entire process, from gritty powder to silky butter, usually takes between 5 to 10 minutes, depending on the power of your appliance. Be patient, as this is where the magic happens!
NELI’S KITCHEN PRO TIPS FOR PERFECT PEANUT BUTTER
Recipe Notes and Expert Tips for Success
- **Patience is a Virtue**: Making **homemade peanut butter** can take around 5-10 minutes of continuous processing in a food processor or blender. It might seem long, but resist the urge to add liquid. The peanuts *will* release their natural oils.
- **Prevent Overheating**: If your food processor’s motor starts to get very warm, give it a break. Turn it off for a few minutes while you scrape down the sides, allowing the motor to cool before continuing. This prevents damage to your appliance.
- **Scrape, Scrape, Scrape**: Regularly stopping and scraping down the sides of the bowl is crucial. This ensures all the peanuts are evenly processed and helps prevent any dry bits from remaining unstirred, leading to a consistently smooth texture.
- **Roasted Peanuts are Key**: Always use roasted peanuts. The roasting process deepens their flavor and helps them release their oils more readily, resulting in a richer, creamier peanut butter. Raw peanuts won’t yield the same results.
- **Achieving the Right Consistency**: For a thinner peanut butter, you can add a very small amount of a neutral oil (like coconut or avocado oil) after the butter has reached a smooth stage. Add it gradually, a teaspoon at a time, until your desired consistency is achieved.
- **For Chunky Peanut Butter**: If you prefer **chunky peanut butter**, process the peanuts until they reach your desired creamy consistency. Then, remove about 1/3 cup of the peanut butter, chop a separate handful of roasted peanuts into coarse pieces, and stir them into the finished creamy butter. This method ensures you have a good balance of smooth and crunchy.
- **Seasoning Post-Processing**: Any optional add-ins like salt, sweeteners, or spices are best incorporated after the peanuts have already transformed into a smooth butter. This allows you to taste and adjust the seasonings accurately.
How Long Does Homemade Peanut Butter Keep?
One of the many benefits of making your own **natural peanut butter** is its excellent shelf life, especially when stored correctly. Once you’ve achieved your desired consistency, transfer the freshly made peanut butter to a clean, airtight jar or container. Store it in the refrigerator, where it will maintain its freshness and quality for up to 3 months.
Because homemade peanut butter doesn’t contain the stabilizers found in many commercial brands, you might notice some natural oil separation over time. This is perfectly normal and a sign of a pure product! Simply give it a good stir before each use to re-incorporate the oils. For even longer storage, homemade peanut butter can also be frozen for up to 6 months. To use, simply thaw in the refrigerator overnight and stir well.
Elevate Your Butter: Exciting Optional Add-Ins and Variations
While this recipe focuses on pure, single-ingredient peanut butter, its natural flavor provides a perfect canvas for customization. You can easily tailor your homemade spread to be sweeter, saltier, or spiced to your liking. The best part? You control every ingredient, avoiding artificial flavors or excessive sugar.
- **Sweeteners**: For a sweeter nut butter, once the peanut butter is smooth, stir in 1-2 tablespoons of natural sweeteners like honey, maple syrup, agave nectar, or even a few pitted dates (added with the peanuts during processing for a smoother blend).
- **Salt**: If you started with unsalted peanuts, a pinch of sea salt or Himalayan pink salt can really enhance the flavor. Start with 1/4 teaspoon and adjust to taste.
- **Spices**: Add warmth and depth with spices such as cinnamon, nutmeg, pumpkin pie spice, or a touch of cardamom. Start with 1/2 teaspoon.
- **Flavor Extracts**: A dash of vanilla extract or almond extract (1/2 to 1 teaspoon) can subtly elevate the taste profile.
- **Chocolate Peanut Butter**: For a decadent treat, blend in 1-2 tablespoons of unsweetened cocoa powder and a touch of sweetener after the peanut butter is fully processed.
- **Other Nuts & Seeds**: Experiment by adding a small handful of other roasted nuts (like cashews or almonds) or seeds (like flax or chia) during the initial processing stages for added nutrition and texture.
For best results, add any liquid add-ins, spices, or extracts after the peanuts have been fully processed into a smooth butter. Taste it, add your chosen seasonings, and then stir them together thoroughly to combine. This ensures you achieve the perfect flavor balance every time.
Beyond the Jar: Creative Uses for Your Homemade Peanut Butter
Let’s be honest: one of the simplest joys of homemade peanut butter is eating it straight out of the jar with a spoon! However, its versatility extends far beyond that. This creamy, rich spread can be incorporated into countless meals and snacks, adding flavor, protein, and healthy fats. Here are just a few ideas to inspire you:
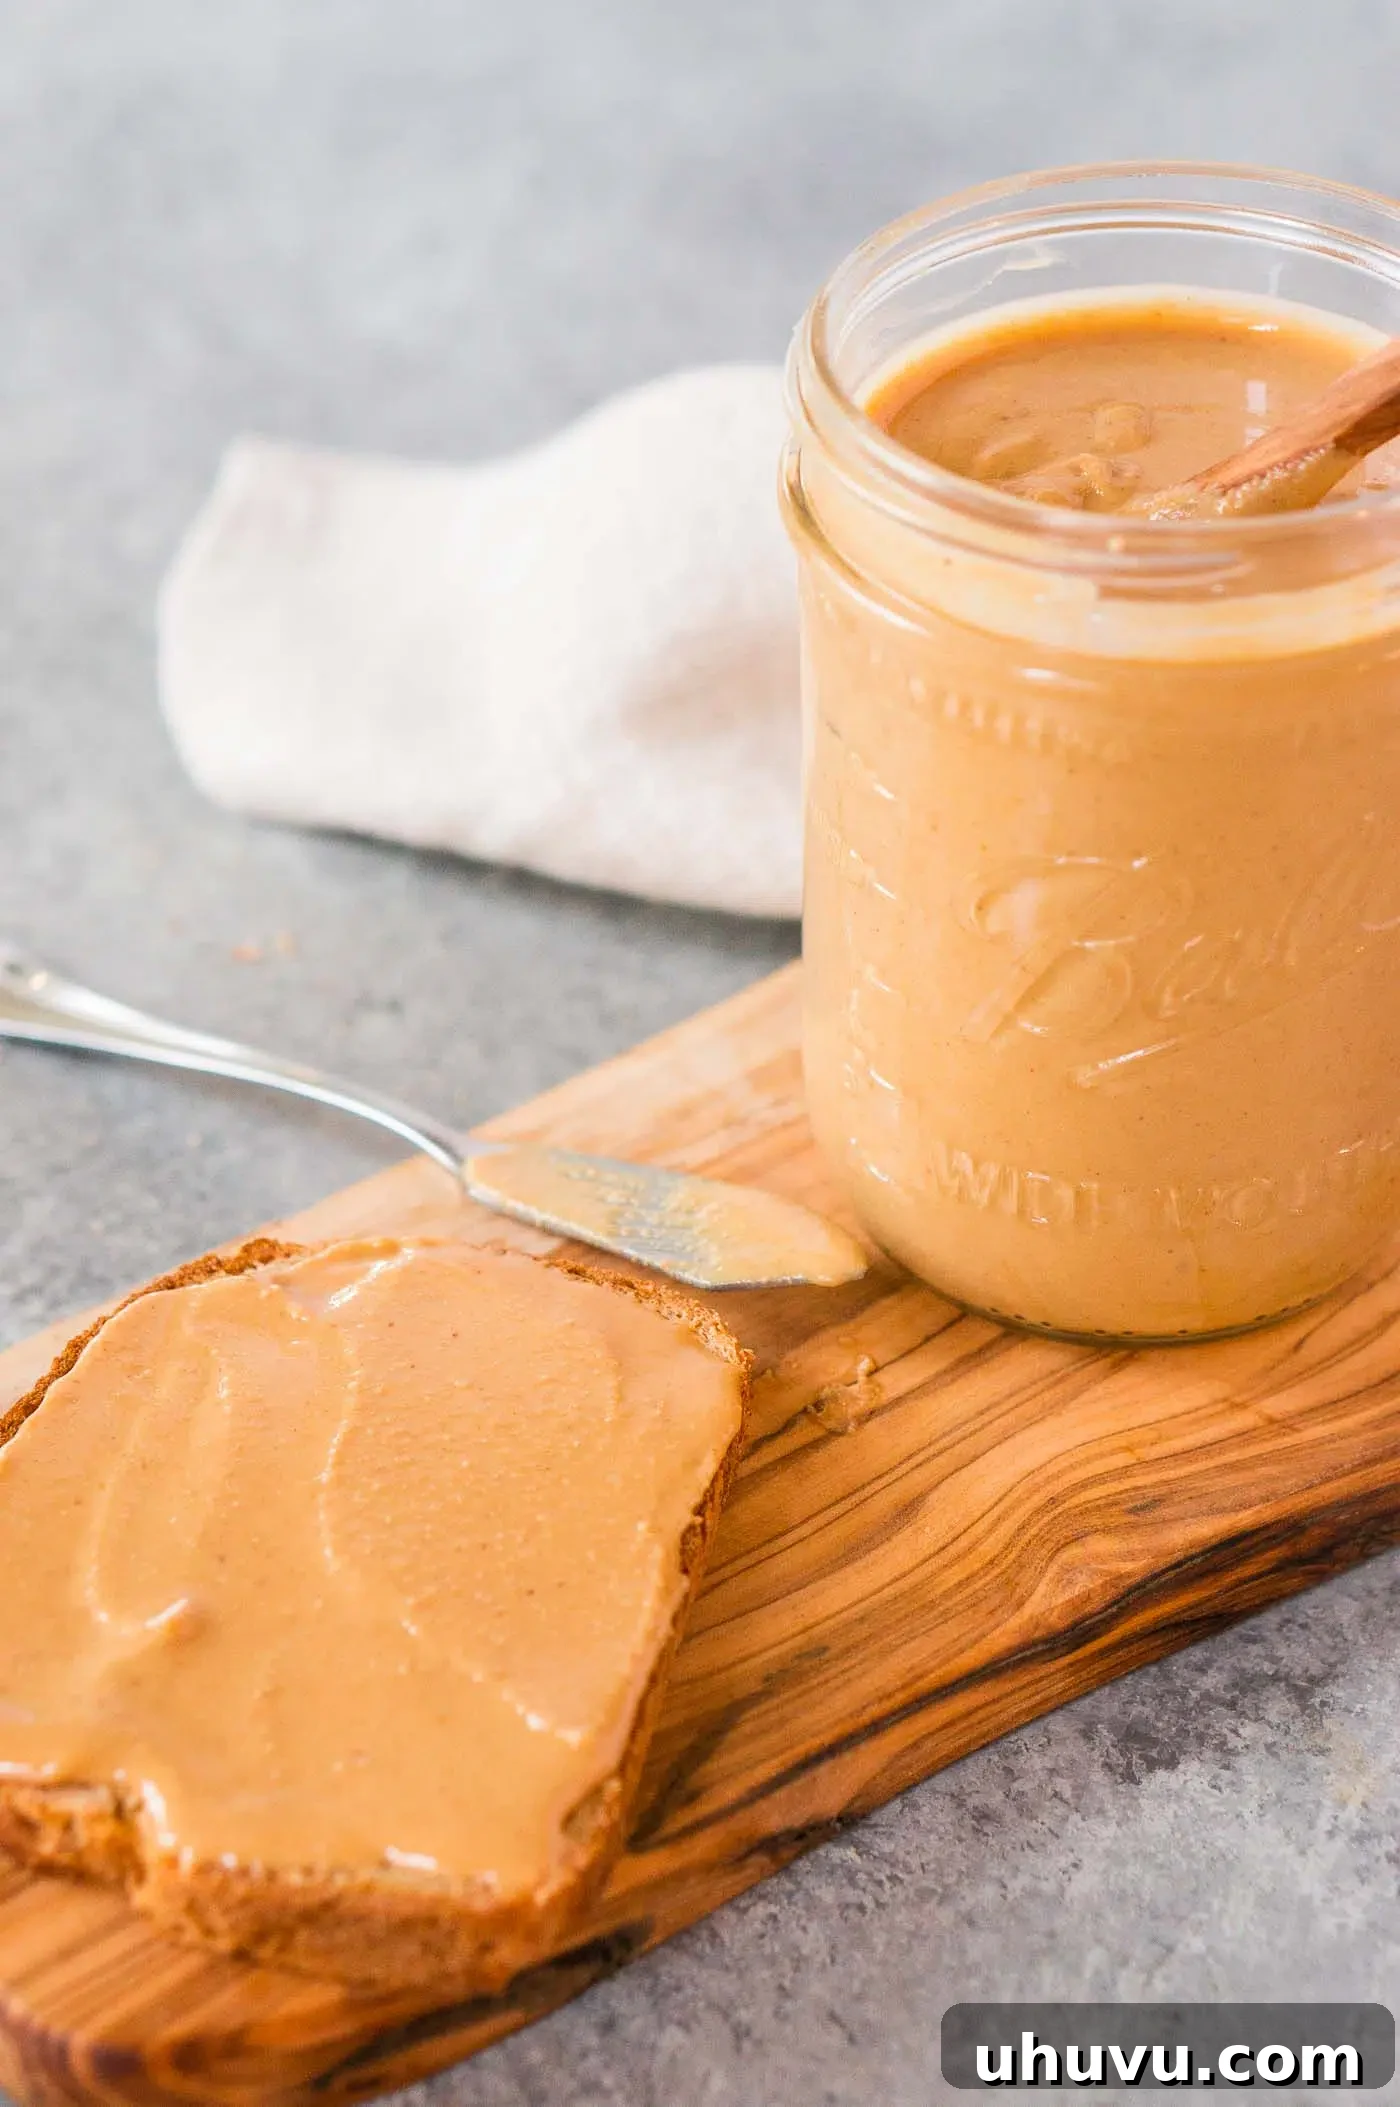
- **Classic Spreads**: The most obvious and beloved use! Spread it generously on toast, bagels, rice cakes, or English muffins. It pairs wonderfully with sliced bananas, apples, or berries for a quick and nutritious snack.
- **Baking & Desserts**: Elevate your favorite baked goods. Use it in classics like my Peanut Butter Cookies or decadent Chocolate Peanut Butter Cups. It’s also fantastic in brownies, cakes, energy bars, or as a filling for tarts.
- **Smoothies & Breakfast Bowls**: Add a spoonful to your morning smoothie for a protein boost and creamy texture. Swirl it into oatmeal, yogurt, or granola bowls for extra richness and flavor.
- **Savory Dishes**: Don’t limit peanut butter to sweet applications! It’s a key ingredient in many savory recipes. Use it to make a flavorful peanut dressing for salads, marinades for chicken or tofu, or a creamy sauce for stir-fries and noodle dishes. Think satay sauces or a spicy peanut ramen.
- **Energy Bites & Snacks**: Combine it with oats, chia seeds, honey, and dried fruit to create no-bake energy balls, perfect for a pre-workout snack or a midday pick-me-up.
- **Dips**: Mix with a little soy sauce, lime juice, and ginger for a quick and delicious dip for fresh vegetables or spring rolls.
More Healthy Homemade Kitchen Staples to Explore
- How to Make Buttermilk
- How To Cook Perfect Rice Every Time
- How To Cook Fluffy Quinoa
- How to Make Cauliflower Rice
If you enjoyed this comprehensive How to Make Peanut Butter tutorial or any other recipe on my blog, please consider leaving a ⭐ star rating and let me know how it went in the 📝 comments below. Your feedback is greatly appreciated! Thanks for visiting Delicious Meets Healthy!
Pin this now to find it later
Pin It
How To Make Peanut Butter – Recipe Card
By: Neli Howard
Ditch the store-bought and learn how to make wholesome, delicious peanut butter at home in a matter of minutes. Made without added salt and sugar, you just need one ingredient and a food processor or blender.
Print Recipe
Ingredients
- 4 cups roasted peanuts
Instructions
- Add 4 cups roasted peanuts to a high-powered food processor or blender. Pulse the peanuts until they are finely chopped.
- Process or blend on low speed for 1 minute continuously, then stop the machine and scrape down the sides. It will be dry and gritty. Continue processing, stopping to scrape down the sides several times, until you have creamy and smooth peanut butter.
- The texture will gradually transform from gritty to a clumpy paste, then to a thick and grainy consistency, and finally to smooth and creamy.
Notes
- Your food processor will need to run for around 5-10 minutes to make peanut butter. Allow the motor to cool while you scrape down the sides if it becomes warm.
- Be patient! Making peanut butter is a process, stick with it and you’ll get deliciously creamy nut butter.
- Always use roasted peanuts for the best flavor and texture.
- The peanut butter will keep in an airtight container in the refrigerator for up to 3 months.
- For chunky peanut butter, process until smooth, then stir in an additional 1/3 cup of coarsely chopped roasted peanuts.
Nutrition Information (Estimated Per Serving)
Calories: 1691kcal | Carbohydrates: 51g | Protein: 82g | Fat: 143g | Saturated Fat: 22g |
Polyunsaturated Fat: 50g | Monounsaturated Fat: 64g | Sodium: 1264mg | Potassium: 2266mg |
Fiber: 26g | Calcium: 292mg | Iron: 7mg
Nutrition Disclaimer: Nutritional values are estimates and may vary with ingredients, brands, and portion sizes. For accuracy, use your preferred nutrition calculator.
Love this recipe? Rate and comment below!