
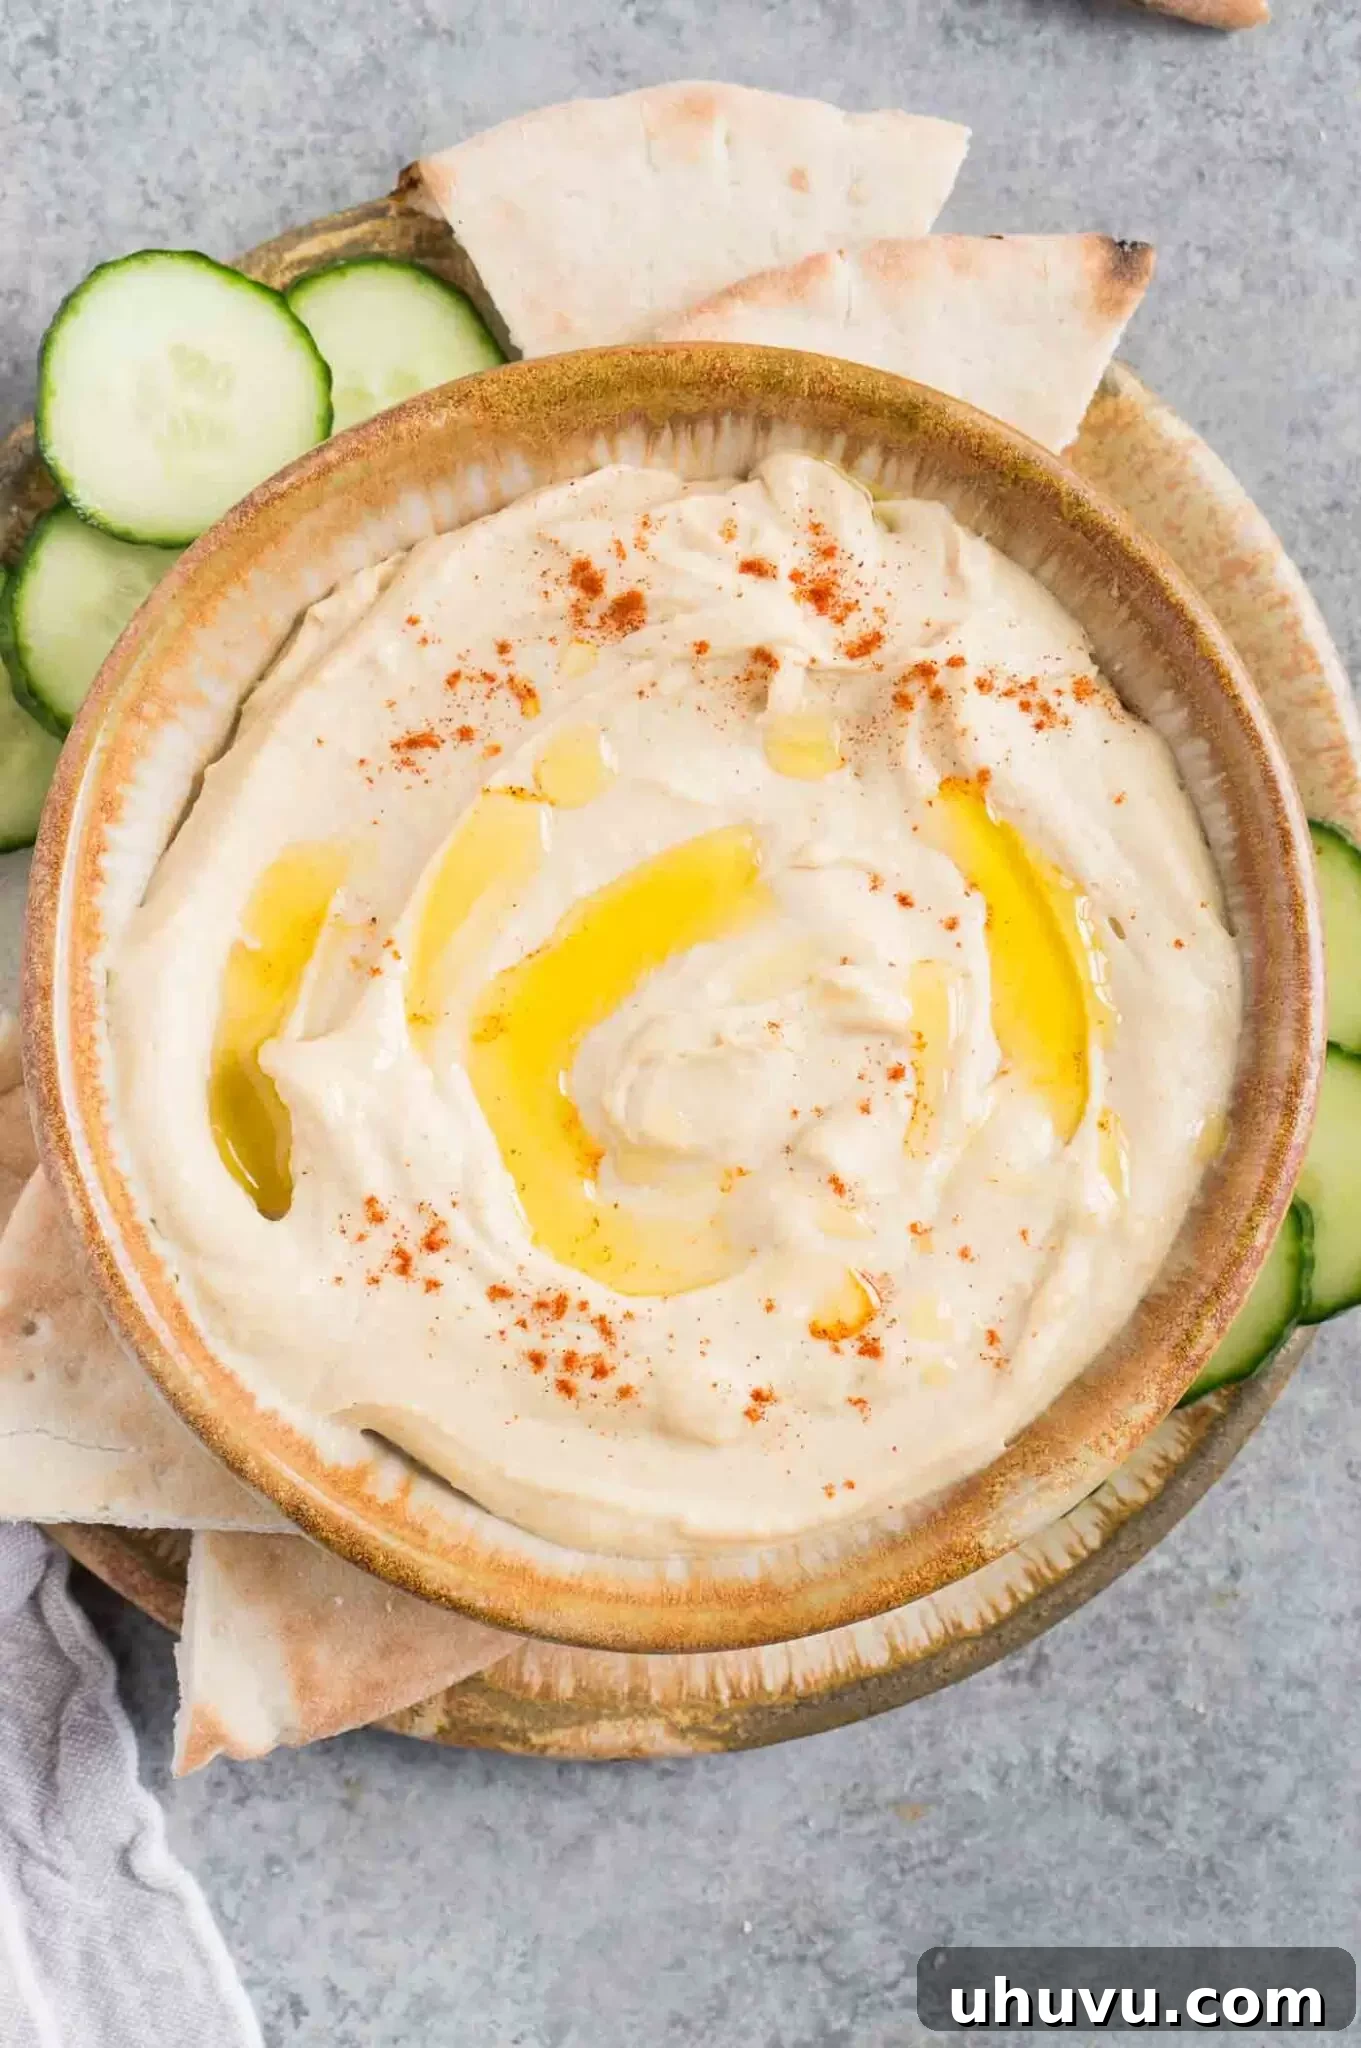
Unlock the secret to crafting unbelievably creamy and intensely flavorful hummus right in your own kitchen. This easy homemade hummus recipe promises a silky-smooth texture and a vibrant taste that far surpasses any store-bought alternative. Ready in just minutes, it’s the perfect dip or spread for a healthy, delicious meal or appetizer.
Mastering Homemade Hummus: Your Guide to Creamy Perfection
Hummus, a beloved Middle Eastern dip made primarily from chickpeas, tahini, lemon juice, and garlic, has become a global sensation. Its creamy texture and nutty, tangy flavor make it an incredibly versatile food. Whether you’re serving it with warm pita bread and fresh crudités as a delightful sharing appetizer, or incorporating it into your daily meals as a spread for sandwiches and wraps, homemade hummus consistently delivers a superior experience.
While store-bought hummus offers convenience, it often falls short in flavor and texture compared to its freshly made counterpart. The beauty of making hummus from scratch lies in the control you have over the ingredients, ensuring optimal freshness and a truly authentic taste. Once you learn the simple steps, you’ll wonder why you ever bought it from the supermarket!
Looking for more delicious dip ideas? Be sure to explore my popular recipes for Spinach Artichoke Dip and Smoked Salmon Dip for your next gathering!
Why You Will Love This Homemade Hummus Recipe
- Effortlessly Easy: Crafting your own batch of creamy hummus is a surprisingly simple endeavor. With just a handful of staple ingredients and a reliable food processor or blender, you can achieve restaurant-quality hummus in under 30 minutes. It’s an ideal recipe for beginners and seasoned cooks alike.
- Perfect for Any Occasion: This authentic hummus recipe is incredibly versatile. It’s easily scalable, allowing you to double or triple the batch for larger gatherings or meal prep. Furthermore, it can be prepared in advance, making it a stress-free option for entertaining or busy weeknights.
- Wholesome & Healthy: Hummus is not only delicious but also remarkably nutritious. Naturally vegan and gluten-free, it caters to a wide range of dietary preferences. Packed with plant-based protein from chickpeas, healthy fats from tahini and olive oil, and dietary fiber, it’s a satisfying and guilt-free choice. It promotes satiety, aids digestion, and provides essential vitamins and minerals.
Essential Hummus Ingredients: The Foundation of Flavor
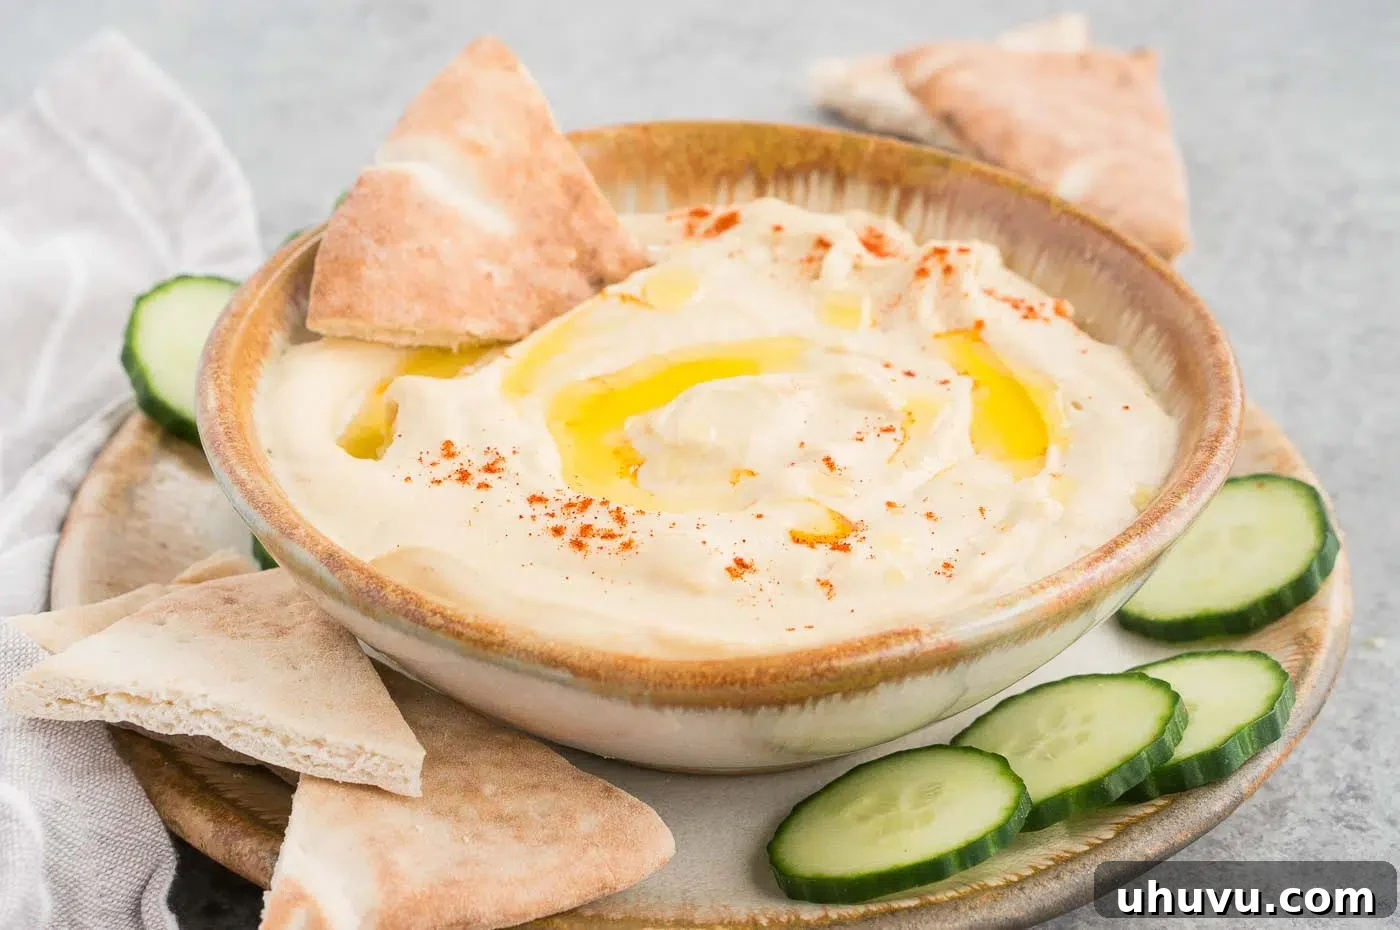
Crafting the perfect hummus begins with understanding the role of each key ingredient. Quality makes a significant difference!
- Chickpeas (Garbanzo Beans): These legumes are the heart of hummus. While dried chickpeas, soaked overnight and cooked until very soft, offer the freshest flavor, canned chickpeas provide excellent convenience without compromising much on taste or texture, especially when prepared correctly. For canned chickpeas, always rinse and drain them thoroughly to remove excess sodium and starchy liquid.
- Baking Soda: A crucial secret for incredibly smooth hummus! When you boil chickpeas with baking soda, it helps to break down their skins and facilitates better absorption of moisture. This results in an exceptionally soft and creamy texture that’s highly sought after in authentic hummus. Don’t skip this step for the best results!
- Tahini: This rich paste made from ground sesame seeds is indispensable for hummus. It contributes a distinctive nutty flavor and is vital for achieving that signature creamy consistency. Opt for a good-quality tahini – one that is light in color and has a pourable consistency – for the best flavor and texture. If your tahini is very thick, you might need a little extra cold water in the recipe.
- Olive Oil: Extra-virgin olive oil is preferred for its rich, fruity flavor, which complements the hummus beautifully. It adds depth and a luxurious mouthfeel. While extra-virgin is recommended, a regular or light olive oil can be used for a milder taste if you prefer. A final drizzle of olive oil before serving is also a classic touch.
- Fresh Lemon Juice: The bright, zesty acidity of fresh lemon juice is essential. It cuts through the richness of the tahini and chickpeas, adding a vibrant freshness and balancing the overall flavor profile. Always use freshly squeezed lemon juice for the best possible taste; bottled juice often lacks the same vibrancy.
- Seasonings and Spices:
- Ground Cumin: This warm, earthy spice provides an authentic Middle Eastern aroma and flavor to your hummus.
- Salt: Fine sea salt is ideal for seasoning, enhancing all the other flavors. Adjust to your preference.
- Minced Garlic: Fresh garlic cloves provide a pungent kick. For a milder garlic flavor, you can roast the garlic before adding it to the food processor.
How To Make Perfectly Creamy Hummus: A Step-by-Step Guide
Follow these detailed steps to achieve the smoothest, most flavorful hummus you’ve ever tasted. The key is in patience during the blending process!
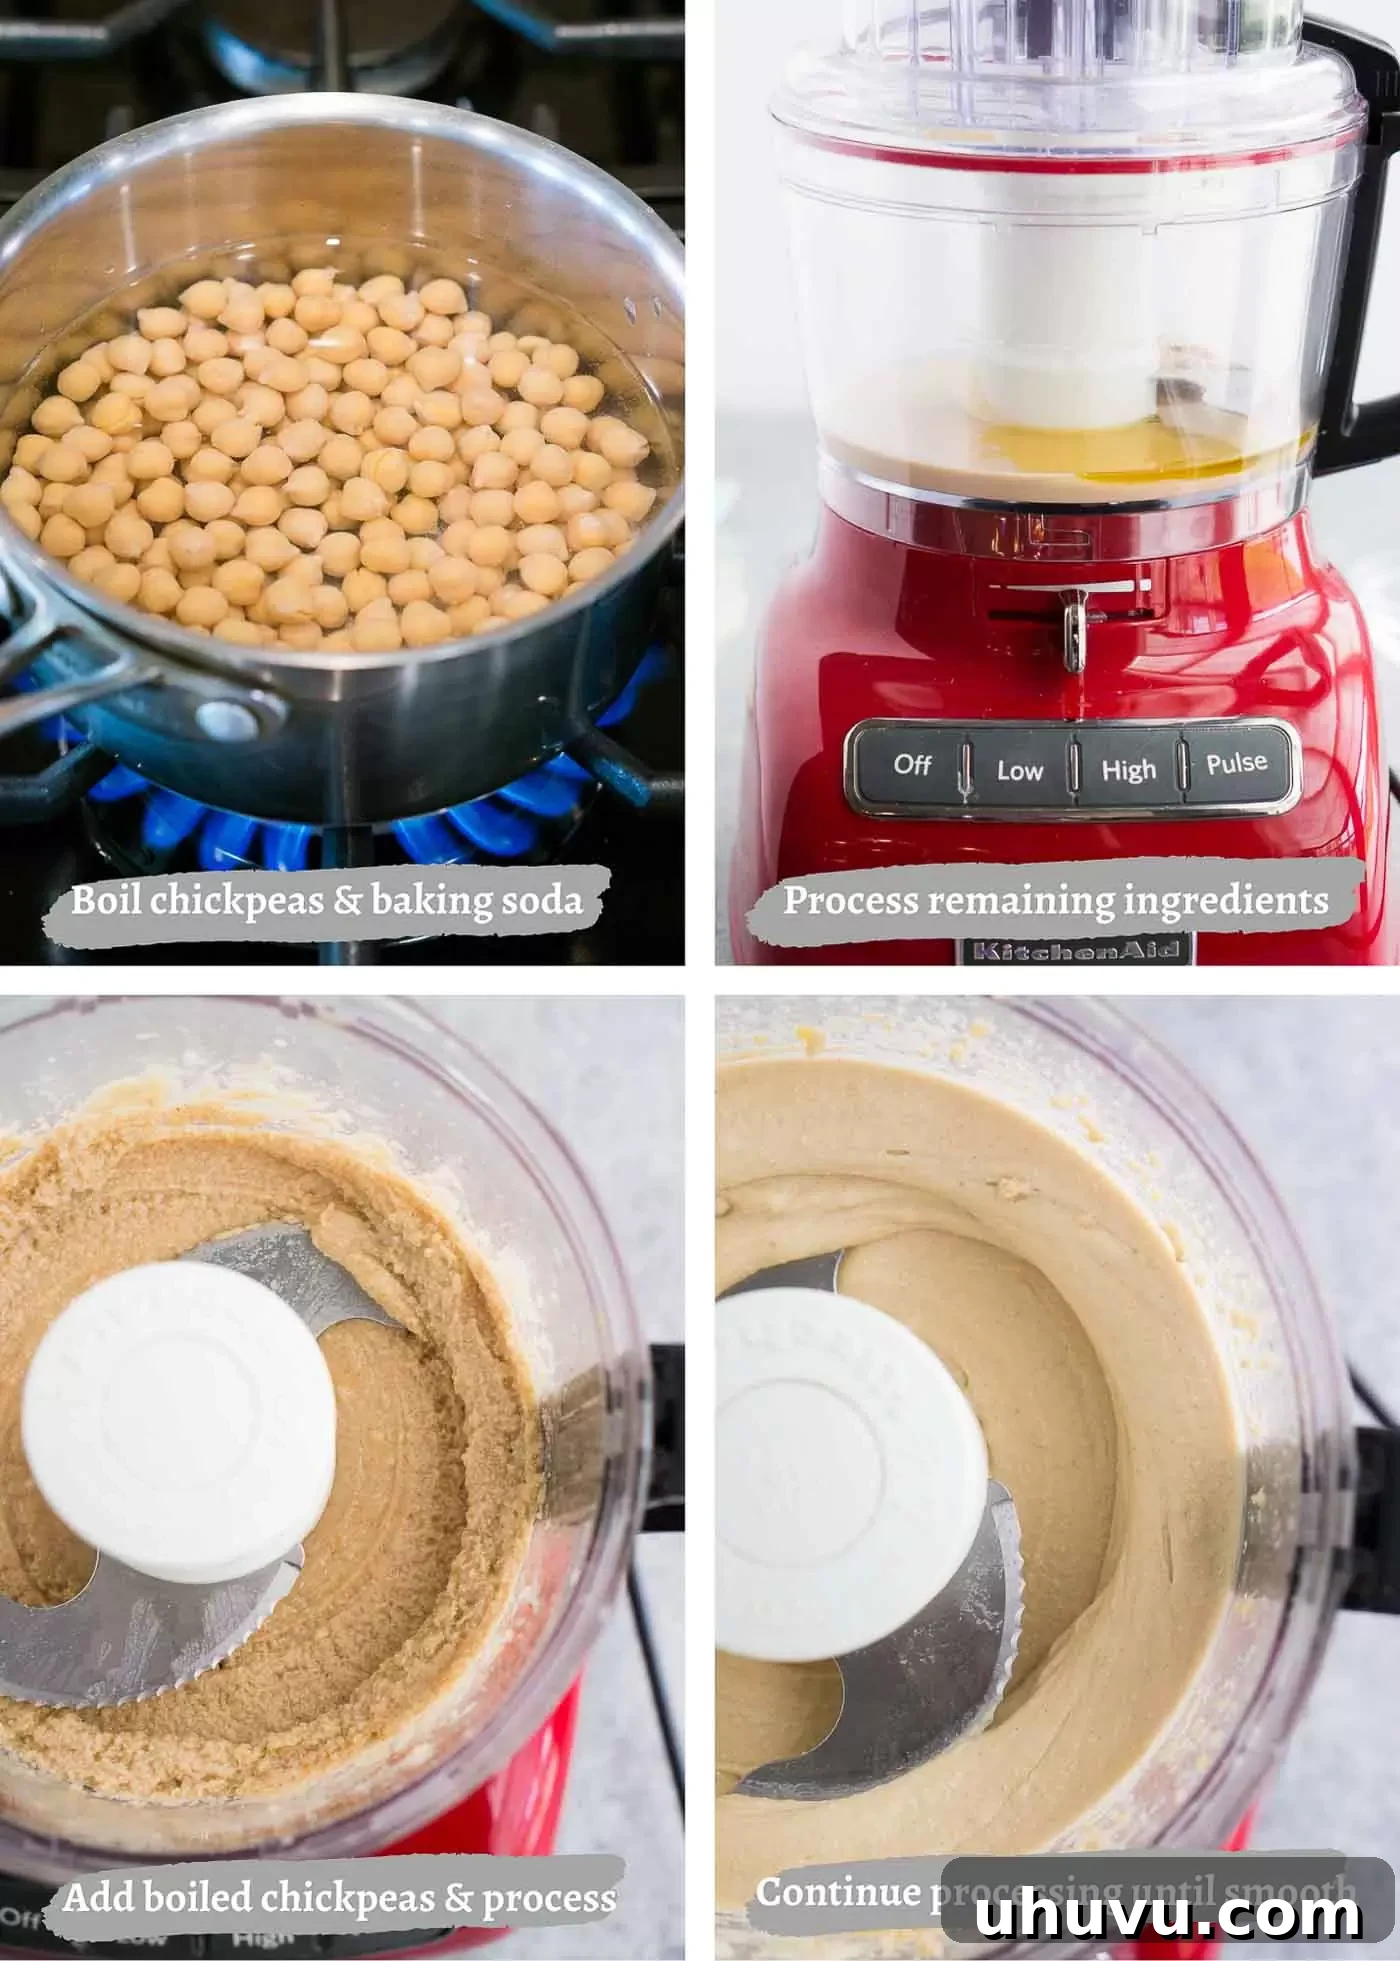
- Prepare the Chickpeas: Begin by boiling your rinsed and drained chickpeas. Place them in a pot with enough water to generously cover them, and add ½ teaspoon of baking soda. Boil for approximately 20 minutes until the chickpeas are extremely soft and easily crushed between your fingers. This crucial step, especially with the baking soda, helps break down the chickpea skins, ensuring a supremely smooth texture. After boiling, rinse them thoroughly under cold water and drain again.
- Peel for Perfection (Optional but Recommended): For the absolute smoothest, restaurant-quality hummus, take a few extra minutes to gently peel the skins off the chickpeas after boiling and rinsing. While this step is optional, it makes a remarkable difference in the final texture.
- Blend the Tahini Base: In the bowl of a food processor, combine the good-quality tahini, 2-4 tablespoons of cold water, extra virgin olive oil, ground cumin, fine sea salt, minced garlic, and fresh lemon juice. Process this mixture for 1-2 minutes until it becomes light, fluffy, and well-emulsified. Scrape down the sides of the bowl as needed to ensure everything is incorporated. This creates a creamy base for the chickpeas.
- Incorporate the Chickpeas: Add the prepared (and peeled, if you opted for it) chickpeas to the food processor. Continue to puree for 3-4 minutes, pausing every minute or so to scrape down the sides of the bowl. The goal is to achieve an incredibly smooth, almost ethereal consistency. If the mixture appears too thick or stiff, add an additional tablespoon or two of cold water, one at a time, until the desired creaminess is reached.
- Taste and Adjust: Once smooth, taste the hummus. This is your chance to adjust the seasoning. Add more salt, cumin, or lemon juice according to your preference. A perfectly balanced hummus should be bright, savory, and slightly tangy.
TIPS FROM NELI’S KITCHEN
Expert Tips for the Smoothest, Most Flavorful Hummus
- Thoroughly Rinse Chickpeas: Always drain and rinse canned chickpeas very well under cold running water. The liquid they come in can be quite salty and also contains starches that can affect the texture and flavor.
- The Power of Peeling: While it requires a little extra effort, peeling the skins off the chickpeas after boiling is arguably the most impactful step for achieving ultra-smooth, creamy hummus. The tougher skins can create a slightly gritty texture. Embrace this step for that coveted restaurant-style consistency.
- Use Cold Water: When blending, start with cold water. This helps to achieve a lighter, fluffier consistency and prevents the tahini from seizing up. Add it gradually until your desired thickness is reached.
- Blend, Blend, Blend: Don’t be shy with your food processor or high-speed blender. Allow it to run for several minutes, scraping down the sides frequently. The longer you blend, the creamier and airier your hummus will become.
- Quality Tahini Matters: Invest in a good quality tahini. A thinner, light-colored tahini made from hulled sesame seeds will yield a less bitter and smoother hummus. Stir it well before use if it has separated.
- Adjust Seasoning to Taste: Lemon juice, salt, and cumin are crucial. Taste your hummus before serving and don’t hesitate to add a little more of any ingredient to achieve your perfect balance.
- Alternative Equipment: If a food processor isn’t available, a high-speed blender can also produce excellent results. Just ensure you scrape the sides frequently and might need to add a tiny bit more liquid to help it blend.
Storage: How Long Does Homemade Hummus Last?
This freshly made hummus is absolutely delicious served immediately. For storage, transfer it to an airtight container or cover it tightly with plastic wrap to prevent it from drying out. Keep it refrigerated, and it will maintain its freshness and delightful flavor for up to 3-4 days. It can be enjoyed straight from the fridge.
Is Peeling Chickpeas Truly Necessary for Hummus?
You don’t *have* to peel the chickpeas, but I wholeheartedly recommend it if you desire the absolute smoothest and creamiest hummus. The thin skins, while edible, can impart a slightly grainy texture to your finished dip. Taking the extra time to remove them after boiling will elevate your hummus to a truly luxurious, restaurant-quality standard, making a significant difference in mouthfeel and overall enjoyment.
Serving Suggestions & Creative Uses for Hummus
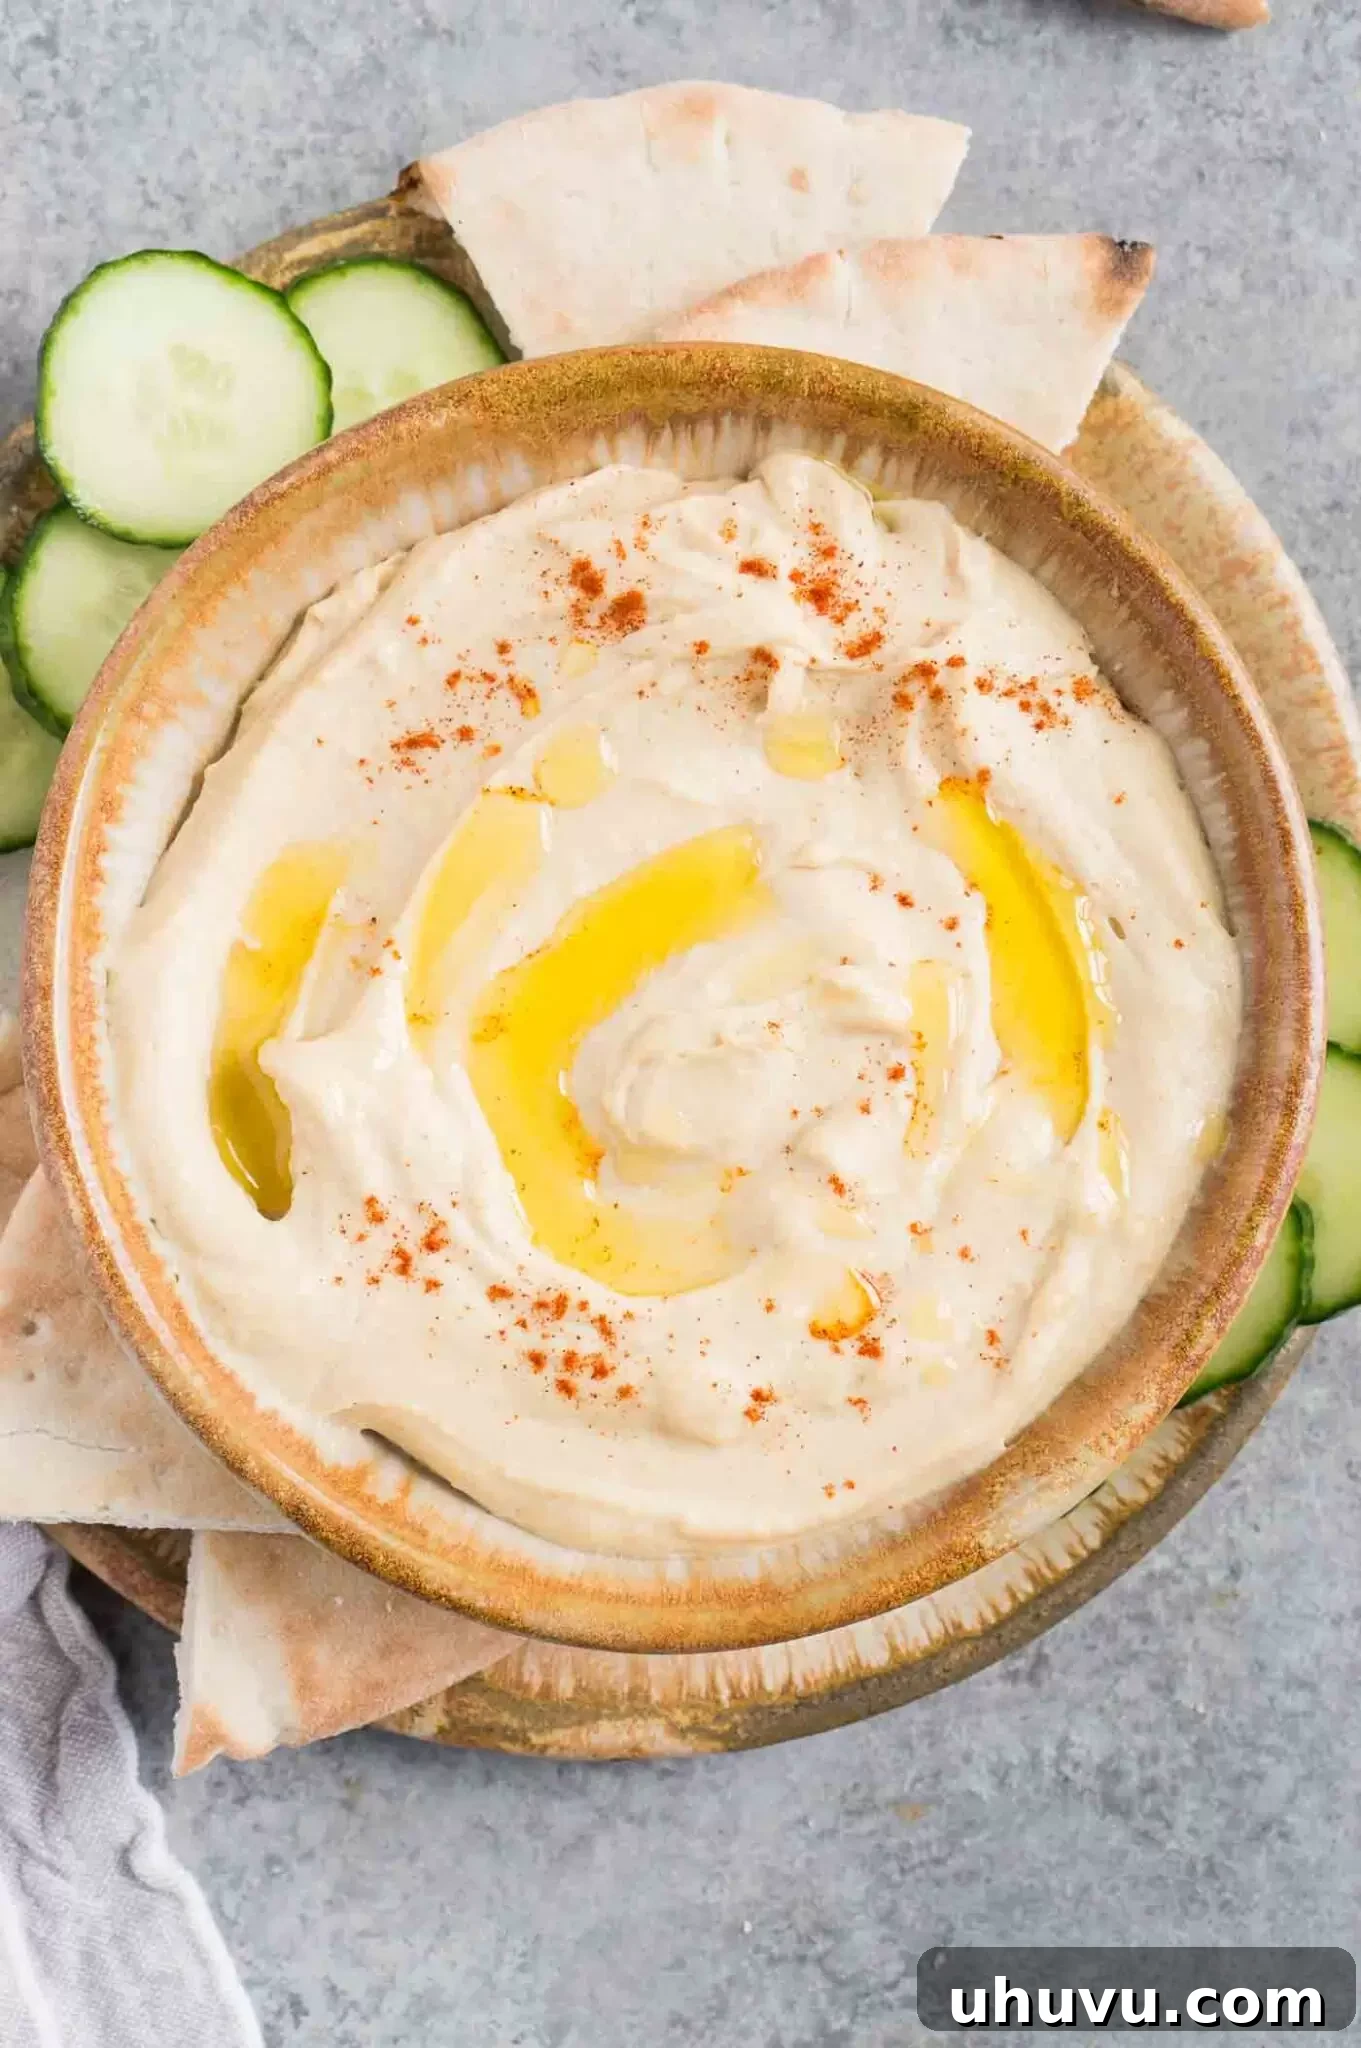
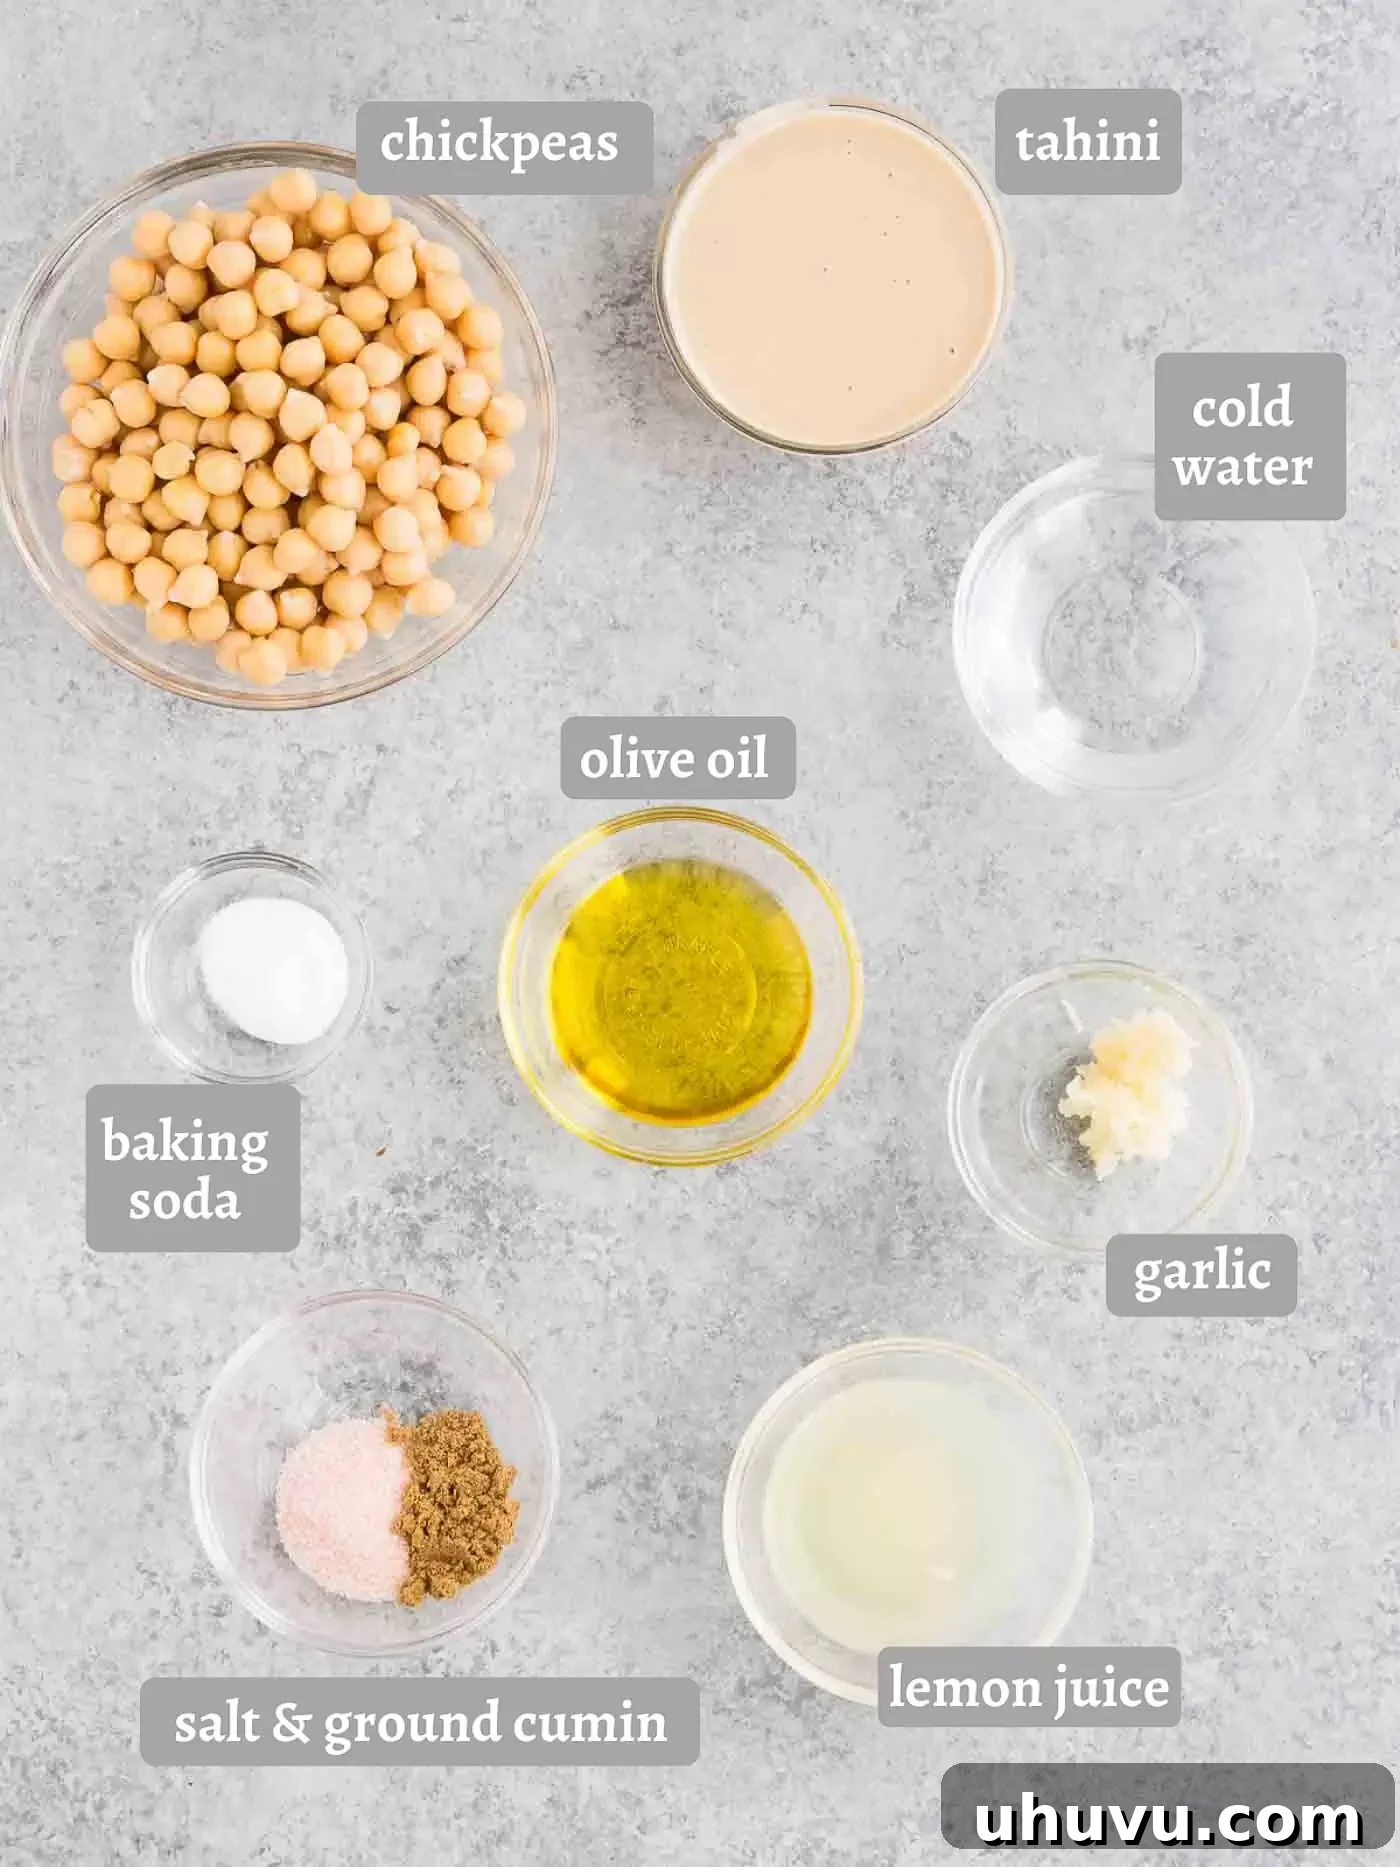
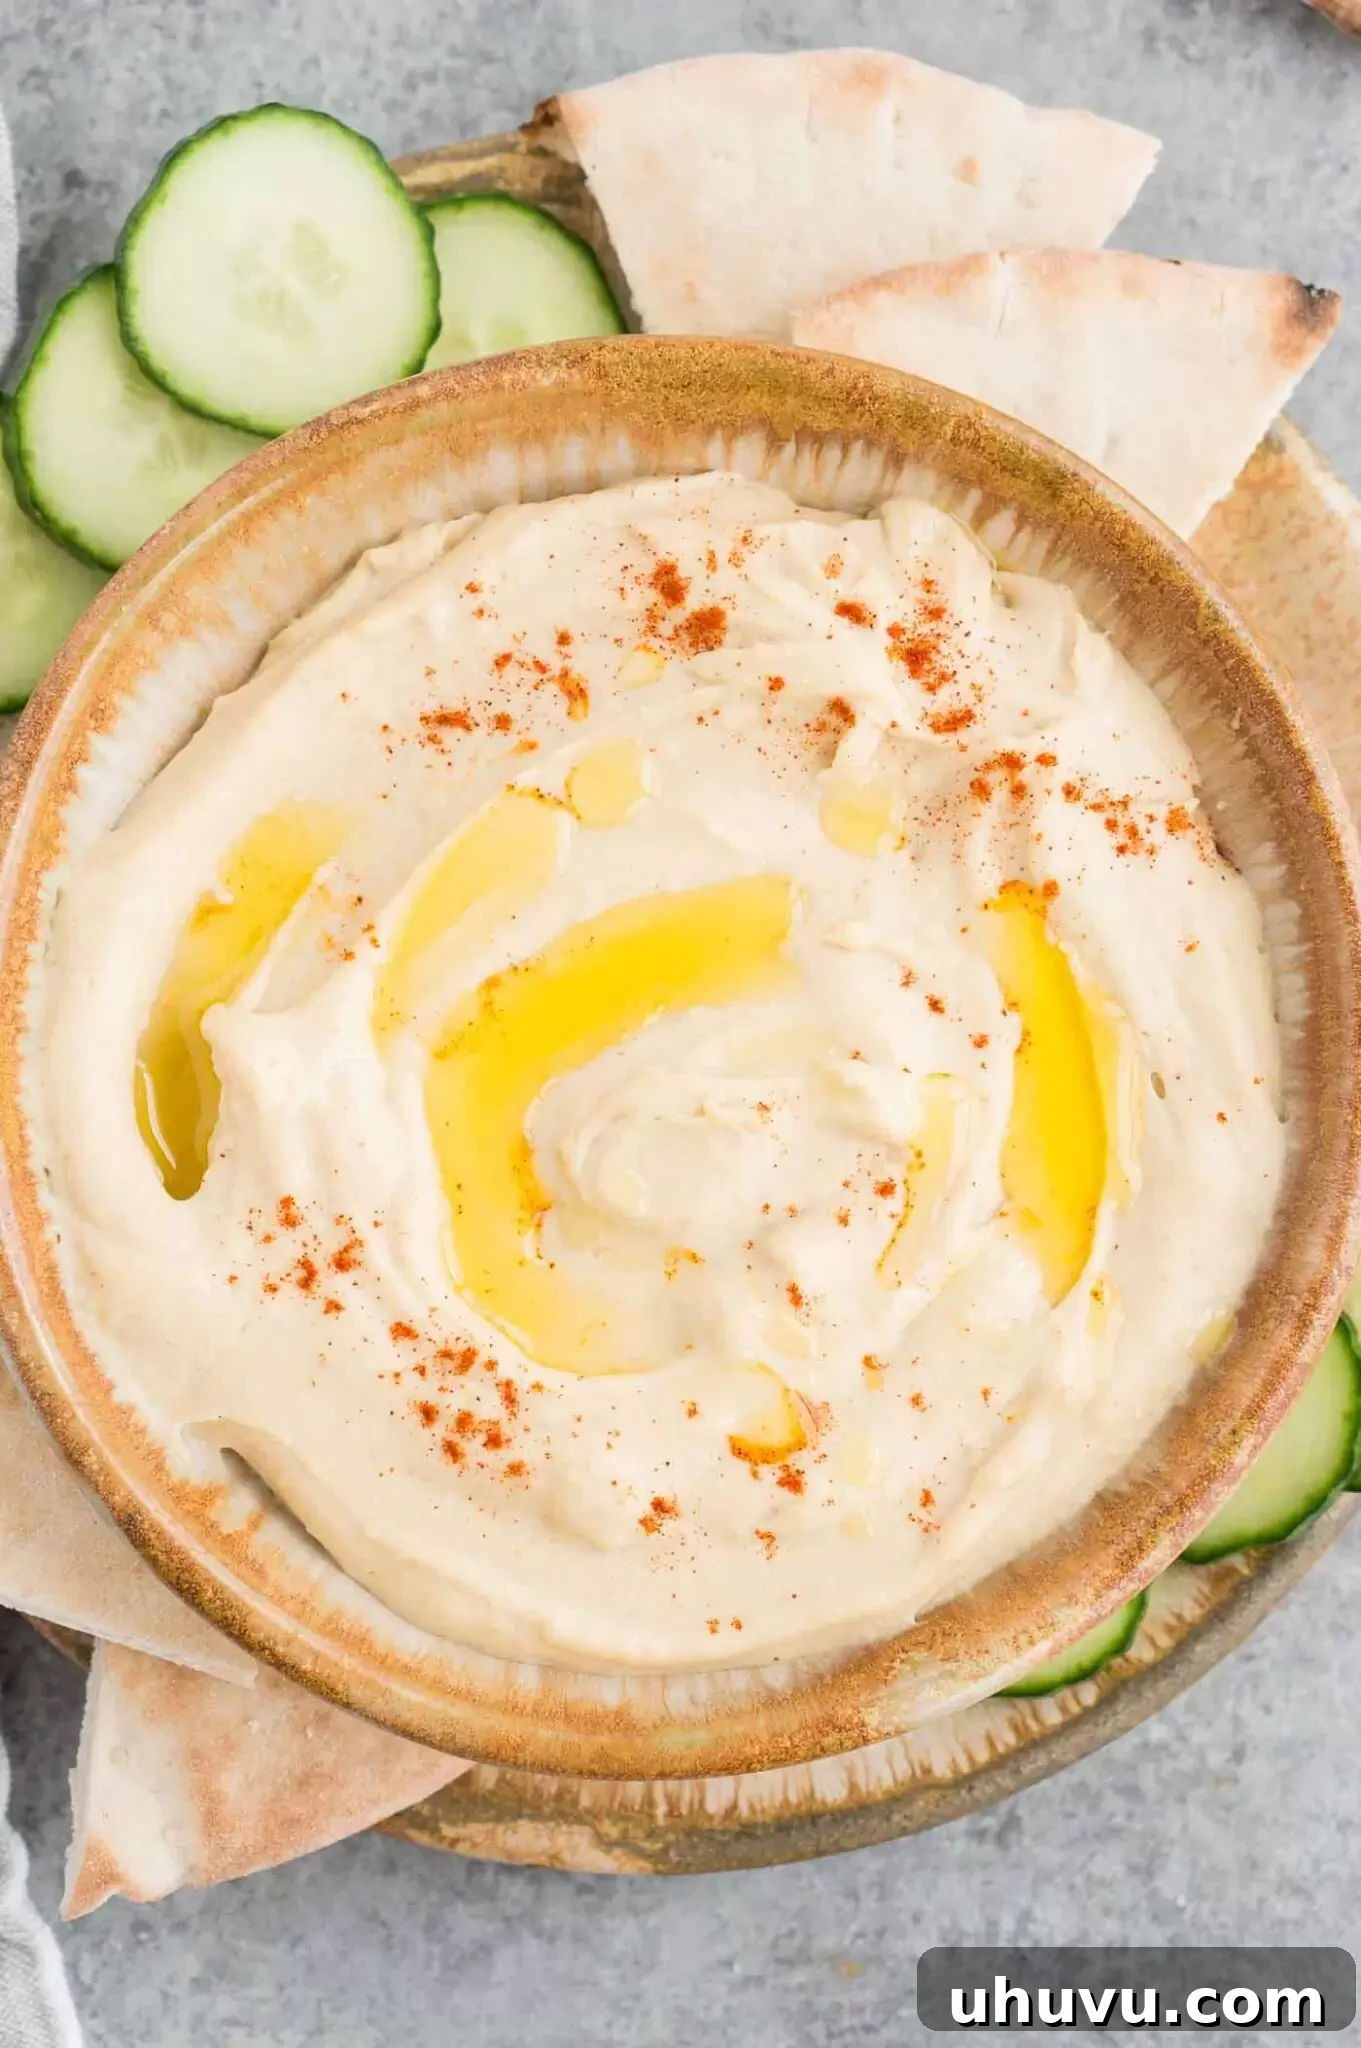
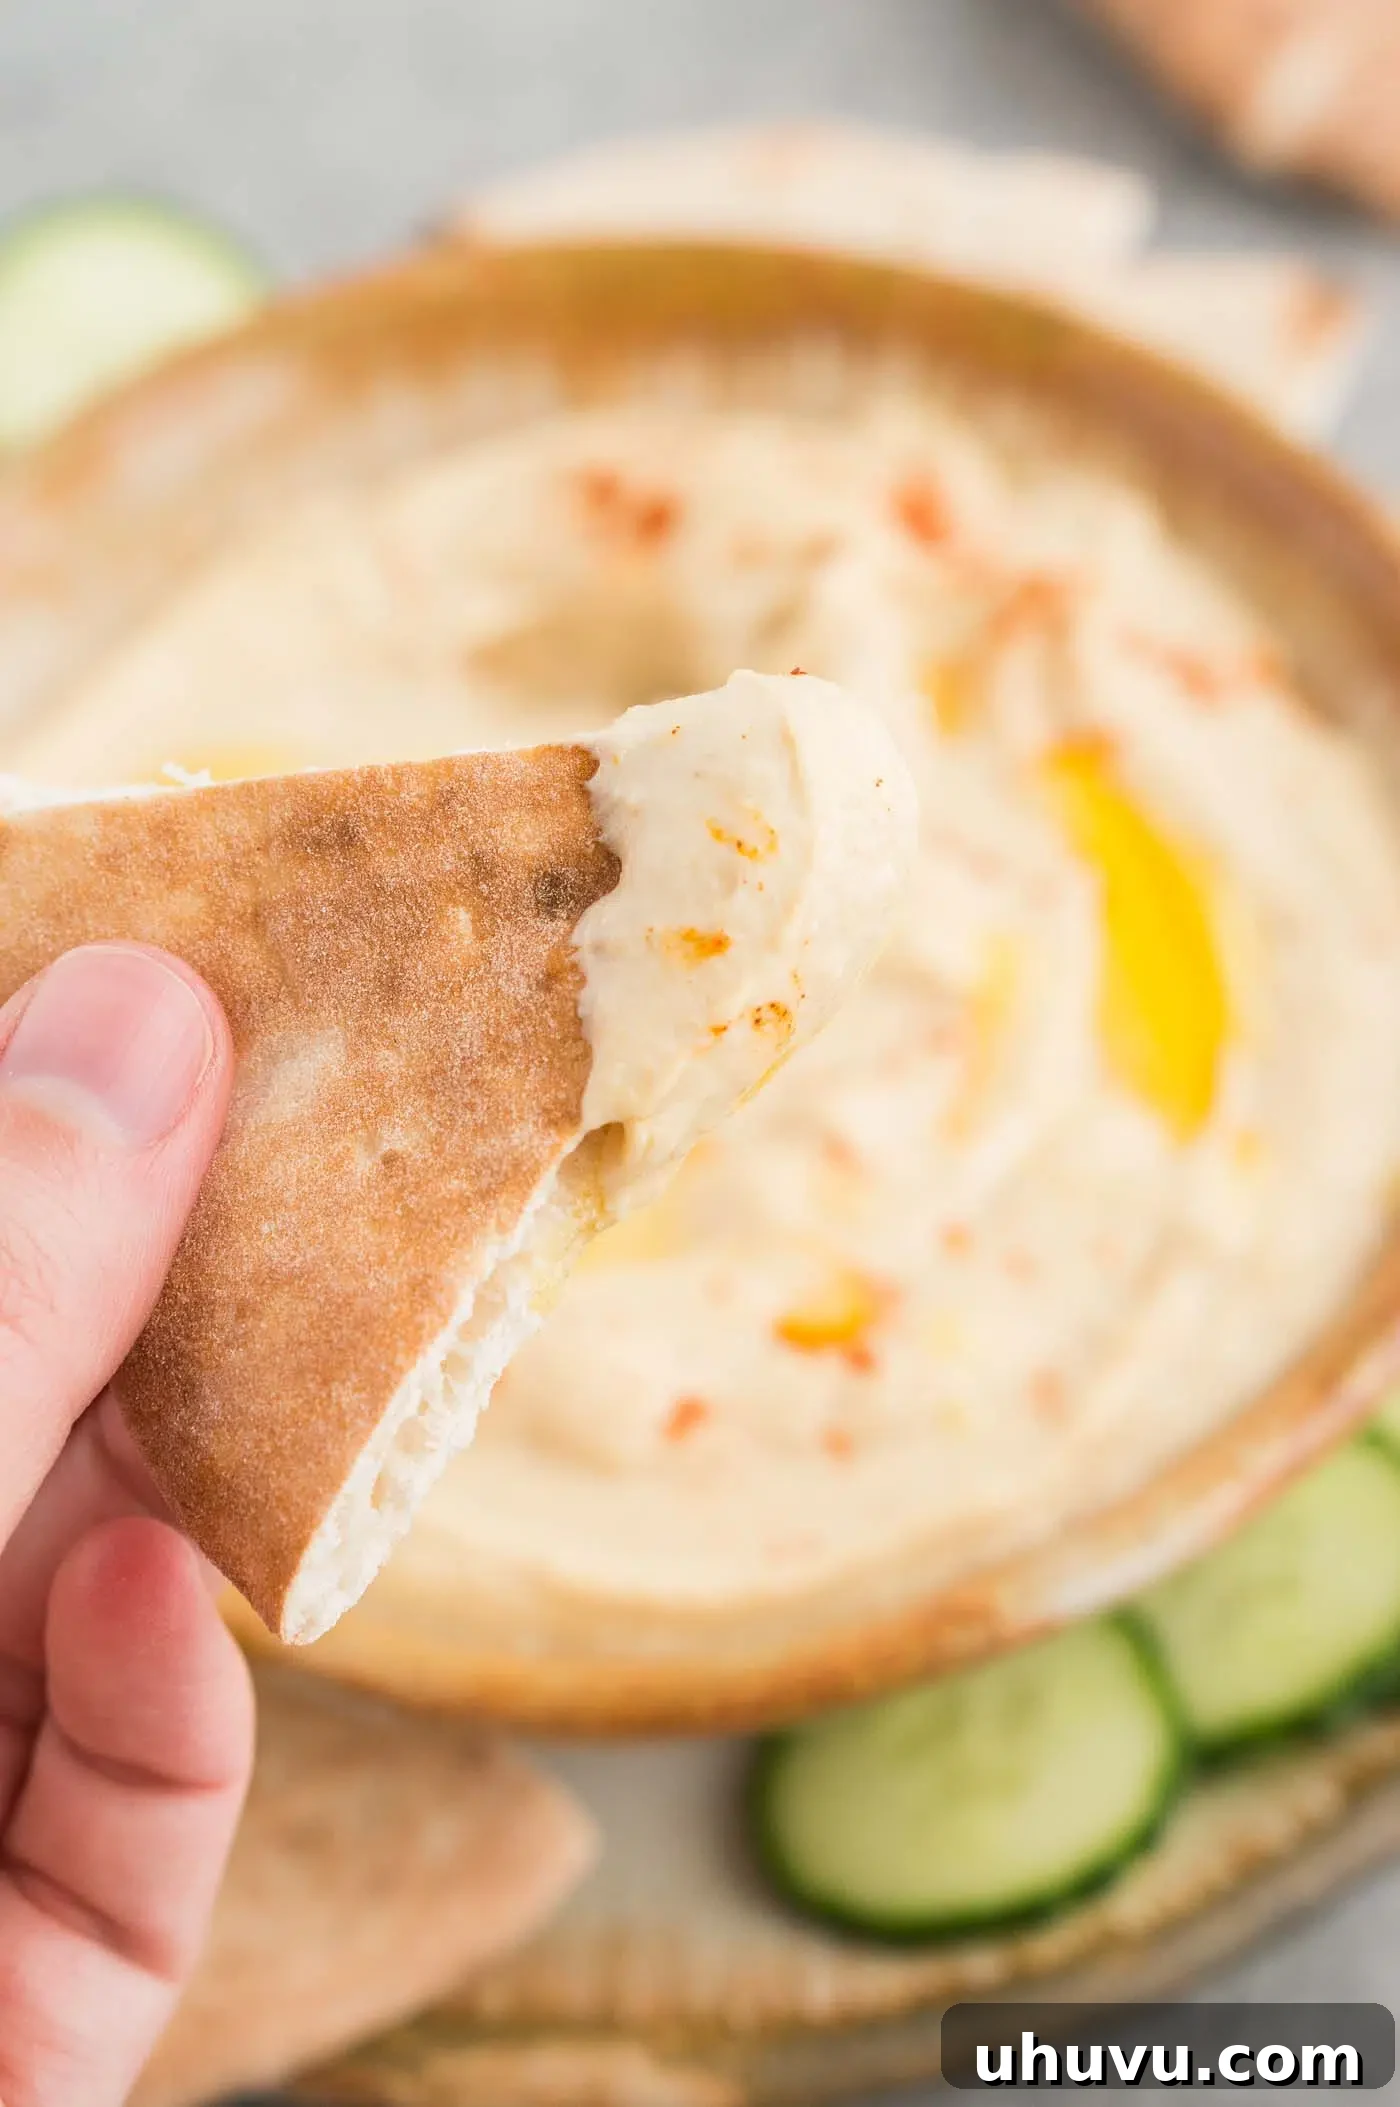
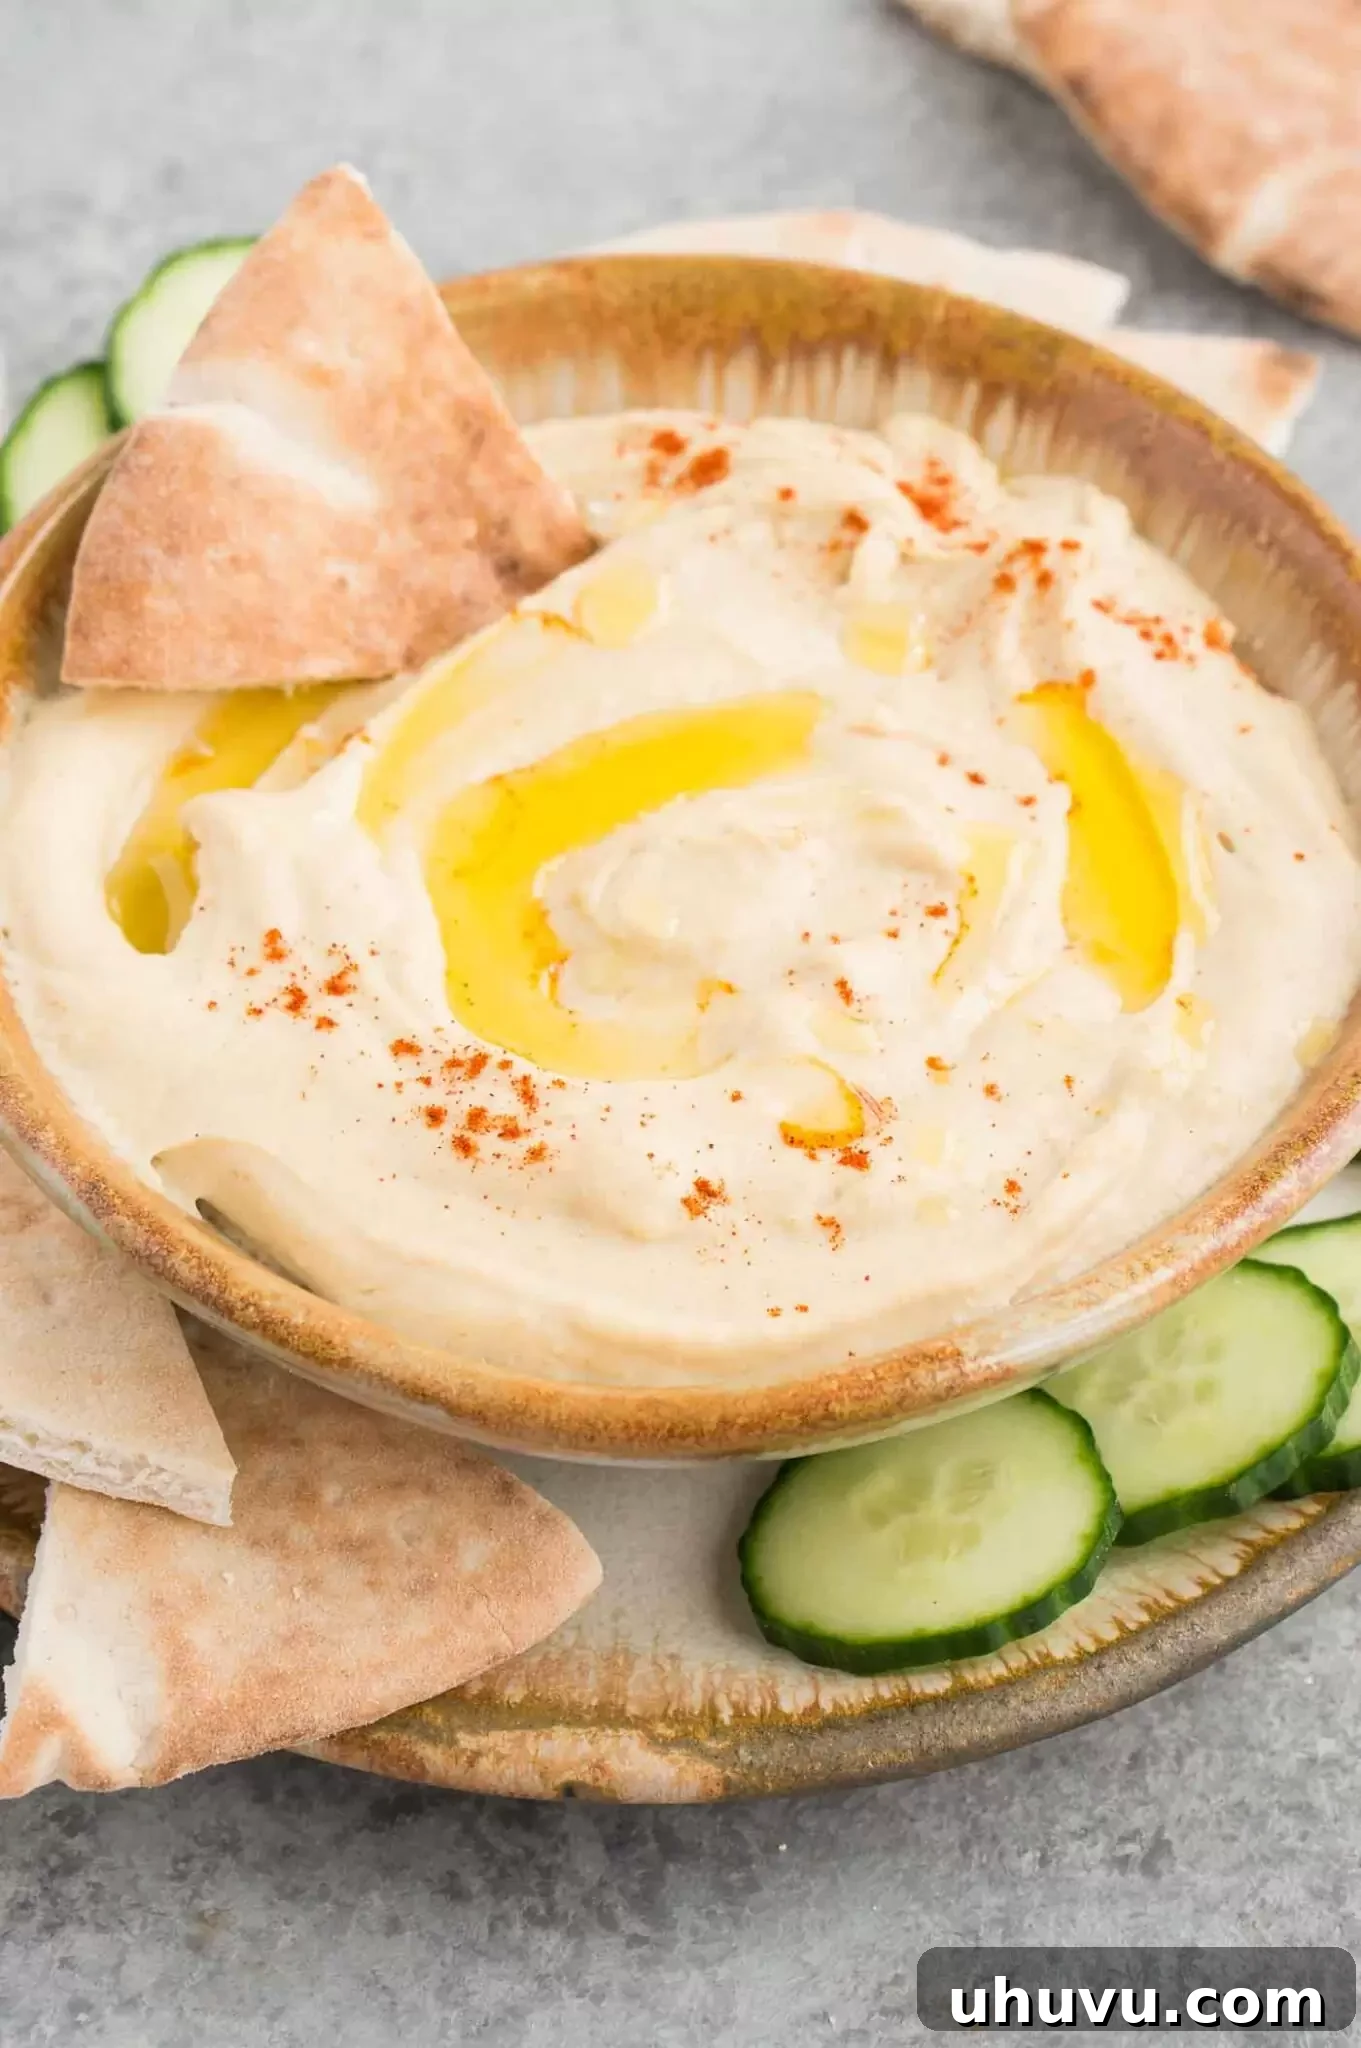
Once your perfect batch of hummus is ready, the serving possibilities are endless! For a classic presentation, spread it onto a shallow platter, create a swirl with the back of a spoon, and finish with a generous drizzle of extra virgin olive oil. Elevate its appeal with various garnishes such as chopped fresh parsley, a sprinkle of smoked paprika, toasted pine nuts, or a dash of sumac. Serve it alongside:
- Warm pita bread or pita chips
- Fresh vegetable sticks like cucumber slices, carrot sticks, celery, bell peppers, or radishes
- Crusty bread or crackers
- As a spread in sandwiches, wraps, or falafel pitas
- A dollop on top of grain bowls or salads for extra protein and flavor
- Part of a vibrant mezze platter with olives, feta cheese, and other Mediterranean delights
- As a healthy dip for grilled chicken or vegetables.
Exciting Hummus Variations to Try
While the classic recipe is a staple, hummus is incredibly adaptable. Once you’ve mastered the basic technique, feel free to experiment with these delicious variations:
- Roasted Beet Hummus: Add roasted beets for a stunning vibrant color and an earthy, sweet flavor.
- Avocado Hummus: Blend in ripe avocado for an extra creamy texture and a dose of healthy fats.
- Roasted Red Pepper Hummus: Incorporate roasted red bell peppers for a smoky, sweet, and tangy twist.
- Spicy Hummus: Blend in a pinch of cayenne pepper, a dash of hot sauce, or some roasted jalapeños for a fiery kick.
- Sun-Dried Tomato Hummus: Add oil-packed sun-dried tomatoes for an intense, savory, and slightly sweet flavor.
- Caramelized Onion Hummus: Stir in finely chopped caramelized onions for a rich, sweet, and savory depth.
More Delicious Appetizer Recipes
- Creamy Tzatziki Sauce
- Fresh Caprese Skewers
- Perfect Classic Guacamole
- Crispy Homemade French Fries
If you enjoyed this Easy Hummus recipe or any other recipe on my blog, please leave a ⭐ star rating and let me know how it went in the 📝 comments below. Thanks for visiting!
Pin this now to find it later
Pin It

☝ Rate and Comment Below
How to Make Hummus
Neli Howard
20
20
40
4 servings
Save This Recipe
Want to revisit this recipe later? Bookmark this page or simply copy the URL to your favorites!
Ingredients
- 1 15 ounce can chickpeas, peeled (optional but recommended), rinsed, and drained
- ½ tsp baking soda
- ½ cup good-quality tahini
- 2 –4 tablespoons cold water, or more if needed
- 2 tablespoons extra virgin olive oil
- ½ teaspoon ground cumin
- ¾ teaspoon fine sea salt
- 2 medium cloves garlic, peeled and smashed
- juice of 1 lemon, about 2–3 tablespoons, freshly squeezed
- Optional toppings: extra drizzle of olive oil, chopped fresh parsley, sprinkle of paprika, toasted pine nuts
Instructions
-
Boil chickpeas for 20 minutes with enough water to cover them & ½ tsp baking soda until very soft. Rinse thoroughly and drain. For extra smooth hummus, carefully peel the skins off the chickpeas.
-
To a food processor, add tahini, cold water, olive oil, cumin, salt, garlic, and lemon juice. Puree for 1-2 minutes until smooth and emulsified, scraping down the sides as needed.
-
Add the cooked (and peeled, if desired) chickpeas to the food processor. Puree for 3-4 minutes, pausing halfway to scrape down the sides of the bowl, until the hummus is incredibly smooth and creamy. If it seems too thick, add an additional tablespoon or two of cold water, one at a time, until the desired consistency is achieved.
-
Taste and season with additional salt, cumin, and/or lemon juice if needed, ensuring a perfectly balanced flavor.
-
Serve immediately, garnished with your desired toppings such as an extra drizzle of olive oil, chopped fresh parsley, or a sprinkle of paprika. Or transfer to a sealed container and refrigerate for up to 3 days.
Notes
- Drain and rinse the chickpeas well. The liquid in canned chickpeas can be quite salty, so give them a good rinse under cold running water before using.
- It’s totally worth peeling your chickpeas before boiling them. This results in extra smooth and creamy hummus.
- Keep covered and refrigerated.
- Hummus can be frozen for short periods of time (up to 1 month). If it separates when you thaw it, you can blend it back together again to serve.
- If you don’t have a food processor you could use a high-speed blender to make your own hummus.
Nutrition Information (Estimated per Serving)
Carbohydrates: 24g |
Protein: 11g |
Fat: 25g |
Saturated Fat: 3g |
Polyunsaturated Fat: 9g |
Monounsaturated Fat: 12g |
Sodium: 881mg |
Potassium: 339mg |
Fiber: 7g |
Sugar: 1g |
Vitamin A: 45IU |
Vitamin C: 16mg |
Calcium: 92mg |
Iron: 3mg
Nutrition Disclaimer: Nutritional values are estimates and may vary with ingredients, brands, and portion sizes. For accuracy, use your preferred nutrition calculator.
Like this recipe? Rate and comment below!