
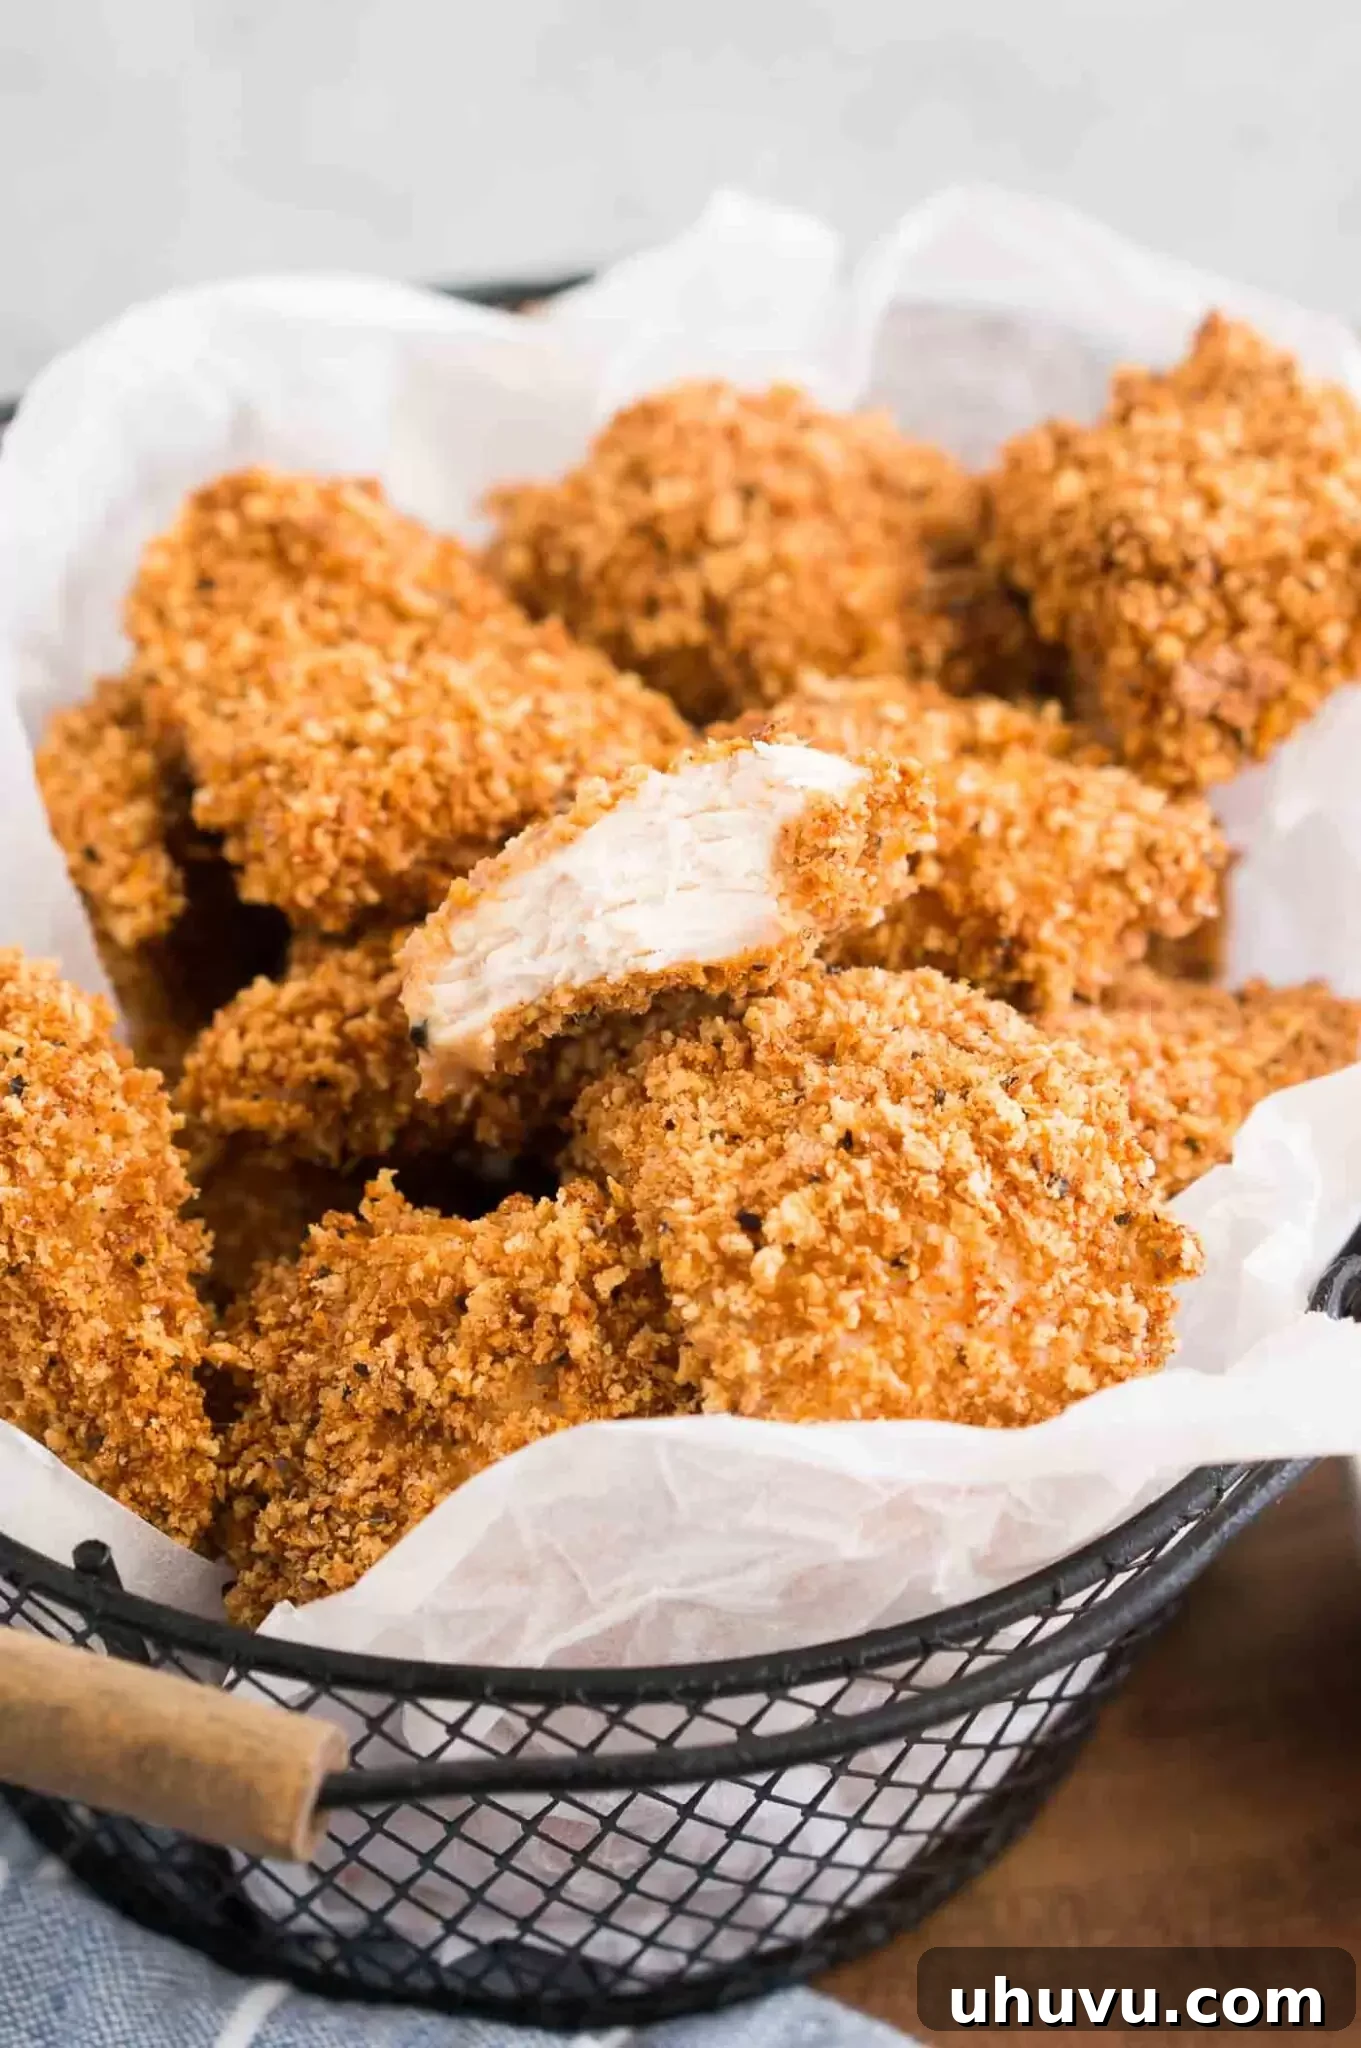
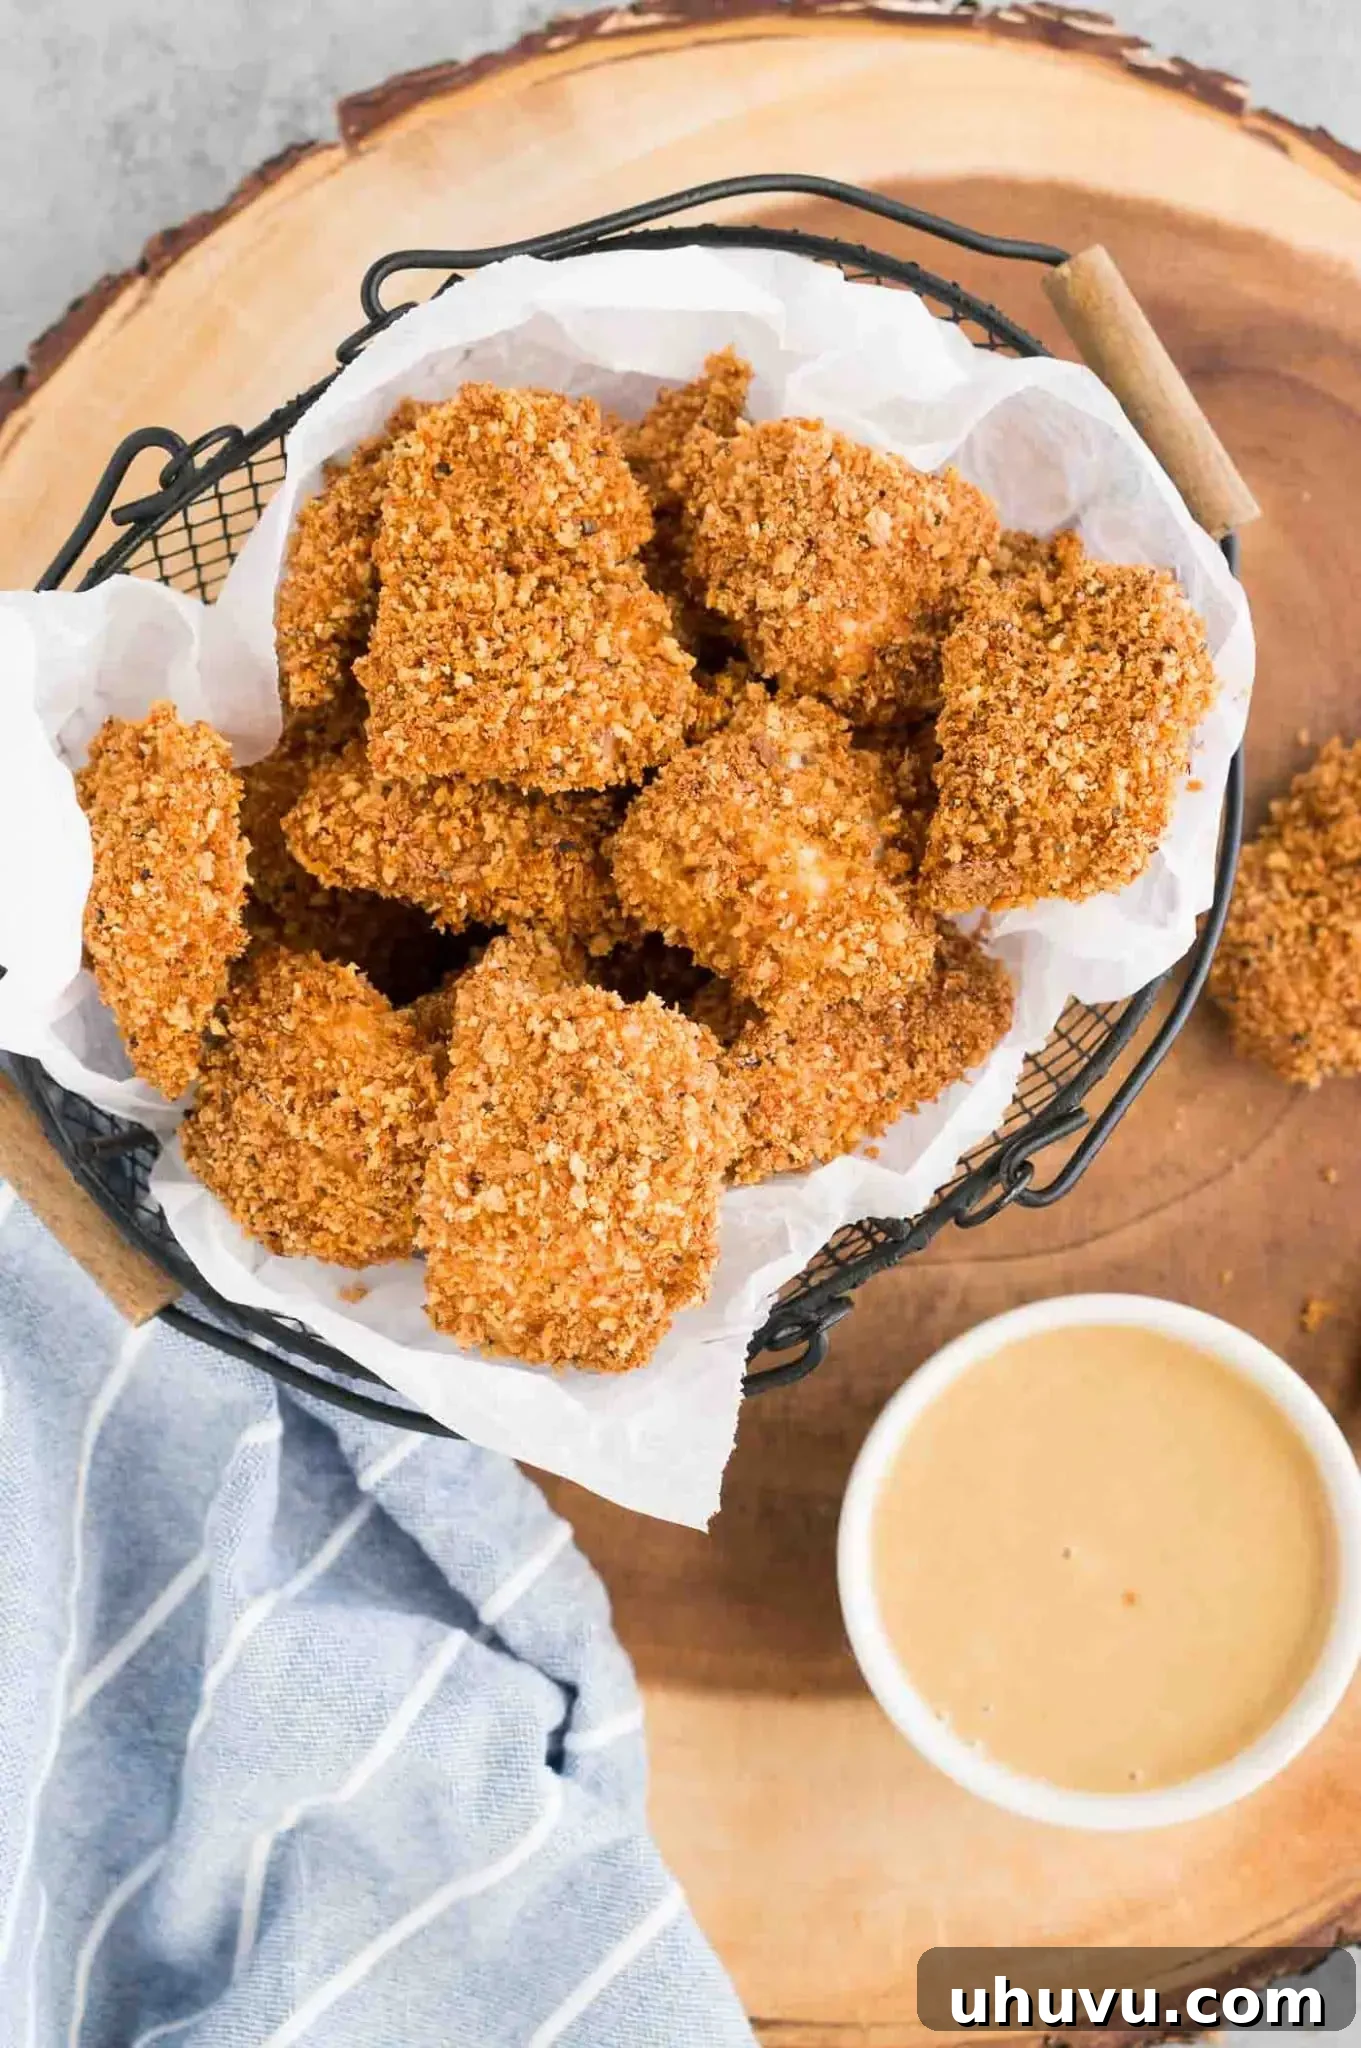
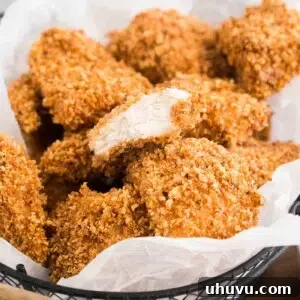
Say goodbye to the freezer aisle and hello to the most irresistible homemade chicken nuggets you’ll ever make! These golden, crispy, and tender chicken bites are the perfect appetizer or a wholesome addition to any weeknight dinner, guaranteed to be a hit with both kids and adults. Oven-baked to perfection, they offer a significantly healthier alternative to their deep-fried counterparts, and the best part is, they are incredibly easy to make from scratch in your own kitchen.
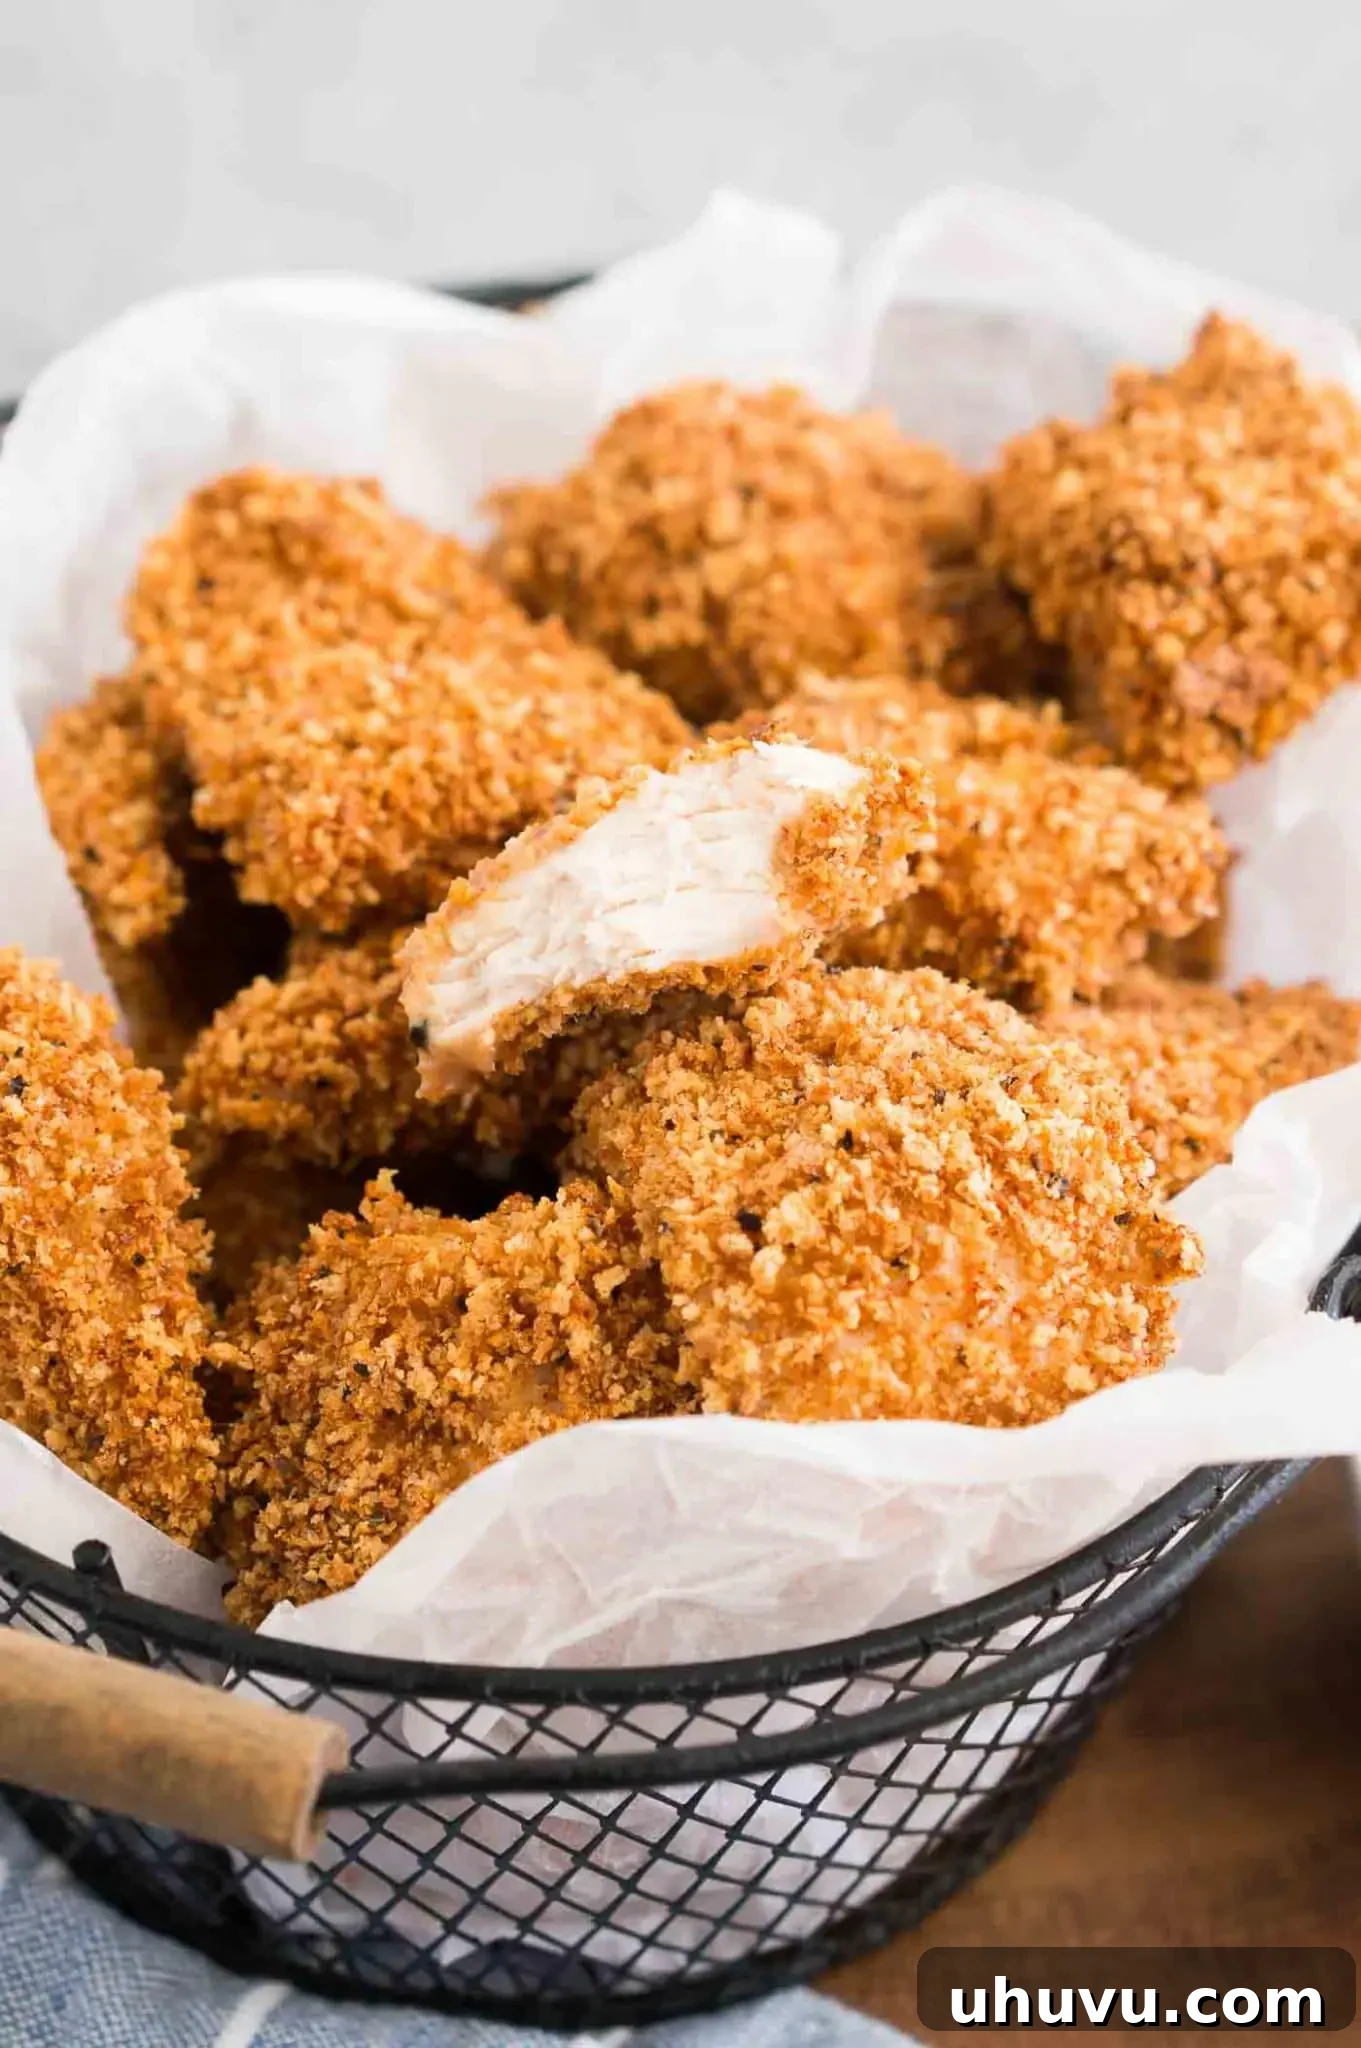
Our family, like many others, absolutely adores chicken nuggets. However, I’ve always been a bit hesitant to purchase the frozen versions from the store due to concerns about their ingredients and overall health profile. They often contain preservatives, artificial flavors, and are typically fried in unhealthy oils.
This homemade chicken nugget recipe changes everything. It’s a quick, simple, and utterly delicious alternative to mass-produced convenience food. Each bite of fresh chicken, coated in a perfectly seasoned panko breading, delivers an explosion of flavor and an unbeatable crunch that will have everyone asking for more. You’ll be proud to serve these knowing exactly what’s in them.
For more fantastic chicken ideas that are both tasty and better for you, be sure to check out my Baked Chicken Tenders and Chicken Meatballs recipes!
Why You’ll Absolutely Love This Homemade Chicken Nugget Recipe!
These aren’t just any chicken nuggets; they’re a revelation for family meals and gatherings. Here’s a detailed look at why this recipe is destined to become a beloved favorite in your home:
- Unbelievably Easy to Prepare: Forget complex cooking! This recipe simplifies the process with straightforward steps: dredge the chicken pieces and bake them to a stunning golden brown crispy perfection. It’s so user-friendly that even beginner cooks will achieve delicious, restaurant-quality results with minimal effort.
- A Universal Crowd-Pleaser: The quest for a meal everyone will enjoy often ends here. While adults rave about their savory flavor and satisfying crunch, kids genuinely go crazy for these! Serve them alongside a fun selection of dipping sauces to create an interactive and highly enjoyable meal experience for all ages.
- A Healthier Oven-Baked Option: Unlike traditional deep-fried nuggets, these are oven-baked chicken nuggets, drastically reducing the amount of unhealthy fats and calories. You get all the crispiness and flavor you crave, but with a guilt-free indulgence, making them a smart choice for regular family meals.
- Made with Wholesome, Customizable Ingredients: Enjoy complete control over your food. By making them from scratch, you ensure fresh, high-quality chicken and a custom blend of seasonings, free from the artificial additives, preservatives, and mystery ingredients commonly found in commercially processed nuggets. This allows for dietary adaptations and flavor variations.
- Perfect for Any Occasion: Whether you’re planning a casual party, needing a quick and satisfying lunch, or building a balanced family dinner, these versatile nuggets fit every need. Their universal appeal makes them suitable for a wide range of culinary situations.
- Freezer-Friendly and Great for Meal Prep: Save time and effort by preparing a larger batch to freeze for later. Both baked and unbaked nuggets freeze beautifully, providing a convenient grab-and-cook option for busy days. This makes healthy eating effortless!
Essential Ingredients for Perfectly Crispy Homemade Chicken Nuggets
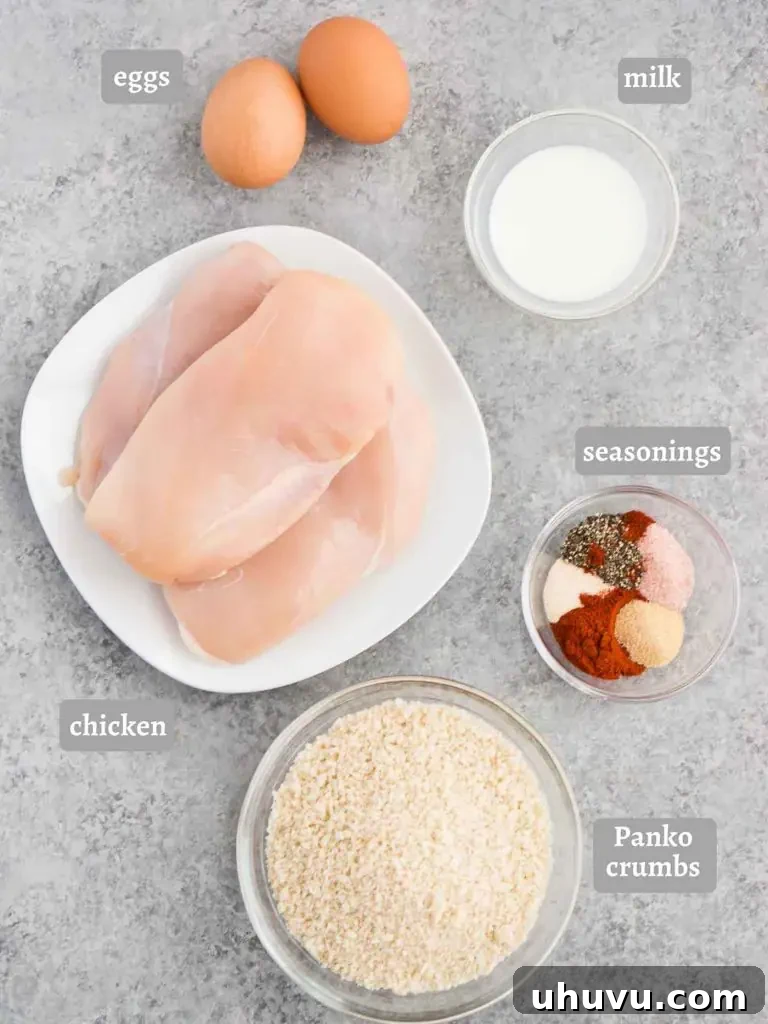
Creating truly delicious and healthy chicken nuggets begins with selecting the right ingredients. Each component contributes to the ultimate texture, flavor, and overall success of this recipe. Here’s a detailed breakdown of what you’ll need, along with insights into their importance and potential substitutions:
- Panko Breadcrumbs: The Secret to Supreme Crispiness. This is perhaps the most crucial ingredient for achieving that coveted light, airy, and extra-crispy exterior. Panko breadcrumbs are a Japanese-style breadcrumb known for their larger, flakier texture compared to standard breadcrumbs. They absorb less oil during cooking, which prevents sogginess and ensures a superior crunch. While regular breadcrumbs can be used, expect a denser, less airy result. For those with gluten sensitivities or allergies, readily available gluten-free panko breadcrumbs work wonderfully and maintain the desired crispiness.
- Aromatic Seasoning Blend: Elevating the Flavor. A well-balanced blend of spices is essential for infusing deep, savory flavor into your nuggets. This recipe uses a classic, crowd-pleasing mix of salt, black pepper, onion powder, paprika, and garlic powder. These spices harmonize beautifully with chicken, creating a rich, aromatic profile that permeates the breading. Don’t hesitate to customize this blend: a touch of smoked paprika can add depth, a pinch of cayenne pepper will introduce a subtle heat, or dried herbs like oregano, thyme, or Italian seasoning can offer a different aromatic dimension.
- Eggs and Milk: The Perfect Binding Duo. The combination of eggs and milk creates an effective “egg wash” that acts as the essential binder for the breadcrumb coating. Whisked together, they form a thin, adhesive layer around the chicken pieces, ensuring that the panko adheres evenly and stays put throughout the baking process. Any type of milk can be used, including dairy-free alternatives such as almond or soy milk. If you need an egg-free option, a mixture of dairy-free milk and a tablespoon of cornstarch can serve as a functional substitute.
- Boneless, Skinless Chicken Breast: The Foundation. For the most tender, lean, and quickly cooked nuggets, boneless, skinless chicken breast is the optimal choice. Its uniform texture cooks evenly and remains juicy within the crispy crust. It’s vital to cut the chicken into consistent, bite-sized pieces, ideally 1-inch cubes. This uniformity ensures all nuggets cook simultaneously, preventing some from drying out while others are still undercooked. While chicken tenders are also suitable, we generally advise against using chicken thighs for this recipe, as their higher fat content and longer cooking time can lead to a less desirable texture for nuggets.
How to Make Crispy Oven-Baked Chicken Nuggets: A Simple Step-by-Step Guide
Making these homemade chicken nuggets is refreshingly simple and yields incredibly satisfying results. Follow these detailed steps to achieve perfectly crispy, juicy nuggets every time:
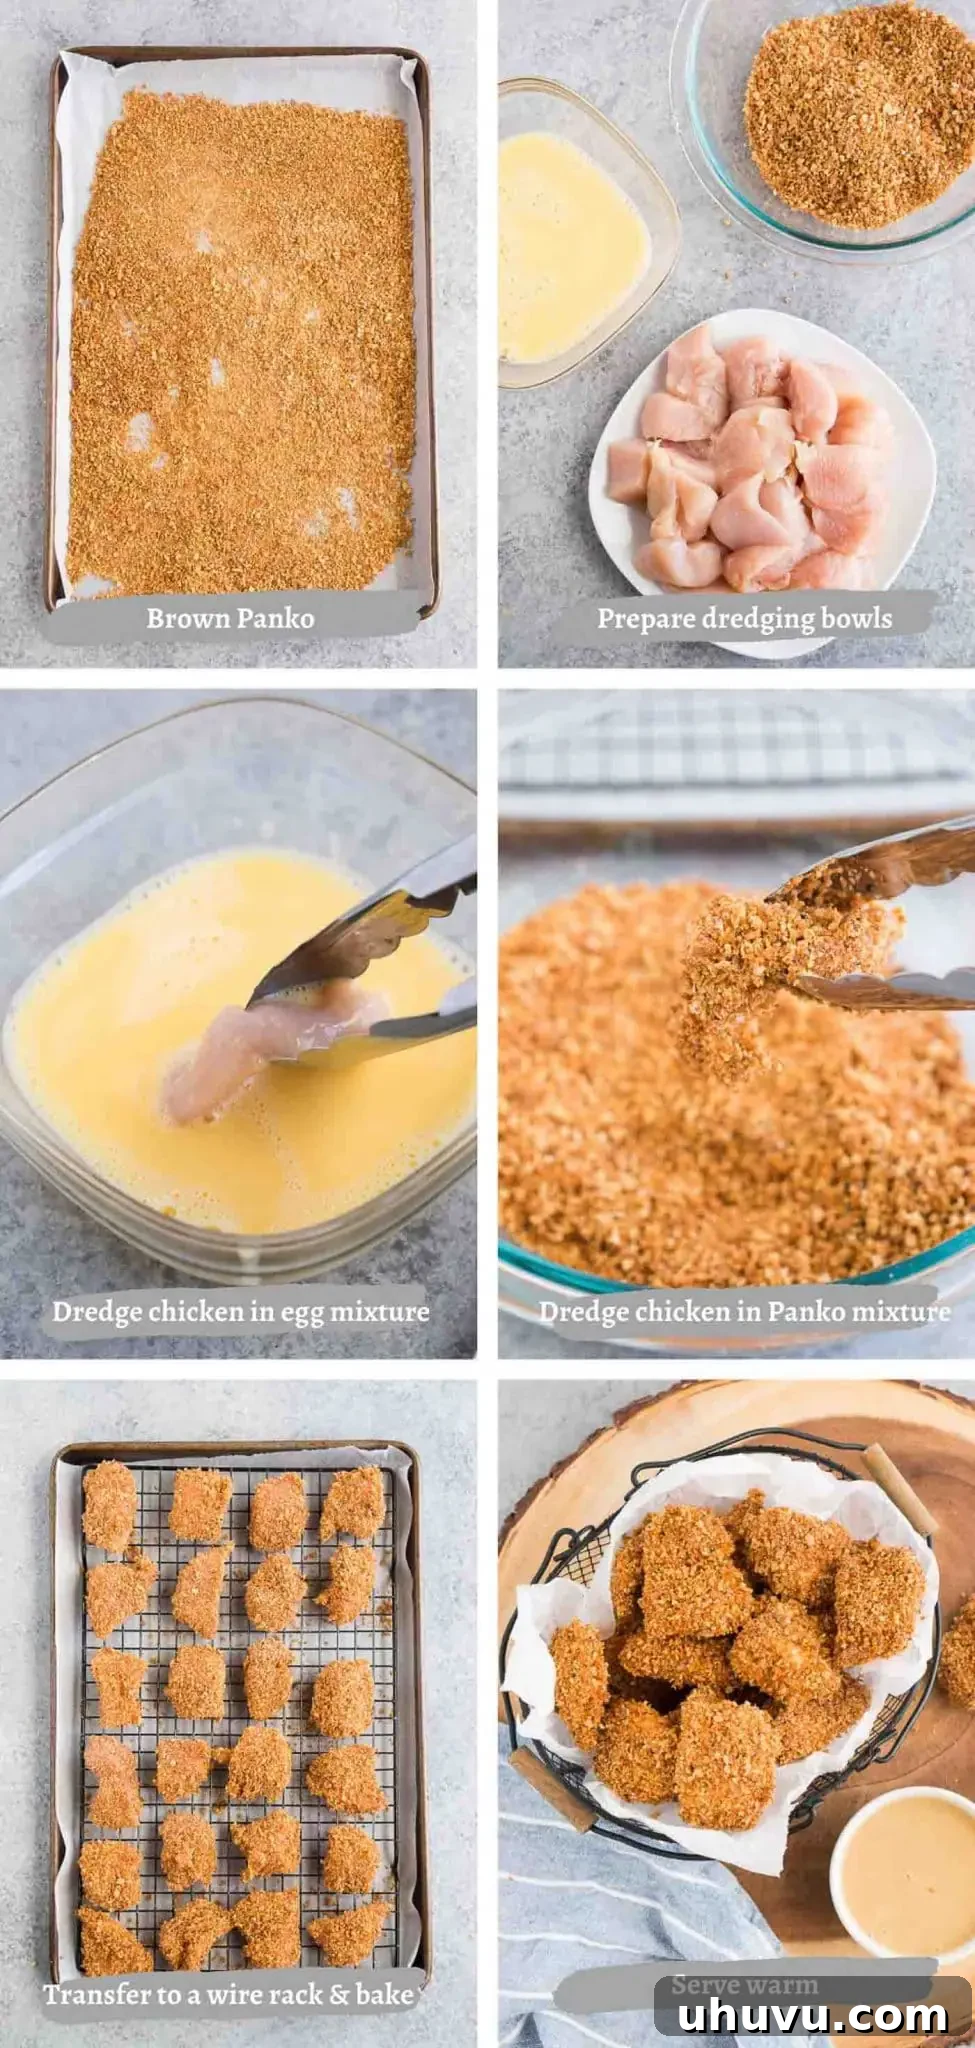
- Step 1: Preheat Your Oven and Prepare Your Baking Setup. Begin by preheating your oven to 400°F (200°C). This initial temperature is specifically for toasting the panko breadcrumbs. Line a large baking sheet with parchment paper to ensure easy cleanup and prevent any sticking.
- Step 2: Toast the Panko for Unmatched Crunch. Spread the panko breadcrumbs evenly across the parchment-lined baking sheet. Place them in the preheated oven and bake for 2-3 minutes until they begin to lightly toast. Remove, stir the breadcrumbs, and return to the oven for another 2-3 minutes, or until they achieve a uniform golden brown color and a fragrant, nutty aroma. Be vigilant during this step, as panko can burn quickly. Immediately transfer the toasted breadcrumbs to a shallow bowl. Whisk in your seasonings: salt, black pepper, onion powder, paprika, and garlic powder. Mix thoroughly to ensure the spices are evenly distributed. Set this flavorful mixture aside. Now, increase your oven temperature to 425°F (220°C) for baking the chicken, and place an oven-safe wire rack on your prepared baking sheet.
- Step 3: Prepare the Egg Wash. In a separate, medium-sized bowl, whisk together the two large eggs and milk until they are smoothly combined. This concoction will act as the crucial binder for your breadcrumb coating. Set this bowl aside near your seasoned panko.
- Step 4: Coat the Chicken Pieces. Take each bite-sized chicken cube and fully submerge it into the egg mixture, ensuring all surfaces are covered. Allow any excess egg to drip off briefly. Next, transfer the chicken piece directly into the seasoned panko breadcrumb mixture. Gently toss and press the chicken to ensure it is completely and evenly coated with the crispy breadcrumbs. The more thoroughly coated, the crispier your nuggets will be.
- Step 5: Arrange and Bake to Golden Perfection. Carefully place each breaded chicken nugget onto the wire rack on your baking sheet. It is essential to leave approximately 1 inch of space between each nugget. This crucial spacing allows hot air to circulate freely around all sides of the chicken, which is the key to achieving uniform crispiness and preventing soggy bottoms. Bake in the preheated 425°F (220°C) oven for 15-20 minutes, or until the chicken is thoroughly cooked through. To ensure safety and optimal doneness, an instant-read meat thermometer inserted into the thickest part of a nugget should register 165°F (74°C). The nuggets should also be beautifully golden brown and visually crispy.
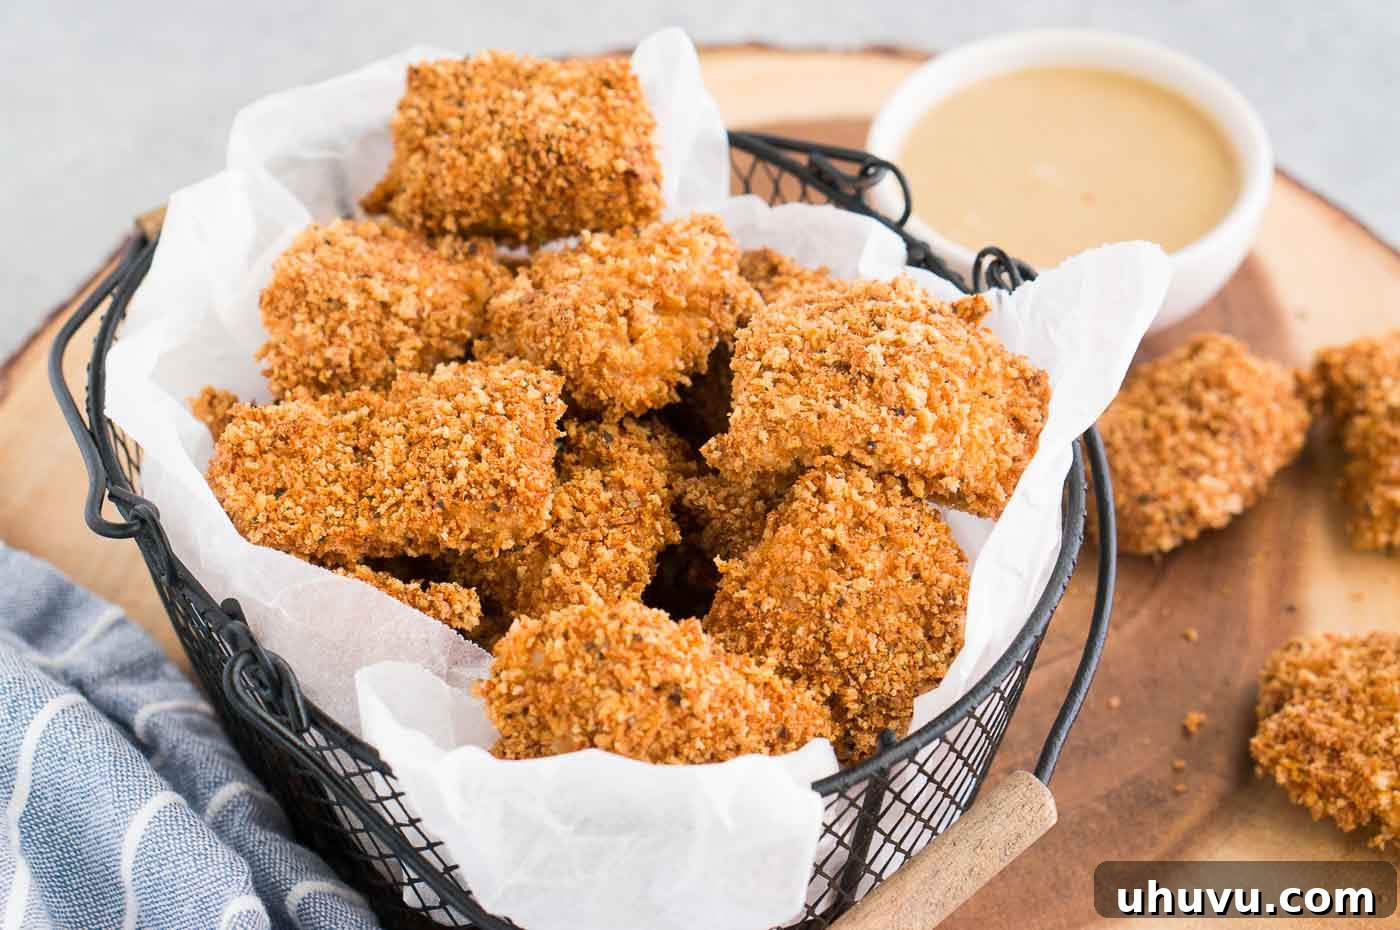
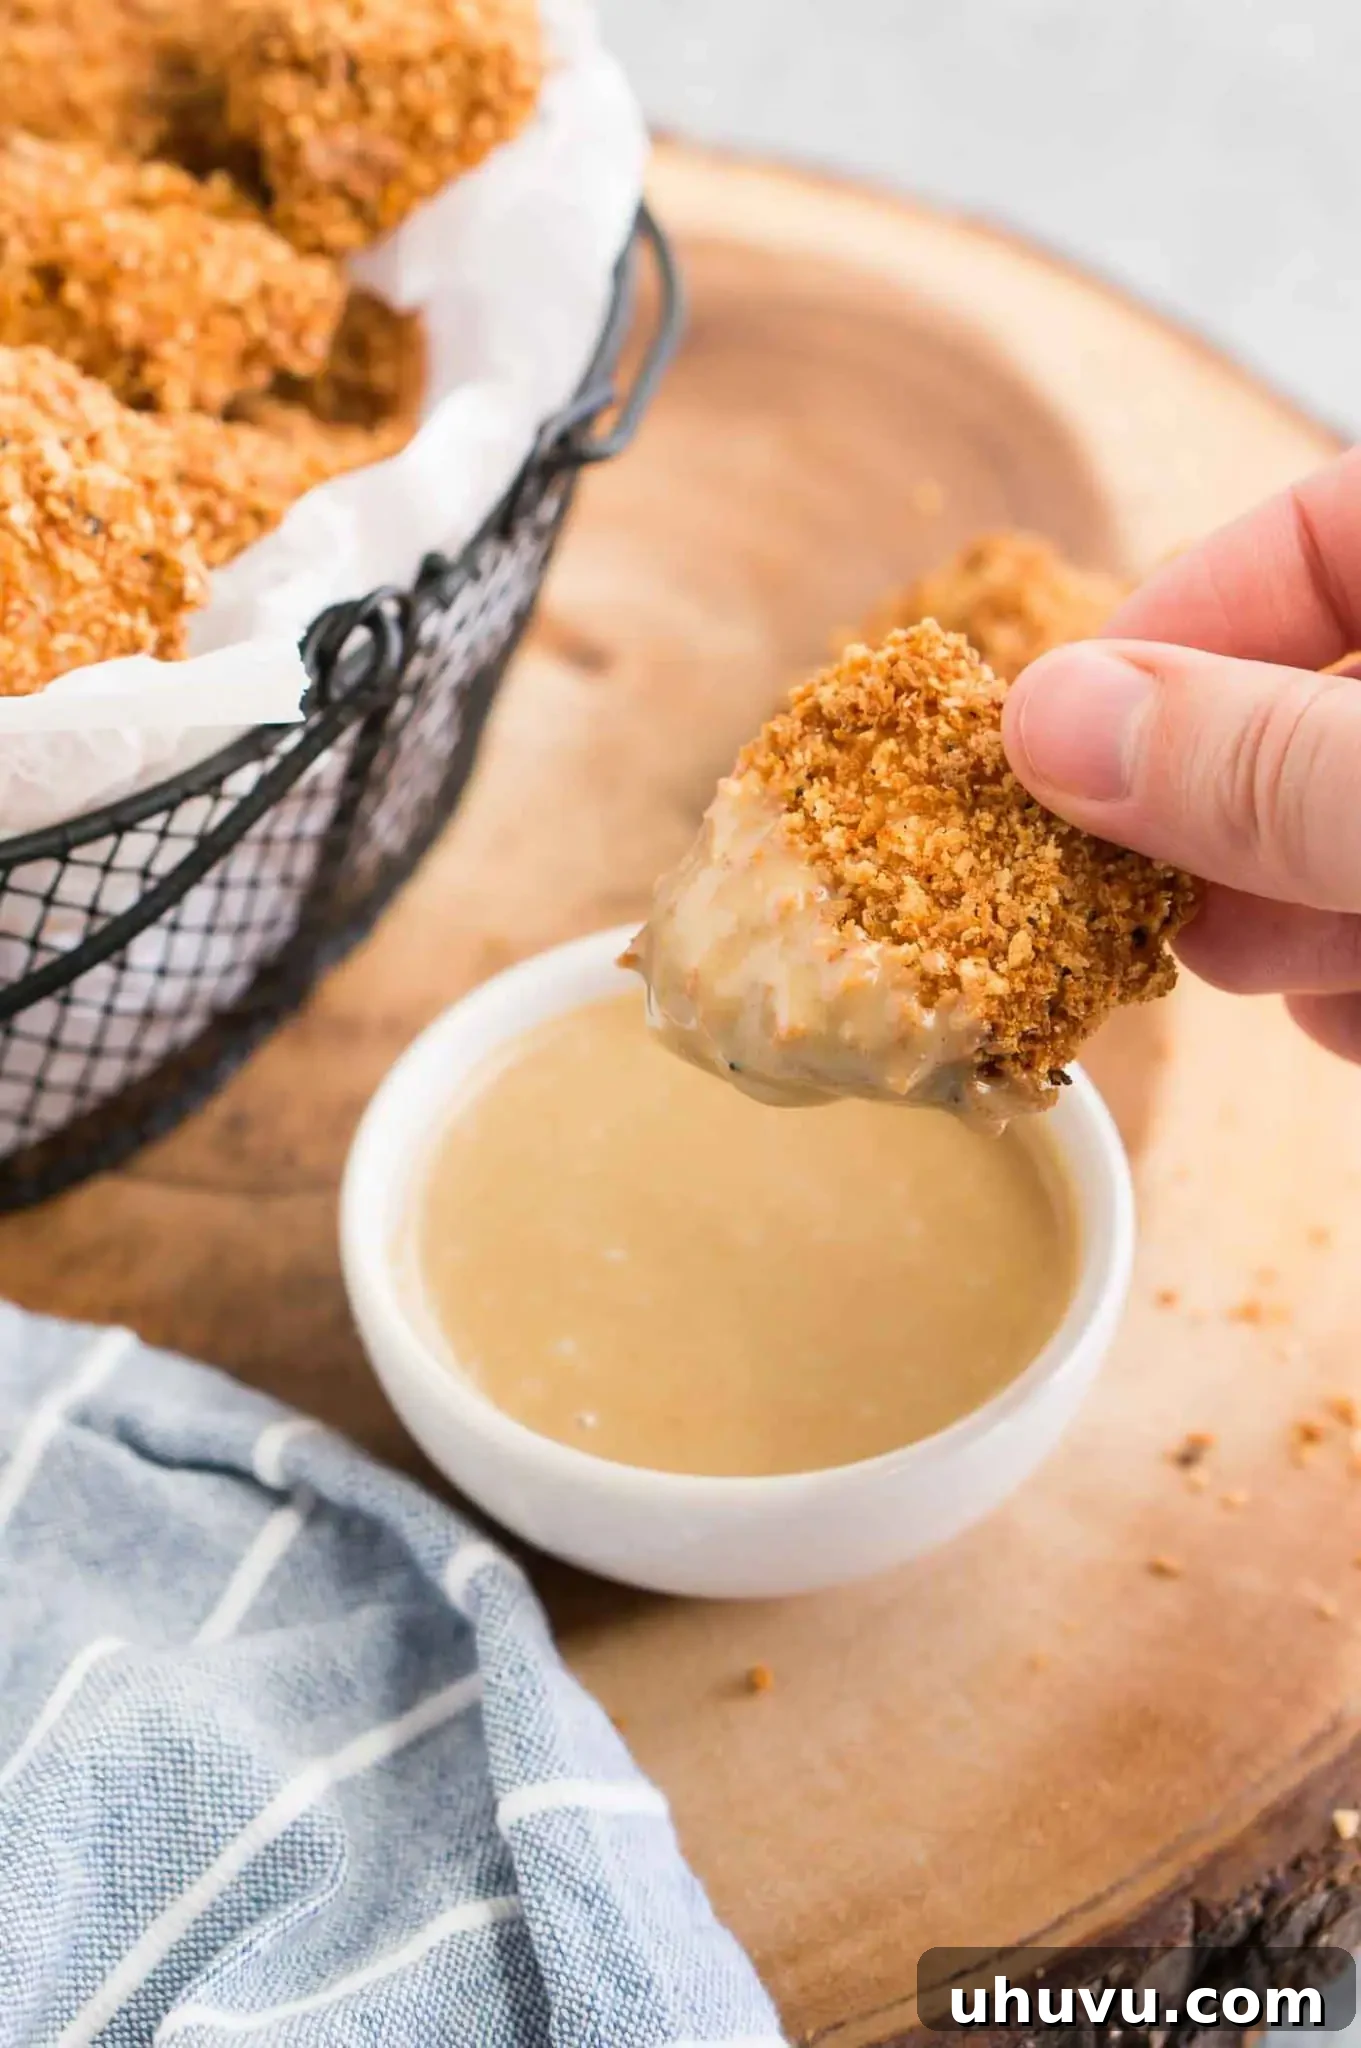
- Step 6: Serve and Savor! Once baked, remove the glorious crispy chicken nuggets from the oven. Serve them immediately while they are warm and at their peak crispiness. They are fantastic with your favorite dipping sauces such as honey mustard, classic ketchup, zesty BBQ sauce, or a creamy fry sauce. Enjoy them on their own as a snack or as a centerpiece of a delicious family meal!
Make-Ahead and Storage Tips for Homemade Chicken Nuggets
For busy households, the ability to prepare meals in advance is a game-changer. These homemade chicken nuggets are wonderfully accommodating to your schedule. Here’s how you can prep them ahead and store any leftovers efficiently:
Can You Prepare Homemade Chicken Nuggets Ahead of Time?
Absolutely! To make your meal prep significantly easier, you can complete the initial dredging process for the chicken pieces a day in advance. After coating them thoroughly in the seasoned panko breadcrumbs, arrange them in a single layer on a plate or baking sheet lined with parchment paper. Cover the tray tightly with plastic wrap to prevent them from drying out and refrigerate for up to 24 hours. When you’re ready to cook, simply transfer them to a wire rack on a baking sheet and bake as directed. This simple step can shave valuable time off your weeknight dinner routine!
Storing and Reheating Leftover Chicken Nuggets
Cooked homemade chicken nuggets are fantastic for leftovers. Allow them to cool completely to room temperature before transferring them to an airtight container. Properly stored, they will remain fresh in the refrigerator for up to 4 days. To reheat them while retaining their delightful crispiness, place the nuggets on a baking sheet and warm them in a preheated oven at 360°F (180°C) for approximately 10-15 minutes, or until they are heated through and beautifully crisp again. Avoid using a microwave for reheating, as this tends to make the coating soggy and less appealing.
Can You Freeze Homemade Chicken Nuggets?
Yes! These chicken bites are perfect for freezing, whether they are baked or unbaked. This makes them an excellent option for batch cooking and having convenient, healthy meals ready to go whenever you need them.
- To Freeze Unbaked Nuggets: After coating the chicken pieces in breadcrumbs, arrange them in a single layer on a baking sheet lined with parchment paper. Place the entire baking sheet into the freezer and freeze until the nuggets are solid. This flash-freezing technique prevents them from sticking together. Once completely frozen, transfer the solid nuggets to a freezer-safe bag or an airtight container. They can be stored in the freezer for up to 3 months.
- To Freeze Baked Nuggets: Allow your cooked nuggets to cool completely after baking. Then, arrange them on a baking sheet and freeze until they are solid. Transfer them to a freezer-safe bag or container and store for up to 3 months.
- Cooking from Frozen: The beauty of these nuggets is that you can cook them directly from frozen! When baking from frozen, simply add an additional 10-15 minutes to the standard baking time. Ensure they reach an internal temperature of 165°F (74°C) and are golden and crispy before serving.
Are Homemade Chicken Nuggets a Healthy Meal Choice?
One of the most compelling reasons to make your own chicken nuggets from scratch is the significant health advantage they offer over both fast-food versions and many store-bought frozen options. The answer is a resounding yes – these homemade nuggets are indeed a healthy and smart meal choice!
Here’s why they stand out as a nutritious option:
- Wholesome, Transparent Ingredients: When you prepare nuggets at home, you have full control over every ingredient. This recipe utilizes lean, boneless, skinless chicken breast, simple, natural seasonings, and crispy panko breadcrumbs. This means no mystery meat, no highly processed additives, no artificial flavors, and no questionable preservatives or fillers commonly found in commercial products.
- Oven-Baked, Not Deep-Fried: The method of cooking is paramount to their health benefits. Instead of being submerged in hot oil, which often includes hydrogenated fats contributing to unhealthy trans fats, these nuggets are expertly oven-baked. This choice drastically cuts down on fat content and overall calories, transforming them into a much lighter, heart-friendly option that you can enjoy without guilt.
- Rich in Lean Protein: Chicken breast is celebrated for being an excellent source of lean protein. Protein is vital for muscle development, tissue repair, and maintaining satiety, helping you feel fuller for longer. These nuggets provide a substantial protein boost without the accompanying excessive unhealthy fats.
- Highly Customizable for Health Goals: You can easily enhance the nutritional profile even further. Consider adding finely grated Parmesan cheese or nutritional yeast to the breading for extra flavor and B vitamins. Serving them alongside a generous portion of fresh, steamed, or roasted vegetables transforms them into a perfectly balanced and nutrient-dense meal.
These nuggets are not only easy to prepare and incredibly delicious, but they also offer a wholesome meal that your entire family will love and feel great about eating. Seriously, once you try these, you’ll agree they are the best chicken nuggets you can create right in your own oven!
What to Serve with Your Crispy Homemade Chicken Nuggets
These remarkably versatile and crispy homemade chicken nuggets are delightful on their own, but they truly shine when complemented by the perfect dips and side dishes. Whether you’re serving them as a fun appetizer for a gathering or as the star of a complete main course, here are some fantastic pairing ideas:
Irresistible Dipping Sauces
A great dipping sauce is an absolute must-have for chicken nuggets! Offer a selection to cater to every taste bud and make mealtime even more exciting:
- Homemade Fry Sauce: A creamy, tangy, and slightly sweet blend that pairs perfectly with any crispy delight.
- Sweet and Tangy Honey Mustard: A timeless classic that offers a perfect balance of sweetness and tang, beautifully complementing the savory chicken.
- Classic Ketchup: The ultimate, universally loved staple; always a guaranteed hit, especially with younger eaters.
- Bold BBQ Sauce: Adds a smoky, sweet, and tangy kick that elevates the flavor profile of the nuggets.
- Creamy Ranch Dressing: A beloved American favorite, offering a cool, herbaceous, and creamy contrast.
- Zesty Sweet Chili Sauce: For those who appreciate a touch of sweet heat, this Asian-inspired dip adds an exciting zing.
- Spicy Sriracha Mayo: A fantastic choice for heat-lovers, providing a creamy texture with a fiery kick.
Perfect Side Dishes for a Complete Meal
Transform your homemade chicken nuggets into a balanced, filling, and satisfying meal with these delectable side dish suggestions:
- Crispy Homemade French Fries: The quintessential companion to chicken nuggets, a classic pairing that never disappoints.
- Fresh and Hearty Chef Salad: A light, crisp, and nutrient-packed salad that provides a refreshing balance to the rich chicken.
- Wholesome Sweet Potato Wedges: A nutritious and flavorful alternative to traditional fries, packed with vitamins and natural sweetness.
- Steamed or Roasted Vegetables: Simple sides like broccoli florets, green beans, carrots, or asparagus make excellent, healthy, and colorful additions to your plate.
- Creamy Macaroni and Cheese: A comforting, indulgent, and incredibly kid-friendly side that’s always a winner.
- Tangy Coleslaw: A refreshing and crunchy side dish that cuts through the richness of the nuggets with its bright, tangy flavor.
- Fluffy Rice Pilaf or Quinoa Salad: For a more substantial, grain-based component, offering complex carbohydrates and an array of textures.
Expert Tips for the Best Homemade Chicken Nuggets (Neli’s Kitchen Secrets)
Achieving perfectly crispy, tender, and flavorful oven-baked chicken nuggets is easier than you think, especially with a few professional insights. Incorporate these tried-and-true tips from Neli’s kitchen to elevate your homemade nuggets from great to truly exceptional:
- Ensure Uniform Chicken Pieces: Precision in cutting is key for consistent results. Aim to cut your chicken breast into similar-sized pieces, ideally 1-inch cubes. This uniformity guarantees that all the nuggets cook evenly and at the same rate, preventing the frustration of some pieces being undercooked while others become dry and tough.
- Select the Right Cut of Chicken: This recipe is designed to shine with boneless, skinless chicken breast due to its lean nature and quick cooking time, ensuring tender results. Chicken tenders are also an excellent and convenient option. However, it is strongly advised to avoid using chicken thighs; their higher fat content and different fibrous structure mean they will require a longer cooking time and may not achieve the desired nugget-like texture.
- Never Skip Toasting the Panko Breadcrumbs: This often-overlooked step is paramount for achieving that signature light, airy, and incredibly crispy coating. Toasting the panko first enhances its nutty flavor and creates a more robust structure that holds up exceptionally well during baking, resulting in a golden crust that is far superior to untoasted crumbs.
- Utilize a Wire Rack for All-Around Crispiness: To guarantee that every side of your nugget achieves maximum crispiness, always bake them on a wire rack placed over a baking sheet. This setup allows hot air to circulate freely underneath and around each chicken piece, ensuring the bottoms get just as golden and crunchy as the tops. Without a rack, the bottom of your nuggets can become steamed and soggy.
- Pat the Chicken Thoroughly Dry: Before embarking on the dredging process, it’s vital to pat the chicken cubes thoroughly dry with paper towels. Excess moisture on the chicken’s surface will create a barrier, preventing the egg wash and subsequently the breadcrumbs from adhering properly. A dry surface ensures a strong bond and a crispier coating.
- Season the Chicken Itself (for Extra Depth): While the breading is well-seasoned, for an extra layer of flavor that penetrates deep into the meat, consider lightly seasoning the chicken cubes themselves with a pinch of salt and pepper (or a dash of your preferred chicken seasoning) before dipping them into the egg wash. This ensures a more flavorful bite throughout.
- Avoid Overcrowding the Baking Pan: When arranging the breaded nuggets on the wire rack, resist the urge to pack them too tightly. Ensure there is adequate space between each piece. Overcrowding the pan can lead to steam buildup, which will result in soggy rather than crispy nuggets. If necessary, bake in multiple batches.
- A Light Oil Spray for Golden Perfection: For an even more intense golden-brown color and an extra boost of crispiness, lightly spray the breaded nuggets with cooking oil (such as olive oil or avocado oil spray) just before placing them in the oven. This helps emulate the texture of fried chicken without the need for deep frying.
Frequently Asked Questions (FAQs)
Can I Air Fry These Chicken Nuggets?
Absolutely! Air frying is an excellent method for achieving supremely crispy nuggets with minimal oil. To air fry, preheat your air fryer to 375°F (190°C). Arrange the breaded chicken nuggets in a single layer in the air fryer basket, ensuring they do not overlap to allow for proper air circulation. Air fry for 10-15 minutes, flipping them halfway through, until they are beautifully golden brown and fully cooked to an internal temperature of 165°F (74°C). Cooking times may vary slightly depending on your specific air fryer model.
What Can I Use Instead of Panko Breadcrumbs?
While panko is highly recommended for its unmatched crispiness, you can certainly use regular fine breadcrumbs if that’s what you have available. However, be aware that the texture will be denser and less airy. For a reliable gluten-free alternative, look for gluten-free panko, or try crushing gluten-free cornflakes for a similar crunchy effect. Crushed plain crackers or a mixture of almond flour and nutritional yeast can also offer different textural and flavor profiles.
Can I Add More Flavor to the Breading?
Definitely! The seasoning blend in this recipe provides a fantastic base, but don’t hesitate to customize it to your family’s preferences. You can incorporate a teaspoon of smoked paprika for a deeper, richer flavor, a pinch of cayenne pepper for a delightful kick of heat, or various dried herbs like oregano, basil, or Italian seasoning for an aromatic twist. Mixing in some finely grated Parmesan cheese into the panko mixture creates a delicious cheesy crust. Experiment to discover your favorite flavor combinations!
How Do I Know When the Chicken Nuggets Are Cooked Through?
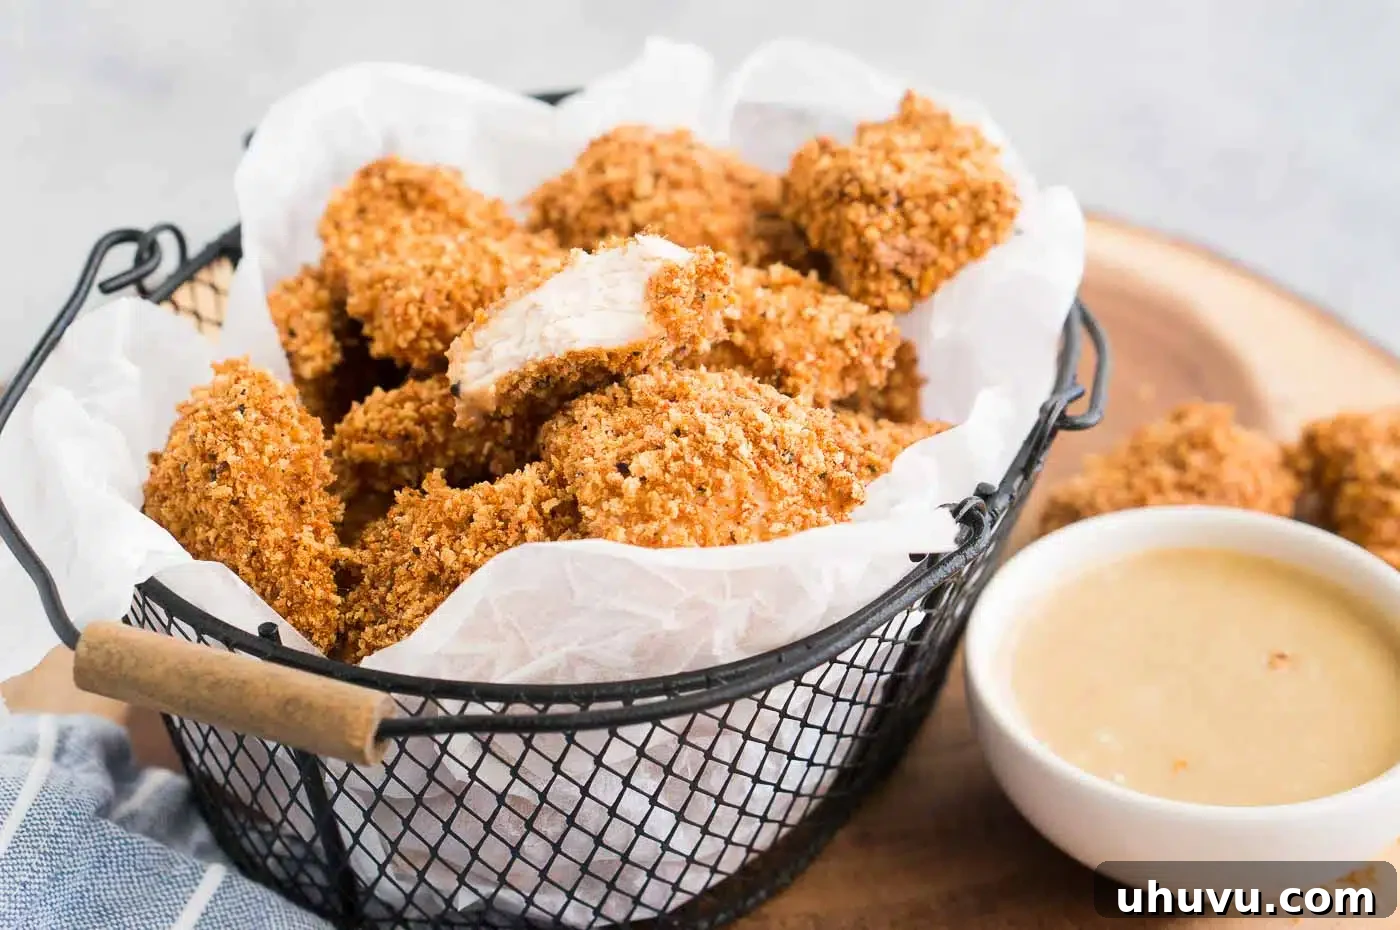
The most reliable way to ensure your homemade chicken nuggets are safely and thoroughly cooked is by using an instant-read meat thermometer. Insert the thermometer into the thickest part of one of the larger nuggets. The internal temperature should register 165°F (74°C). Visually, the nuggets should also boast a golden brown and crispy exterior, and when cut open, the chicken inside should appear white and opaque with absolutely no pink visible.
Can I Use Chicken Thighs Instead of Chicken Breast?
While chicken thighs are a flavorful cut, they are generally not recommended for this particular nugget recipe. Chicken thighs have a higher fat content and a different texture that can lead to a longer cooking time and a less consistent “nugget-like” result compared to lean chicken breast or tenders. For the best crispy, tender nuggets, stick to chicken breast or tenders as specified in the recipe.
More Delicious Chicken Recipes to Explore!
If you thoroughly enjoyed making these baked chicken nuggets and are seeking more fantastic chicken dishes, you’ll love these other flavorful creations from my kitchen:
- Refreshing Chicken Waldorf Salad: A delightful blend of chicken, fruit, and nuts in a creamy dressing.
- Easy Instant Pot BBQ Chicken: Quick and tender BBQ chicken perfect for sandwiches or salads.
- Crispy Baked Chicken Wings: Achieve restaurant-quality wings right in your oven.
- Flavorful Baked Chicken Fajitas: A simple sheet pan recipe for vibrant and zesty fajitas.
If you enjoyed this Baked Chicken Nuggets recipe or any other recipe on my blog, please take a moment to leave a ⭐ star rating and let me know how it turned out in the 📝 comments below. Your feedback and support are greatly appreciated!
Pin this now to easily find it later!
Pin It
☝ Ratings are displayed statically for this HTML content.
Homemade Chicken Nuggets Recipe
Neli Howard
15 minutes
20 minutes
35 minutes
4 servings
Save This Recipe
Enter your email and we’ll send the recipe directly to you! (Note: This functionality is removed for static HTML conversion).
By submitting a form (which is removed for static HTML), you would consent to receive emails from Delicious Meets Healthy.
Ingredients
- 1 ½ cups panko breadcrumbs
- 1 teaspoon salt
- 1 teaspoon black pepper
- 1 teaspoon onion powder
- 1 teaspoon paprika
- ½ teaspoon garlic powder
- 2 large eggs
- 2 Tablespoons milk
- 1 pound boneless skinless chicken breast, cut into 1 inch cubes
Instructions
-
Preheat the oven to 400 F (200°C) and line a large baking sheet with parchment paper.
-
Add panko breadcrumbs to the parchment lined large baking sheet and spread out in an even layer. Bake for 2 -3 minutes, then stir breadcrumbs and then bake for 2-3 minutes or until breadcrumbs are golden brown. (Watch them closely so they don’t burn.) Immediately, remove breadcrumbs from the oven and add them to a small bowl. Whisk in spices: salt, black pepper, onion powder, paprika, garlic powder. Set aside. Increase the oven to 425 F (220°C) and add an oven safe wire rack to the baking sheet.
-
In a separate medium bowl, whisk together the eggs and milk. Set aside.
-
Dip each chicken cube into the egg mixture, then toss it into the breadcrumb mixture to completely coat with breadcrumbs. Transfer to the wire rack, placing them about 1 inch apart.
-
Bake in the oven for 15-20 minutes until cooked through and internal temperature reaches 165 degrees F (74°C).
-
Serve warm with honey mustard, ketchup, BBQ sauce, fry sauce or whatever sauce you’d like!
Notes
- Cut the chicken into similar sized pieces so that they cook through evenly.
- This recipe is best made with chicken breast and you can also use chicken tenders. It’s best not to use thighs as they will require a longer cook time.
- Toasting the panko breadcrumbs first results in an extra crispy texture.
- Make sure you place them on a wire rack when baking so air can circulate on both sides.
Nutrition
Carbohydrates: 18g |
Protein: 30g |
Fat: 7g |
Saturated Fat: 2g |
Polyunsaturated Fat: 1g |
Monounsaturated Fat: 2g |
Trans Fat: 1g |
Cholesterol: 155mg |
Sodium: 913mg |
Potassium: 531mg |
Fiber: 1g |
Sugar: 2g |
Vitamin A: 414IU |
Vitamin C: 1mg |
Calcium: 74mg |
Iron: 2mg
Nutrition Disclaimer: Nutritional values are estimates and may vary with ingredients, brands, and portion sizes. For accuracy, use your preferred nutrition calculator.
Love this recipe? Leave a rating and comment below!