
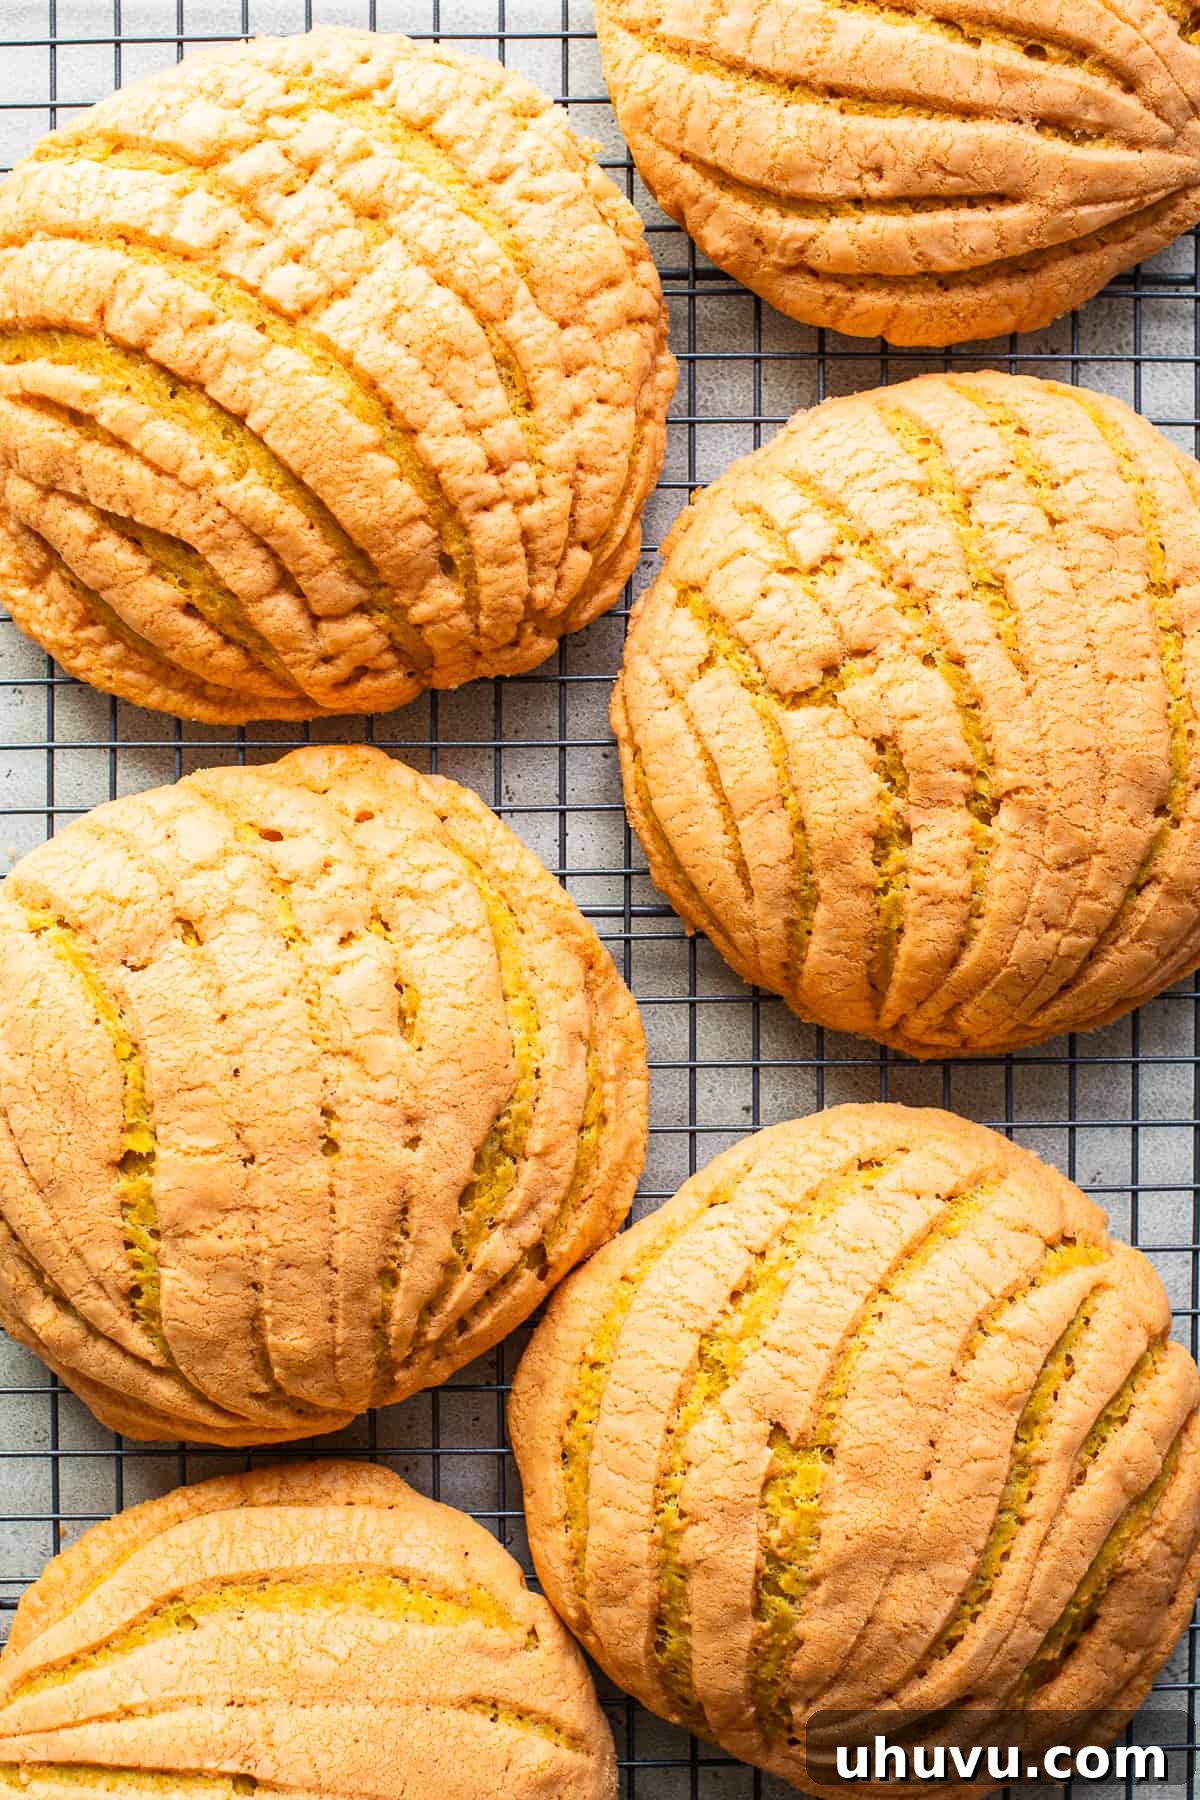
Welcome to the cozy embrace of autumn with a delightful twist on a beloved Mexican classic: Pumpkin Conchas! As the days grow shorter and the air turns crisp, there’s nothing quite like the comforting aroma of freshly baked goods infused with the season’s signature spice. These pumpkin-infused pan dulces are more than just a treat; they are a celebration of fall, blending the rich, earthy notes of pumpkin with the warm, inviting medley of nutmeg, cinnamon, and pumpkin pie spice. Imagine sinking your teeth into a soft, pillowy sweet bread, crowned with a subtly crisp, sugary streusel topping that carries the essence of autumn in every bite.
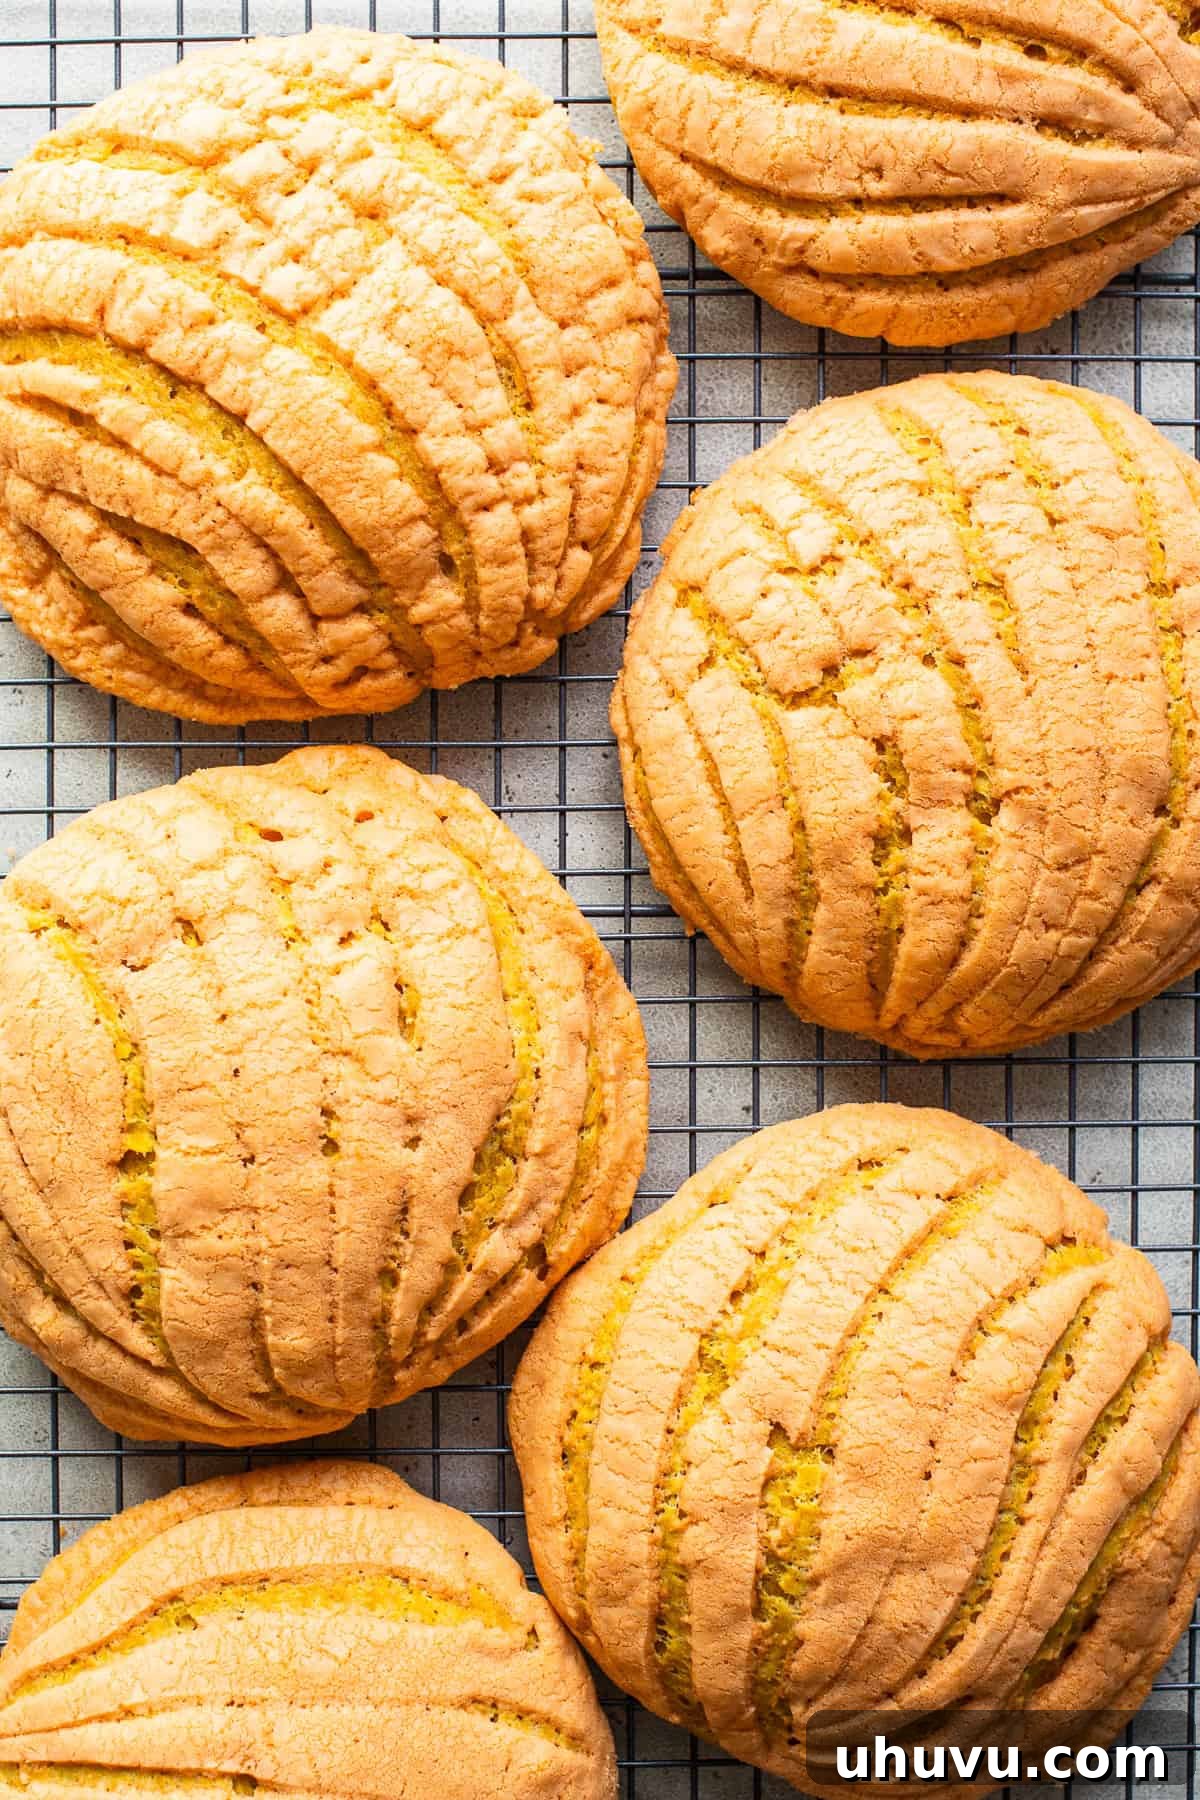
Fall has officially arrived, bringing with it the annual pumpkin spice craze that sweeps through stores and menus alike. But why settle for ordinary when you can savor this seasonal delight with an authentic Mexican flair? Our Pumpkin Conchas recipe offers a unique and incredibly rewarding way to indulge in the flavors of autumn. Conchas, known for their iconic seashell pattern and delightful texture, hold a special place in the hearts of pan dulce lovers (some even transform them into savory breakfast sandwiches!). Infusing these traditional sweet breads with the comforting warmth of pumpkin and autumn spices elevates them to an entirely new level of deliciousness. Here’s why this recipe deserves a prime spot in your fall baking repertoire:
- A Truly Rewarding Culinary Journey: Baking conchas requires a touch of patience and a bit of hands-on effort, but we promise, the journey is as fulfilling as the destination. The moment you pull these golden-brown beauties from the oven, your kitchen will be filled with an intoxicating aroma that signals pure bliss. Each concha boasts an incredibly soft and airy interior, perfectly complemented by a sweet, slightly crunchy streusel topping. The satisfaction of creating something so exquisite from scratch is truly unmatched.
- Authentic and Natural Flavor Profile: In a world often saturated with artificial pumpkin spice flavors that can sometimes taste more like a scented candle than a gourmet treat, our Pumpkin Conchas stand out. This recipe champions natural ingredients, utilizing real pumpkin puree and a carefully balanced blend of warm spices. The result is a subtle, genuine, and deeply comforting pumpkin flavor that harmonizes beautifully with the delicate sweetness of the concha, creating an experience that is both authentic and incredibly appealing.
What Exactly Are Pumpkin Conchas? A Dive into Mexican Pan Dulce
Pumpkin conchas represent a delightful and seasonal reinvention of a beloved staple in Mexican bakeries: traditional pan dulce. The name “concha” itself is Spanish for “seashell,” a charming descriptor inspired by the distinctive, etched pattern adorning the bread’s sugary topping. This signature design, often created with a special cutter or a simple paring knife, gives the sweet bread its iconic visual appeal.
At their core, traditional conchas are celebrated for their wonderfully spongy and soft texture, resembling a brioche-like roll. They are typically crowned with a crumbly, sweet streusel topping, traditionally flavored with either vanilla or chocolate. This particular recipe takes that cherished classic and infuses it with the quintessential flavors of autumn. Real pumpkin puree is blended into the dough, not only imparting its subtle sweetness and moistness but also a beautiful, warm hue. This is further enhanced by a carefully selected medley of fall spices, including fragrant nutmeg, comforting cinnamon, and a hint of pumpkin pie spice, creating an aromatic and flavorful masterpiece. To complete the authentic Mexican experience, these pumpkin conchas are best savored alongside a warm, traditional beverage. Consider pairing them with a rich and frothy champurrado (Mexican hot chocolate), a comforting mug of sweet atole, or a deeply aromatic café de olla. Each pairing promises to elevate your tasting experience, turning a simple pastry into a heartwarming culinary tradition.
Unlocking the Flavors: Essential Ingredients for Crafting Pumpkin Conchas
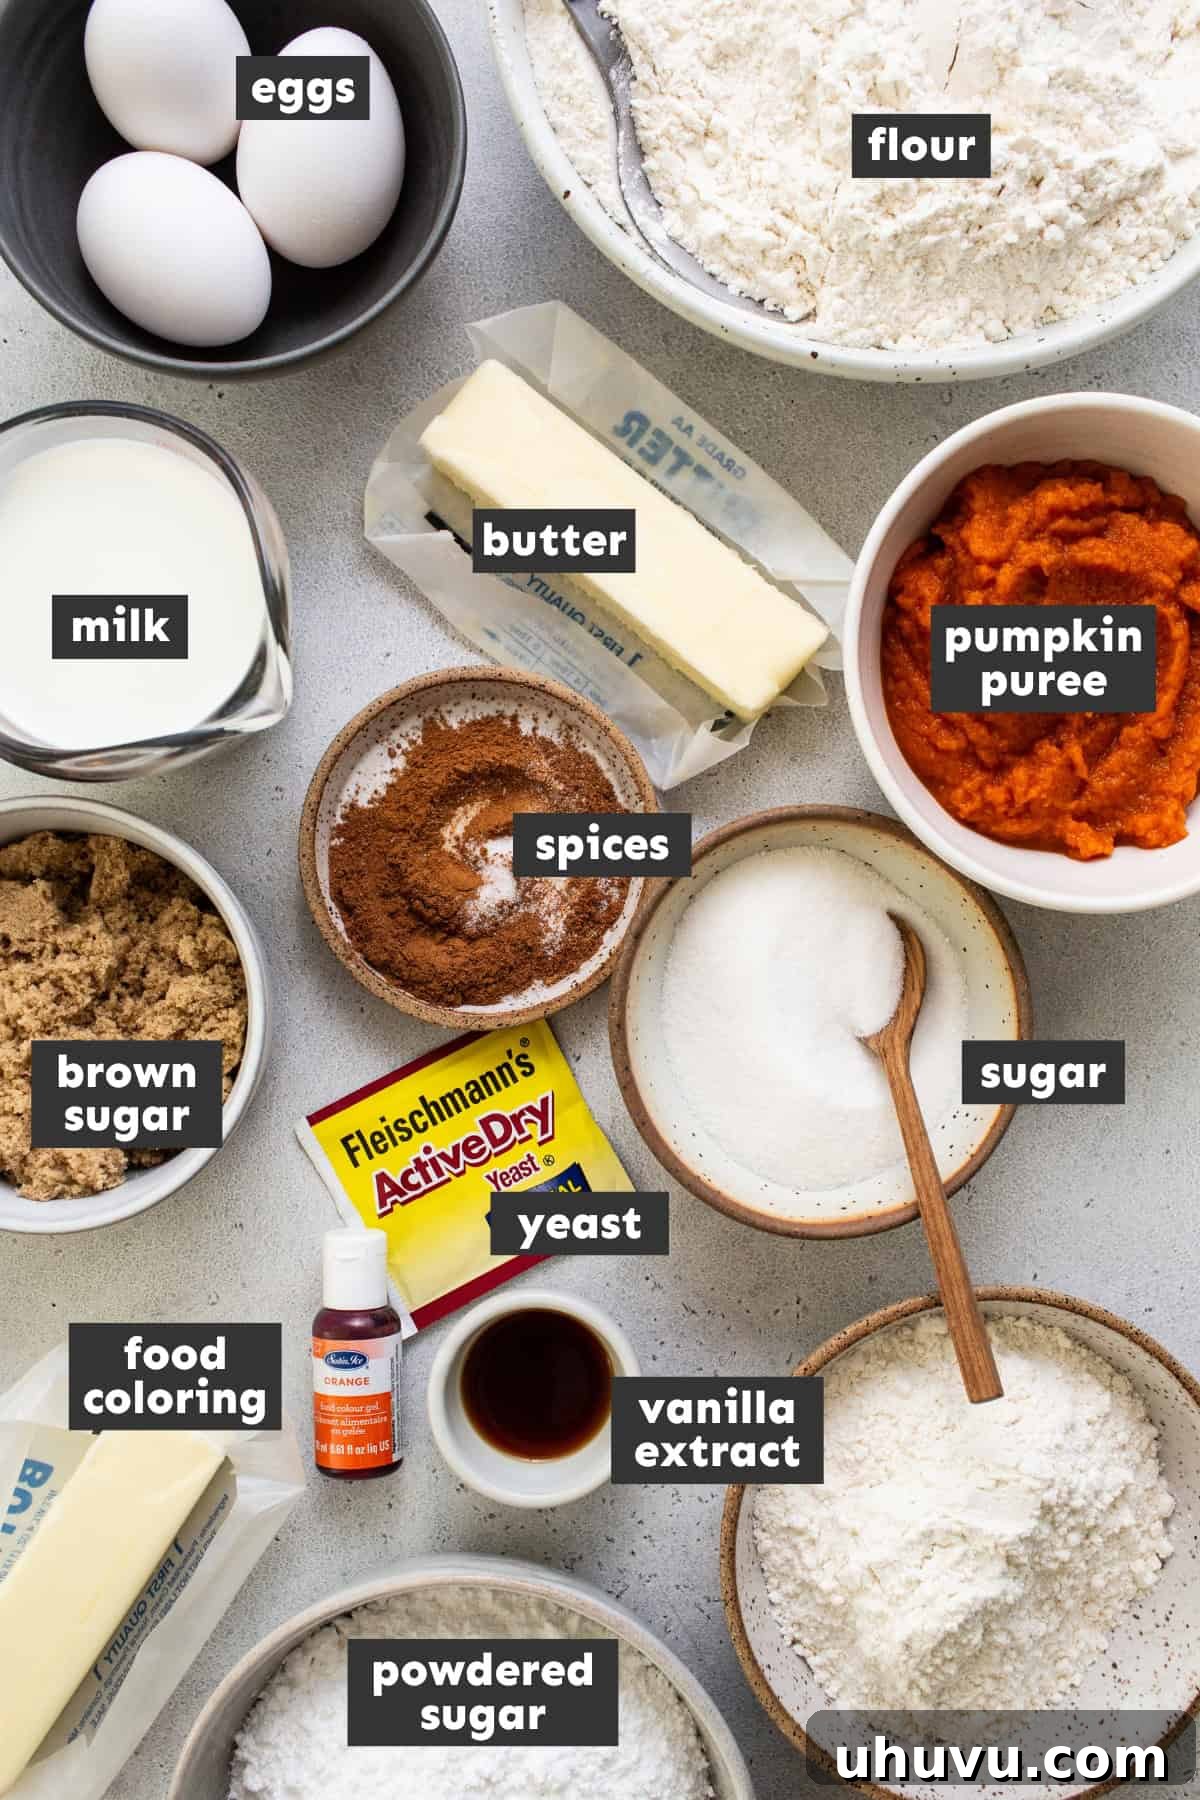
Creating these irresistible Pumpkin Conchas requires a thoughtful selection of ingredients, each playing a vital role in achieving their signature taste and texture. Here’s a detailed look at what you’ll need and why it matters:
- All-Purpose Flour: This forms the foundational structure for both the concha dough and the delicate streusel topping. Accurate measurement is key; always spoon and level your flour to avoid over-measuring, which can lead to dense rather than fluffy conchas. It ensures the bread remains tender and airy.
- Granulated Sugar: Essential for sweetening the concha dough and, crucially, for activating and feeding the yeast mixture. This initial “bloom” is vital for the dough’s rise and overall lightness.
- Brown Sugar: A smaller amount of brown sugar in the dough not only adds a deeper, more complex sweetness but also contributes a subtle, molasses-rich warmth that complements the pumpkin flavors beautifully.
- Active Dry Yeast: The leavening agent that gives conchas their characteristic soft and airy texture. While active dry yeast requires activation, instant yeast can also be used, typically reducing rising times and eliminating the need for pre-activation. Always check your yeast’s freshness for best results.
- Whole Milk: Incorporating whole milk adds a luxurious creaminess and richness to the dough. It must be warmed to a specific temperature (110℉-115℉) to properly activate the yeast without killing it. This temperature is crucial for a successful rise.
- Warm Spices (Pumpkin Pie Spice, Cinnamon, Nutmeg): This aromatic trifecta is the heart of the fall flavor profile. Pumpkin pie spice brings a complex blend, while additional cinnamon and nutmeg intensify the comforting, autumnal notes, making each bite truly seasonal.
- Unsalted Butter: Butter is fundamental for adding richness, tenderness, and a delicate flavor to both the dough and the streusel topping. Ensuring it’s softened to room temperature is important for proper incorporation and a smooth, even texture.
- Eggs: Two large eggs act as a binding agent for the concha dough, contributing to its structure, richness, and golden color. They also add moisture and help create that soft, tender crumb.
- Pumpkin Puree: The star ingredient! Pumpkin puree is what gives these conchas their distinctive flavor, beautiful orange hue, and additional moisture. You can use either fresh, homemade pumpkin puree or good quality canned pureed pumpkin (ensure it’s 100% pumpkin, not pie filling).
- Powdered Sugar (Confectioners’ Sugar): This fine sugar is specifically used for the streusel topping, contributing to its melt-in-your-mouth texture. Sifting it ensures there are no lumps, resulting in a smooth, uniform topping.
- Vanilla Extract: Enhances the overall flavor profile of the concha topping, adding a classic sweet and aromatic note. For an extra layer of warm, fall-inspired flavor, you could experiment with maple extract as an alternative.
- Orange Gel Food Coloring (Optional): A few drops of orange gel food coloring in the topping visually reinforces the pumpkin spice theme, giving the conchas a vibrant, festive appearance. This is entirely optional and can be adjusted to your preferred shade.
Crafting Your Pumpkin Conchas: A Step-by-Step Guide
1. Prepare the Concha Dough: Begin by activating your yeast. In a small bowl, whisk together 1 tablespoon of granulated sugar, the active dry yeast, and the warm whole milk. Cover it with plastic wrap and let it sit for about 10 minutes until it’s visibly foamy, indicating the yeast is active. Meanwhile, in a large bowl (or the bowl of a stand mixer), whisk together the all-purpose flour, remaining granulated sugar, brown sugar, pumpkin pie spice, salt, cinnamon, and nutmeg. Add the softened unsalted butter and mix until the mixture is coarse and crumbly. In a separate medium bowl, whisk together 2 large eggs and the pumpkin puree. With a dough hook attachment (or by hand), slowly add the yeast mixture to the dry ingredients, followed by the egg and pumpkin mixture. Mix on medium speed for 5-6 minutes until the dough is smooth, elastic, and slightly sticky. Transfer the dough to a large, lightly greased bowl, cover with plastic wrap, and let it rise in a warm place for 1.5 to 2 hours, or until it has doubled in size.
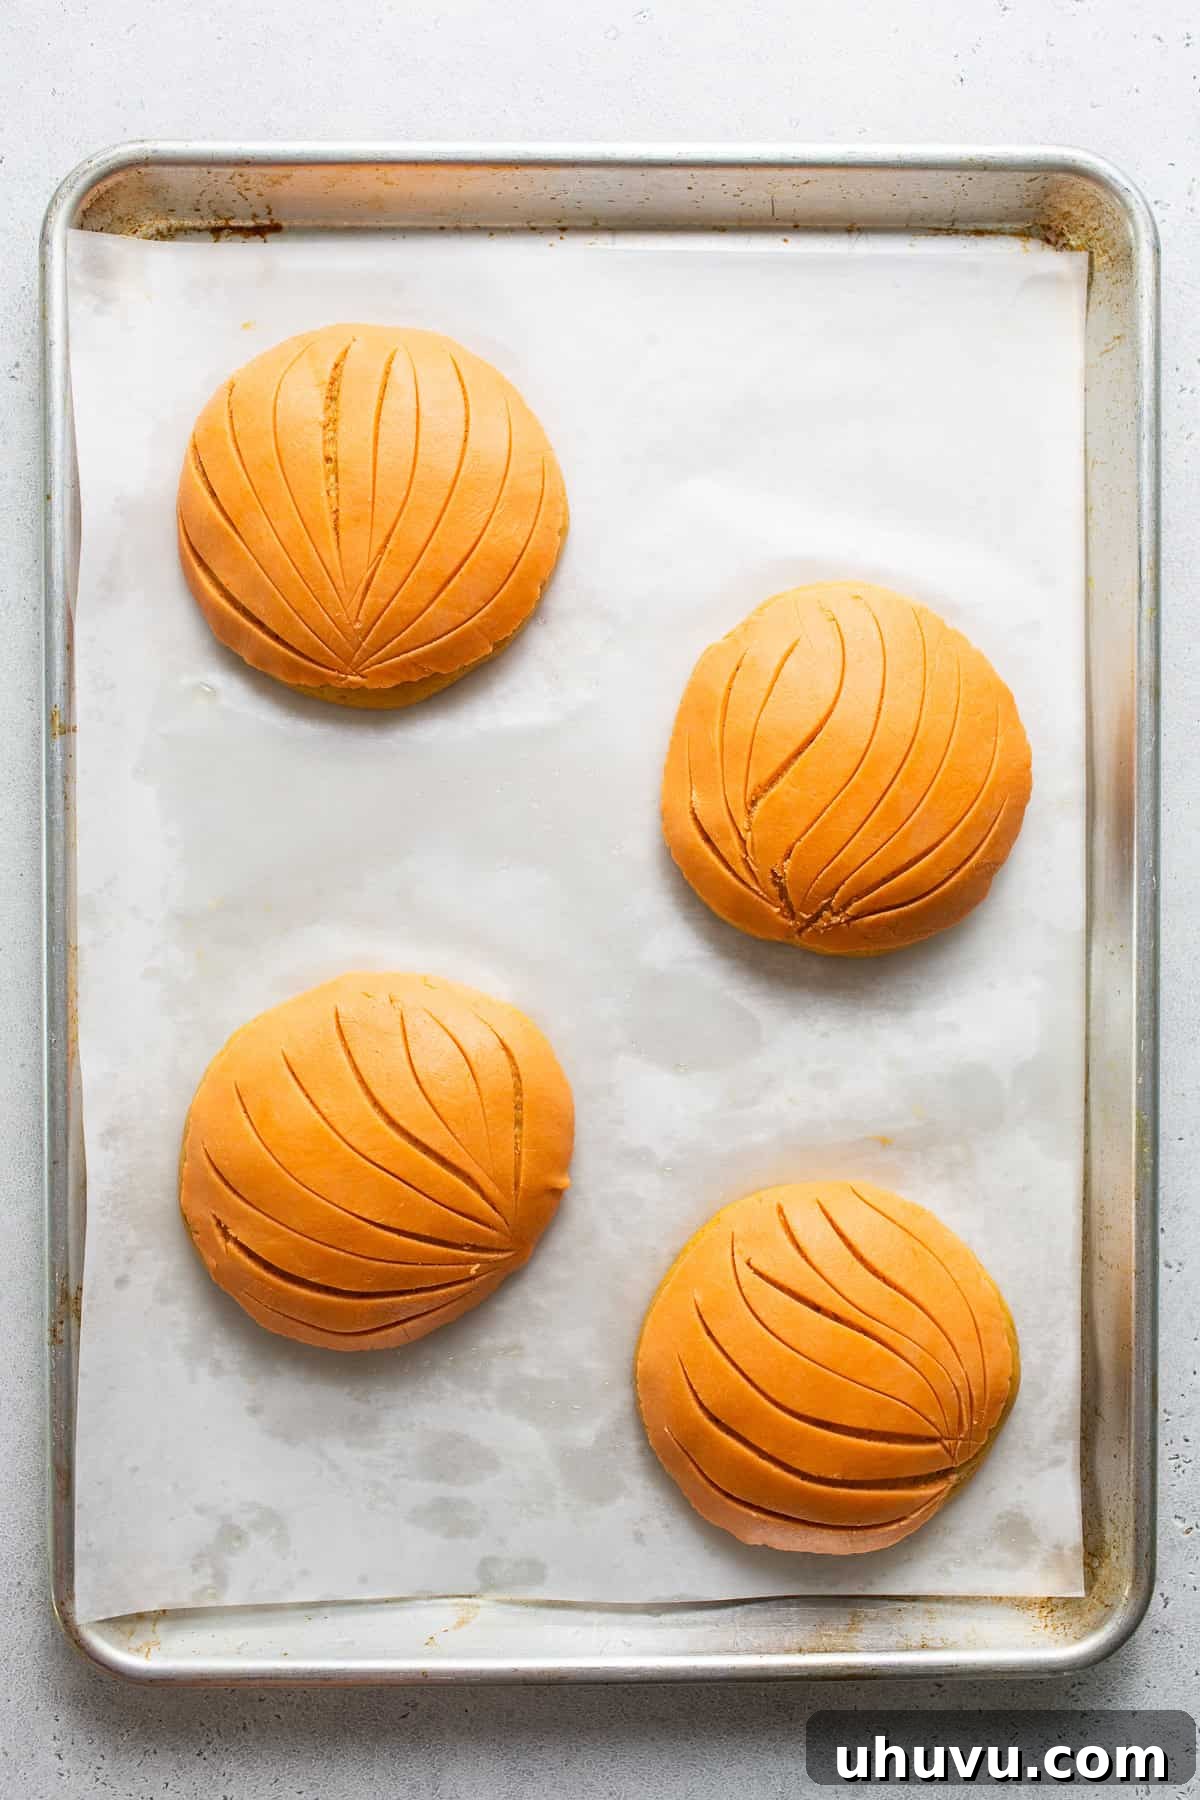
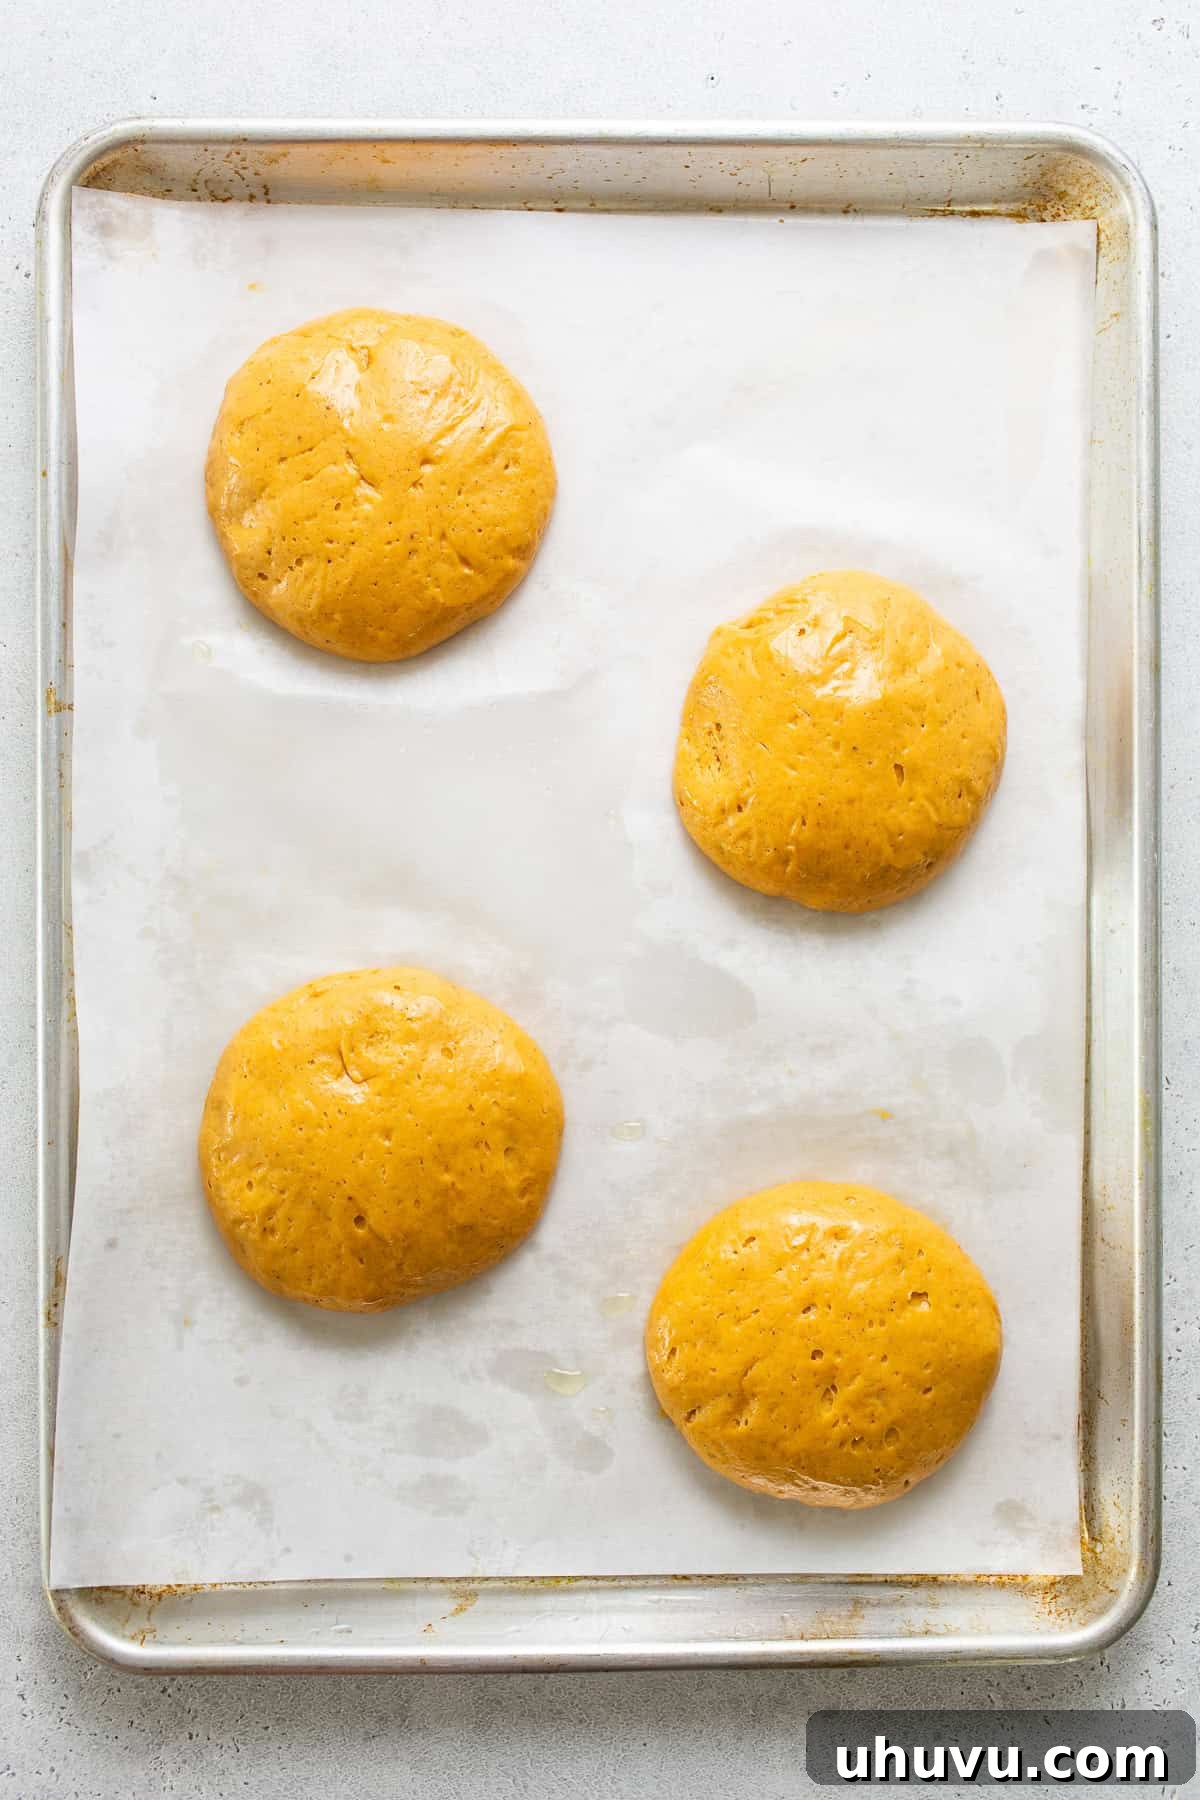
2. Form the Dough Balls: Once the dough has risen, gently punch it down to release the air. Allow it to rest for 5 minutes. Divide the dough into 12 equal pieces and roll each into a smooth ball. The dough will be somewhat sticky, so lightly grease your hands with oil or cooking spray to make handling easier, but avoid adding more flour, as this can alter the final texture. Place 4 dough balls onto each of three parchment-lined baking sheets, ensuring they have plenty of space to expand. Cover them loosely with plastic wrap or a clean kitchen towel and allow them to rise for a second time for another 45 minutes to 1 hour, or until they have doubled in size again.
3. Craft the Concha Topping: While the dough is on its second rise, prepare the signature streusel topping. In a stand mixer with a paddle attachment (or in a large bowl by hand), combine the all-purpose flour, powdered sugar, softened unsalted butter, vanilla extract, and a few drops of orange gel food coloring (if using). Mix until all ingredients are fully combined and the topping has a soft, pliable consistency, similar to Play-Doh. If you’re not using it immediately, form it into a ball, wrap tightly in plastic wrap, and set aside to keep it soft and moist.
4. Assemble and Score the Conchas: Preheat your oven to 350°F (175°C). Divide the prepared topping into 12 equal balls. Lightly flatten each topping ball between two sheets of plastic wrap using a tortilla press to create thin, even rounds. Alternatively, you can use a floured rolling pin. Carefully peel the flattened topping from the plastic wrap and gently drape it over each risen concha dough ball. Lightly pat it down to ensure it adheres to the dough. Using a small paring knife or a specialized concha cutter, carefully cut decorative grooves into the topping. You can create the traditional clamshell pattern, a simple criss-cross, or any design you prefer. This scoring should only go through the topping, not into the dough itself.
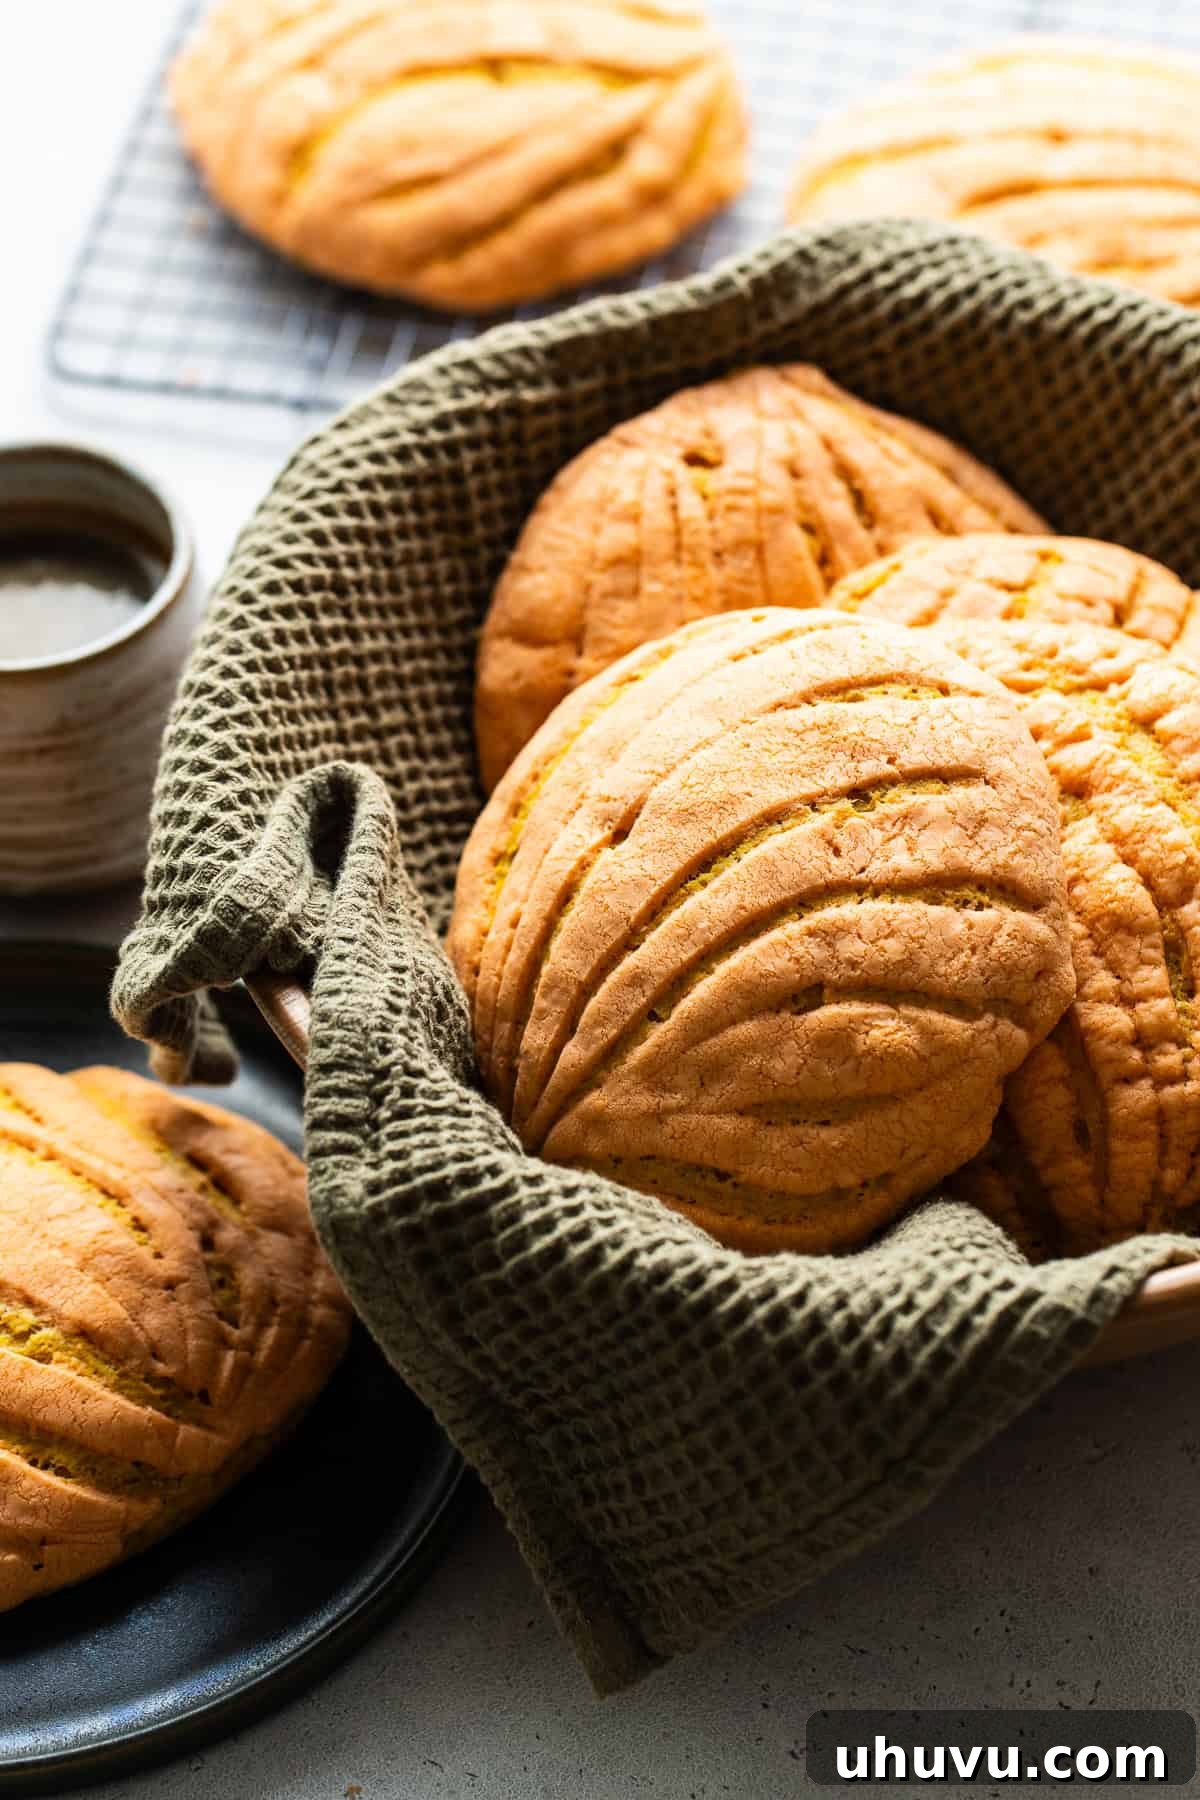
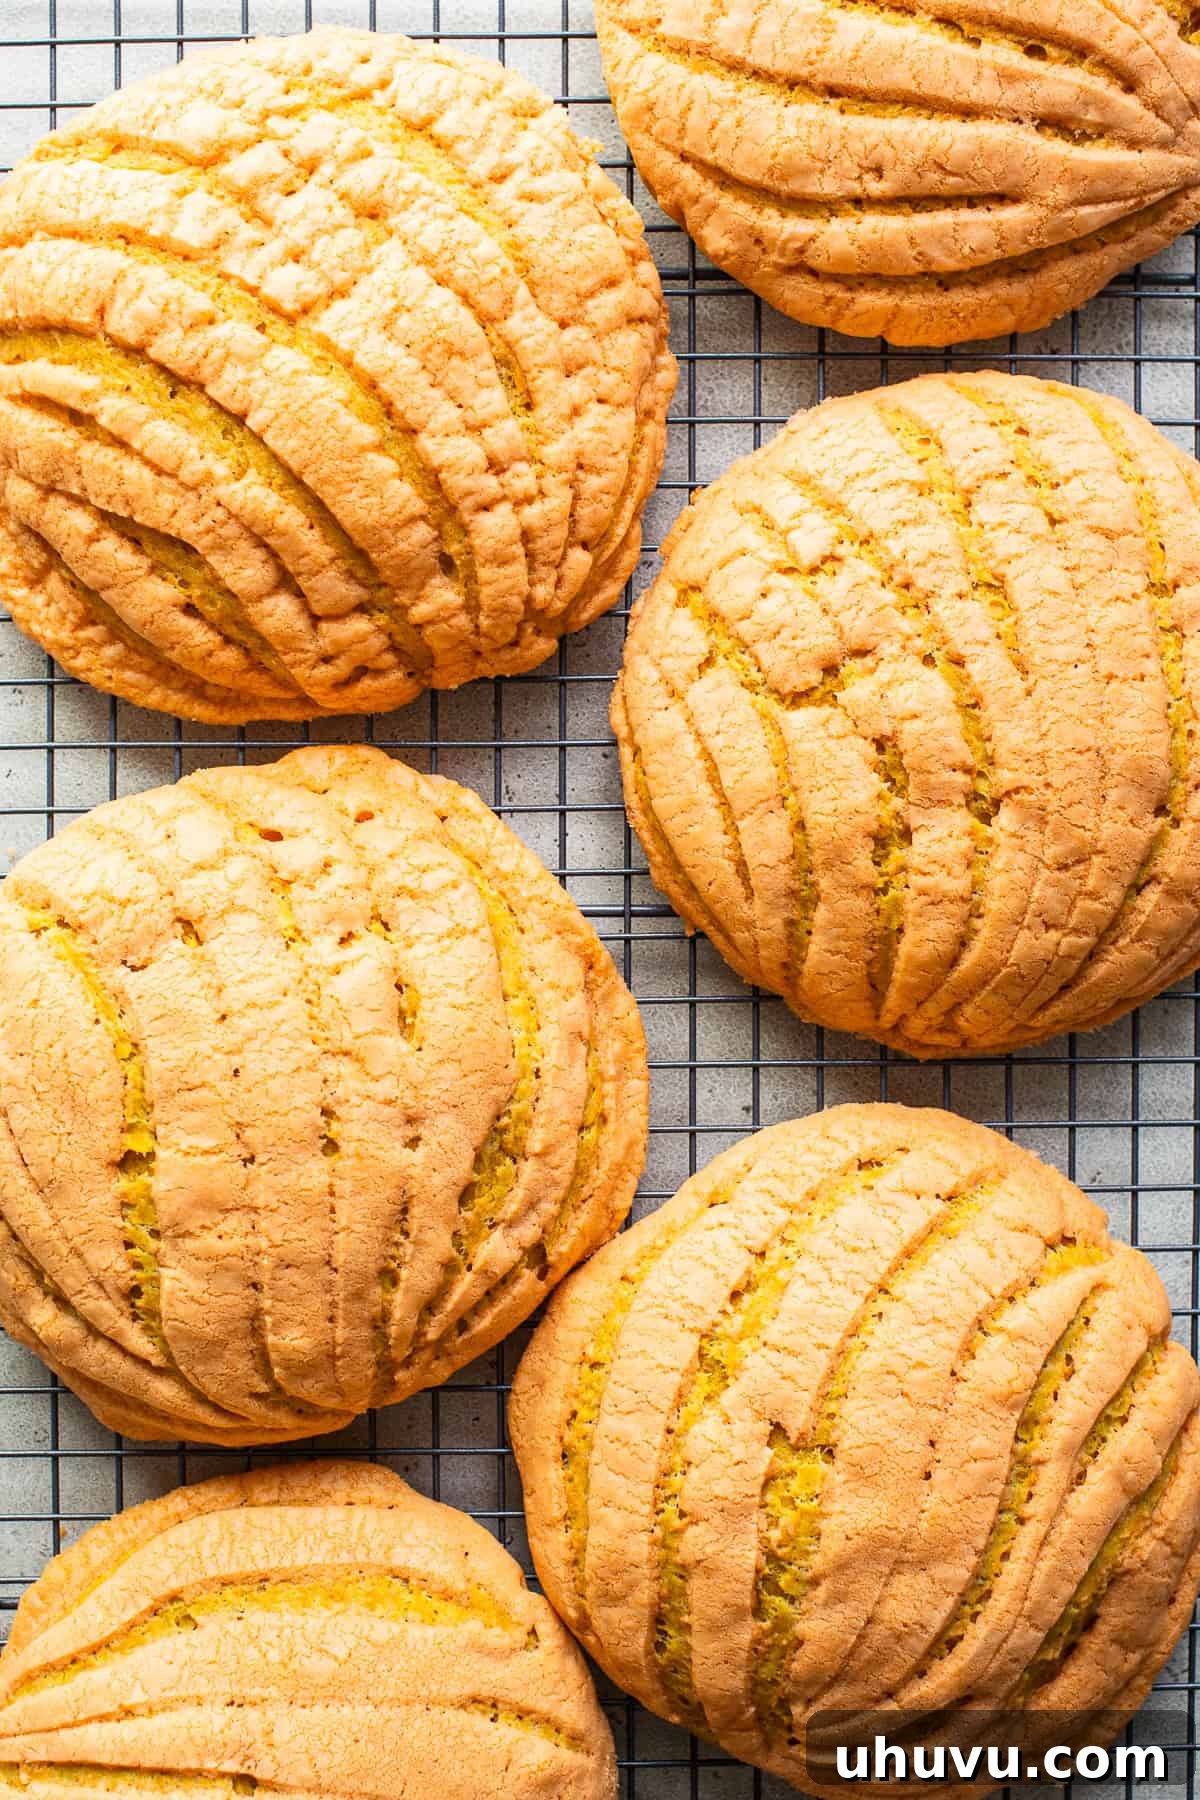
5. Bake to Golden Perfection: Place the baking sheets in the preheated oven and bake for 15-17 minutes, or until the conchas are lightly golden brown around the edges and cooked through. The precise baking time may vary slightly depending on your oven. Once baked, carefully transfer the pumpkin conchas to a wire cooling rack and allow them to cool for at least 10 minutes before serving. This brief cooling period helps them set and makes them easier to handle.
Mastering the Art: Expert Tips for Flawless Pumpkin Conchas
- Confirm Your Yeast’s Vitality: Before you begin mixing your dough, it’s crucial to ensure your yeast is active. When you combine the warm milk, a tablespoon of sugar, and active dry yeast, it should become bubbly and frothy after about 10 minutes. This indicates your yeast is alive and ready to make your conchas rise beautifully. If there’s no activity, your yeast is likely dead, and you’ll need to start over with a fresh packet.
- Simplify Topping Shaping: While a rolling pin and plastic wrap work perfectly, for those who frequently make conchas or want to achieve consistently perfect designs, a concha shell cutter can be a fantastic investment. It streamlines the shaping and scoring process, making it quicker and easier.
- Embrace the Stickiness: Concha dough is intentionally designed to be soft, sticky, and tacky. This characteristic is vital for achieving that desirable light and fluffy interior. Resist the urge to add more flour to make it easier to handle; doing so will result in dry, dense conchas. Instead, lightly grease your hands with a neutral oil or cooking spray when handling and shaping the dough balls.
- Avoid Overcrowding Your Baking Sheet: These conchas will expand significantly, both during the second proofing and in the oven. Crowding your baking sheet can lead to uneven baking, poor air circulation, and potentially burned bottoms before the centers are fully cooked. Give each concha ample space to grow and bake uniformly.
- Prepare Topping Ahead of Time: If you’re looking to save time, the concha topping can be prepared in advance. Make sure to wrap it tightly and completely in plastic wrap to prevent it from drying out. If it feels a bit crumbly or stiff when you’re ready to use it, simply roll it between your palms for a few moments to warm it up. The warmth from your hands will make it soft and pliable again, ready for shaping.
- Optimal Rising Environment: Yeast-leavened doughs thrive in warm, draft-free environments. If your kitchen is cool, consider creating a makeshift proofing box. You can do this by placing the covered dough in an oven (turned off!) with the light on, or in a warm spot near a radiator. Consistent warmth is key for a good rise.
Serving Suggestions: The Perfect Companion to Your Sweet Treat
Pumpkin spice conchas are an absolute delight on their own, but their rich flavors truly sing when paired with a warm, comforting beverage. For an authentic and deeply satisfying experience, consider serving them alongside traditional Mexican drinks such as a frothy café de olla, a spiced Mexican coffee brewed with cinnamon and piloncillo. Alternatively, a thick and warming champurrado, a corn-based chocolate drink, or a sweet and creamy atole will complement the conchas beautifully, making for a truly indulgent treat. The interplay of warm spices and comforting textures creates a cozy symphony of flavors perfect for a chilly autumn morning or an afternoon pick-me-up. For a simpler yet equally delicious pairing, a cold glass of milk offers a refreshing contrast that highlights the conchas’ sweetness.
Storage and Freshness
To maintain their exquisite softness and flavor, store your freshly baked pumpkin conchas in an airtight container or a resealable ziplock bag. They will stay fresh and delicious at room temperature for up to 5 days. For longer storage, conchas can be frozen. Wrap individual conchas tightly in plastic wrap, then place them in a freezer-safe bag. They can be frozen for up to 2-3 months. To enjoy, thaw them at room temperature or gently warm them in a microwave or oven for a few minutes until soft.
Explore More Mexican Pan Dulce Recipes
If you loved making these Pumpkin Conchas, you’ll surely enjoy exploring other delights from the world of Mexican pan dulce. Each recipe offers a unique taste of Mexico’s rich baking traditions:
- Mexican Donuts (Donas)
- Cortadillo (Mexican Pink Cake)
- Marranitos (Mexican Gingerbread Pigs)
- Mantecadas
If you tried this Pumpkin Conchas Recipe or any other recipe on Isabel Eats, don’t forget to rate the recipe and let me know how it went in the comments below! I love hearing about your experience making it!
Pin
Rating: 4.88 from 8 votes
Pumpkin Conchas
By: Isabel Orozco-Moore
These pumpkin conchas are a seasonal twist on a traditional pan dulce! Made with pumpkin puree and nutmeg, cinnamon, and pumpkin pie spice.
Prep: 15 minutes
Cook: 15 minutes
Total: 3 hours 30 minutes
Servings: 12 conchas
Ingredients
For the Dough
- ½ cup + 1 tablespoon granulated sugar, divided
- 2 ¼ teaspoons active dry yeast
- 1 cup warm whole milk (about 110-115°F)
- 5 ½ cups all-purpose flour
- ½ cup light brown sugar
- 1 teaspoon pumpkin pie spice
- ½ teaspoon fine salt
- ½ teaspoon ground cinnamon
- ½ teaspoon ground nutmeg
- ½ cup unsalted butter, softened to room temperature
- 3 large eggs, divided and at room temperature
- 1 cup pumpkin puree
For the Topping
- 1 cup all-purpose flour
- 1 cup powdered sugar
- ½ cup unsalted butter, softened to room temperature
- 2 ½ teaspoons vanilla extract
- A few drops of orange gel food coloring, optional
Instructions
- Prepare the dough. In a small bowl, whisk together 1 tablespoon of the granulated sugar, the active dry yeast, and the warm milk. Cover with plastic wrap and let the yeast bloom until it’s very foamy for 10 minutes.
- In the bowl of a stand mixer (or a large separate bowl), whisk together the flour, the remaining granulated sugar, the brown sugar, pumpkin pie spice, salt, cinnamon, and nutmeg.
- Using a paddle attachment, mix in the softened butter until coarse and crumbly.
- In a medium bowl, whisk together 2 eggs and the pumpkin puree until well combined. Set aside.
- Using a dough hook attachment, slowly add the yeast mixture to the dry ingredients, followed by the egg and pumpkin mixture. Mix on medium speed for 5-6 minutes (or mix by hand), until the dough becomes smooth and elastic. The dough will be tacky and sticky.
- Transfer the dough to a large greased bowl and cover with plastic wrap. Allow the dough to rise in a warm place until doubled in size, about 1 ½ to 2 hours.
- Prepare 3 baking sheets with parchment paper and set aside.
- Uncover and punch the dough down, then allow it to rest for 5 minutes. Section the dough into 12 pieces and roll into balls. The dough will still be sticky, so you can grease your hands with oil or cooking spray to make it easier to handle, but do not add more flour.
- Place 4 dough balls onto each baking sheet, cover with plastic wrap or a kitchen towel, and allow it to rise again for 45 minutes to 1 hour until the dough has doubled in size.
- While the dough rises, make the concha topping. Beat together the flour, powdered sugar, butter, vanilla extract, and gel food coloring in a stand mixer with a paddle attachment until fully combined. The topping should be soft and moist, like the consistency of Play-Doh. If not using immediately, form the topping into a ball and cover with plastic wrap until ready to use.
- Divide the topping into 12 balls, then lightly flatten each ball in between two sheets of plastic wrap using a tortilla press. You could also use a rolling pin to shape the topping into rounds.
- Assemble the conchas. Preheat the oven to 350°F. In a small bowl, beat the remaining egg and brush each risen concha with egg wash.
- Carefully remove the rolled-out topping from the plastic wrap and drape it onto the risen concha dough. Lightly pat it down to secure the topping onto the dough.
- Cut grooves into the topping using a paring knife so it resembles a clamshell, a crisscross pattern, or whichever pattern you prefer.
- Bake for 15-17 minutes until the dough is lightly golden brown. Transfer to a cooling rack and allow to cool for 10 minutes before serving.
Notes
- Make sure your yeast is alive before adding it to the dough. If the milk and yeast mixture is bubbly and frothy, that means the yeast is alive and thriving. If it’s not, that means the yeast is likely dead, and you need to start over with a new yeast packet.
- To make shaping the topping a little easier, you could use a concha shell cutter.
- The dough will be sticky and tacky. To make it easier to hand and shape the concha dough, you can lightly grease your hands with oil or cooking spray, but I do not recommend adding more flour.
- Don’t overcrowd your baking sheet. The conchas expand even more in the oven, so make sure you don’t overcrowd your baking sheet or the conchas will not have proper ventilation and will release too much heat, resulting in burning the bottoms before they’re fully baked.
- Storage: Store leftover conchas in an airtight container in a cool and dry place for up to 5 days.
Nutrition
Serving: 1 concha | Calories: 530kcal | Carbohydrates: 82g | Protein: 10g | Fat: 18g | Saturated Fat: 11g | Polyunsaturated Fat: 1g | Monounsaturated Fat: 5g | Trans Fat: 1g | Cholesterol: 90mg | Sodium: 130mg | Potassium: 188mg | Fiber: 3g | Sugar: 29g | Vitamin A: 3753IU | Vitamin C: 1mg | Calcium: 62mg | Iron: 4mg
Nutrition information is automatically calculated, so should only be used as an approximation.
Photography by Ashley McLaughlin.