
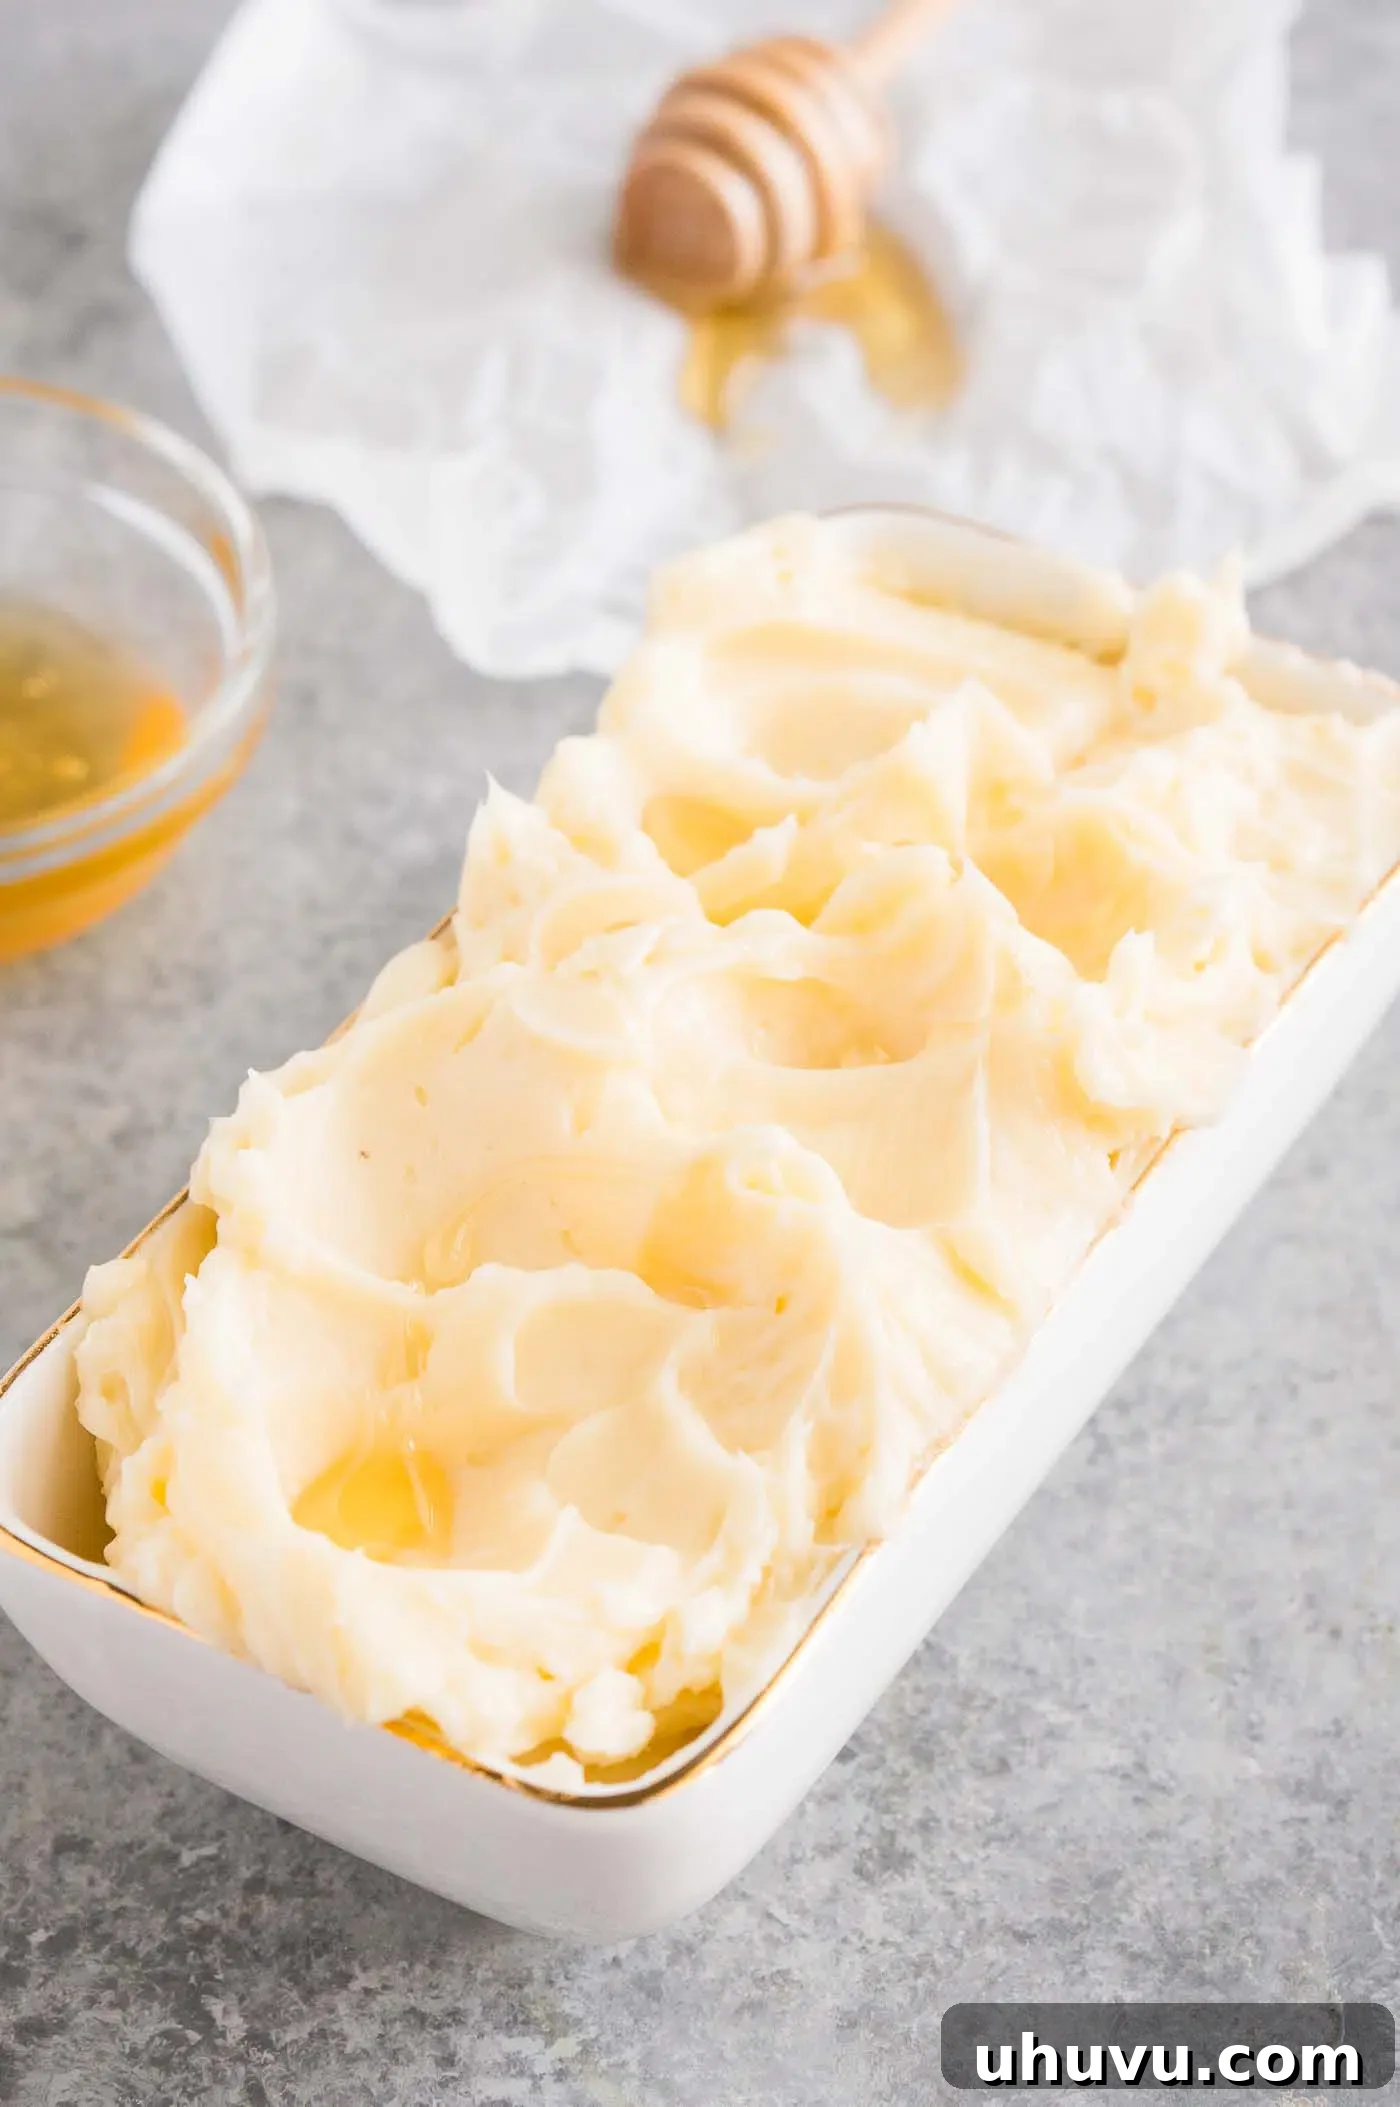
Learn how to make delicious honey butter using just three simple ingredients. This versatile spread is perfect for sandwiches, toast, pancakes, and so much more! Transform your everyday meals with this incredibly easy and flavorful homemade delight.
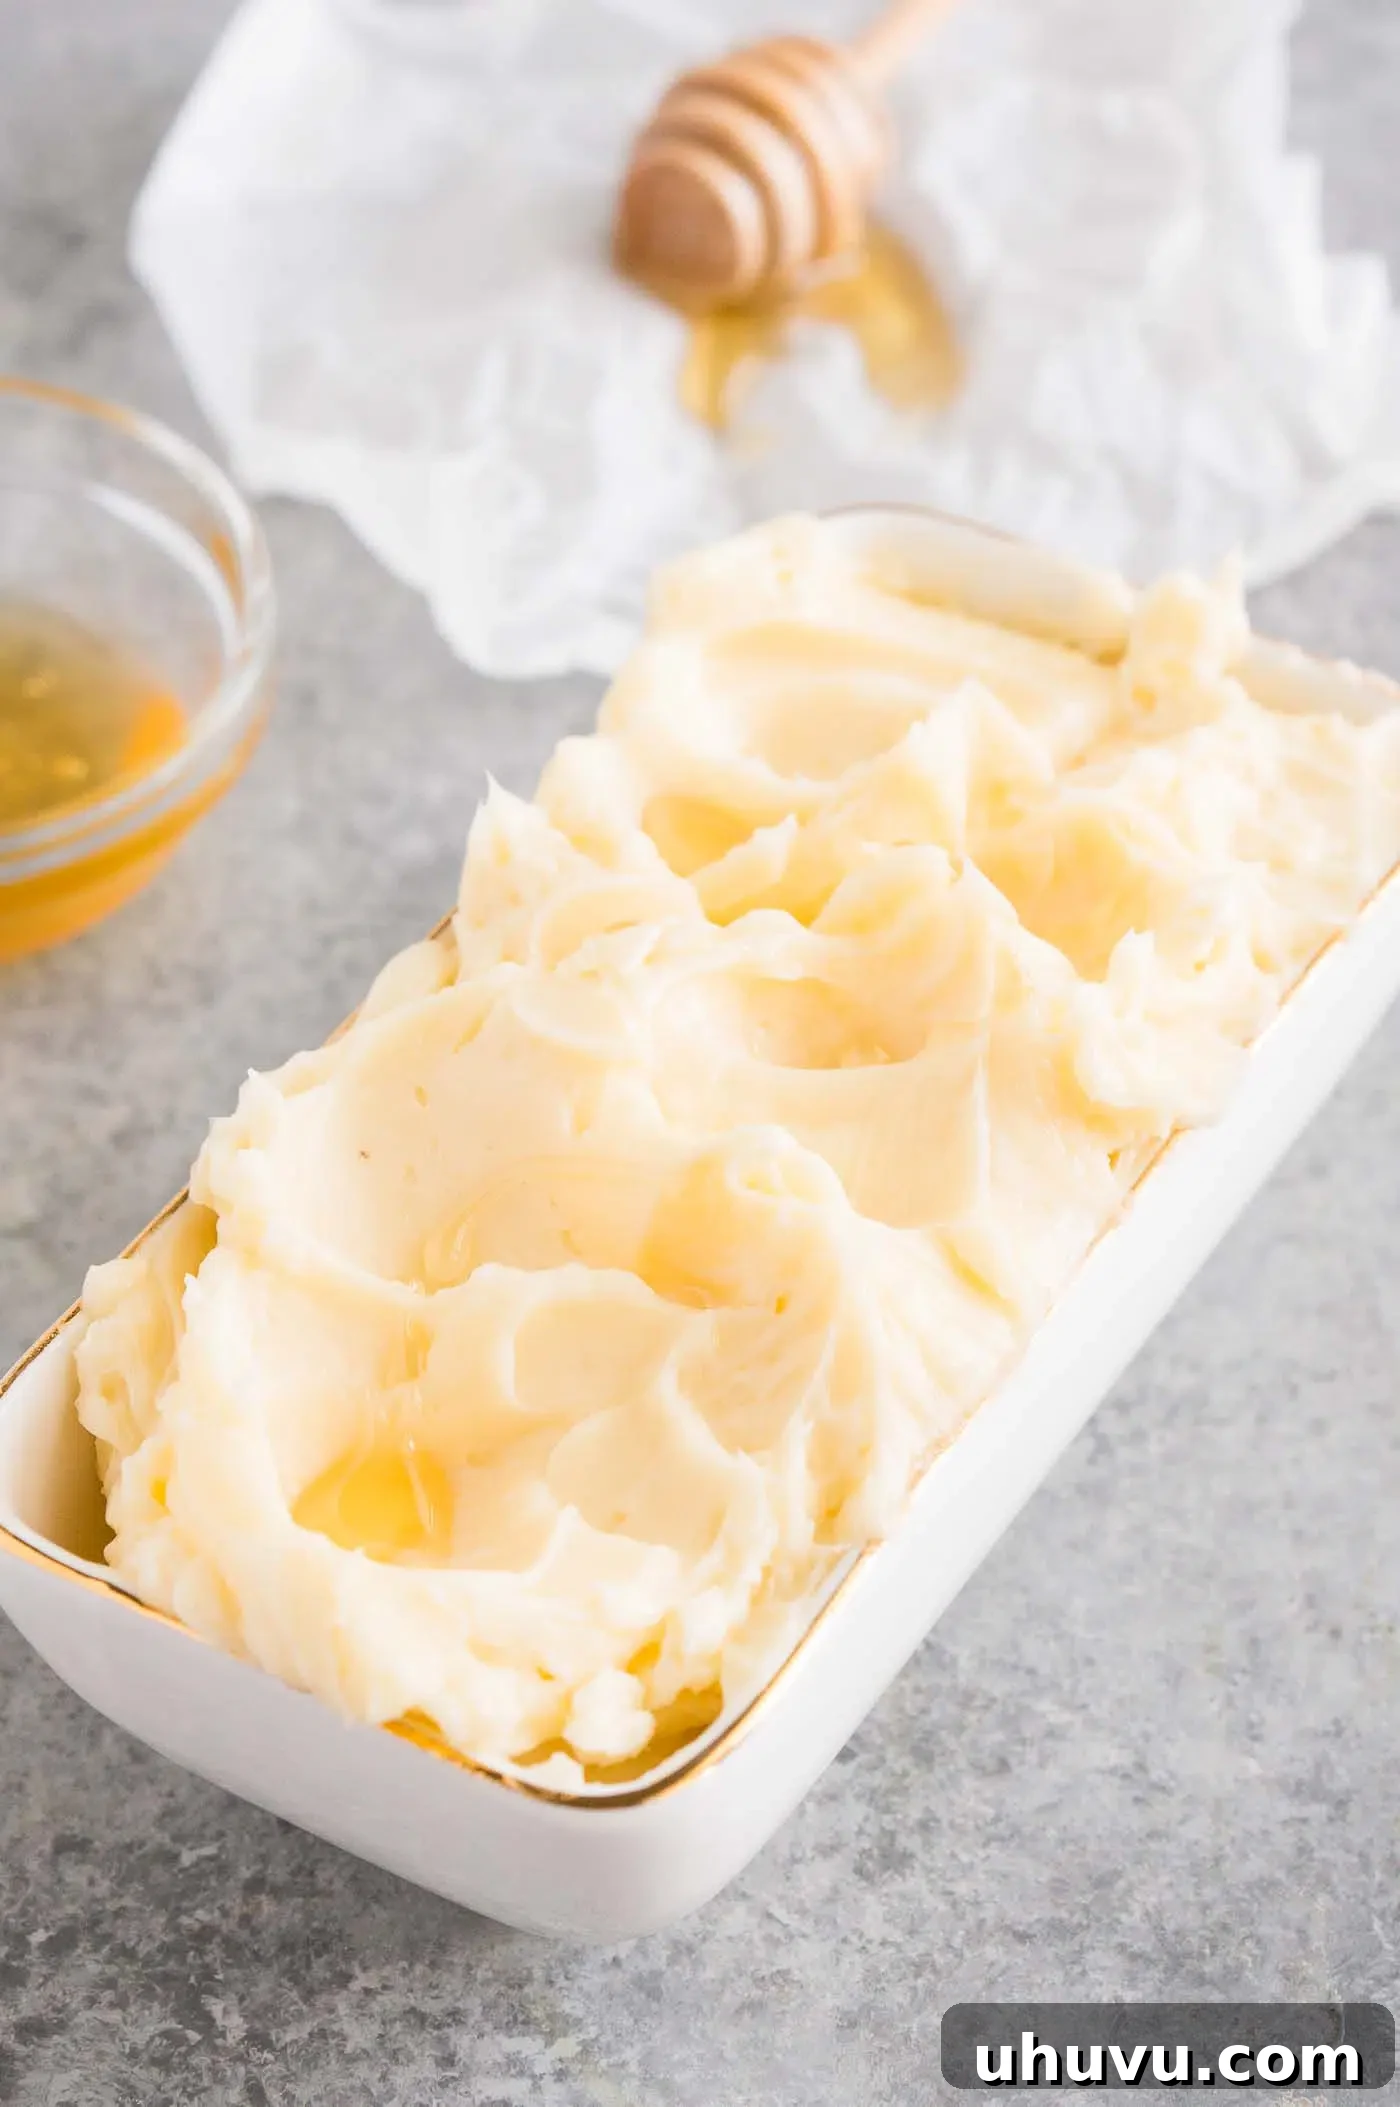
There’s something uniquely satisfying about elevating everyday staples into something extraordinary. Making your own flavored butter, like this sensational homemade honey butter, is one of the easiest ways to add a gourmet touch to your meals without any fuss. This recipe for fluffy, sweet, and slightly salty whipped honey butter is a guaranteed crowd-pleaser and disappears incredibly fast in our home!
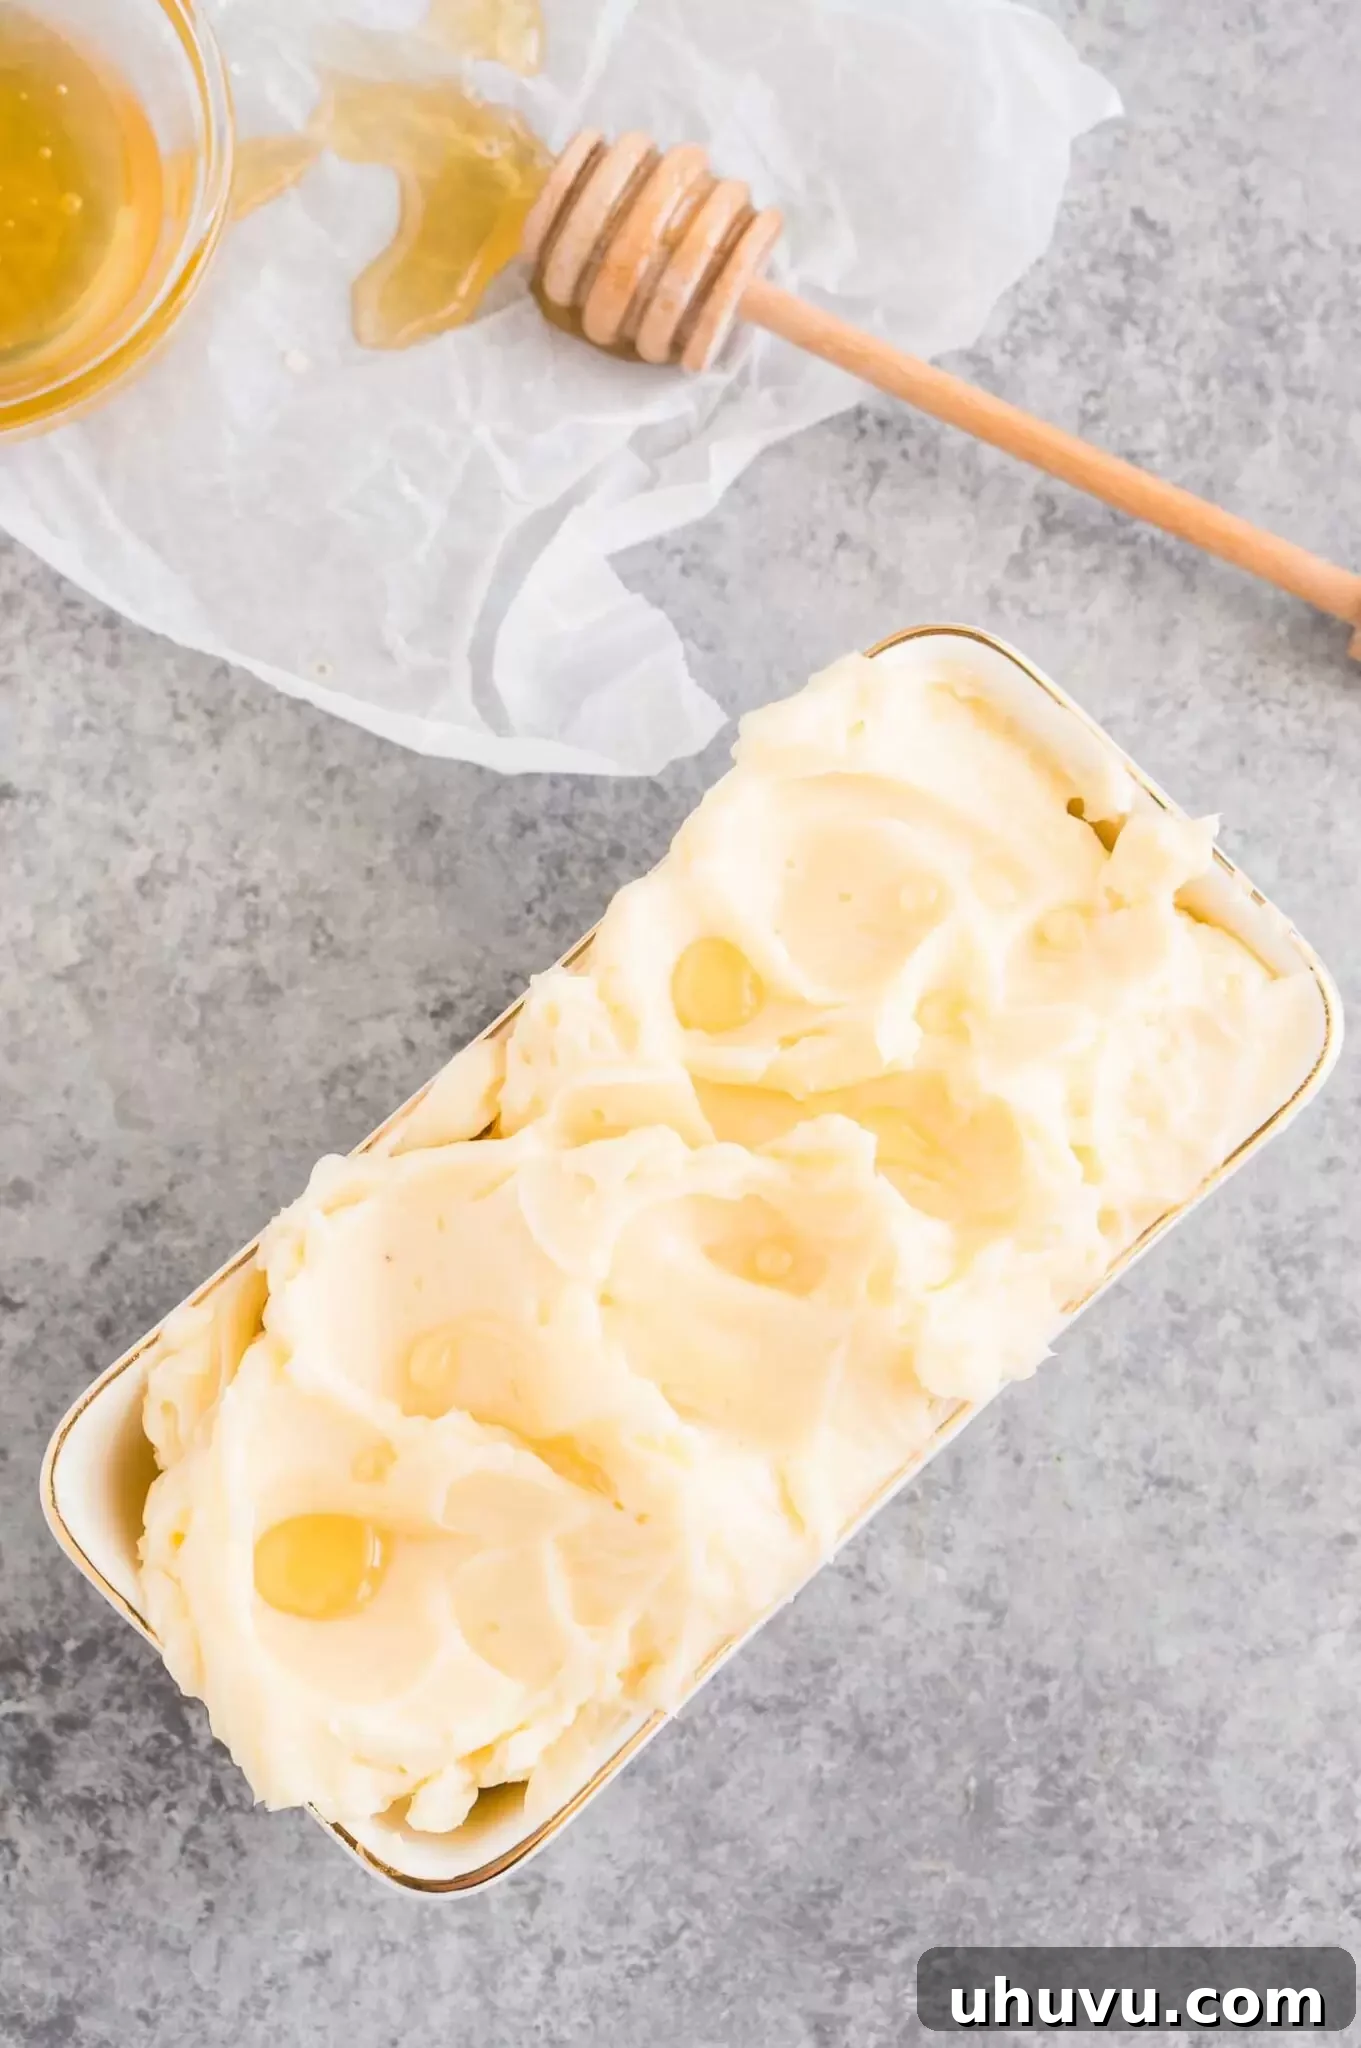
This simple honey butter spread boasts an irresistibly light and airy texture, thanks to the whipping process. It’s truly amazing how a few basic ingredients can create such a luxurious and versatile condiment. If you’re feeling adventurous, you can even check out my post on how to make your own homemade butter to use as the base for this recipe, taking your culinary skills to the next level!
Why Make Your Own Honey Butter?
While store-bought options exist, homemade honey butter offers unparalleled freshness, flavor, and control over ingredients. You can customize the sweetness, saltiness, and even add additional flavors to perfectly suit your palate. It’s also incredibly cost-effective and a fantastic way to impress guests with minimal effort. Plus, the act of whipping butter creates a lighter, more spreadable consistency that simply melts in your mouth.
Essential Ingredients for Perfect Honey Butter
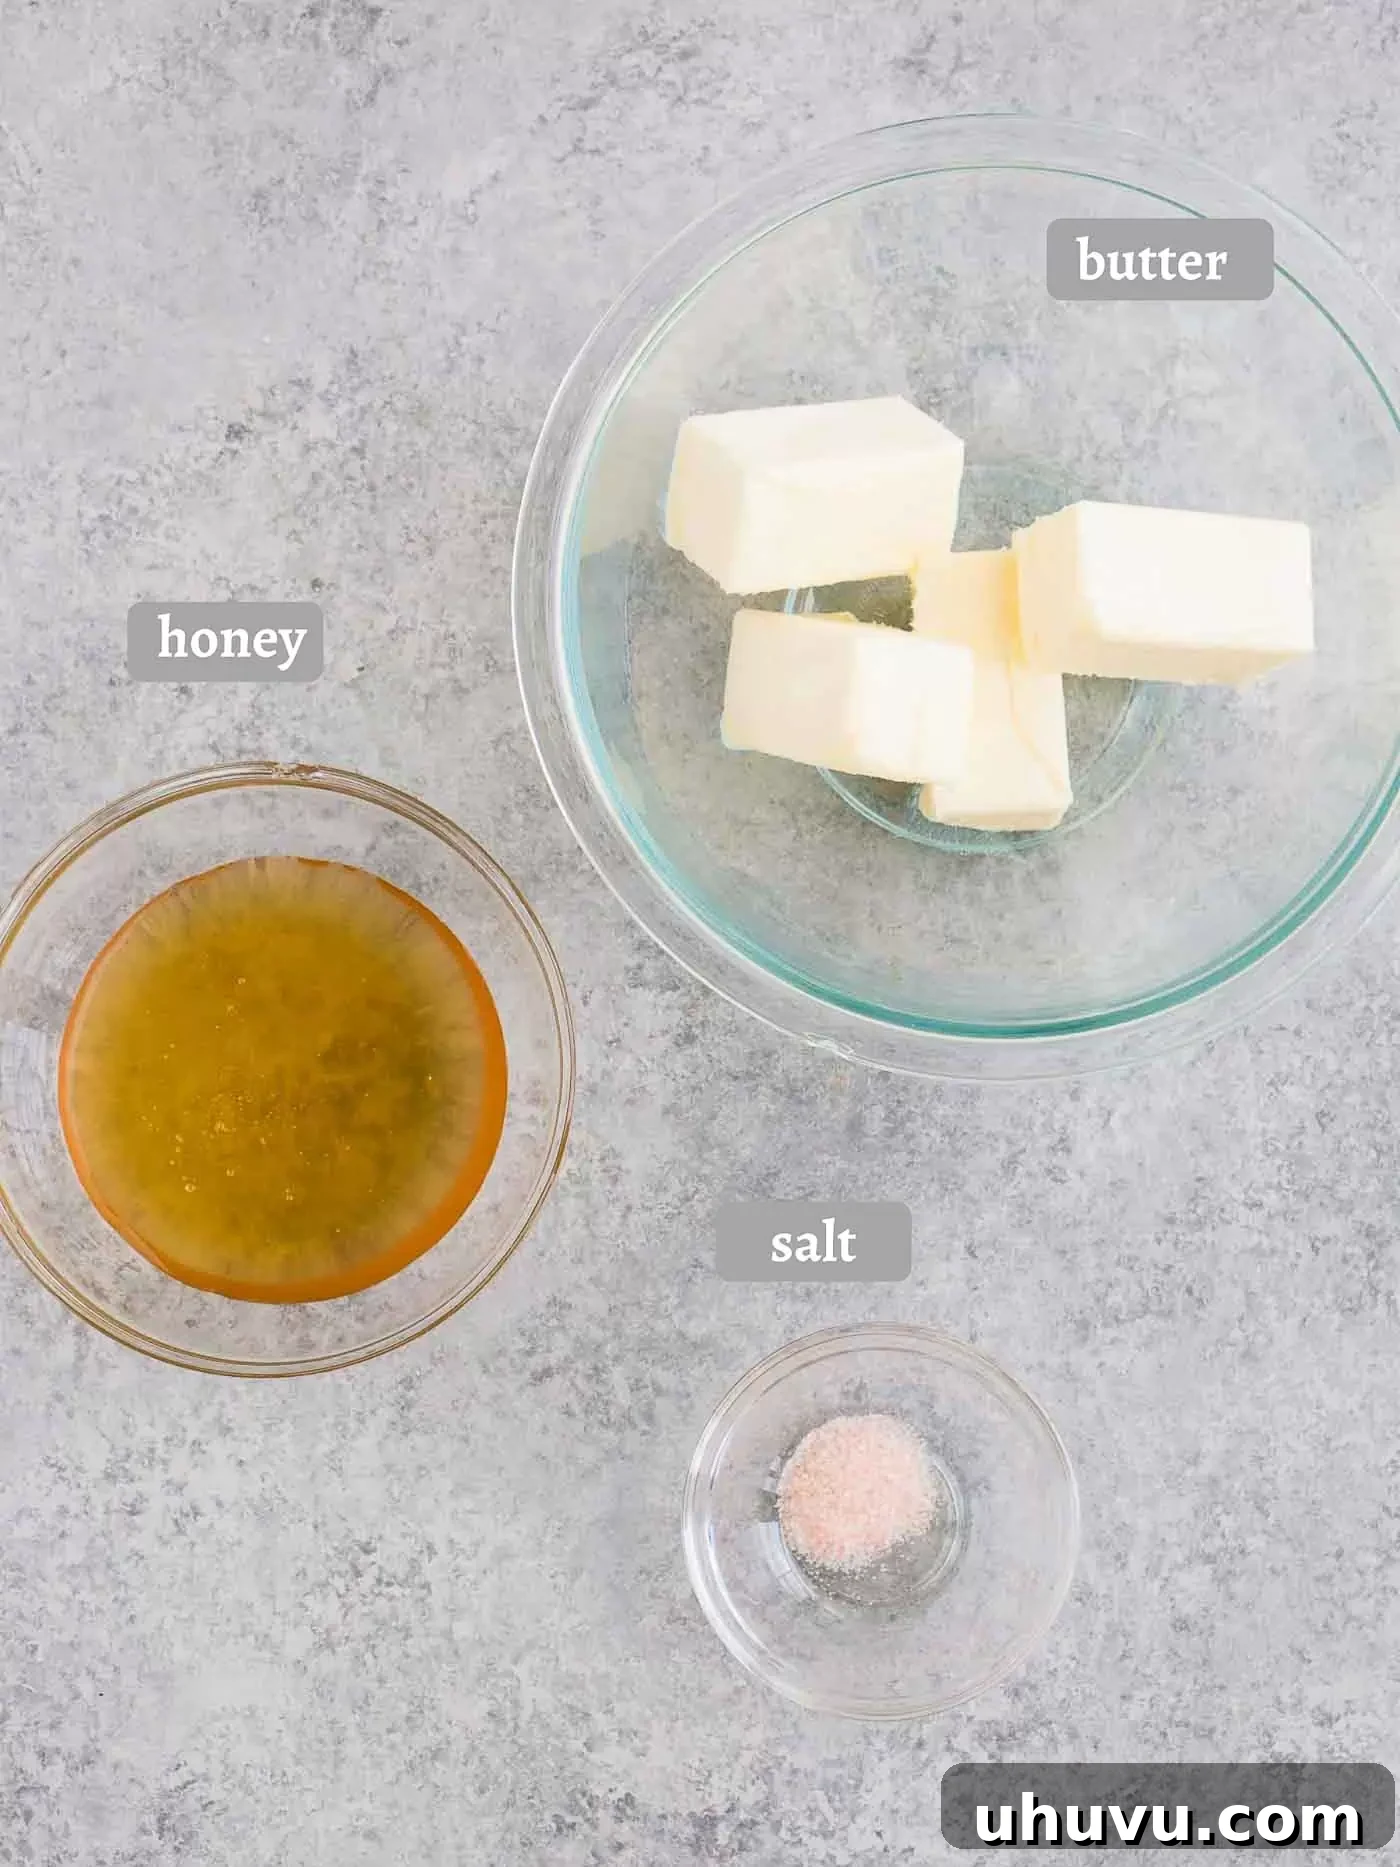
Crafting the best honey butter requires just three core ingredients. While simple, the quality of each component significantly impacts the final flavor and texture of your sweet butter spread. Here’s what you’ll need:
- Unsalted Butter: This is the foundation of your flavored butter. Using unsalted butter allows you to control the exact amount of salt in the recipe, ensuring a balanced sweet and salty profile. For the best results, opt for high-quality unsalted butter. If you only have salted butter on hand, you can still use it, but be sure to reduce or even omit the additional sea salt to prevent it from becoming too salty. Remember, the butter should be at room temperature for easy whipping.
- Natural Honey: The star of the show! For the most authentic and rich flavor, choose a natural and raw honey. These varieties retain more of their complex floral notes and beneficial enzymes compared to highly processed alternatives. Different types of honey (e.g., clover, wildflower, orange blossom) will lend subtle variations to your honey butter, so feel free to experiment. For a delightful twist, you could even swap honey for pure maple syrup, creating a delicious maple butter spread that’s perfect for fall breakfasts.
- Sea Salt: A pinch of sea salt is crucial for balancing the sweetness of the honey and enhancing the overall flavor of the butter. Fine sea salt dissolves easily and distributes evenly throughout the whipped butter. If you prefer your butter on the saltier side, feel free to add a little more to taste. A good quality sea salt will provide a clean, crisp flavor that elevates the spread.
How to Make the Best Whipped Honey Butter
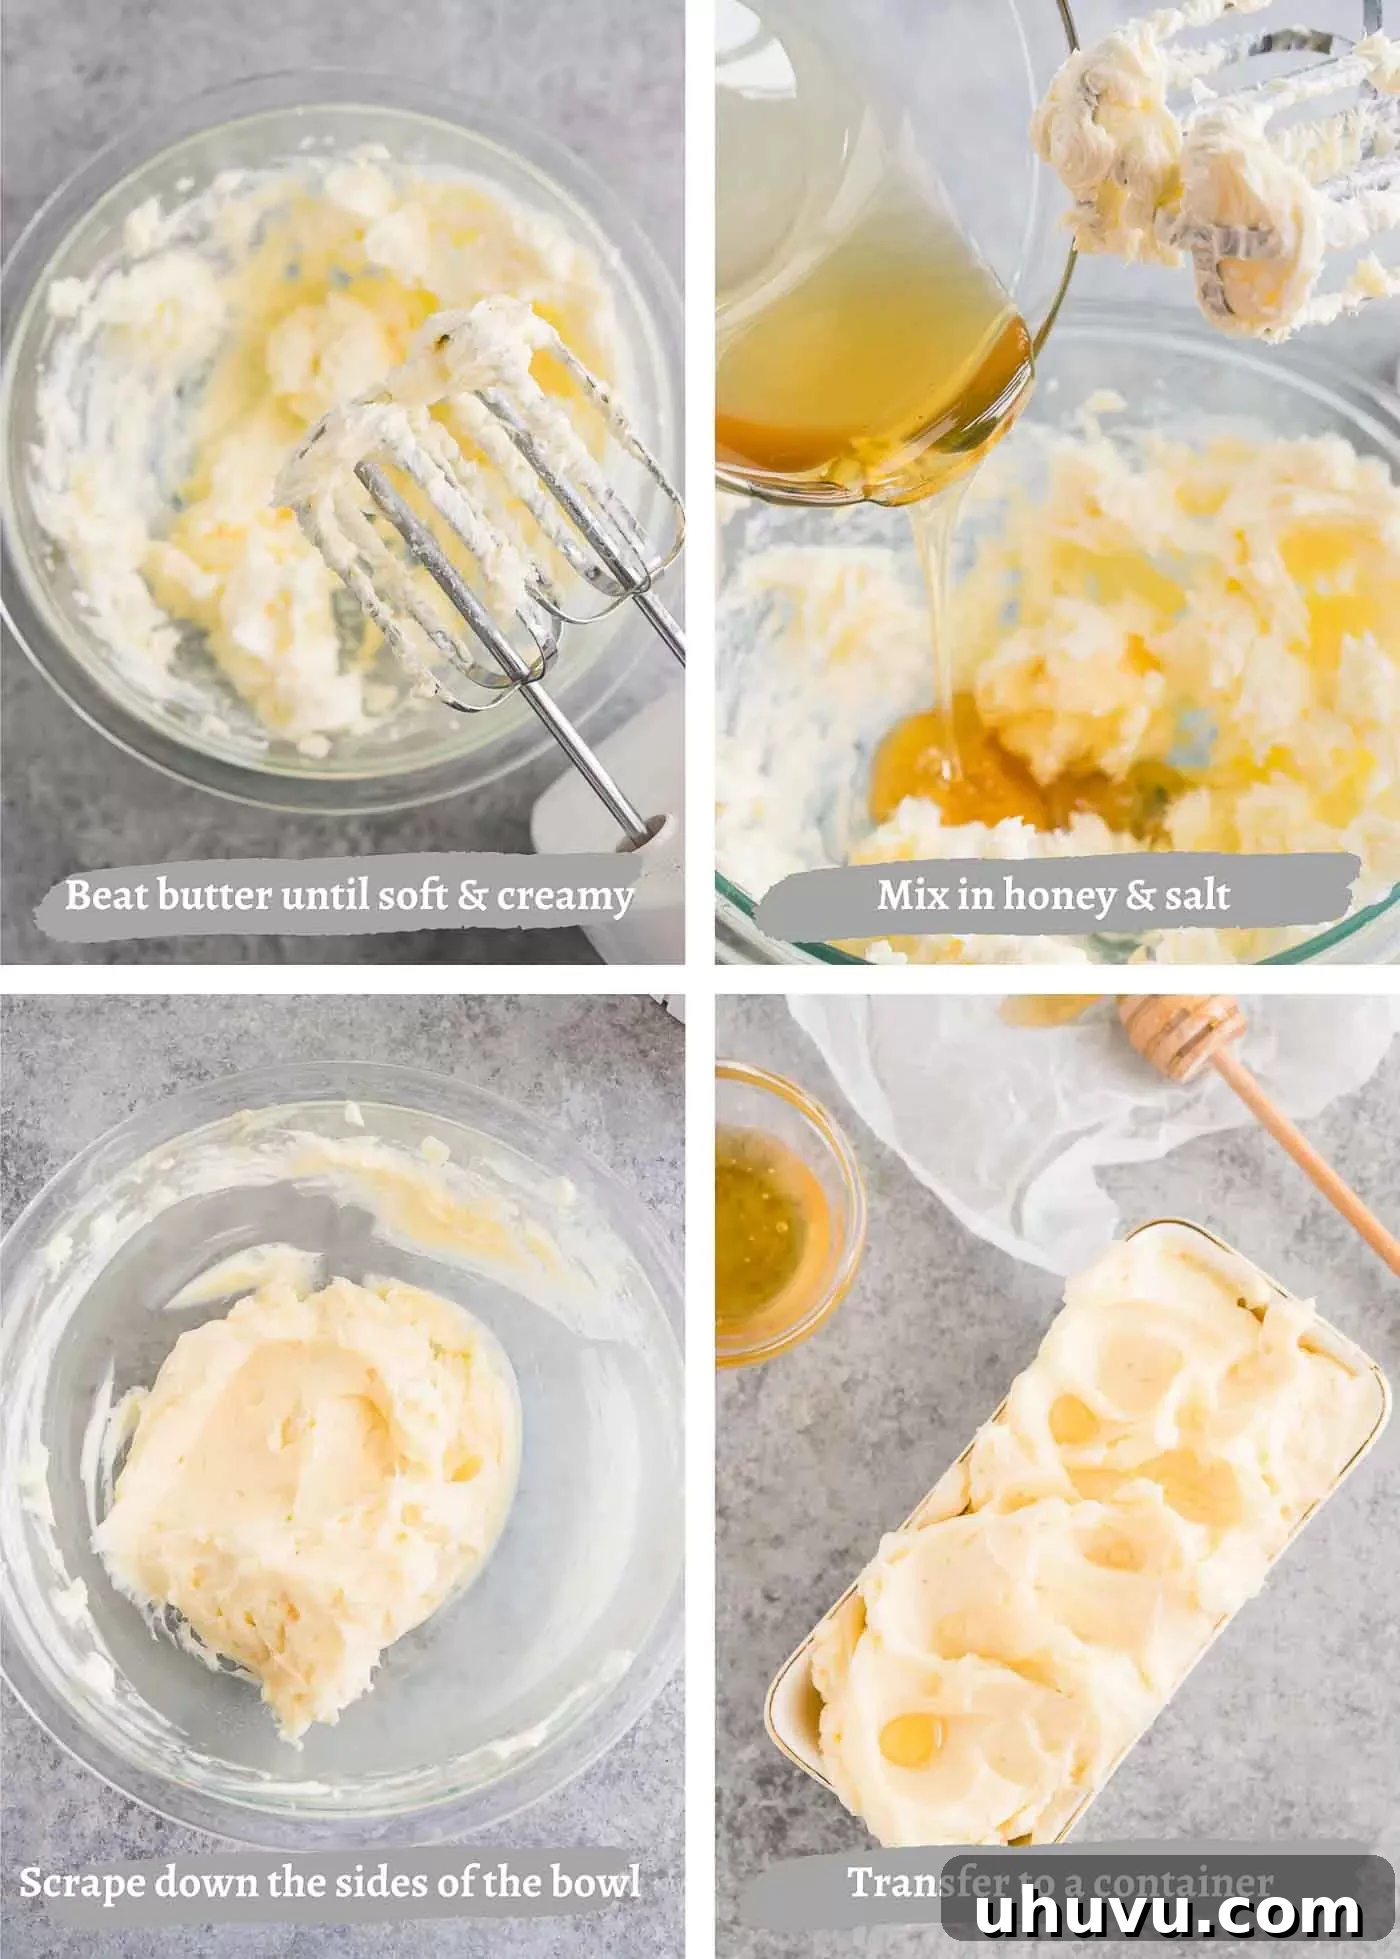
Making this incredible whipped honey butter is surprisingly quick and easy, requiring only a few minutes of active preparation. The key to its light and fluffy texture lies in the whipping process. Follow these simple steps for perfect results:
- Soften the Butter: Begin by ensuring your unsalted butter is at room temperature. This is a crucial step! Cold butter will not whip properly and will result in a lumpy, inconsistent spread. Take your butter out of the refrigerator at least an hour before you plan to make the honey butter. It should be soft enough to indent easily with your finger, but not melted.
- Whip the Butter: In a large mixing bowl, combine the softened butter. Using a hand mixer or a stand mixer fitted with the paddle attachment, beat the butter on medium speed for about 1 minute. The goal here is to cream the butter, making it incredibly smooth, pale in color, and slightly aerated. This initial whipping creates the base for that desirable fluffy texture.
- Incorporate Honey and Salt: Once the butter is creamy, gradually add the honey and sea salt to the bowl. Start with the recommended amounts, knowing you can adjust the salt later.
- Continue Whipping: Continue to beat the mixture with the electric mixer on medium speed. Keep whipping until the honey and salt are fully incorporated and the butter is completely smooth, light, and airy. This usually takes another 1-2 minutes. The mixture should appear well combined with no streaks of honey.
- Scrape the Bowl: As you whip, occasionally stop and scrape down the sides of the bowl with a rubber spatula. This ensures all the ingredients are thoroughly mixed and prevents any unmixed butter from clinging to the sides.
- Taste and Adjust: After whipping, give your honey butter a taste test. This is your chance to customize it! If you prefer a more pronounced salty kick, add a little more sea salt, up to an additional 1/4 teaspoon, and whip briefly to combine. If you desire extra sweetness, a touch more honey can be added as well.
Storing Homemade Honey Butter: Freshness and Longevity
Once your delectable honey butter is whipped to perfection, proper storage is key to maintaining its freshness and flavor. You’ll be delighted to know that this flavored butter stores exceptionally well, making it ideal for meal prep or enjoying over time.
Refrigerator Storage
Your freshly made honey butter is ready to be enjoyed immediately! For everyday use, it will keep beautifully in the refrigerator for up to 2 weeks. To store, simply transfer the whipped butter to an airtight container, such as a glass jar with a tight-fitting lid, or wrap it tightly in parchment paper followed by plastic wrap. This prevents it from absorbing odors from other foods in the fridge and maintains its soft texture. When you’re ready to use it, remember to take the honey butter out of the fridge about 30 minutes before serving. This allows it to soften slightly, making it wonderfully easy to spread on your favorite baked goods or toast.
Freezer Storage: Extend Shelf Life
Absolutely! This sweet compound butter freezes exceptionally well, making it perfect for preparing a larger batch to enjoy for months to come. When stored correctly, honey butter can last for up to 6 months in the freezer. To protect it from freezer burn and preserve its flavor:
- Portion and Wrap: Spoon the honey butter onto a piece of parchment paper. You can shape it into a log, or individual portions, whatever suits your needs.
- Double-Wrap: Tightly roll the butter in the parchment paper, then wrap it securely again in a layer of plastic wrap, or place it in a freezer-safe bag or container. This double-layer protection is crucial for preventing air exposure.
- Thawing: When you’re ready to use your frozen honey butter, simply transfer it to the refrigerator to thaw overnight. For quicker thawing, you can leave it at room temperature for a few hours, depending on the portion size. Once thawed, it will be just as delicious as when it was freshly made!
Variations and Customizations: Elevate Your Flavored Honey Butter
While this classic whipped honey butter is fantastic on its own, it also serves as an excellent base for endless flavor experiments. Get creative and customize your compound butter with additional flavorings to suit any dish or occasion:
- Dried Spices: Introduce warmth and complexity with various ground spices. Consider mixing in 1/2 teaspoon of cinnamon for a classic pairing with apples or toast, cardamom for an exotic touch with coffee cakes, a pinch of chili powder or smoked paprika for a unique sweet and savory twist (amazing on sweet potatoes!), or ground ginger for a zesty kick. Pumpkin pie spice is also wonderful for seasonal treats.
- Fresh Herbs: For a surprisingly sophisticated spread, finely chop fresh herbs and fold them into your honey butter. Mint or lavender can add a refreshing floral note, perfect for scones or fruit. Rosemary, basil, chives, dill, or thyme, while typically savory, can offer an intriguing contrast when paired with the sweetness of honey butter on grilled corn or roasted vegetables.
- Citrus Zest: Brighten up your honey butter with the aromatic zest of citrus fruits. Lemon, lime, or orange zest adds a vibrant, tangy dimension that cuts through the sweetness beautifully. Just 2-3 teaspoons of finely grated zest can transform the flavor.
- Extracts: A few drops of your favorite extract can add depth. Vanilla extract is a natural fit, but almond or coconut extract could also be interesting.
- Nut Butters: For an even richer, nuttier flavor, fold in a tablespoon or two of creamy peanut butter, almond butter, or cashew butter. This creates a wonderfully decadent spread perfect for apple slices or breakfast items.
- Cocoa Powder: For a chocolatey twist, add a teaspoon of unsweetened cocoa powder and a touch more honey to taste. This makes a delightful spread for croissants or fruit.
Popular Honey Butter Flavor Combinations:
- Vanilla Cinnamon Honey Butter: A comforting classic! Add 1/2 teaspoon of pure vanilla extract and 1/2 teaspoon of ground cinnamon to the basic recipe. This blend is irresistible on warm toast or muffins.
- Orange Honey Butter: Bright and zesty, this variation is fantastic on pancakes, waffles, or even with roasted chicken. Stir in 2-3 teaspoons of freshly grated orange zest.
- Lemon Honey Butter: For a refreshing and tangy spread, incorporate 2-3 teaspoons of freshly grated lemon zest. This is particularly good on light pastries or fresh fruit.
Delicious Ways to Use Honey Butter
This simple yet sensational homemade honey butter is incredibly versatile and can elevate a wide array of dishes. Its sweet and salty flavor profile makes it a fantastic accompaniment for both breakfast and dinner table items. Here are some of our favorite ways to enjoy this delightful spread:
Breakfast & Brunch Favorites:
- Toast and Bagels: The most classic use! Spread a generous dollop on warm, crusty toast, a fluffy bagel, or a fresh croissant.
- Pancakes & Waffles: Instead of plain butter, a pat of honey butter melting over a stack of Paleo Pancakes or Gluten-Free Waffles takes breakfast to a whole new level.
- Muffins & Scones: Spread it on warm Cornbread Muffins, Banana Nut Muffins, Apple Muffins, or fresh-baked scones for an irresistible treat.
- Biscuits & Cornbread: A Southern classic pairing! Honey butter is absolutely divine on flaky biscuits or a slice of warm Gluten-Free Cornbread.
- French Toast: A perfect complement to golden French toast.
Savory Dishes & Sides:
- Roasted Vegetables: Melted honey butter drizzled over roasted root vegetables like carrots, parsnips, or especially Sweet Potatoes adds a beautiful glaze and caramelized flavor.
- Corn on the Cob: Slather warm honey butter on freshly grilled or boiled corn on the cob for a burst of sweet and savory goodness.
- Glaze for Meats: Use it as a finishing glaze for roasted chicken, pork tenderloin, or even salmon. The honey butter caramelizes beautifully, adding a delicious crust.
- Sandwiches: Spread a thin layer on bread for gourmet grilled cheese, turkey sandwiches, or even breakfast sandwiches to add a hint of sweetness.
EXPERT TIPS FOR HONEY BUTTER SUCCESS
Recipe Notes and Tips for the Best Results
- Room Temperature Butter is Key: For the smoothest, fluffiest honey butter, your unsalted butter absolutely must be at room temperature. Take it out of the fridge at least one hour before you plan to start mixing. If it’s too cold, it won’t whip properly; if it’s too warm or melted, the texture will be greasy.
- Choose Your Mixer Wisely: While you can technically make honey butter by hand with a whisk and a lot of elbow grease, for the absolute smoothest and lightest results, a stand mixer fitted with a paddle attachment is ideal. A hand mixer also works wonderfully and is more accessible for most home cooks.
- Don’t Skimp on Quality: Since there are so few ingredients, the quality of your butter and honey truly shines through. Opt for good quality unsalted butter and natural, raw honey for the best flavor experience.
- Taste as You Go: Salt levels are a matter of personal preference. Start with the recommended amount and then taste. You can always add a little more salt (up to an additional 1/4 teaspoon) until it perfectly suits your palate.
- Make Ahead and Store: Honey butter is fantastic for making in advance. It keeps well in the fridge for up to 2 weeks and freezes beautifully for up to 6 months, ensuring you always have this delightful spread on hand.
Frequently Asked Questions (FAQ)
Here are some common questions about making and using homemade honey butter:
- What is honey butter? Honey butter is a simple compound butter made by whipping softened butter with honey and usually a pinch of salt. It creates a sweet, creamy, and often fluffy spread that’s perfect for various baked goods and savory dishes.
- Can I use salted butter? Yes, you can. However, if you use salted butter, it’s recommended to omit or significantly reduce the added sea salt in the recipe, and taste as you go to avoid an overly salty flavor.
- How long does homemade honey butter last? When stored properly in an airtight container in the refrigerator, homemade honey butter can last for up to 2 weeks. It can also be frozen for up to 6 months.
- What if my butter isn’t whipping properly? The most common reason for this is cold butter. Ensure your butter is truly at room temperature. If it’s still not whipping, continue beating for a few more minutes; sometimes it just needs a little more time to incorporate air.
- Can I make honey butter vegan? Yes! You can substitute the dairy butter with a high-quality, plant-based butter alternative (ensure it’s suitable for whipping). Use a good quality vegan honey substitute or agave nectar if you prefer to avoid animal products entirely.
More Basic Cooking Recipes to Master
If you enjoyed making this simple yet impactful honey butter, you might love exploring other basic cooking recipes that can elevate your homemade meals:
- How To Make Basil Pesto
- How to Make Garlic Butter
- How to Make Homemade Mayonnaise
- How To Make Hummus

Honey Butter
Neli Howard
5
5
16 servings
Ingredients
- 1 cup unsalted butter, softened at room temperature
- ⅓ cup honey
- ¼ teaspoon sea salt
Instructions
-
In a large bowl using a hand-held mixer or stand mixer fitted with a paddle attachment, beat the softened butter for 1 minute on medium speed until completely smooth and creamy. Gradually beat in the honey and salt. Continue to beat on medium speed until the mixture is completely smooth, light, and airy. Scrape down the sides of the bowl with a rubber spatula as needed. Taste and add more salt (up to 1/4 teaspoon) if desired, whipping briefly to combine.
-
Store, covered, in an airtight container in the refrigerator.
Notes
- Honey butter will keep well in the fridge for up to 2 weeks, and can be frozen for up to 6 months.
- Always soften the butter to room temperature before making this recipe for the best whipped texture. This usually takes about an hour outside the refrigerator.
- For the smoothest and lightest results, use a stand mixer. A hand mixer also works well. Making it by hand is possible but requires more effort.
Nutrition
Carbohydrates: 6g
Protein: 1g
Fat: 12g
Saturated Fat: 7g
Polyunsaturated Fat: 1g
Monounsaturated Fat: 3g
Trans Fat: 1g
Cholesterol: 31mg
Sodium: 38mg
Potassium: 7mg
Fiber: 1g
Sugar: 6g
Vitamin A: 355IU
Vitamin C: 1mg
Calcium: 4mg
Iron: 1mg
Nutrition Disclaimer: Nutritional values are estimates and may vary with ingredients, brands, and portion sizes. For accuracy, use your preferred nutrition calculator.