
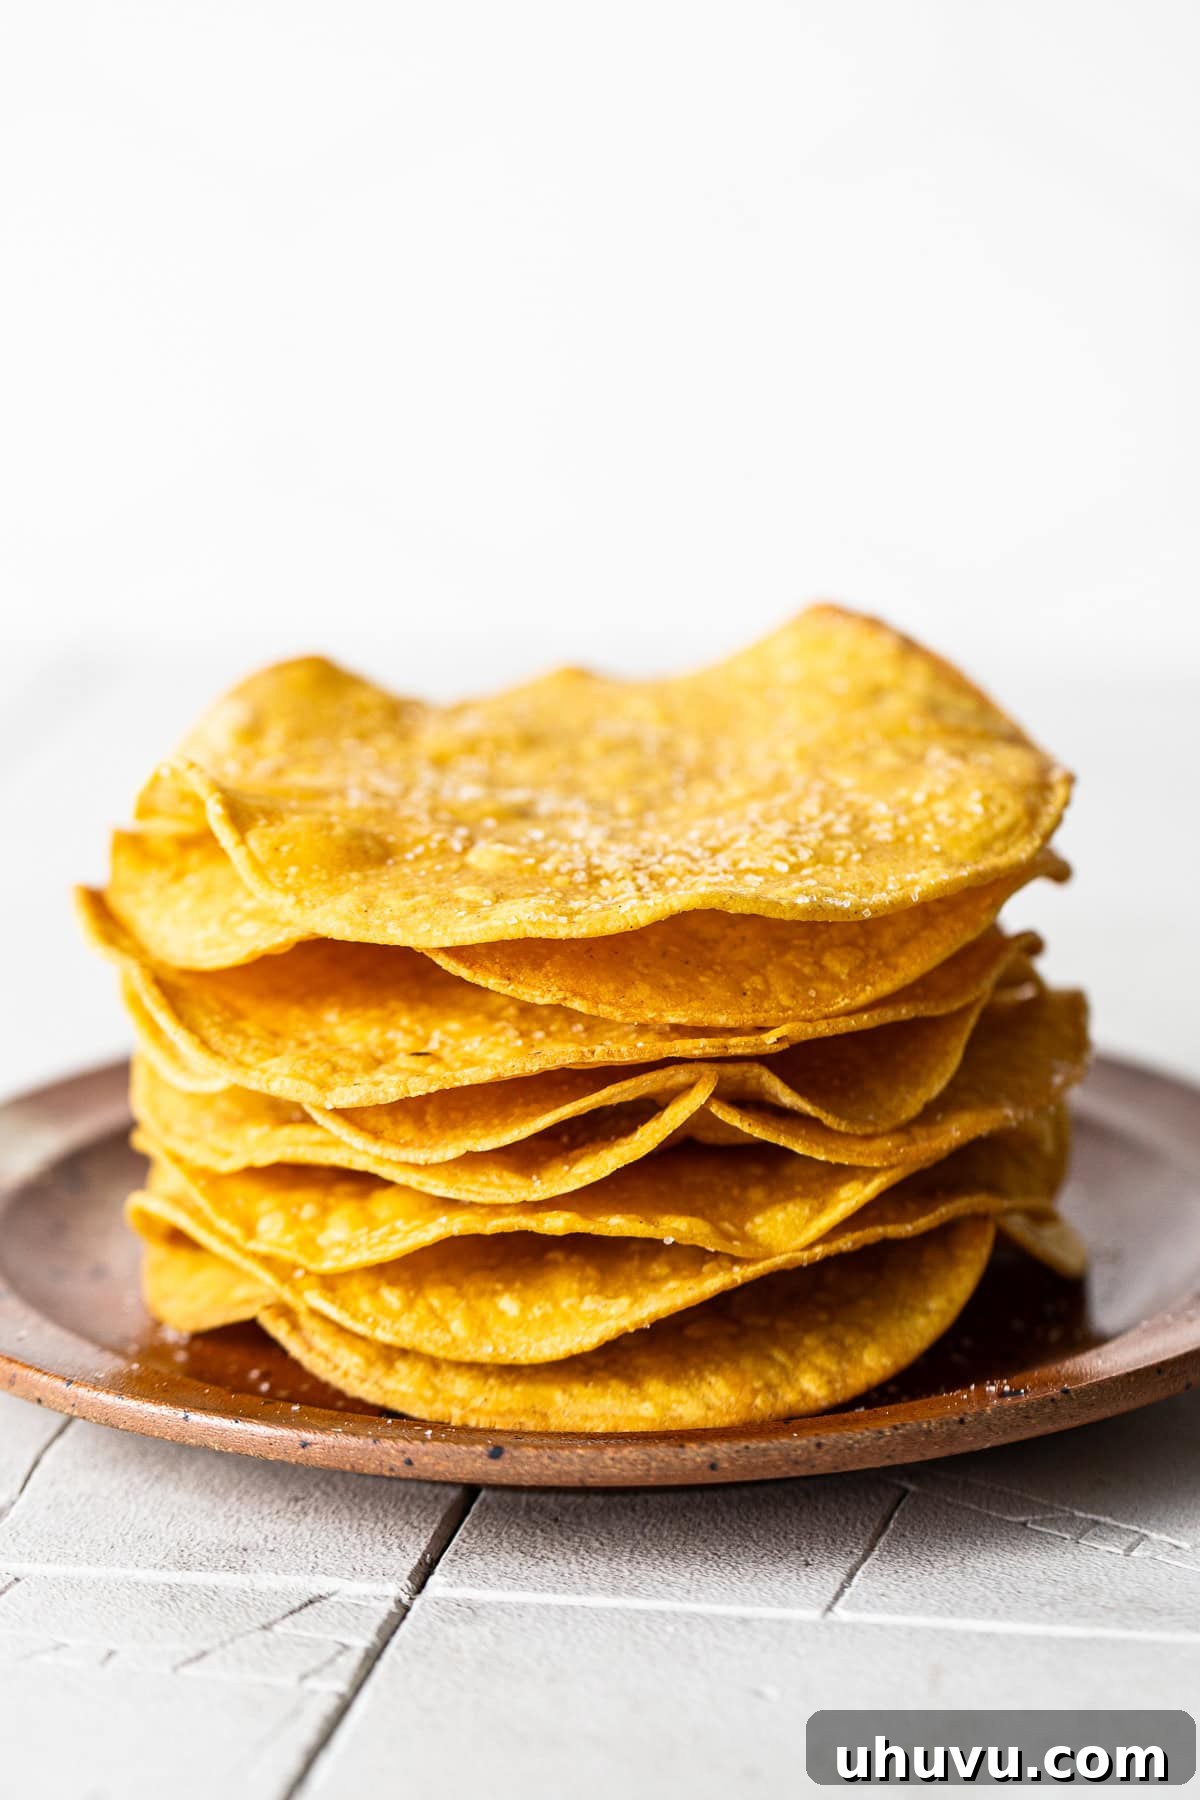
Unlock the secret to perfect homemade tostadas with these incredibly crispy and flavorful shells! Say goodbye to flimsy, store-bought versions and hello to a sturdy, golden base that’s ready to hold all your favorite Mexican toppings. Whether you prefer baking them in the oven for a classic crunch or using an air fryer for lightning-fast results, this comprehensive guide has you covered. Get ready to elevate your weeknight meals and impress your family with these simple yet essential components of any fantastic tostada.
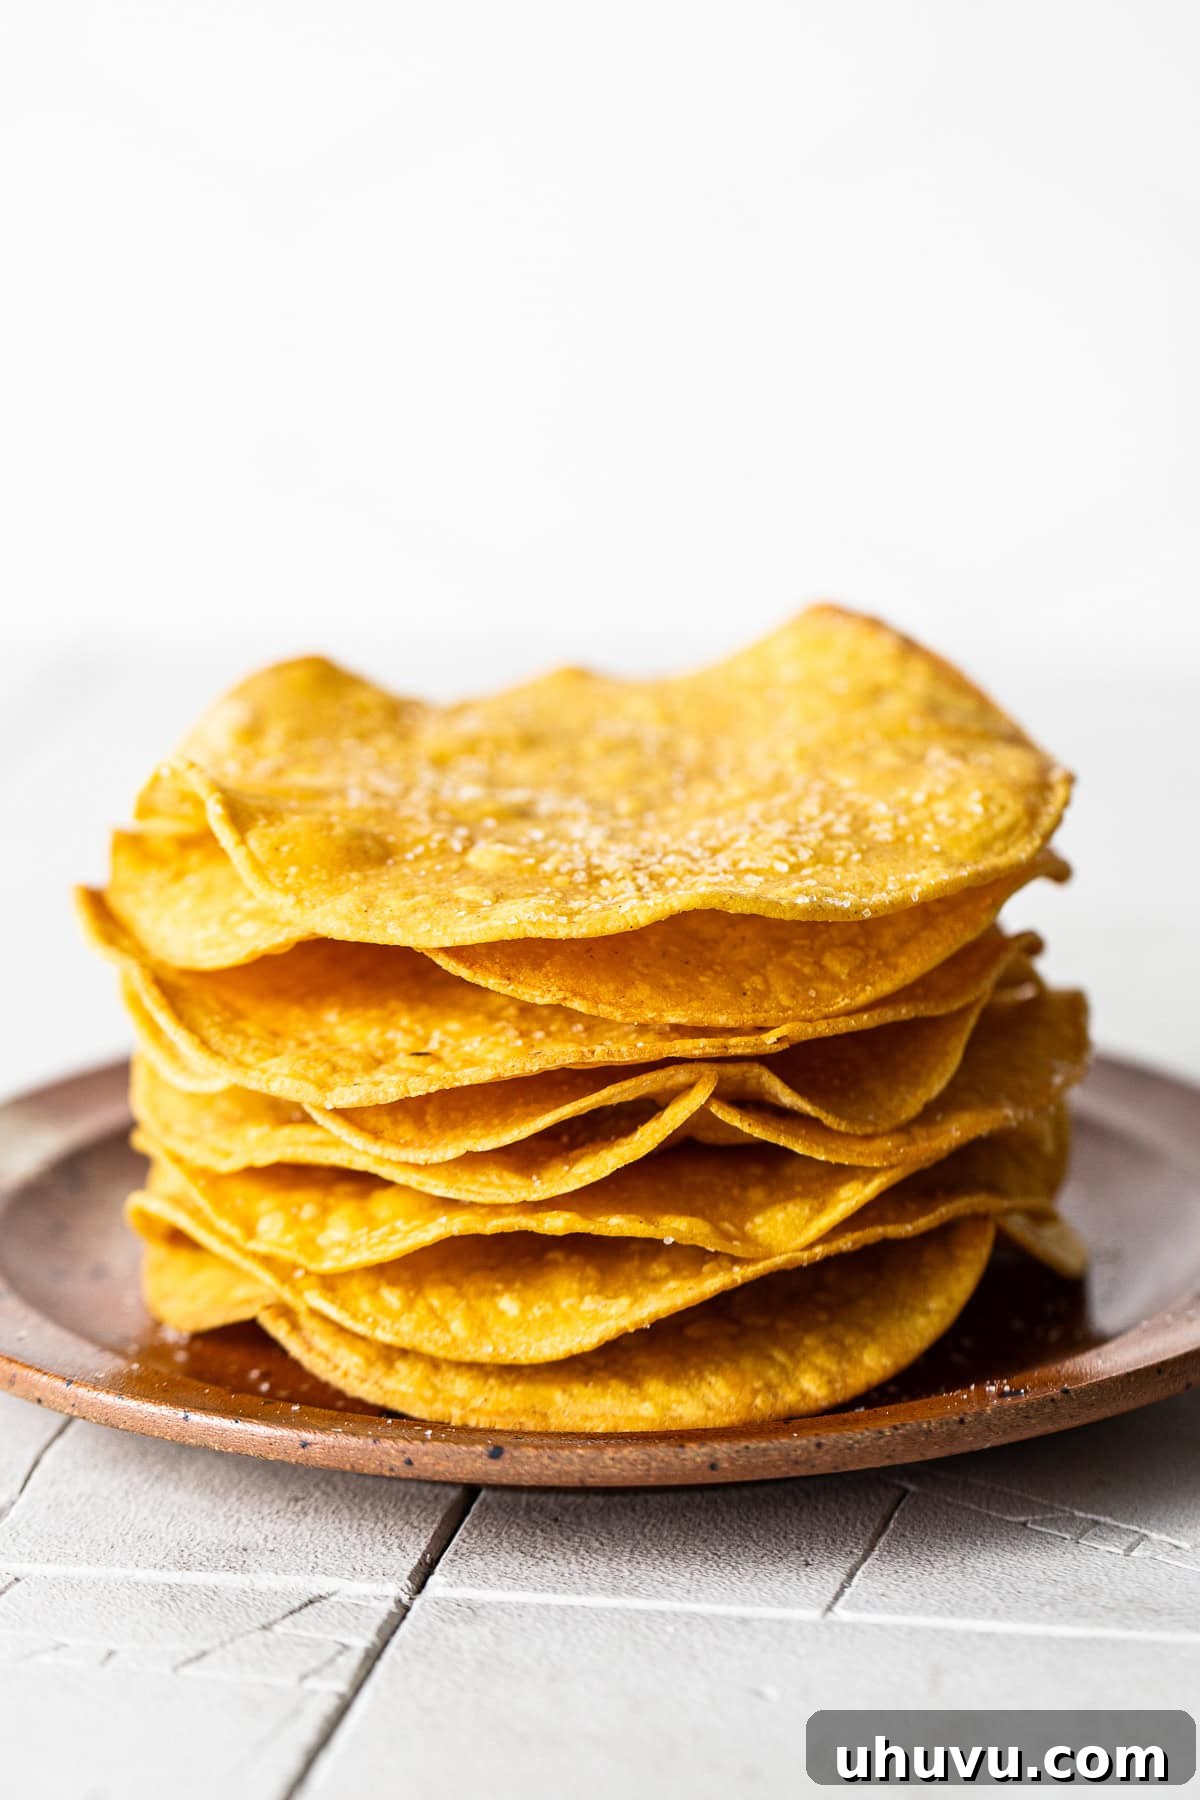
Tostadas are a culinary canvas, an exceptional meal solution for those times when your fridge holds an eclectic mix of leftovers and you’re searching for creative ways to utilize them. Their inherent customizability makes them a true crowd-pleaser, effortlessly catering to diverse palates and dietary preferences. Whether you’re cooking for vegetarians, picky kids, or avid meat lovers, tostadas offer boundless possibilities for personalization.
The foundation of any great tostada lies in its shell. Achieving that perfect balance of sturdiness and crispiness is paramount, ensuring it can proudly bear the weight of all your delicious toppings without crumbling prematurely. Many store-bought tostada shells often fall short, proving too brittle and frequently arriving with half the bag already broken before they even reach your kitchen. This is precisely why making your own homemade tostada shells is a game-changer. By baking them in the oven or air frying them, you not only gain superior control over their texture but also create a slightly healthier alternative to their traditionally fried counterparts. Here’s why this recipe will quickly become a cherished staple in your home:
- Effortlessly Quick and Simple: Imagine a batch of perfectly crisp tostada shells ready in a mere 15 minutes! This recipe is designed for efficiency without sacrificing quality. For those in an even greater rush, the included air fryer instructions offer an exceptionally fast option, ensuring fresh tostada shells are always within reach.
- A Healthier Indulgence: While traditional fried tostadas are undeniably delicious, they can sometimes feel heavy. Our homemade baked tostada shells offer all the irresistible flavor and satisfying crispiness you crave, but with significantly less oil. This makes them a lighter, more wholesome base for your favorite Mexican dishes, allowing you to enjoy your meal without the guilt.
- Unmatched Crispiness and Durability: The primary advantage of making your own tostada shells is the ability to control their crunch and strength. No more broken shells or soggy bases! These homemade marvels are engineered to be robust enough to handle generous layers of toppings, providing a satisfying snap with every bite.
- Budget-Friendly: Making tostada shells from scratch is surprisingly economical. Corn tortillas are typically inexpensive, and a little oil and salt go a long way, offering a cost-effective solution compared to purchasing pre-packaged shells.
What Are Tostada Shells? The Crispy Canvas of Mexican Cuisine
At their core, tostada shells are humble corn tortillas transformed into golden, crunchy discs through baking or frying. Originating from Mexico, the word “tostada” literally means “toasted” in Spanish, aptly describing their signature crisp texture. They serve as a foundational element in Mexican cuisine, providing a sturdy, edible platform for an array of vibrant toppings.
Think of a tostada as an open-faced taco, or perhaps a giant, round, and more substantial tortilla chip. Unlike tacos, which are typically folded, tostadas remain flat, allowing for an artful presentation of ingredients. Their appealing crunch provides a delightful textural contrast to softer fillings like beans, cheeses, and salsas.
Beyond being a simple food item, tostadas represent a versatile and practical meal. Historically, they were a way to repurpose stale tortillas, giving them new life and a delicious purpose. Today, they are celebrated for their adaptability, making them a popular choice for quick lunches, dinners, or even appetizers.
Commonly, these crispy bases are adorned with layers of rich refried beans, savory cheeses, succulent shredded meats like shredded chicken or beef, and fresh, vibrant toppings such as crisp lettuce, diced tomatoes, creamy avocado, and zesty salsas. Making your own tostada shells is an excellent option not only for superior quality but also for convenience, especially when store availability is limited or you simply prefer the fresh taste of homemade.
Essential Ingredients for Perfect Tostada Shells
Creating your own batch of crispy tostada shells requires just a few simple ingredients, highlighting the beauty of minimal components delivering maximum flavor and texture. The quality of each ingredient plays a crucial role in the final result, so choose wisely!
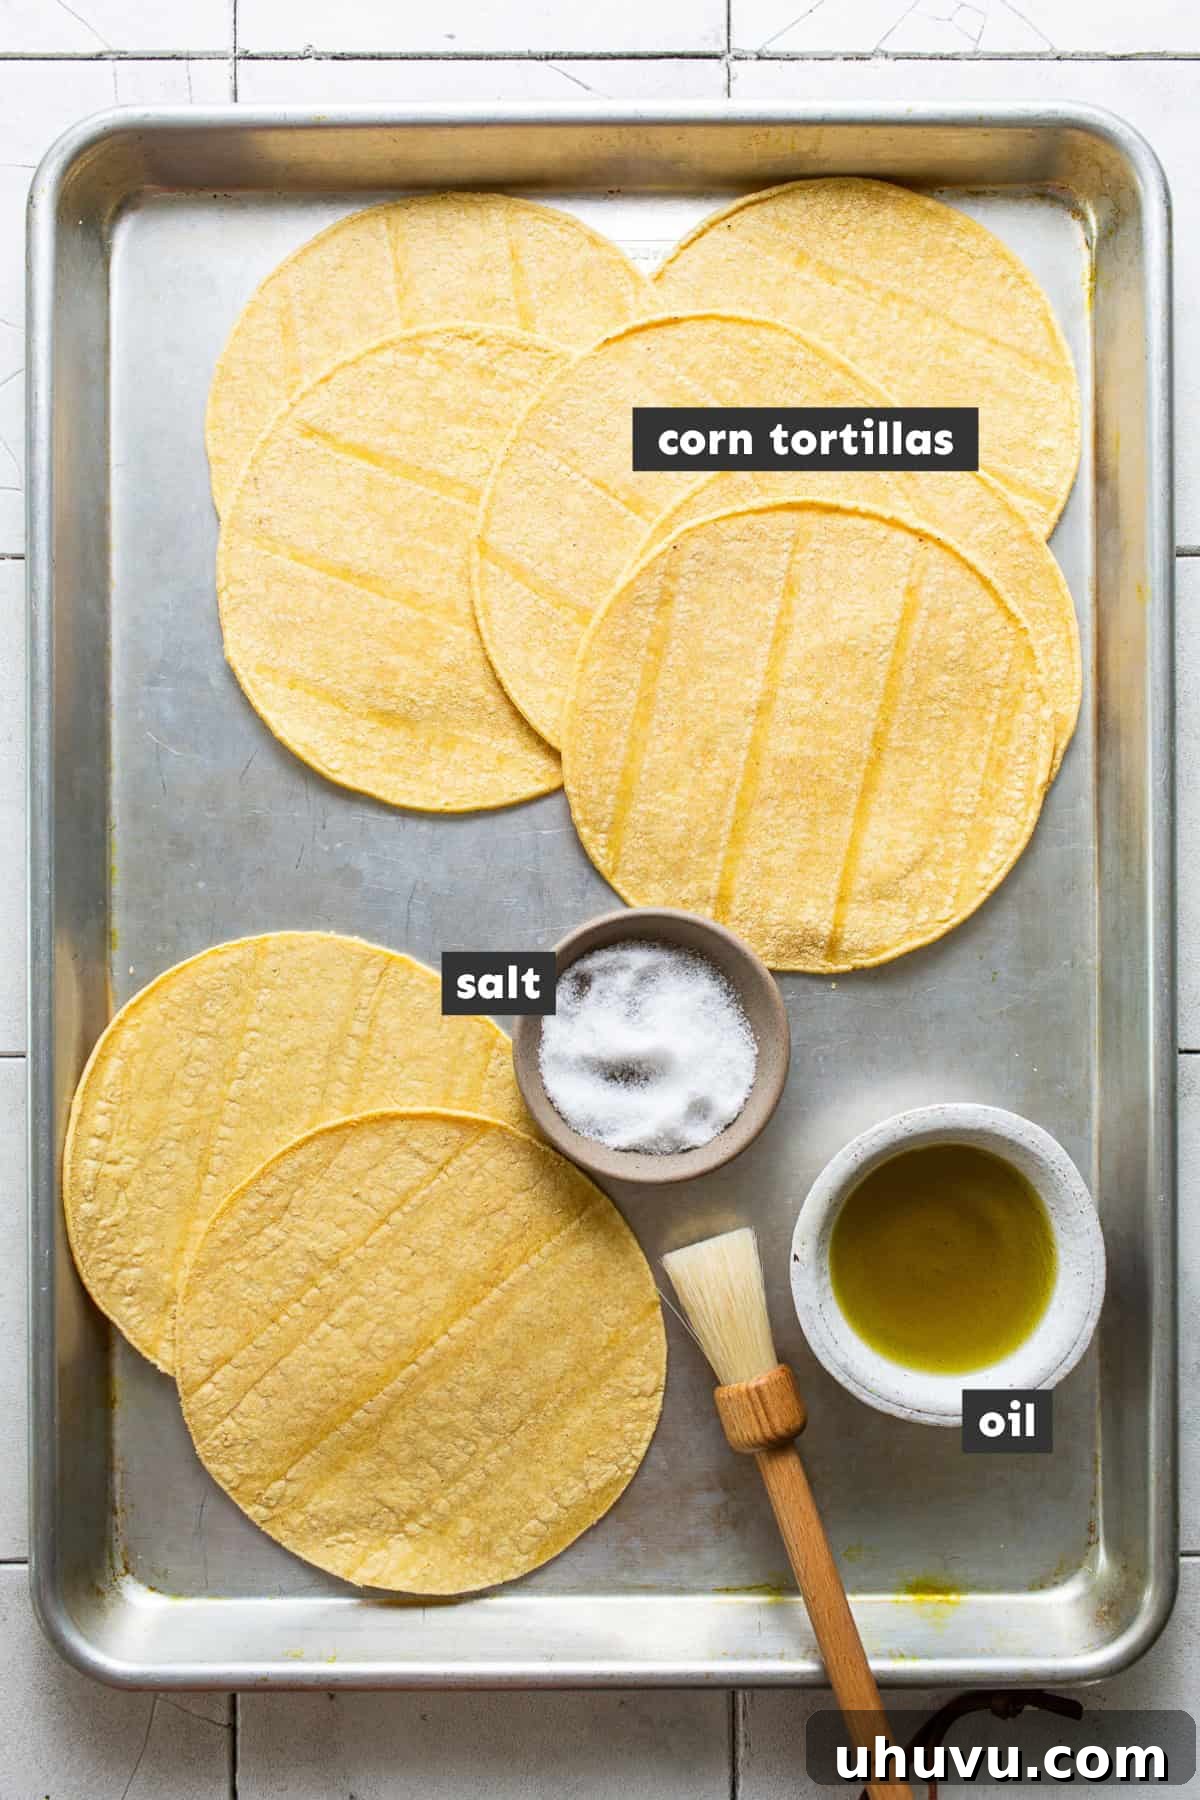
- High-Quality Corn Tortillas: This is the star of the show. The choice of tortilla significantly impacts the crispiness and structural integrity of your tostada shells. Opt for thick, good-quality corn tortillas, as their robust nature helps prevent breakage during handling and baking. While both white and yellow corn tortillas work beautifully, ensure they are not “extra-thin” varieties, which tend to become too fragile and prone to cracking. Fresh tortillas also tend to be more pliable, reducing the chances of them splitting when coated with oil.
- Oil or Cooking Spray: A light coating of fat is essential for achieving that desirable golden-brown color and irresistible crunch. Cooking spray offers a convenient and even application, often with fewer calories. However, you can certainly use your favorite liquid oil, such as canola, vegetable, olive, or avocado oil, applied with a pastry brush. Each oil imparts a subtle difference in flavor and crispiness. Olive and avocado oils offer a slightly richer taste and healthier fat profile, while neutral oils like canola or vegetable oil let the corn flavor shine. Ensure an even, but not excessive, coating on both sides for uniform crisping.
- Fine Salt: A touch of salt is crucial for enhancing the flavor of the corn and preventing your tostada shells from tasting bland. Fine salt is generally recommended because its smaller granules adhere better to the tortilla’s surface, ensuring a consistent seasoning. If you prefer a gourmet touch, a good quality sea salt or kosher salt can also be used, though you might need to adjust the quantity slightly to achieve your desired level of seasoning. The salt also contributes to the browning process, helping to create a more appealing finish.
How to Make Crispy Tostada Shells (Oven Baked Method)
Making homemade tostada shells in your oven is a straightforward process that yields consistently delicious results. Follow these simple steps to create the perfect crispy base for your next Mexican feast.
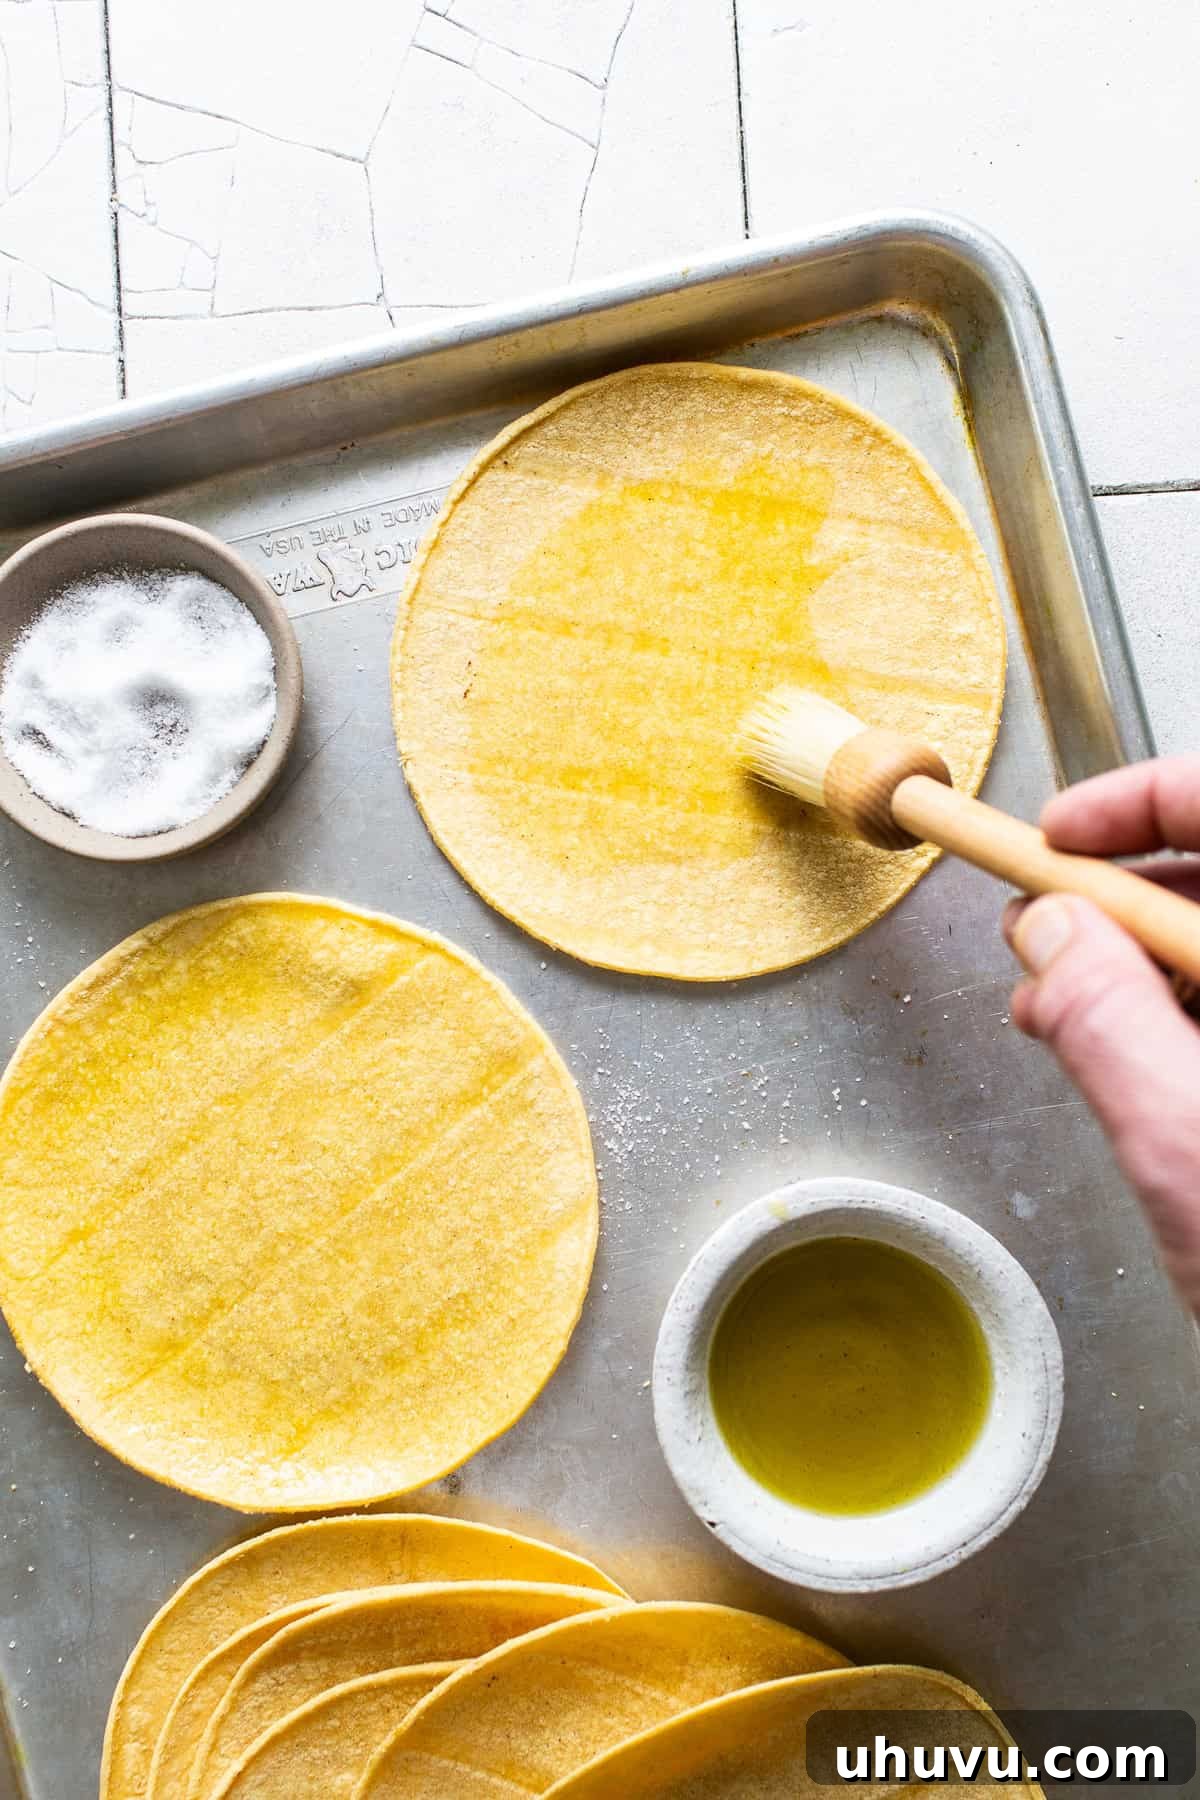
Step 1: Preheat and Prepare. Begin by preheating your oven to a steady 400°F (200°C). This ensures the tortillas cook evenly and quickly. While the oven heats, lightly grease two large baking sheets with cooking spray or brush a thin layer of your chosen oil onto them. This prevents sticking and promotes even browning. If your tortillas feel a bit stiff, you can gently warm them for 10-15 seconds in the microwave or a dry skillet to make them more pliable before oiling, reducing the chance of cracks.
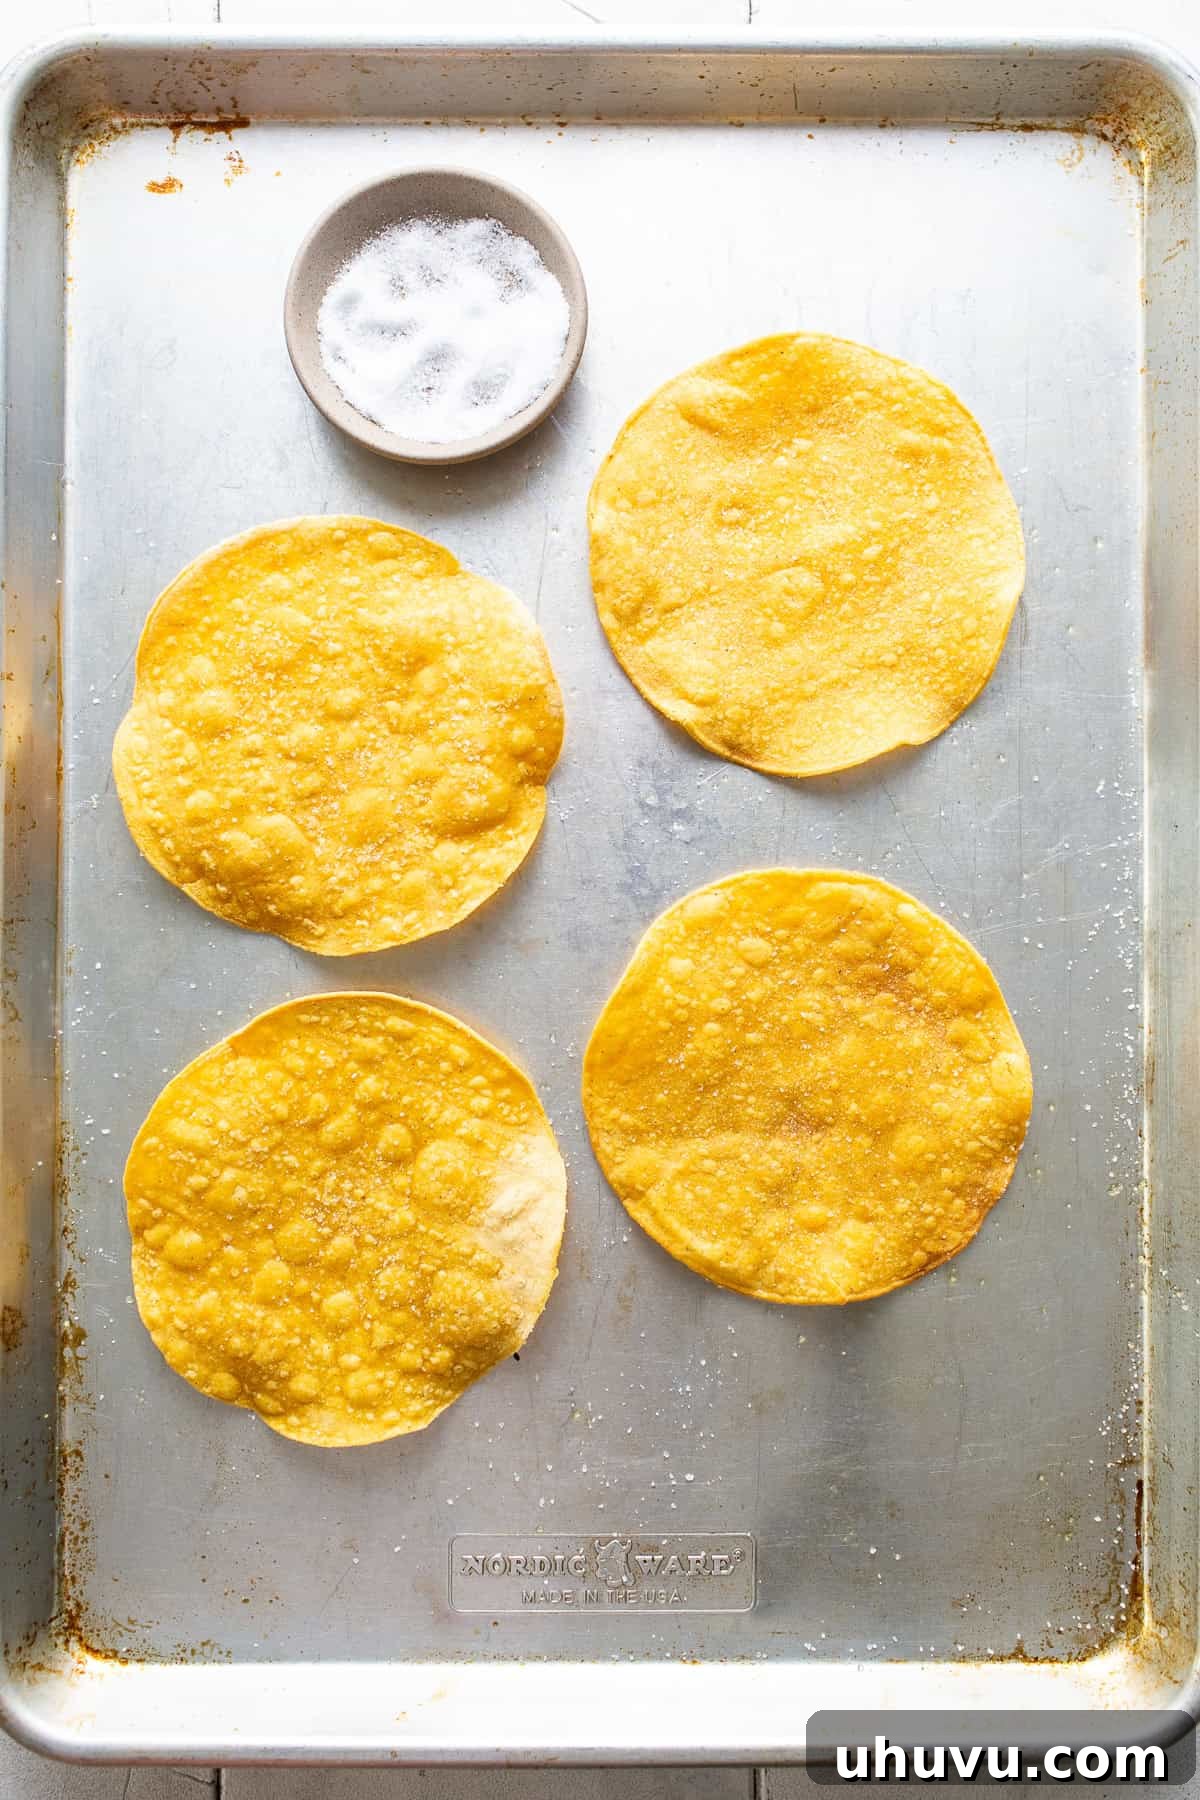
Step 2: Oil and Season the Tortillas. Lay your corn tortillas flat on a clean surface. Generously spray or lightly brush both sides of each tortilla with cooking spray or oil. Ensure the entire surface is covered for optimal crispiness. Once oiled, lightly sprinkle both sides with fine salt. Arrange the seasoned tortillas in a single layer on your prepared baking sheets, making sure they don’t overlap. Overlapping can lead to uneven cooking and soft spots.
Step 3: Bake to Golden Perfection. Place the baking sheets in the preheated oven. Bake the tortillas for 5 minutes, then carefully flip each one over using tongs or a spatula. Continue baking for an additional 4-5 minutes, or until the tortillas achieve a beautiful golden-brown color and are crispy to the touch, similar to a traditional tortilla chip. Keep a close eye on them during the final minutes, as they can go from perfectly golden to burnt very quickly.
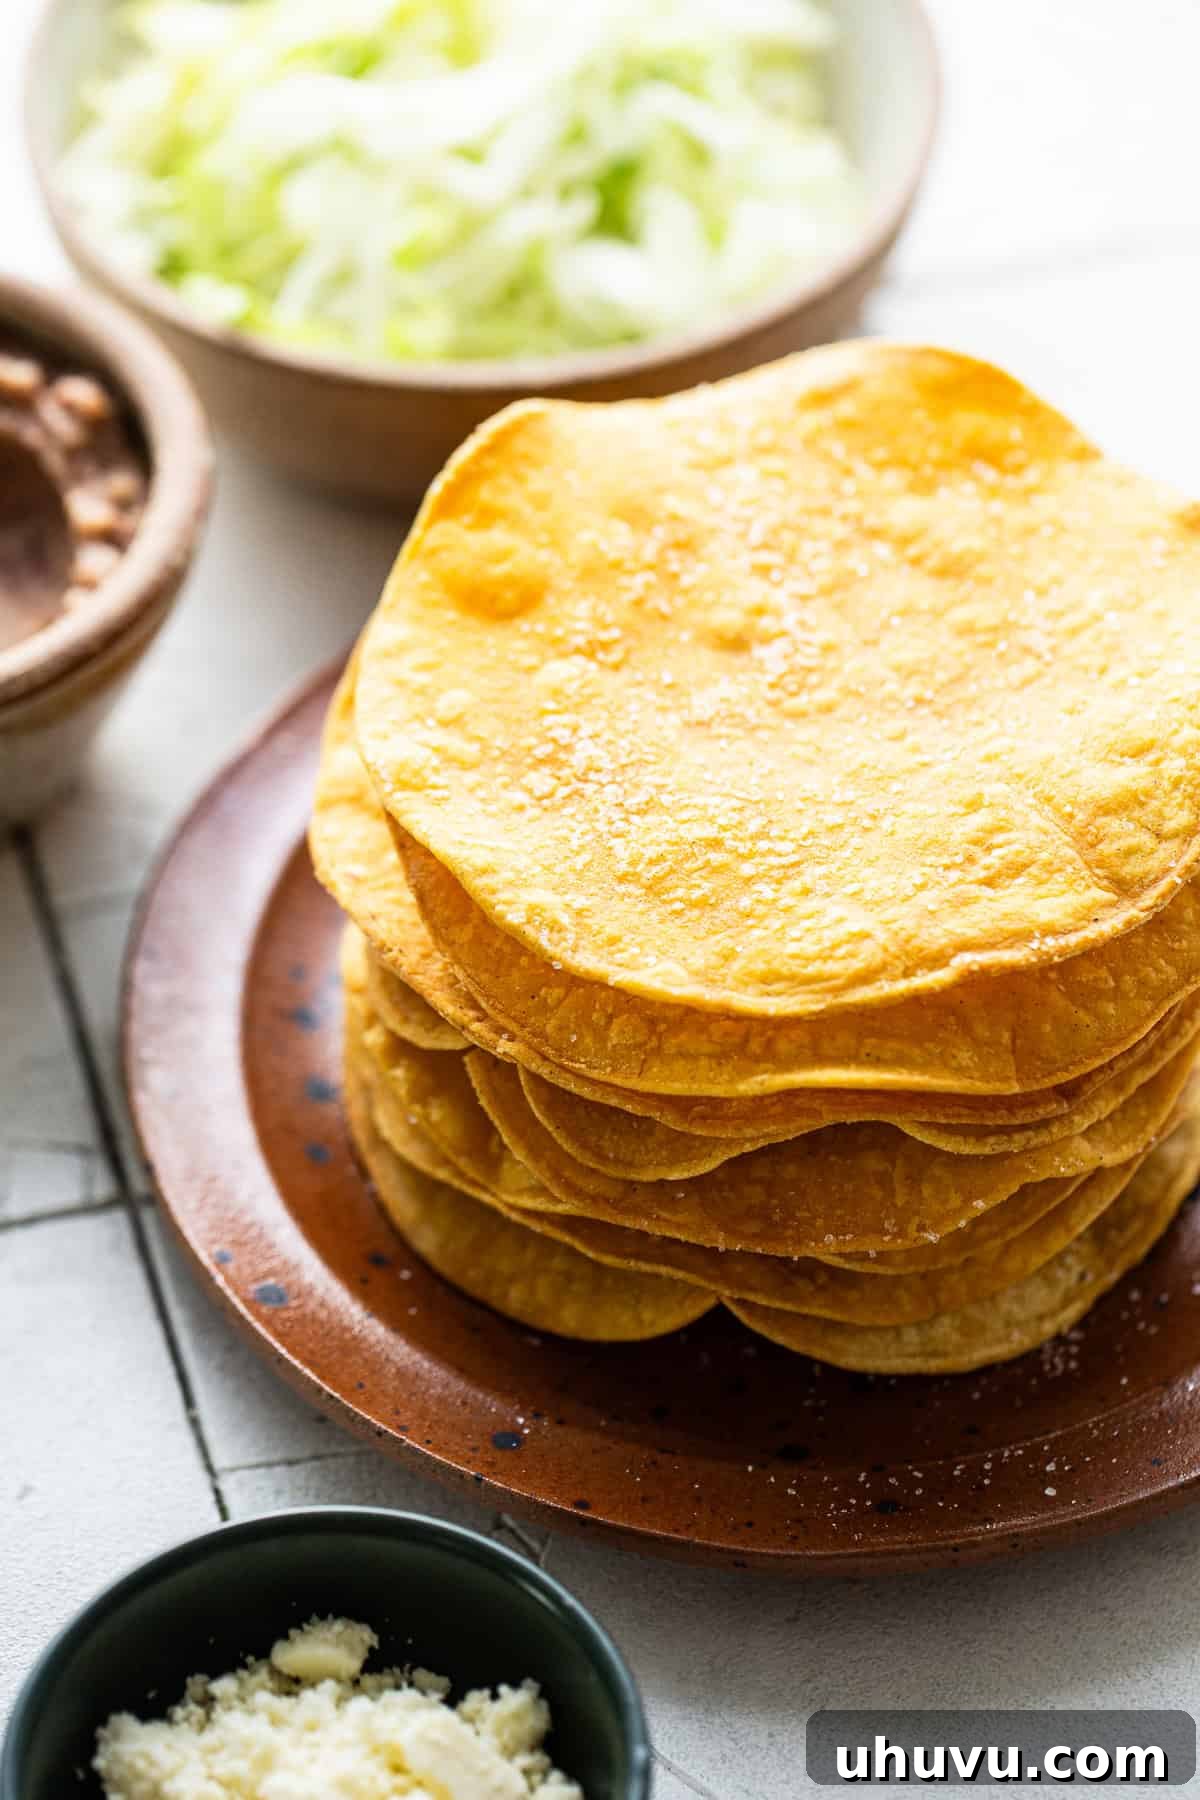
Step 4: Cool and Serve. Once baked to your desired crispness, carefully remove the tostada shells from the oven. Transfer them to a wire rack to cool slightly. Cooling on a rack allows air to circulate, preventing them from steaming and ensuring they remain extra crispy. Serve these delightful homemade tostada shells immediately with your choice of favorite toppings, or allow them to cool completely before storing them for later use.
Expert Tips for the Best Tostada Shells
Achieving the perfect homemade tostada shell is simple when you know a few tricks. These tips will help you consistently produce golden, crispy, and flavorful bases for all your Mexican culinary creations.
- Maintain a Vigilant Eye: This is perhaps the most crucial tip. Tortillas can transition from perfectly golden and crisp to scorched in a matter of seconds, especially in a hot oven or air fryer. Begin checking them around the 4-minute mark and continue to monitor closely, adjusting the cooking time as needed based on your appliance and desired level of crispness. A slightly darker golden brown usually indicates maximum crunch.
- Batch for Convenience: These homemade tostada shells are incredibly easy to prepare in larger quantities, making them ideal for meal prep or entertaining. Simply bake your desired amount, let them cool completely, and then store them properly. Having a ready supply of crispy shells means a quick and easy meal is always just minutes away.
- Explore Different Tortillas: While corn tortillas are the traditional choice and offer the best crisp texture, don’t hesitate to experiment!
- Flour Tortillas: If you prefer a slightly softer, chewier texture with a crisp edge, flour tortillas can be used. However, be aware that they will have a fluffier consistency and won’t achieve the same hard snap as corn tortillas. They also tend to puff up more.
- Different Corn Varieties: Experiment with white corn versus yellow corn tortillas, or even blue corn tortillas, for subtle flavor and visual differences. Thicker, restaurant-style corn tortillas generally produce the best results.
- Infuse with Personalized Flavor: Tostada shells are often kept simple, allowing the robust flavors of the toppings to shine. However, you can certainly customize their flavor profile to complement your meal. Here are some ideas:
- Smoky Undertones: Before baking, sprinkle the oiled tortillas with a pinch of smoked paprika or chipotle powder for a delightful smoky depth.
- Tangy Citrus Kick: A light squeeze of fresh lime juice over the tortillas before baking can add a bright, tangy citrus flavor that pairs beautifully with many Mexican dishes.
- Garlic & Onion: A dusting of garlic powder and onion powder can add an aromatic base to your shells.
- Spicy Edge: A tiny sprinkle of cayenne pepper or chili powder can give your tostadas a subtle heat from the very first bite.
- Ensure Even Coating: Whether using cooking spray or a pastry brush, make sure each tortilla is evenly coated with a thin layer of oil. This uniform coating is key to preventing soggy spots and achieving a consistent, golden crispness across the entire surface.
- Don’t Overcrowd the Baking Sheet: Give your tortillas space! Arrange them in a single layer without overlapping on the baking sheet. Overcrowding inhibits air circulation, leading to uneven cooking and potentially less crispy results. If necessary, use multiple baking sheets and bake in batches.
- Cool on a Wire Rack: For maximum crispiness, transfer the hot tostada shells from the baking sheet to a wire cooling rack immediately after removing them from the oven. This allows air to circulate around them, preventing steam from accumulating and making them soft.
Creative Serving Suggestions for Your Homemade Tostadas
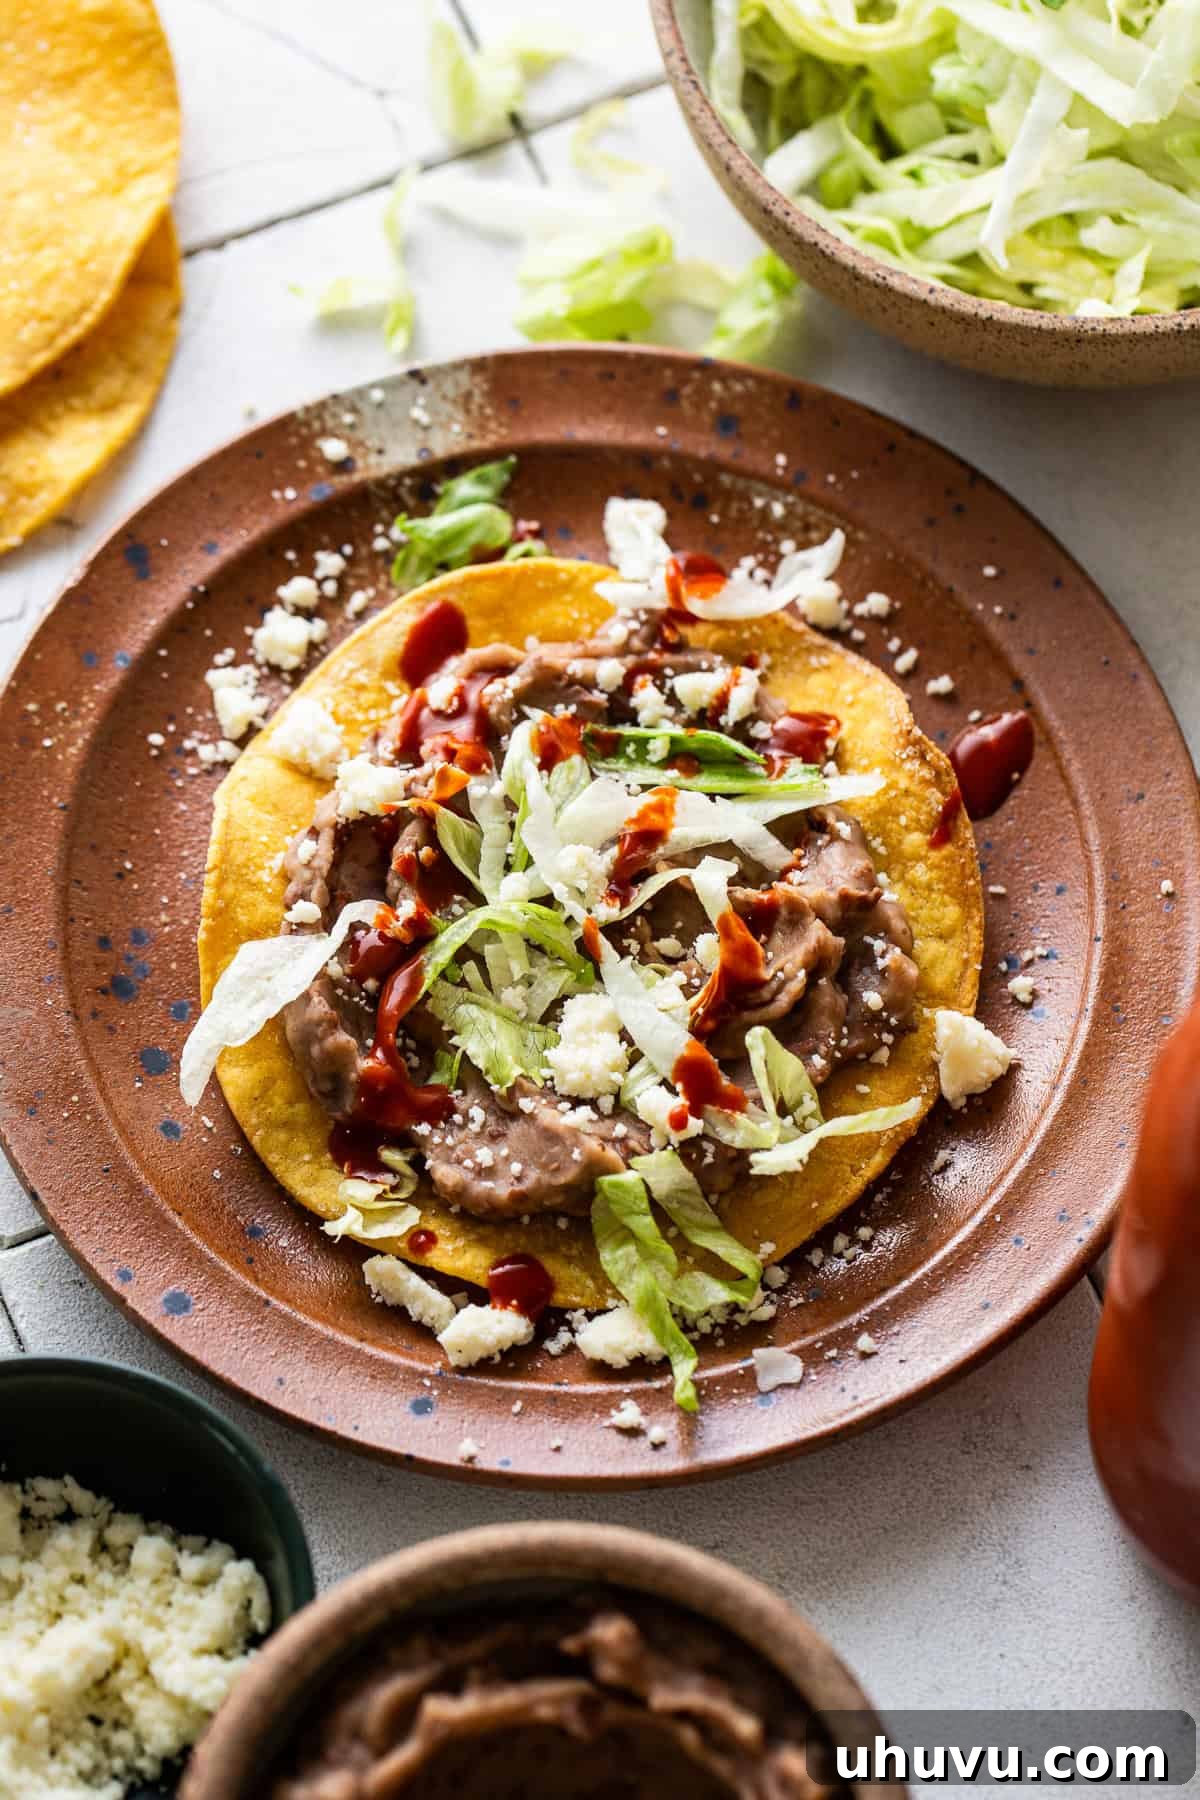
Once your homemade tostada shells are perfectly crispy, the real fun begins: assembly! Tostadas are incredibly versatile, allowing you to layer a variety of delicious toppings to create a meal that suits any taste or occasion. Here’s a guide to building a sensational tostada, along with plenty of topping ideas:
Building Your Perfect Tostada:
Start with a base layer, typically something creamy like beans or a spread, to act as a “glue.” Then add your protein, followed by fresh vegetables, salsas, and finally, a sprinkle of cheese or a drizzle of crema. Don’t be afraid to mix and match!
- Beans (The Essential Base): A creamy bean layer is classic and provides a wonderful foundation.
- Authentic Refried Beans: The quintessential choice, offering a rich and savory layer.
- Seasoned Black Beans: For a lighter, flavorful option.
- Hearty Pinto Beans: Cooked to perfection, they add a rustic touch.
- Mashed Avocado or Guacamole: A creamy, fresh alternative for a plant-based base.
- Proteins (Savory Centerpiece): Choose from a wide array of meats and seafood to make your tostada a hearty meal.
- Zesty Chicken Tinga: Shredded chicken simmered in a smoky, spicy tomato-chipotle sauce.
- Crispy Pork Carnitas: Slow-cooked, tender pork with crispy edges.
- Rich Birria: Succulent beef stew, perfect for a flavorful topping.
- Tender Barbacoa: Slow-cooked, seasoned beef that melts in your mouth.
- Flavorful Carne Asada: Grilled and thinly sliced steak, bursting with marinade.
- Homestyle Picadillo: Ground beef with potatoes and vegetables, a comforting classic.
- Tangy Salsa Verde Chicken: Shredded chicken cooked in a vibrant green salsa.
- Spicy Chorizo: Crumbled and cooked, adding a bold, peppery kick.
- Fresh Ceviche: Marinated seafood (fish, shrimp) for a light, refreshing option.
- Zesty Aguachile: Shrimp bathed in a vibrant lime-chili liquid, a spicy and tangy choice.
- Vegetarian Options (Fresh & Flavorful): Expand your tostada horizons with these delicious plant-based ideas.
- Savory Sofritas: Spiced, crumbled tofu for a hearty vegetarian protein.
- Fresh Ensalada de Nopales: Cactus salad, offering a unique, slightly tangy flavor.
- Spicy Roasted Cauliflower: Tender florets with a smoky, spicy kick.
- Nopales con Huevo: Sautéed cactus with scrambled eggs, a hearty and authentic choice.
- Sautéed Mushrooms and Onions: Earthy and savory, great for adding depth.
- Salsas (The Flavor Boost): A good salsa ties all the flavors together.
- Vibrant Salsa Verde: Tangy and bright, perfect for cutting through richness.
- Nutty Salsa Macha: A flavorful oil-based chili salsa with a unique texture.
- Fresh Black Bean and Corn Salsa: Sweet, savory, and with a delightful crunch.
- Classic Salsa Mexicana (Pico de Gallo): Simple, fresh, and bursting with tomato, onion, and cilantro.
- Avocado Salsa: Creamy and mild, a great contrast to spicy toppings.
- Other Classic Toppings (The Finishing Touches): These additions bring texture, richness, and freshness.
- Shredded Lettuce: Adds a crisp, refreshing element.
- Diced Tomatoes: For juicy freshness and a pop of color.
- Shredded Cheese: Monterey Jack, cheddar, or a Mexican blend for melty goodness.
- Crumbled Queso Fresco or Cotija Cheese: Salty, crumbly cheeses that add authentic flavor.
- Cool Mexican Crema or Sour Cream: A dollop adds a creamy, tangy counterpoint.
- Pickled Red Onions: For a bright, acidic tang and beautiful color.
- Cilantro: Freshly chopped for aromatic herbaceousness.
- Radishes: Thinly sliced for a peppery crunch.
Quick and Easy Air Fryer Tostada Shells
For those times when you need just one or two tostada shells, or simply want an even quicker cooking method without heating up your entire oven, the air fryer is your best friend. It crisps tortillas beautifully and efficiently. Here’s how to make perfectly golden and crunchy tostada shells using your air fryer:
- Preparation: Lightly spray both sides of 1-2 corn tortillas with cooking spray or brush with a thin layer of oil. Season them lightly with salt, just as you would for the oven method.
- Air Frying: Place the prepared tortillas in the air fryer basket in a single layer. To prevent the lightweight tortillas from flying around and cooking unevenly due to the air circulation, place a small, heat-safe ramekin dish, a sturdy metal cookie cutter, or even a coffee mug on top of them. This acts as a weight to keep them flat and ensures even crisping.
- Cook Time: Air fry at 390°F (199°C) for approximately 3-4 minutes. Halfway through the cooking time (around the 1.5 to 2-minute mark), carefully remove the ramekin, flip the tortillas, and reposition the ramekin to ensure the parts that were underneath are also exposed to the hot air. Continue air frying until they are golden brown and crispy.
- Important Note on Air Fryer Models: Keep in mind that air fryer models and brands can vary significantly in their cooking power and airflow. If your air fryer has a gentler airflow, you might not need to use a ramekin dish to hold the tortillas in place. Always monitor your tostadas closely, especially during your first attempt with a new recipe or appliance, as cooking times may need to be adjusted accordingly. They can go from perfect to overcooked very quickly!
Storing and Reheating Homemade Tostada Shells
One of the great advantages of making your own tostada shells is the ability to prepare them in advance. Proper storage is key to maintaining their crisp texture and freshness for future meals.
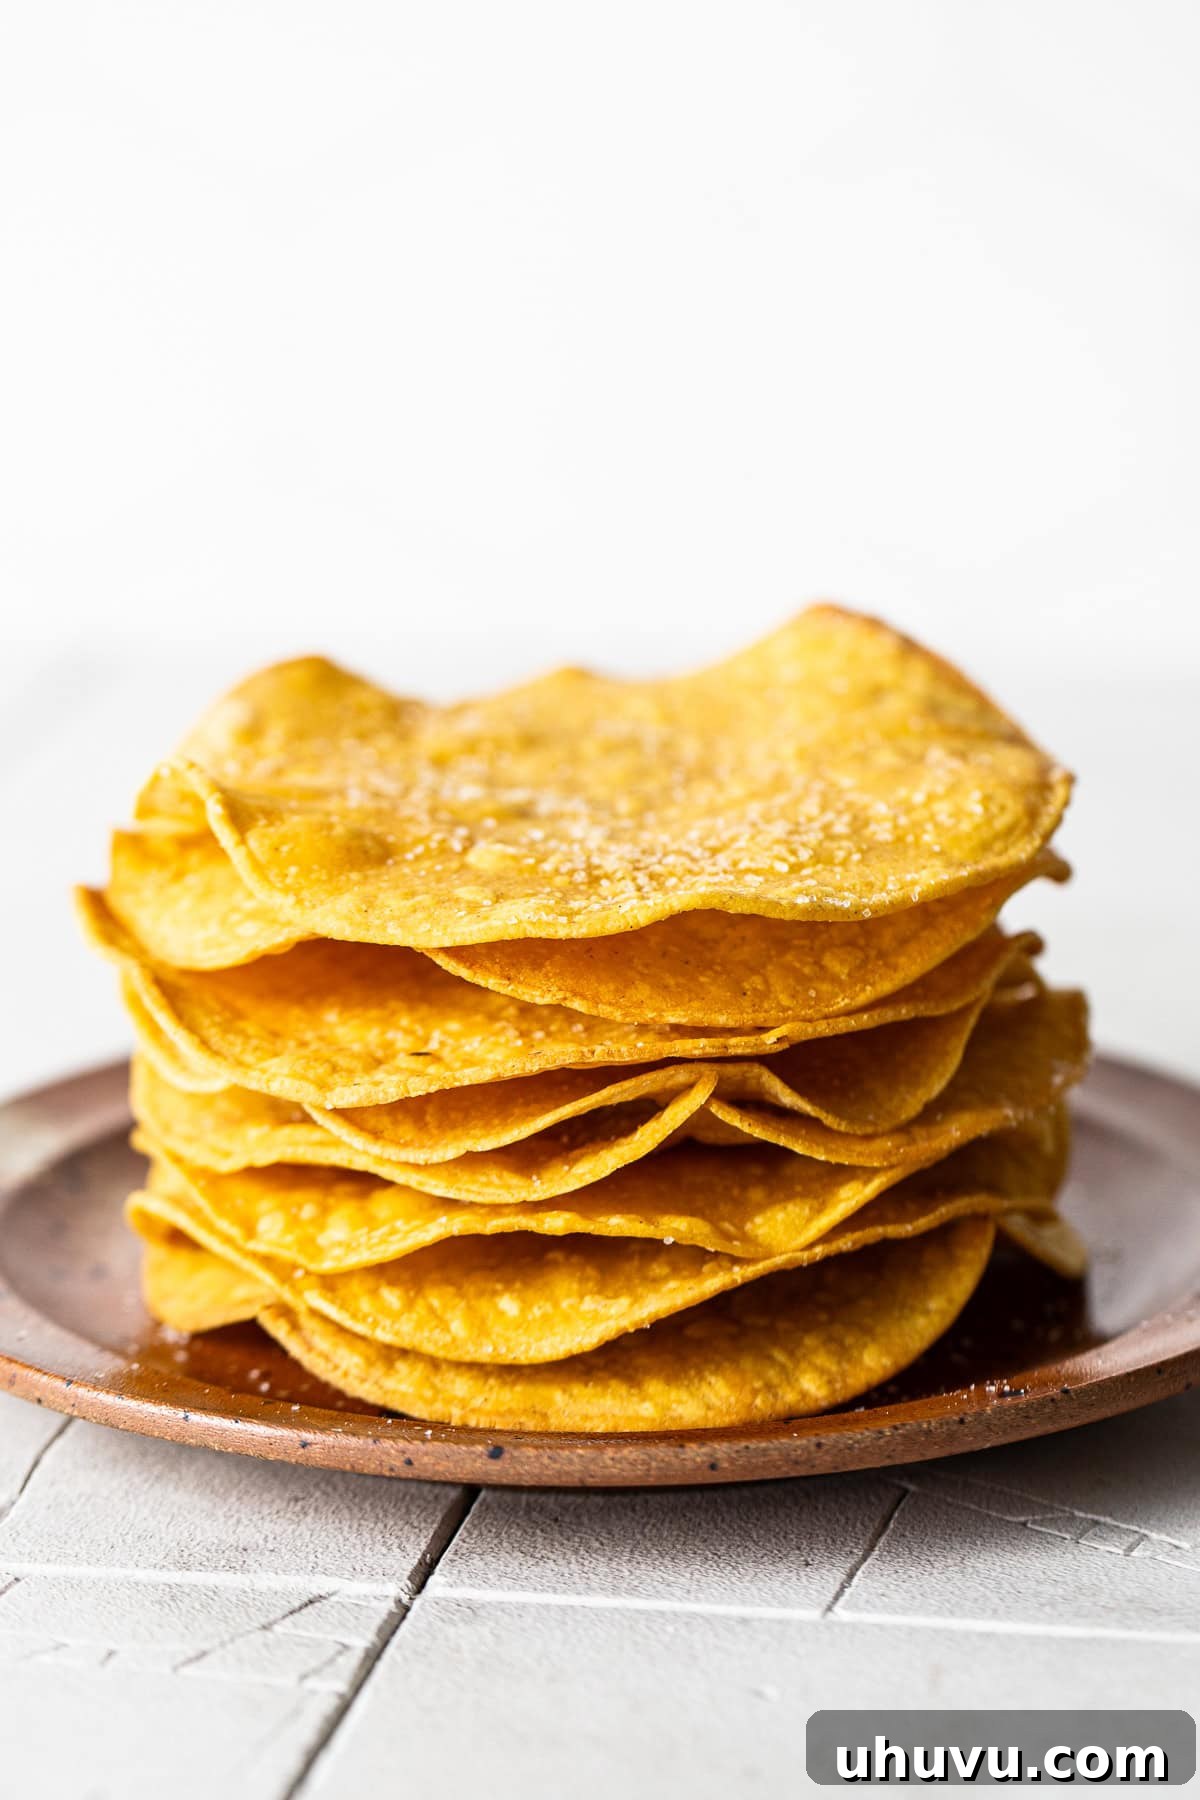
- Storage: Once your homemade tostada shells have cooled completely to room temperature, stack them carefully to prevent breakage. Store them in an airtight container or a large resealable bag. The key is to protect them from moisture and humidity, which can quickly make them lose their crunch. Keep the container in a cool, dry place, such as your pantry or a cupboard. Avoid refrigerating, as this can introduce moisture and soften them.
- Shelf Life: When stored correctly, homemade tostada shells should remain fresh and crispy for about 1 to 2 weeks. This makes them a fantastic make-ahead component for quick weeknight dinners or impromptu gatherings.
- Reheating for Extra Crunch: If your stored tostada shells have lost a bit of their original crispness, or if you simply prefer them piping hot, they are easy to revive. Simply reheat them in a preheated oven at 350°F (175°C) for 3-5 minutes, or in an air fryer at 350°F (175°C) for 1-2 minutes. Watch them closely to prevent burning. They will quickly regain their satisfying crunch, making them feel freshly made.
Explore More Delicious Mexican Recipes
If you loved making these homemade tostada shells, you’re sure to enjoy diving into more authentic Mexican flavors. Here are some other essential recipes to expand your culinary repertoire:
- Homemade Corn Tortillas: The foundation of so many Mexican dishes, fresh and warm.
- Authentic Flour Tortillas: Soft, pliable, and perfect for burritos and quesadillas.
- Homemade Queso Fresco: A fresh, mild, and crumbly cheese that’s easy to make.
We hope you’ve enjoyed creating these crispy tostada shells! Your feedback is invaluable. If you tried this Tostada Shells Recipe or any other recipe on our site, don’t forget to rate the recipe and share your experience in the comments below! We love hearing about your cooking adventures!
Tostada Shells
Isabel Orozco-Moore
5 minutes
10 minutes
15 minutes
8
tostada shells
Ingredients
- Olive oil or cooking spray
-
8
corn tortillas -
Fine salt,
to taste
Instructions
-
Preheat the oven to 400°F (200°C). Spray two large baking sheets with cooking spray or brush lightly with oil.
-
Lightly brush or spray both sides of the corn tortillas with olive oil or cooking spray and arrange them in a single layer on the prepared baking sheets. Lightly season with fine salt.
-
Bake for 5 minutes, then carefully flip them over. Continue baking for an additional 4-5 minutes, or until the tortillas are golden brown and crispy like a tortilla chip. Keep a close eye on them to prevent burning.
-
Remove from the oven and transfer to a wire rack to cool slightly. Serve immediately with your favorite toppings such as refried beans, shredded cheese, chicken tinga, carnitas, or seasoned ground beef.
Notes
- Air fryer instructions: To use an air fryer, lightly oil and salt 1-2 corn tortillas. Place them in the air fryer basket and put a small ramekin dish (or other heat-safe dish, like a coffee mug) on top to keep them in place. Air fry at 390℉ (199°C) for 3-4 minutes. Halfway through, adjust the tortilla so that the parts underneath the ramekins are also air-fried and crispy.
- Keep a close eye. Tostadas can go from undercooked to burnt very quickly! So keep a close eye on them while in the oven or air fryer, as cooking times can vary by appliance.
- Batch it. These tostada shells are super easy to batch. Just make your desired amount and then store them in an airtight container in a cool, dry place for 1-2 weeks.
- Use different tortillas. Tostada shells are traditionally made with corn tortillas, but you can use flour tortillas if you prefer a less crispy, fluffier texture.
Nutrition
Calories: 57kcal |
Carbohydrates: 12g |
Protein: 1g |
Fat: 1g |
Saturated Fat: 0.1g |
Polyunsaturated Fat: 0.4g |
Monounsaturated Fat: 0.2g |
Sodium: 12mg |
Potassium: 48mg |
Fiber: 2g |
Sugar: 0.2g |
Vitamin A: 1IU |
Calcium: 21mg |
Iron: 0.3mg
Nutrition information is automatically calculated, so should only be used as an approximation.
This post was originally published in February 2019 and has been updated with new photos and more helpful tips to enhance your cooking experience.
Photography by Ashley McLaughlin.