
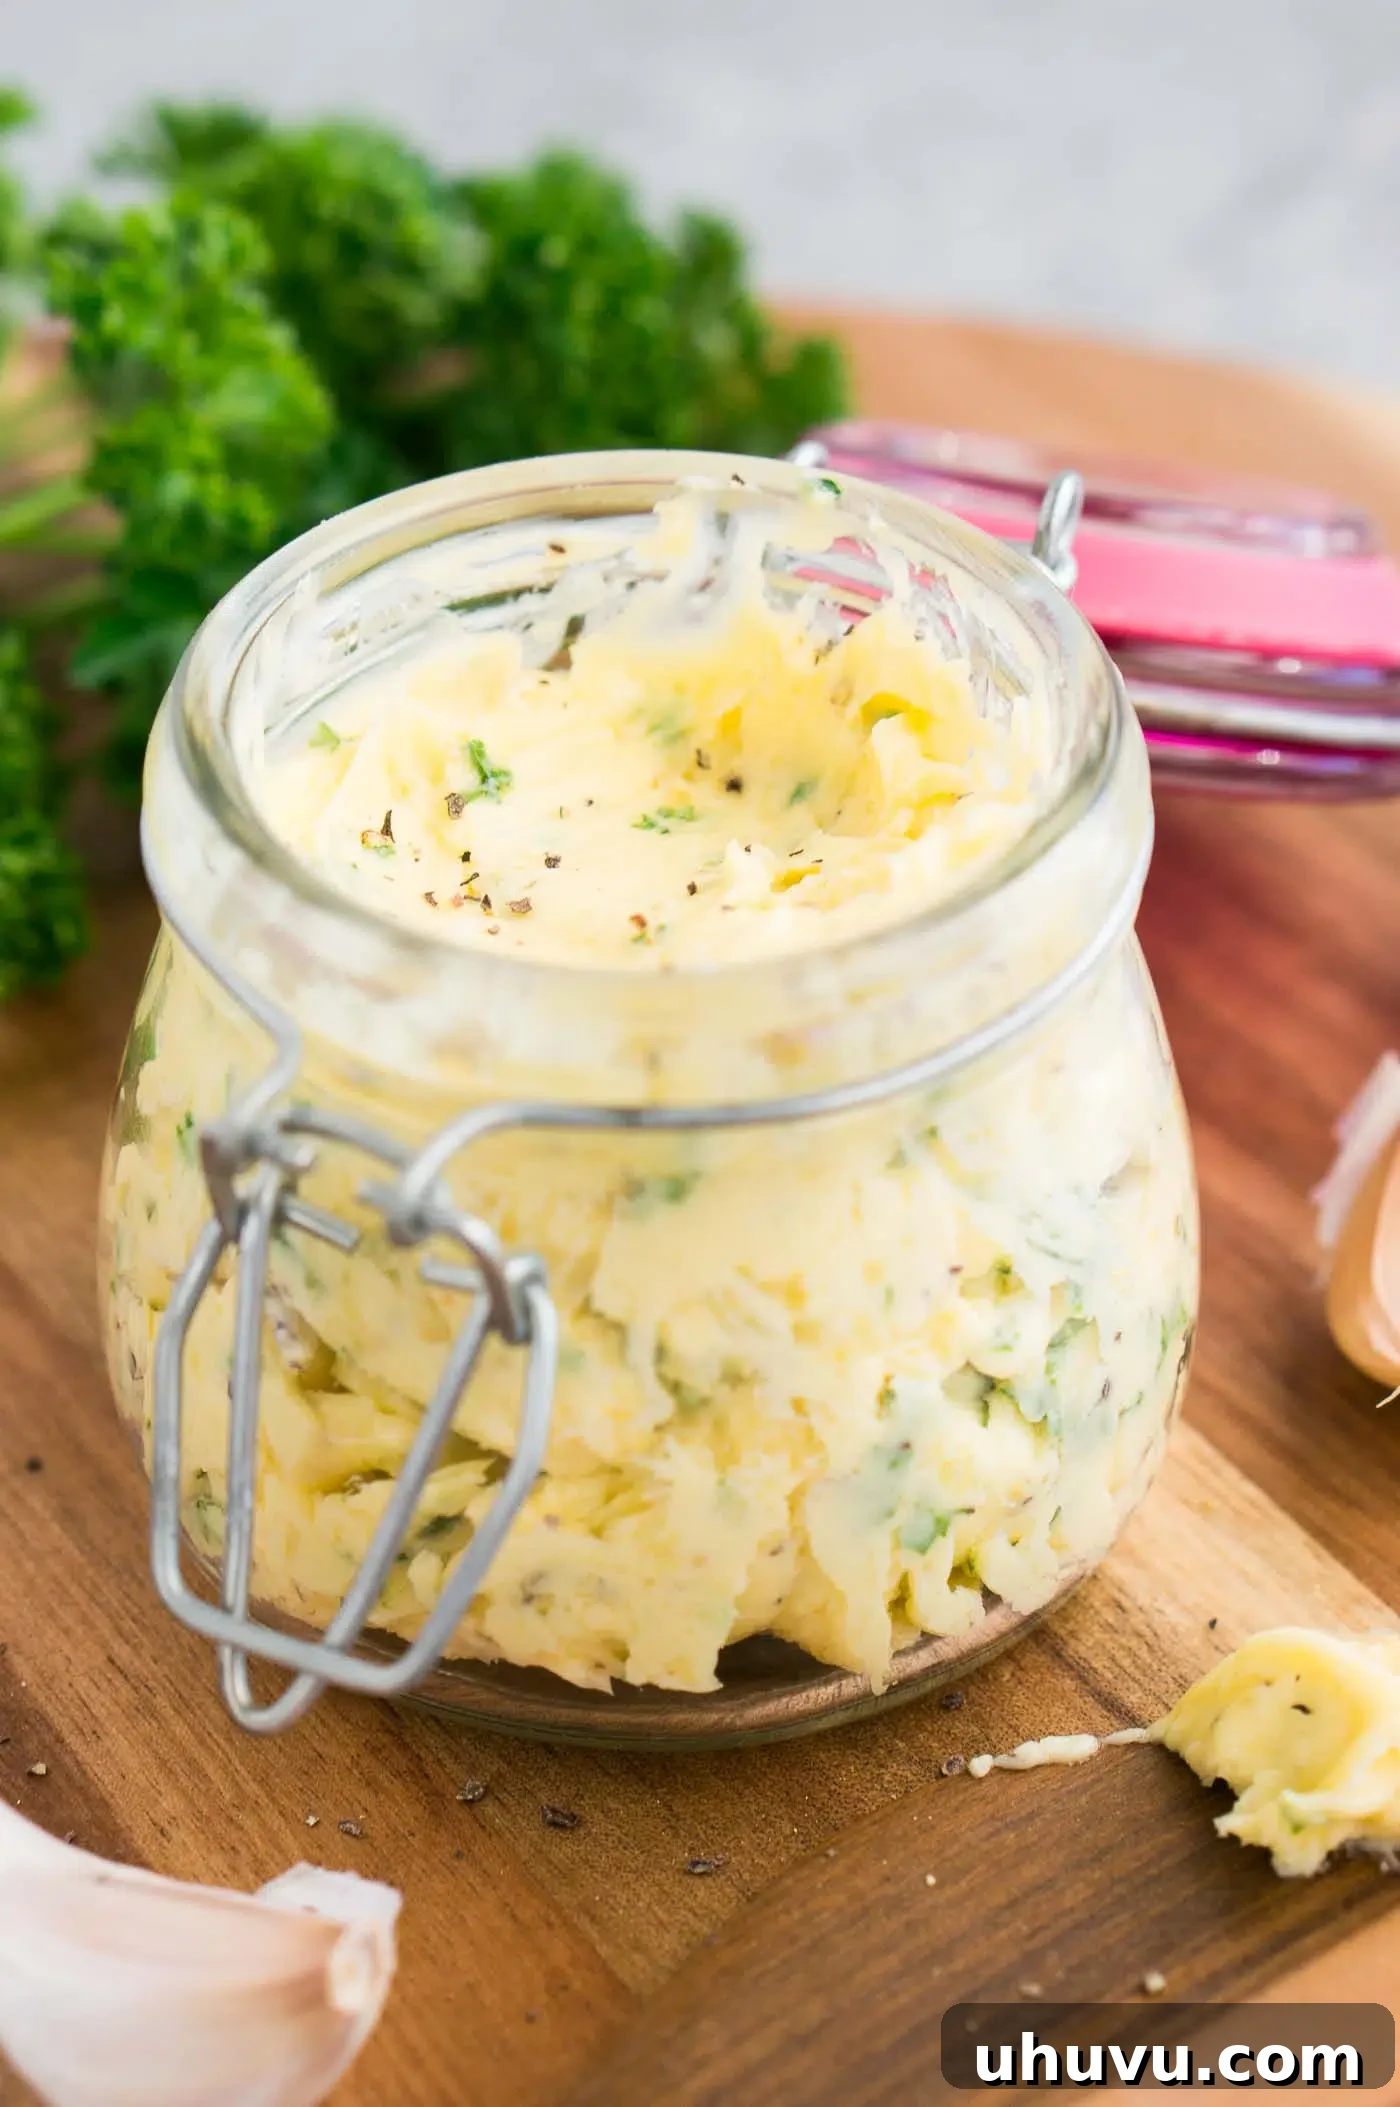
Homemade Garlic Butter: Your Secret Weapon for Flavorful Meals
Unlock a world of flavor with this incredibly simple yet profoundly delicious homemade garlic butter recipe. Crafted with just a few fresh ingredients and taking mere minutes to prepare, this compound butter is a game-changer for any home cook. Imagine the rich aroma of garlic infused with fresh parsley, ready to transform your everyday meals into culinary delights.
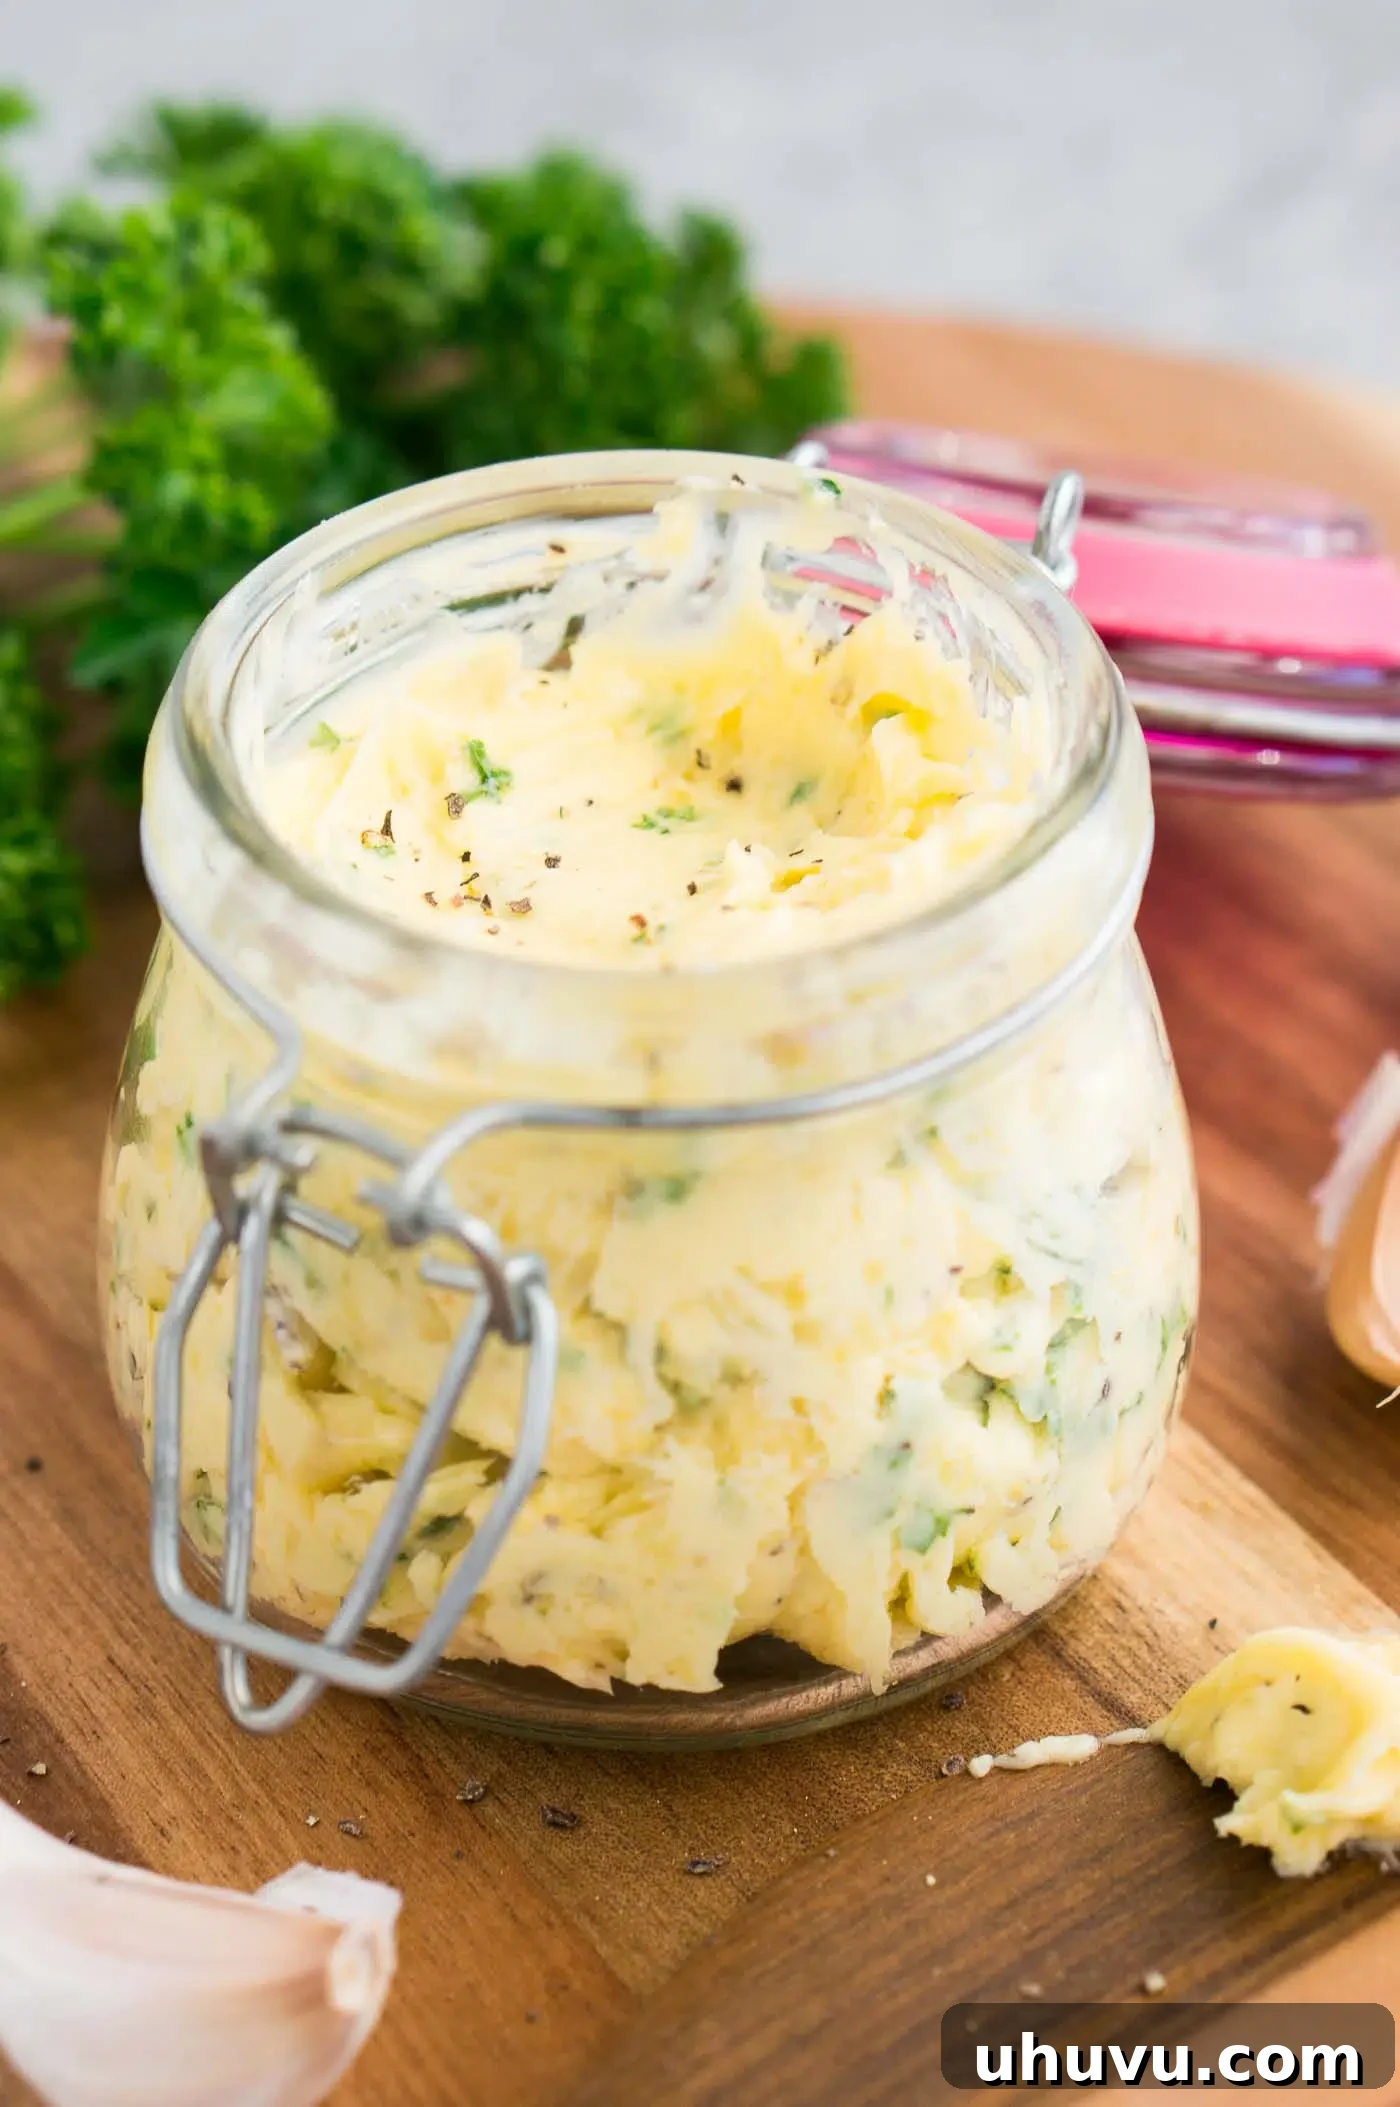
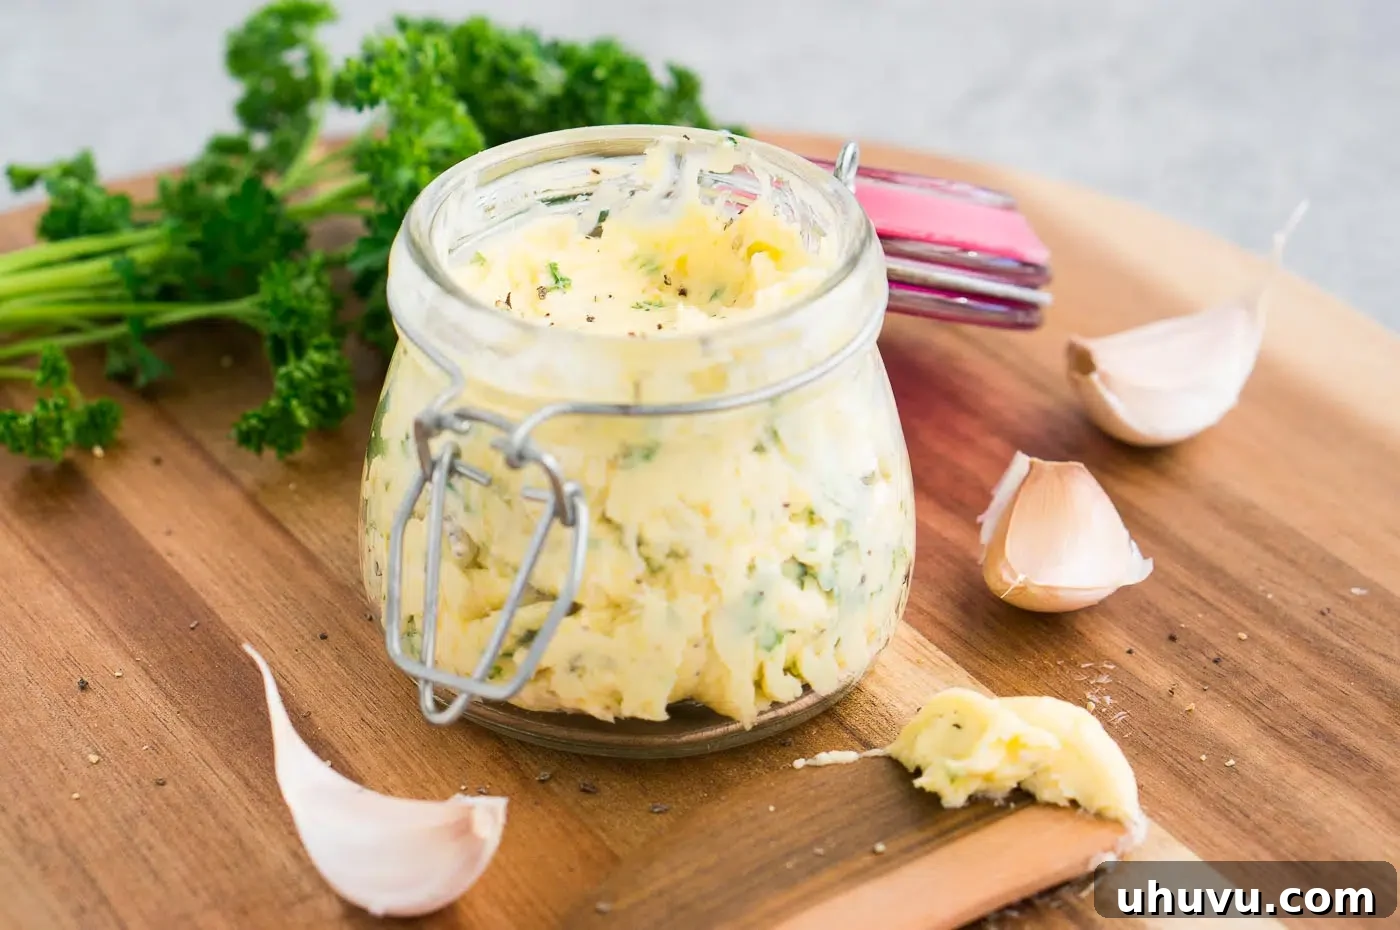
If you’re constantly seeking effortless ways to elevate your cooking, this garlic butter recipe is an absolute must-have in your kitchen repertoire. Not only is it ready to enhance your dishes in mere minutes, but it’s also incredibly simple to prepare in larger batches, ensuring you always have this versatile flavor booster on hand. Say goodbye to bland meals and hello to a burst of savory goodness with every bite.
Perfectly seasoned and infinitely adaptable, the uses for this basic yet brilliant compound butter are virtually endless. Whether you’re looking for a delightful spread for crusty bread, a rich seasoning for succulent chicken, or an indulgent finish for grilled steaks, this recipe delivers consistent, mouth-watering results every time. It’s more than just an ingredient; it’s a culinary staple that brings gourmet flair to even the simplest dishes.
For those who love to get hands-on in the kitchen, be sure to explore my comprehensive guide on How to Make Homemade Butter. Pairing your freshly made butter with this garlic herb recipe will truly take your flavor experience to the next level!
Why You’ll Love Making This Homemade Garlic Butter
This easy garlic butter recipe isn’t just about combining ingredients; it’s about unlocking a world of convenience and flavor for your home cooking. Here’s why this recipe will quickly become a favorite:
- Effortless Preparation: Forget complicated cooking techniques. This compound butter comes together with minimal effort. Simply gather your ingredients, mix them in a bowl, and it’s ready to use. It’s perfect for busy weeknights or when you need a quick flavor boost without the fuss.
- Minimal, Fresh Ingredients: You don’t need a pantry full of exotic spices. This recipe relies on just three main ingredients – butter, garlic, and fresh parsley – complemented by a touch of salt and pepper. The simplicity of the components allows their natural flavors to shine through beautifully.
- Exceptional Versatility: The beauty of this garlic butter lies in its adaptability. It’s not just for garlic bread! Use it to elevate proteins, vegetables, pastas, and so much more. It’s a foundational flavor profile that complements a wide array of cuisines and dishes.
- Convenient Make-Ahead Option: This garlic butter is fantastic for immediate use, but its real charm is its make-ahead potential. Prepare a larger batch, store it properly, and you’ll have a secret ingredient ready whenever inspiration strikes. It saves time and mental energy during meal prep.
- Freezer-Friendly: Extend the shelf life even further by freezing portions of this flavorful butter. This makes it ideal for meal planning and ensures you’re never without a burst of garlic-herb goodness, even months down the line.
- Cost-Effective: Making your own garlic butter at home is often more economical than buying pre-made flavored butters. You control the quality of ingredients and can customize the flavors to your preference, all while saving money.
- Boosts Everyday Meals: From a simple piece of toast to a sophisticated steak dinner, this garlic butter instantly adds a gourmet touch, making even the most basic meals feel special and incredibly delicious.
Essential Ingredients for Perfect Garlic Butter
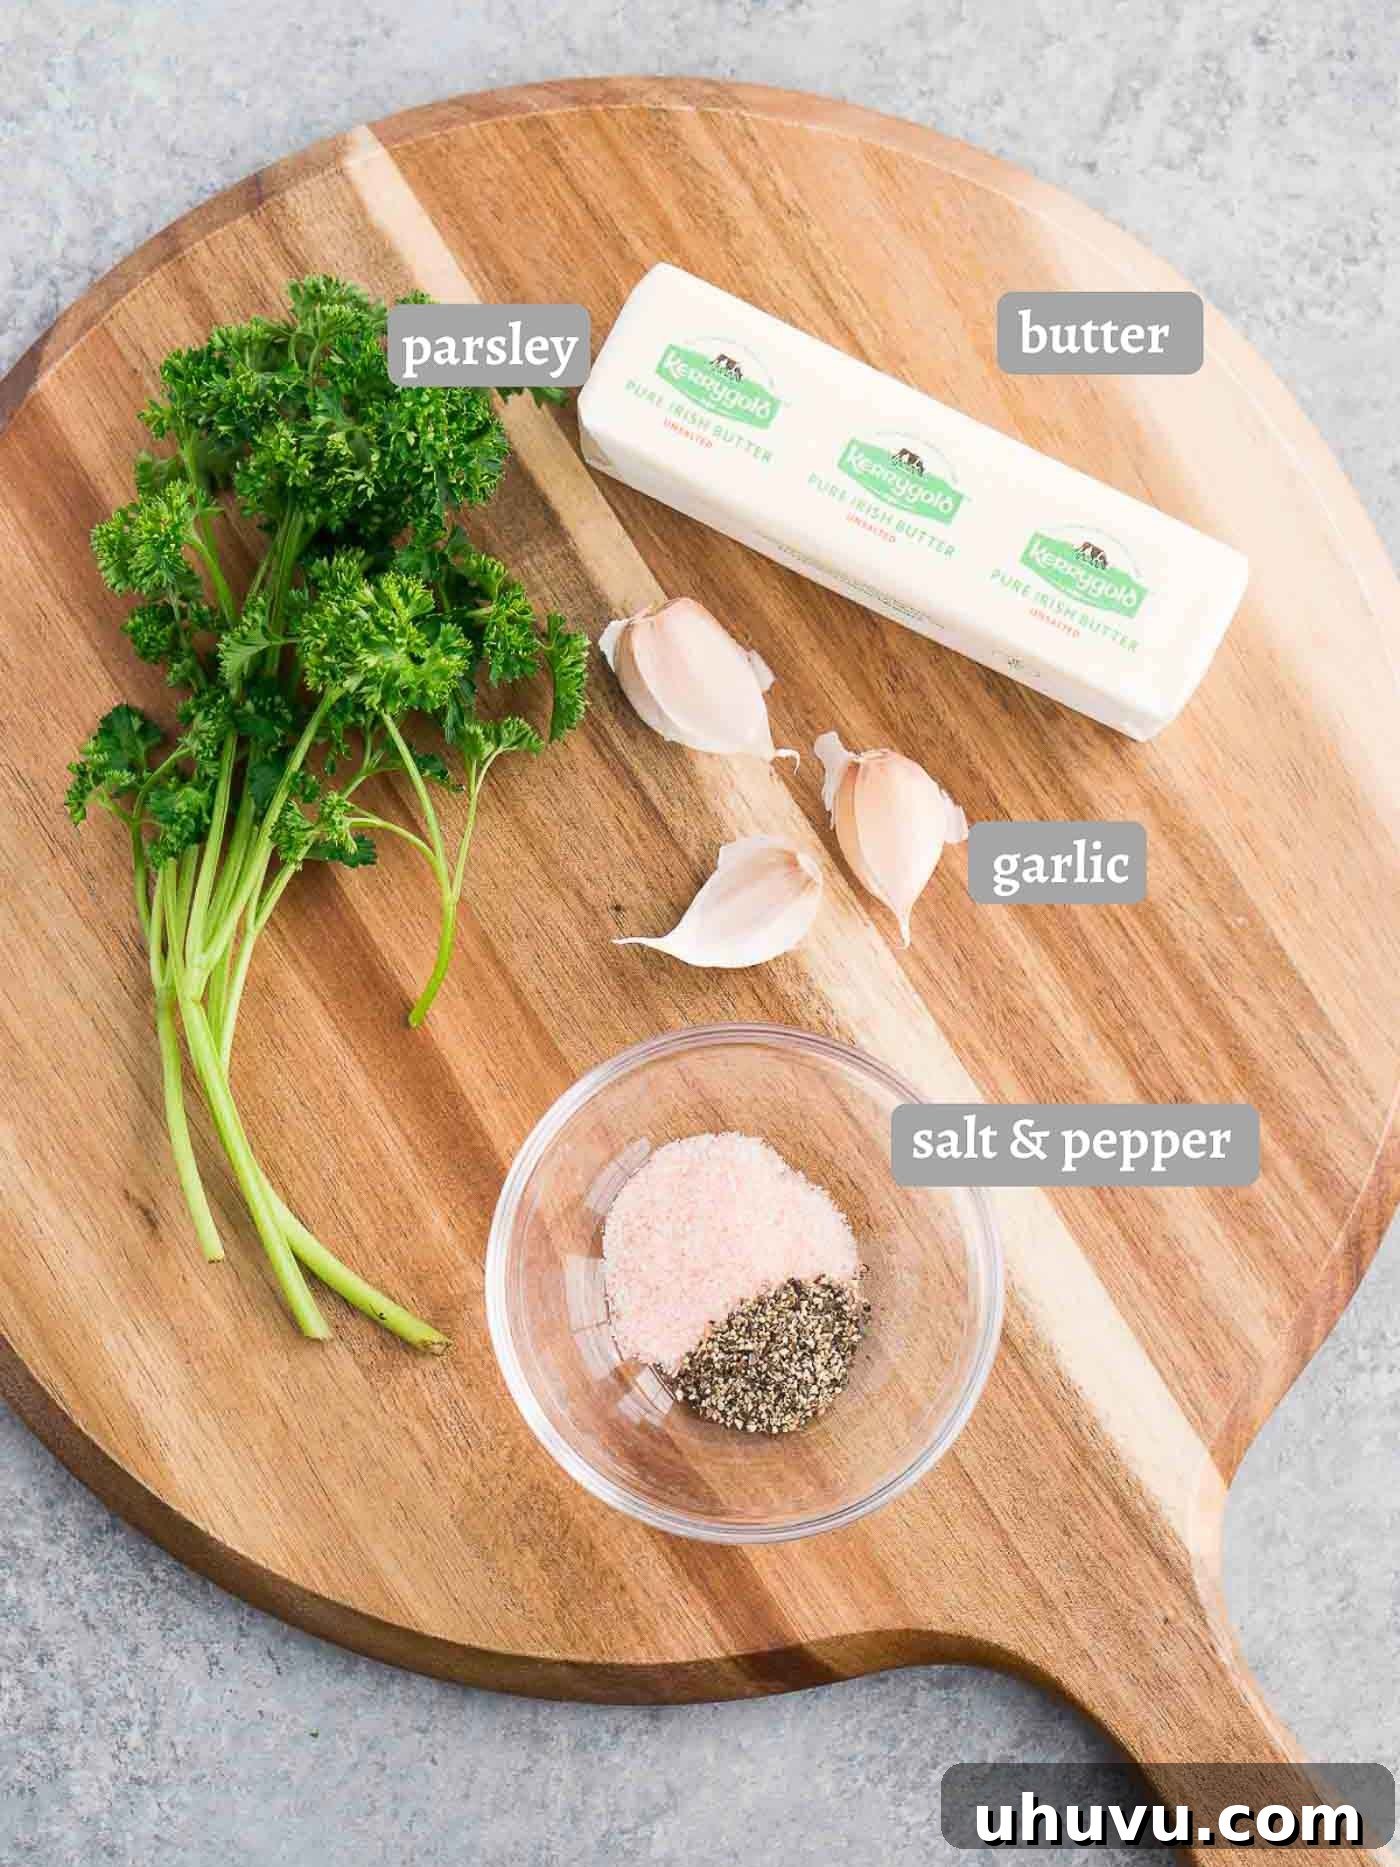
Crafting exceptional garlic butter begins with selecting fresh, quality ingredients. Here’s what you’ll need to make this simple yet impactful recipe:
- Butter: This recipe calls for unsalted butter. Using unsalted butter allows you complete control over the final seasoning of your garlic butter. If you only have salted butter on hand, simply reduce or omit the additional salt in the recipe to prevent it from becoming overly salty. Ensure your butter is softened to room temperature before mixing; this is crucial for achieving a smooth, evenly combined compound butter.
- Garlic Cloves: Fresh garlic is key for that vibrant, pungent flavor. For the best taste and texture, finely mince or grate your garlic. The smaller the pieces, the more evenly the garlic flavor will distribute throughout the butter. Over time, as the garlic butter sits, the garlic flavor will become even more pronounced and mellow. While convenient, I strongly advise against substituting fresh garlic with garlic powder, as it will significantly compromise the fresh, aromatic quality of the final product.
- Fresh Parsley: Chopped fresh parsley adds a beautiful pop of color and a refreshing herbaceous note that balances the richness of the butter and the sharpness of the garlic. Flat-leaf (Italian) parsley is often preferred for its robust flavor. Feel free to experiment with other fresh herbs too, such as thyme, rosemary, dill, chives, or a combination, to create your unique herb butter variations.
- Salt and Pepper: These fundamental seasonings enhance and bring out all the other flavors. Use fine sea salt or kosher salt, and freshly ground black pepper for the best results. Adjust the amounts to your personal preference, tasting as you go.
Step-by-Step Guide: How to Make Garlic Butter
Creating this delicious garlic butter is incredibly straightforward. Follow these simple steps for a perfect batch every time:
- Soften the Butter: Start with butter that is genuinely softened to room temperature. This is crucial for easy mixing. If your butter is too cold, it won’t combine smoothly with the other ingredients, resulting in a lumpy texture.
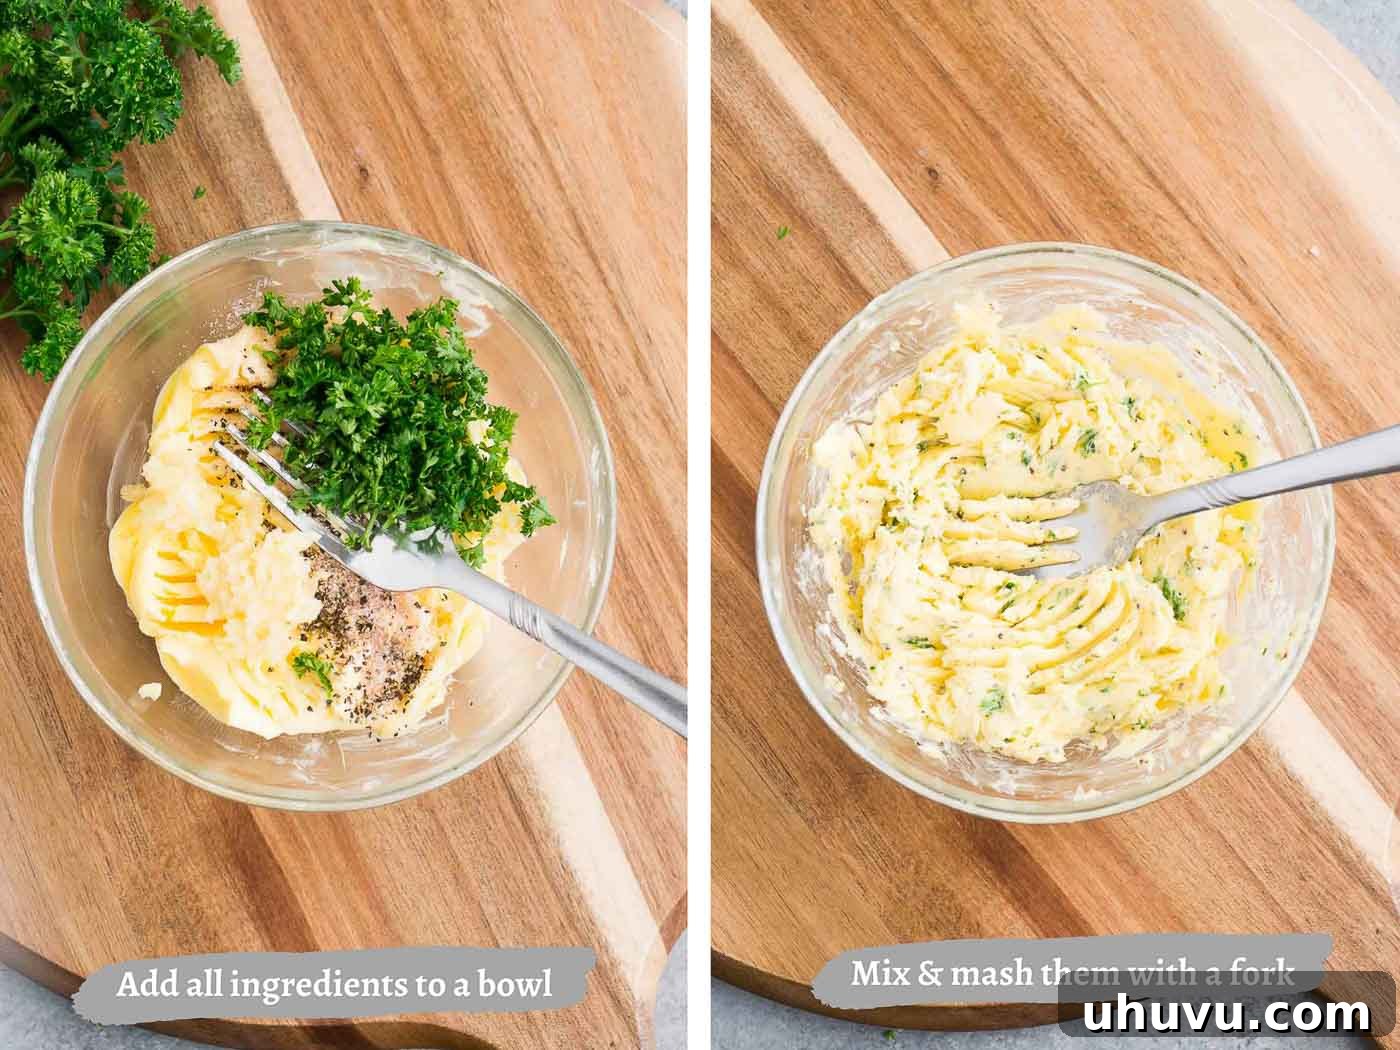
- Combine Ingredients: In a small mixing bowl, add your softened butter, finely minced garlic cloves, fresh chopped parsley, salt, and ground black pepper.
- Mash and Mix: Using a fork, rubber spatula, or the back of a spoon, vigorously mash and mix all the ingredients together. Continue until everything is thoroughly combined, and the garlic and parsley are evenly distributed throughout the butter. The mixture should be smooth and cohesive.
- Taste and Adjust: Take a small taste of your garlic butter. This is your chance to adjust the seasoning. Need a little more salt? A touch more pepper? Perhaps a hint more garlic? Customize it to your liking.
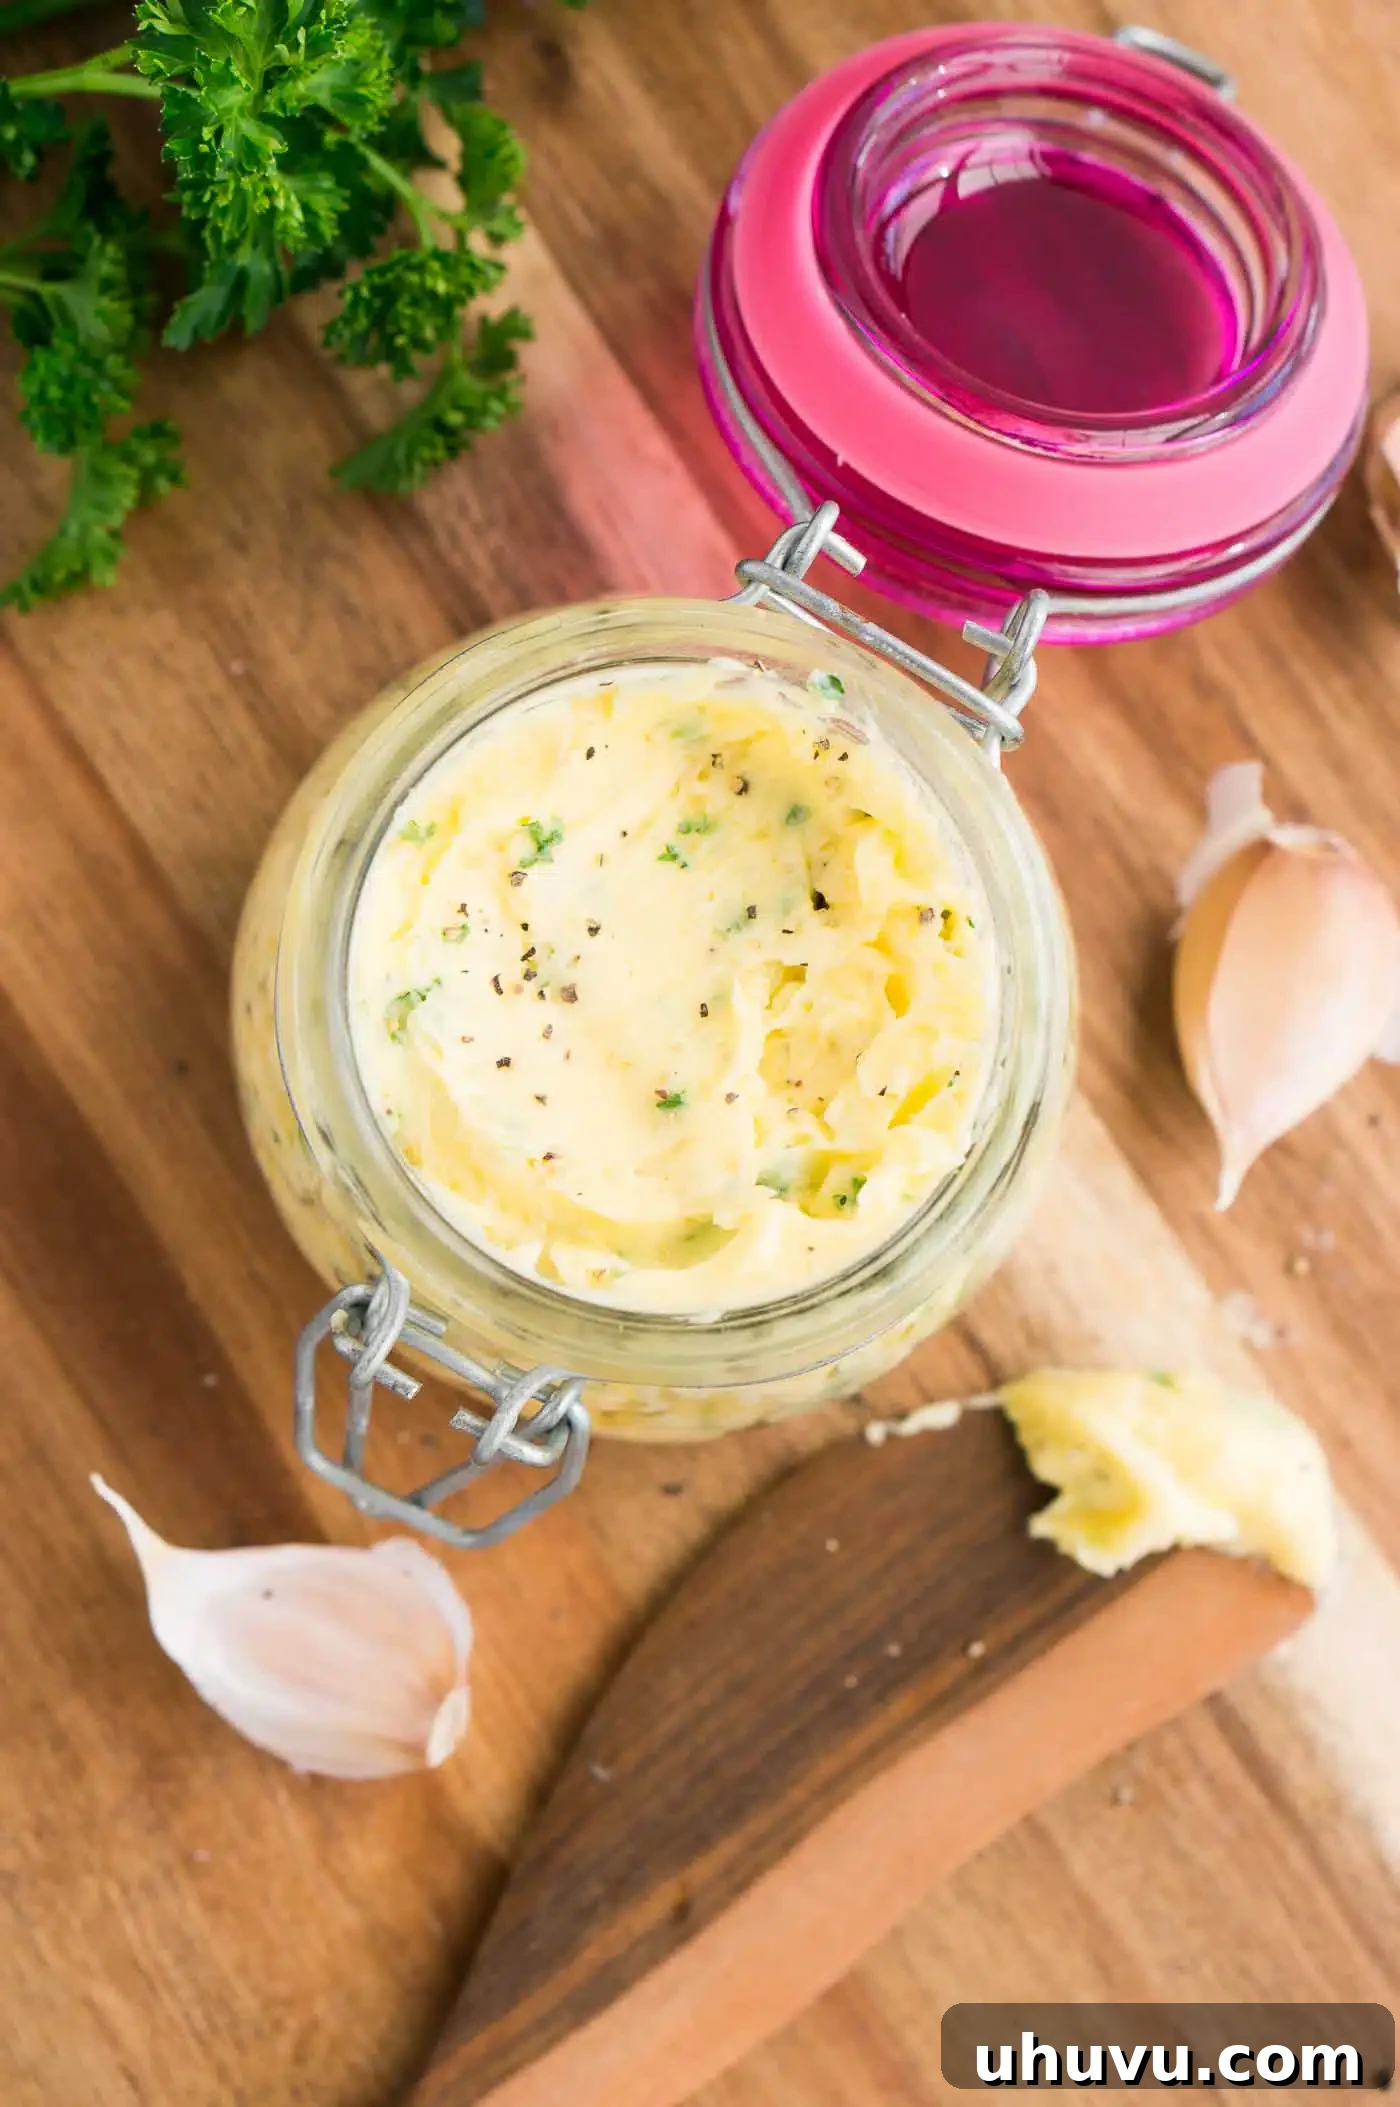
- Prepare for Storage: Once mixed, you can either spoon the garlic butter directly into an airtight jar or container for immediate refrigeration, or shape it into a log for easier slicing later. To form a log, spoon the butter onto a piece of parchment paper or plastic wrap, shape it into a cylinder, and roll it up tightly.
- Refrigerate: Place the finished garlic butter in the refrigerator. This allows the flavors to meld beautifully and the butter to firm up, making it easier to spread or slice.
Storage and Shelf Life: How Long Does Garlic Butter Last?
Proper storage is key to extending the life of your delicious homemade garlic butter and ensuring its freshness. Once you’ve prepared your garlic butter, transfer it to an airtight container, a sealed jar, or tightly wrapped in parchment paper and then plastic wrap. Store it promptly in the refrigerator.
When refrigerated, your garlic butter will maintain its quality and flavor for up to 2 weeks. The cool temperature helps preserve the freshness of the herbs and garlic, preventing spoilage. For best spreading consistency, especially if using it on bread or rolls, it’s advisable to take it out of the fridge about 30 minutes before you plan to use it. This allows the butter to soften slightly, making it much easier to work with.
Can You Freeze This Garlic Herb Butter for Longer Storage?
Absolutely! Freezing is an excellent way to extend the shelf life of your seasoned butter, allowing you to enjoy its delightful flavor for months. This garlic herb butter freezes beautifully and will keep well in the freezer for up to 6 months without losing its quality.
To freeze, it’s crucial to wrap it meticulously to protect it from freezer burn, which can affect both flavor and texture. After mixing your butter, spoon it onto a piece of parchment or wax paper. Roll it into a log, twisting the ends tightly like a candy wrapper. For an extra layer of protection, wrap this log again in a piece of plastic wrap, or place individual portions into small freezer-safe containers or even an ice cube tray for pre-portioned amounts. Label with the date.
When you’re ready to use your frozen garlic butter, simply transfer the desired amount to the refrigerator to thaw overnight. If you’re short on time, it can also be thawed at room temperature for about an hour or two, depending on the size of the portion. Once thawed, use it as you would fresh garlic butter.
Creative Ways to Use Your Homemade Garlic Butter
The versatility of homemade garlic butter is truly incredible. It’s a simple addition that can dramatically enhance the flavor of countless dishes. Here are just some of the many ways you can incorporate this delightful spread into your cooking:
- Bread Lover’s Dream:
- Spread generously on slices of artisan bread, baguette, or dinner rolls before toasting or baking for instant, irresistible garlic bread.
- Melt and brush over warm cornbread or biscuits.
- Use it to make savory croutons for salads.
- Perfect for Potatoes:
- Place a dollop on baked potatoes, smashed potatoes, or baked sweet potatoes for a rich, aromatic finish.
- Stir into creamy mashed potatoes for an extra layer of garlicky goodness.
- Toss with roasted potato wedges or baby potatoes before or after baking.
- Elevate Your Vegetables:
- Melt and drizzle over cooked vegetables like steamed broccoli, green beans, peas, asparagus, or corn on the cob.
- Toss with fresh vegetables before roasting – think carrots, bell peppers, zucchini, or Brussels sprouts.
- Add a pat to sautéed mushrooms or spinach for instant flavor.
- Meat & Seafood Marvel:
- Rub onto a whole chicken before roasting for deeply flavored skin and moist meat.
- Melt and toss with shrimp for quick garlic butter shrimp, perhaps with a squeeze of lemon juice. It’s also fantastic with scallops, clams, or mussels.
- Finish a grilled steak, pan-seared chicken breast, or pork chop with a pat of melting garlic butter for an unparalleled richness.
- Spread on salmon fillets or other fish before baking or grilling.
- Pasta & Grains Perfection:
- Toss a tablespoon with hot pasta for a simple, flavorful sauce. Add a little pasta water and Parmesan cheese for a quick meal.
- Stir into cooked rice, quinoa, or couscous for an easy side dish.
- Breakfast & Brunch Boost:
- Use in place of plain butter for scrambled eggs or omelets.
- Spread on English muffins or toast.
- Beyond the Basics:
- Swirl into soups or stews just before serving for an added layer of richness.
- Use it as a base for pan sauces, adding depth to any dish.
- Even try a tiny bit melted over fresh popcorn for a gourmet snack!
EXPERT TIPS FROM THE KITCHEN
Recipe Notes and Tips for the Best Garlic Butter
- Optimal Butter Temperature: Always start with butter that is at true room temperature (soft enough to easily mash with a fork, but not melted). This ensures all ingredients mix smoothly and evenly. Cold butter will create lumps, while melted butter won’t incorporate well.
- Garlic Quality Matters: Use fresh garlic cloves for the most potent and authentic flavor. Pre-minced garlic from a jar or garlic powder simply won’t yield the same vibrant taste. The flavor of fresh garlic will also mellow and deepen over time in the butter.
- Finely Mince Your Garlic: To prevent biting into large chunks of raw garlic and to ensure even flavor distribution, mince your garlic very finely. A garlic press works wonderfully for this, or you can use a sharp knife.
- Experiment with Herbs: While fresh parsley is a classic choice, don’t hesitate to get creative! Fresh chives, dill, thyme, rosemary, or oregano can all be fantastic additions. Consider the dish you’ll be using it for when choosing your herbs.
- Adjust Seasoning to Taste: Salt and pepper amounts are suggestions. Always taste a small bit of the mixed butter and adjust to your personal preference. Remember, if you use salted butter, you’ll need less added salt.
- Butter Alternatives: This recipe is incredibly adaptable. You can use grass-fed butter for a richer flavor, or even a good quality vegan butter or spread if you need a dairy-free option. Ensure any alternative butter softens properly.
- Shaping for Convenience: For easy portioning, consider rolling your mixed garlic butter into a log using parchment paper. Once chilled, you can simply slice off rounds as needed, which is particularly useful for topping steaks or individual servings of vegetables.
More Cooking Tutorials & How-To Guides:
If you enjoyed learning how to make this versatile garlic butter, you’ll love these other helpful cooking tutorials and guides to sharpen your kitchen skills:
- How To Bake Bacon in the Oven
- How To Peel Tomatoes
- How to Roast Garlic
- How to Peel and Mince Garlic
☝ Tap stars to rate
Garlic Butter Recipe
Neli Howard
5 minutes
5 minutes
8 servings
Want to save or print this recipe? Use your browser’s print function or save to your favorite recipe app!
Ingredients
- ½ cup unsalted butter, or spread of choice, softened at room temperature
- 2 garlic cloves, finely minced or grated
- 2 tablespoons fresh chopped parsley
- ½ teaspoon salt
- ¼ teaspoon ground black pepper
Instructions
-
In a small serving bowl, combine the softened butter, minced garlic, chopped parsley, salt, and ground black pepper.
-
Using a fork or rubber spatula, mash and mix all the ingredients together until thoroughly combined and smooth.
-
Taste and adjust seasoning as needed.
-
Transfer the garlic butter to an airtight jar or container and store it in the refrigerator until ready to use.
-
Serve over sweet potatoes, vegetables, chicken, steak, or as a delightful spread on bread. Enjoy!
Notes
- Garlic butter keeps well for up to 2 weeks in the refrigerator or up to 6 months in the freezer when properly stored.
- Ensure your butter is softened to room temperature before mixing. This ensures all ingredients combine easily and smoothly for a perfect compound butter.
- You can use any butter or spread to make this recipe. Grass-fed butter offers a richer flavor, and a good quality vegan butter will also work perfectly for a dairy-free option.
- Experiment with different fresh herbs like thyme, rosemary, or chives to vary the flavor profile.
Nutrition
Nutrition Disclaimer: Nutritional values are estimates and may vary with ingredients, brands, and portion sizes. For accuracy, use your preferred nutrition calculator.

Enjoyed this recipe? Please rate it and leave a comment below!
Your feedback helps other home cooks discover delicious new recipes.