
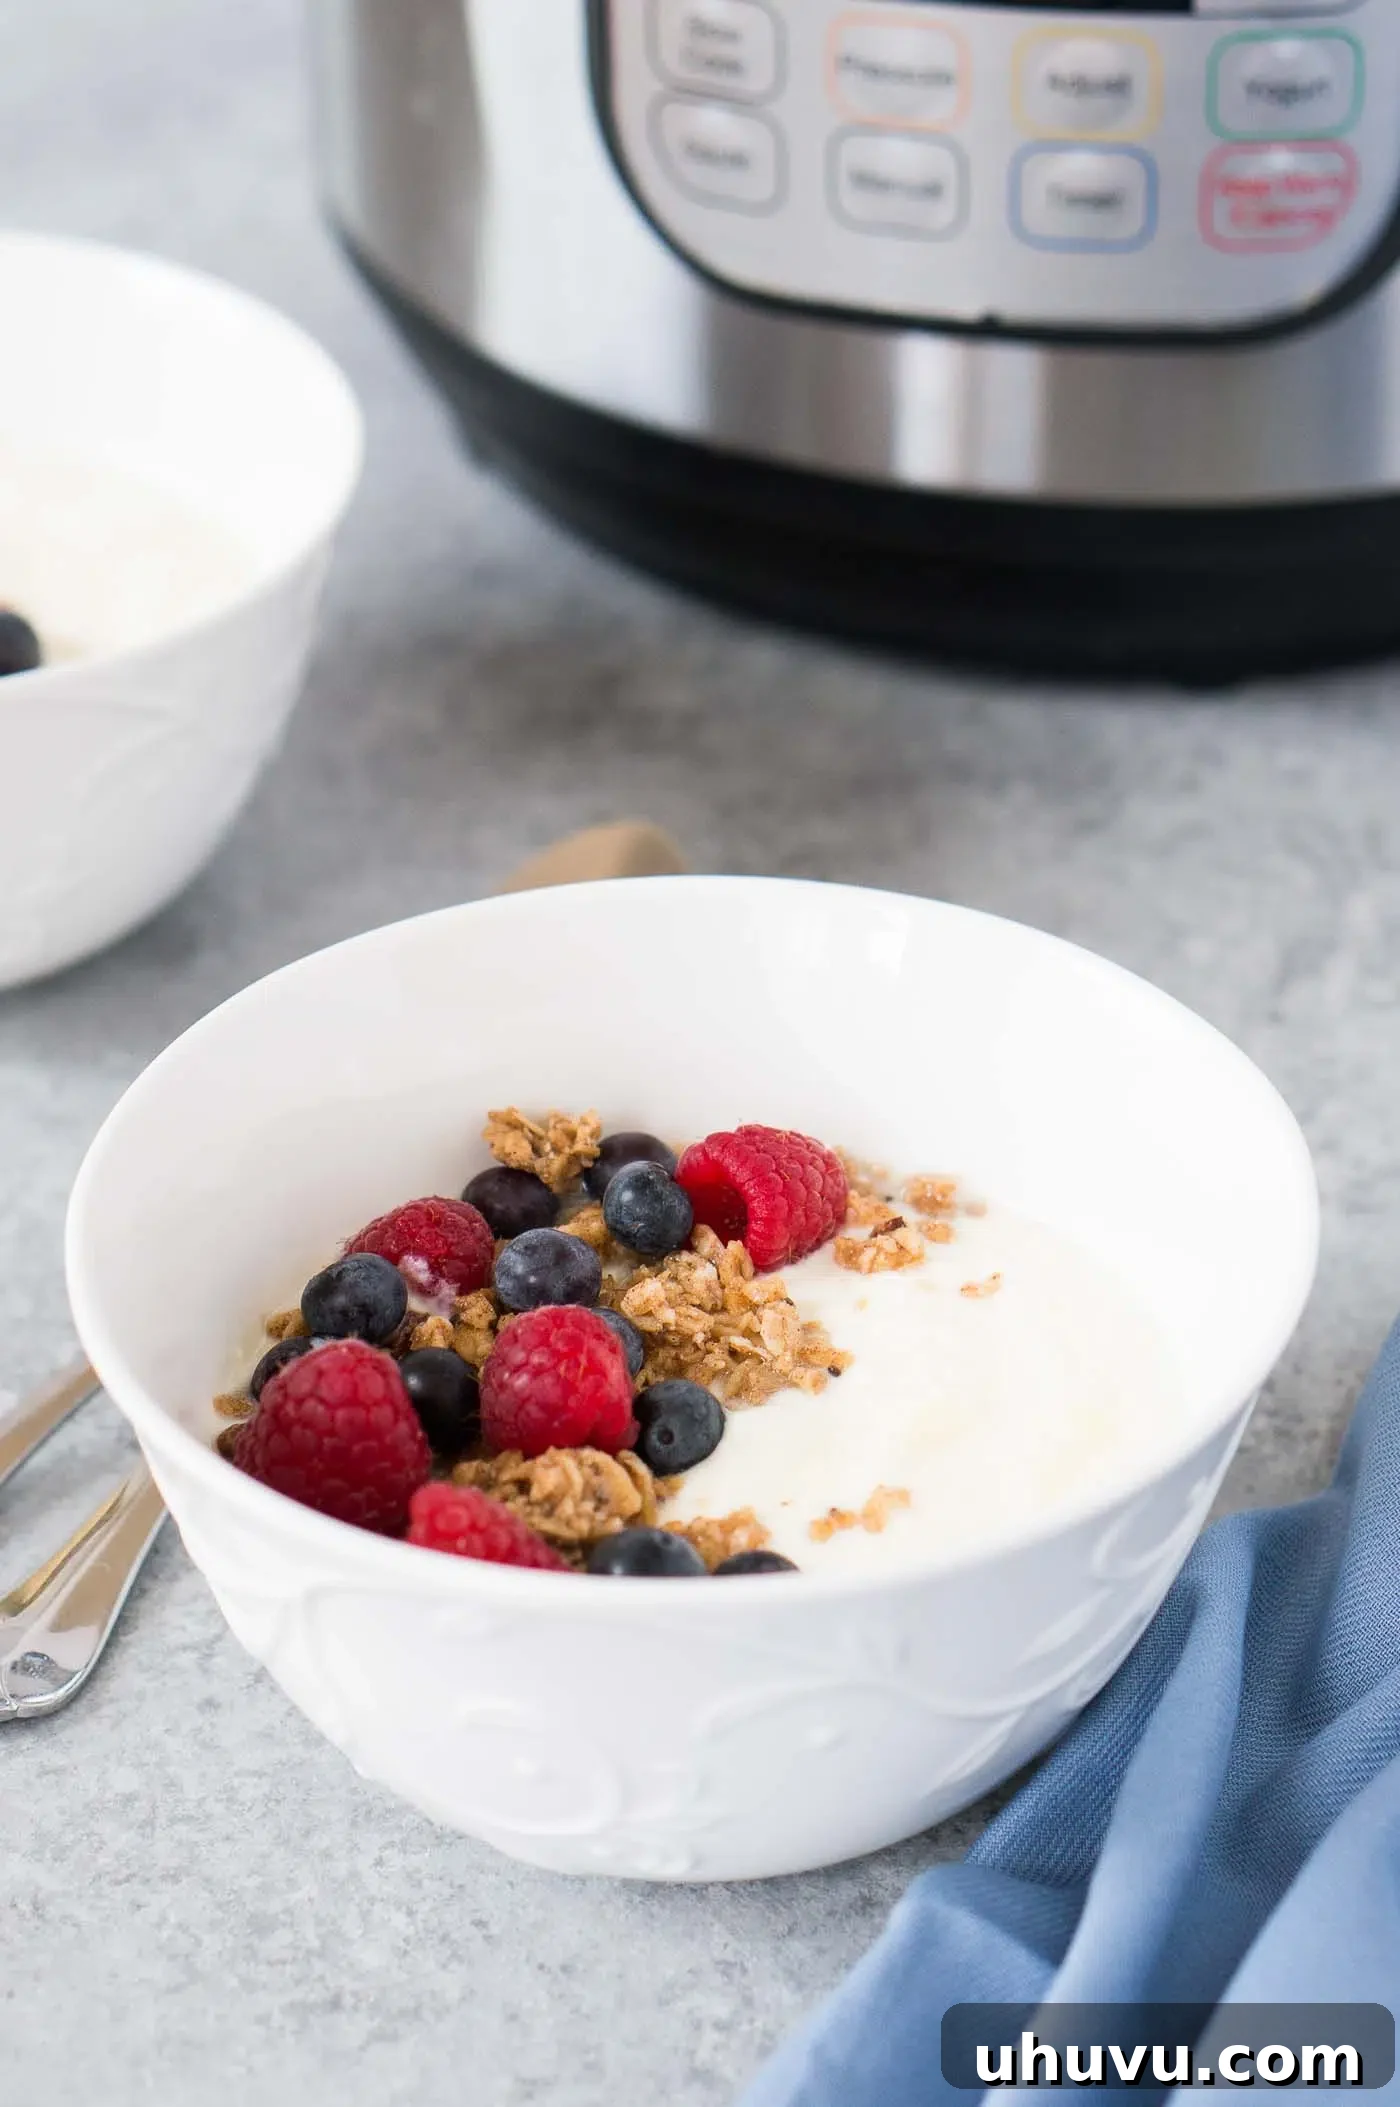
Unlock the secret to consistently perfect, creamy, and wonderfully tangy homemade Instant Pot Yogurt. Forget those bland, store-bought tubs filled with artificial ingredients; this easy recipe harnesses the power of your pressure cooker to create a batch of yogurt that’s not only superior in taste and texture but also incredibly cost-effective and rewarding. With minimal active effort, your Instant Pot transforms simple milk and a starter into a probiotic-rich delight, ready to be enjoyed any way you like.
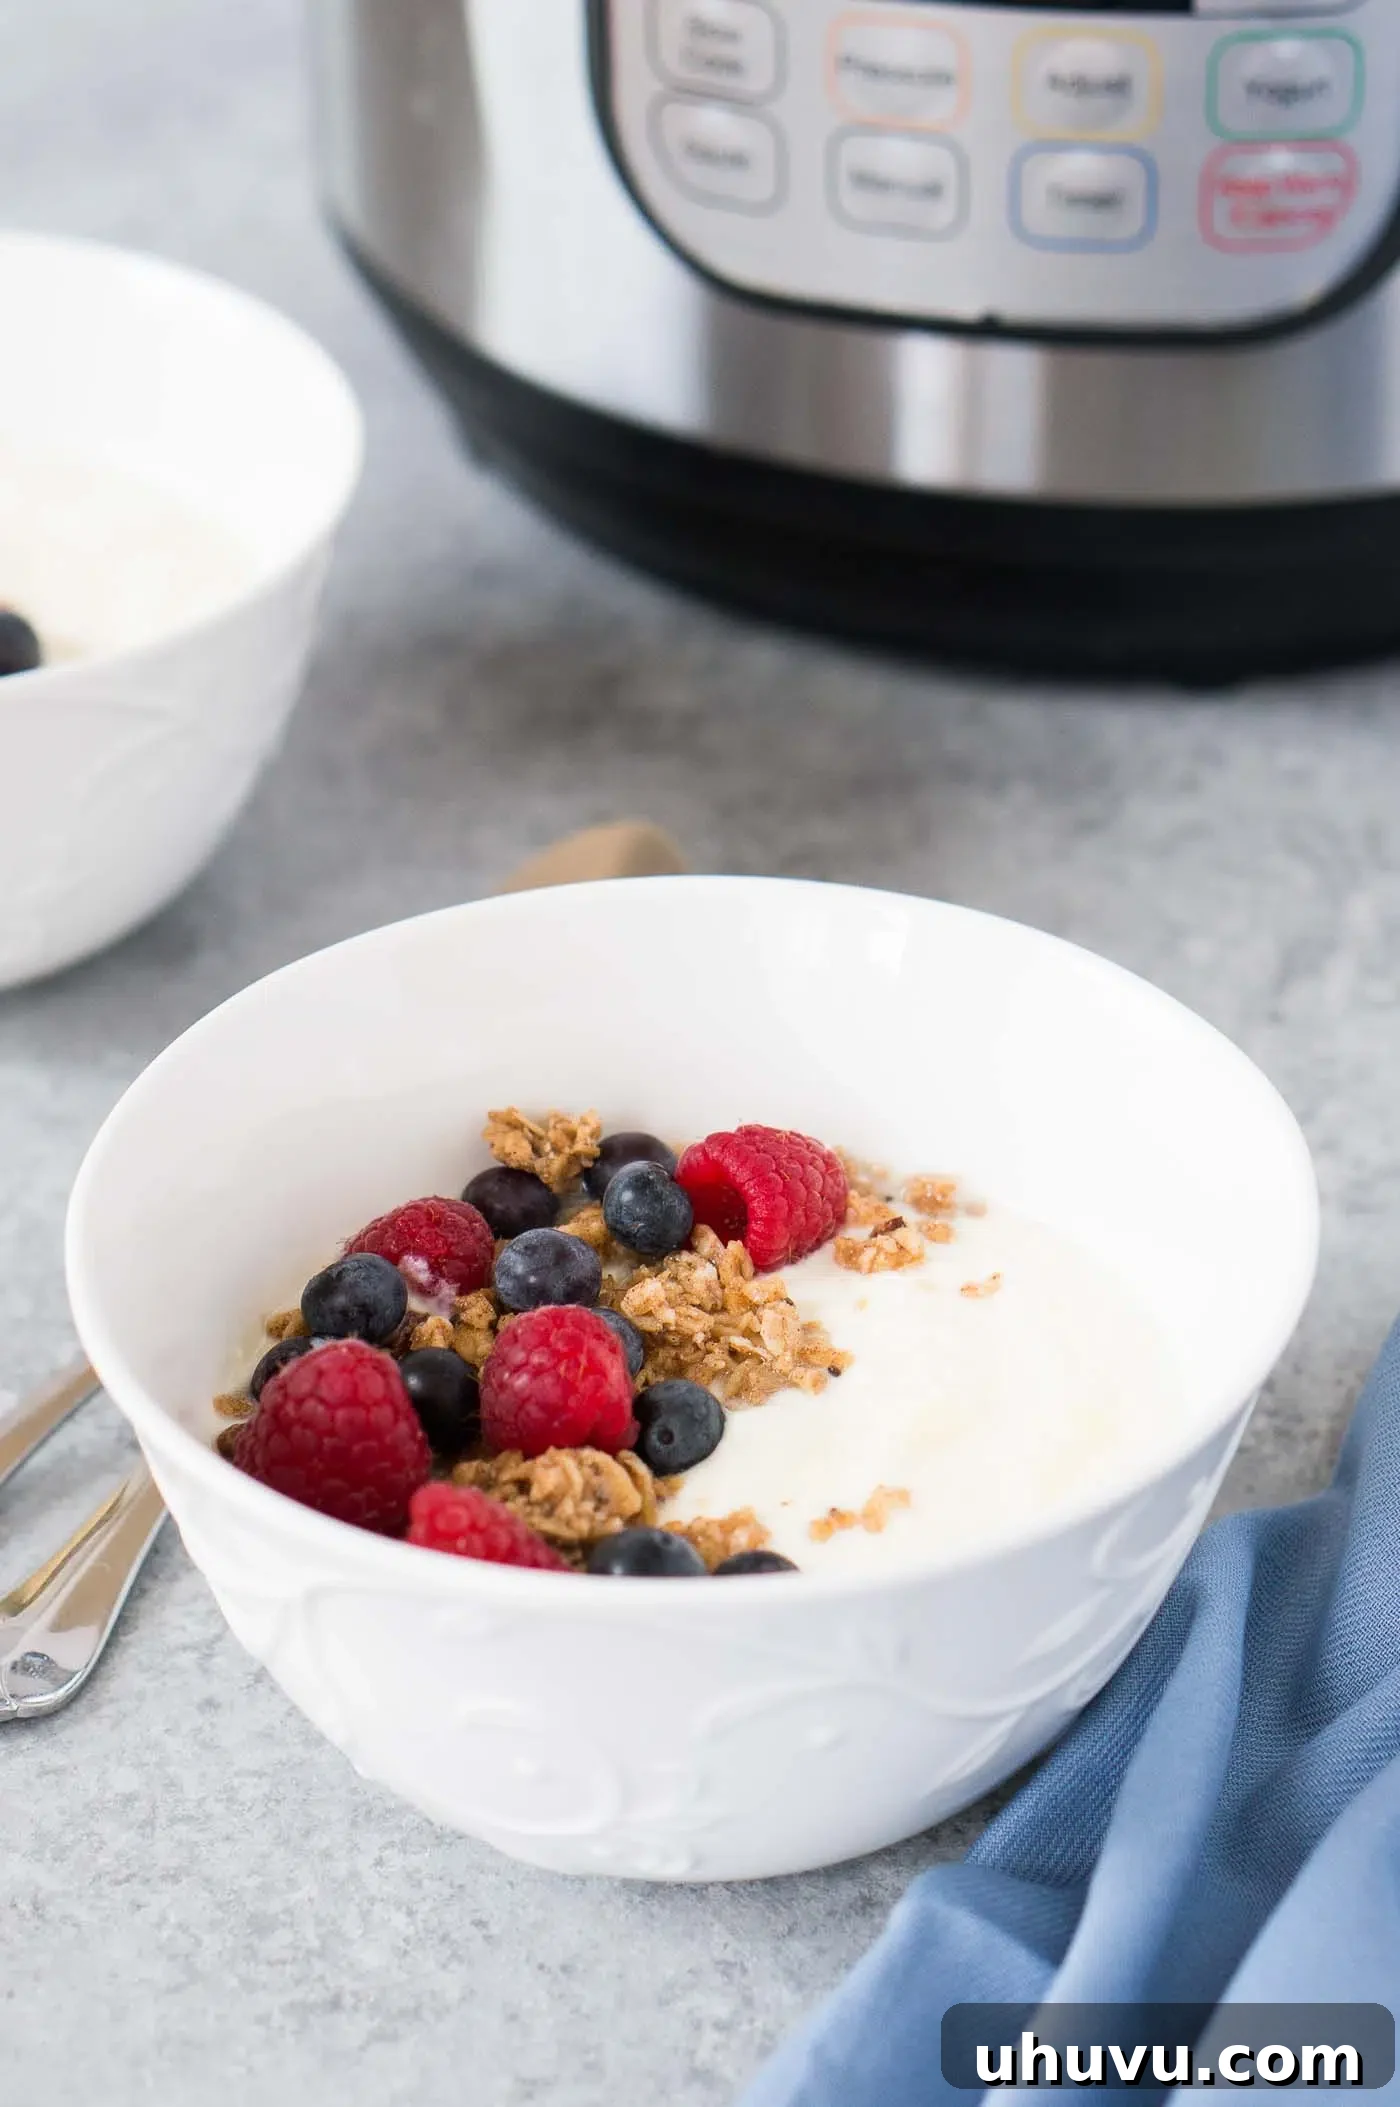
Yogurt is a powerhouse of nutrition, a staple in many well-balanced diets, and a versatile ingredient. Packed with live cultures, it offers a deliciously creamy texture that makes it an excellent choice for a healthy breakfast, a satisfying snack, or even a light dessert. Once you discover the ease and incredible flavor of homemade Instant Pot yogurt, you’ll wonder why you ever bought it from the store. The subtle tang and velvety smoothness are unparalleled, often less acidic than commercial varieties, which many families, including mine, genuinely prefer.
The beauty of this recipe lies in its simplicity. You only need two core ingredients to produce a generous batch of this luxurious homemade yogurt, essentially liberating you from the endless cycle of grocery store purchases. Embrace this effortless method and enjoy fresh, wholesome yogurt whenever you desire.
While you’re mastering the art of homemade yogurt, be sure to explore other delightful yogurt-based recipes. Try my Frozen Yogurt Bark with Strawberries for a refreshing treat, or pair your fresh yogurt with Yogurt with Berries and Pecans for a classic, nutritious combination.
Why You Will Love This Instant Pot Yogurt Recipe
- Effortless Process: While making yogurt requires time, most of it is completely hands-off thanks to the Instant Pot. The steps are straightforward, making it an ideal project for even novice home cooks. After just one successful batch, you’ll feel confident and eager to make it again and again!
- Remarkably Budget-Friendly: Producing your own yogurt in the Instant Pot offers significant savings compared to regularly purchasing store-bought versions, especially if your family consumes a lot of it. The minimal ingredient cost quickly pays for itself.
- Superior Taste and Texture: Homemade yogurt consistently boasts a richer, creamier texture and a fresher, more balanced flavor profile than many commercial brands. You control the tanginess, making it perfectly suited to your family’s preferences.
- Health Benefits Galore: By using live active cultures, your homemade yogurt becomes a fantastic source of probiotics, which are crucial for maintaining a healthy gut microbiome, aiding digestion, and supporting overall wellness.
- Customizable and Versatile: Once you have your plain base, the possibilities are endless. Sweeten it with honey or maple syrup, add fresh fruits, granola, nuts, or use it in savory dishes. You have complete control over flavor and additions.
- Make Ahead Convenience: This homemade Instant Pot yogurt stores beautifully in the refrigerator for up to two weeks, allowing you to prepare a large batch and enjoy it over several days, making meal prep a breeze.
Essential Ingredients for Instant Pot Yogurt
Making yogurt in your Instant Pot is incredibly simple, requiring just two key ingredients. The quality of these ingredients directly impacts the final taste and texture of your homemade yogurt, so choose wisely.
- Half Gallon of Whole Milk: For the most luxurious, rich, and creamy Instant Pot yogurt, whole milk is your best friend. Its higher fat content contributes significantly to that desirable thick texture. It’s crucial to use dairy milk for this recipe. Plant-based milks like coconut milk, almond milk, or soy milk behave differently and will not yield true yogurt with this method. Similarly, skim milk or low-fat milk will result in a much thinner yogurt due to their reduced fat content. The process relies on the milk proteins and fats to create the characteristic yogurt consistency.
- Yogurt Starter (Plain Greek Yogurt with Active Cultures): This is the “magic” ingredient that kickstarts the fermentation process. You’ll need about 2 tablespoons of plain Greek yogurt that explicitly states it contains “live active cultures” on the label. Look for specific bacterial strains like Lactobacillus bulgaricus and Streptococcus thermophilus, which are essential for proper yogurt formation. Do not use flavored yogurt, yogurt substitutes, or sour cream, as they either lack the necessary live cultures or contain additives that can interfere with the culturing process. A dedicated yogurt starter culture (available online or in specialty stores) can also be used following package instructions for the equivalent amount.
How To Make Yogurt In The Instant Pot – Step by Step Instructions
Making yogurt in your Instant Pot is a rewarding process. Follow these detailed steps to achieve perfectly creamy, homemade yogurt every time:
- Step 1: Heat Milk to 180°F – 200°F (Boil Cycle).
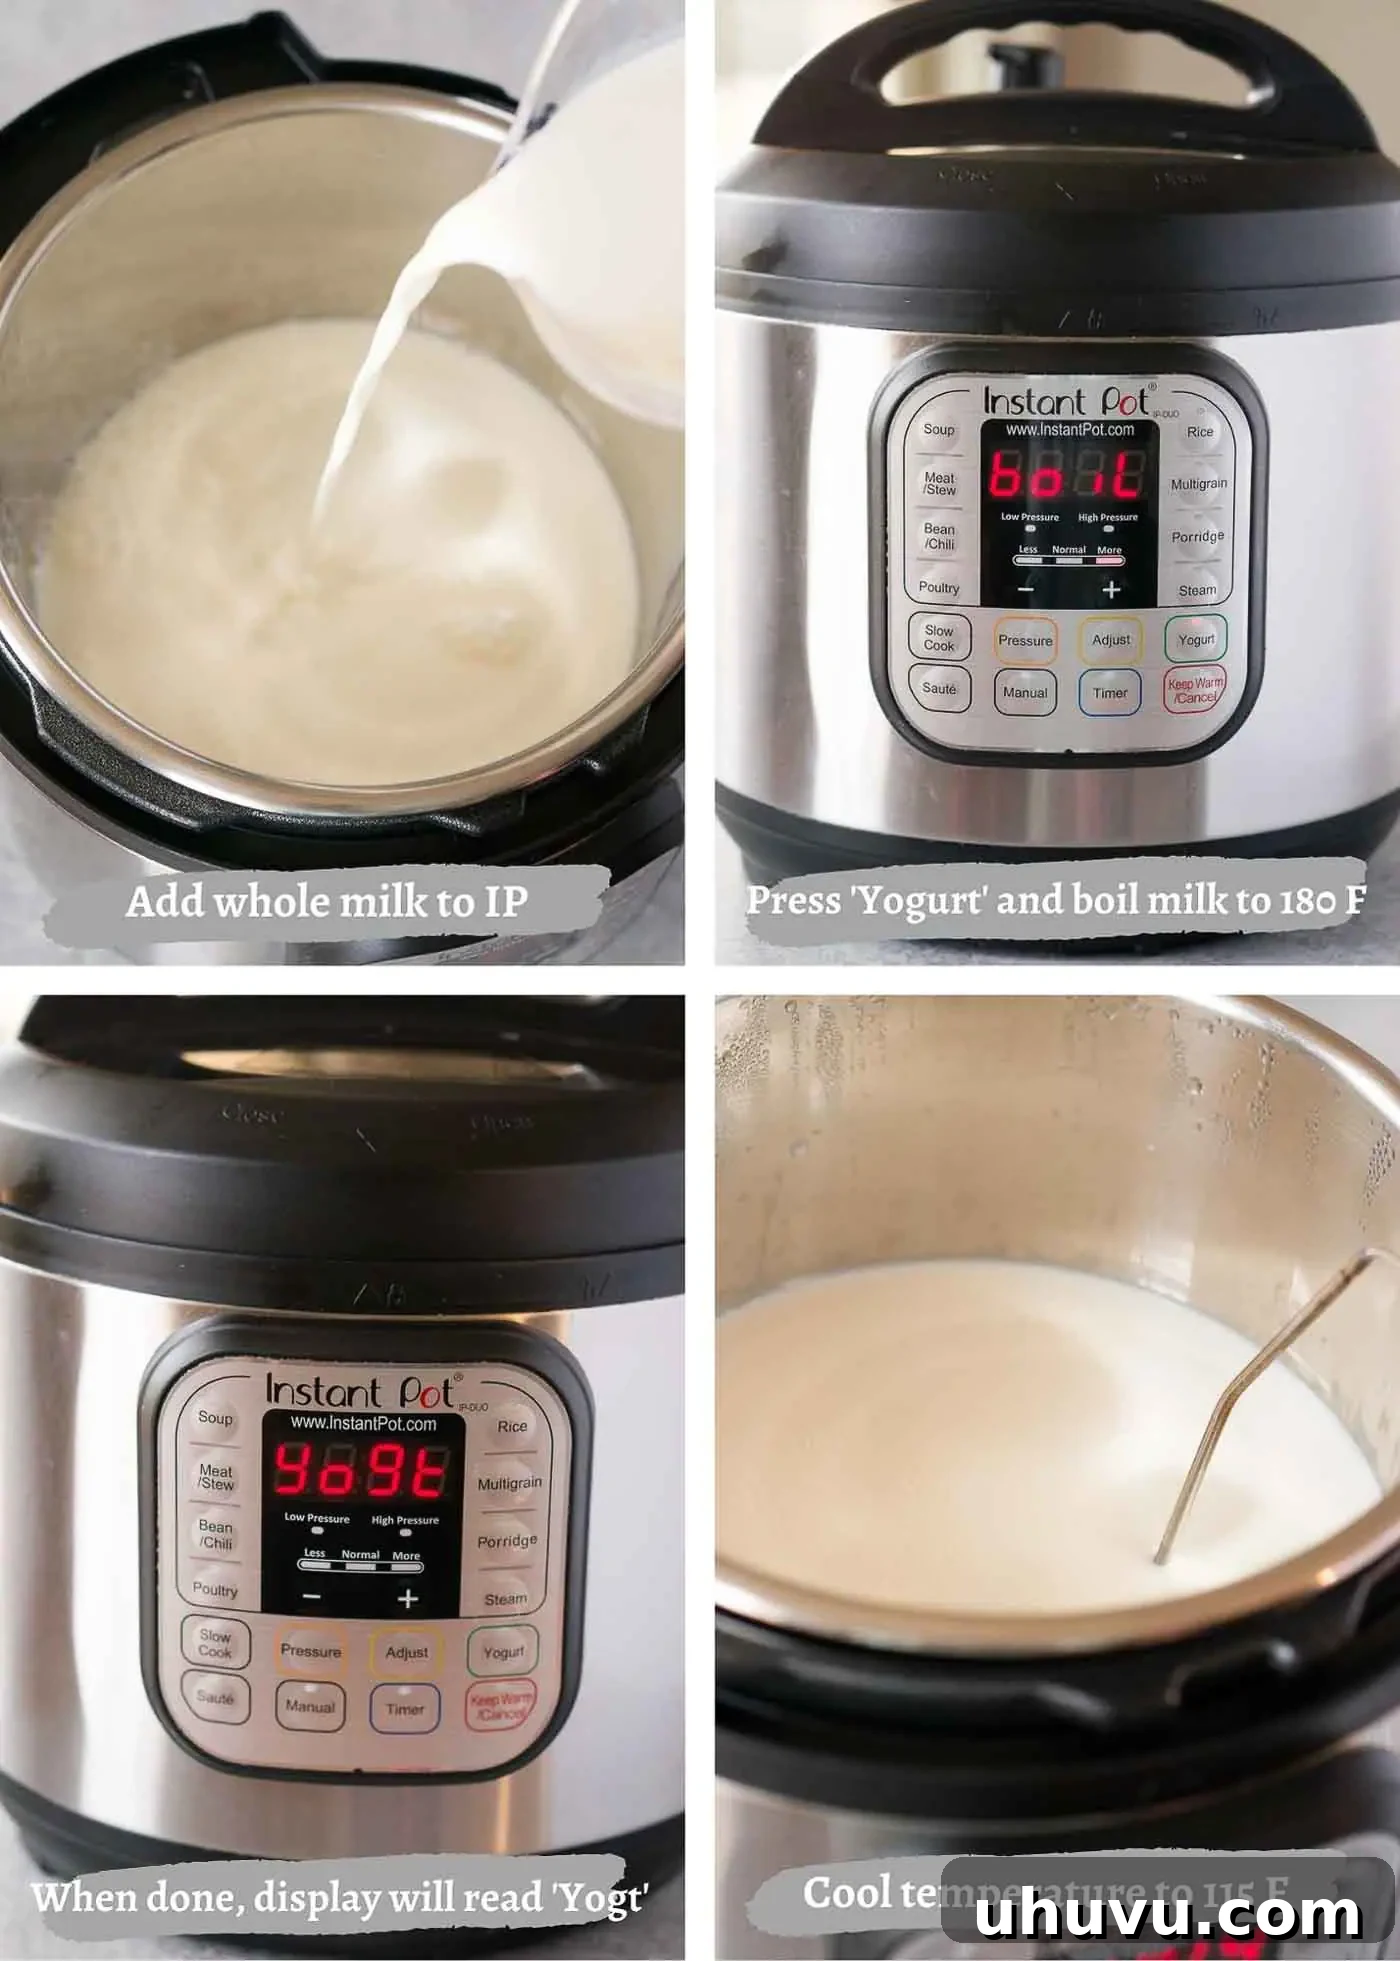
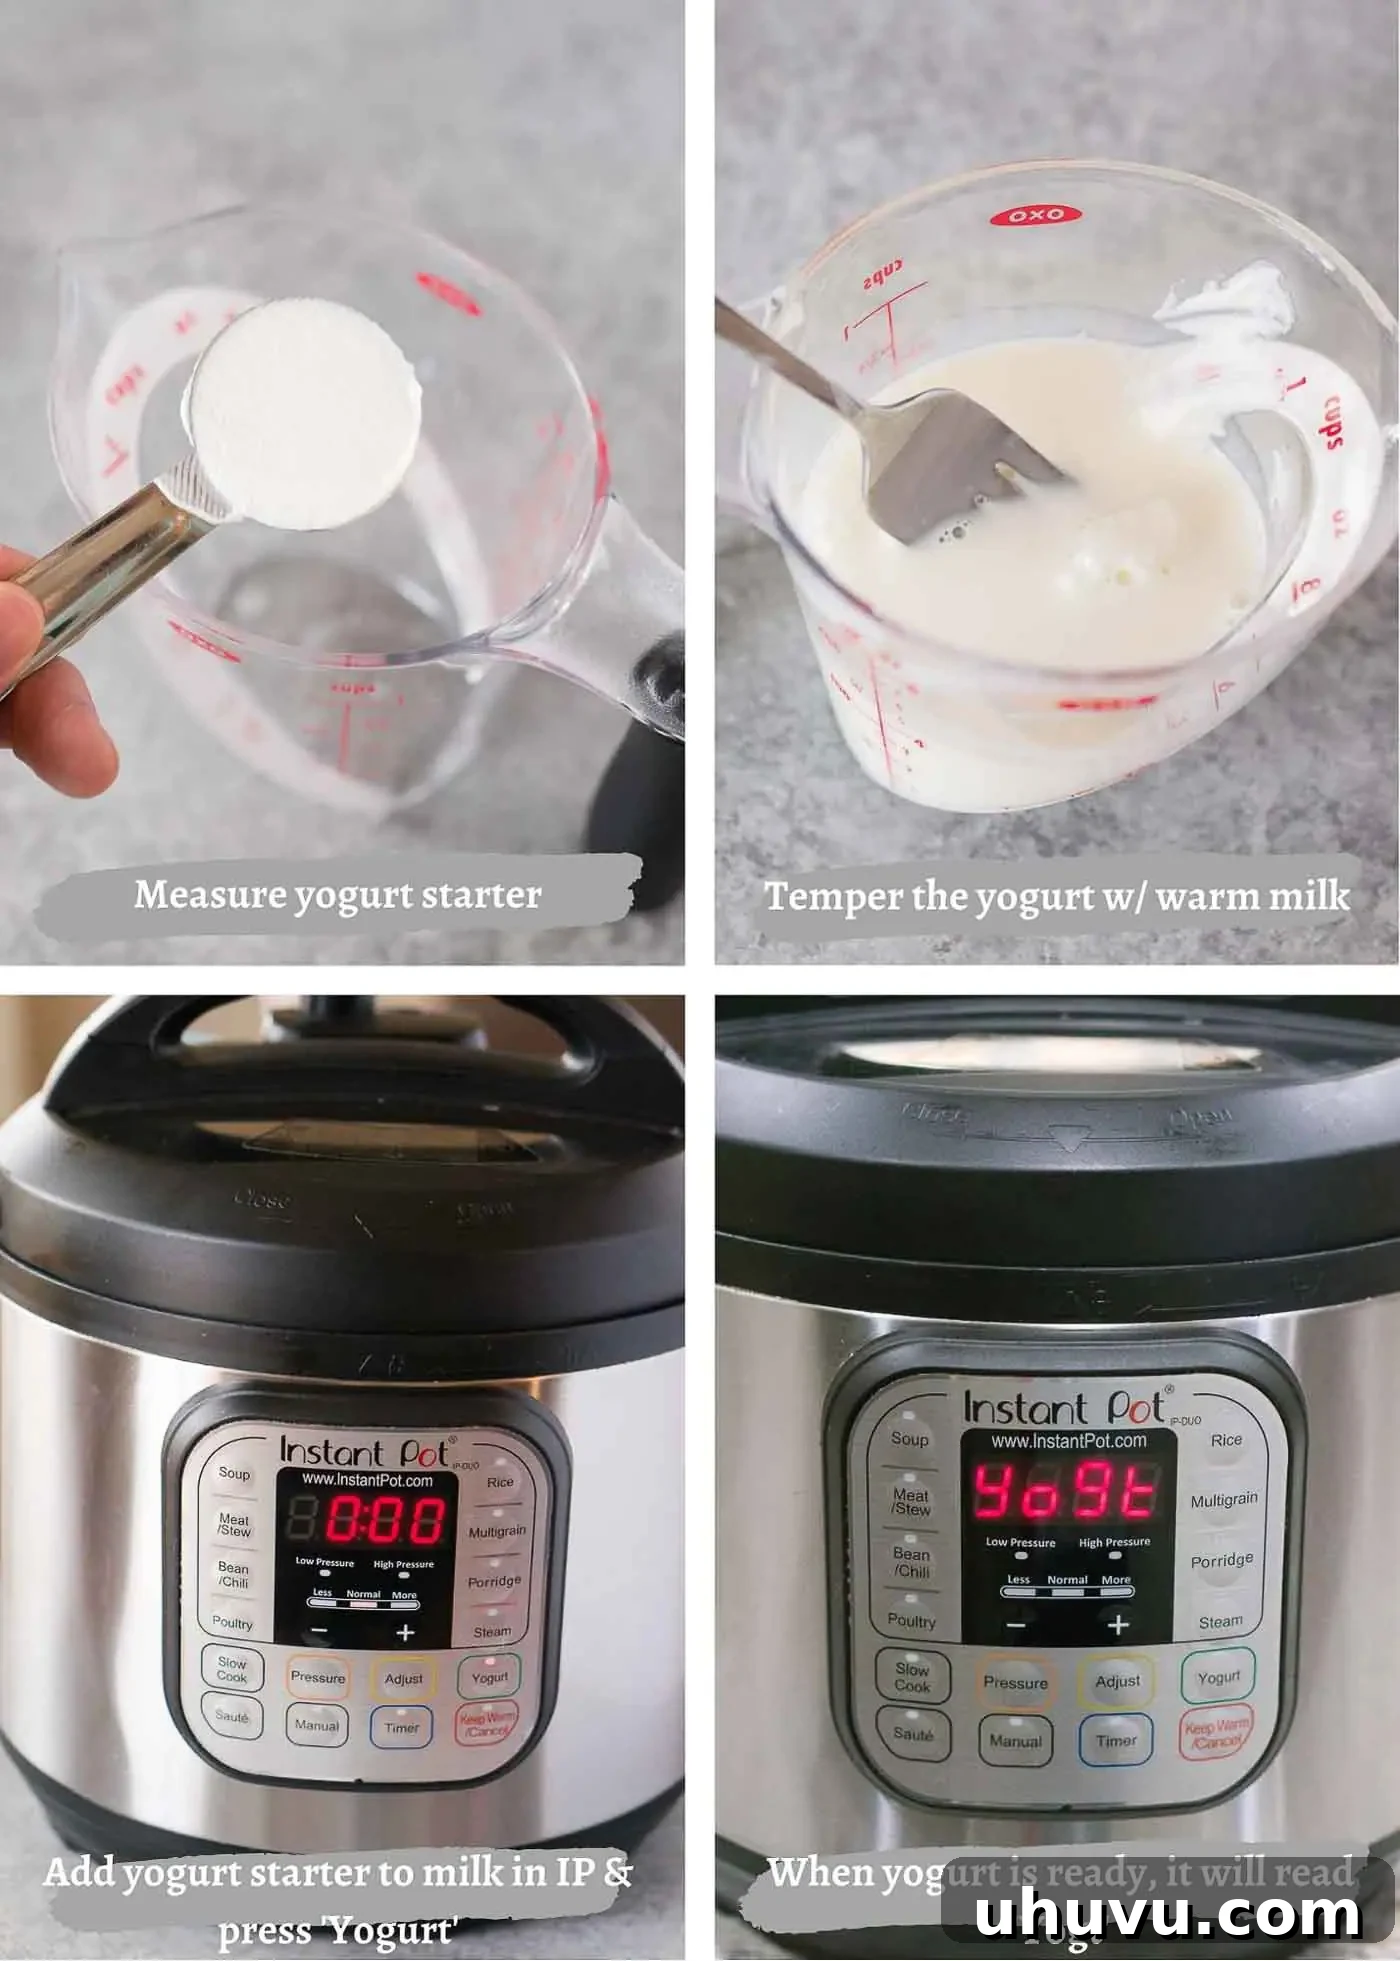
Pour the entire half-gallon of milk directly into the stainless steel insert of your Instant Pot. Secure the lid in place. You do not need to turn the steam release valve to ‘Sealing’; keep it on ‘Venting’ or ‘Natural Release’ as pressure buildup is not required for this step. Select the ‘Yogurt’ function on your Instant Pot, then repeatedly press ‘Adjust’ until the display reads ‘BOIL’. The Instant Pot will then begin heating the milk. This ‘BOIL’ cycle typically takes approximately 30-45 minutes to bring the milk to the desired temperature range of 180°F to 200°F. Heating the milk to this temperature range is crucial as it denatures the whey proteins, which helps create a thicker yogurt, and also sterilizes the milk by killing any undesirable microorganisms that could compete with your yogurt cultures. Once the ‘BOIL’ cycle is complete, the Instant Pot will beep, and the display will show ‘YOGT’.
Optional Tip for Thicker Yogurt: For an even thicker yogurt, you can keep the lid closed for an additional 5 minutes after the ‘BOIL’ cycle finishes. This allows the milk to maintain its high temperature for a little longer, further enhancing the denaturation of proteins.
Carefully remove the lid and use a food thermometer to verify that the milk temperature is indeed between 180°F and 200°F. If it’s below this range, you may need to run the ‘BOIL’ cycle again briefly.
- Step 2: Cool Milk to 112°F – 115°F.
Carefully lift the hot Instant Pot insert containing the milk out of the cooker and place it on a heat-safe surface or a cooling rack. Insert a food thermometer into the milk and allow it to cool naturally until it reaches a temperature between 112°F and 115°F. This cooling process can take approximately one hour at room temperature, but the exact time will vary depending on your ambient conditions.
Accelerated Cooling Method: To speed up the cooling process, you can carefully place the Instant Pot insert into a larger bowl or sink filled with ice water (an ice bath). As the milk cools, be sure to stir it frequently and gently. This ensures even cooling, as the milk at the bottom of the pot will cool much faster than the milk at the top. Monitor the thermometer closely, as the temperature can drop rapidly, sometimes within as little as 5-10 minutes with this method. Remove the insert from the ice bath once it reaches the target temperature range.
Important Note: If the milk temperature accidentally drops below 110°F, the starter cultures may not activate properly. If this happens, return the insert to the Instant Pot, press the ‘Yogurt’ button, then ‘Adjust’ to the ‘Normal’ setting (or similar low-heat setting for yogurt making, often simply the ‘Yogurt’ button will activate a gentle heat). Monitor the temperature until it returns to the optimal 112°F – 115°F range, then proceed with the next step.
- Step 3: Temper the Yogurt Starter.
While the milk is cooling, prepare your yogurt starter. In a medium-sized bowl, place your 2 tablespoons of plain Greek yogurt with active cultures (or your yogurt starter). Once the milk has cooled to the target temperature (112°F-115°F), add about ½ cup of this warm milk to the starter in the bowl. Whisk vigorously until the starter is completely smooth and thoroughly combined with the small amount of milk. This process, known as tempering, gradually brings the starter up to the milk’s temperature, preventing thermal shock to the delicate cultures when added to the larger batch.
Pour the tempered starter mixture into the Instant Pot insert containing the warm milk. Whisk everything together gently but thoroughly to ensure the live cultures are evenly distributed throughout the milk. Avoid over-whisking, which can introduce too much air.
- Step 4: Incubate the Yogurt.
Carefully place the Instant Pot insert, now containing the milk and starter mixture, back into the Instant Pot. Secure the lid in place (again, the steam release valve can be on ‘Venting’ or ‘Sealing’ as no pressure is built). Press the ‘Yogurt’ button and adjust the incubation time. The default setting is usually 8:00 hours, which is a great starting point for a moderately tangy yogurt. After the incubation time is complete, the Instant Pot display will show ‘YOGT’ again, indicating the cycle is finished.
Incubation Guidance: During the incubation period, it is crucial to avoid moving the Instant Pot excessively or opening the lid, especially during the first 6 hours. Disturbing the yogurt can interfere with the setting process and result in a thinner consistency. The cultures need a stable, warm environment to work their magic.
Controlling Tanginess: The incubation time directly influences the tanginess of your yogurt. For a milder yogurt, you can incubate for 6-8 hours. If you prefer a noticeably tangier flavor, increase the incubation time up to 10-12 hours. (Remember: longer incubation time generally equals tangier yogurt).
- Step 5: Check the Yogurt.
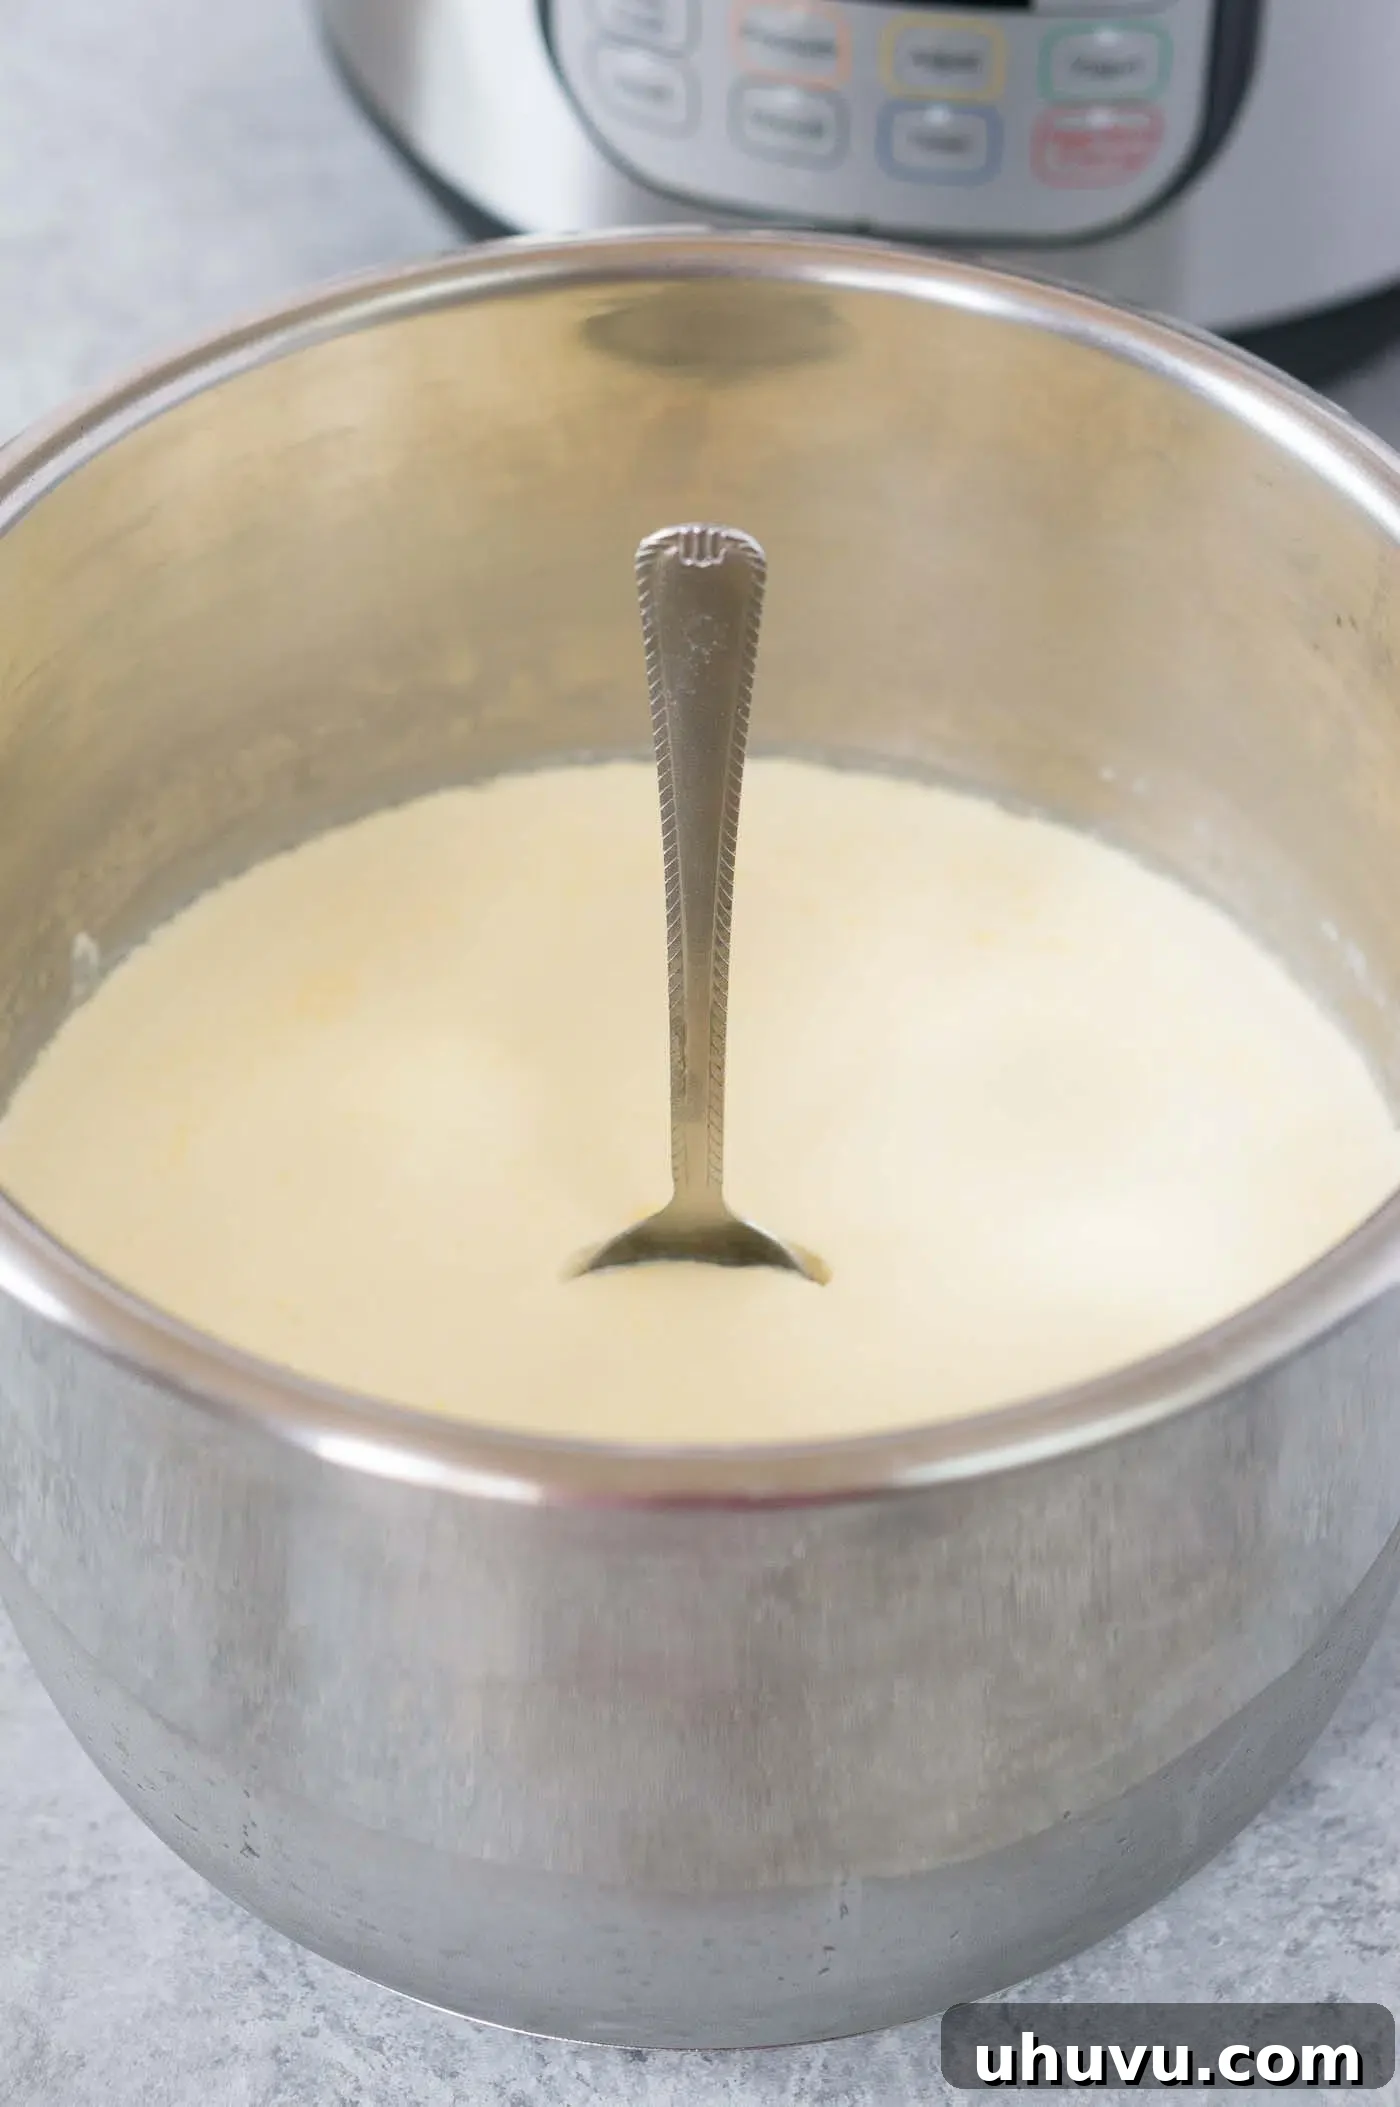
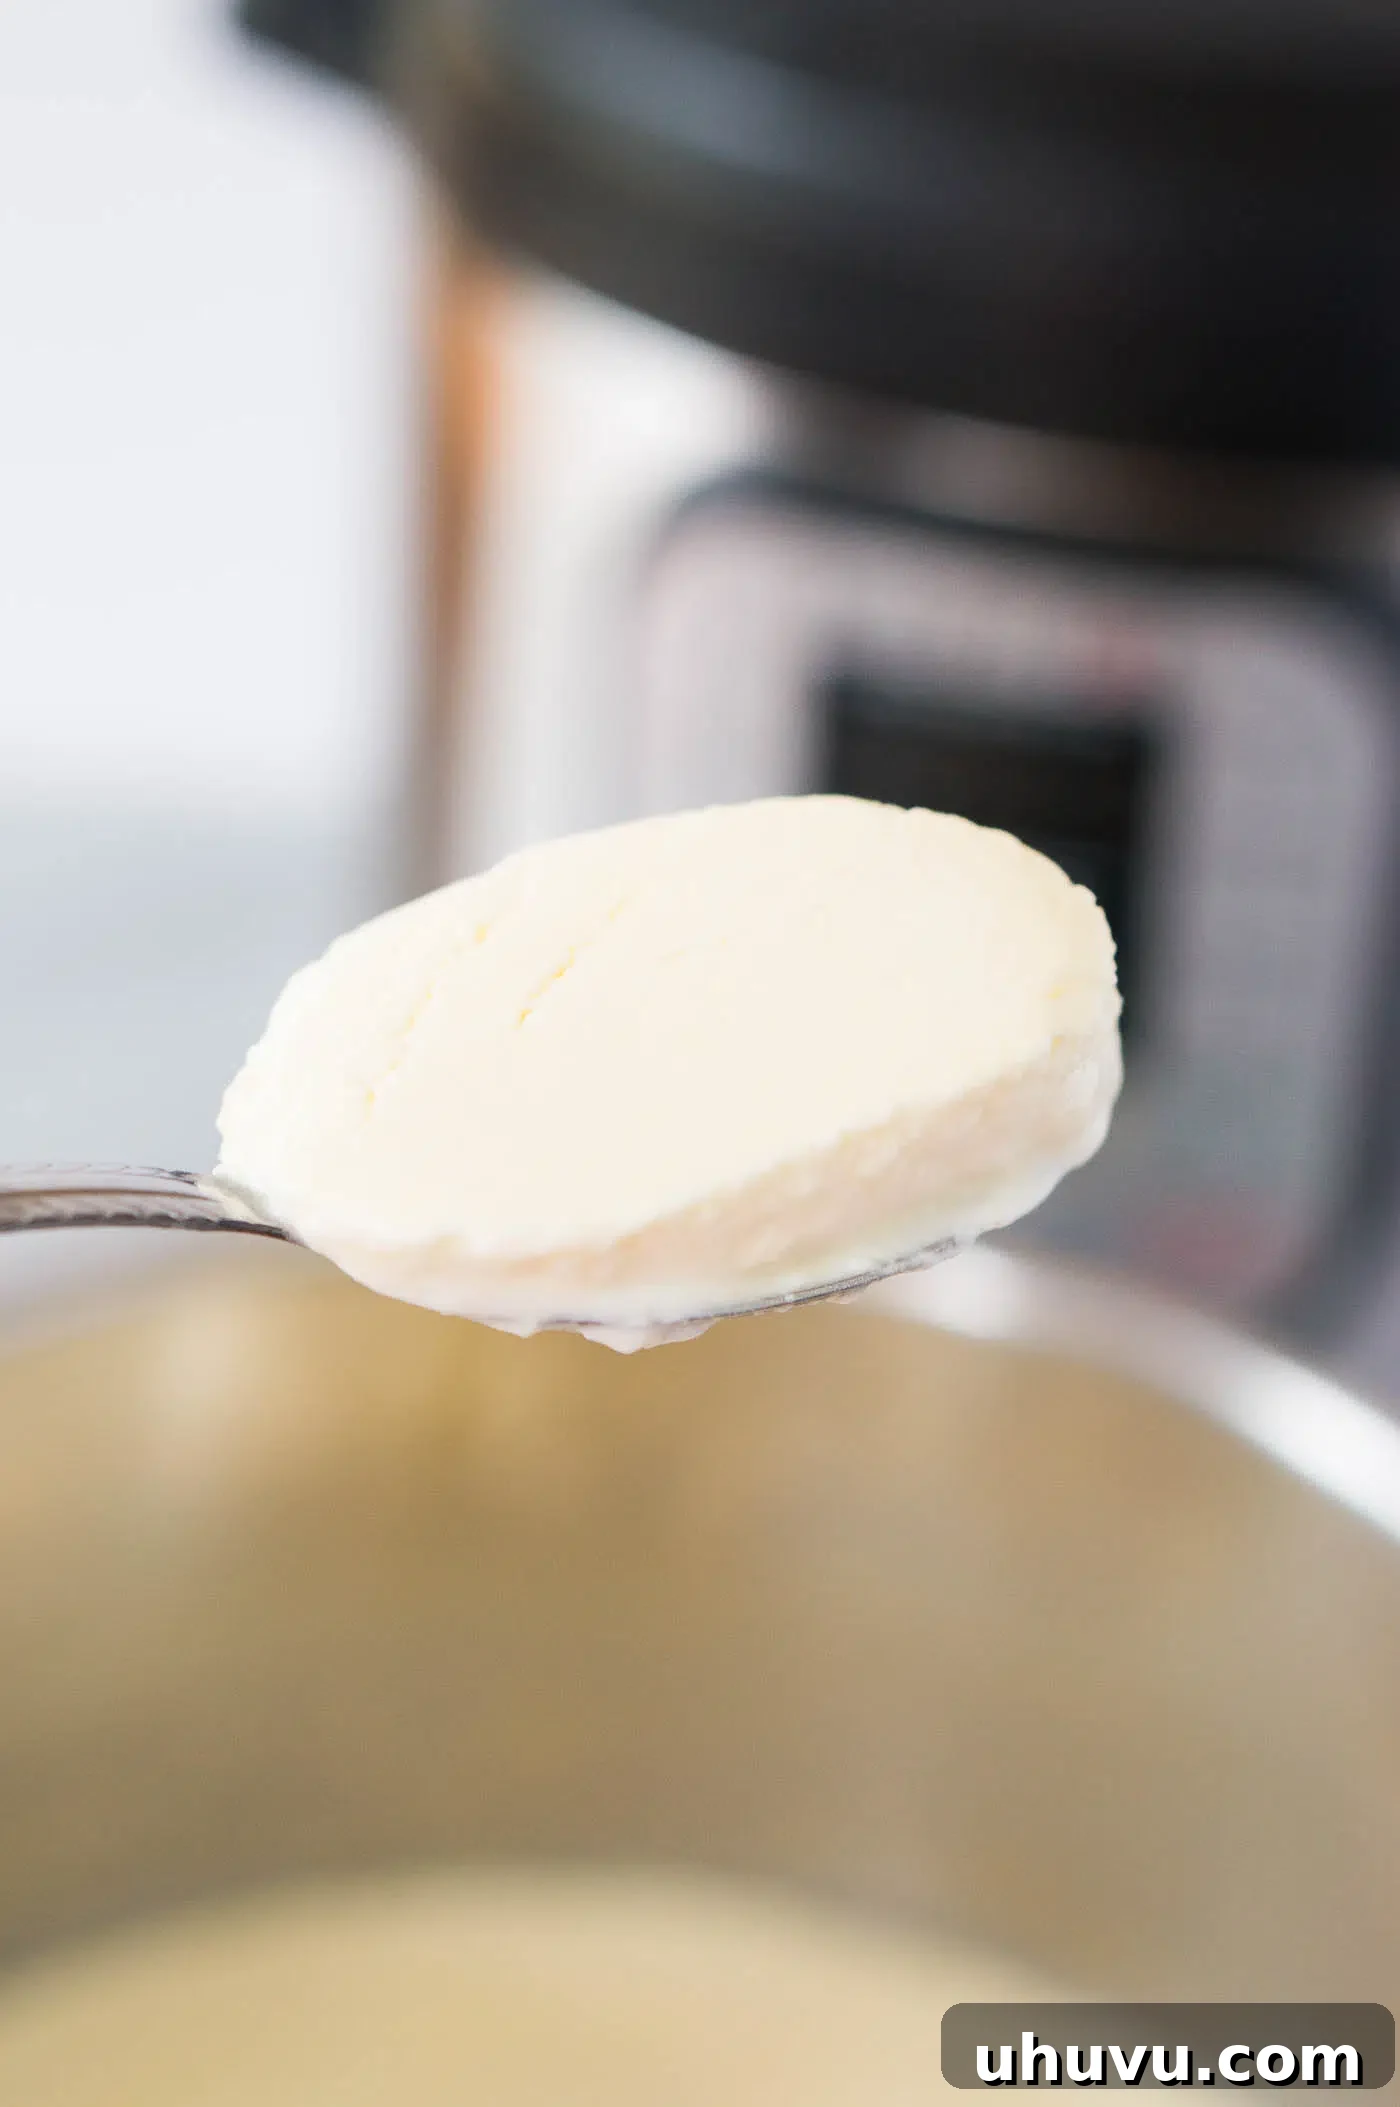
Once the incubation time is complete, carefully open the Instant Pot lid. Gently tilt the inner pot slightly to check if the yogurt has set. It should appear firm and pull away from the sides of the pot in a coherent mass, rather than running like liquid milk. A successfully set yogurt will have a jelly-like consistency.
- Step 6: Chill the Yogurt at Room Temperature.
Remove the inner pot with the freshly made yogurt from the Instant Pot. Place it on a cooling rack on your kitchen counter and allow it to cool gradually at room temperature for approximately 1-2 hours. This gradual cooling process is important.
Important Note: Placing the warm yogurt directly into a cold refrigerator can cause a drastic temperature change, which may result in a thinner, less desirable consistency. A slow cool-down helps maintain the yogurt’s thick texture.
- Step 7: Chill the Yogurt in the Refrigerator.
After the initial room temperature cooling, transfer the inner pot (or individual jars, if you prefer) to the refrigerator. Chill the yogurt for at least 6 hours, or ideally overnight, before serving. This extended chilling period allows the yogurt to fully firm up and develop its final creamy texture and flavor.
- Step 8: Store Your Homemade Yogurt.
Once fully chilled and set, you can transfer your delicious homemade Instant Pot yogurt into smaller, clean, airtight glass jars or containers. Store it in the refrigerator, where it will remain fresh and delightful for up to 2 weeks.
Expert Tips for the Best Instant Pot Yogurt
Recipe Notes and Tips for the Best Instant Pot Yogurt
- Adjusting Batch Size: This recipe yields a generous amount of yogurt. Feel free to halve the recipe if you prefer a smaller batch. Conversely, if you own an 8-quart (or larger) Instant Pot, you can easily double the recipe to produce an even larger quantity of delicious homemade yogurt.
- Achieving Thicker Greek-Style Yogurt: If your preference is for a thick, Greek-style yogurt, the process doesn’t end after chilling. Simply line a fine-mesh strainer with several layers of cheesecloth (or a clean kitchen towel) and place it over a deep bowl. Pour the chilled yogurt into the lined strainer and refrigerate overnight. The whey will slowly drain into the bowl, leaving you with a wonderfully thick, concentrated Greek yogurt. The collected whey can be used in smoothies, baking, or even to water plants.
- Gradual Cooling is Key: Always allow your freshly made yogurt to cool down to room temperature for at least 1-2 hours before transferring it to the refrigerator. An abrupt temperature change from warm to cold can cause the yogurt to thin out significantly, affecting its desired consistency. Patience during this step ensures optimal texture.
- Exploring the “Cold Start” Method: For a slightly different approach, some enthusiasts use the “Cold Start” or “No Boil” method. This technique specifically requires ultra-pasteurized (UHT) milk, which has already been heated to a very high temperature during processing, eliminating the need for an initial boiling step in your Instant Pot. While it can save a step, ensure you are using UHT milk, as regular pasteurized milk needs the boil cycle. I haven’t personally tested this method, but it’s a popular alternative for those looking to simplify further.
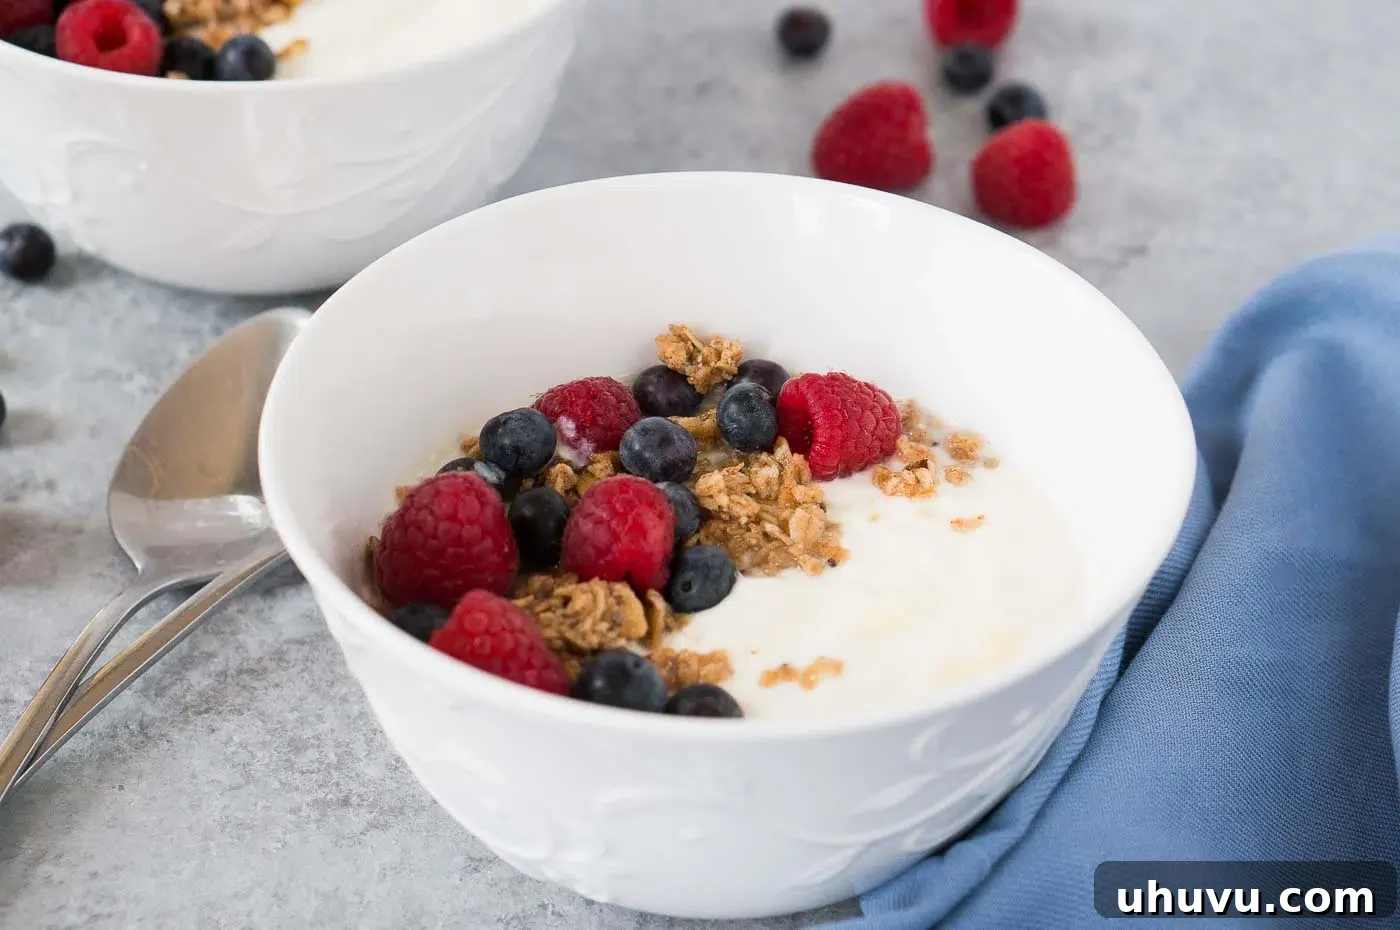
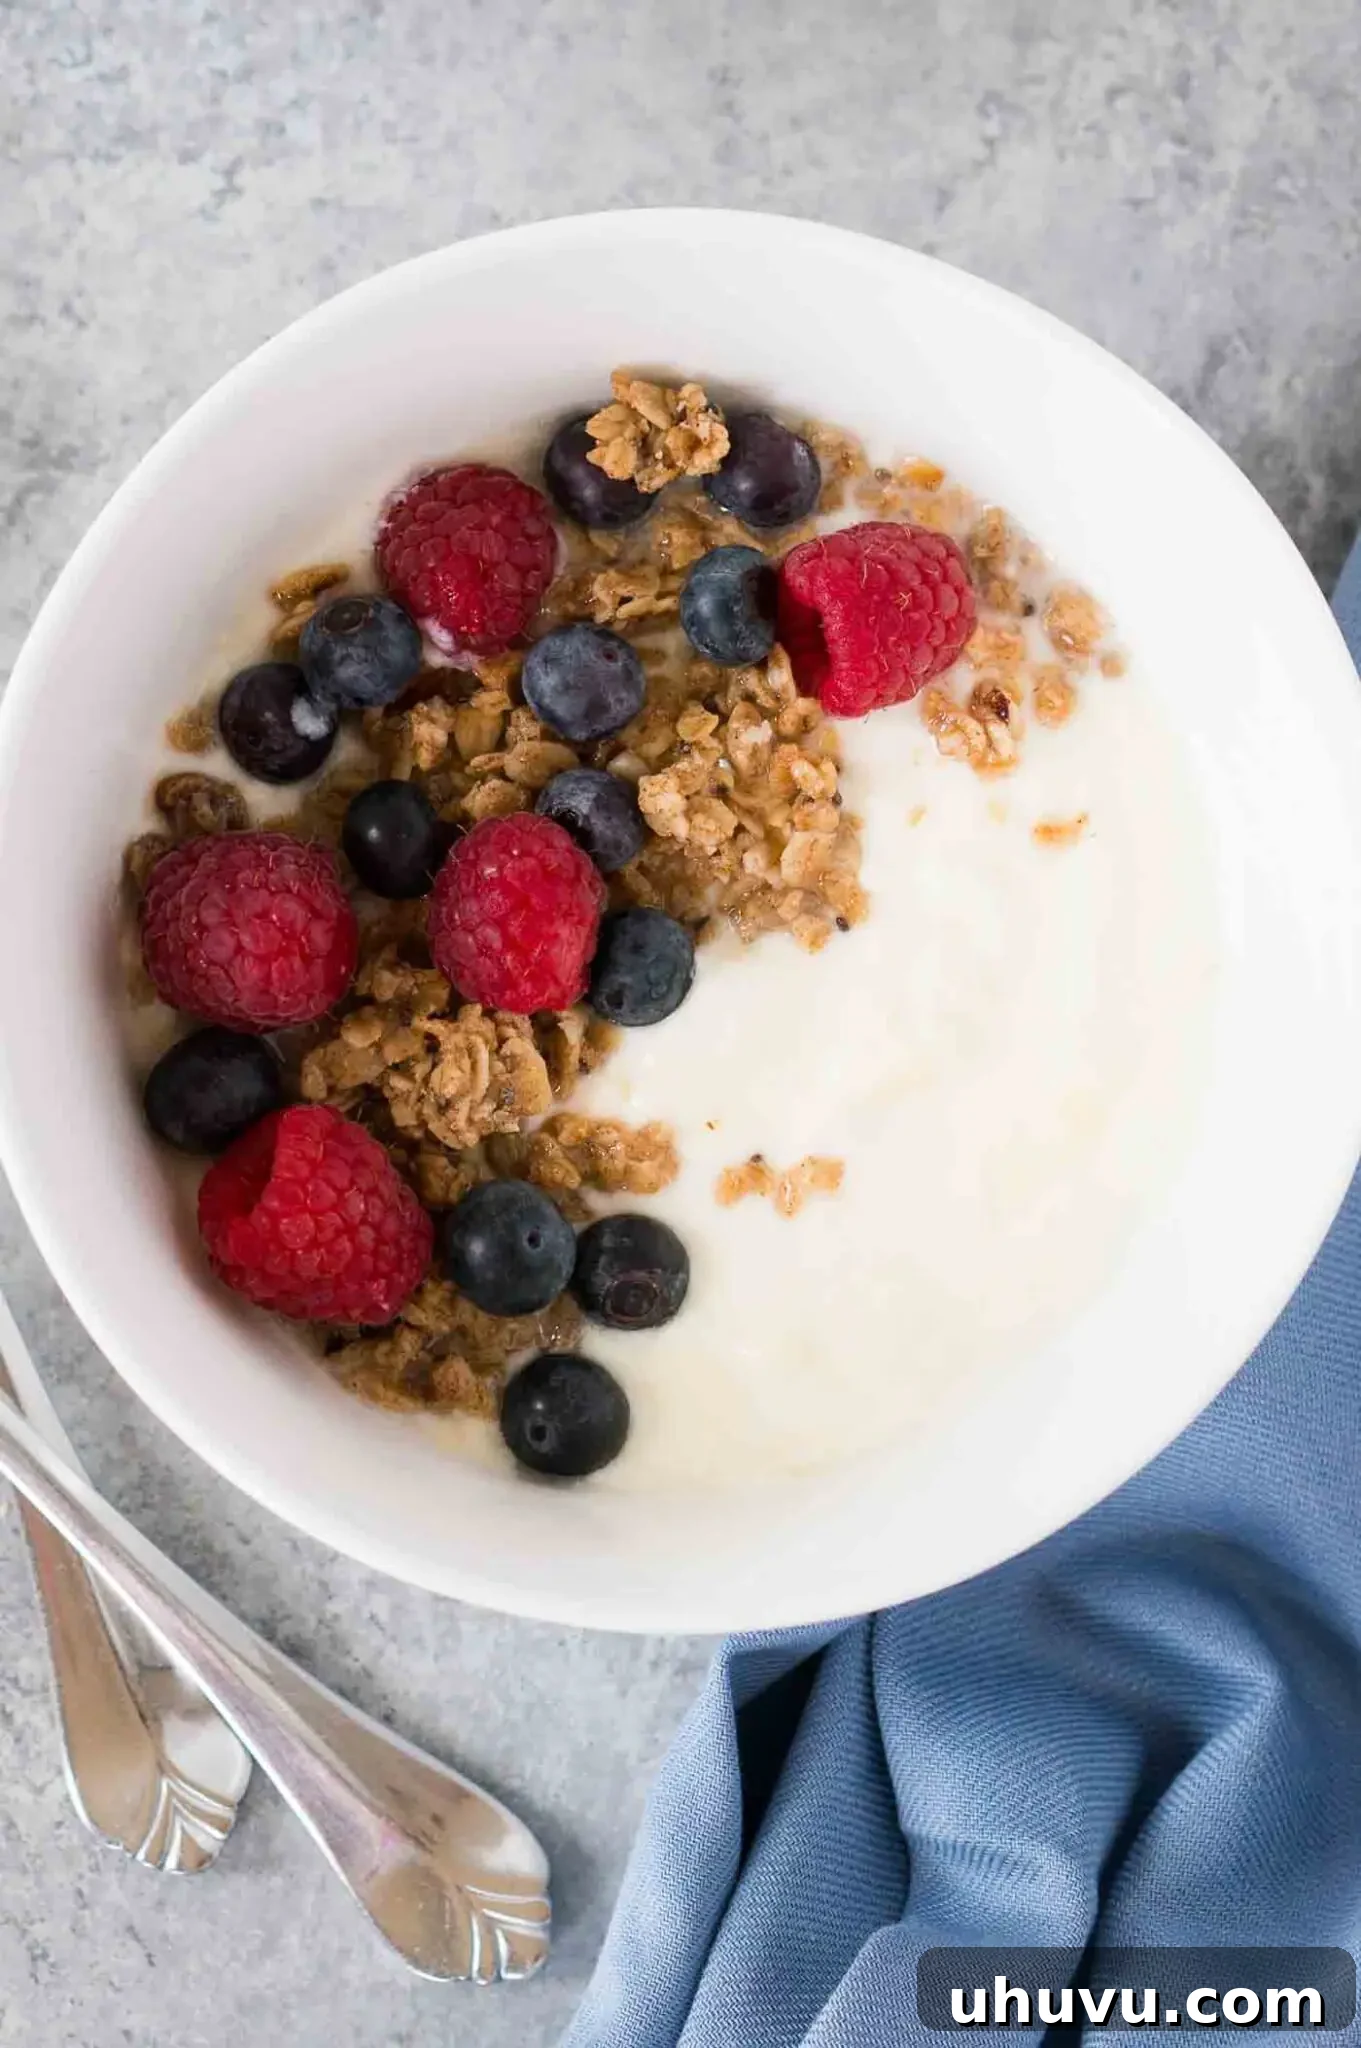
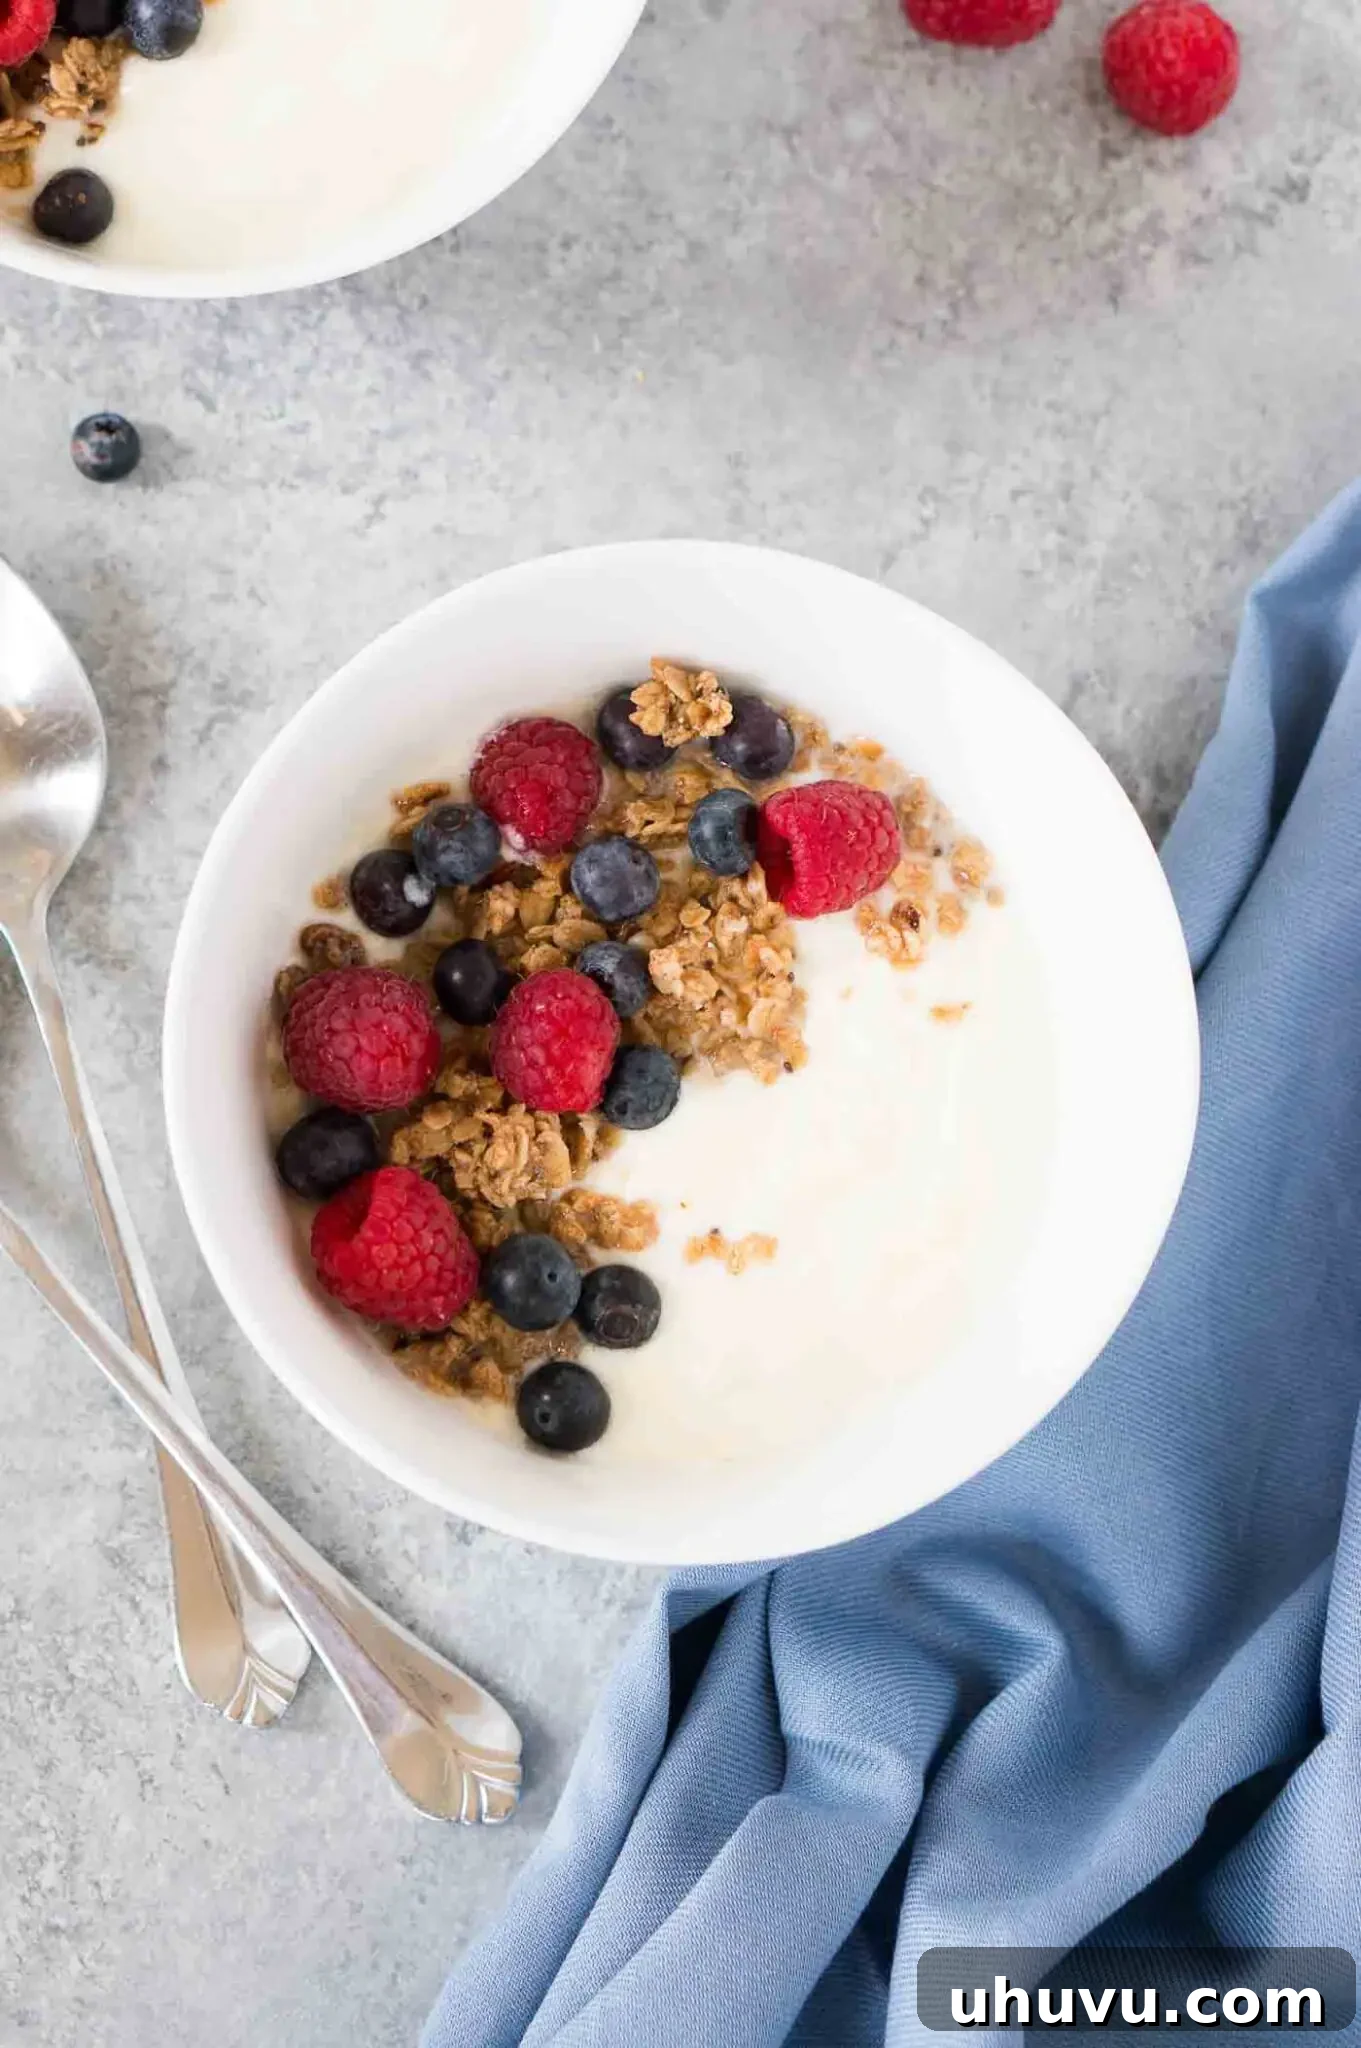
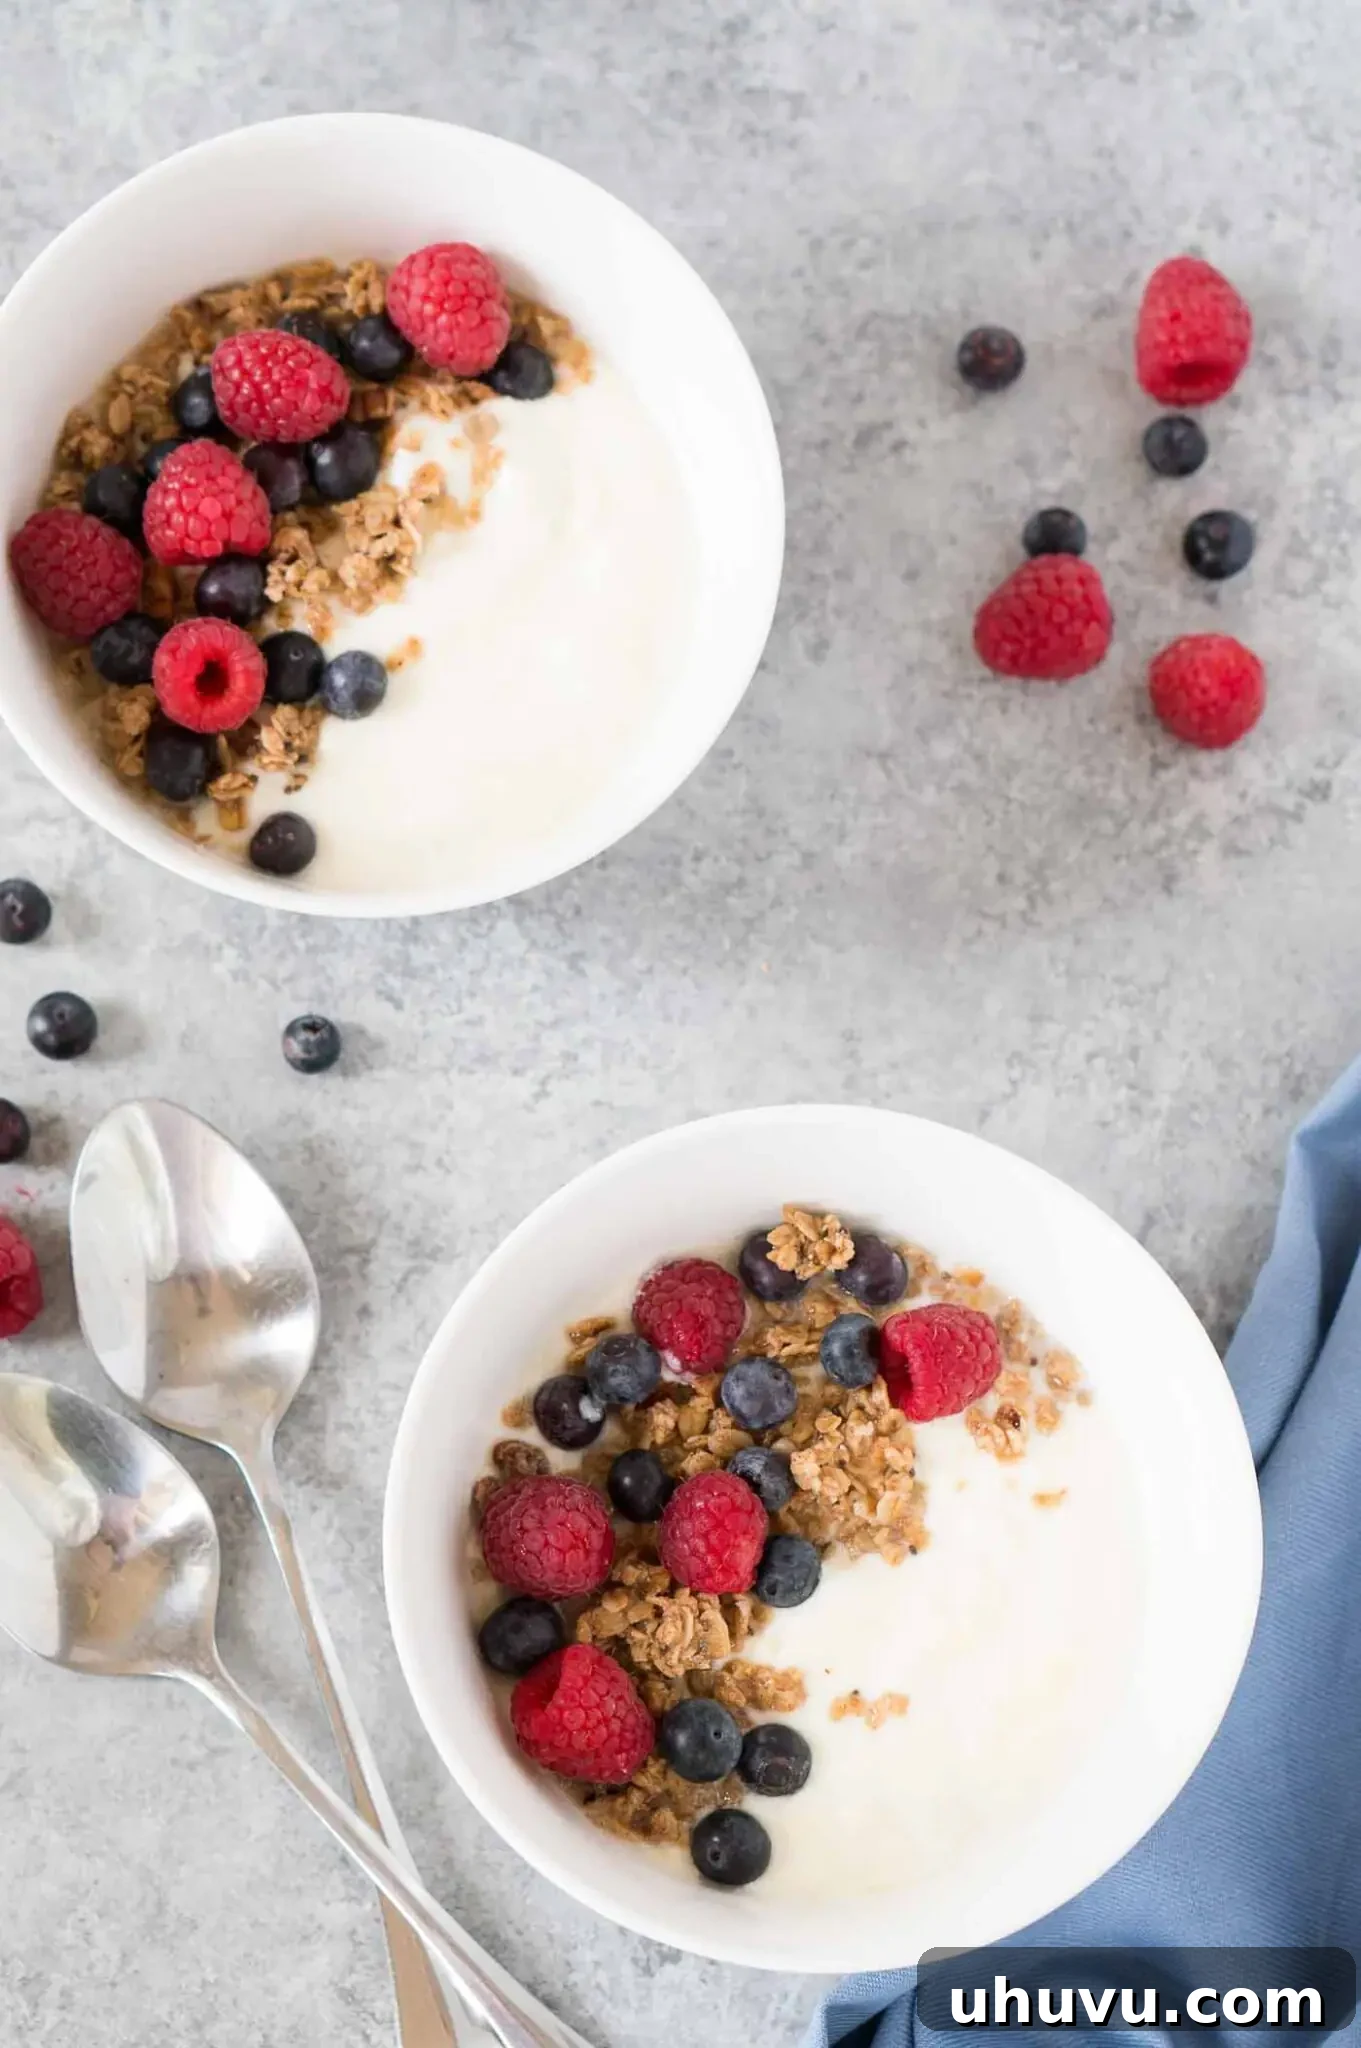
- Serving Suggestions: The beauty of plain homemade yogurt is its versatility. Serve it simply with a drizzle of honey or maple syrup. Elevate your breakfast by topping it with homemade granola, fresh seasonal berries, sliced bananas, or chopped nuts. It also works wonderfully in savory applications, as a base for dips, sauces, or dressings.
- Maintaining a Starter Culture: Once you’ve made your first batch, you can often use a portion of that homemade yogurt as a starter for your next batch! Ensure it’s plain and hasn’t been flavored or sweetened. This sustainable practice means you may never need to buy starter yogurt again.
Best Ways to Store Yogurt
- Refrigerate: Your freshly made Instant Pot yogurt, when stored properly in airtight, clean glass jars or containers, will maintain its quality and freshness in the refrigerator for up to 2 weeks. Ensure containers are sealed tightly to prevent absorption of other odors.
- Freeze: Yes, you can freeze homemade yogurt! For longer storage, transfer the yogurt to freezer-safe containers, leaving a little headspace for expansion. It can be frozen for up to 2 months. To use, simply thaw it overnight in the refrigerator. While the texture might become slightly grainier after thawing, it’s still perfectly suitable for smoothies, baking, or mixing into fruit.
Common Questions & Answers About Homemade Instant Pot Yogurt
No, this recipe specifically requires either a dedicated yogurt starter culture or plain, unflavored yogurt that explicitly contains live active bacterial cultures. These cultures are typically listed as Lactobacillus bulgaricus and Streptococcus thermophilus on the label. Flavored yogurts often contain sugars, stabilizers, or other additives that can interfere with the fermentation process, and their live culture count might be insufficient or compromised. Without the correct live bacteria, your milk will not transform into yogurt. If you prefer flavored yogurt, simply make a plain batch and stir in flavorings like vanilla extract, honey, maple syrup, fruit purees, or fresh fruit *after* the yogurt has fully set and chilled in the refrigerator.
Absolutely! This is one of the fantastic benefits of making homemade yogurt. Similar to sourdough bread, you can reserve a small portion of your freshly made, plain, unflavored yogurt to inoculate your next batch. This can effectively eliminate the need to buy starter yogurt ever again, saving you money and ensuring a consistent culture. A good practice is to freeze the required amount (around 2 tablespoons per half gallon of milk) of your fresh yogurt in ice cube trays. Once frozen, transfer the cubes to an airtight bag for long-term storage. When you’re ready to make another batch, simply thaw the yogurt cubes in the refrigerator overnight before use. Thawing slowly helps preserve the viability of the live cultures.
If your yogurt remains liquid after the incubation period, there are a few common culprits. Firstly, ensure your starter yogurt contained genuinely live active cultures; expired or non-active starters won’t work. Secondly, the milk temperature during the cooling phase is critical – if it was too hot (above 118°F), it could have killed the cultures, or too cold (below 110°F), the cultures wouldn’t activate effectively. An incubation period that was too short can also be a factor. You can sometimes salvage a thin batch by re-incubation for a few more hours, ensuring the temperature is correct. If it’s still liquid, it might be best to use it in smoothies or baking and start fresh with new milk and a reliable starter.
While it’s theoretically possible to make yogurt with raw milk, it’s generally not recommended for beginners or for safety reasons. Raw milk contains its own bacteria, which can compete with or even overpower the yogurt starter cultures, leading to unpredictable results, off-flavors, or potential spoilage. The initial boiling step in this recipe (pasteurization) is crucial for killing these competing bacteria and creating a clean slate for your desired yogurt cultures to thrive. For consistent, safe, and delicious results, stick to pasteurized whole milk.
Beyond using whole milk, there are a couple of tricks for achieving extra creamy yogurt. One is to add a small amount of non-fat dry milk powder (about 1/4 cup per half gallon) to your milk before the boiling step. This increases the protein content, leading to a thicker and creamier final product. Another method is to strain your yogurt through cheesecloth, as described in our tips section, to remove excess whey, which concentrates the solids and results in a denser, richer texture akin to Greek yogurt.
Explore More Instant Pot Culinary Adventures
Once you’ve mastered the art of homemade yogurt, the Instant Pot opens up a world of culinary possibilities. Expand your repertoire with these other fantastic pressure cooker recipes:
- Instant Pot Bolognese Sauce: A rich, hearty sauce that tastes like it simmered all day, but comes together in a fraction of the time.
- Instant Pot Hard Boiled Eggs: Achieve perfectly cooked, easy-to-peel hard-boiled eggs every single time.
- Instant Pot Chili: Warm up with a comforting bowl of chili, ready in minutes with minimal fuss.
- Instant Pot Chicken and Wild Rice Soup: A wholesome and satisfying soup, perfect for a cozy meal.
- Instant Pot Mac and Cheese: Creamy, cheesy, and incredibly quick, this family-favorite gets an upgrade.
- Instant Pot Pulled Pork: Tender, flavorful pulled pork that’s perfect for sandwiches, tacos, or salads, cooked quickly and efficiently.
If you enjoyed this Instant Pot Yogurt recipe or any other recipe on my blog, please leave a ⭐ star rating and let me know how it went in the 📝 comments below. Your feedback is greatly appreciated! Thanks for visiting!
Pin this now to find it later
Pin It
☝ Tap stars to rate
Instant Pot Yogurt
Make your own batch of luscious, creamy yogurt at home with this easy Instant Pot recipe. Far superior to store-bought options, just let your pressure cooker handle all the hard work.
Print Recipe
Save This Recipe
Enter your email and we’ll send the recipe directly to you!
Simply enter your details below:
By submitting this form, you consent to receive emails from Delicious Meets Healthy.
Equipment
-
Instant Pot pressure cooker
-
Pyrex measuring cups
-
Measuring tablespoon & teaspoon
-
Food thermometer
-
Silicone spatula
-
Small jars for storage
-
Optional: Strainer, cheesecloth (for Greek yogurt)
Ingredients
- ½ gallon whole milk
- 2 tablespoons plain Greek yogurt with active bacterial cultures, or yogurt starter
Instructions
-
Heat milk to 180°F – 200°F (Boil Cycle). Pour milk into the Instant Pot insert and close the lid (valve on ‘Venting’). Press ‘Yogurt’, then ‘Adjust’ to ‘BOIL’. This takes about 30-45 minutes to reach 180°F, killing undesirable microorganisms. When complete, it will beep and display ‘YOGT’.
-
Note: For a thicker yogurt, you can keep the lid closed for an additional 5 minutes after the boil cycle ends.
-
Remove the lid and use a food thermometer to confirm the milk temperature is between 180°F and 200°F.
-
Cool milk to 112°F – 115°F. Carefully remove the insert with hot milk. Place a food thermometer in the milk and let it cool. This takes about an hour naturally.
-
Alternatively, use an ice bath to cool faster. Place the insert in ice water and stir the milk frequently to ensure even cooling. Watch the thermometer closely, as the temperature can drop rapidly in about 5-10 minutes.
-
Note: If the temperature drops below 110°F, you must re-warm the milk. Place the insert back in the Instant Pot, press ‘Yogurt’, then ‘Adjust’ to gently heat until it reaches the 112°F – 115°F range, then proceed.
-
Temper the yogurt starter. In a medium bowl, combine the yogurt starter with about ½ cup of the warm (112°F-115°F) milk. Whisk until smooth, then pour this mixture into the Instant Pot insert with the remaining warm milk and whisk until well combined.
-
Incubate the yogurt. Place the insert with the milk and starter back into the Instant Pot and close the lid. Press ‘Yogurt’ and set the time to 8:00 hours (adjust for tanginess). The display will read ‘YOGT’ when incubation is finished.
-
During incubation, avoid moving the Instant Pot or opening the lid, especially for the first 6 hours, to prevent disturbing the setting yogurt.
-
Note: For tangier yogurt, increase incubation time up to 12 hours. (Longer incubation = tangier yogurt).
-
Check the yogurt. Carefully open the lid. Gently tilt the pot to see if the yogurt is set and moves as a solid mass rather than running liquid.
-
Chill the yogurt at room temperature. Remove the insert and place it on a cooling rack to cool on the counter for 1-2 hours.
-
Note: Placing it immediately in the refrigerator can thin your yogurt due to drastic temperature change.
-
Chill the yogurt in the fridge. Transfer the pot (or individual jars) to the refrigerator and chill for at least 6 hours, ideally overnight, for optimal firmness and flavor.
-
Store it in the refrigerator. Once fully chilled, transfer the yogurt to clean, airtight jars and store in the refrigerator for up to 2 weeks.
Notes
- You can halve this recipe for a smaller batch, or double it if you have an 8-quart Instant Pot and desire a larger quantity.
- For a thicker, Greek-style yogurt, strain it through a cheesecloth-lined strainer overnight in the refrigerator.
- Always allow the yogurt to cool to room temperature before refrigerating. Sudden temperature drops can lead to a thinner consistency.
Nutrition
Calories: 117kcal
|
Carbohydrates: 9g
|
Protein: 6g
|
Fat: 6g
|
Saturated Fat: 4g
|
Polyunsaturated Fat: 1g
|
Monounsaturated Fat: 2g
|
Cholesterol: 19mg
|
Sodium: 83mg
|
Potassium: 254mg
|
Sugar: 10g
|
Vitamin A: 307IU
|
Calcium: 217mg
|
Iron: 1mg
Nutrition Disclaimer: Nutritional values are estimates and may vary with ingredients, brands, and portion sizes. For accuracy, use your preferred nutrition calculator.
Like this recipe? Rate and comment below!