
Ultimate Guide to Homemade Almond Butter: Easy, Creamy, & Delicious!
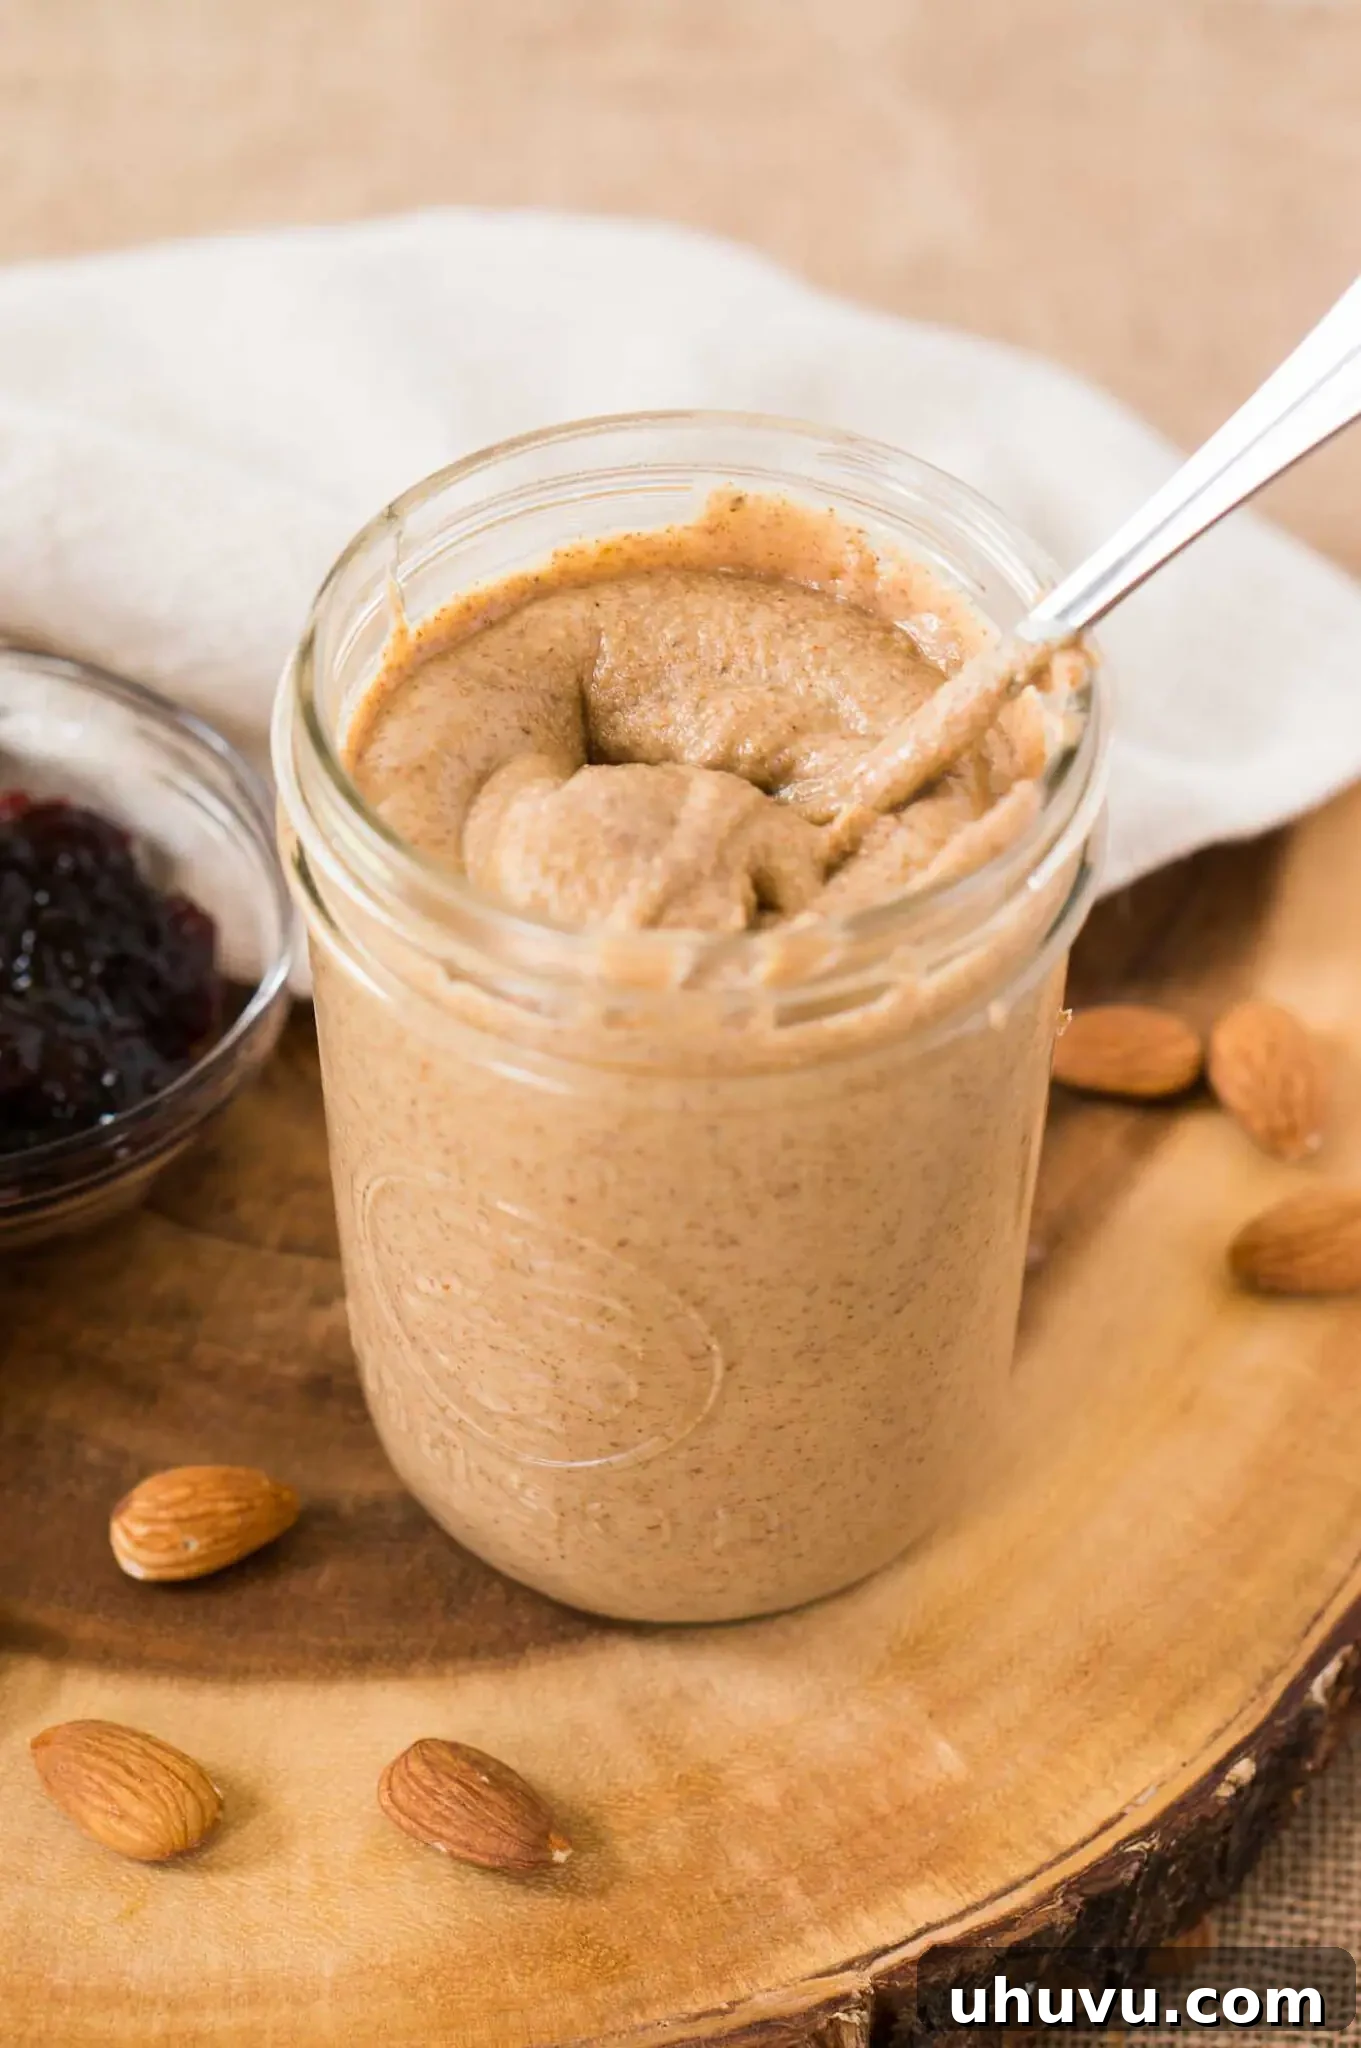
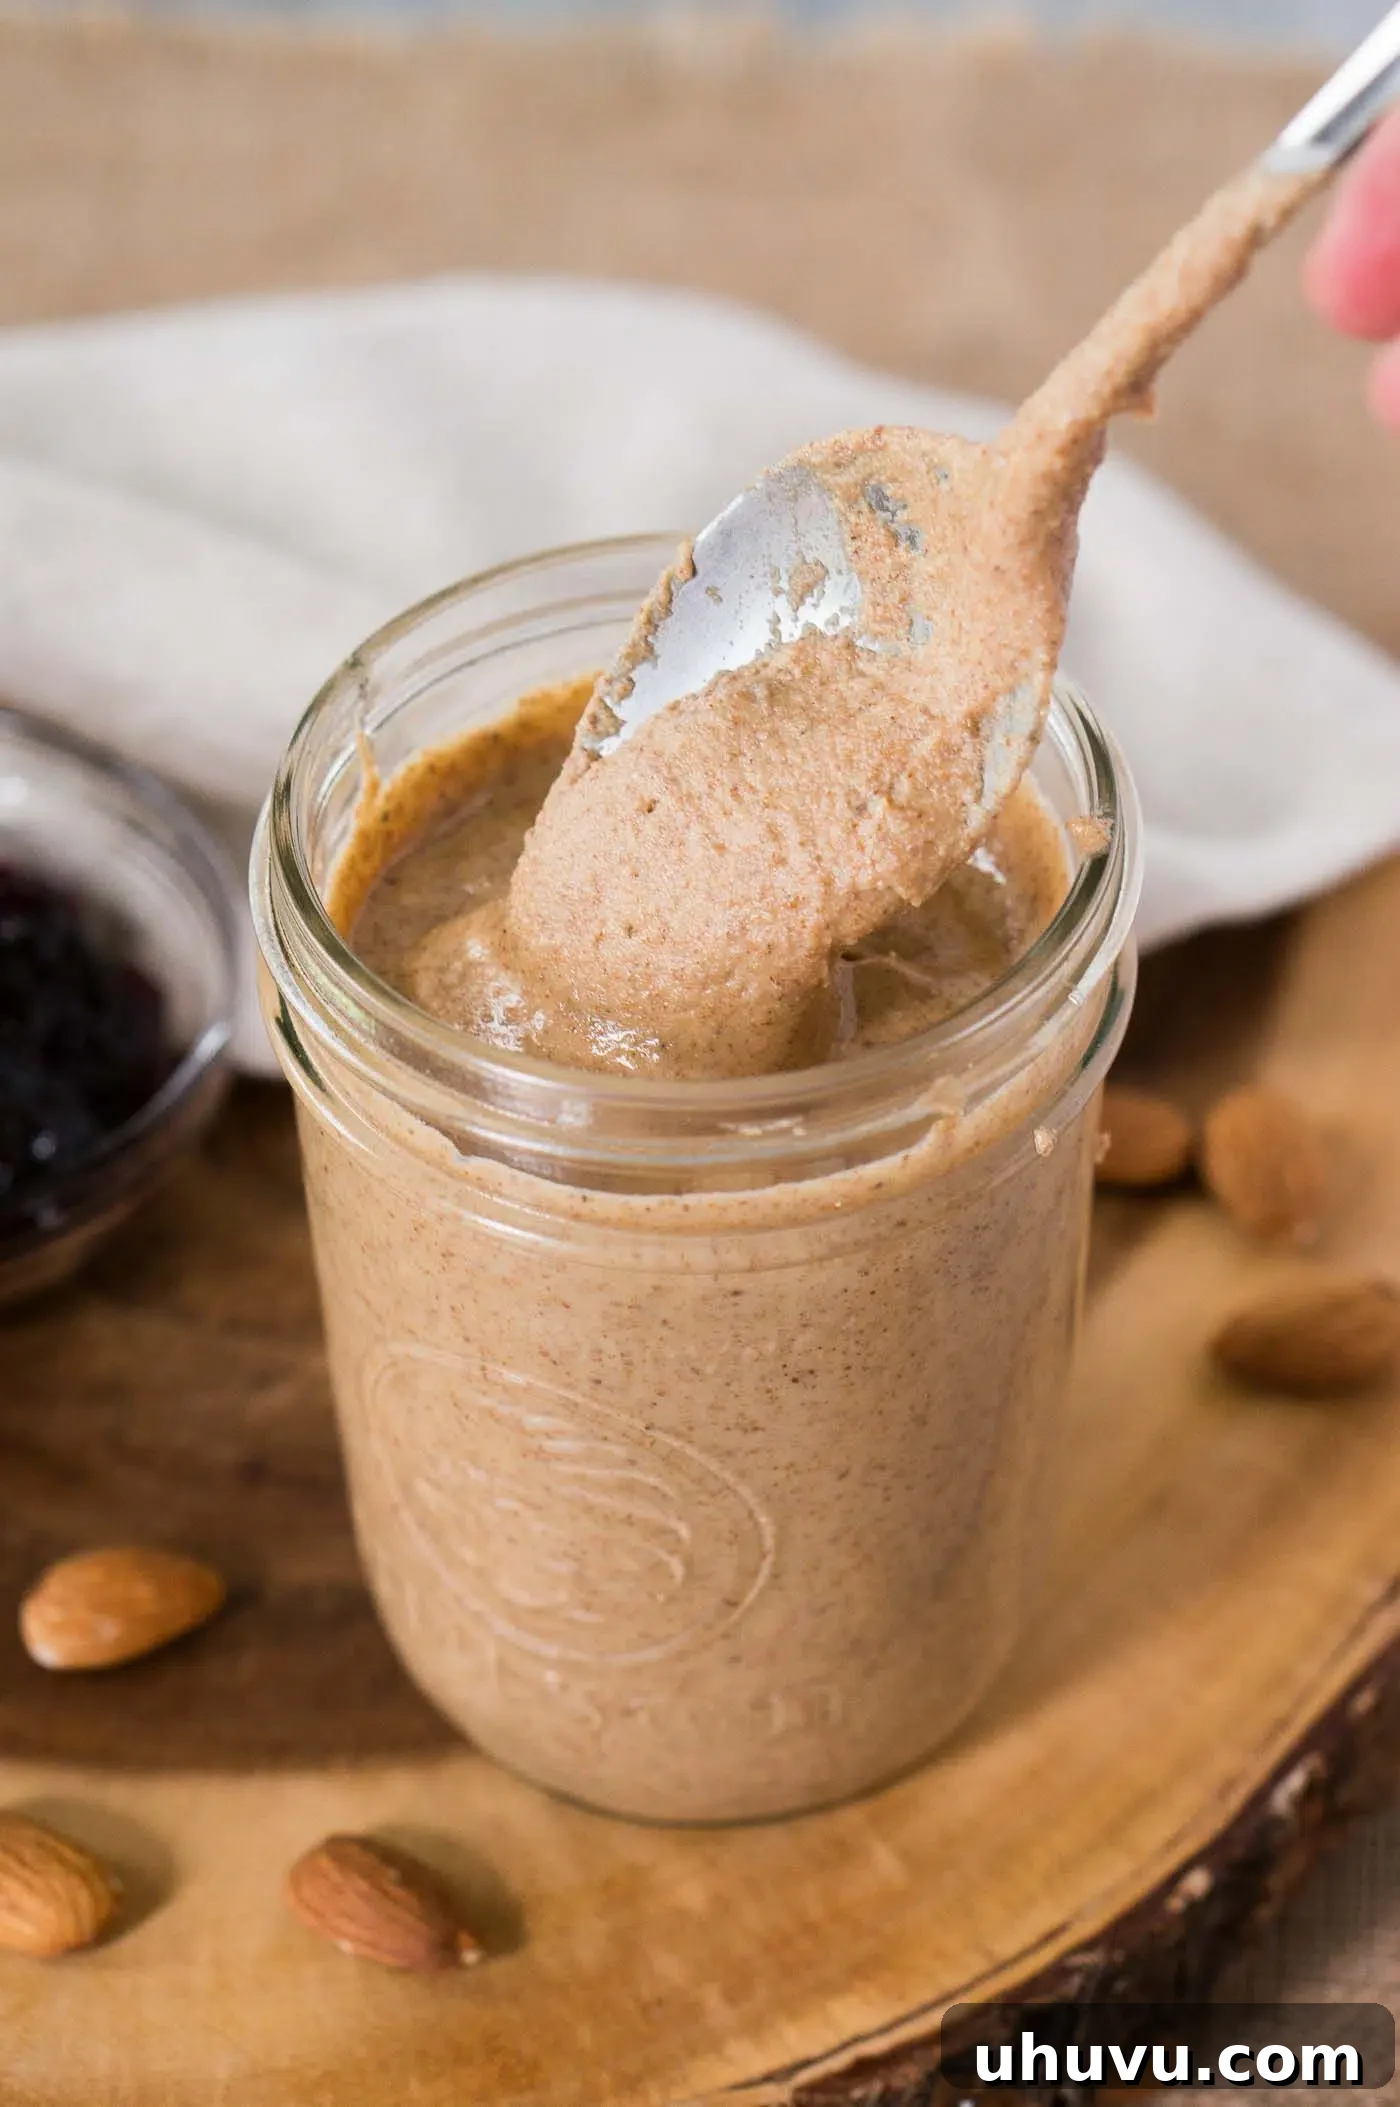
This homemade almond butter recipe is a game-changer! Imagine a rich, thick, and incredibly creamy spread that’s bursting with natural almond flavor, all made effortlessly in your own kitchen. You only need one core ingredient – raw almonds – a powerful food processor, and about 20 minutes to transform them into this delectable spread. Naturally aligning with vegan, gluten-free, paleo, and Whole30 dietary preferences, this recipe offers a pure, wholesome alternative to store-bought options, free from unwanted additives and sugars.
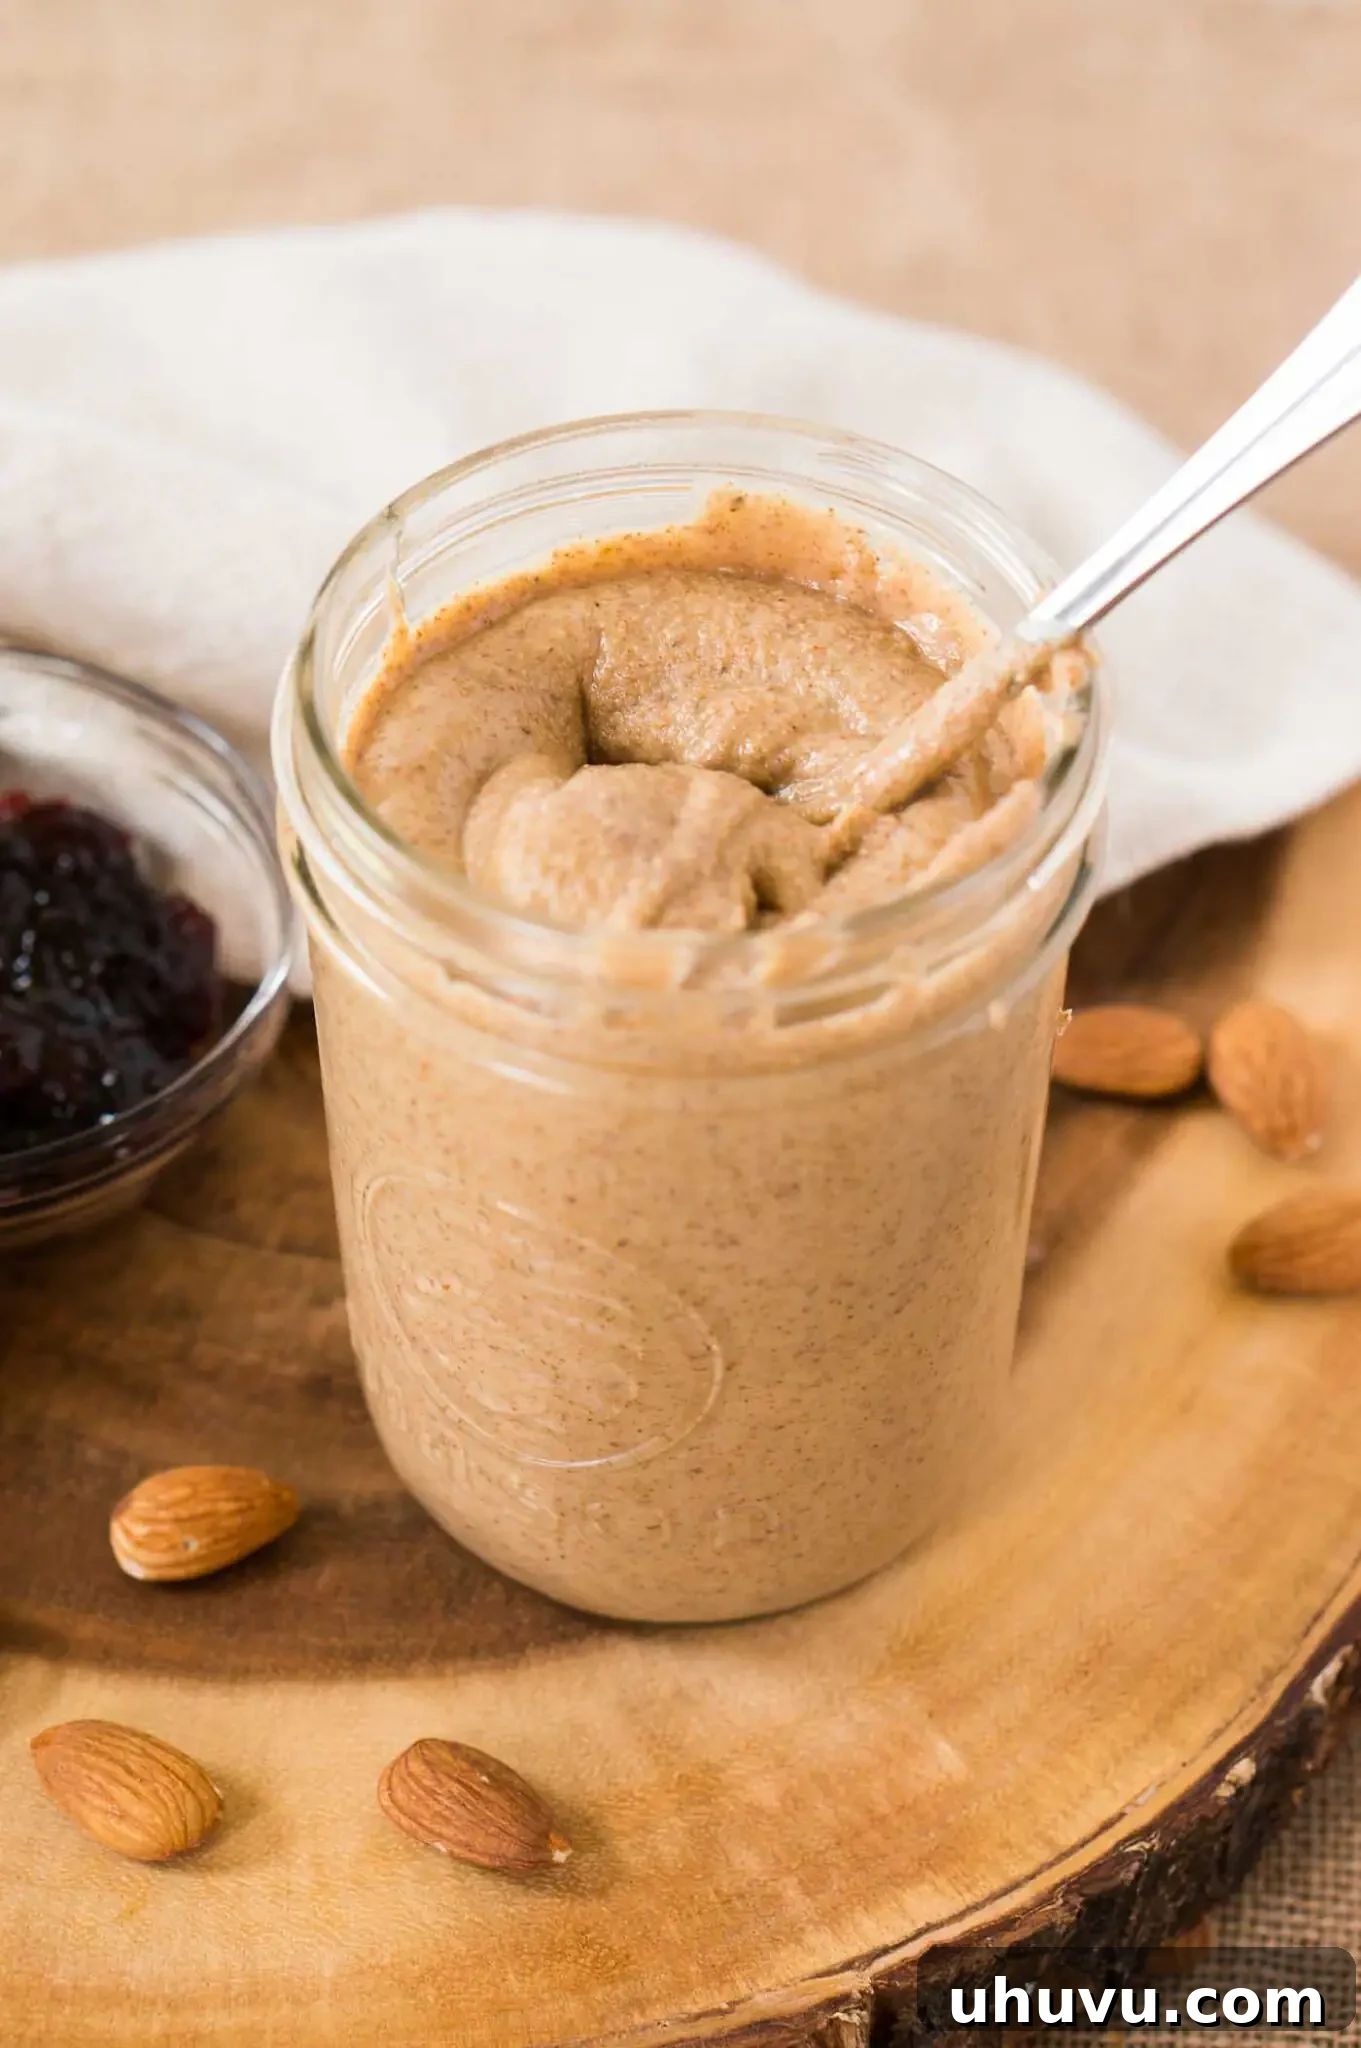
Honestly, discovering how simple it is to make your own almond butter has been a revelation! It’s incredibly quick and convenient, ensuring I always have a fresh batch on hand in my fridge. Many people think making nut butter at home is complicated, but it’s surprisingly straightforward. Forget about overpriced, often additive-filled jars from the store and prepare to enjoy a truly superior product. This guide will walk you through the process, turning you into an almond butter artisan in minutes!
If you’re a true almond enthusiast, don’t miss trying my Almond Cherry Crumble Tart for another delightful almond-based treat!
Why Choose Homemade Almond Butter?
- Unbeatably Easy to Make: With just raw almonds and a powerful kitchen appliance, you can create luscious almond butter at home in minimal time. The process is so simple, you’ll wonder why you haven’t been making it all along.
- Consistently Creamy Texture: This foolproof recipe guarantees a velvety smooth and spreadable almond butter every single time. The magic happens in the food processor as the almonds release their natural oils, transforming from a coarse meal into a rich, fluid butter.
- Healthier & Superior to Store-Bought: Crafting your own almond butter gives you complete control over the ingredients. You can confidently skip the added oils, sugars, and preservatives often found in commercial brands, ensuring you get a pure, wholesome, and incredibly nutty spread that’s better for you and tastes infinitely fresher.
- Cost-Effective: Buying raw almonds in bulk is often significantly cheaper than purchasing pre-made almond butter. Making it at home allows you to save money without compromising on quality or taste.
- Customizable Flavors: The beauty of homemade almond butter lies in its versatility. You can easily add various spices, sweeteners, or other ingredients to tailor the flavor precisely to your liking, creating unique spreads not available in stores.
Ingredients for Perfect Almond Butter
Making delicious almond butter requires minimal ingredients, allowing the natural flavor of the almonds to shine through. Here’s what you’ll need:
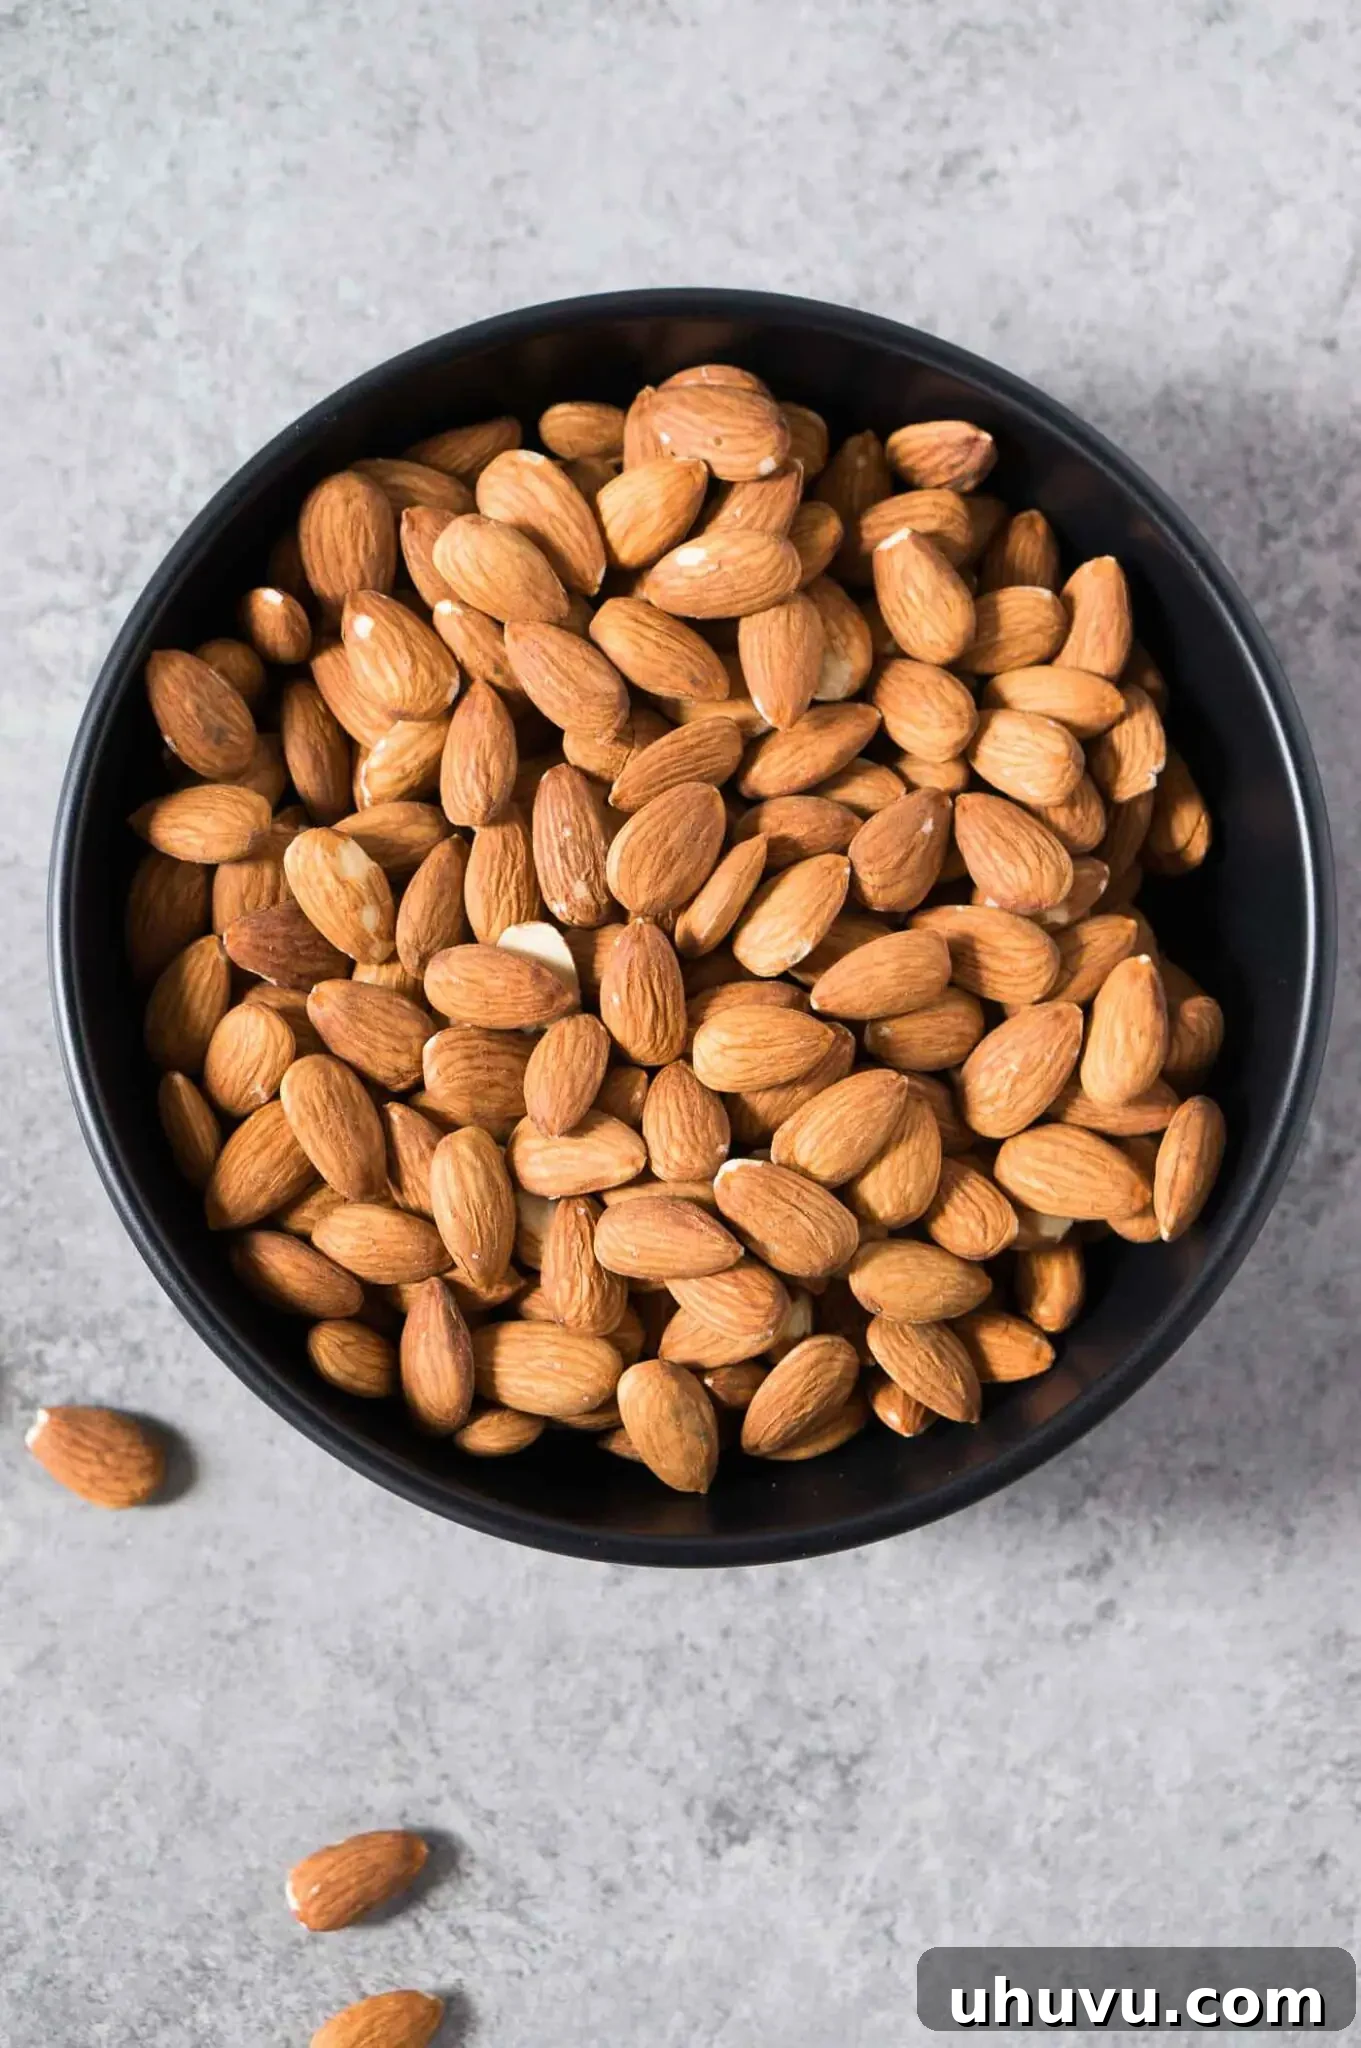
- 3 cups of Raw Almonds: Always start with good quality, raw almonds. Roasting them yourself, as instructed below, will significantly enhance their flavor and aid in the blending process. You can choose blanched or unblanched, but unblanched almonds (with skins) tend to yield a slightly richer flavor and texture.
- Optional Flavor Enhancers: These additions are purely for customization and can be adjusted to your preference. Add them at the very end of the blending process.
- A pinch of Sea Salt: A tiny bit of salt can really bring out the natural sweetness and depth of the almonds.
- 1/2 teaspoon Cinnamon: Adds a warm, comforting spice note.
- 1 teaspoon Vanilla Extract: Introduces a lovely aromatic sweetness.
- A drizzle of Honey or Maple Syrup: For those who prefer a touch of sweetness. Adjust the amount to your taste, starting with 1-2 teaspoons.
How to Make Almond Butter: A Step-by-Step Guide
Follow these simple steps to create your own luxurious batch of homemade almond butter:
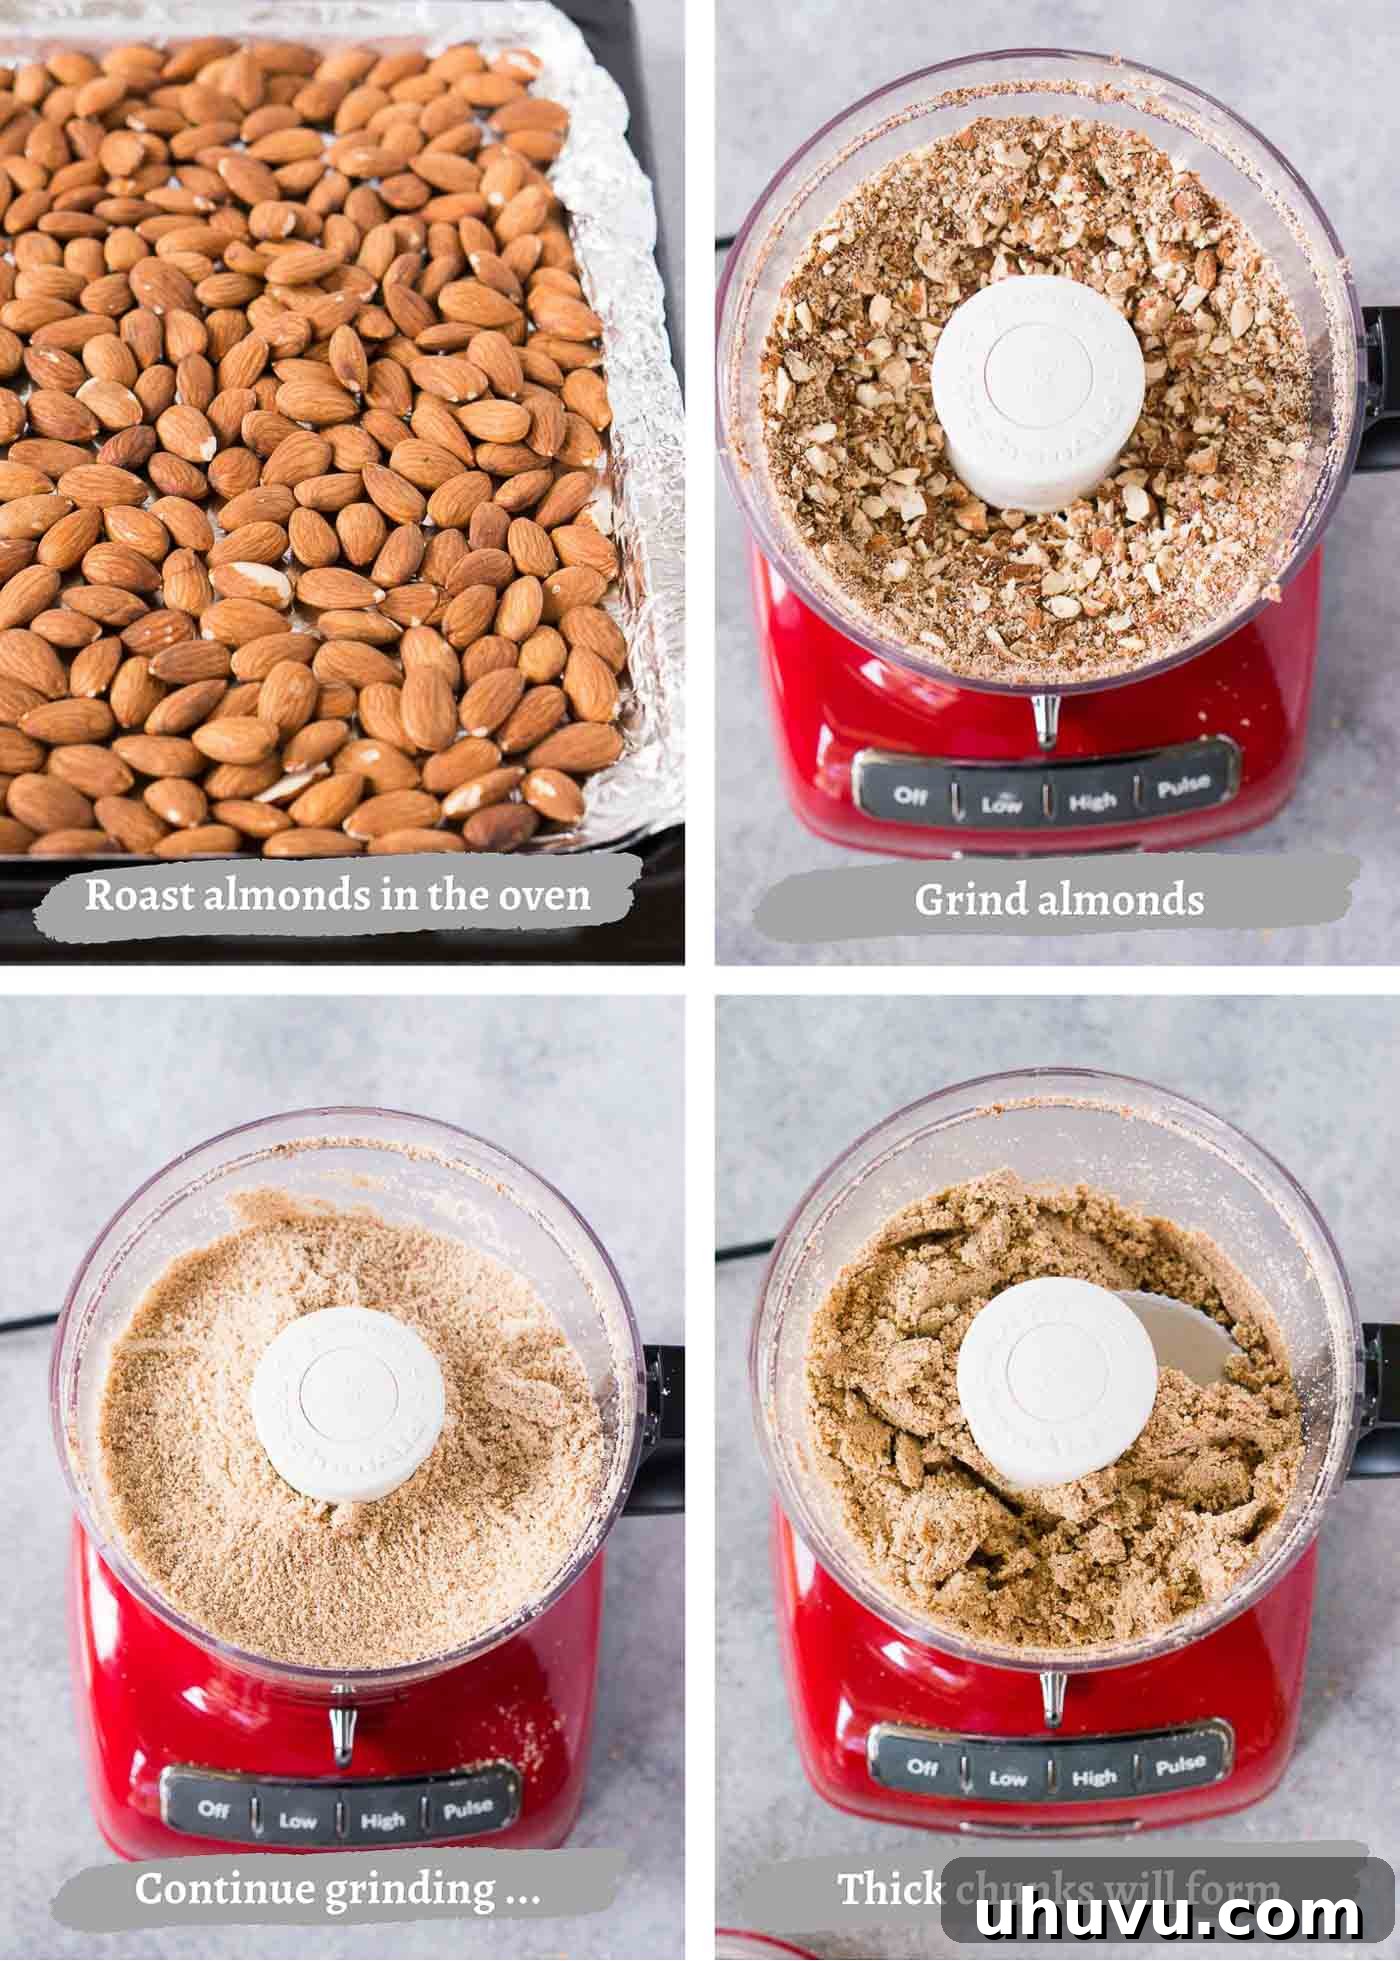
- Roast and Chill the Almonds: Preheat your oven to 350°F (175°C). Spread the raw almonds evenly in a single layer on a rimmed baking sheet. Roast them for exactly 10 minutes. This crucial step deepens their flavor and helps release their natural oils, making them easier to process. Once roasted, remove them from the oven and let them cool on the baking sheet for another 10 minutes. Cooling prevents overheating of your food processor.
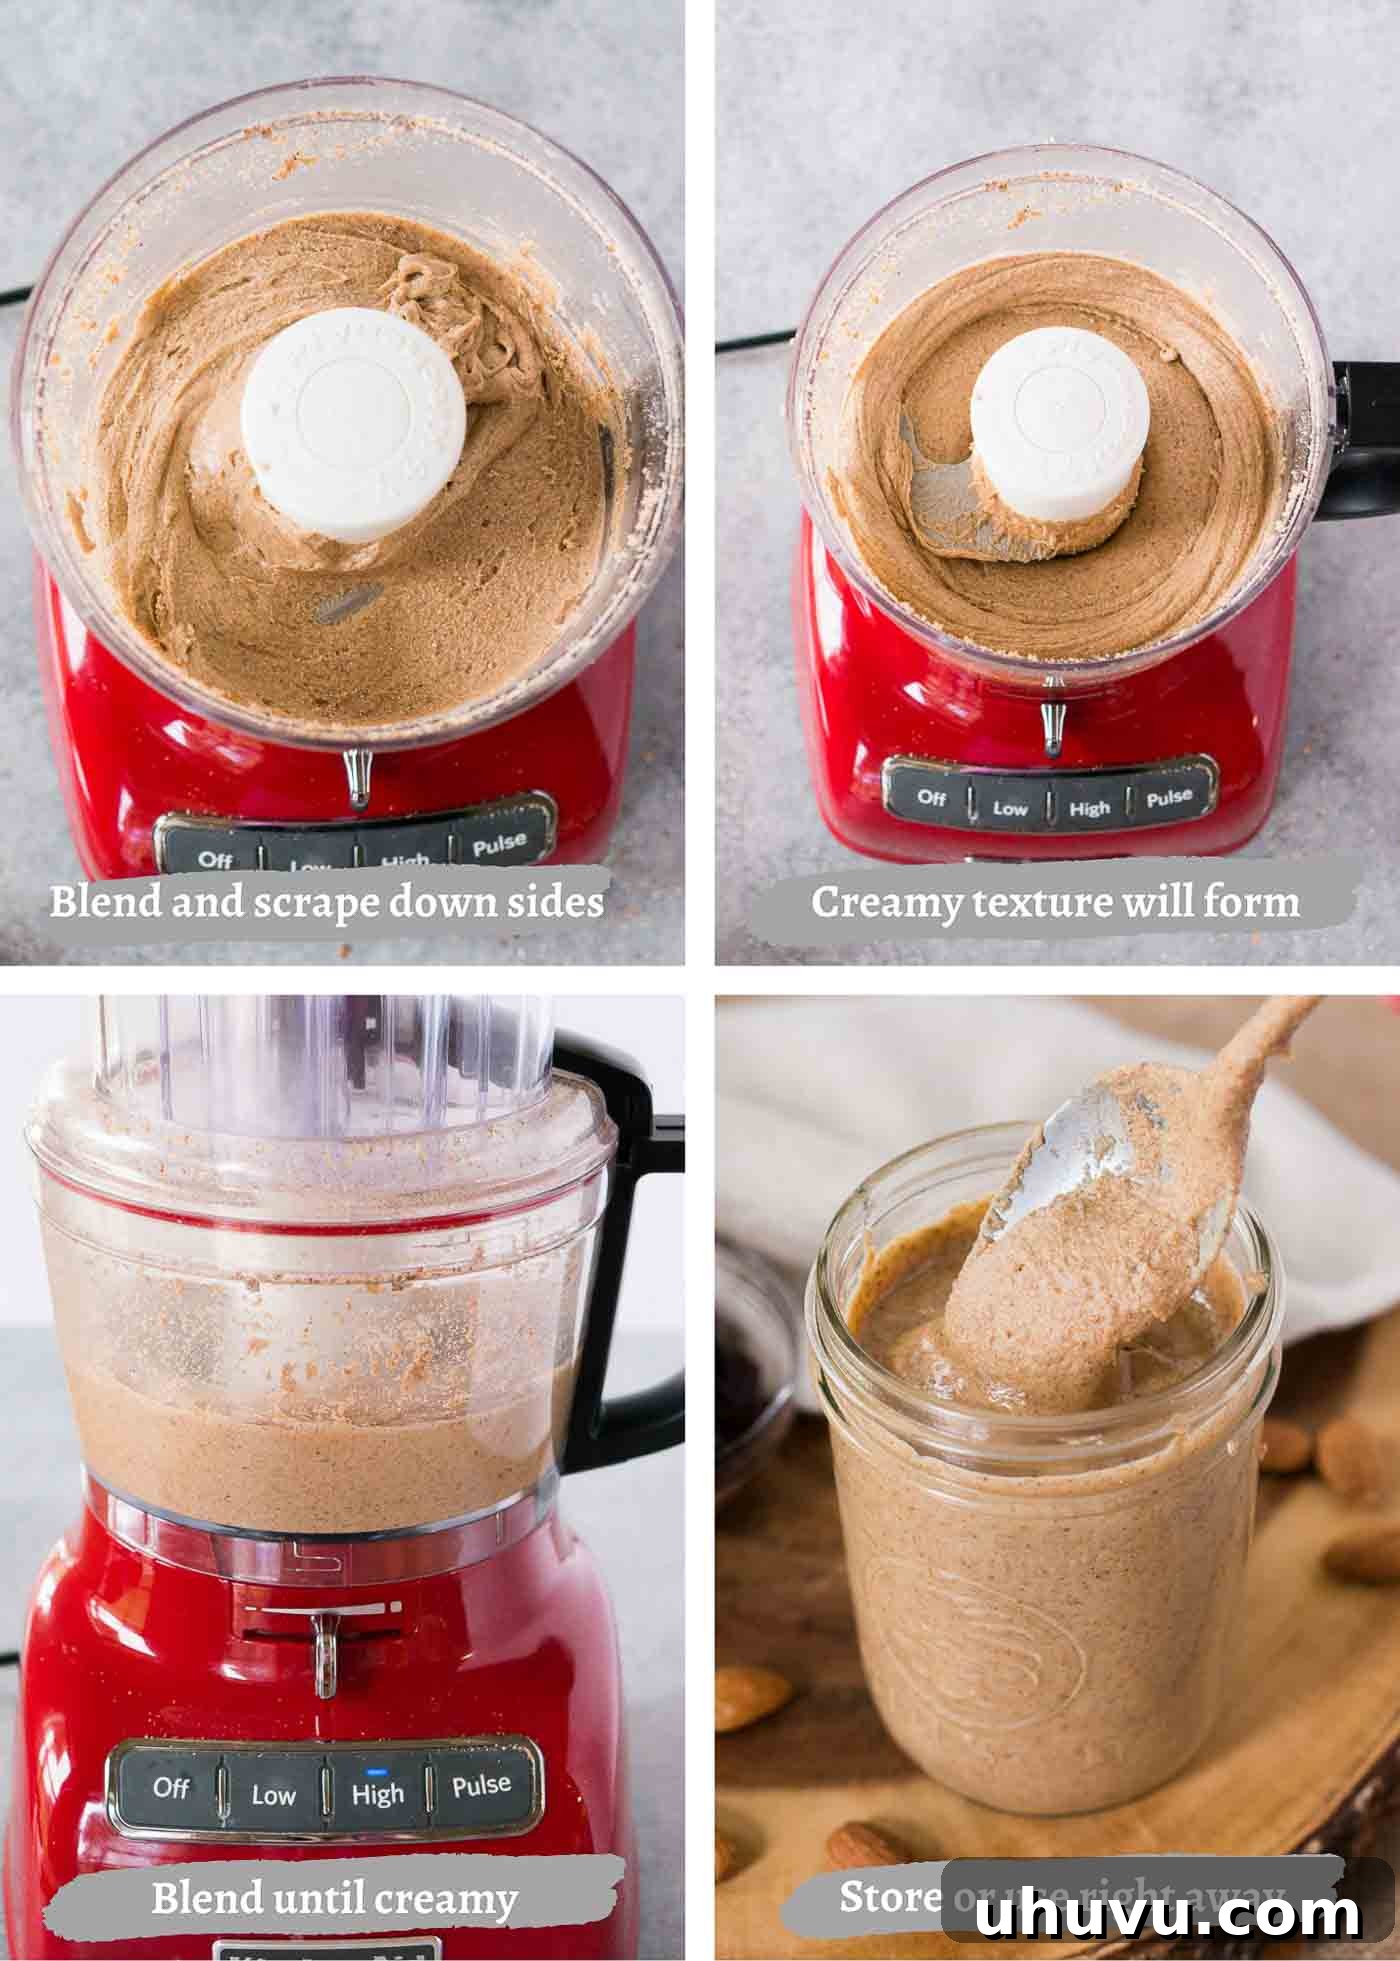
- Process until Creamy: Transfer the cooled, roasted almonds to a powerful food processor or a high-speed blender. Begin blending on high speed. You’ll need to be patient, as the almonds will go through several distinct stages before transforming into smooth, creamy butter. Make sure to pause every 1-2 minutes to scrape down the sides of the bowl with a spatula, ensuring all almonds are processed evenly.
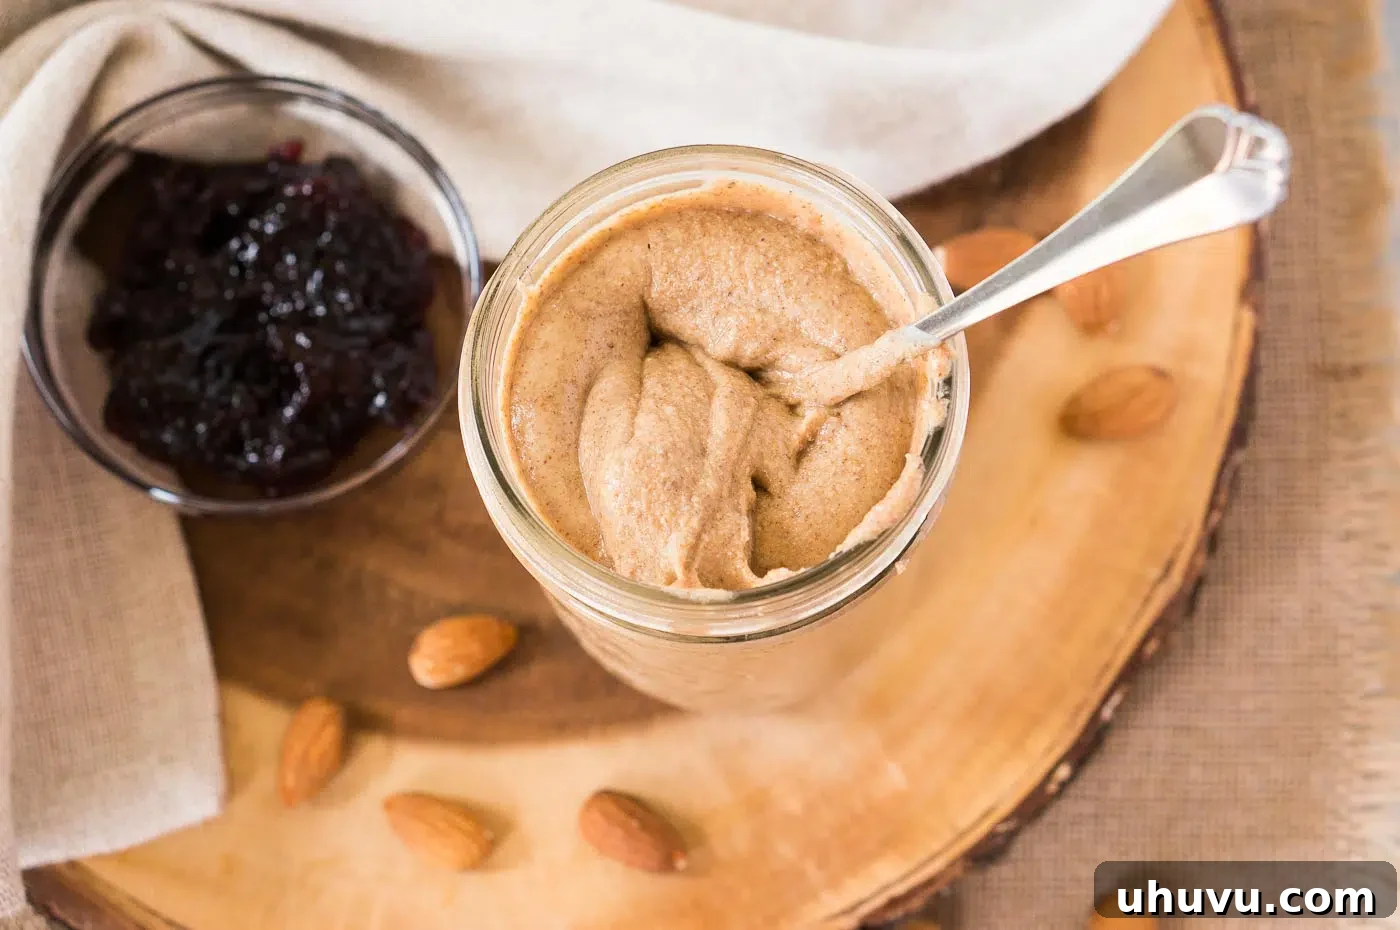
- Observe the Transformation: The almonds will first break down into a coarse meal, resembling flour. As you continue blending, they’ll clump together into thick chunks, then eventually form a larger, sticky ball. Keep processing! The friction and heat will encourage the almonds to release their oils, and gradually, this ball will liquefy, turning into a gloriously smooth and creamy almond butter. This entire blending process usually takes about 8-12 minutes, depending on your appliance’s power.
- Store Your Creation: Once your almond butter has reached your desired creamy consistency, transfer it to a clean mason jar or an airtight container. Securely screw on a lid.
Crafting Crunchy Almond Butter
If you prefer a delightful crunch in your almond butter, here’s a simple trick: Before you begin blending, reserve about 1/3 cup of the roasted and chilled almonds. After your main batch of almond butter is perfectly creamy, add these reserved almonds separately to the food processor. Pulse them about 6-8 times, or until they are chopped to your desired crunchy consistency. Then, simply stir them into your creamy almond butter at the very end. This ensures perfect control over the crunch factor without compromising the smooth base.
EXPERT ADVICE FOR YOUR KITCHEN
Recipe Notes and Tips for the Best Almond Butter
- Patience is Key! The most important tip for homemade nut butter is patience. It genuinely takes time, usually around 8-12 minutes of continuous processing, for the almonds to release their oils and transform into a smooth butter. Don’t be discouraged by the initial dry, flour-like stage, or when they form a ball; keep blending, and it will eventually become creamy.
- Don’t Skip Roasting the Almonds: Roasting the almonds is vital. It not only intensifies their natural, nutty flavor but also dries them out slightly, making it easier for the food processor to break them down and release their oils more efficiently. Ensure they are completely cool before processing.
- Use Unsalted Nuts: Always start with unsalted raw almonds. This gives you complete control over the salt content, allowing you to season the butter to your exact taste at the end.
- Avoid Adding Any Liquid Early: Do not add water, milk, or any other liquid to the food processor during the blending process. Adding liquid can cause the natural oils to seize up and prevent the almonds from turning into a smooth butter, resulting in a thick, unspreadable paste. If your butter seems too thick after it’s fully processed, you can add a tiny amount of neutral oil (like almond oil or a very light olive oil) at the very end, but usually, it’s not necessary.
- Timing for Sweeteners and Spices: If you plan to add optional ingredients like raw honey, maple syrup, ground cinnamon, or vanilla extract, incorporate them only after the almond butter has reached its desired smooth and creamy consistency. Adding them too early can interfere with the oil-releasing process. Stir them in for just another 30 seconds to a minute to combine.
- Choose the Right Equipment: While a standard food processor works wonders, a high-speed blender like a Vitamix or Blendtec can also be used. These blenders often process nuts even faster, achieving a super-smooth texture. Make sure your appliance is powerful enough to handle the workload to prevent motor burnout.
- Don’t Overfill the Processor: For best results and to protect your appliance, avoid overfilling your food processor. Work with the recommended amount (3 cups of almonds is ideal for most standard processors) to allow proper circulation and processing.
Creative Ways to Use Your Homemade Almond Butter
Homemade almond butter is incredibly versatile and can be enjoyed in countless ways, similar to peanut butter but with its own distinct, rich flavor profile. Here are some ideas to inspire you:
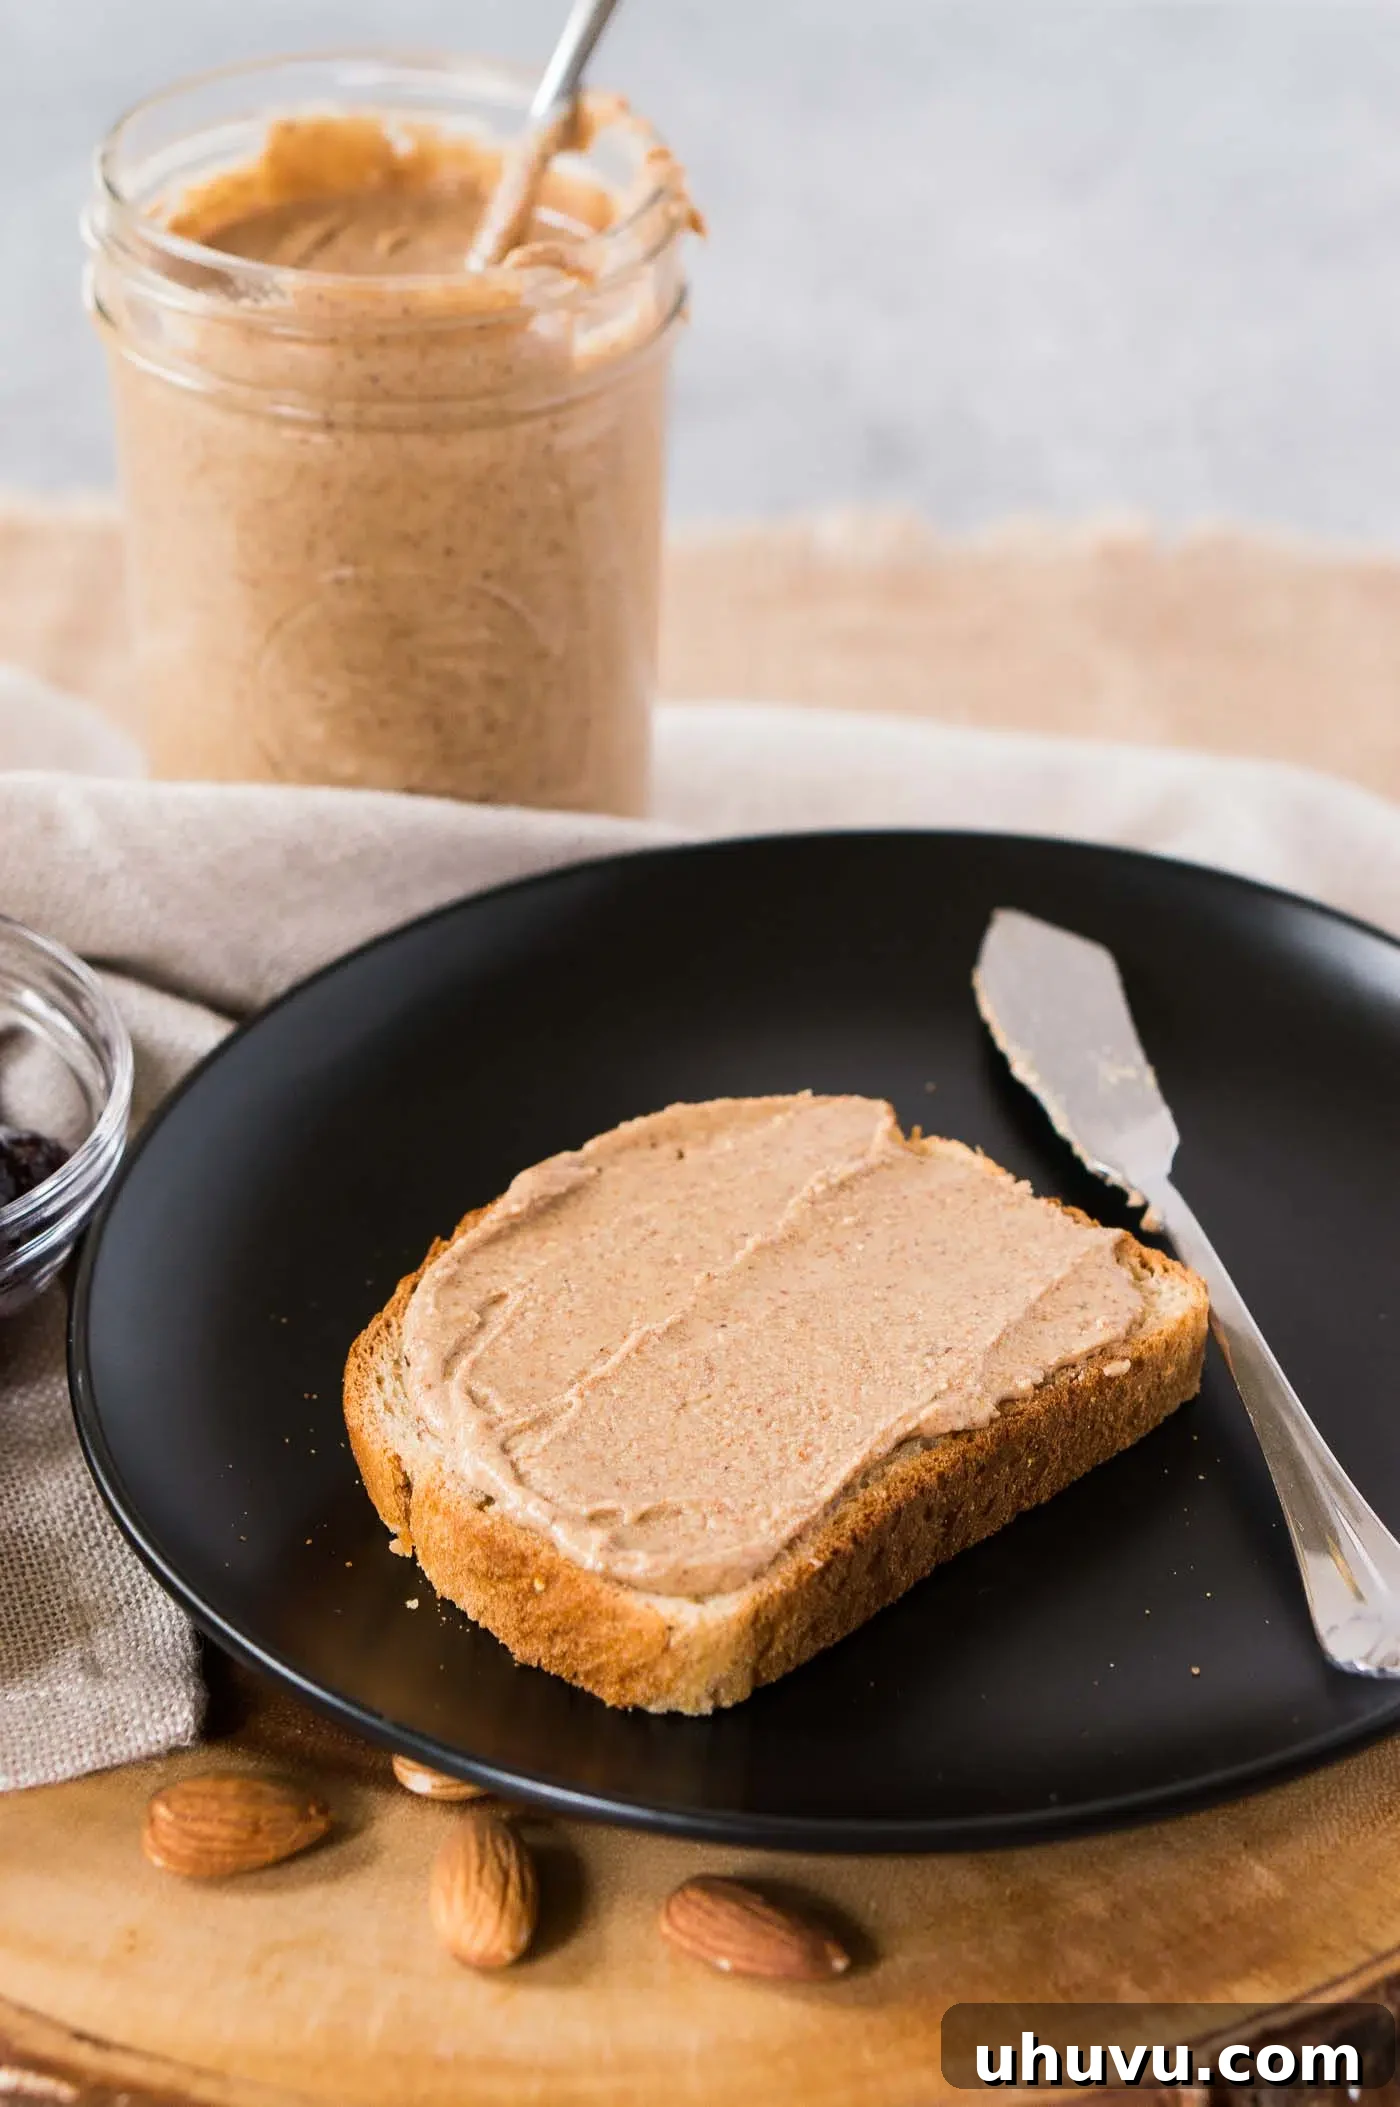
- Classic Spreads: Enjoy it spread generously on slices of artisan bread, a warm piece of toast, or fluffy banana bread. It pairs wonderfully with sourdough and your favorite jam for a gourmet sandwich.
- Breakfast Booster: Swirl a dollop into your Instant Pot oatmeal, top your pancakes or waffles, or add it to a bowl of yogurt for a protein-packed start to your day.
- Smoothie Enhancer: Blend a spoonful into your morning breakfast smoothie for extra creaminess, healthy fats, and a boost of protein and fiber.
- Snack Time Favorite: Pair it with apple slices, banana, celery sticks, or other fruits and vegetables for a satisfying and healthy snack.
- Baking & Desserts: Incorporate it into your baking! Make delicious almond butter cookies, energy balls, or use it as a filling for chocolate muffins or brownies. It can often be substituted for peanut butter in many recipes.
- Savory Dishes: Don’t limit it to sweet applications. Almond butter can be a fantastic base for savory sauces, marinades, or dressings, adding a nutty depth to stir-fries or noodle dishes.
- Straight from the Spoon: And of course, sometimes the best way to enjoy its pure, creamy goodness is straight off the spoon – a simple, satisfying treat!
Storing and Freezing Your Homemade Almond Butter
Proper storage is essential to maintain the freshness and quality of your homemade almond butter.
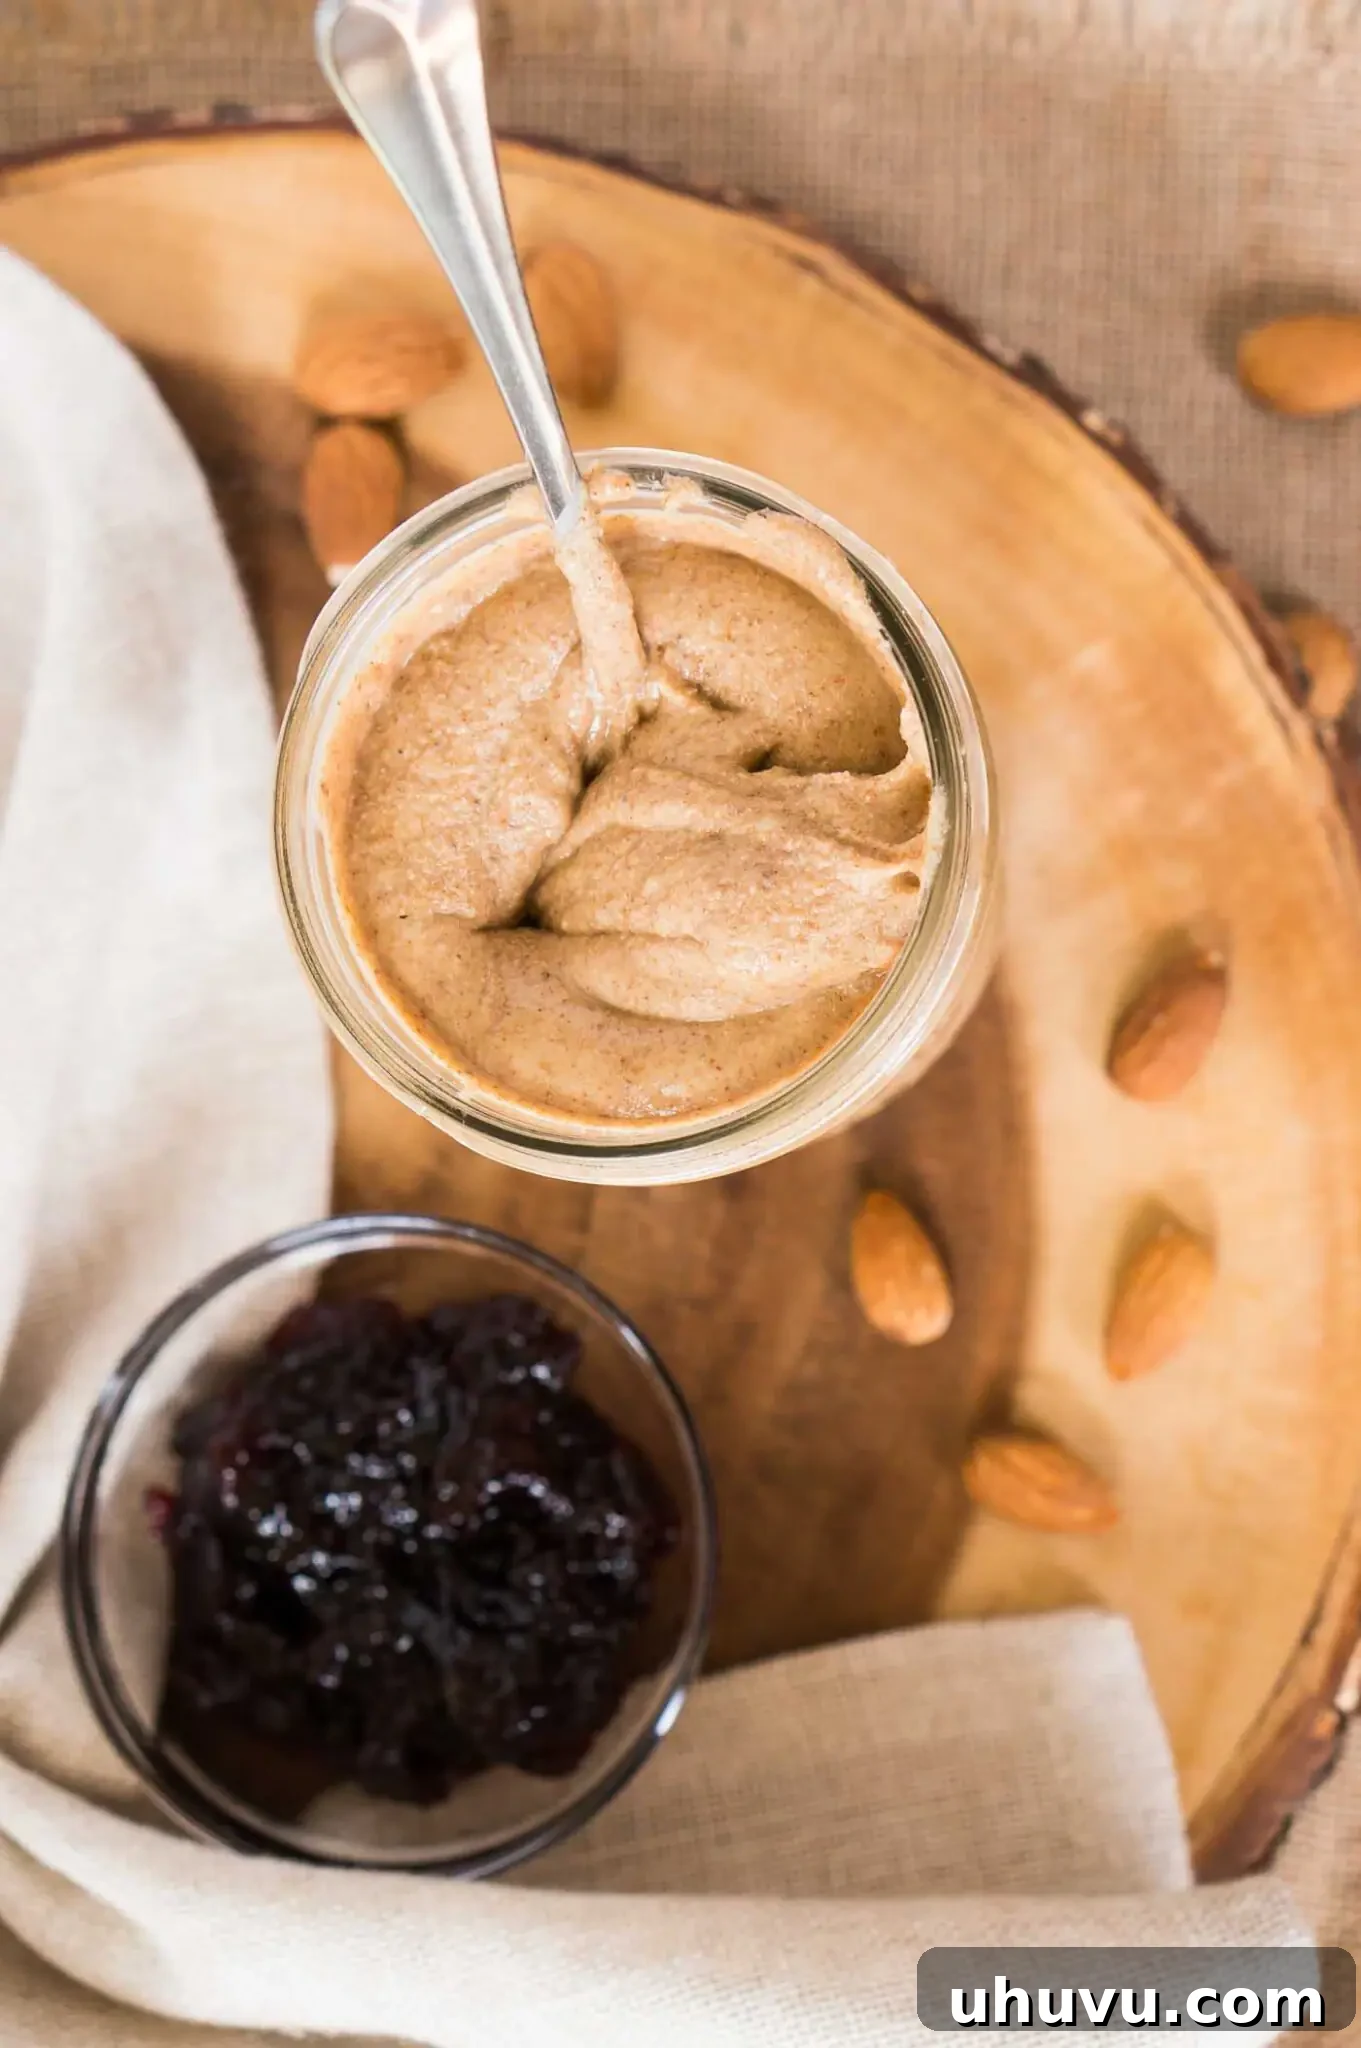
- Refrigeration: For best results and to preserve its fresh flavor, keep your homemade almond butter in a sealed, airtight jar (like a mason jar) in the refrigerator. It will stay fresh and delicious for up to 2 weeks. Over time, some natural oil separation might occur; simply stir it back in before serving.
- Freezing: If you’ve made a larger batch or want to extend its shelf life further, you can freeze almond butter for up to a month. After a month, the oils may start to separate more noticeably, and the texture could slightly change, though it will still be safe to eat. To use, thaw the frozen butter in the refrigerator overnight before stirring and enjoying.
- Room Temperature: While some commercial almond butters are shelf-stable, homemade versions without preservatives are best kept refrigerated. Keeping it at room temperature for extended periods can accelerate spoilage and rancidity of the natural oils.
Recipe FAQs About Homemade Almond Butter
Homemade almond butter is significantly more flavorful and fresher than most store-bought jars, which often contain added oils, excessive salt, and sugars. It’s also much more cost-effective in the long run and incredibly satisfying to make. Plus, you have complete control over the ingredients, ensuring a pure product.
While comparable to peanut butter in its spreadable consistency, homemade almond butter offers a distinctly nuttier, richer, and often slightly sweeter flavor profile, especially when made from freshly roasted almonds. It’s an excellent, delicious alternative for those with peanut allergies or anyone looking for a different kind of nut butter.
Patience is usually the answer! Almonds go through several stages (flour, wet sand, thick paste, ball) before releasing enough oils to become creamy. This can take 8-12 minutes of continuous processing. Ensure your food processor is powerful enough and that you’re scraping down the sides frequently. Also, make sure your almonds were properly roasted and completely cooled.
Yes, you can use unroasted (raw) almonds, but the flavor will be less intense and slightly bitter. Roasting significantly enhances the nutty aroma and helps the almonds release their oils more easily, resulting in a creamier, more flavorful butter. We highly recommend roasting them for the best experience.
If your almond butter is thick but still smooth after sufficient processing time, you can add a very small amount (1-2 teaspoons) of a neutral oil, such as almond oil, grapeseed oil, or a light olive oil, and process for another minute until it reaches your desired consistency. Avoid adding water or other liquids, as this can cause it to seize.
More Essential How-To Guides & Recipes
If you’ve enjoyed mastering this almond butter recipe, be sure to explore my other homemade basics and culinary tutorials:
- How To Make Butter from Scratch
- Fresh & Flavorful Basil Pesto Recipe
- Perfect Homemade Balsamic Glaze
- The Best Homemade BBQ Dry Rub
If you enjoyed making this Homemade Almond Butter recipe or any other recipe on my blog, please leave a ⭐ star rating and let me know how it went in the 📝 comments below. Your feedback helps others discover delicious recipes! Thanks for visiting!
Save this recipe for later on Pinterest!
Pin It
Homemade Almond Butter
Neli Howard
10 minutes
10 minutes
20 minutes
16 servings
Print Recipe
Ingredients
-
3
cups
raw almonds - Optional: sea salt, cinnamon, vanilla extract, drizzle of honey or maple syrup
Instructions
-
Roast almonds on a rimmed baking sheet at 350°F (175°C) in the oven for 10 minutes. Then, remove and chill for 10 minutes until completely cool.
-
Place the cooled almonds in a food processor (or powerful kitchen blender) and blend on high speed. Pause periodically to scrape down the sides as necessary. The almonds will transition from a flour-like consistency, to thick chunks, and then form a larger ball. Continue to process until it turns into smooth, creamy almond butter (this usually takes 8-12 minutes).
-
Transfer the creamy almond butter to a mason jar or an airtight container and screw on a lid. Store in the refrigerator for up to 2 weeks.
Notes
- Be patient! It will take about 8-12 minutes in the food processor for the almonds to turn into a smooth butter spread. The almonds go through several stages (flour, chunks, ball) before they finally release their oils and become spreadable almond butter.
- Don’t skip roasting the almonds. This step is crucial as it significantly helps to bring out their natural flavors and makes them easier to process.
- Use unsalted nuts initially, so you can control the seasoning and add salt to your own taste if desired.
- Don’t add any liquid (like water or milk) to the food processor during blending, as this can cause the butter to seize as the oils are released, preventing it from becoming creamy.
- If you like, you can add a little raw honey or maple syrup to the creamy nut butter mixture for a hint of sweetness. Ensure you add it at the very end of the blending process, after the butter is already smooth. You could also add some ground cinnamon, a pinch of salt, or vanilla extract for flavor variations.
- Alternatively to a food processor, you can use a high-speed blender like a Vitamix.
Nutrition
Serving:
2
tablespoons
Calories:
154
kcal
Carbohydrates:
6
g
Protein:
6
g
Fat:
13
g
Saturated Fat:
1
g
Polyunsaturated Fat:
3
g
Monounsaturated Fat:
8
g
Trans Fat:
1
g
Sodium:
1
mg
Potassium:
189
mg
Fiber:
3
g
Sugar:
1
g
Vitamin A:
1
IU
Calcium:
71
mg
Iron:
1
mg
Nutrition Disclaimer: Nutritional values are estimates and may vary with ingredients, brands, and portion sizes. For accuracy, use your preferred nutrition calculator.