
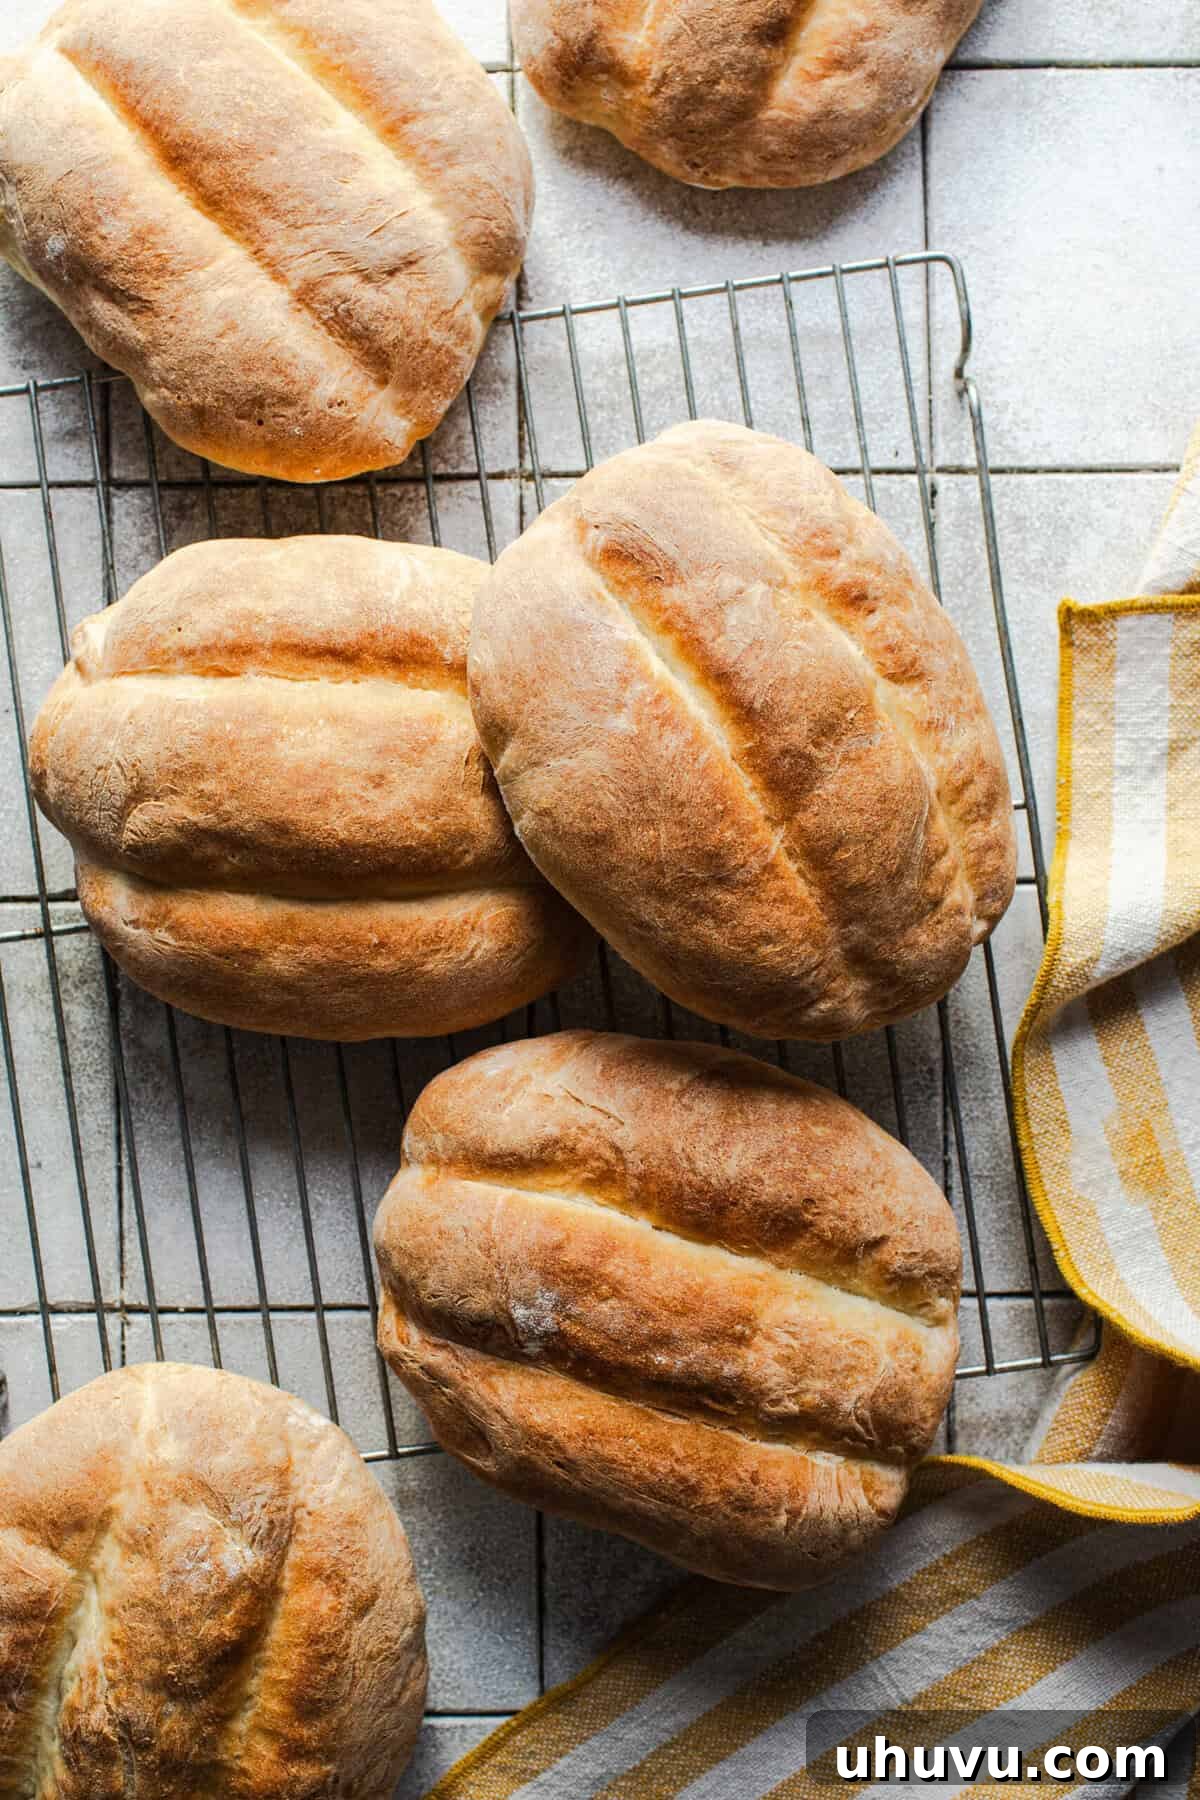
Unlock the secret to baking incredibly soft, pillowy Telera bread right in your own kitchen with just a handful of everyday ingredients. These versatile Mexican bread rolls are an essential component of authentic Mexican cuisine, perfect for creating hearty Mexican tortas, flavorful pambazos, or simply as an absorbent companion to your favorite soups and stews. Once you taste homemade Telera, you’ll find it hard to go back to store-bought.
A Note from Isabel

Growing up, bolillo bread was a staple in my household, accompanying nearly every meal – from savory tortas and cheesy molletes to the sweet and comforting capirotada. It wasn’t until I was older that I truly began to explore the incredible diversity of Mexican breads, and that’s when I discovered Telera.
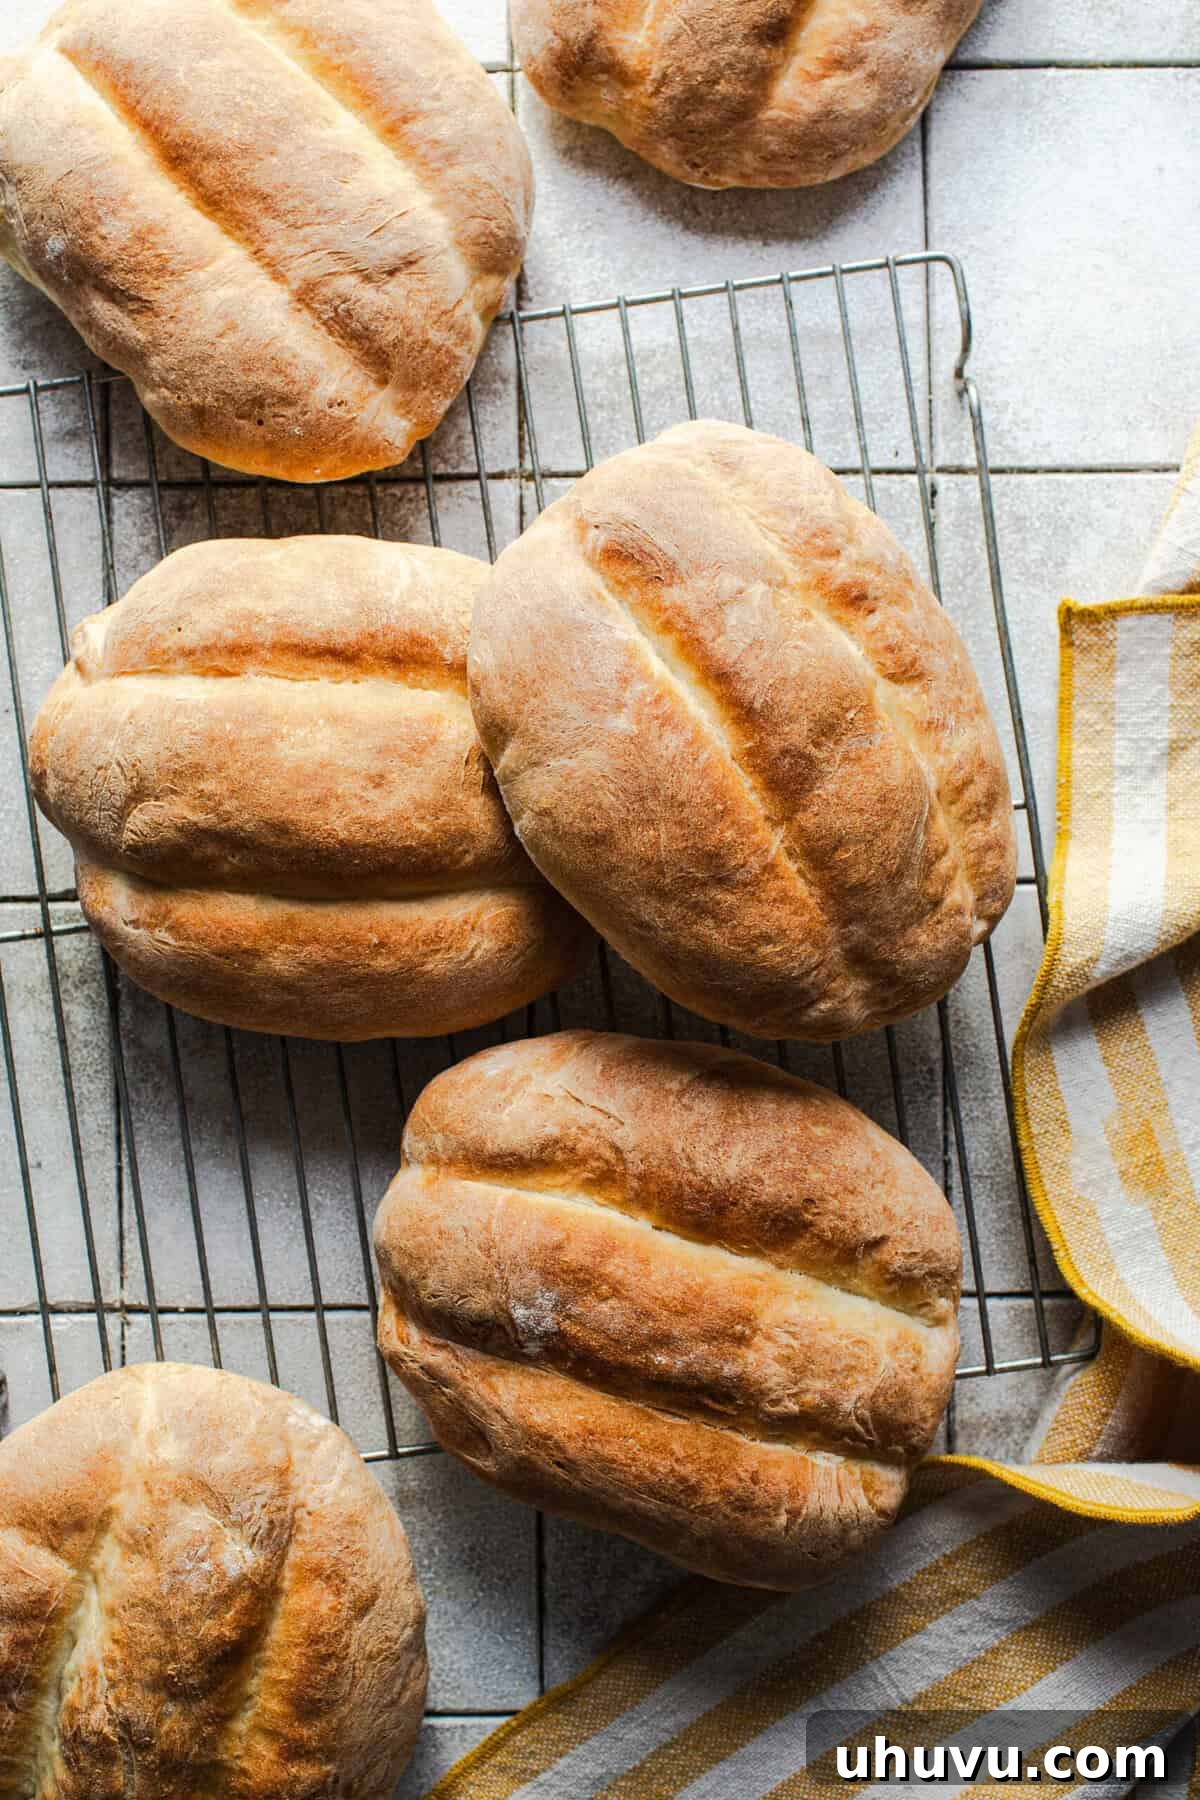
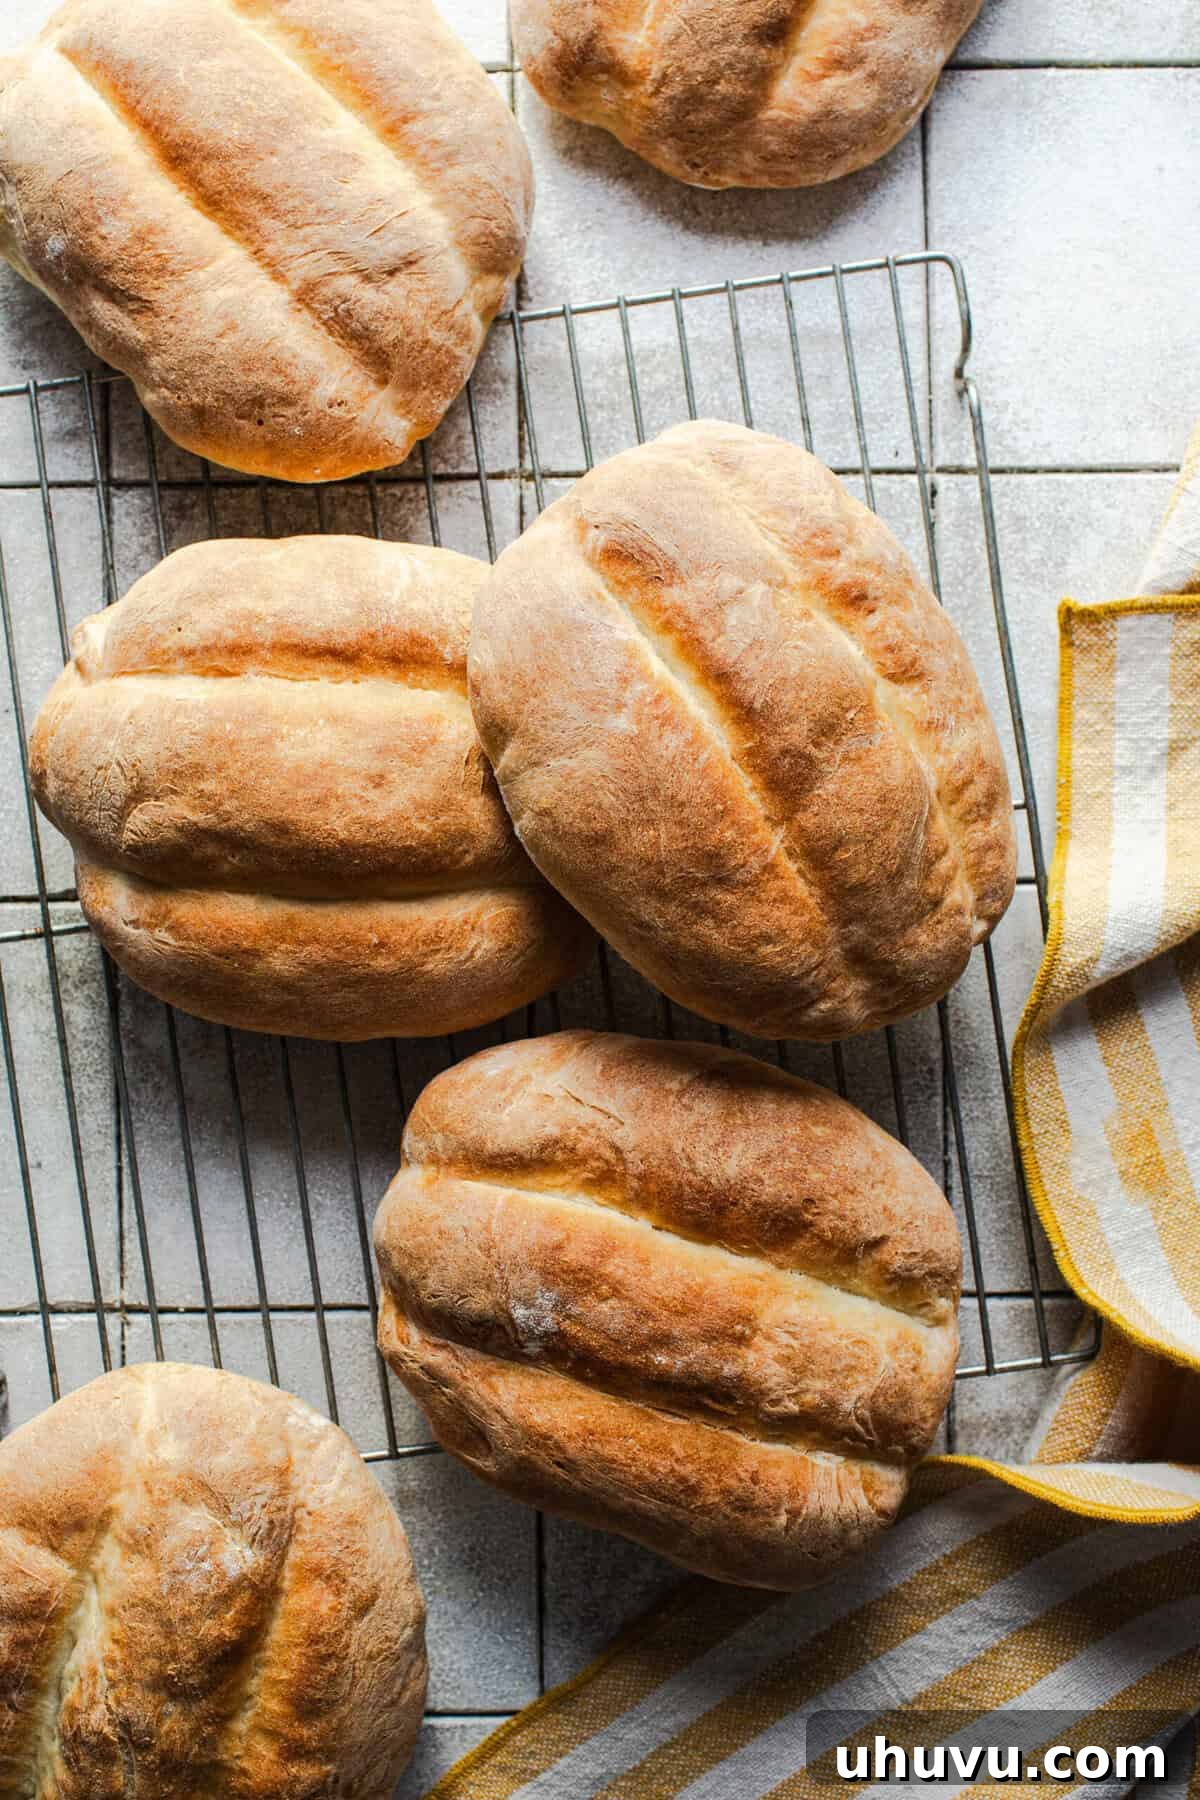
The first time I encountered Telera, its distinctive appearance immediately captivated me. There’s something inherently beautiful about its soft oval shape and the two shallow grooves pressed across its top. It’s a simple design, yet it makes this bread stand out from its counterparts.
Now, Telera bread has become a regular fixture in my kitchen, especially when I’m craving a perfectly authentic torta. The satisfaction of pulling a batch of warm, fragrant Telera rolls from the oven transforms even the simplest sandwich into a gourmet experience. Once you master the art of making Telera at home, you’ll likely find it challenging to settle for anything less than homemade perfection.
What Is Telera Bread?
Telera bread is a beloved traditional Mexican white bread roll, often compared to Mexican bolillos or certain French-style rolls due to its soft, airy interior. What truly sets Telera apart is its signature oval shape, which is distinctly wider and flatter than a bolillo, and its two characteristic shallow grooves pressed into the top crust. These grooves aren’t just for aesthetics; they contribute to the bread’s unique structure and eating experience.
The tender crumb and broad surface of Telera bread make it the ideal choice for creating robust Mexican sandwiches, particularly classic tortas de jamón or the iconic pambazos. Its sturdy yet soft texture ensures that it can generously hold a variety of fillings, rich sauces, and creamy spreads without collapsing or becoming soggy. This structural integrity, combined with its delightful taste and texture, is precisely why Telera is so cherished in Mexican culinary traditions. While bolillos are often crustier and more elongated, Telera offers a softer, more accommodating canvas for complex sandwich creations.
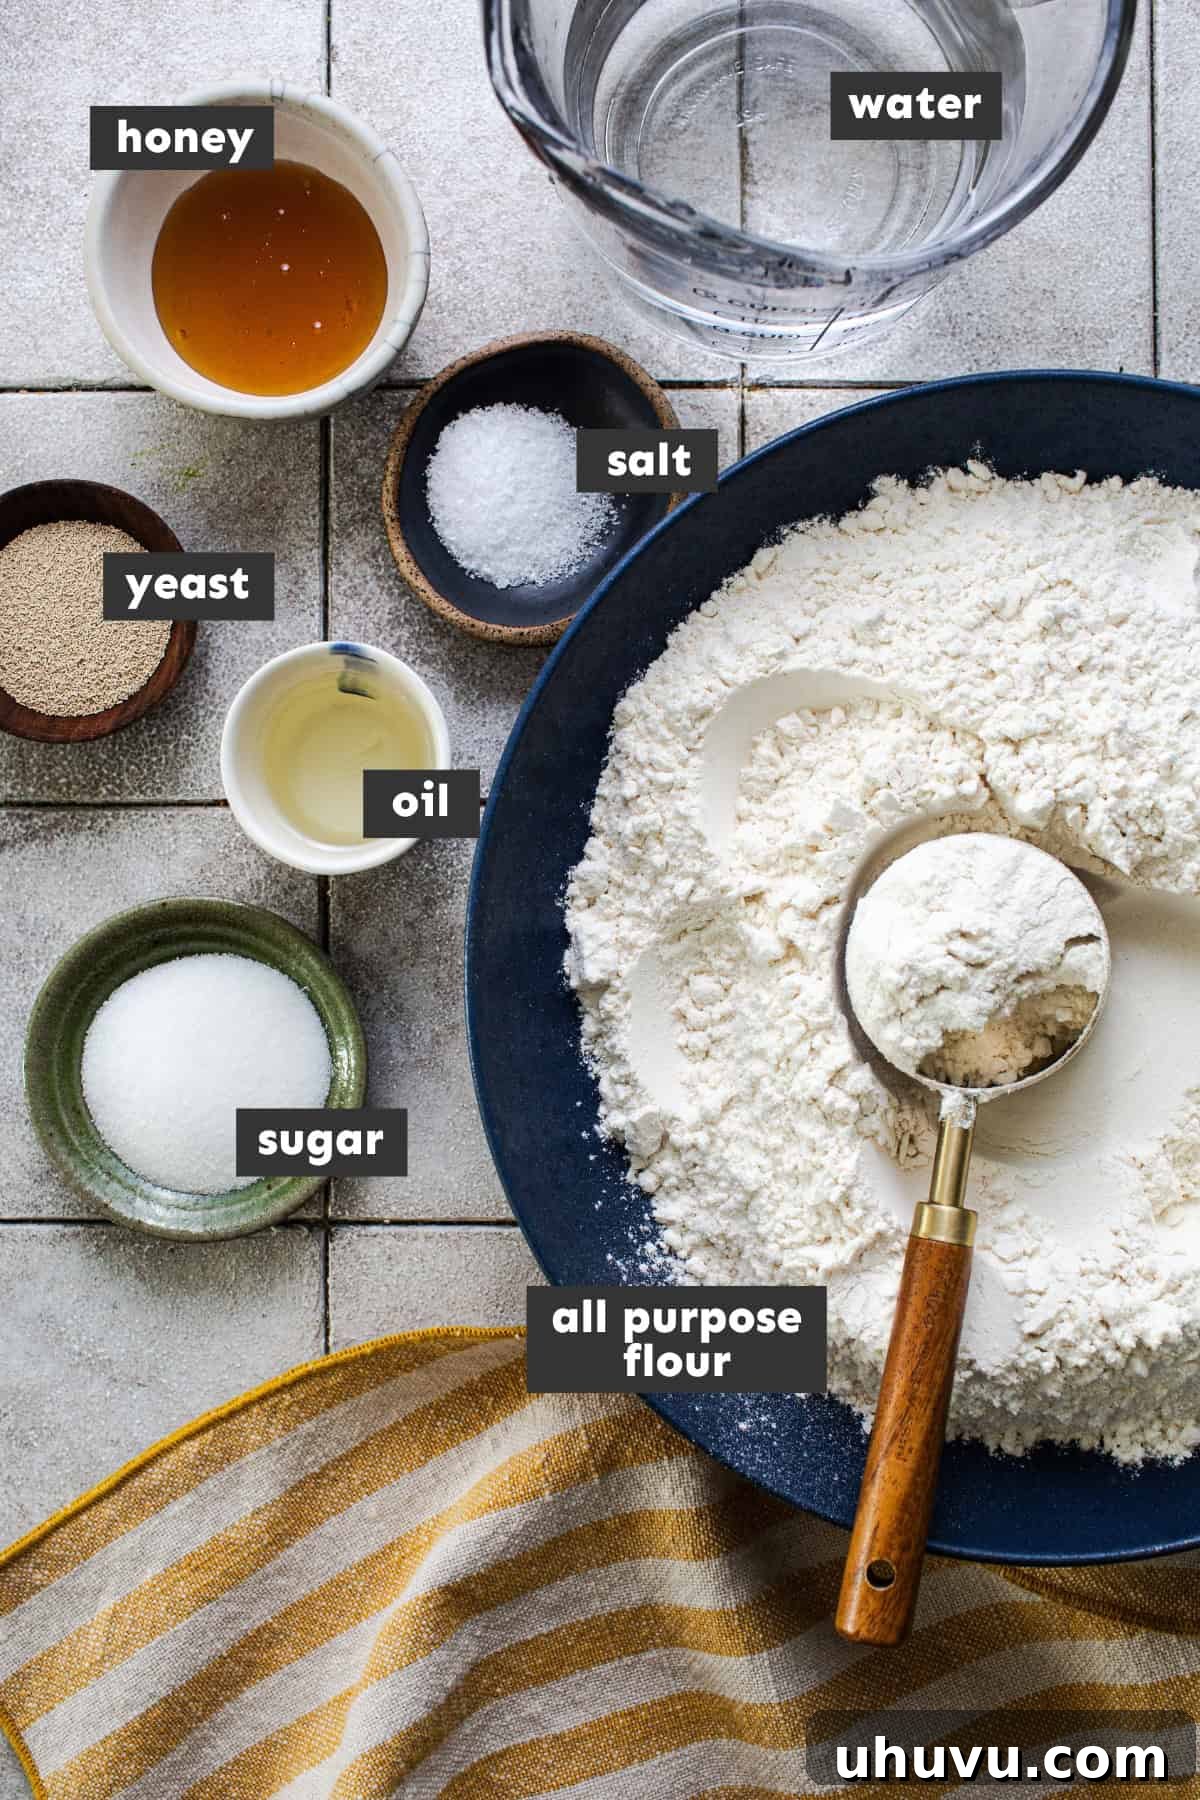
Ingredients You’ll Need for Homemade Telera Bread
This section provides an overview of the key ingredients and their specific functions in achieving the perfect Telera bread. For precise measurements and step-by-step instructions, please refer to the detailed recipe card below.
| Ingredient | Why It Works & Tips |
|---|---|
| Instant yeast | This type of yeast is fantastic for home baking as it doesn’t require prior activation and works quickly, ensuring a reliable and consistent rise for your bread rolls. If you prefer, active dry yeast can be used, but be aware that it will require longer rising times. Always ensure your yeast is fresh for the best results. |
| Warm water | Crucial for activating the yeast. The ideal temperature range is between 110-115 degrees Fahrenheit (43-46°C). Water that is too hot will kill the yeast, while water that is too cold won’t activate it effectively, leading to a poor rise. Use a thermometer for accuracy. |
| Granulated sugar | Serves as food for the yeast, helping it to become active and produce carbon dioxide, which gives the bread its airy texture. It also adds a subtle sweetness to the dough, balancing the overall flavor of the Telera. |
| All-purpose flour | The secret to keeping Telera rolls wonderfully soft and tender. Its lower protein content results in a more delicate crumb. If you’re aiming for a slightly chewier texture, you can substitute a portion of the all-purpose flour with bread flour, which has a higher protein content. |
| Fine salt | More than just a flavor enhancer, salt plays a vital role in controlling yeast activity and strengthening the gluten structure in the dough. This contributes to a better texture and crumb. Don’t skip it! |
| Honey | Adds a delicate, natural sweetness to the bread, enhancing its flavor profile. Beyond taste, honey helps create a softer, more moist crumb and contributes to a beautiful golden-brown crust during baking. |
| Neutral-tasting oil | Incorporating a neutral-tasting oil, such as avocado or canola oil, is key to keeping the Telera bread moist and tender. It prevents the bread from drying out and contributes to a rich, soft texture without imparting any unwanted flavors. |
How to Make Soft & Fluffy Telera Bread: A Step-by-Step Guide
Crafting homemade Telera bread is a rewarding process that yields incredibly delicious results. Follow these detailed steps to achieve perfect, pillowy Mexican rolls.
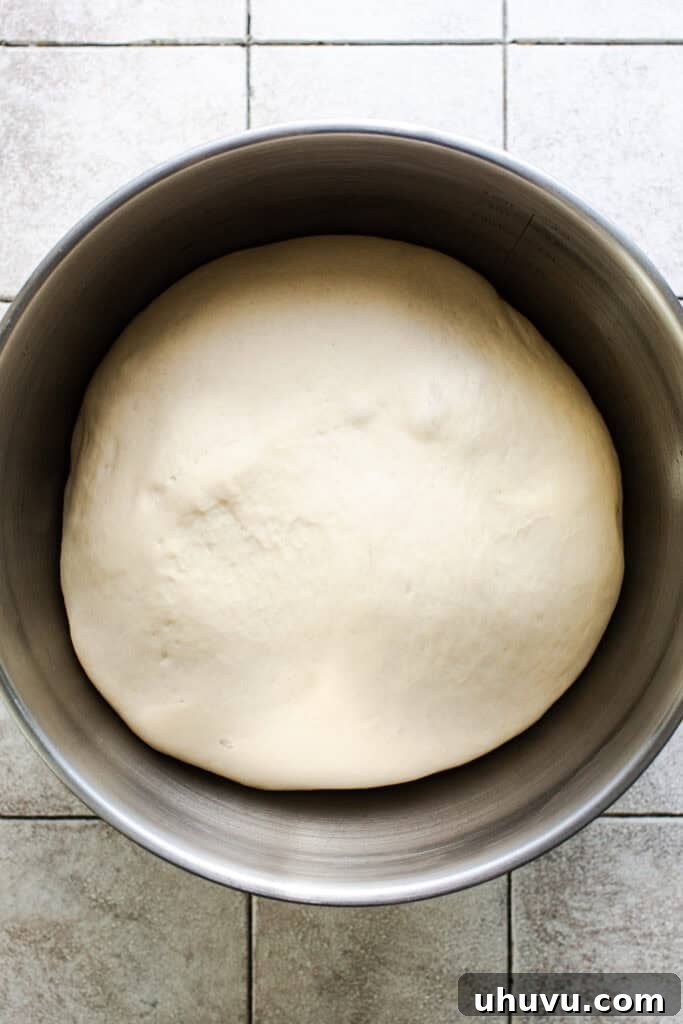
1. Make and rise the dough. Begin by gently combining the instant yeast, warm water, and granulated sugar in a small bowl. Stir until the sugar dissolves, then cover and allow the mixture to sit for about 10 minutes. During this time, the yeast should become foamy and bubbly, indicating it’s active and ready. Next, transfer this bloomed yeast mixture to the bowl of a stand mixer, adding the all-purpose flour, fine salt, honey, and neutral oil. Using a dough hook, mix on low speed until all the ingredients come together and form a cohesive dough. Increase the speed to medium and continue kneading for 8-10 minutes. The goal is a dough that is smooth, elastic, and just slightly tacky to the touch. If your dough feels excessively sticky, add flour one tablespoon at a time until the desired texture is achieved. Once kneaded, transfer the dough to a lightly greased bowl, cover it with a clean kitchen towel, and let it rise in a warm, draft-free place for approximately 1 hour and 15 minutes, or until it has visibly doubled in size.
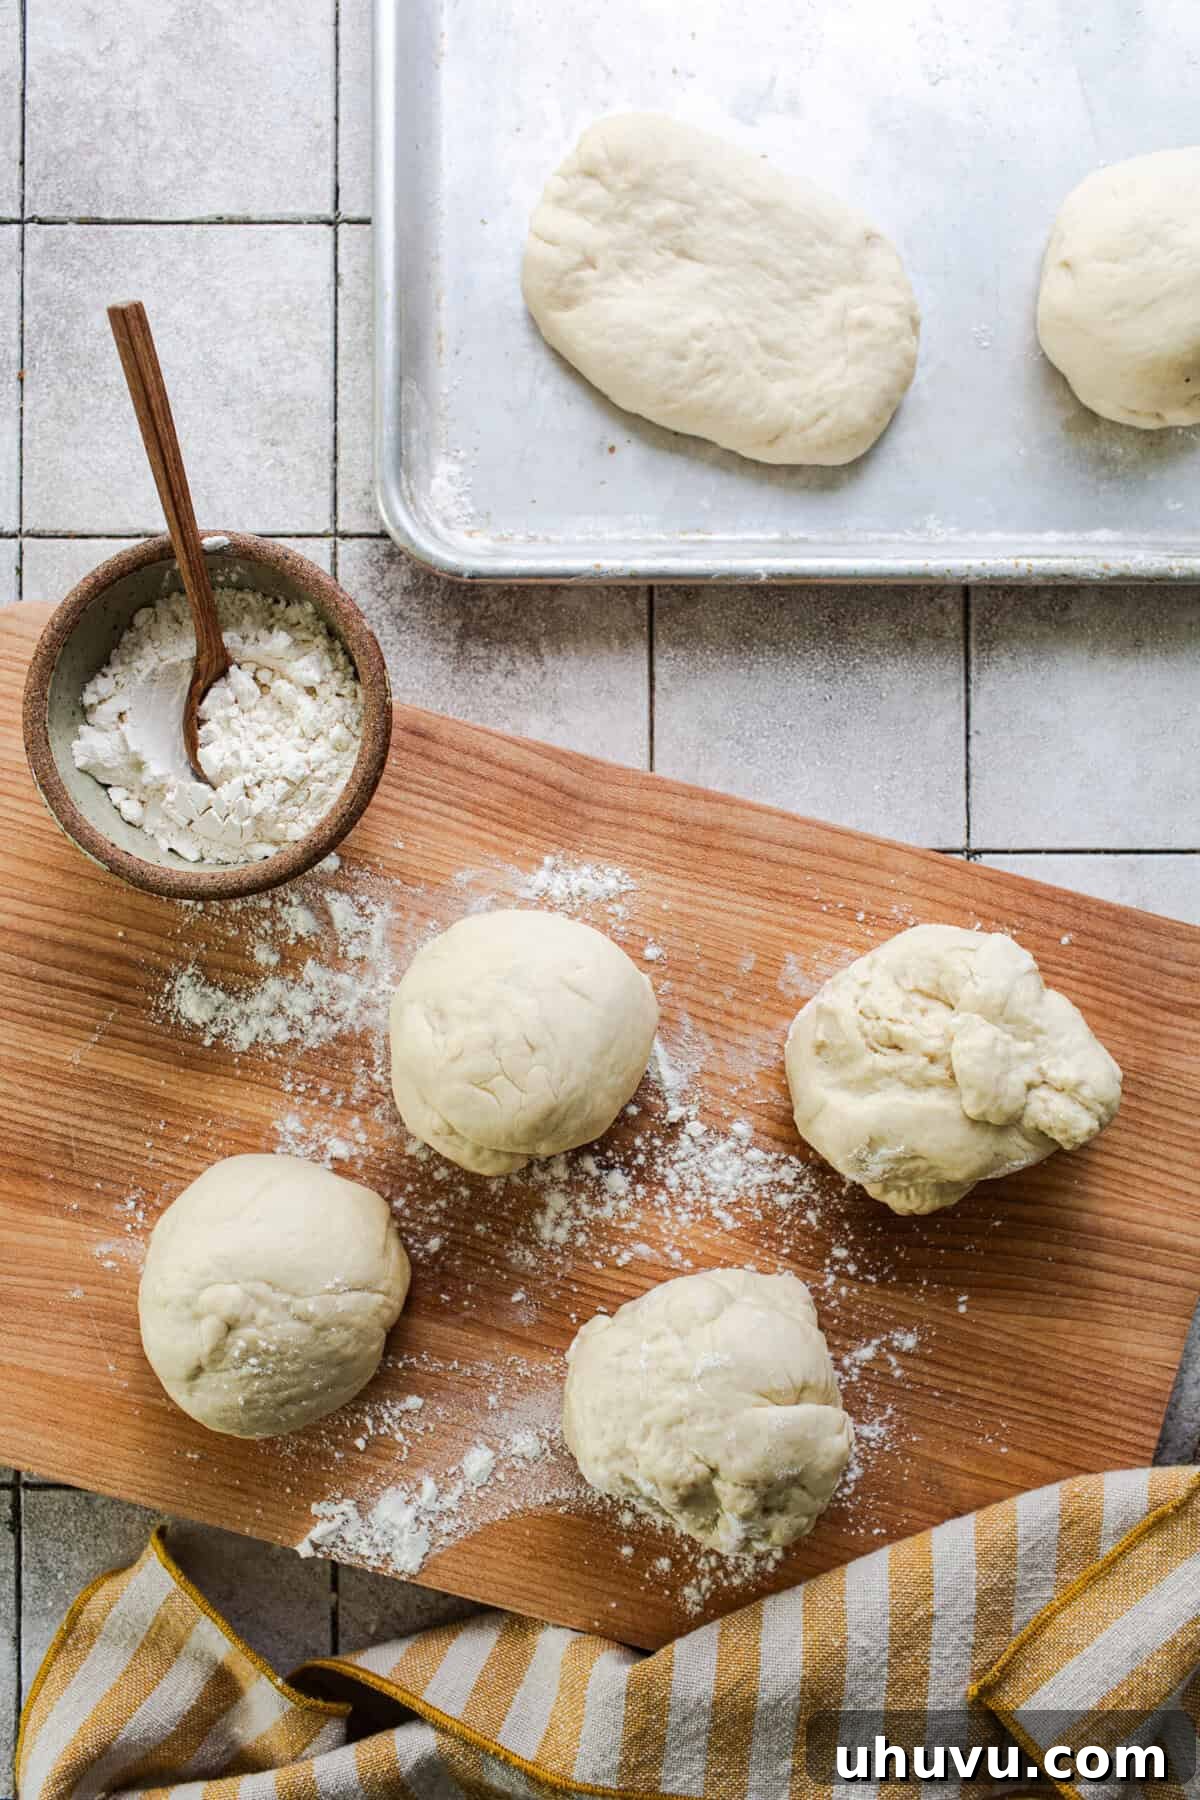
2. Divide and shape the dough. Once the dough has completed its first rise, gently punch it down to release the air. Transfer the dough to a lightly floured surface and divide it into 6 equal pieces. For best consistency, you might consider using a kitchen scale to ensure each piece weighs the same. Take each piece and roll it into a smooth ball. Then, using the palms of your hands or a floured rolling pin, flatten each ball and shape it into a distinct 5×3-inch oval. This wider, flatter shape is crucial for authentic Telera bread and its use in sandwiches.
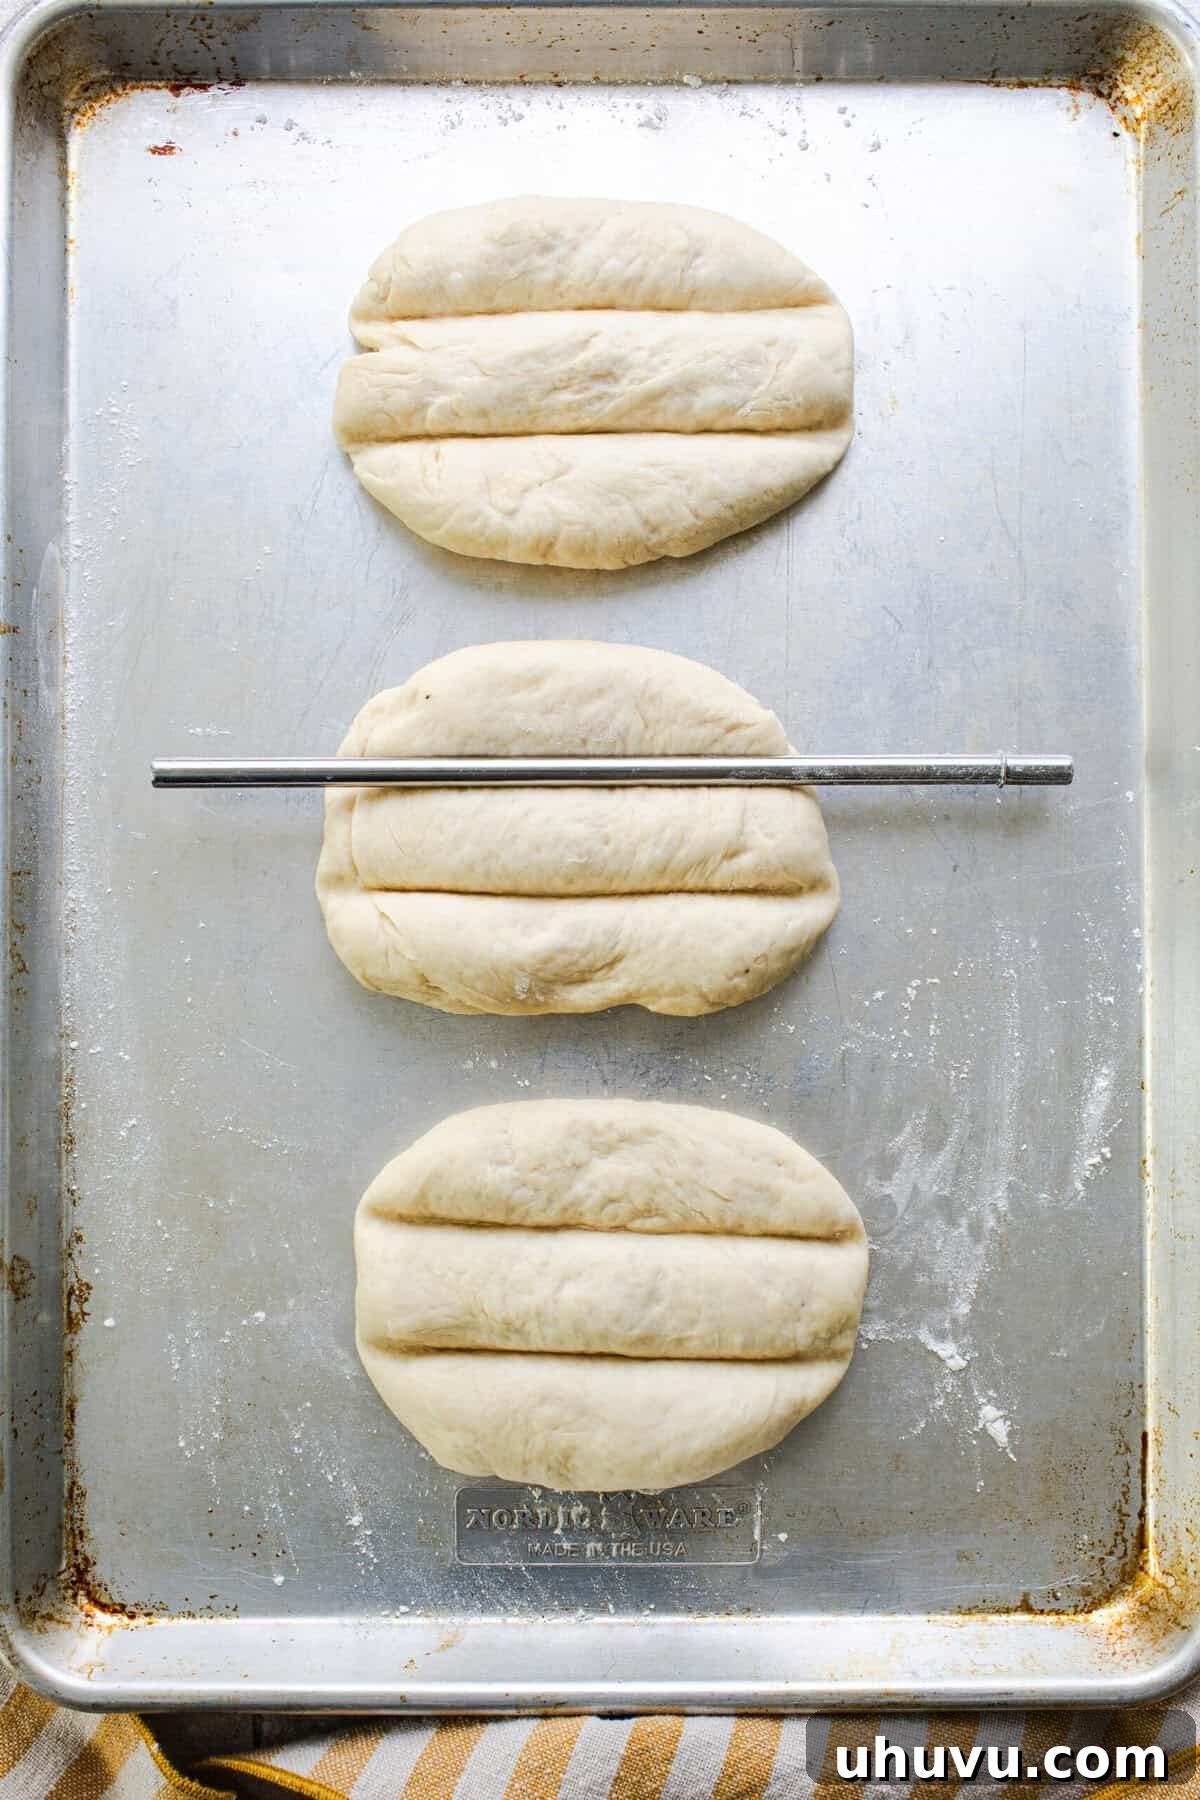
3. Make the signature indentations. This step creates Telera’s iconic appearance. Using the back (the dull edge) of a butter knife, a thin dowel, a chopstick, a straw, or any similar small, straight, and skinny tool, carefully make two deep vertical indentations across the top of each shaped dough oval. Ensure these grooves are evenly spaced. Be gentle but firm, pressing deeply enough to create a lasting indentation without cutting or piercing the dough all the way through. These grooves will expand slightly during the second rise and baking, maintaining their unique look.
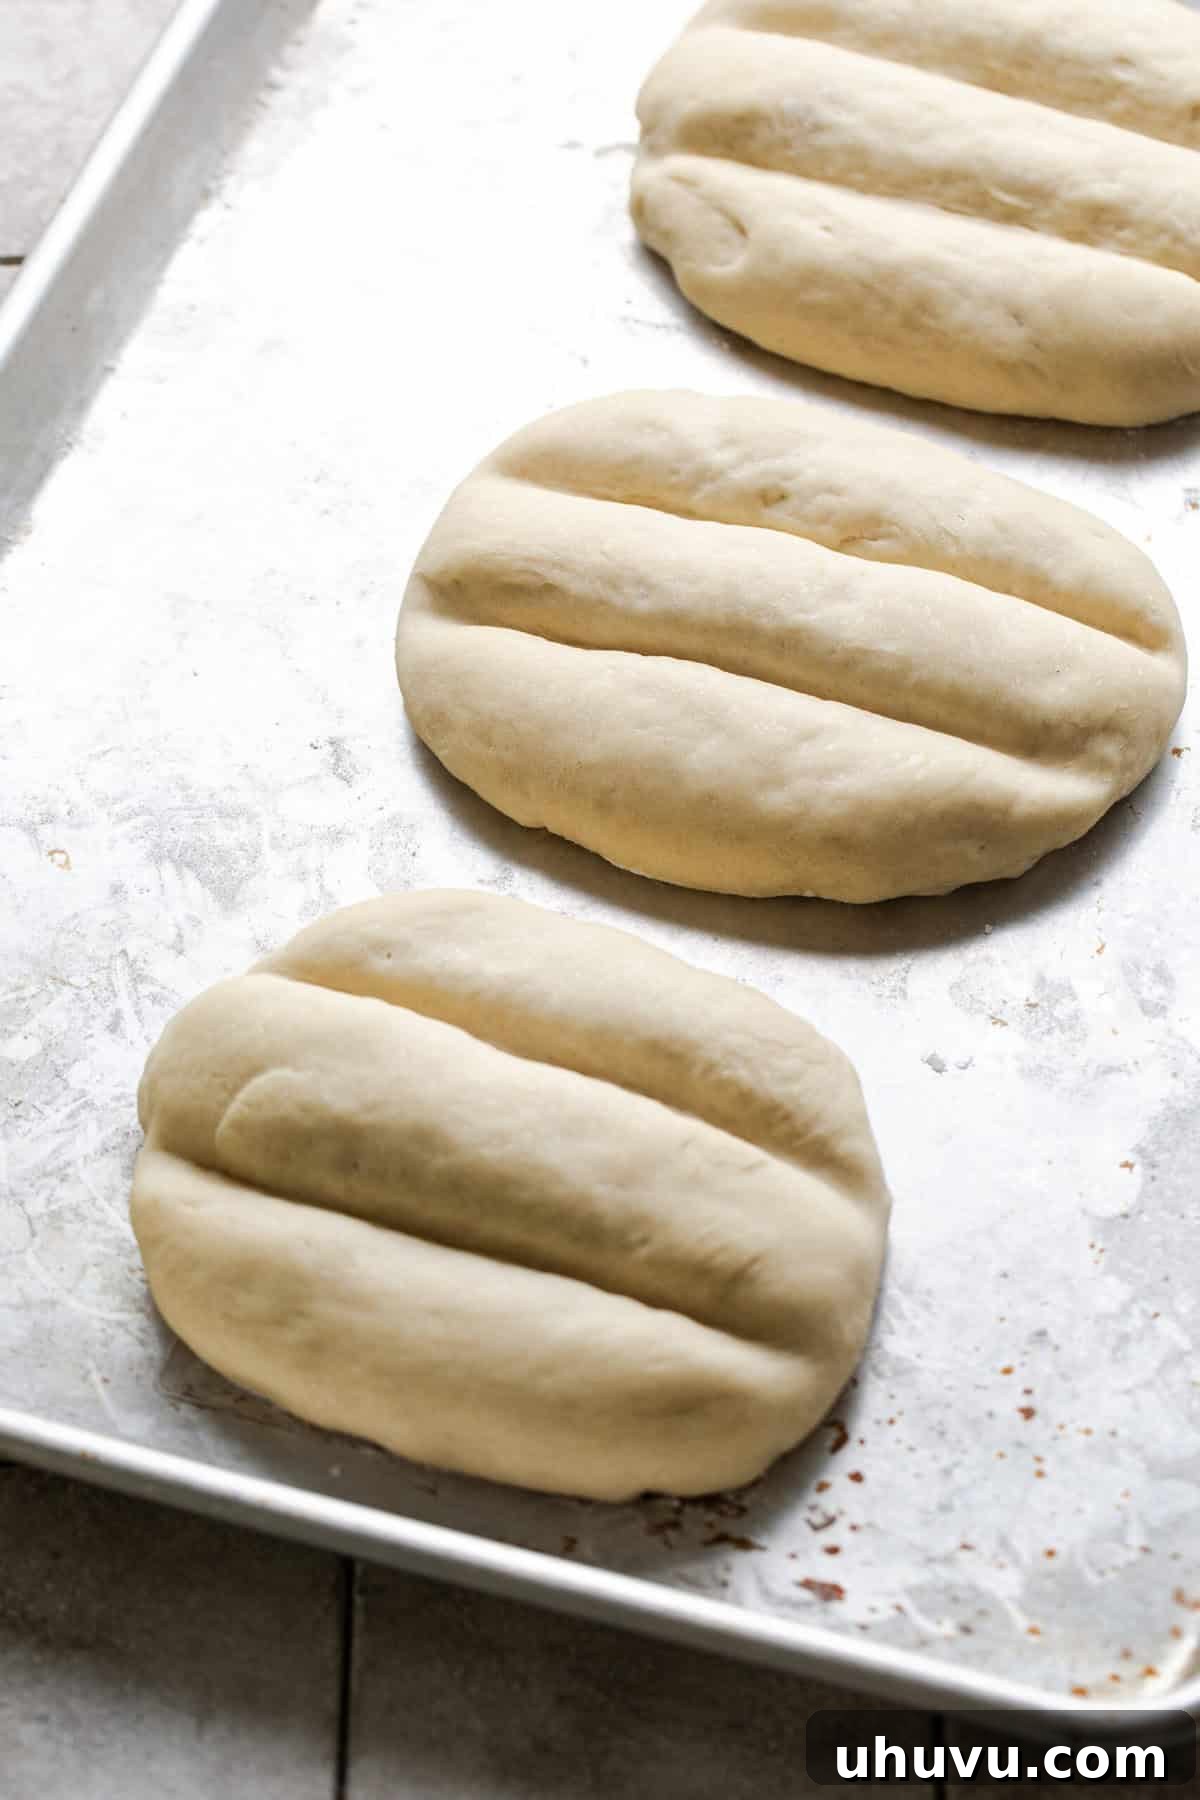
4. Allow for a second rise. Once the indentations are made, carefully transfer the shaped Telera rolls to the prepared baking sheet, leaving some space between them. Lightly dust the rolls with a small amount of flour, then cover them with a clean kitchen towel. Let them rise for an additional 45 minutes to 1 hour in a warm place. The rolls should appear almost doubled in size and feel light and airy when gently touched. This second rise, known as proofing, is vital for the bread’s final texture and volume.
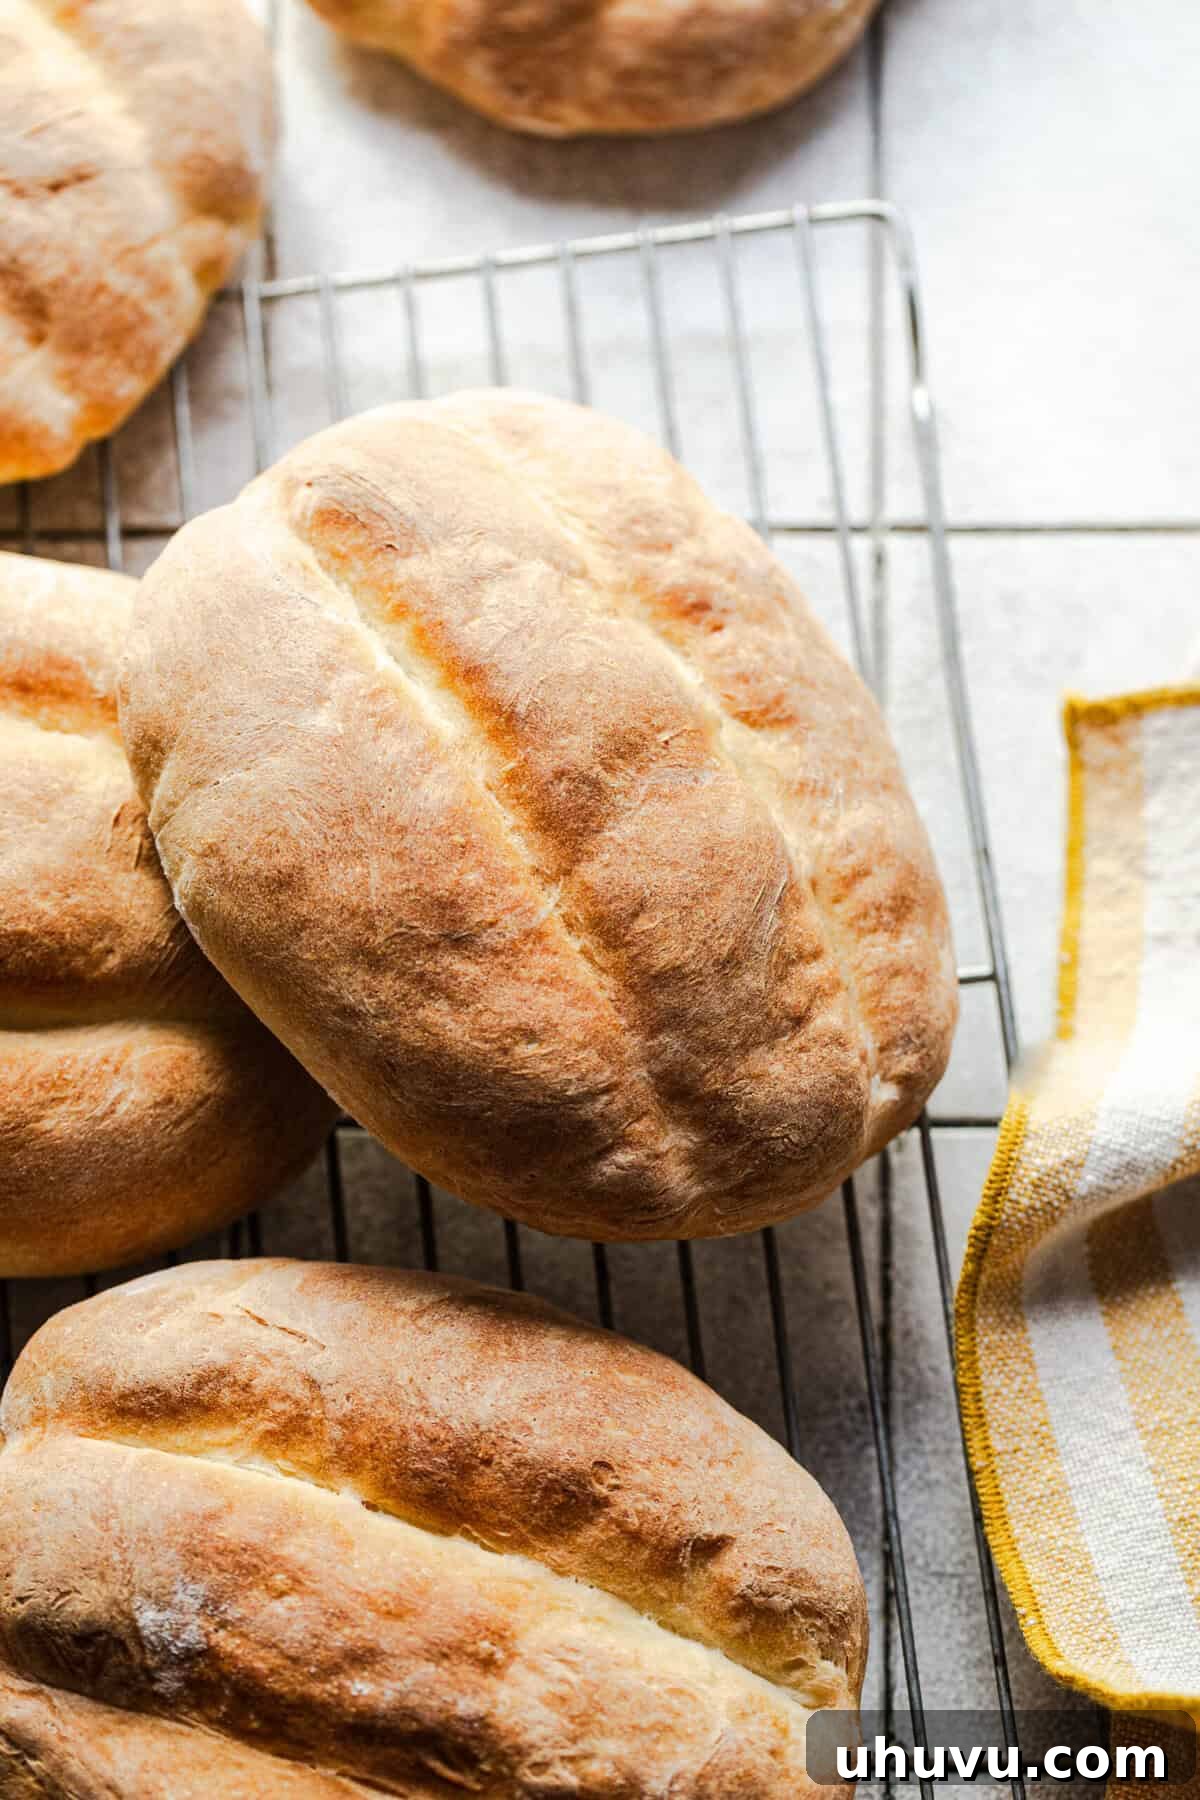
5. Bake, cool, and enjoy. Preheat your oven to 400°F (200°C) and line a large baking sheet with parchment paper. Once the Telera rolls have completed their second rise, place the baking sheet into the preheated oven. Bake for 16-18 minutes, or until the tops of the rolls are a beautiful golden brown and the bread is fully cooked through. A good way to check for doneness is to tap the bottom of a roll; it should sound hollow. Remove the rolls from the oven and transfer them to a wire rack to cool for at least 10 minutes before slicing and serving. This cooling period allows the internal structure of the bread to set, ensuring a perfect texture.
Recipe Tips for Perfect Homemade Telera Bread
- Always check your yeast first. Even with instant yeast, it’s a good practice to ensure your yeast is active before incorporating it into the main dough. Combine the yeast with warm water and a pinch of sugar, then let it sit for a few minutes. If it becomes frothy and bubbly, your yeast is alive and ready to work its magic, ensuring your bread rises beautifully and achieves that desirable fluffy texture. While blooming instant yeast isn’t strictly necessary for its activation, I find this small step provides peace of mind and guarantees success.
- Oil helps retain moisture. For incredibly soft and moist Telera rolls, lightly brush or spray the shaped dough with a neutral-ttasting oil (like avocado or canola) just before the second rise. This simple step creates a thin barrier that prevents the bread from drying out during proofing and baking, contributing to a tender crumb and a soft crust.
- Re-mark the grooves if needed. It’s common for the distinctive grooves on Telera bread to puff out or become less defined during the second rise as the dough expands. Don’t worry if this happens! Gently press along the original indentations again with your chosen tool just before baking. This will help restore their crisp definition and ensure your Telera rolls have their classic look.
- Using active dry yeast. If instant yeast isn’t available, you can easily substitute active dry yeast. The key difference is that active dry yeast typically requires a longer hydration and rising period. Begin by blooming the active dry yeast as instructed in the first step (combine with warm water and sugar, let it sit until foamy). Then, increase the first rise time for the dough to 1 hour 30 minutes to 2 hours, or until doubled in size. Similarly, extend the second rise (proofing) to 1 to 1½ hours. Adjusting these times will ensure your active dry yeast has ample opportunity to leaven the dough properly, resulting in perfectly risen Telera rolls.
Frequently Asked Questions About Telera Bread
While Telera and Bolillo breads are both popular Mexican white bread rolls and are often used interchangeably, they possess a few key distinctions. Telera bread is characteristically wider, flatter, and generally softer in texture, featuring its iconic two shallow grooves on the top. Its broad, soft profile makes it exceptionally well-suited for hearty Mexican sandwiches like tortas and pambazos, as it can comfortably accommodate numerous fillings and sauces without falling apart. Bolillos, on the other hand, are typically longer, narrower, and tend to have a crispier, slightly crustier exterior, resembling a small baguette. They are frequently served as a side bread with soups and stews, or used for dishes like molletes, where their sturdier crust is a desirable quality.
Absolutely, you can make this delicious Telera dough entirely by hand! While a stand mixer can certainly simplify the kneading process, it’s not a necessity. To make the dough by hand, simply combine all the ingredients in a large mixing bowl. Once the dough comes together, transfer it to a clean, lightly floured surface. Knead the dough vigorously for approximately 10–12 minutes. You’ll know it’s ready when it transforms into a smooth, soft, and slightly tacky ball that springs back when gently poked. It requires a bit of arm strength and perseverance, but the results are just as fantastic as dough kneaded by machine.
Telera bread is undeniably at its best on the day it’s baked, offering the freshest taste and softest texture. However, it will remain wonderfully soft and enjoyable for about 2–3 days when stored properly. To maintain its freshness, allow the bread to cool completely after baking, then place it in an airtight container or a zip-top bag at room temperature. It’s generally best to avoid refrigerating bread, as the cooler temperatures can actually accelerate the staling process, causing it to dry out faster. For longer storage, Telera bread freezes exceptionally well. Simply place the cooled rolls in a freezer-safe bag, ensuring as much air is removed as possible, and freeze for up to 3 months. When ready to enjoy, thaw at room temperature or gently warm in the oven for a “fresh-baked” experience.
Delicious Ways To Use Your Homemade Telera Bread
Given its versatility and delightful texture, Telera bread is remarkably similar to bolillo bread and can be enjoyed in many of the same ways. Its wider shape and soft crumb make it especially perfect for sandwiches. The most popular use is undoubtedly for traditional Mexican tortas. Here are some of my absolute favorite applications for homemade Telera:
- Molletes: A delightful Mexican open-faced sandwich, often topped with refried beans, cheese, and pico de gallo, then broiled until bubbly and golden. Telera’s wide surface is perfect for this.
- Mexican sandwiches (Tortas): Telera is the quintessential bread for tortas. Its soft interior and sturdy crust hold up beautifully to rich fillings. Try it with my steak torta, a savory torta de jamón (ham torta), the crispy torta de milanesa (breaded steak torta), or the saucy and satisfying pambazo.
- As a side bread roll: Telera is excellent for soaking up the rich flavors of various Mexican stews and soups. Serve it alongside a comforting bowl of pozole, a hearty chile colorado, a vibrant chile verde, the robust carne adovada, or with tender carnitas.
More Mexican Recipes to Complement Your Telera
Expand your Mexican cooking repertoire with these fantastic recipes that pair perfectly with your freshly baked Telera bread:
- Flour Tortillas: Learn to make soft, pliable tortillas from scratch.
- Corn Tortillas: Master the basics of authentic, gluten-free corn tortillas.
- Chorizo Recipe: Create your own flavorful homemade Mexican chorizo sausage.
Print Recipe
Telera Bread
Isabel Orozco-Moore
15 minutes
20 minutes
2 hours
35 minutes
6
rolls
Ingredients
-
2 ¼
teaspoons
instant dry yeast -
1 ⅓
cup
warm water
(110℉- 115℉) -
1
tablespoon
granulated sugar -
3 ½
cups
all-purpose flour -
¾
teaspoon
fine salt -
2
tablespoons
honey -
2
tablespoons
oil
(avocado, canola, or any neutral-tasting oil is best)
Instructions
-
Combine the yeast, water, and granulated sugar in a small bowl. Stir, cover, and set aside for 10 minutes to allow the yeast to bloom; it will be bubbly and foamy.
-
Add the yeast mixture into the bowl of a stand mixer along with the flour, salt, honey, and oil. Mix using a dough hook on low speed until the dough comes together. Increase the speed to medium and knead the dough for 8-10 minutes. The dough should be slightly sticky and tacky. If the dough is too sticky to handle, add 1 tablespoon of additional flour at a time.
-
Transfer the dough to a greased bowl and cover with a clean kitchen towel. Allow the dough to rise in a warm place for about 1 hour and 15 minutes, until doubled in size.
-
Preheat the oven to 400℉ and line a large baking sheet with parchment paper. Set aside.
-
Punch down the dough and divide it into 6 equal pieces. Roll each piece into a ball, then flatten and shape it into a 5×3 oval using your hands or on a floured surface with a floured rolling pin.
-
Using the back of a butter knife, skinny dowel, chopstick, straw, or any small and skinny straight tool, make two deep vertical indentations evenly spaced apart on top of the dough, being careful not to cut or pierce it all the way through.
-
Transfer the shaped telera rolls to the prepared baking sheet, lightly dust with a little bit of flour, cover with a clean kitchen towel, and allow them to rise for 45 minutes to 1 hour, until they are almost doubled in size.
-
Bake for 16-18 minutes, until the tops are golden brown and the bread is fully cooked. Cool for 10 minutes before serving.
Notes
- Using active dry yeast. You can swap instant yeast for active dry yeast, just note the rise times will increase. Bloom the yeast as instructed, and increase the first rise time to 1 hour 30 minutes to 2 hours, and the second rise to 1 -½ hours.
- If the indentations have lost their shape during the second rise, gently re-mark them after they are done rising.
- Storing and freezing. To store, allow the telera bread to cool completely and then store in an airtight container or ziplock bag to keep them soft for 1-3 days. To freeze, place cooled telera bread in a freezer safe bag and freeze for up to 3 months.
Nutrition
Serving:
1
bread roll
|
Calories:
339
kcal
|
Carbohydrates:
64
g
|
Protein:
8
g
|
Fat:
5
g
|
Saturated Fat:
0.5
g
|
Polyunsaturated Fat:
2
g
|
Monounsaturated Fat:
3
g
|
Trans Fat:
0.02
g
|
Sodium:
296
mg
|
Potassium:
93
mg
|
Fiber:
2
g
|
Sugar:
8
g
|
Vitamin C:
0.04
mg
|
Calcium:
13
mg
|
Iron:
3
mg
Nutrition information is automatically calculated, so should only be used as an approximation.