
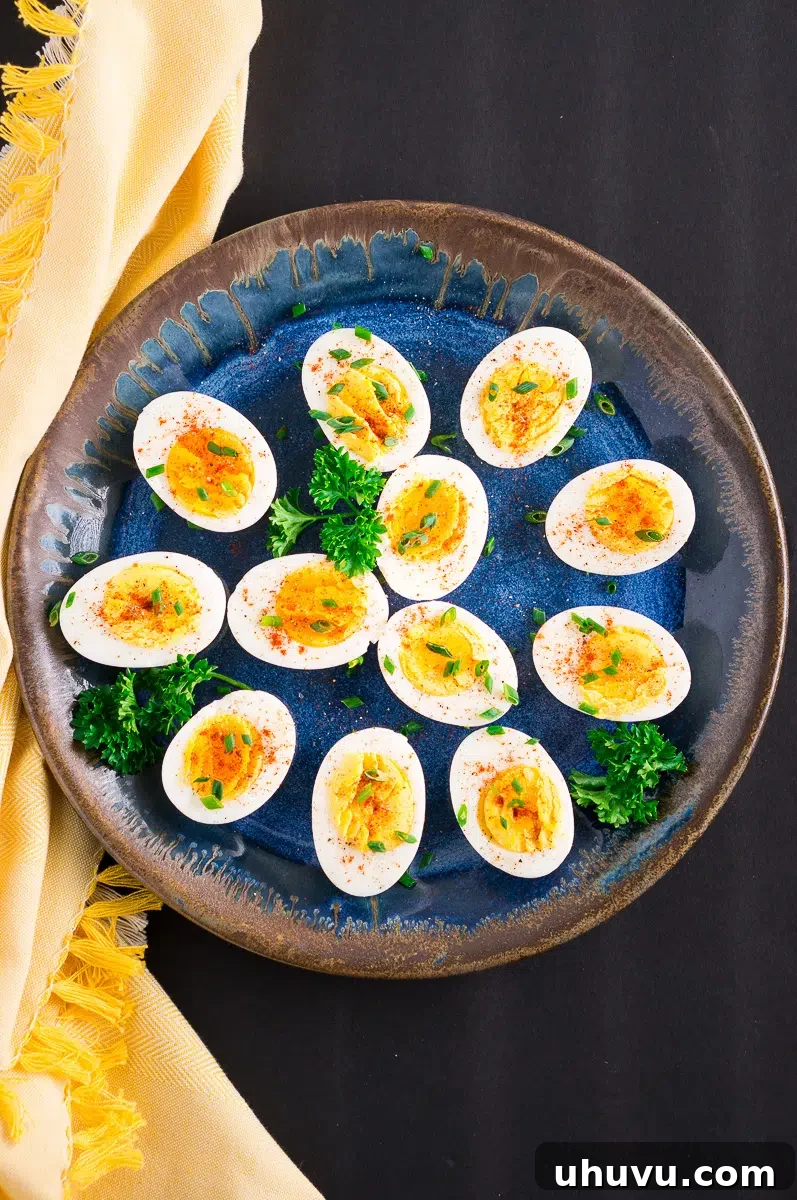
Unlock the secret to effortlessly perfect **hard-boiled eggs** every time! Whether your preference leans towards a soft, jammy yolk or a firm, fully cooked center, this comprehensive guide reveals the exact boiling times and proven techniques to achieve consistently easy-to-peel results. Say goodbye to frustrating, shell-stuck eggs and hello to culinary confidence!
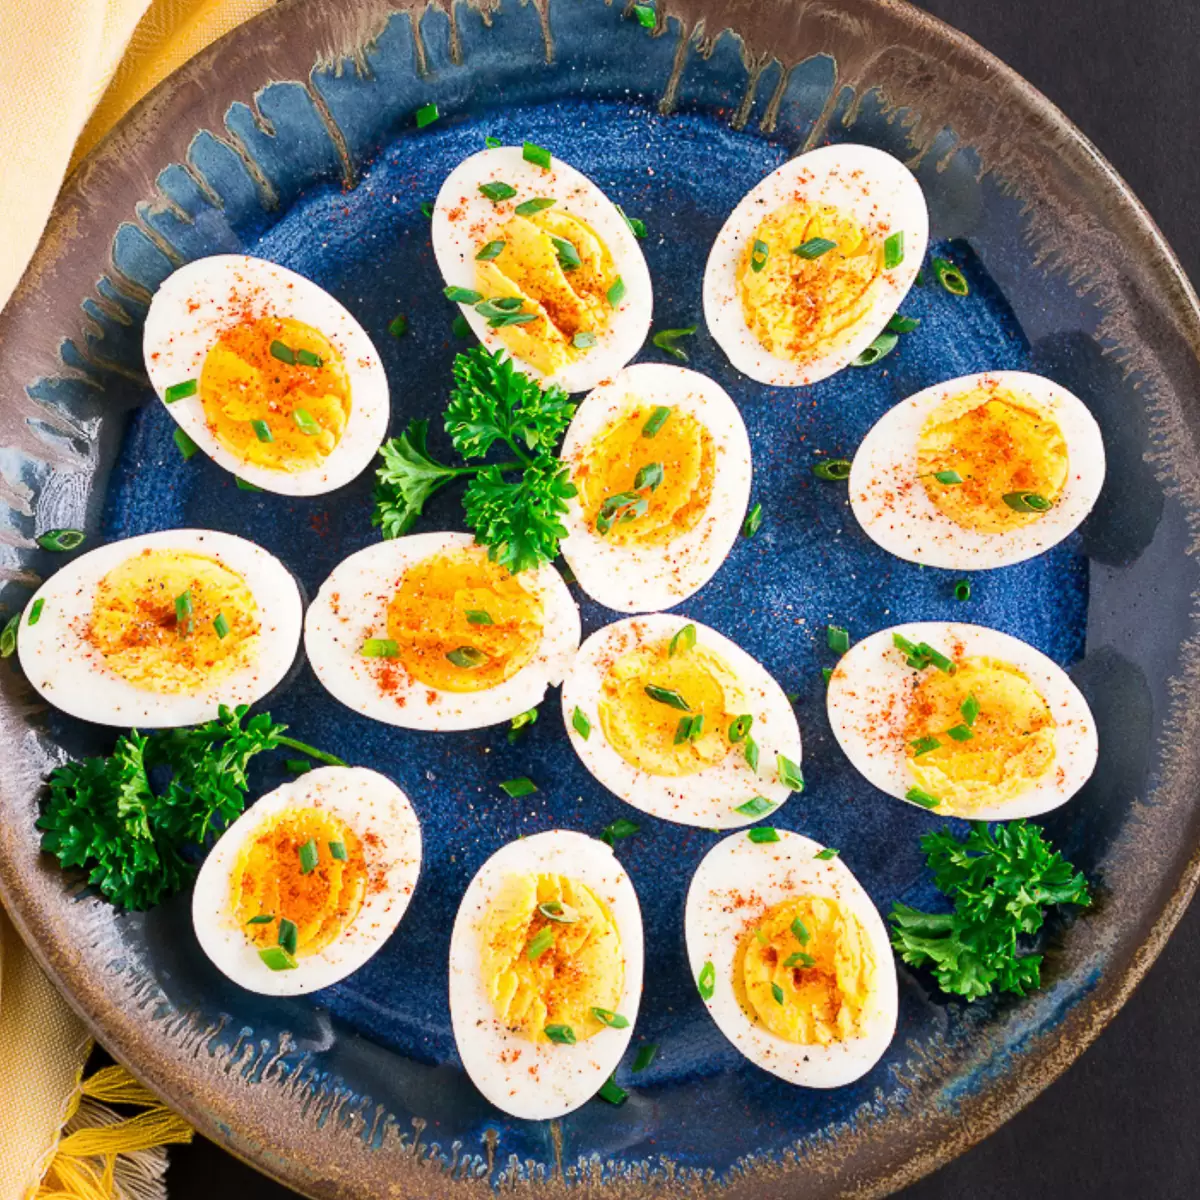
Mastering the Art of Perfect Hard-Boiled Eggs
While making hard-boiled eggs might seem like a basic kitchen skill, achieving consistently ideal results – especially the elusive easy-to-peel shell – is truly an art. I vividly recall my early attempts, particularly when preparing them for deviled eggs. The cooking process often went smoothly, but the moment of truth, peeling, frequently led to half an egg white tearing away with the shell, ruining the aesthetic and my patience!
After years of culinary experiments, countless cracked shells, and a fair share of trial and error, I finally developed a foolproof methodology. This method consistently yields perfectly cooked hard-boiled eggs that separate cleanly from their shells, ensuring a smooth, beautiful result every time. Backed by hundreds of five-star reviews, this technique has become a trusted favorite for perfectly boiled eggs, whether you desire a soft, jammy center or a firm, creamy yolk without any grey discoloration.
For truly reliable results, make sure to explore the comprehensive **expert tips**, detailed **boiling time guide**, and the insightful **FAQ section** provided below. These resources are your ultimate shortcut to flawless eggs and effortlessly easy peeling on every single attempt!
For those seeking a more hands-off approach, consider exploring my dedicated guide on boiling eggs using an Instant Pot, which offers another convenient method for achieving similar fantastic outcomes.
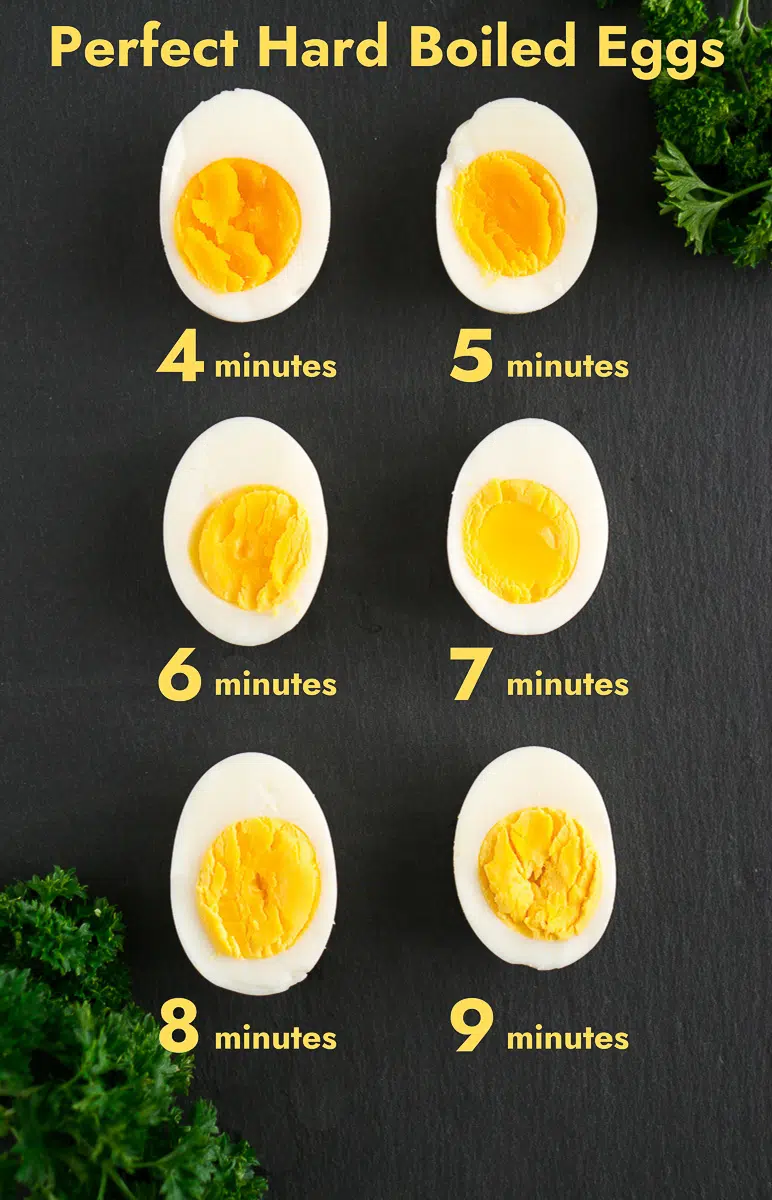
Hard-Boiled Egg Time Chart: Achieve Your Desired Doneness
This detailed time chart is calibrated for **average medium to large egg sizes** and utilizes the highly recommended “cold start” method, where eggs are placed in cold water before heating. It is crucial to remember to **start your timer immediately after the water begins to boil**, not when you initially place the eggs in the pot.
Choose your preferred level of doneness with these precise boiling times:
- Soft-boiled eggs: 3 minutes – Delivers a runny yolk and tender whites, perfect for dipping toast.
- Jammy eggs: 4 minutes – Features a luscious, creamy, and slightly runny yolk with set whites.
- Medium-boiled eggs: 5 minutes – Offers a firmer, custard-like yolk that is still moist and vibrant.
- Custardy eggs: 6 minutes – The yolk is mostly set but still soft and incredibly creamy.
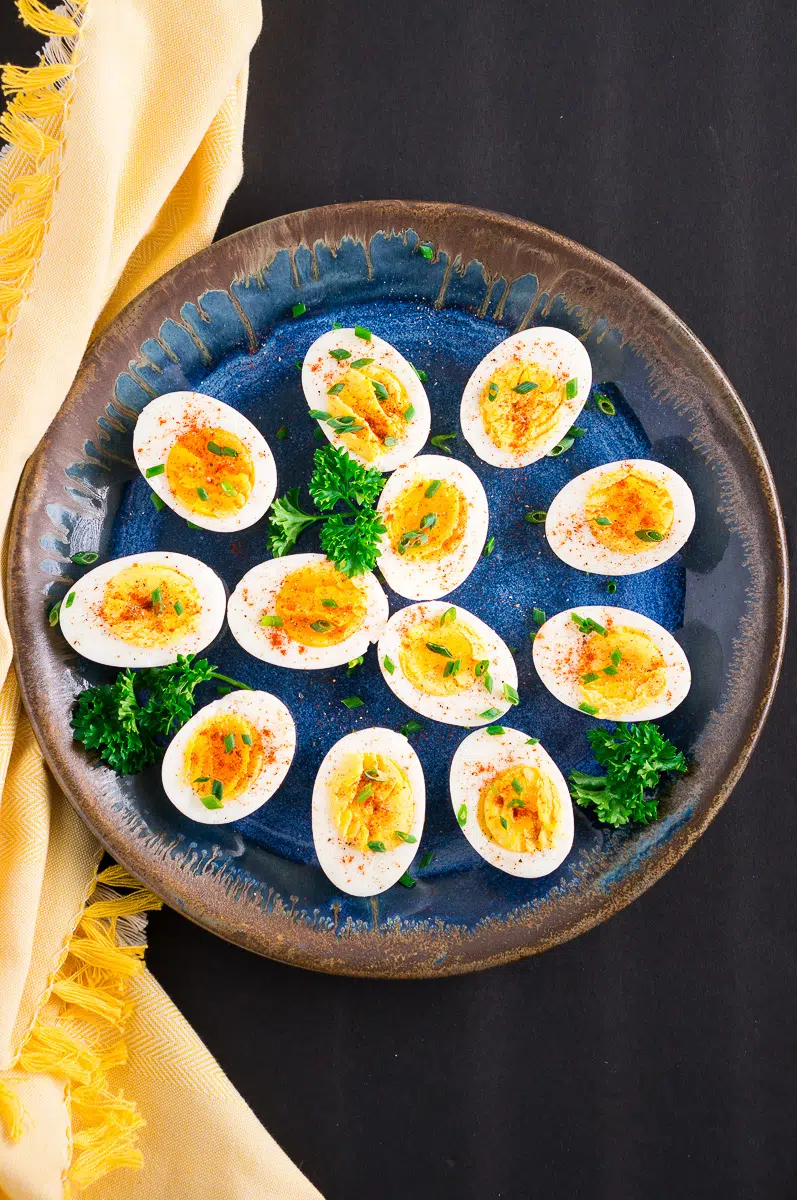
- Creamy hard-boiled eggs: 7 minutes – Achieves a perfectly set, yet velvety and uniformly yellow yolk without any dryness. This is often the ideal for many recipes.
- Firm hard-boiled eggs: 8 minutes – Ensures a fully firm yolk that is still bright yellow and retains moisture.
- Very firm hard-boiled eggs: 9 minutes – Provides a thoroughly solid yolk, suitable for grating or slicing, without becoming chalky.
The hallmark of a truly **perfectly cooked egg is a vibrant, creamy yellow yolk with no greenish discoloration** – a common sign of overcooking. By following these times, you can confidently achieve your preferred consistency, even stopping short of a full hard boil for a delightful soft-boiled experience.
Having explored the precise timings for various egg doneness levels, you can now confidently select the ideal cooking duration based on your egg size and personal texture preference. No more guesswork, just consistently perfect eggs every time!
Essential Ingredients for Perfect Hard-Boiled Eggs
For a full ingredients list with specific measurements, please refer to the complete recipe card provided below.
- Eggs: The star of our show! While any eggs will work, consider the age. Eggs that are a few days to a week old tend to peel significantly easier than very fresh, farm-direct eggs. This is due to the pH level of the egg white changing over time, which causes the membrane to separate more readily from the shell.
- Cold Water: Essential for the “cold start” method, which helps prevent cracking and ensures even cooking.
- Ice: Crucial for preparing an immediate ice water bath, which halts the cooking process and is key to easy peeling.
Equipment Needed: A sturdy Saucepan (large enough for eggs in a single layer), a reliable Timer, a versatile Slotted spoon, and a spacious Bowl for the ice bath.
Step-by-Step Guide: How to Make Perfect Hard-Boiled Eggs
Achieving consistently perfect, easy-to-peel hard-boiled eggs involves a straightforward, four-step process. Each step is designed to optimize cooking and peeling, ensuring a delightful experience every time.
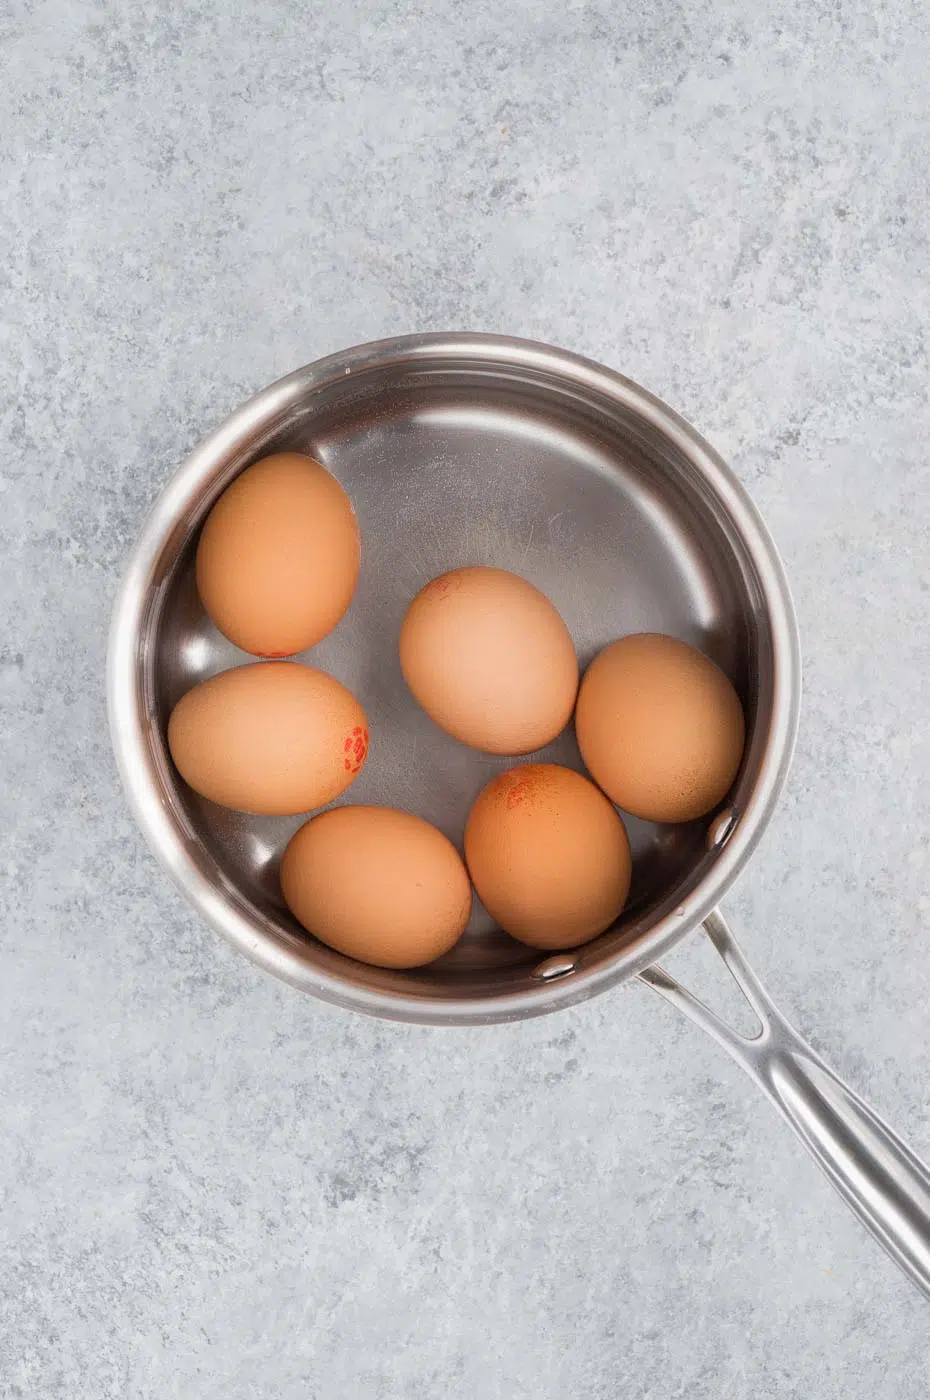
Step 1: Prepare the Pot with Eggs and Cold Water. Begin by carefully arranging your eggs in a single layer at the bottom of a large saucepan. Ensure they are not crowded, as this can lead to uneven cooking and potential cracking. Next, gently pour cold water into the saucepan until the eggs are covered by approximately one inch of water. Starting with cold water is crucial because it allows the eggs to heat up gradually, minimizing the risk of thermal shock that can cause shells to crack, and promotes more even cooking of the whites and yolks.
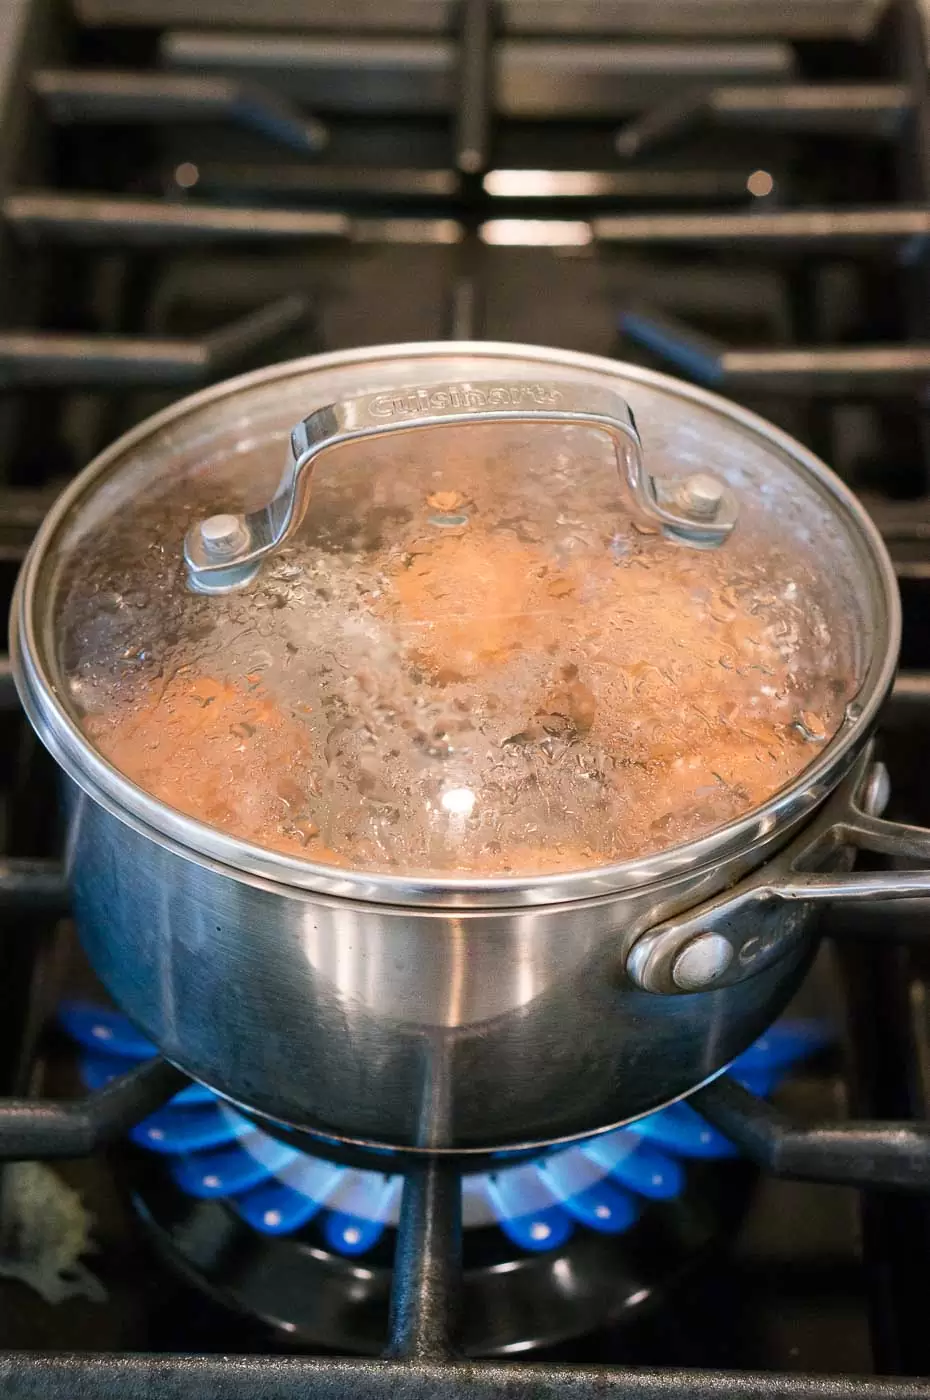
Step 2: Boil the Eggs to Perfection. Once the eggs are submerged in cold water, cover the pan with a lid. Place the saucepan on your stovetop and bring the water to a rapid boil over high heat. As soon as the water reaches a rolling boil, immediately reduce the heat to a medium setting. This maintains a steady, gentle boil, preventing the eggs from rattling excessively and potentially cracking. Now, precisely set your timer for the desired duration, typically **7 to 8 minutes for perfectly hard-boiled eggs** with creamy, firm yolks. Remember, the timing begins the moment the water starts boiling, not before.
Quick Tip for Accurate Timing
For consistent results, always start your cooking timer precisely **when the water begins to boil vigorously**, not from the moment you place the eggs in the cold water. This ensures accurate cooking times regardless of how quickly your stovetop heats up.
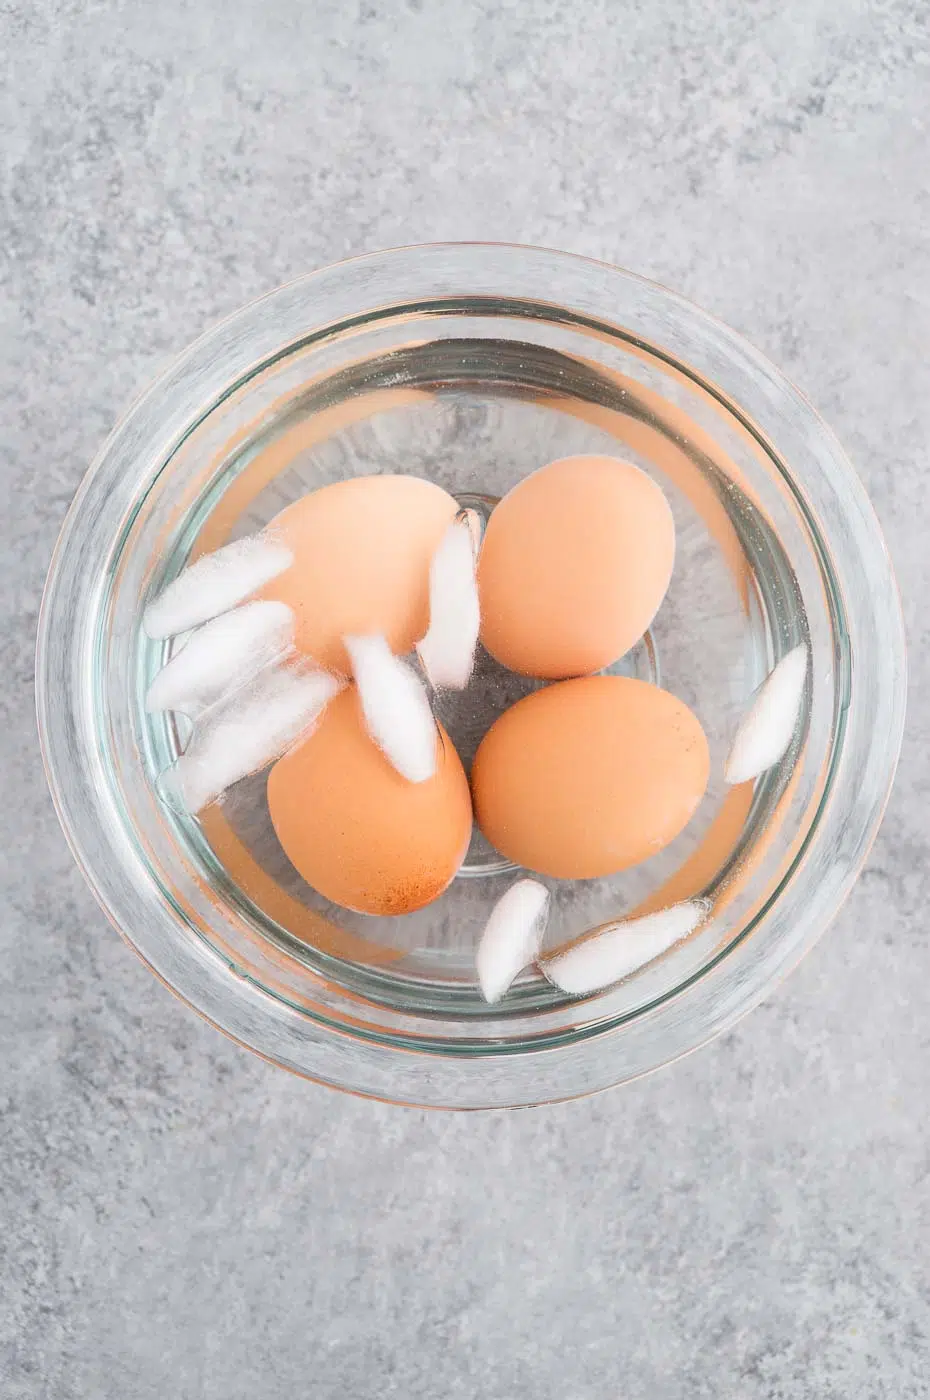
Step 3: Rapid Cooling in an Ice Water Bath. As soon as your timer signals the end of the boiling process, immediately and carefully transfer the cooked eggs from the hot water into a large bowl filled with ice water using a slotted spoon. This crucial step, known as “shocking” the eggs, instantly stops the cooking process, preventing the dreaded green ring around the yolk. Allow the eggs to cool in the ice bath for at least several minutes. The rapid temperature change helps the egg white contract, creating a tiny gap between the egg and its shell membrane, which is key to achieving incredibly easy-to-peel results.
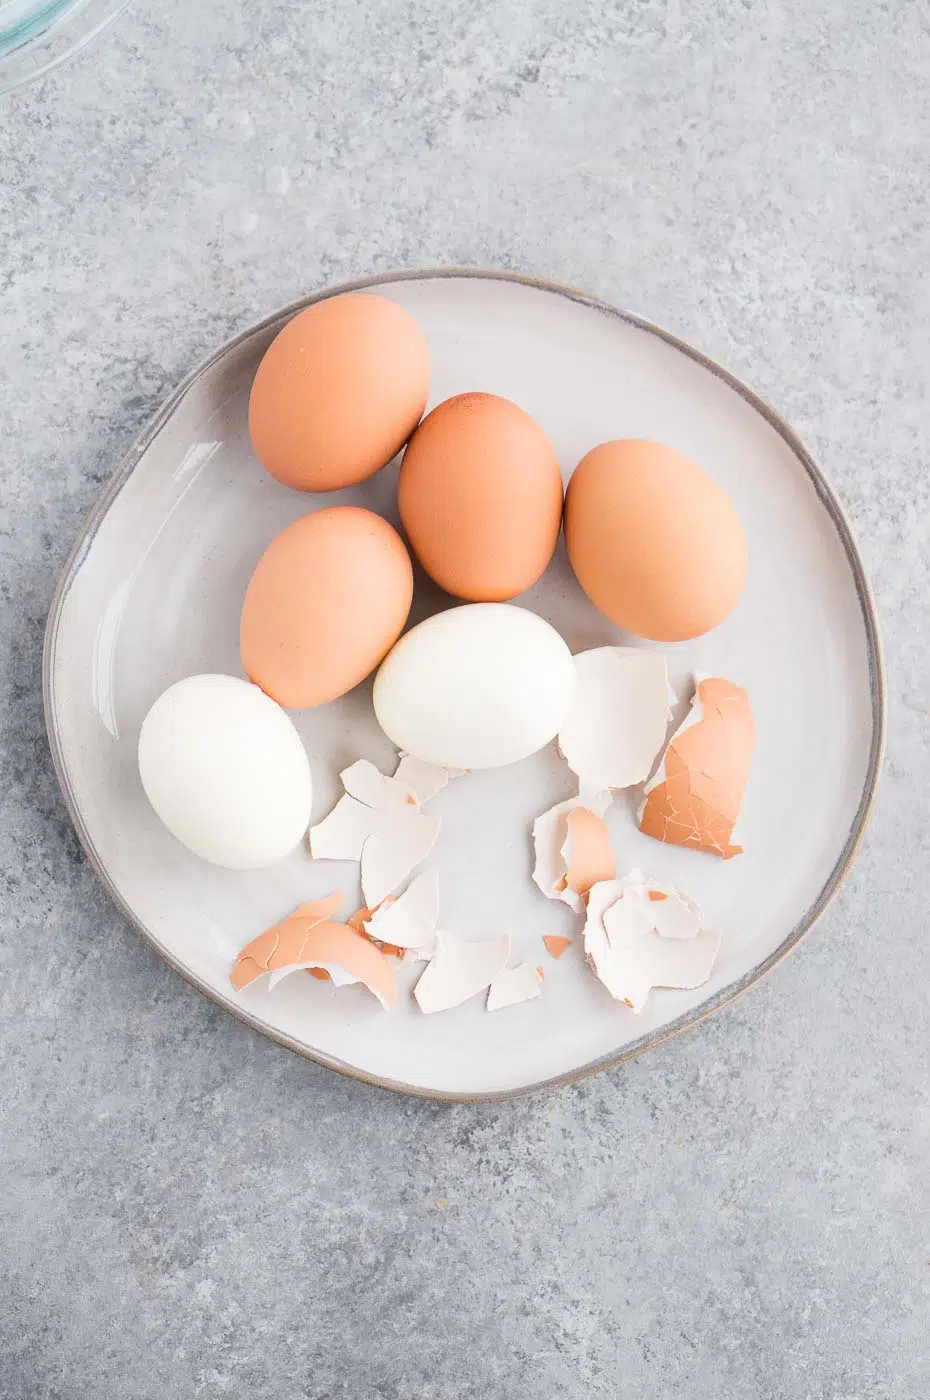
Step 4: Effortless Peeling Techniques. Once the eggs are completely cooled from the ice bath, it’s time for the gratifying peeling stage. Gently tap each egg on a hard surface, such as a countertop, to create fine cracks all over the shell. Then, roll the egg between your palms with a slight pressure; this helps to further break the shell into smaller pieces and loosen it from the membrane. The shell should now come off easily in larger sections. For any stubborn spots, peeling under a trickle of cold running water can help the water seep under the membrane, making it even easier to remove. Alternatively, for a quick and fun method, place a few cracked eggs in a sealed Tupperware container with an inch of water, shake for about 15 seconds, and watch the shells practically slide off!
NELI’S KITCHEN SECRETS
Expert Tips for Consistently Perfect Hard-Boiled Eggs
- Start with Cold Water to Prevent Cracks: Never plunge cold eggs from the refrigerator directly into hot, boiling water. Instead, place your eggs in a pot first, then add cool water to cover them by about an inch, and *then* turn on the heat. This gradual temperature increase prevents thermal shock, which is a common cause of cracked shells. If you do notice a small crack forming during cooking, adding a splash of vinegar to the water can help the egg white congeal quickly and prevent excessive leakage.
- The Essential Ice Bath: Immediately after removing the eggs from the boiling water, transfer them without delay into a bowl filled with ice water. This “shocking” process is critical for two reasons: it rapidly halts the cooking, ensuring your yolks remain beautifully yellow and creamy (without any unsightly green rings), and it helps the egg white contract, creating space between the egg and the shell membrane, which is the secret to easy peeling.
- Utilize the Counter Roll for Easy Peeling: Once your eggs are thoroughly cooled in the ice bath, gently roll each egg on a hard surface like your kitchen counter. Apply gentle, even pressure to create a network of tiny cracks across the entire shell. This method effectively separates the shell from the inner membrane, making it peel away with minimal effort and leaving you with perfectly smooth, unblemished eggs.
- Peel Under Running Water for Stubborn Shells: If you encounter an egg that’s proving a bit difficult to peel, try cracking it all around and then peeling it under a gentle stream of cold running water. The water helps to wash away small shell fragments and seeps under the membrane, making it easier to separate from the egg white. Alternatively, you can soak cracked eggs in a bowl of water for a few minutes before peeling to achieve a similar effect.
- Age Matters for Peeling: For the absolute easiest peeling experience, consider using eggs that are not super fresh. Eggs that are a few days to a week old tend to peel more easily than farm-fresh eggs. As eggs age, their pH level changes, which causes the inner membrane to adhere less to the egg white. If you’re planning a large batch for something like deviled eggs or Easter eggs, buying them a week in advance can save you a lot of frustration.
Advanced Techniques for Effortless Egg Peeling
We’ve all been there: that moment of despair when you try to peel an egg, and a significant portion of the precious egg white stubbornly clings to the shell. This common frustration can be easily avoided! After extensive trial and error, I’ve perfected several reliable methods for peeling eggs with ease, especially after they’ve enjoyed a good cool-down in an ice bath. Here’s how to ensure your eggs emerge flawlessly smooth every time:
- The Gentle Crack and Roll Method: Start by gently tapping the wider end of the cooled egg on a hard surface to create an initial crack. Then, roll the egg firmly but carefully across the counter, applying even pressure with your palm. This action effectively shatters the shell into numerous small pieces and helps to separate it from the delicate membrane beneath. Once adequately cracked, the shell should lift off in larger pieces, revealing a pristine egg.
- Water Immersion for Stubborn Shells: For those particularly stubborn eggs, or if you prefer a gentler approach, try cracking the entire shell all around its circumference. Once thoroughly cracked, submerge the egg under a stream of cold running water or let it soak in a bowl of water for a few minutes. The water penetrates beneath the cracked shell and the membrane, making it significantly easier to slide the shell off without tearing the egg white.
- The Tupperware Shake Method: This fun and efficient technique is perfect for peeling multiple eggs at once. Place a few cooled, cracked hard-boiled eggs into a sturdy Tupperware container with about an inch of water. Secure the lid tightly and shake the container vigorously for approximately 15 seconds. The eggs will jostle against each other and the container walls, causing the shells to virtually slide right off, leaving you with beautifully peeled eggs.
By incorporating these simple yet effective peeling strategies, you will consistently achieve perfectly peeled hard-boiled eggs with remarkable ease!
What Our Satisfied Readers Are Saying
“Okay, I’m sold! I’ve tried your recipe twice now, and my eggs peel so incredibly easily. I used to use the method where you remove from heat, cover, and let sit, followed by an ice bath, but peeling was still a pain. Thank you so much for this! I actually have a whole egg when I’m done peeling! :)”
– Debbie
“Wow! This is my first review ever, and I’m 61. I have tried Martha Stewart, Ina Garten, literally anything on the internet, on how to hard boil eggs. Your technique is the absolute winner!”
– Michelle
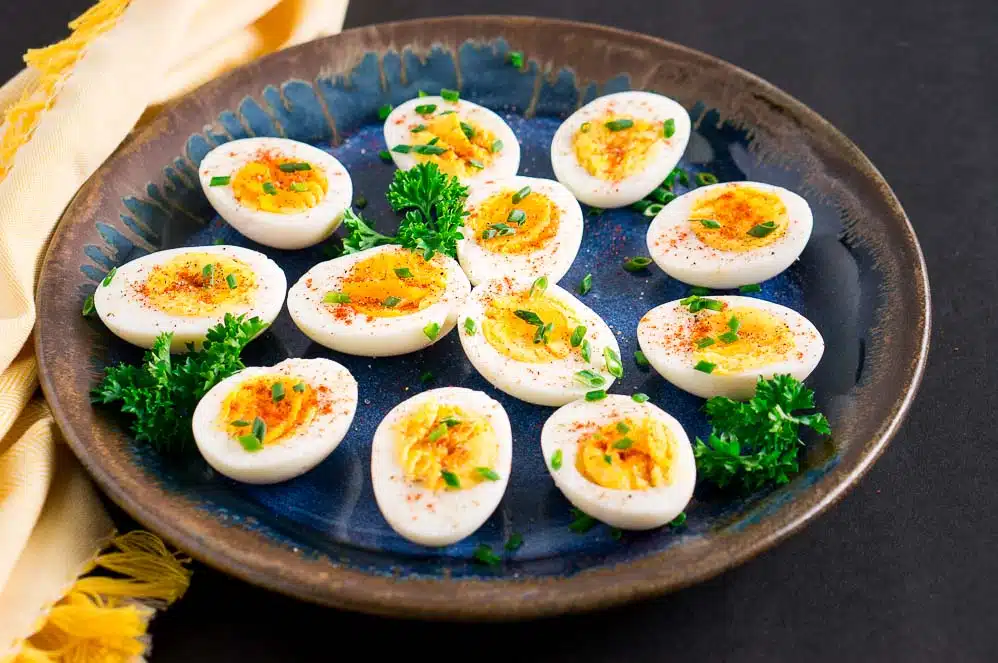
If you tried this Hard-Boiled Eggs Recipe or any other recipe on my blog, please leave a 🌟 star rating and tell me how it went in the 📝 comments below. Your feedback is greatly appreciated!
Pin this now to find it later
Pin It
☝ Tap stars to rate
How To Make Perfect Hard-Boiled Eggs
Pin
Rate
Equipment
-
Pot
-
Timer
-
Slotted spoon
-
Bowl for ice bath
Ingredients
- 6 large eggs
- Cold water
- Ice
Instructions
-
Place the eggs in a single layer in a large saucepan and cover them with cool water, about 1 inch above the eggs.
-
Cover the pot with a lid and bring the water to a boil over high heat. Once the water is boiling, reduce the heat to medium and set a timer for 7 to 8 minutes for perfectly hard-boiled eggs.
IMPORTANT: Make sure you start your timer when the water starts boiling, not when you place the eggs in the water.
-
When the timer is up, use a slotted spoon to transfer the eggs to a bowl of ice water to stop the cooking process. Let them cool for a few minutes. Alternatively, run them under cold water until cool. This helps them peel more easily.
-
Once cooled, remove the eggs and gently tap each on a hard surface. Roll to crack the shell, then peel.
Notes
Tips for easy-to-peel hard-boiled eggs
- Roll them on the counter. After you boil the eggs and cool them in ice-cold water, roll them on the counter to remove the shell. It will fall off easily.
- Place cracked eggs under water. If you notice that some eggs are hard to peel, crack them all around without peeling them and place them under a little bit of running water or soak them in a bowl with water for a while. The water penetrates under the shell and makes it easier to peel.
How to prevent your eggs from cracking
- Don’t place cold eggs from the fridge in hot water on the stove.
- Always place eggs in cold water and then turn on the cooktop.
- If an egg has a crack, you can add a little bit of vinegar to the pot. It will help to congeal the egg white if it starts to leak out from the shell.
Nutrition
Nutrition Disclaimer: Nutritional values are estimates and may vary with ingredients, brands, and portion sizes. For accuracy, use your preferred nutrition calculator.
Like this recipe? Rate and comment below!
Recipe Help & FAQs: Your Hard-Boiled Egg Questions Answered
To quickly determine the freshness of an egg, perform the float test. Gently place the egg in a bowl of cold water. A very fresh egg will sink to the bottom and lie flat on its side. As an egg ages, a small air cell inside expands, causing it to stand upright on its point but still touch the bottom. If an egg floats completely to the surface, it indicates a larger air cell and older age, making it less ideal for consumption.
For a perfectly creamy hard-boiled egg with a firm, uniformly yellow yolk and no green ring, the optimal boiling time is 7 to 8 minutes. Remember to start your timer precisely when the water begins its rolling boil, after placing eggs in cold water and bringing the pot to temperature.
To significantly reduce the chances of your eggs cracking, always start by placing them in a pot of cold water before applying heat. Bring the water to a gentle, gradual boil, rather than a rapid, aggressive one, as this minimizes thermal shock on the eggshells. Furthermore, ensure the pot is not overcrowded; eggs need space to move gently without bumping into each other, which can cause cracks. Using older eggs (about a week old) can also help, as their shells are less brittle.
For the easiest peeling experience, prioritize using eggs that are at least a week old. After boiling, immediately transfer the eggs to an ice bath for several minutes; this rapid cooling is essential for detaching the membrane from the shell. Once cool, gently tap the eggs on a hard surface to crack the shell all over, then roll them to loosen. For stubborn shells, peel under running cold water or soak them in a bowl of water to help the water penetrate and separate the shell. Alternatively, for a quick and fun method, place a few cracked eggs in a Tupperware container with an inch of water, seal, and shake for about 15 seconds – the shells should practically slide right off.
Hard-boiled eggs can be safely stored in an airtight container in the refrigerator for up to a week. For optimal freshness and ease of use, it’s generally recommended to peel their shells before refrigerating, as they can become more challenging to peel once chilled. If you notice a faint gassy odor in the refrigerator, this is a normal and harmless result of hydrogen sulfide forming during the boiling process and is not indicative of spoilage.
A green or grayish ring around the yolk of a hard-boiled egg is a clear sign of overcooking. It occurs when sulfur in the egg white reacts with iron in the yolk, forming ferrous sulfide. This harmless but unappealing discoloration can be easily prevented by adhering to the recommended boiling times in our guide and ensuring a rapid transfer to an ice bath immediately after cooking. The ice bath quickly cools the eggs, stopping the chemical reaction that causes the green ring.
Why This Hard-Boiled Egg Recipe Will Be Your New Go-To
- Effortlessly Easy-to-Peel Eggs: Our meticulously tested technique ensures that your hard-boiled eggs will peel smoothly and cleanly every single time, saving you frustration and precious time in the kitchen. No more torn whites or stubborn shells!
- Wholesome and Nutritious: Hard-boiled eggs are a powerhouse of protein and essential nutrients, making them a simple, delicious, and incredibly satisfying option for any meal. They are a fantastic way to add healthy fats and vitamins to your diet.
- Perfect for Meal Preparation: This recipe is ideal for batch cooking and meal prepping. Prepare a large quantity on the weekend, and you’ll have versatile, grab-and-go protein sources ready for healthy breakfasts, quick lunches, or anytime snacks throughout your busy week.
- Quick and Efficient Cooking: With clear, concise instructions and precise timing, you can confidently prepare perfect hard-boiled eggs quickly. This makes them an excellent choice for busy mornings or when you need a speedy protein boost without a lot of fuss.
- Versatile Culinary Staple: From enhancing salads to becoming the star of appetizers, hard-boiled eggs are incredibly versatile. Mastering this recipe opens up a world of culinary possibilities, allowing you to incorporate them into countless dishes with ease.
Creative Ways to Enjoy Your Perfect Hard-Boiled Eggs
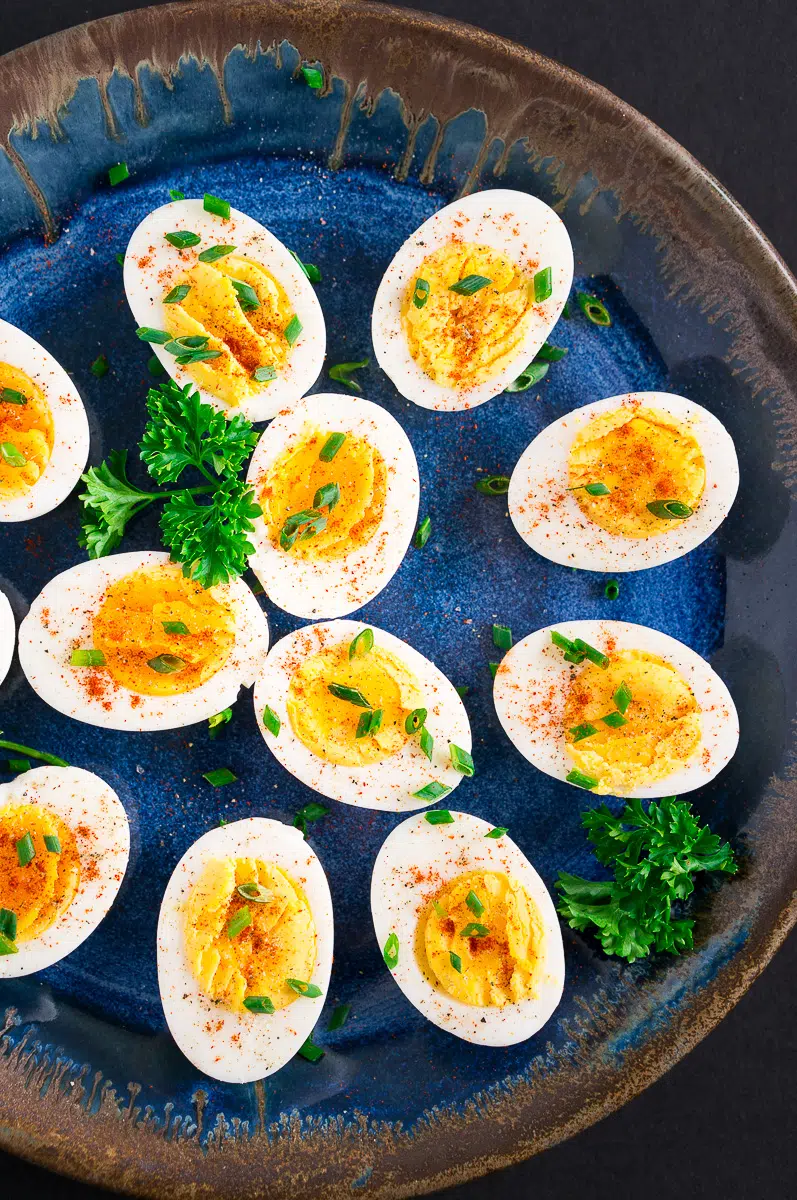
Hard-boiled eggs are an incredibly versatile kitchen staple, perfect for busy mornings and beyond. I often prepare a large batch on Sundays, ensuring a convenient and healthy grab-and-go breakfast or snack throughout the entire week. They pair wonderfully with fresh fruit or a slice of whole-wheat toast. Here are some of my other favorite, flavorful ways to incorporate them into your meals:
- Delicious Sandwiches. These perfectly cooked eggs are the foundation for a delectable Healthy Egg Salad sandwich, or they can be sliced and added to any of your favorite sandwich creations for an extra boost of protein and flavor.
- Enhance Your Salads. Elevate any salad by slicing or chopping hard-boiled eggs into it. They are a classic and essential ingredient in vibrant dishes like Cobb Salad, hearty Chef Salad, layered 7 Layer Salad, creamy Potato Salad, and traditional Russian Salad Olivier. They add substance, texture, and a wealth of nutrients to any green or composed salad.
- Elegant Appetizers. Transform simple hard-boiled eggs into impressive starters. They are, of course, the star ingredient for classic and crowd-pleasing Deviled Eggs, perfect for parties and gatherings.
- Wholesome Breakfasts. For a satisfying and effortless breakfast, serve them simply sliced atop a creamy Avocado Toast, on a toasted cheese bagel, or alongside crispy bacon. Their versatility makes them an ideal companion to almost any morning meal.
Beyond Boiling: Explore More Egg Cooking Methods
Appetizers + Snacks
Deviled Eggs Recipe
Breakfast Recipes
Breakfast Egg Muffins
Breakfast Recipes
How to Make Scrambled Eggs (Fluffy & Moist)
Breakfast Recipes