
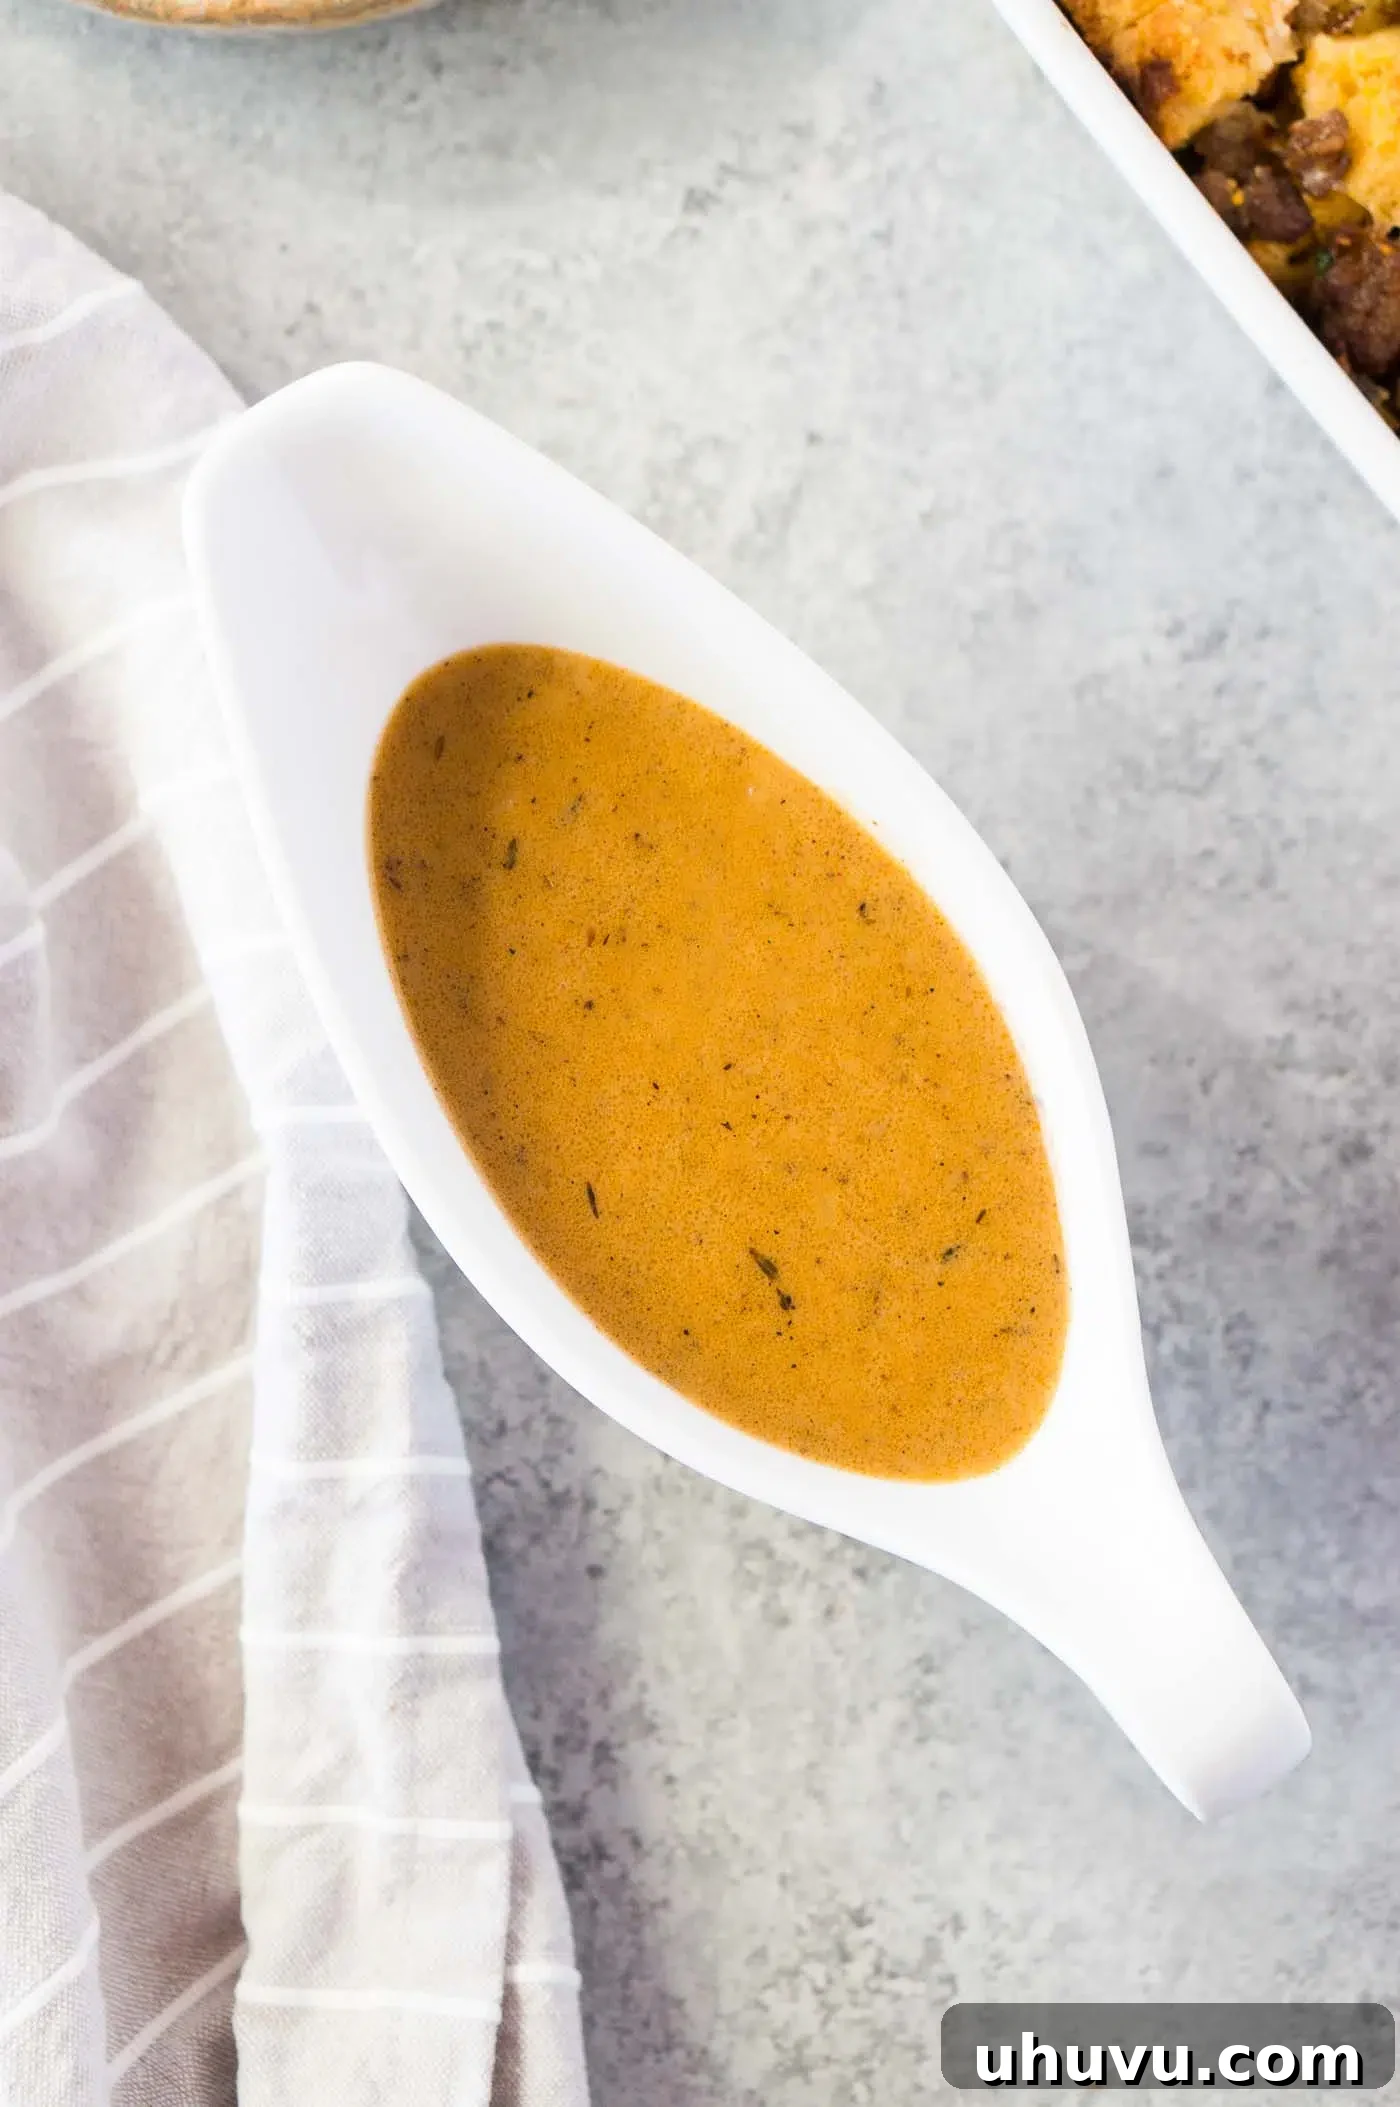
Elevate any meal, from a cozy weeknight dinner to a grand holiday feast, with the most incredible homemade gravy. This foolproof recipe, crafted from savory turkey or chicken drippings, is not only incredibly quick to prepare but also naturally gluten-free and bursting with rich flavor. Say goodbye to store-bought alternatives and hello to a velvety smooth gravy that will become your new go-to accompaniment for all your favorite dishes. Whether it’s Thanksgiving, Christmas, or just a Sunday roast, this classic gravy adds that essential touch of comfort and decadence.
The Secret to Perfect Homemade Gravy
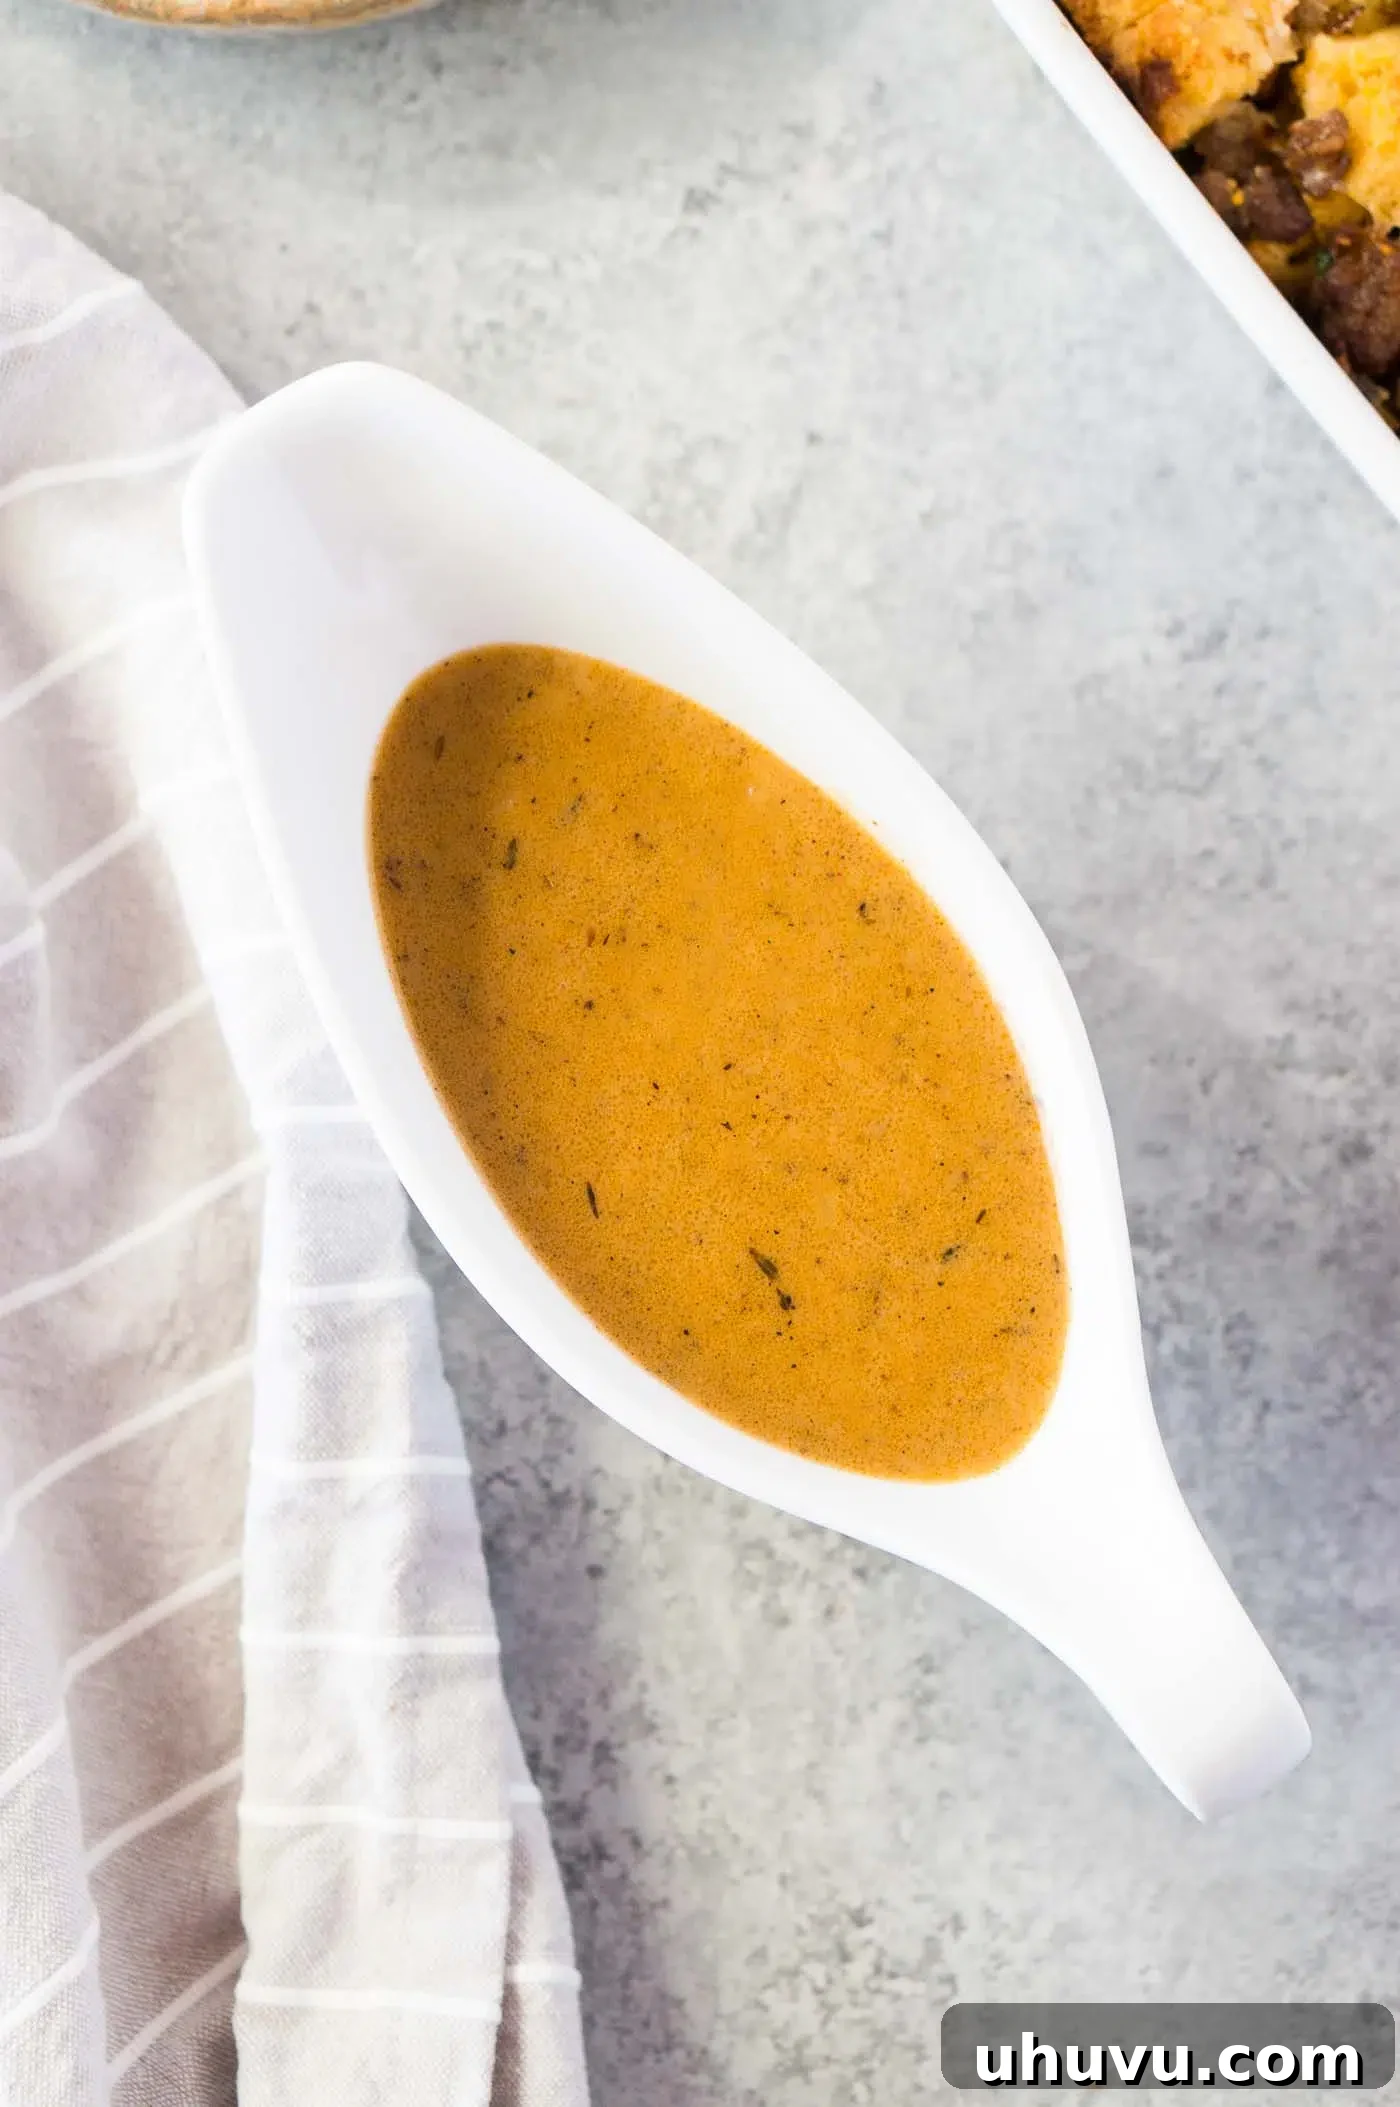
Gravy should never be an afterthought, a mere sidekick to your magnificent roast. It’s a star in its own right, the luscious liquid gold that ties your entire meal together. Our easy homemade gravy ensures that every bite is imbued with depth and savory goodness. By utilizing the flavorful pan drippings from your roast chicken or turkey and thickening with arrowroot starch, we achieve a luxuriously smooth, naturally gluten-free gravy that comes together in mere minutes. This recipe is designed to make gravy-making effortless, even for novice cooks, ensuring a perfect pour every time. Experience the difference a truly homemade, rich, and velvety gravy makes.
Why You’ll Fall in Love with This Gravy Recipe
Prepare to impress yourself and your guests with a savory gravy that ticks all the boxes. Here’s why this easy homemade gravy recipe deserves a permanent spot in your culinary repertoire:
- Lightning Fast & Effortless Preparation: Forget complicated roux or lengthy simmering. This simple gravy takes just minutes to prepare on the stovetop. You can whip it up quickly while your roast chicken or turkey is resting, ensuring it’s hot and fresh when dinner is served. This convenience makes it ideal for busy weeknights and special occasions alike.
- Naturally Gluten-Free Goodness: Unlike traditional gravies thickened with wheat flour, our recipe uses arrowroot starch. This not only makes it a fantastic option for those with gluten sensitivities or celiac disease but also provides a silky, translucent finish without any starchy aftertaste. Enjoy a delicious gravy everyone can savor!
- Make-Ahead & Freezer Friendly: Hosting a big dinner can be stressful. This homemade gravy can be prepared in advance and stored in the refrigerator, or even frozen, significantly simplifying your meal prep. It reheats beautifully, retaining all its rich flavor and smooth texture, so you can enjoy fresh-tasting gravy whenever you need it.
- Holiday Staple & Everyday Versatility: While this rich turkey or chicken gravy is absolutely essential for your Thanksgiving or Christmas table, its savory depth makes it equally perfect for enhancing everyday meals. Drizzle it generously over mashed potatoes, roasted vegetables, pot roast, or even humble fried chicken for an instant flavor upgrade.
- Deep, Authentic Flavor Profile: The true secret to this exceptional gravy lies in utilizing the pan drippings. These concentrated juices and rendered fats from your roasted meats impart an unparalleled depth of flavor that no store-bought alternative can match. Combined with quality stock and a touch of cream, you get a gravy that’s intensely savory, wonderfully aromatic, and deeply comforting.
- Velvety Smooth Texture: Thanks to the arrowroot starch and proper whisking technique, this gravy comes out perfectly smooth every time. No lumps, no grit—just a consistently creamy and appealing texture that coats every bite beautifully.
Essential Ingredients for the Best Homemade Gravy
Crafting a truly exceptional gravy doesn’t require a long list of exotic ingredients. In fact, it relies on a few simple, high-quality components that come together to create culinary magic. Here’s what you’ll need to make this unforgettable, gluten-free gravy:
- Arrowroot Starch (or Cornstarch): This is our gluten-free thickening agent of choice. Arrowroot starch provides a clear, glossy finish and a smooth consistency that holds up well. Cornstarch is an excellent alternative if arrowroot isn’t available, offering similar thickening power and gluten-free benefits. Both are preferred over flour for a quick, lump-free gravy, especially for those avoiding gluten, as they activate faster and produce a cleaner finish.
- Flavorful Pan Drippings: The heart and soul of your gravy! Collect the savory juices and rendered fat from your roast chicken, turkey, or even roast beef. These drippings are packed with concentrated flavor, providing a robust, umami-rich base for your gravy. For an authentic beef gravy, ensure you use beef drippings. It’s crucial to strain these drippings through a fine-mesh sieve to remove any small bits of meat, herbs, or vegetables that might make your gravy cloudy or gritty.
- Quality Stock (Chicken, Turkey, or Beef Broth): A good quality stock is vital for extending and enhancing the flavor profile of your drippings. Use chicken stock or turkey stock for poultry-based gravies, and beef broth or stock if you’re making gravy for roast beef. If you have enough pan juices after straining, these can often substitute for some or all of the stock, intensifying the flavor even further. Opt for low-sodium stock to give you maximum control over the final seasoning of your homemade gravy.
- Heavy Cream (or Milk): A generous splash of heavy cream adds a luxurious, velvety texture and richness to the gravy, elevating its overall mouthfeel and contributing to its beautiful sheen. It also mellows the intense savory notes slightly, creating a more balanced and indulgent flavor. If you prefer a lighter option, whole milk can be used, though the gravy will be less creamy and rich.
- Salt and Freshly Ground Black Pepper: These are your final flavor enhancers. Your pan drippings and stock may already be quite salty, especially if your roast was heavily seasoned, so it’s always best to taste the gravy at the end and adjust the seasoning as needed. Freshly ground black pepper adds a lovely aromatic warmth and a subtle kick.
How To Make Gravy – Step by Step Instructions for a Flawless Finish
Creating this delicious homemade gravy is surprisingly simple and quick, making it perfect to prepare while your roast is resting. Follow these detailed steps for a perfect, lump-free, and incredibly flavorful result every time:
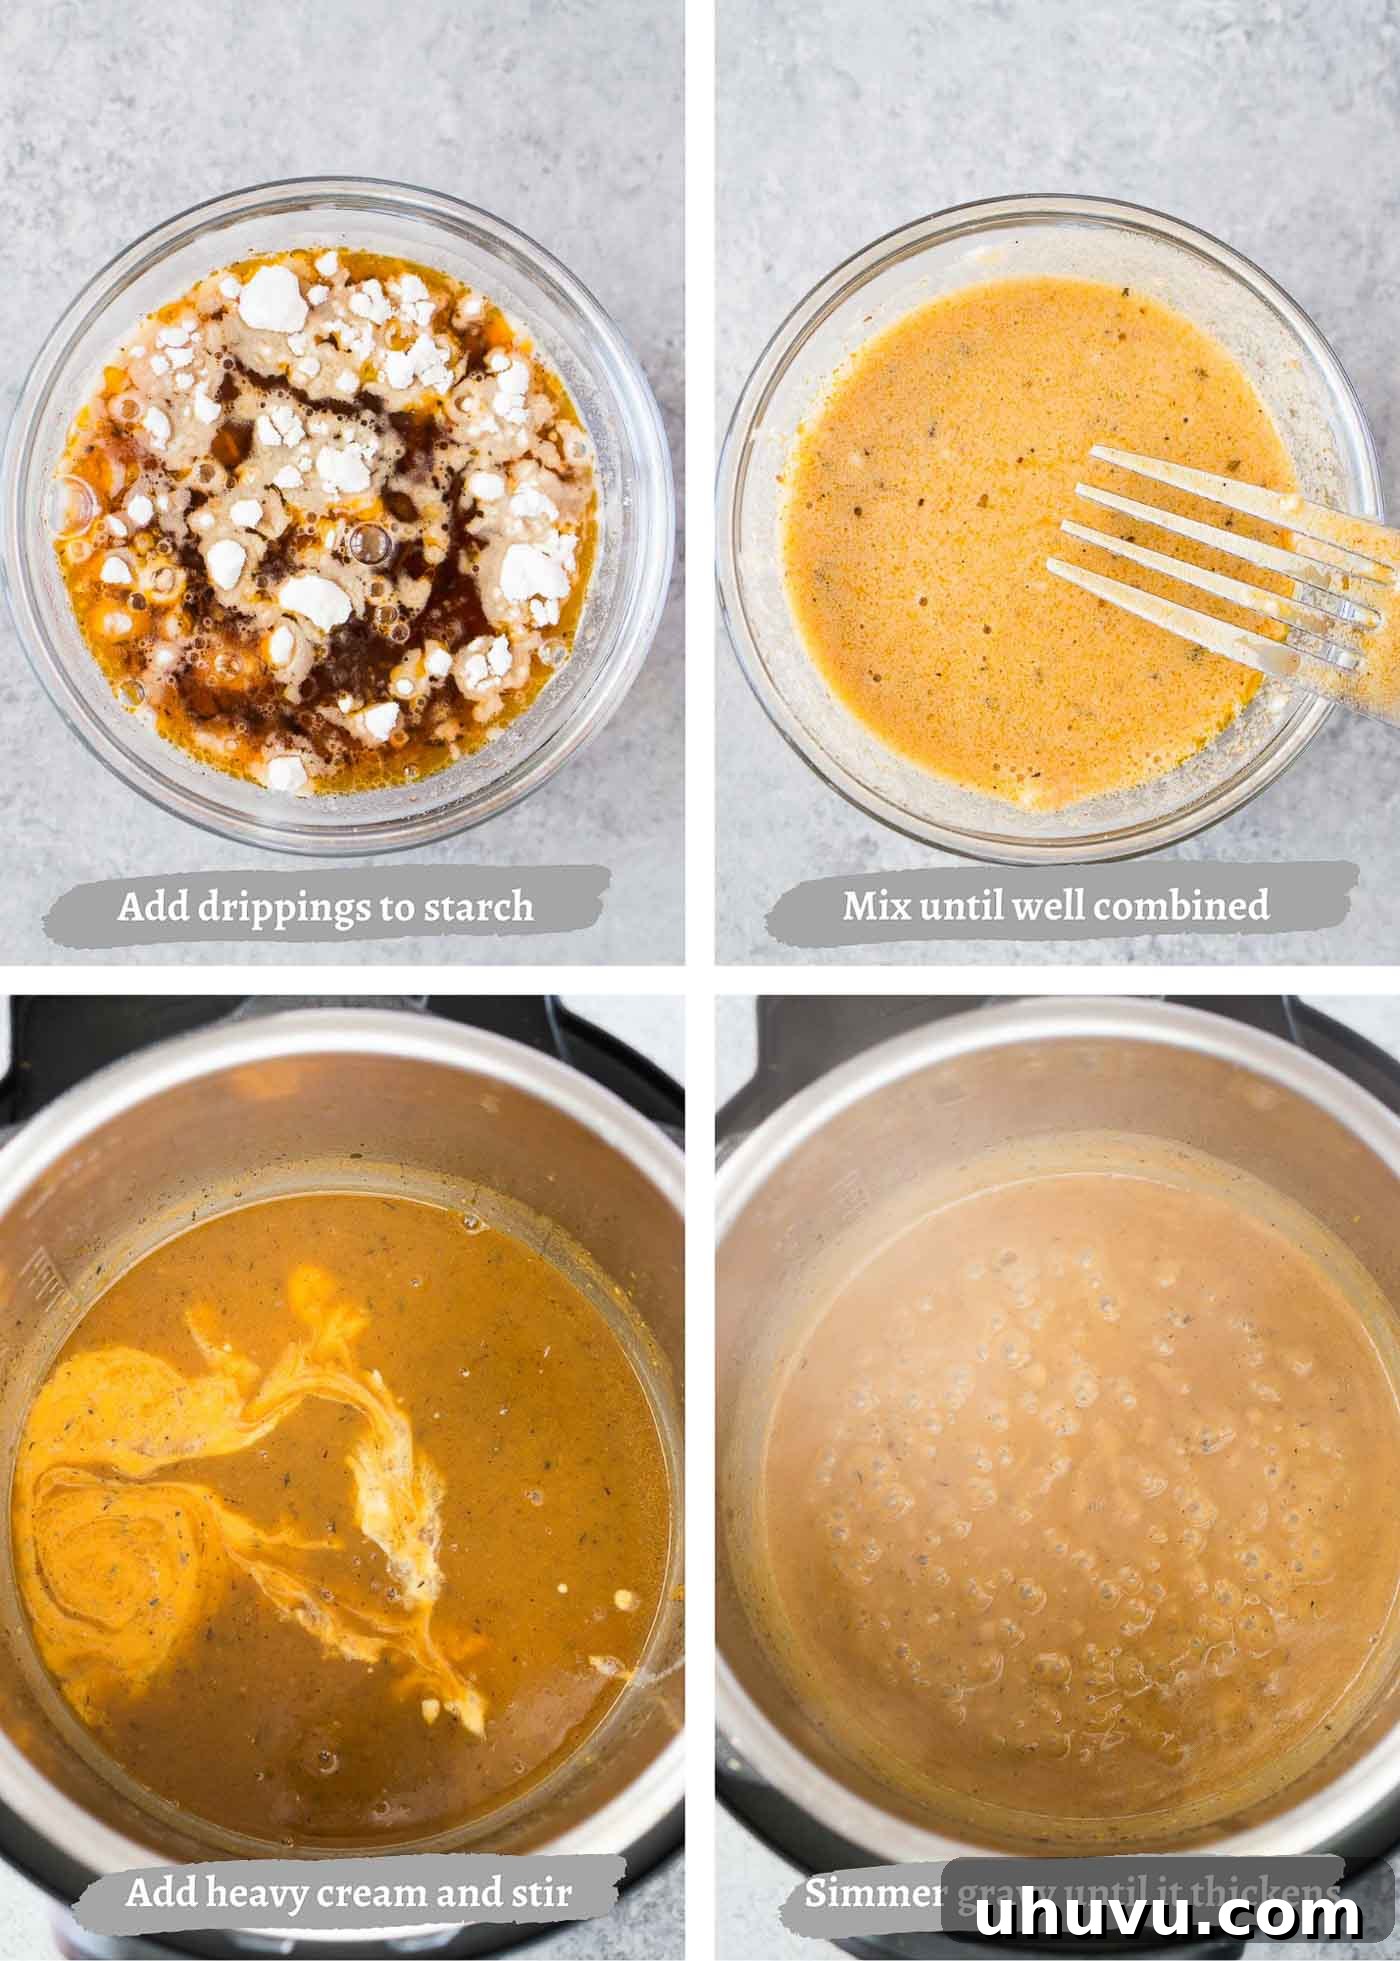
- Step 1: Create the Starch Slurry. Begin by preparing your thickening agent. In a small bowl, combine the arrowroot starch (or cornstarch) with 3 tablespoons of your reserved chicken or turkey drippings. Whisk this mixture vigorously and thoroughly until it forms a perfectly smooth, lump-free slurry. This crucial preliminary step is what prevents lumps from forming when the starch is introduced to the hot liquid, ensuring a silky-smooth gravy.
- Step 2: Heat the Broth and Incorporate the Slurry. Pour 2 cups of chicken or turkey broth (or your strained pan juices) into a medium-sized saucepan or an Instant Pot set to sauté mode. Place the saucepan over medium-high heat. Allow the broth to warm up and come to a gentle simmer. Once simmering, slowly and steadily whisk in the prepared starch and drippings mixture into the saucepan. Continue whisking constantly as you pour to fully combine all ingredients and prevent any lumps from forming. You’ll notice the gravy beginning to thicken almost immediately as the starch activates.
- Step 3: Simmer, Enrich, and Season to Perfection. Continue whisking and gently simmering the gravy for 2 to 3 minutes. During this brief period, the starch will fully activate, and the gravy will reach its beautiful, velvety consistency. Now, gradually pour in ¼ to ½ cup of heavy cream (or milk), whisking continuously until it’s fully incorporated. This adds a luxurious richness and creaminess, giving your gravy a beautiful, smooth texture and a richer color. Finally, remove the saucepan from the heat. Taste the gravy carefully. Your pan drippings are often quite salty, so you may not need to add much, if any, additional salt or freshly ground black pepper. Adjust seasoning to your preference, adding a pinch of salt or pepper only if needed. Serve hot and enjoy!
EXPERT TIPS FROM NELI’S KITCHEN
Recipe Notes and Tips for the Best Gravy Recipe
Achieving perfect gravy is simple with a few insider tricks. Keep these helpful tips in mind for consistently delicious and smooth results every time:
- Gravy Thickens as It Rests: It’s important to remember that gravy will naturally thicken further as it cools. If your gravy becomes too thick after sitting for a while, or when reheating from the refrigerator, simply whisk in a little extra chicken or turkey broth, or even a splash of water, until it reaches your desired pourable consistency. Start with a tablespoon at a time.
- Addressing Gravy That’s Too Thin: If your gravy isn’t as thick as you’d like it to be, don’t panic! You can easily remedy this. Create another small starch slurry by mixing 1 tablespoon of arrowroot or cornstarch with 2 tablespoons of cold broth or water. Slowly whisk this new slurry into the simmering gravy, a little at a time, until it thickens to your perfection. Always add slowly and whisk constantly.
- Managing Saltiness in Your Gravy: Pan drippings can sometimes be quite salty, especially if your roast was heavily seasoned. Always taste your gravy before adding any additional salt. If your gravy turns out too salty, you can stir in a small amount of water or unsalted broth to dilute the saltiness. When using store-bought stock, always opt for a low-sodium variety; this gives you much better control over the final seasoning of your homemade gravy. Remember, you can always add more salt, but you can’t easily take it away!
- Straining Drippings is Essential for Smoothness: For the ultimate smooth and silky gravy, always strain your pan drippings through a fine-mesh sieve before using them. This crucial step removes any small bits of meat, herbs, or vegetables that can make your gravy gritty or unappealing in texture.
- Dealing with Excess Fat in Drippings: If your pan drippings contain a lot of excess fat, which can make your gravy greasy, consider using a fat separator. Alternatively, you can chill the drippings in the refrigerator; once chilled, the fat will solidify on top, making it easy to skim off before you start making the gravy. A moderate amount of fat adds flavor, but too much can overpower the gravy.
- For a Deeper Color: If you prefer a darker, richer-looking gravy, you can add a tiny splash of soy sauce (for umami and color) or a dash of kitchen bouquet. These additions will give your gravy a more profound hue without significantly altering its delicious savory flavor.
How to Serve Homemade Gravy: Endless Possibilities
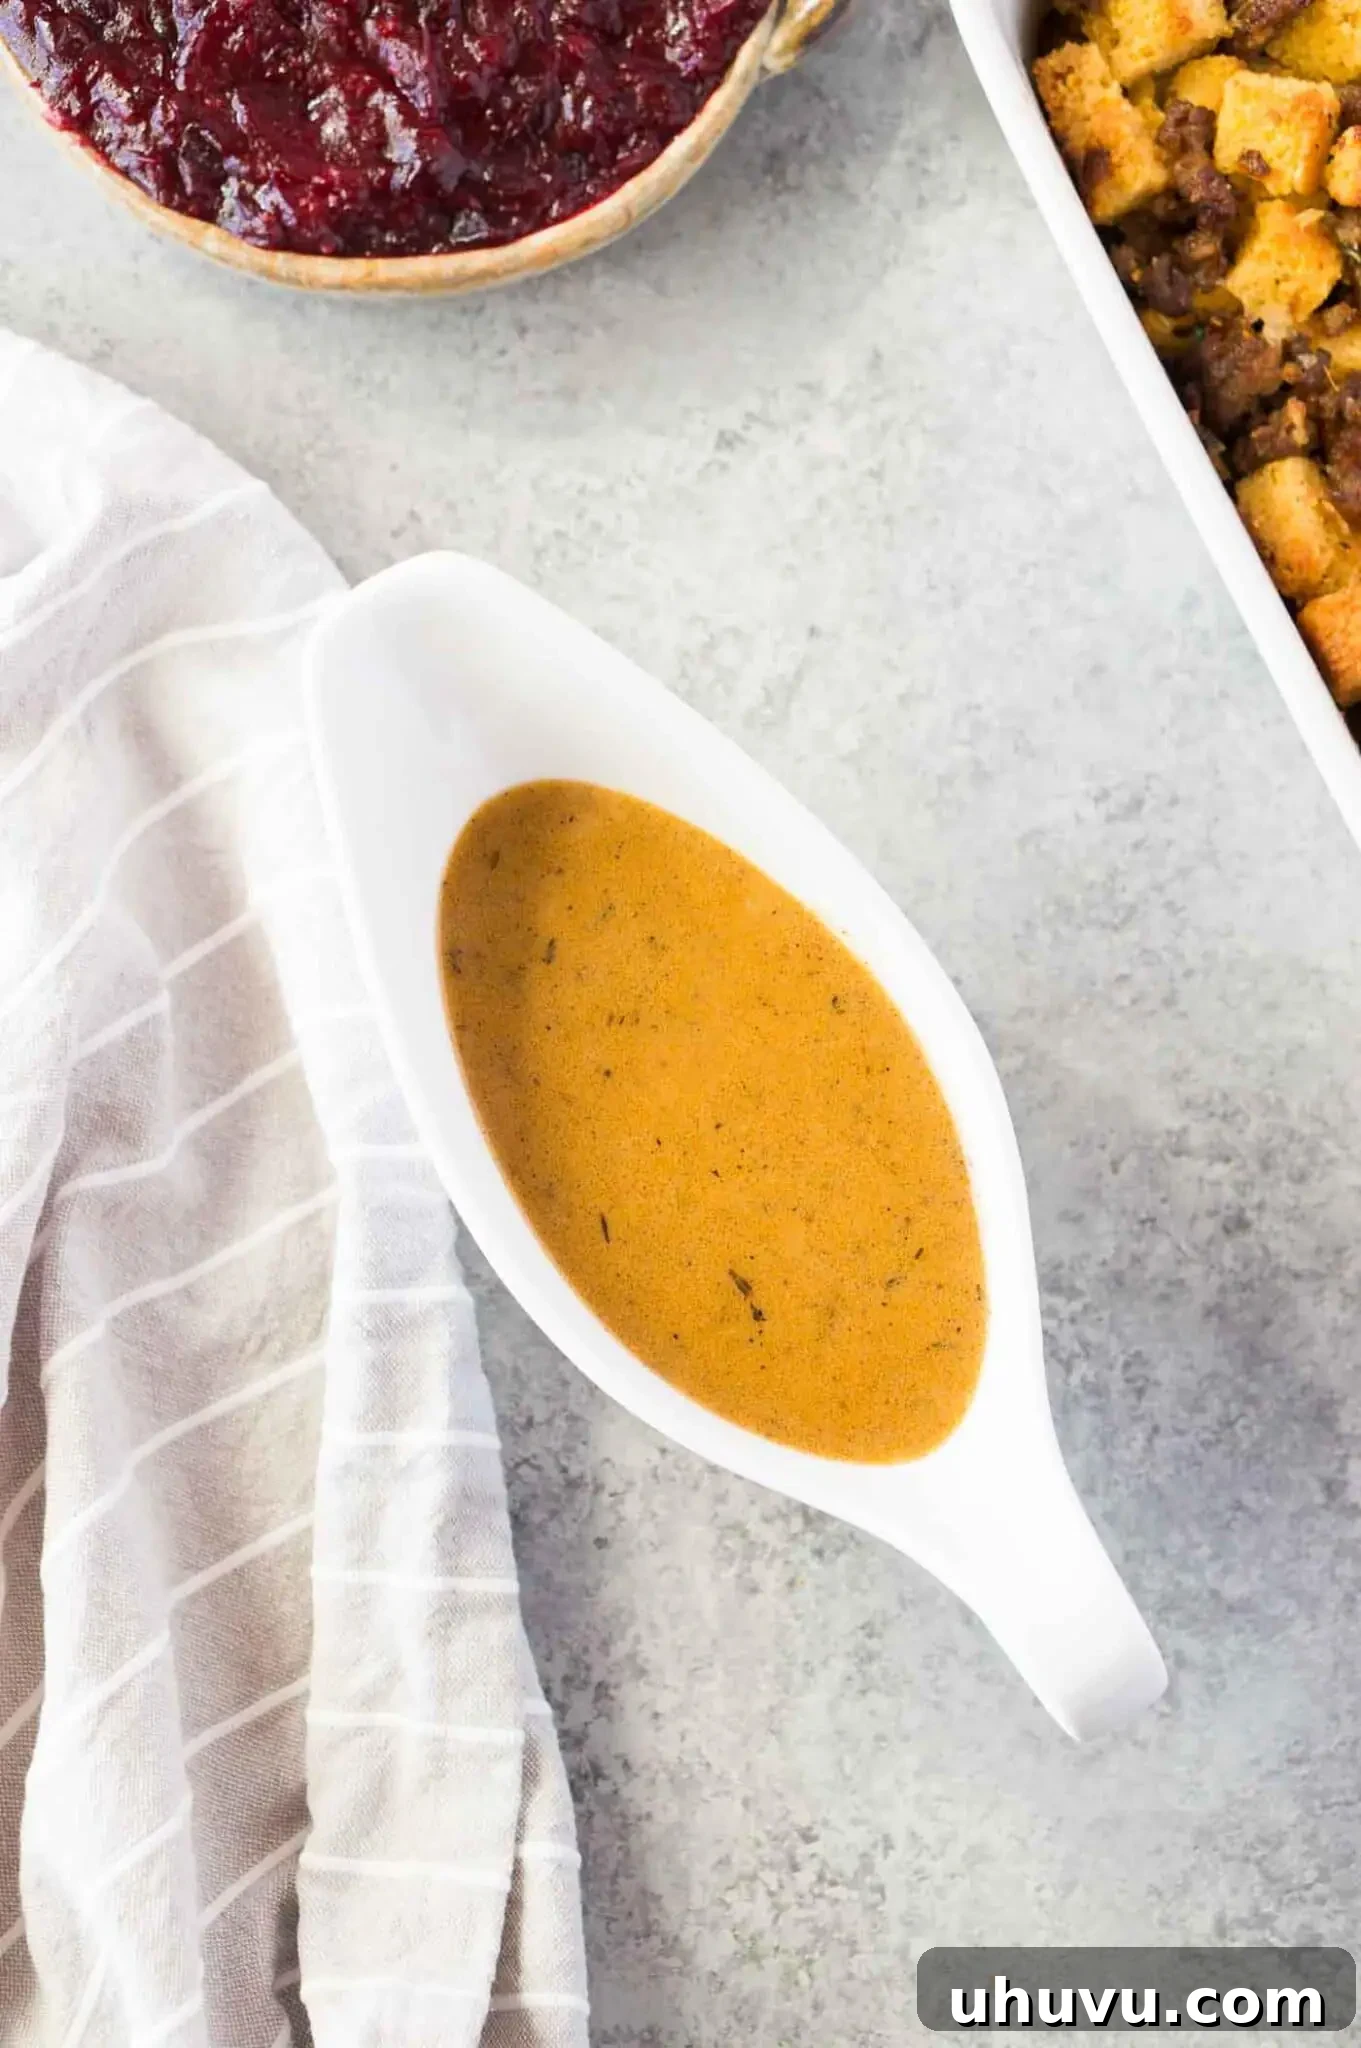
While homemade gravy is traditionally associated with holiday roasts, its versatility extends far beyond. This rich, savory sauce can elevate a wide array of dishes, transforming them into comforting, flavor-packed meals. Here are some of our favorite ways to enjoy this incredible homemade gravy:
- Classic Holiday Roasts: Indispensable for roast turkey, roast chicken, prime rib, and pot roast. Drizzle generously over slices of meat for maximum moisture and flavor, creating a truly memorable main course.
- Creamy Mashed Potatoes: A match made in culinary heaven! Fluffy, creamy mashed potatoes are simply incomplete without a generous pool of hot, savory gravy cascading over them. It’s the ultimate comfort food pairing.
- Stuffing and Dressing: Gravy moistens and enriches your favorite stuffing or dressing recipes, ensuring every forkful is flavorful and perfectly succulent. It’s a holiday essential.
- Roasted Vegetables: Transform simple side dishes into something extraordinary. Carrots, Brussels sprouts, green beans, or roasted baby potatoes all benefit immensely from a savory coating of this rich gravy.
- Biscuits and Gravy: For a comforting breakfast or brunch twist, serve this savory gravy over warm, flaky buttermilk biscuits. It’s a hearty, satisfying start to any day.
- Fried Chicken or Chicken Fried Steak: A classic Southern comfort food pairing that elevates these crispy dishes with its smooth, flavorful embrace.
- Hot Open-Faced Sandwiches: Turn leftovers into a quick, hearty meal. Pile slices of leftover roast meat onto toasted bread and smother them with warm gravy for an incredibly satisfying open-faced sandwich.
- Poutine (with a Twist): While a traditional poutine uses beef gravy, our chicken or turkey gravy can offer a delightful, lighter alternative when poured over crispy fries and squeaky cheese curds.
- Shepherd’s Pie or Pot Pie: Use this gravy as a flavorful base within your shepherd’s pie or chicken pot pie filling, adding depth and moisture. It can also be drizzled on top for extra richness.
More Thanksgiving and Holiday Recipes to Pair with Gravy
Complete your festive spread or weeknight dinner with these delightful side dishes that pair perfectly with our homemade gravy:
- Classic Green Bean Casserole Recipe
- Creamy Cauliflower au Gratin
- Sweet Potato Casserole with Pecan Topping
- Crispy Roasted Baby Potatoes
- Velvety Creamy Mashed Potatoes
If you enjoyed this recipe or any other recipe on my blog, please leave a ⭐ star rating and let me know how it went in the 📝 comments below. Your valuable feedback helps others discover delicious recipes and inspires us to create more!
Pin this now to find it later
Pin It

Homemade Gravy Recipe
Neli Howard
5 minutes
5 minutes
10 minutes
4 servings
Save This Recipe
Enter your email and we’ll send the recipe directly to you!
(Email signup functionality would typically be implemented via a separate, static form or a service integration, not embedded directly with JavaScript.)
Ingredients
- 1-2 tablespoons arrowroot starch (or cornstarch)
- 3 tablespoons chicken or turkey drippings (strained)
- 2 cups chicken or turkey broth (or strained pan juices)
- ¼ to ½ cup heavy cream or milk
- Salt and pepper, to taste (only if necessary)
Instructions
-
1. Prepare the Slurry: In a small bowl, thoroughly mix together the arrowroot starch (or cornstarch) and 3 tablespoons of chicken/turkey drippings until a smooth, well-combined slurry forms. This crucial step prevents lumps and ensures a silky texture.
-
2. Combine and Thicken: Add 2 cups of chicken/turkey broth (or pan juices) to a saucepan or an Instant Pot on sauté mode. Place over medium-high heat. Once the liquid is warm and begins to simmer, slowly whisk in the prepared starch/drippings mixture. Continue whisking constantly to ensure even thickening and prevent lumps.
-
3. Enrich and Season: Gradually pour in the heavy cream (or milk) to the saucepan, whisking constantly until fully incorporated. Allow the gravy to simmer for 2-3 minutes, continuing to whisk occasionally, until it reaches your desired consistency. Remove from heat and taste. Add salt or freshly ground black pepper only if needed, as drippings can often be salty. Serve hot.
Notes
- Gravy thickens as it cools: If it becomes too thick when cold or reheated, whisk in a little extra broth or water.
- To thin gravy: If it is too thin, create another small starch slurry (1 tbsp starch + 2 tbsp cold liquid) and slowly whisk it into the simmering gravy until desired thickness.
- Adjusting saltiness: If your gravy is too salty, stir in some water or unsalted broth. Use low-sodium stock for better control.
- Always strain drippings: For the smoothest gravy, ensure all pan drippings are strained through a fine-mesh sieve before use.
- Fat separation: If you have excessive fat in your drippings, use a fat separator or chill to skim off the excess before starting the gravy.
Nutrition
Nutrition Information (Approximate Per Serving for 4 servings):
- Calories: 466 kcal
- Carbohydrates: 12g
- Protein: 4g
- Fat: 45g
- Saturated Fat: 18g
- Polyunsaturated Fat: 5g
- Monounsaturated Fat: 20g
- Cholesterol: 46mg
- Sodium: 2972mg
- Potassium: 458mg
- Fiber: 1g
- Sugar: 3g
- Vitamin A: 108 IU
- Vitamin C: 33mg
- Calcium: 101mg
- Iron: 1mg
Nutrition Disclaimer: Nutritional values are estimates and may vary with ingredients, brands, and portion sizes. For accuracy, it is recommended to use your preferred nutrition calculator with your specific ingredients.
Like this recipe? We’d love to hear from you!
Please take a moment to rate the recipe and leave a comment below with your feedback. Your insights are invaluable and help other home cooks discover delicious meals and improve their culinary skills.
Gravy Questions? We’ve Got Answers!
Got more questions about perfecting your homemade gravy? Here are answers to some common queries to help you master this essential condiment:
Absolutely! While pan drippings offer the deepest, most authentic flavor, you can still make a fantastic gravy without them. Simply use a high-quality chicken, turkey, or beef stock as your base. For extra richness and savory depth, you can start by sautéing a tablespoon or two of butter or a neutral oil (like olive oil or avocado oil) with a finely minced shallot or a small amount of onion until softened and fragrant. Then, proceed to whisk in your starch slurry with some of the stock, gradually add the rest, and simmer. Season to taste with herbs and spices like fresh thyme, a pinch of rubbed sage, or a bay leaf for added complexity. This method allows you to enjoy homemade gravy even if you haven’t roasted any meat!
Yes, you can certainly use all-purpose flour to thicken gravy, though I personally prefer arrowroot or cornstarch for their ability to create a clear, glossy, and lump-free gravy more easily and quickly. If opting for flour, the process is slightly different: you’ll need to make a roux. Start by whisking 2 tablespoons of all-purpose flour with an equal amount of pan drippings (or melted butter if no drippings) in the saucepan over medium heat for 1-2 minutes. This cooks out the raw flour taste and creates a smooth paste. Then, gradually whisk in the broth, a little at a time, ensuring each addition is fully incorporated and smooth before adding more, until your gravy reaches the desired consistency. Continuous whisking is key to prevent lumps when using flour.
Lumpy gravy is a common frustration, but it’s entirely preventable with the right technique! The most crucial step is to create a perfectly smooth “slurry” with your chosen starch (arrowroot or cornstarch) and a cold liquid (be it drippings, water, or broth) BEFORE adding it to the hot liquid. Always whisk the starch into the cold liquid thoroughly until absolutely no lumps remain. When it’s time to add this slurry to your simmering broth, pour it in slowly and steadily while continuously whisking the hot broth. This ensures even distribution of the starch particles and prevents them from clumping together. Patience and constant whisking are your best friends here for a flawlessly smooth gravy!
While the terms are sometimes used interchangeably, especially in casual cooking, there’s a subtle distinction. Gravy typically refers to a specific type of sauce made primarily from the concentrated juices (drippings) of cooked meat or vegetables, often thickened with flour, cornstarch, or arrowroot starch. It’s usually served alongside the dish from which its drippings were derived, like turkey gravy with roasted turkey. A “sauce,” on the other hand, is a much broader culinary term encompassing a vast range of liquid preparations, which may or may not include meat drippings, and can be thickened in numerous ways (roux, beurre manié, purées, reductions) or not at all. So, while all gravy is a sauce, not all sauces are gravy.
While this particular recipe is designed to utilize rich meat drippings for its deep, authentic flavor, you can easily adapt the principles to create a delicious vegetarian or even vegan gravy. To make it vegetarian, replace the meat drippings with melted butter or olive oil for the slurry, and use a high-quality, rich vegetable stock instead of chicken or turkey broth. For an extra layer of umami and depth, consider adding a dash of soy sauce (or tamari for gluten-free options), a spoonful of nutritional yeast, or finely minced mushrooms cooked down until very soft. If making it vegan, ensure you use a plant-based milk or cream alternative instead of heavy cream or regular milk. The thickening method with arrowroot starch remains the same, ensuring a beautiful, flavorful meat-free option for everyone to enjoy.
How Long Does Homemade Gravy Keep and How to Store It?
This homemade gravy recipe is not only quick to make but also excellent for meal planning and utilizing leftovers. Here’s how to store it properly to maintain its deliciousness:
- Refrigeration: Once your gravy has cooled completely to room temperature, transfer it to an airtight container. It will keep beautifully in the refrigerator for up to 4 days. When you’re ready to reheat it, gently warm it on the stovetop over low heat, whisking frequently to ensure an even temperature and smooth consistency. If you find it has thickened too much, simply add a splash of extra broth or water to achieve the desired pourable consistency.
- Freezing for Longer Storage: For longer preservation, homemade gravy freezes exceptionally well. Pour the cooled gravy into freezer-safe containers, heavy-duty freezer bags, or even ice cube trays for individual portions. Once frozen in trays, you can transfer the gravy cubes to a larger freezer bag for convenient storage. It will last in the freezer for up to 6 months without any significant loss of quality or flavor.
- Thawing and Reheating Frozen Gravy: To reheat gravy from frozen, it’s best to thaw it overnight in the refrigerator first. Once thawed, transfer it to a saucepan and reheat gently over low heat, whisking often, until it is hot and smooth. Again, if it’s too thick after thawing, incorporate a little extra broth or water until it reaches your preferred consistency. Avoid high heat when reheating to prevent scorching or breaking the gravy.
With these comprehensive instructions and expert tips, you’re now fully equipped to create the best homemade gravy that will undoubtedly become a highlight of your meals. Enjoy the rich, savory flavors and the profound satisfaction of making something truly special from scratch!