
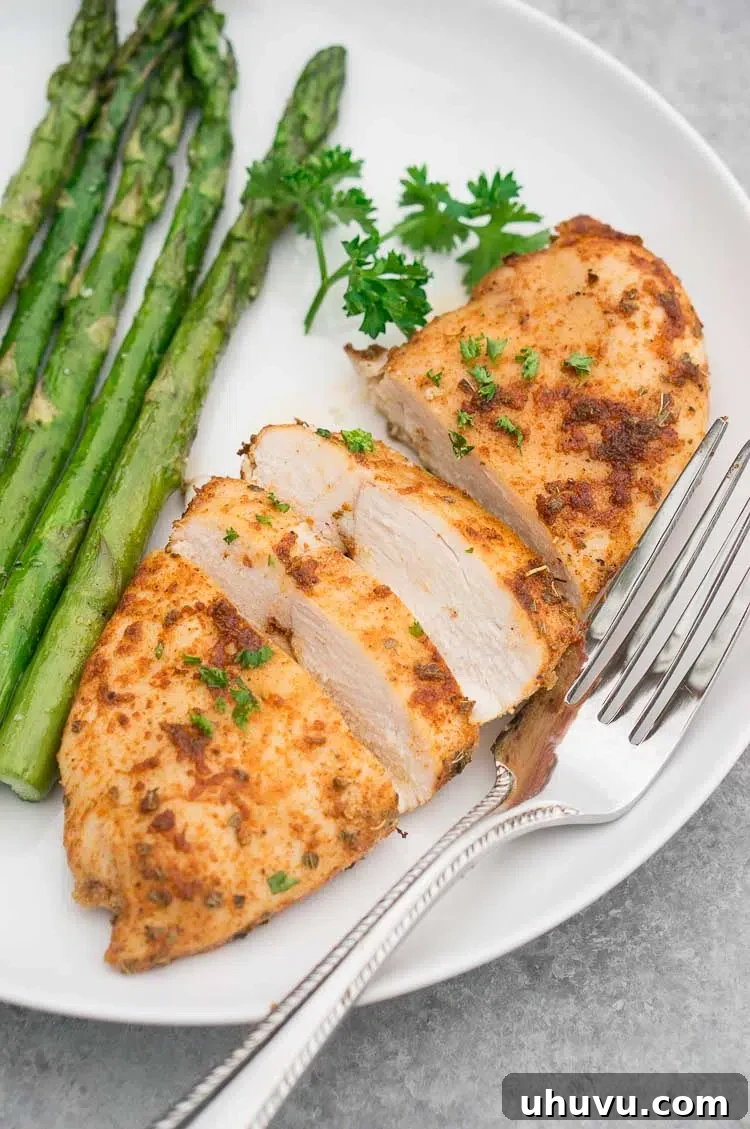
Unlock the secret to incredibly tender and juicy **oven-baked chicken breasts** that are packed with flavor and perfect for any meal. This comprehensive guide will walk you through creating a dish so succulent, it will become your go-to recipe. Forget dry, bland chicken – with a simple brine and a robust seasoning blend, you’re just minutes away from culinary perfection. Whether you’re a seasoned home cook or new to the kitchen, preparing these flavorful chicken breasts is surprisingly quick and remarkably easy, making them ideal for busy weeknights or special occasions.
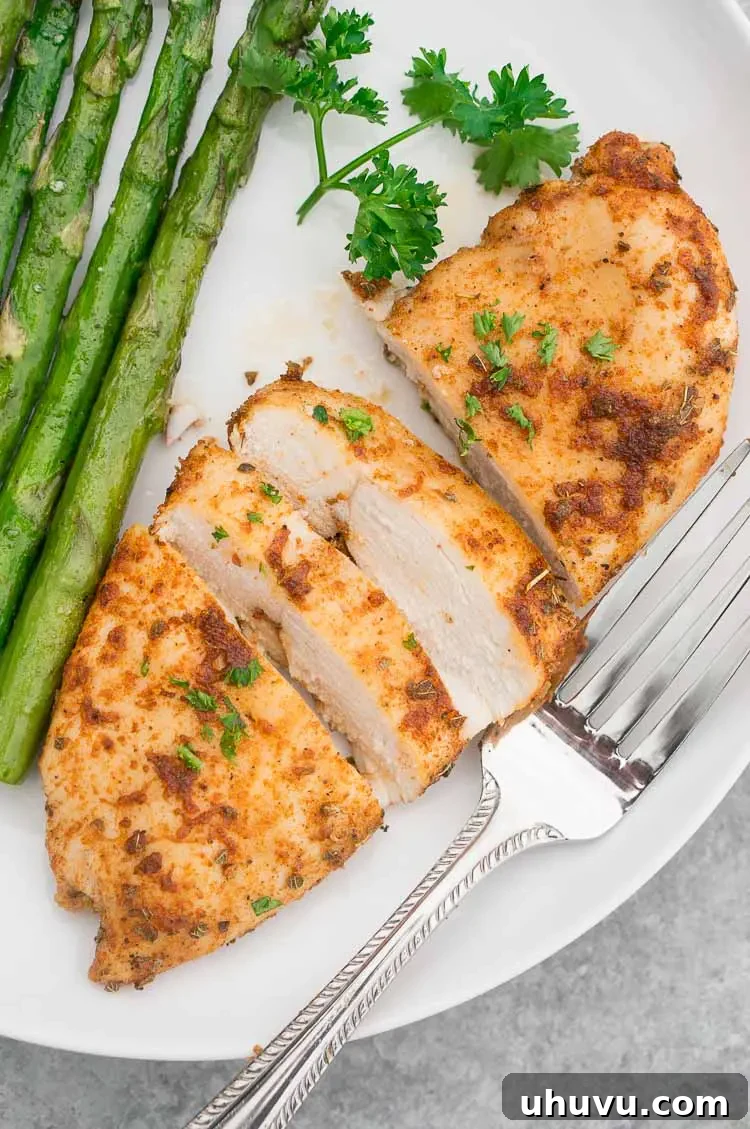
It’s time to elevate your culinary skills and transform ordinary chicken breasts into an extraordinary meal! If you’ve never experimented with brining chicken before, this recipe is a must-try. The flavors in this **oven-baked chicken breast** dish are genuinely exceptional, offering a depth and richness that will impress everyone at your table. What’s even better is how effortless it is to achieve these gourmet results right in your own kitchen.
These perfectly baked chicken breasts are versatile enough to be the star of a quick weeknight dinner or a delightful addition to a weekend spread. Pair them with your favorite healthy sides like crispy sweet potato fries, a refreshing broccoli cranberry salad, or savory green beans with bacon for a complete and satisfying meal. Once you experience the unparalleled juiciness and flavor of this method, you might find yourself saying goodbye to all other chicken recipes!
Why This Baked Chicken Breast Recipe Will Become Your Favorite
- **Consistently Perfect Results:** Say goodbye to dry, chewy chicken. This method guarantees tender, moist, and incredibly juicy baked chicken breasts every single time, making dinner prep stress-free.
- **Explosion of Flavor:** Thanks to a meticulously crafted, simple spice rub, this chicken is bursting with aromatic flavors that will tantalize your taste buds. It’s far from bland, ensuring a delightful eating experience.
- **Effortless Preparation & Cleanup:** With minimal steps and smart techniques, you’ll spend less time prepping and more time enjoying your meal. Cleanup is a breeze, especially when using parchment paper.
- **Quick Dinner Solution:** From start to finish, these delectable baked chicken breasts can be on your table in approximately 20-30 minutes, including prep and cook time. Pair them with a couple of our suggested easy sides, and a wholesome dinner is ready in under half an hour.
- **Versatile and Adaptable:** This recipe provides a fantastic base for countless meal possibilities. Serve it as a main course, slice it for salads, or shred it for wraps and sandwiches.
Mastering Oven-Baked Chicken Breasts: A Step-by-Step Guide
Achieving perfectly tender and juicy chicken breasts in your oven is simpler than you think. Follow these straightforward steps to create a meal that’s both delicious and impressive.
- **Optional Brining for Ultimate Juiciness:** For an unmatched level of moisture and flavor, consider brining your chicken breasts. Submerge the boneless, skinless chicken breasts in a solution of water and salt for about 15 minutes. This quick brine significantly enhances the chicken’s ability to retain moisture during baking. After brining, remove the chicken and thoroughly pat each piece dry with paper towels. This crucial step ensures a delicious crust forms during baking. If time is short, you can skip brining; the chicken will still be tender.
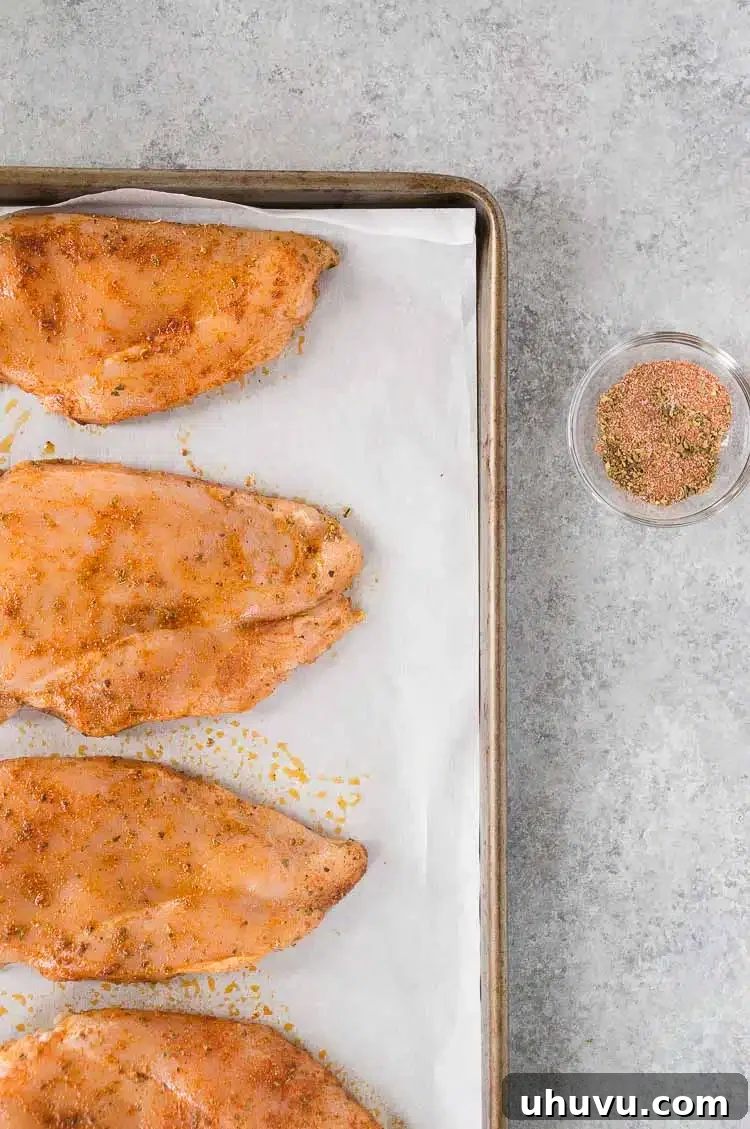
- **Prepare and Season with Precision:** Lightly brush both sides of each chicken breast with olive oil. The oil not only helps to keep the chicken moist but also acts as a binder, ensuring your chosen spices adhere beautifully. Next, generously season both sides of the chicken with your preferred blend of herbs and spices. Don’t be shy here; a good seasoning is key to a flavorful result.
- **High-Heat Baking for Tender Perfection:** Place the seasoned chicken breasts onto a baking sheet lined with parchment paper. This prevents sticking and makes cleanup incredibly easy. Preheat your oven to a high temperature of 425°F (220°C). Bake the chicken for approximately 15-20 minutes. The exact cooking time will depend on the thickness of your chicken breasts. The goal is to bake until the internal temperature of the chicken reaches 155°F (68°C) when measured with an instant-read meat thermometer inserted into the thickest part.
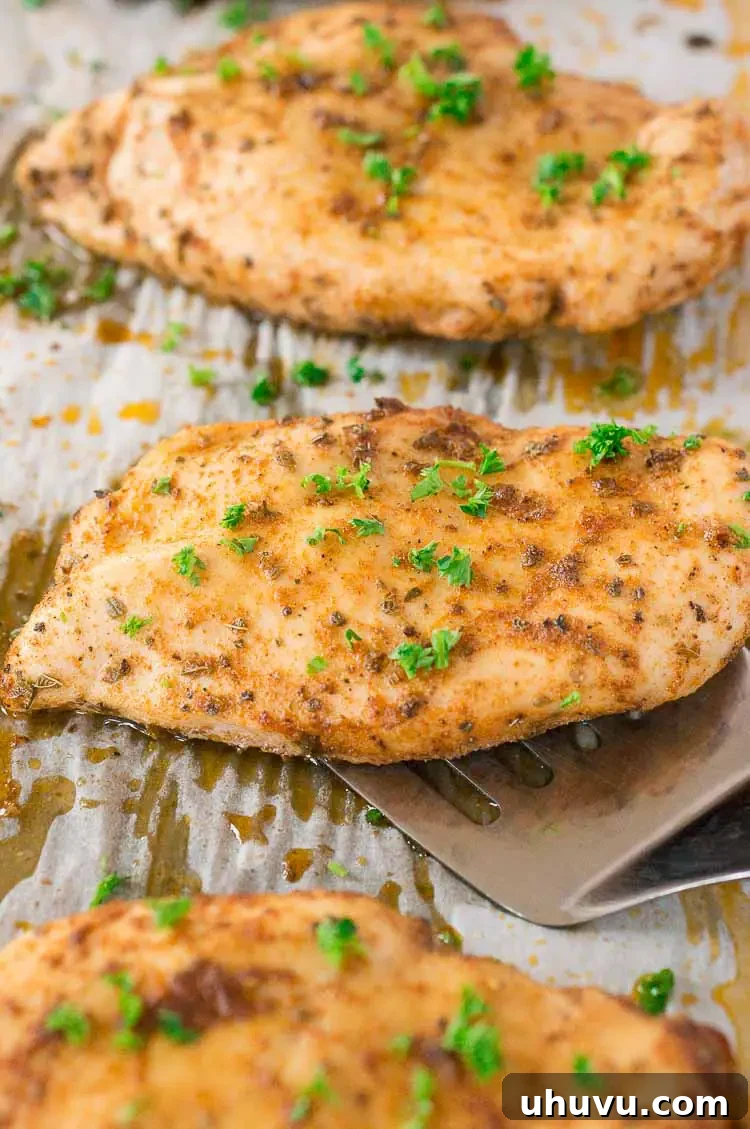
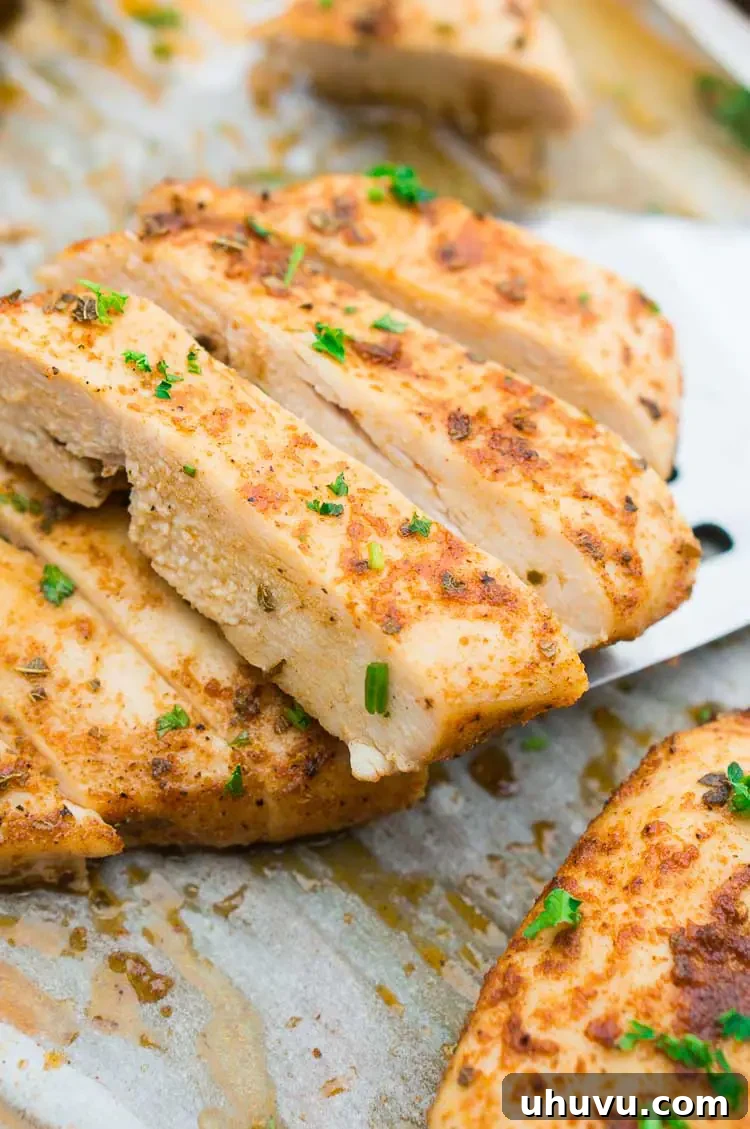
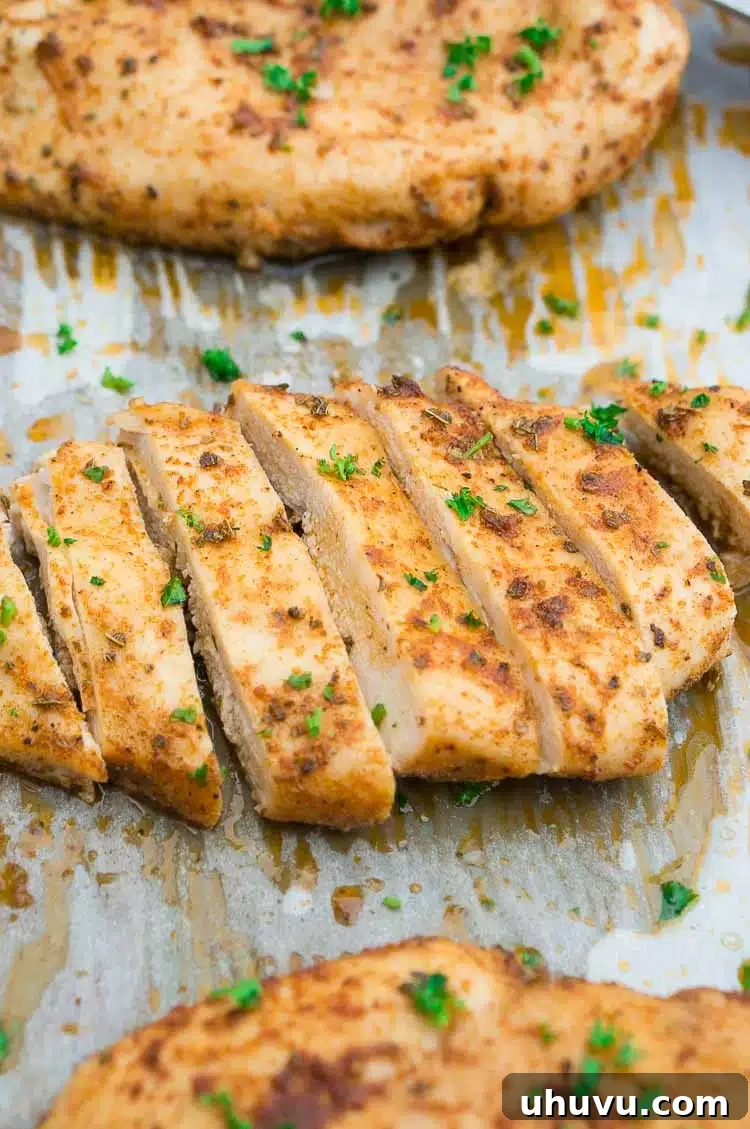
- **The Essential Resting Period:** Once the chicken reaches 155°F (68°C), promptly remove the baking sheet from the oven. Tent the chicken loosely with foil and let it rest undisturbed for a full 10 minutes. During this crucial resting phase, a phenomenon known as “carry-over cooking” occurs, where the internal temperature will continue to rise to a safe and perfectly cooked 165°F (74°C). This resting time also allows the juices to redistribute throughout the meat, resulting in an exceptionally tender and moist chicken. After resting, slice and serve immediately.
NELI’S KITCHEN SECRETS FOR PERFECT CHICKEN BREASTS
Essential Tips for the Juiciest Baked Chicken Breasts
- **Choose Quality Chicken:** Always start with good quality boneless, skinless chicken breasts for the best results. If available, opt for cage-free or organic chicken for superior flavor and texture. The quality of your ingredients makes a significant difference.
- **The Power of Brining:** While optional, a quick brine is truly a game-changer for moisture. Brine your chicken for no more than 15-30 minutes. Excessive brining (over one hour) can start to break down the meat’s structure, leading to a mushy texture. If you’re short on time, don’t fret – you can skip this step, and your chicken will still be delicious, especially with proper seasoning and cooking.
- **Even Thickness is Key:** Chicken breasts are often thicker on one end. To ensure even cooking and prevent one part from drying out while another is still raw, gently pound the thicker parts of the chicken breasts until they are uniform in thickness (about ¾ to 1 inch). A meat mallet or a heavy rolling pin works perfectly for this.
- **Olive Oil: Your Moisture Barrier:** Before applying any seasoning, generously brush both sides of your chicken with olive oil. This not only helps the seasoning adhere evenly but also creates a protective barrier that locks in moisture during the high-heat baking process, contributing to that desirable juicy texture.
- **Don’t Skimp on Seasoning:** A common mistake is under-seasoning. Beyond just salt and pepper, a flavorful spice rub is essential to prevent bland chicken. Our suggested blend of paprika, oregano, and garlic powder creates a fantastic base, but feel free to experiment with your favorite herbs and spices like onion powder, thyme, rosemary, or a touch of chili powder for a kick.
- **Avoid Overcrowding the Pan:** Give your chicken breasts space to breathe on the baking sheet. Overcrowding will cause the chicken to steam rather than roast, preventing a nice golden-brown exterior and potentially leading to less flavorful results. Use two baking sheets if necessary.
- **Bake Uncovered for Golden Perfection:** To achieve that lovely roasted exterior and prevent the chicken from steaming, always bake it uncovered. This allows the hot air to circulate freely around the chicken, resulting in a perfectly cooked and slightly caramelized crust.
- **Precision is Key: Don’t Overbake!** This is perhaps the most critical tip for juicy chicken. Use an instant-read meat thermometer. Remove the chicken breasts from the oven when their internal temperature reaches 155°F (68°C). The temperature will continue to rise during resting, a process known as carry-over cooking.
- **The Golden Rule: Let it Rest:** After removing from the oven, cover the chicken loosely with foil and let it rest for 5 to 10 minutes. This resting period is vital. It allows the muscle fibers to relax and reabsorb the juices, ensuring every bite is moist and tender. Slicing immediately after baking will cause all those precious juices to run out, resulting in dry chicken.
How to Brine Chicken Breasts for Maximum Juiciness
Brining is a simple yet incredibly effective technique to ensure your chicken breasts remain wonderfully moist and flavorful. For optimal results, you can brine approximately 4 medium-sized chicken breasts (roughly 1.5 lbs) in a solution of **4 cups of water combined with 3 tablespoons of table salt**. Submerge the chicken for about **15 to 30 minutes**. It’s important not to brine the chicken for longer than 1 hour, as extended exposure to the salt solution can begin to break down the meat’s proteins, leading to an undesirable texture. This quick soak makes all the difference!
Storing and Freezing Baked Chicken Breasts for Future Meals
These **oven-baked chicken breasts** are so delicious, you might find yourself eating them all immediately! However, if you happen to have any leftovers, they are incredibly easy to store and enjoy later. For refrigerated storage, place any cooked and cooled chicken in an airtight container in the fridge, where it will maintain its quality for up to **5 days**. Leftover cold chicken is fantastic sliced and added to fresh salads, or you can gently reheat it in the oven (covered with foil to prevent drying) for a warm meal.
For longer-term storage, cooked chicken breasts freeze exceptionally well. Allow the chicken to cool completely, then transfer it to a freezer-safe zip-lock bag or an airtight container. Properly stored, it will remain fresh in the freezer for up to **6 months**. This makes it an excellent option for meal prepping; simply thaw in the refrigerator overnight when you’re ready to use it in your favorite dishes.
Delicious Serving Suggestions for Your Baked Chicken Breasts
This recipe for **oven-roasted chicken breast** yields exceptionally juicy and delicious chicken that is incredibly versatile. It’s perfect for using in a variety of dishes, including vibrant salads, comforting casseroles, and hearty pasta dishes. However, it’s also so flavorful and tender that it stands beautifully on its own as a main course.
I frequently prepare a batch of these on Sunday afternoons for easy meal prep throughout the week. One of my favorite ways to enjoy it is alongside a refreshing tomato cucumber avocado salad and crispy oven-baked potato slices. Here are some other beloved side dishes that perfectly complement these chicken breasts:
- Creamy and indulgent Mashed Potatoes
- Sweet and savory Baked Sweet Potato Slices
- A light and fresh Summer Tomato Salad
- Crisp and refreshing Cucumber Salad
- The classic, tangy Greek Salad
- Beautifully caramelized Roasted Honey Glazed Carrots
- Nutrient-rich and flavorful Roasted Garlic Cauliflower
- Steamed or roasted asparagus with a squeeze of lemon
- Quinoa or brown rice for a wholesome grain side
- Warm crusty bread to soak up any juices
Frequently Asked Questions About Baking Chicken Breasts
Brining chicken breasts is a simple process that significantly enhances their moisture and flavor. To brine 4 medium-sized chicken breasts (approximately 1.5 lbs), prepare a solution by dissolving **3 tablespoons of table salt** into **4 cups of water**. Submerge the chicken breasts completely in this brine for about **15 to 30 minutes**. Remember, do not brine for longer than 1 hour, as prolonged exposure to salt can cause the meat to break down and become mushy. After brining, ensure you pat the chicken thoroughly dry with paper towels before seasoning and cooking.
Brining is a hassle-free method that consistently delivers the juiciest chicken every time. The salt solution helps the chicken absorb extra moisture before cooking. During baking, this absorbed liquid helps keep the chicken succulent and tender, preventing it from drying out. Furthermore, brining enhances the chicken’s natural flavors, making every bite more delicious. While it only takes an extra 15 minutes, the difference in texture and taste is truly remarkable. However, if you are short on time, you can certainly skip this step, and with proper cooking techniques, your chicken breasts will still turn out tender and juicy.
For juicy baked chicken breasts, a higher oven temperature is highly recommended. Baking at **425°F (220°C) or even 450°F (230°C)** is ideal. This high heat cooks the chicken more quickly, minimizing the time it spends in the oven and significantly reducing the risk of it drying out. The rapid cooking also helps create a beautiful golden crust on the exterior while keeping the interior moist and tender. Always ensure your oven is fully preheated before placing the chicken inside.
The baking time for chicken breasts primarily depends on their thickness. For medium-sized breasts, typically about 3/4 to 1 inch thick, they will usually cook through in approximately **15 to 20 minutes at 425°F (220°C)**. Thicker breasts might require a few extra minutes. It’s always best to use an instant-read meat thermometer to determine doneness accurately rather than relying solely on time, as oven temperatures can vary.
The most accurate and reliable way to determine if your chicken is cooked through and safe to eat is by using an **instant-read meat thermometer**. Insert the thermometer into the thickest part of the chicken breast, avoiding any bones. The chicken is fully cooked when it registers an internal temperature of **165°F (74°C)**.
To achieve maximum juiciness and prevent overcooking, a common chef’s trick is to remove the chicken from the oven when it reaches **155°F (68°C)**. Immediately cover it loosely with foil and let it **rest for 5 to 10 minutes**. During this resting period, a phenomenon called **carry-over cooking** occurs, where the internal temperature will naturally rise to the safe 165°F (74°C). This allows the juices to redistribute, resulting in incredibly tender and moist chicken. If you don’t have a thermometer, a less precise method is to pierce the thickest part of the chicken with a fork; if the juices run clear and there’s no pink visible, it should be done, but a thermometer is always preferred for food safety and optimal texture.
Explore More Easy and Delicious Chicken Recipes
If you’ve enjoyed mastering these perfectly baked chicken breasts, you’ll love exploring other fantastic chicken recipes that are just as easy to prepare and equally delicious. Expand your repertoire with these family favorites:
- Flavorful and customizable Baked Chicken Fajitas
- Elegant and zesty Chicken Francese Recipe
- Rich and comforting Creamy Chicken Marsala
- Bright and caper-filled Chicken Piccata Recipe
If you found this Baked Chicken Breasts recipe helpful and delicious, please consider leaving a ⭐ **star rating** and sharing your experience in the 📝 **comments** section below. Your feedback is greatly appreciated! Thanks for visiting!
Pin this now to find it later
Pin It
☝ Tap stars to rate
Perfectly Juicy Oven-Baked Chicken Breasts
Neli Howard
5 minutes
15 minutes
15 minutes
35 minutes
4
Pin
Rate
Save This Recipe
Enter your email and we’ll send the recipe directly to you!
By submitting this form, you consent to receive emails from Delicious Meets Healthy.
Ingredients
-
4
boneless, skinless chicken breasts
-
1
teaspoon
paprika
-
1
teaspoon
oregano
-
½
teaspoon
garlic powder
-
½
teaspoon
salt & black pepper
, each -
¼
cup
olive oil
Instructions
-
**Prepare Chicken (Optional Brining):** If brining, soak chicken breasts in a mixture of water and salt for 15 minutes. This step is optional but highly recommended for extra juiciness. Once brined (or if skipping), remove chicken and thoroughly pat dry with paper towels to ensure a good sear.
-
**Season the Chicken:** Lightly brush both sides of each chicken breast with olive oil. In a small bowl, combine paprika, oregano, garlic powder, salt, and black pepper. Generously sprinkle this seasoning blend over both sides of the chicken, pressing lightly to adhere.
-
**Bake to Perfection:** Preheat your oven to 425°F (220°C). Arrange the seasoned chicken breasts in a single layer on a parchment-lined baking sheet, ensuring not to overcrowd the pan. Bake for 15-20 minutes, or until an instant-read meat thermometer inserted into the thickest part reads 155°F (68°C). Cooking time may vary based on chicken thickness.
-
**Rest and Serve:** Remove the chicken from the oven and tent it loosely with aluminum foil. Let it rest for 10 minutes before slicing and serving. During this resting period, the internal temperature will continue to rise to 165°F (74°C), and the juices will redistribute, resulting in incredibly tender and moist chicken.
Notes
- Use high-quality boneless, skinless breasts and pound to even thickness for even cooking.
- Brine for 15 minutes max (optional), or skip if short on time.
- Brush with olive oil before seasoning to lock in moisture and help seasoning stick.
- Go beyond just salt and pepper – a good seasoning blend makes all the difference!
- Don’t overcrowd the pan – leave space so chicken roasts, not steams.
- Bake uncovered and remove at 155°F (68°C), then rest 5–10 mins (temp will rise to 165°F / 74°C).
Nutrition
Calories:
252
kcal
|
Carbohydrates:
1
g
|
Protein:
24
g
|
Fat:
17
g
|
Saturated Fat:
3
g
|
Cholesterol:
72
mg
|
Sodium:
423
mg
|
Potassium:
430
mg
|
Fiber:
1
g
|
Sugar:
1
g
|
Vitamin A:
280
IU
|
Vitamin C:
1
mg
|
Calcium:
14
mg
|
Iron:
1
mg
Nutrition Disclaimer: Nutritional values are estimates and may vary with ingredients, brands, and portion sizes. For accuracy, use your preferred nutrition calculator.
Love this recipe? Share your thoughts below!