

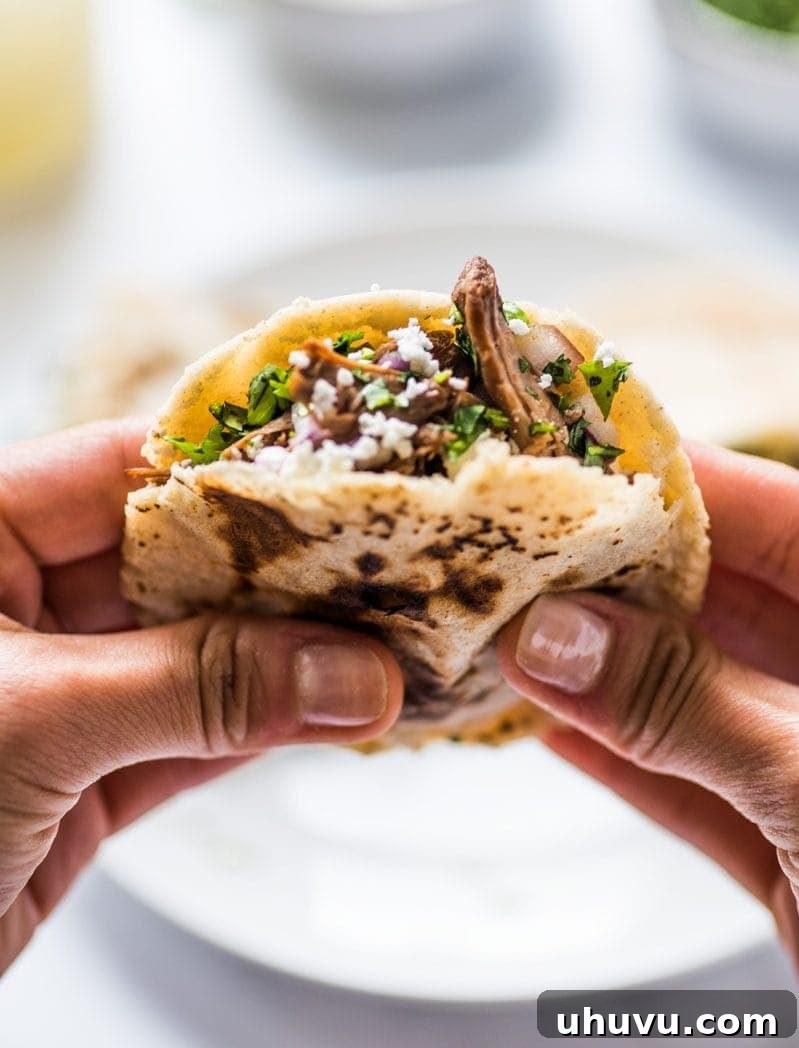
Welcome to the wonderful world of homemade Mexican Gorditas! These delightful, thick corn cakes, crafted from simple masa dough, feature a convenient pocket in the middle, ready to be generously stuffed with an endless array of savory fillings. Not only are they incredibly versatile and satisfying, but they are also naturally gluten-free, vegetarian, and can easily be made vegan, making them a fantastic option for a wide range of dietary preferences. Forget any fast-food versions you might have encountered; we’re diving into the authentic, time-honored tradition of making gorditas just like they’re enjoyed in Mexican homes.
What Exactly are Authentic Mexican Gorditas?
Step aside, fast-food interpretations – these are the real deal! Mexican gorditas are a cornerstone of traditional Mexican cuisine, distinct from their thinner tortilla cousins. Essentially, they are thick, robust corn tortillas, meticulously crafted to puff up during cooking, forming a natural pocket within. This unique feature is what sets them apart, transforming them into edible vessels perfect for holding a myriad of flavorful, hearty fillings. My mom, a master of authentic Mexican cooking, taught me this recipe, and I’m thrilled to share the secrets to these beloved corn cakes with you.
The beauty of gorditas lies in their incredible versatility when it comes to fillings. While the possibilities truly are limitless, here are some common and exceptionally delicious options:
- Authentic Refried Beans and melty cheese for a classic, comforting combination.
- Chile Verde: succulent, tender pork slow-cooked in a vibrant, zesty green chile sauce.
- Chorizo and Eggs: a savory and spicy breakfast or brunch option that’s truly satisfying.
- Carne con Papas: flavorful stewed beef with tender potatoes, often simmered in a rich tomato-based sauce.
- Picadillo: a comforting mixture of ground beef, potatoes, and sometimes vegetables, seasoned perfectly.
- Papas con Chile: diced potatoes stewed until tender in a fragrant, often spicy, green chile sauce – a fantastic vegetarian choice.
- Shredded Chicken (Pollo Deshebrado): chicken breast or thighs cooked until tender, then shredded and seasoned, perhaps with a touch of chipotle for smoky flavor.
- Rajas con Queso: strips of roasted poblano peppers simmered with cream and melted cheese, offering a mild, smoky, and creamy filling.
- Chicharron en Salsa: crispy pork rinds simmered in a red or green salsa until tender and flavorful, a true Mexican delicacy.
- Cochinita Pibil: slow-roasted pulled pork marinated in achiote and sour orange, a specialty from the Yucatán Peninsula.
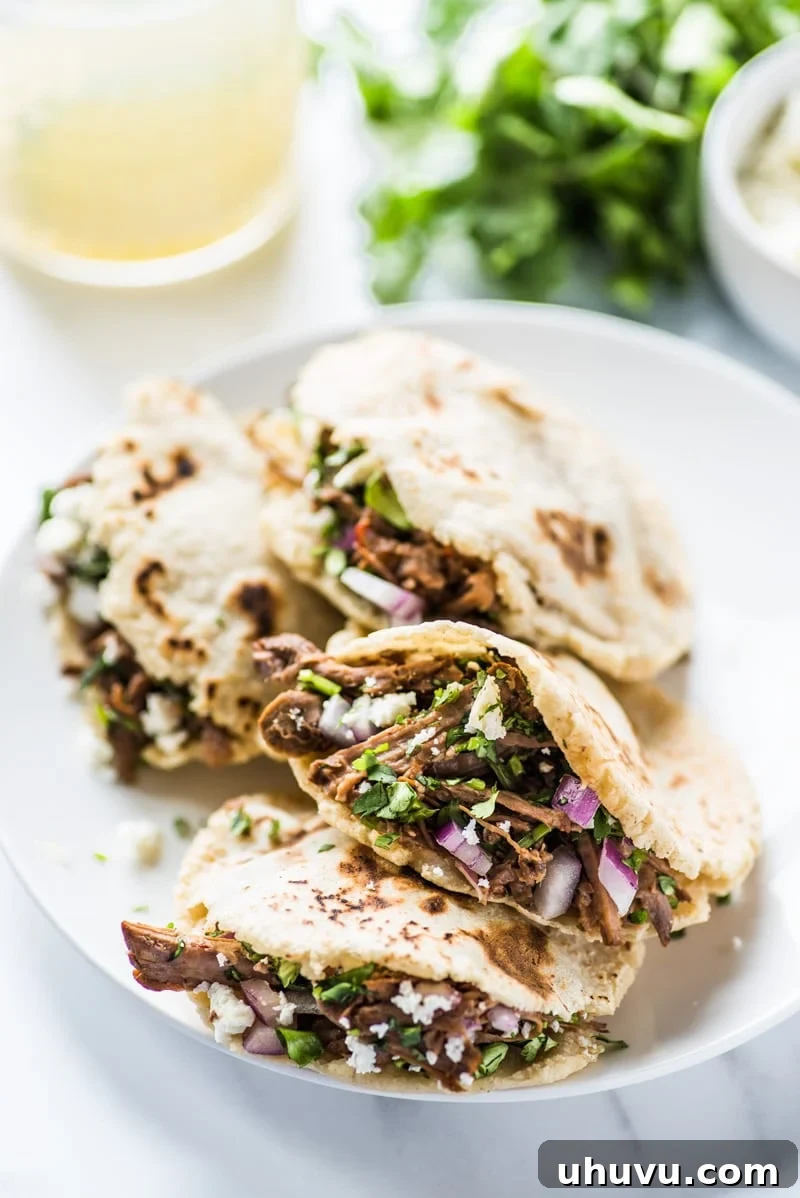
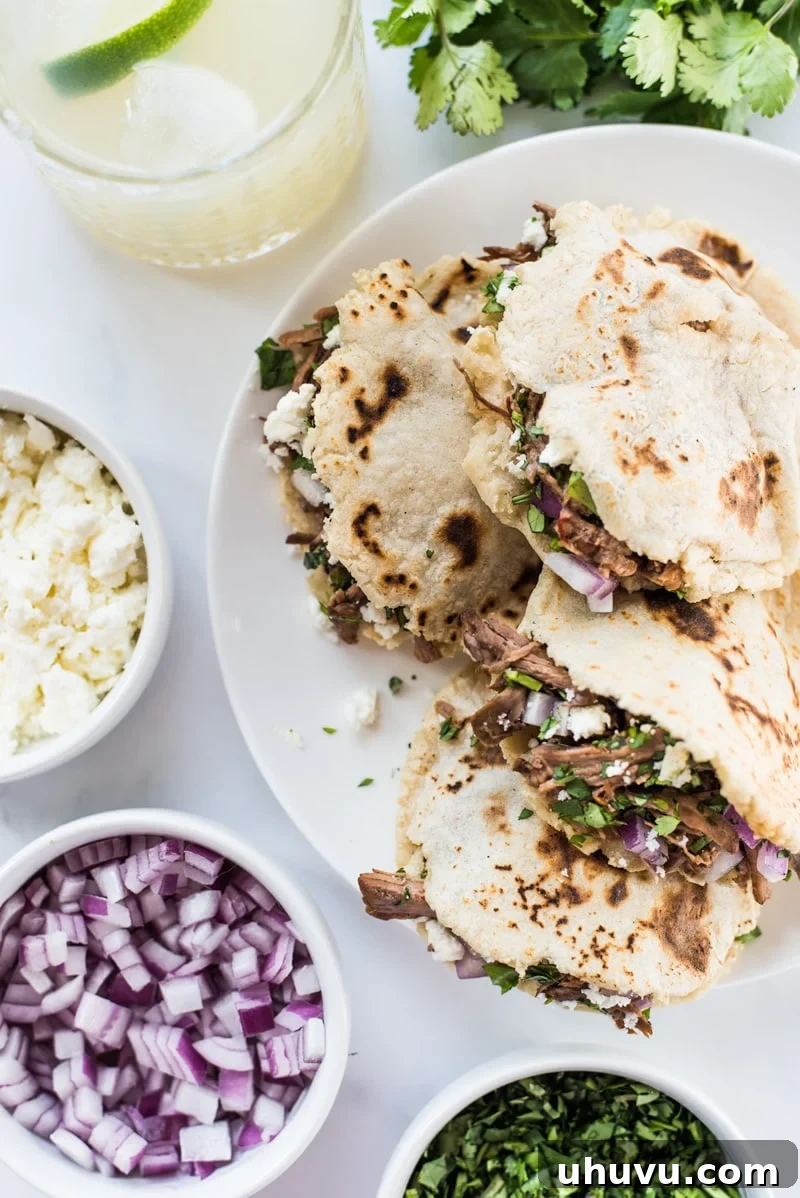
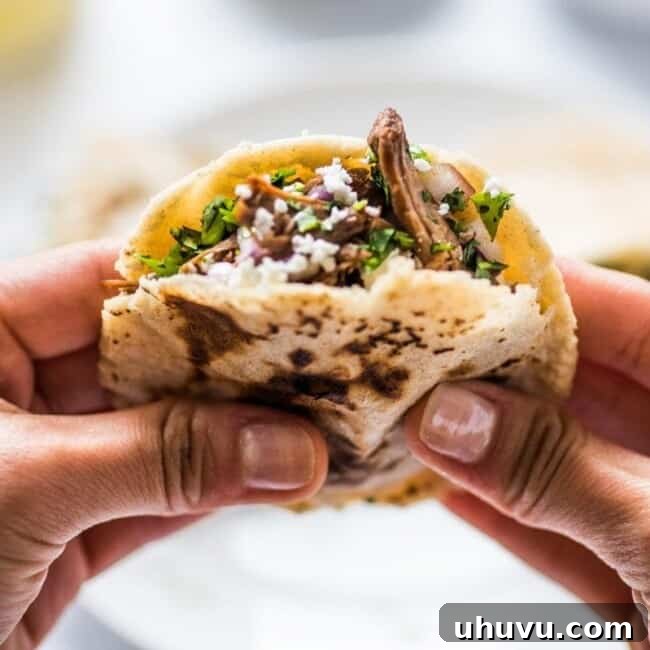
For the mouth-watering gorditas pictured in these photos, I opted for some leftover barbacoa beef I had in the fridge. The results were absolutely spectacular, proving that even leftovers can be transformed into an unforgettable meal.
Understanding the Name: What Does “Gorditas” Mean?
The Spanish word gordita literally translates to “chubby” or “little fat one.” It’s a term often used affectionately, even as an endearment. You might wonder why such a beloved dish would bear this name. While there’s no single definitive answer, several theories playfully explain it.
Perhaps it’s a nod to their pleasingly plump shape, being thicker than standard tortillas. Or maybe it refers to how generously they are “fattened” up with delicious fillings until they can hold no more. Some even joke that it’s because they are so irresistibly good, you can’t help but eat many, perhaps causing you to feel a little “gordita” yourself! Whatever the origin of the name, one thing is certain: gorditas are incredibly delicious, and when it comes to good food, that’s what truly matters most!
Crafting Your Own Gorditas: A Step-by-Step Guide
Making gorditas from scratch is a rewarding culinary adventure. Follow these detailed steps to create perfectly puffed and pocketed corn cakes ready for your favorite fillings.
Essential Equipment for Gordita Making
While minimal, a few key tools will significantly enhance your gordita-making experience and ensure authentic results:
- Tortilla Press: An absolute game-changer. It provides even pressure, ensuring consistent thickness and perfectly round gorditas. While not strictly mandatory (you can use a flat plate or even your hands), it makes the process much quicker and more uniform. I highly recommend investing in a good quality one.
- Comal or Griddle: A flat, heavy-bottomed pan or traditional Mexican comal is crucial for even heat distribution, which is key for the gorditas to cook properly and puff up. Cast iron works wonderfully.
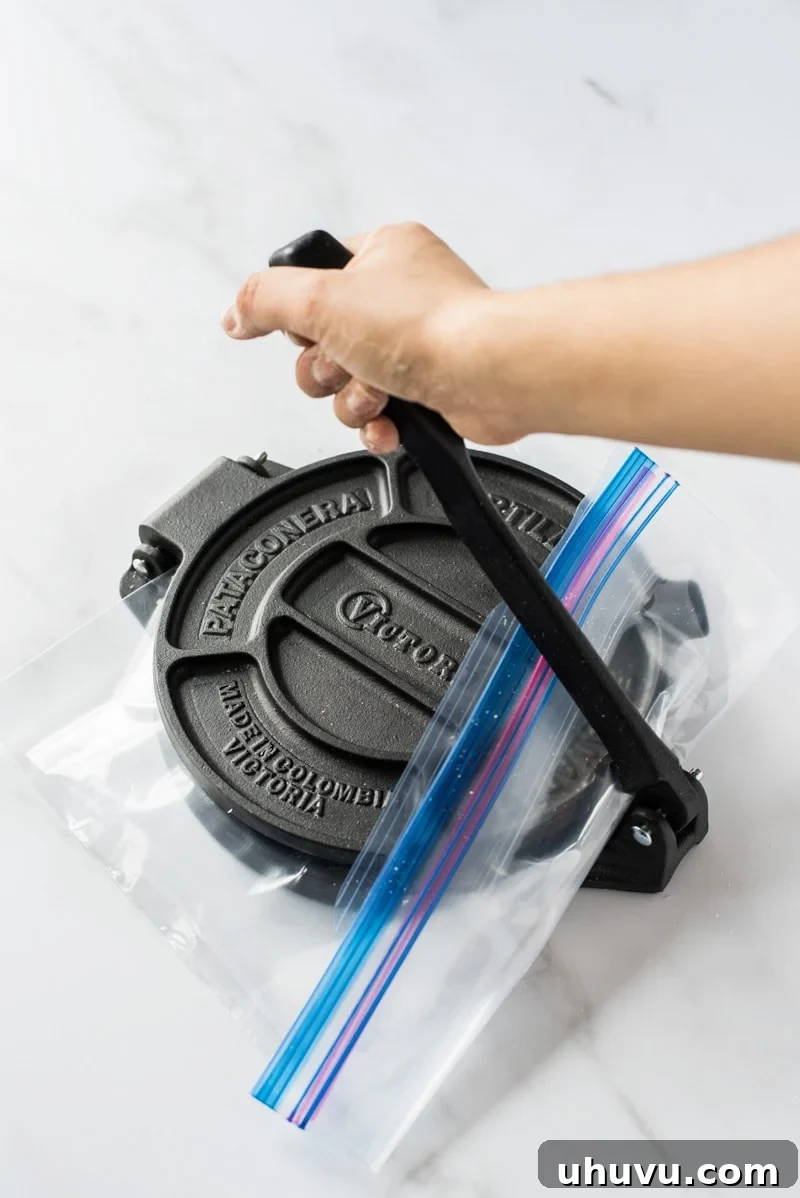
- Plastic Wrap or Ziploc Bag: Essential for preventing the masa dough from sticking to your tortilla press and for easy handling.
- Spatula or Thin Knife: For flipping the gorditas on the griddle and for carefully opening the pocket.
- Kitchen Towel: To keep the cooked gorditas warm and pliable while you finish the batch.
Now, let’s get cooking!
Step 1: Preparing the Masa Dough
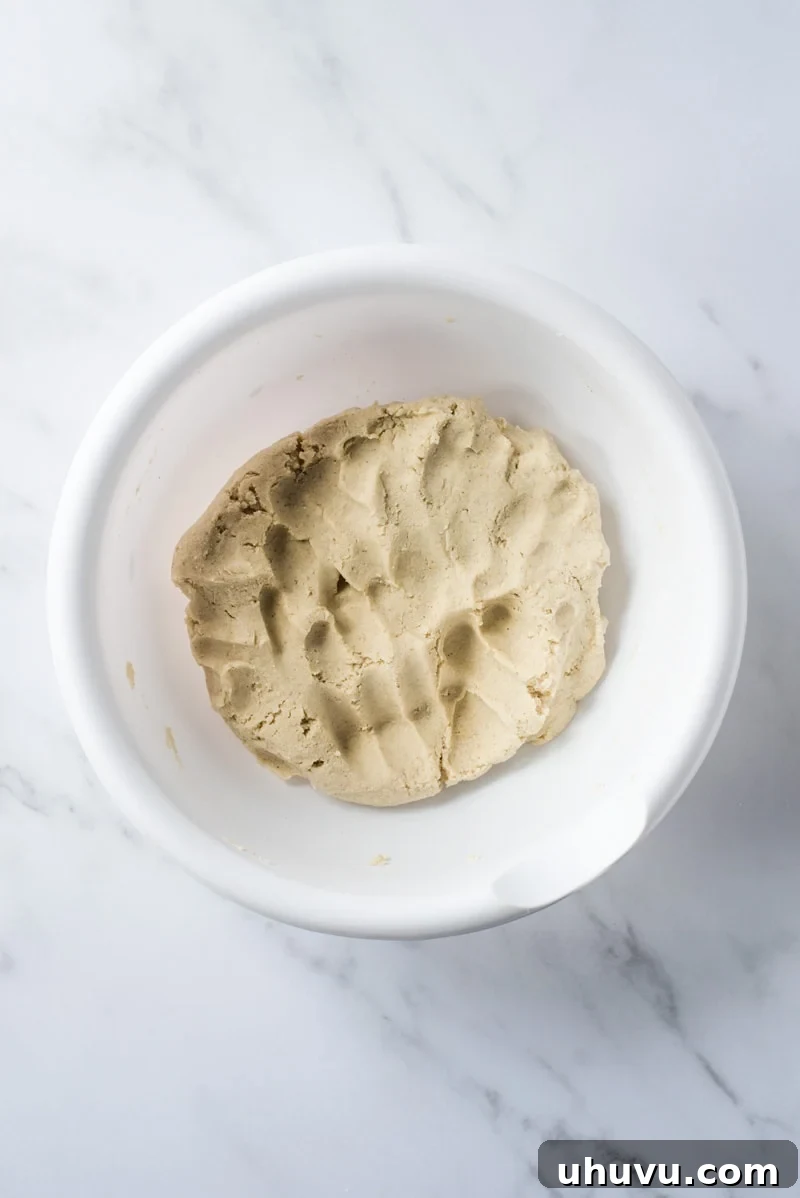
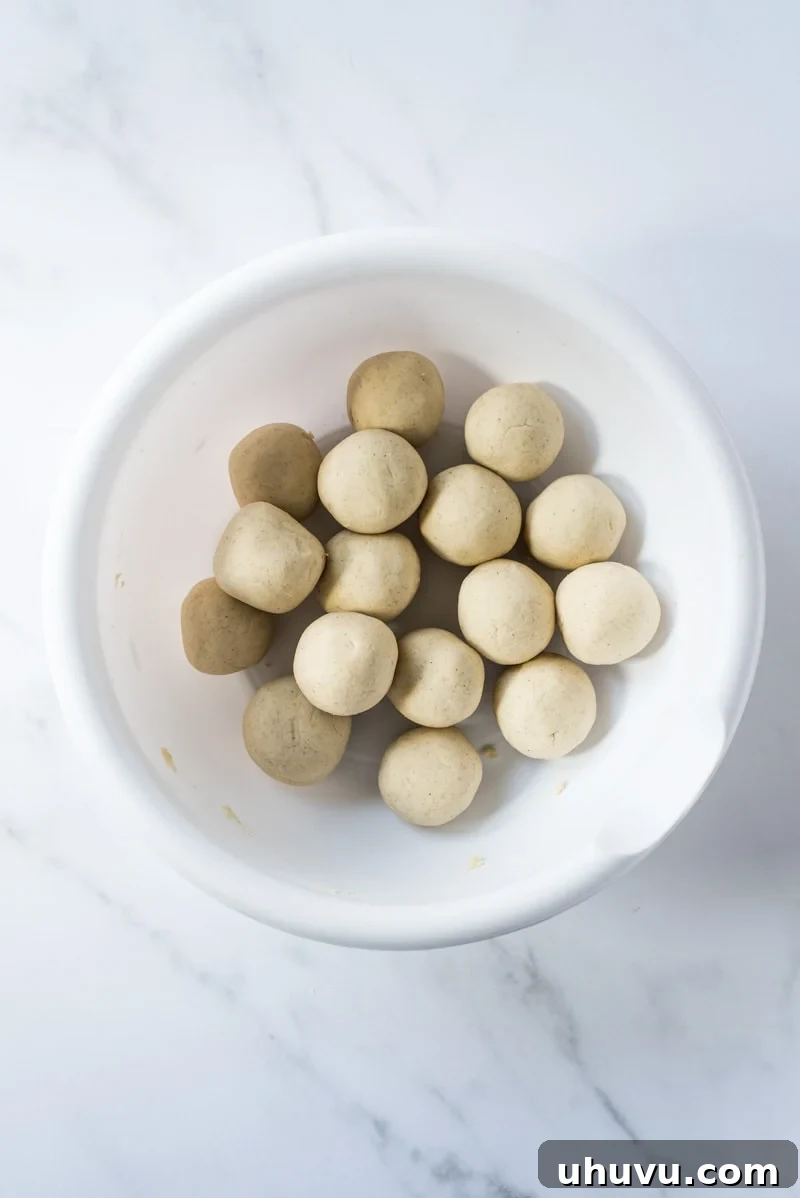
In a large mixing bowl, combine the masa harina, warm water, and a pinch of salt. Use your hands to mix and knead the ingredients until a soft, pliable dough forms. The dough should be smooth, not sticky, and should feel like play-doh. If it’s too dry and crumbly, add water a teaspoon at a time; if it’s too wet, add a little more masa harina. Cover the dough with a damp cloth to prevent it from drying out. Then, roll the dough into 16 evenly sized balls, each roughly the size of a golf ball. This ensures a consistent cooking time and finished product. While you’re doing this, heat a large skillet, a flat griddle, or a traditional comal over medium-high heat. You want it hot enough to cook the masa without burning it.
Step 2: Flattening the Masa Balls
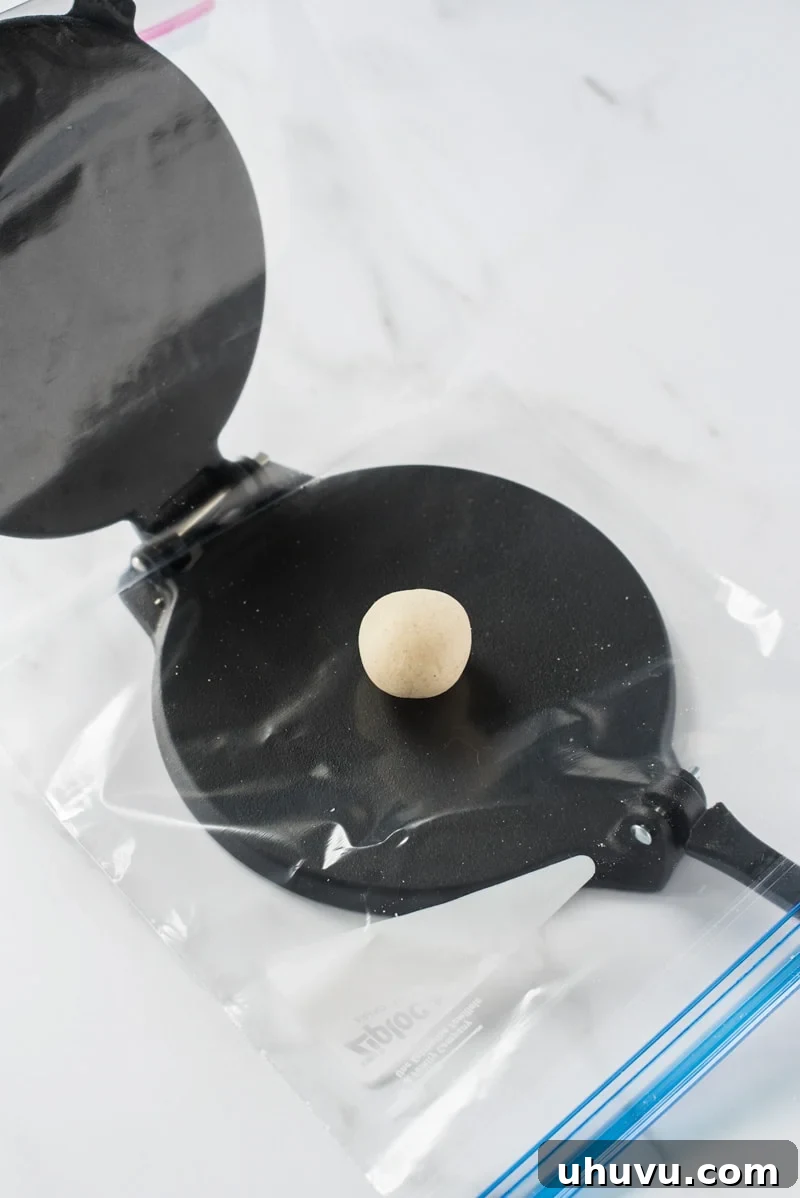
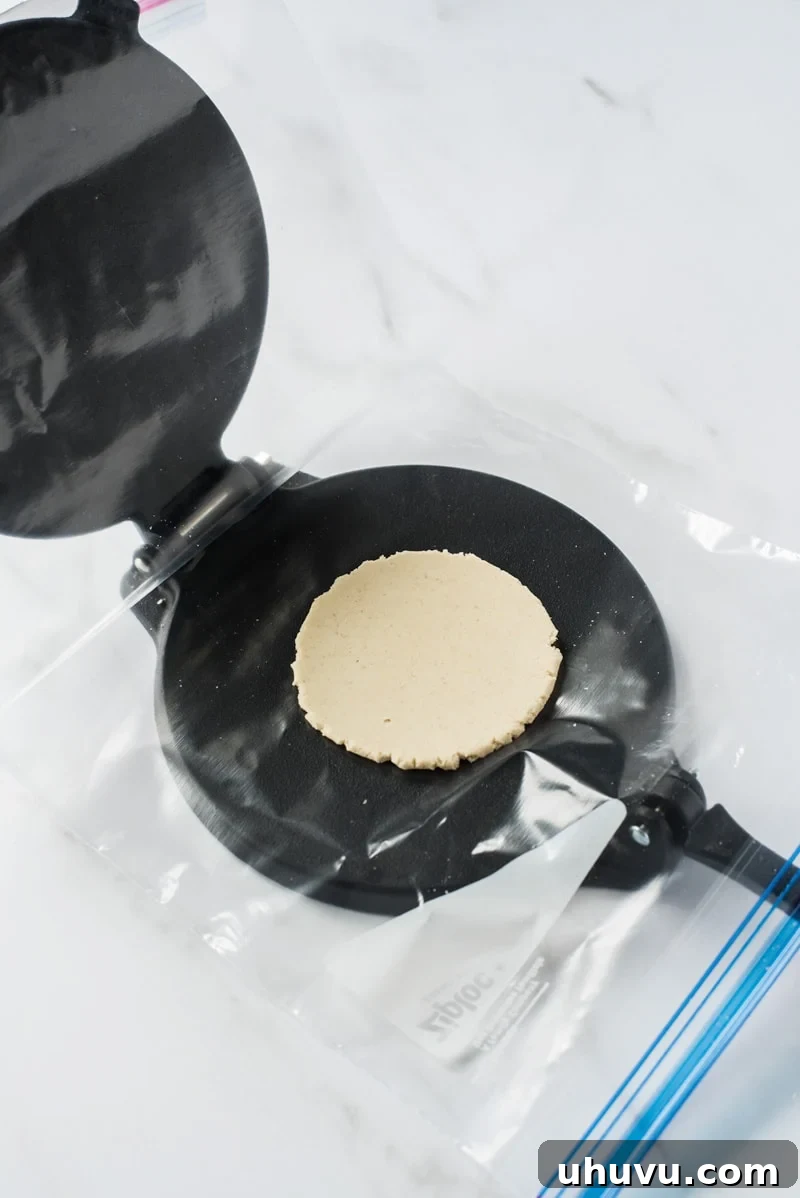
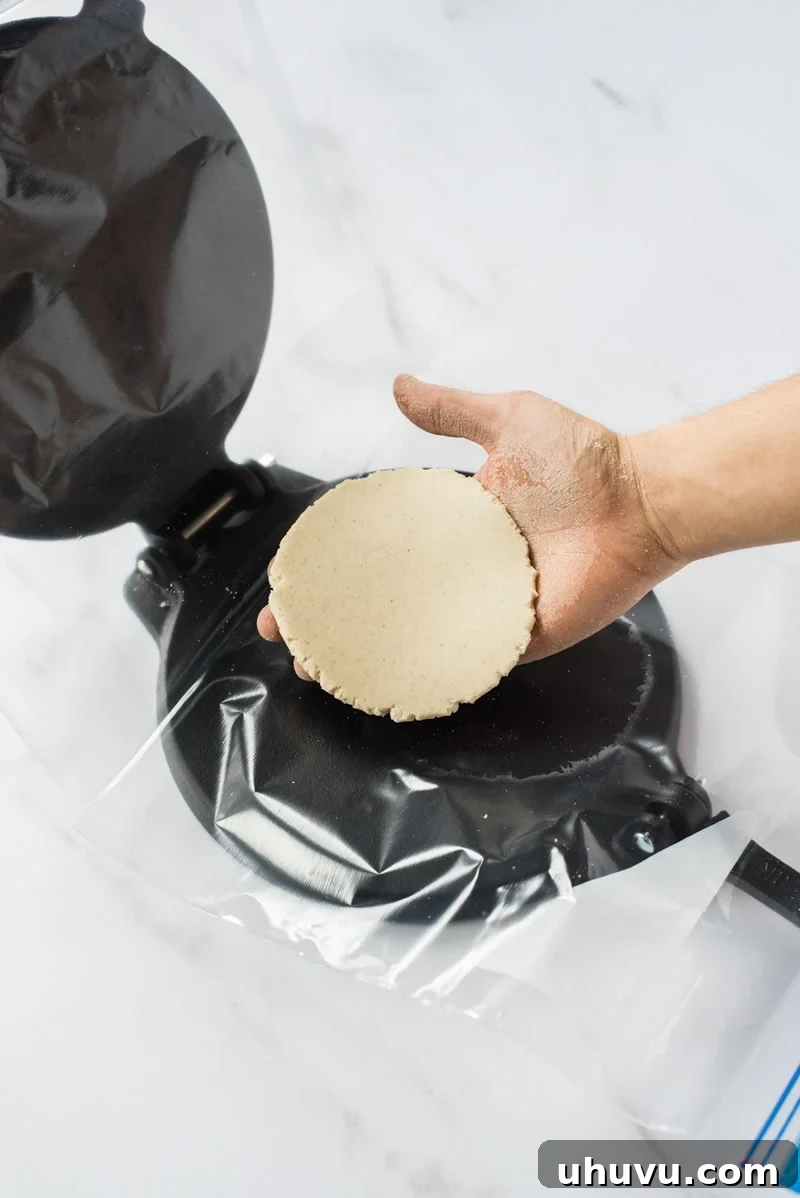
Place one of the masa balls between two sheets of plastic wrap (or a cut-open Ziploc bag, as detailed in our tips section). Using a tortilla press (this is the model I personally use and recommend) or a flat, heavy pan, gently flatten the masa ball. The key here is to create a thickness that is roughly twice that of a standard corn tortilla. Avoid pressing too hard, as a gordita that is too thin will not puff up correctly and won’t form the desired pocket. If you accidentally press it too thin, don’t worry! Simply gather the dough, reform it into a ball, and try again. Practice makes perfect!
Step 3: Initial Cooking on the Griddle
Carefully remove the flattened masa from the plastic wrap and place it onto your preheated griddle. Let it cook for approximately 10 to 15 seconds on the first side. This initial, quick cook helps to “seal” the surface of the dough. Then, flip it over and allow the second side to cook for another 10 to 15 seconds. This crucial first stage of cooking is vital for preparing the dough to inflate and create that iconic pocket.
Step 4: Developing the Puff and Golden Spots
After the initial quick cooks, flip the gordita over one more time. Continue cooking each side for about 1 minute, or until you begin to see beautiful, slightly browned spots appear on the surface. These spots indicate that the masa is cooking through and developing flavor. During this stage, keep a watchful eye.
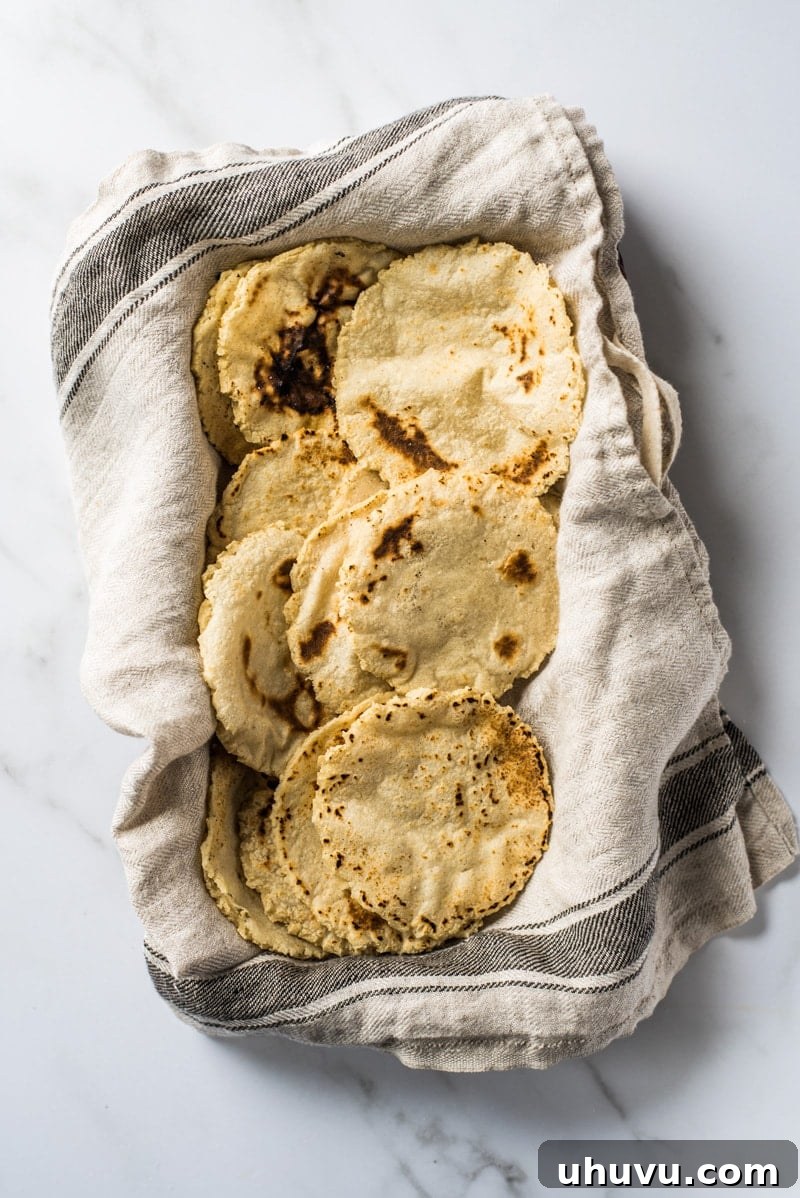
You should start to notice the gordita inflating slightly, bubbling up either in the middle or around the edges. This is a sign of success, indicating that steam is building up inside and attempting to create a pocket. To encourage further inflation, gently press down on the sides of the gordita with a spatula or another flat utensil. This light pressure can help distribute the steam and make the pocket more pronounced. Once fully cooked and puffed, remove the gordita from the griddle, place it on a clean plate, and cover it with a light kitchen towel. This keeps the gorditas warm and pliable while you cook the rest of the batch.
Step 5: Creating the Pocket for Fillings
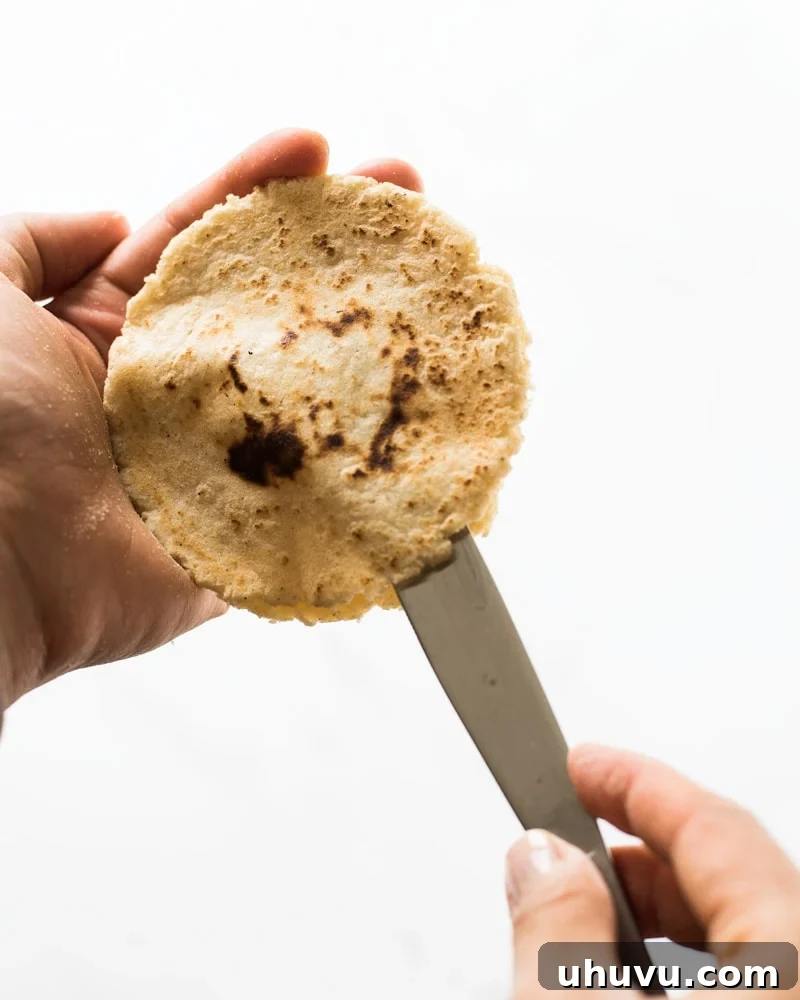
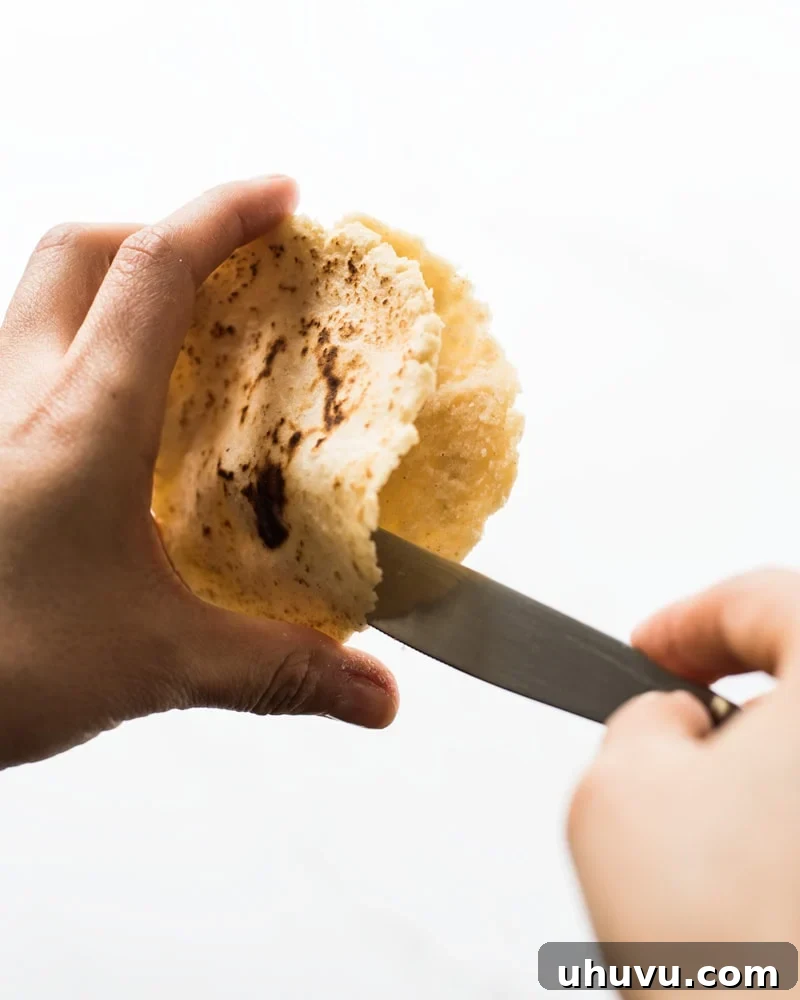
Once the gordita is cool enough to handle comfortably, but still warm (it needs to be pliable for this step), use a small, sharp knife, such as a paring knife or even a butter knife, to carefully cut a slit along the edge of one side. The gordita should then open up, revealing a beautiful, ready-to-fill pocket inside. This little cavern is where all your delicious fillings will reside. Be gentle to avoid tearing the gordita.
Top Tips and Tricks for Perfect Gorditas
Achieving gordita perfection can be made even easier with a few insider tips:
- The Ziploc Bag Advantage: While plastic wrap works, I highly recommend using a gallon-sized Ziploc bag when flattening your masa balls. Simply cut it open along the two side seams, leaving the bottom seam intact. This creates a perfect, reusable “book” that fits beautifully into a tortilla press. The masa won’t stick, and you’ll find it much easier to handle than traditional plastic or saran wrap.
- Embrace the Tortilla Press: If you plan on making Mexican antojitos regularly, a tortilla press is a worthwhile investment. It truly simplifies the flattening process, ensuring your gorditas are uniformly thick and round, which contributes to more consistent puffing. Here’s a reliable one I often recommend from Amazon.
- Encouraging the Puff: If your gordita isn’t inflating as much as you’d like, gently press down on its center and edges with a spatula while it’s on the griddle. This helps trap the steam inside, encouraging the formation of an air pocket. Don’t be afraid to give it a little nudge; this often does the trick!
- Picture-Perfect Rounds: For those who desire perfectly uniform, scraggly-edge-free gorditas, my mom has a fantastic trick. After flattening the masa, use a round cookie cutter, a small round bowl, or even the rim of a cup to stamp out a flawless circle. This creates a beautiful, professional finish, though I, personally, sometimes lack the patience for this extra step. Rest assured, they’ll taste amazing either way!
- Maintaining Moisture: Keep any unused masa dough covered with a damp cloth or plastic wrap while you’re working. Masa harina can dry out quickly, becoming crumbly and difficult to work with.
- Temperature Control: Ensure your griddle or comal is at a consistent medium-high heat. If it’s too low, the gorditas won’t cook through or puff properly. If it’s too high, they’ll burn on the outside before the inside is cooked.
Regional Variations: Griddled vs. Fried Gorditas
The wonderful thing about traditional Mexican cuisine is its incredible regional diversity. The way gorditas are prepared can vary significantly from one state to another. My family hails from the central-northern part of Mexico, specifically the state of Zacatecas, near the town of Sombrerete. In this region, gorditas are traditionally cooked on a comal or griddle, resulting in a soft, pliable, and slightly chewy texture – just like the recipe outlined above.
However, venture into other parts of the country, and you’ll often find gorditas that are deep-fried until gloriously crispy and golden brown before being stuffed. Both methods are entirely authentic and yield distinct yet equally delicious results. The griddled version offers a lighter, more wholesome feel, highlighting the pure corn flavor of the masa. The fried version, on the other hand, provides an irresistible crunch and a richer, more indulgent experience.
How to Fry Gorditas for a Crispy Twist
If you’re eager to try the fried version, it’s a simple modification to the existing recipe. First, prepare all the gorditas by cooking them on the griddle as outlined in Steps 1-4. They should be fully cooked and puffed, but not yet cut open.
Next, in a medium skillet, add about ½ to 1 inch of your preferred frying oil (vegetable, canola, or corn oil work well). Heat the oil over medium-high heat until it shimmers and a small piece of masa sizzles immediately when dropped in. You don’t need to completely submerge the gorditas; just enough oil to fry one side at a time.
Carefully add the pre-cooked gorditas to the hot oil, working in batches if necessary to avoid overcrowding the pan. Fry each side for about 1 to 2 minutes, or until it achieves a beautiful golden-brown color and a wonderfully crispy exterior. Once fried, remove the gorditas from the oil and place them on a plate lined with paper towels to absorb any excess oil. At this point, you can proceed to Step 5, cutting them open and stuffing them with your desired fillings. The contrast between the crispy shell and the tender interior, coupled with a flavorful filling, is truly a treat!
Storage and Reheating Gorditas
While gorditas are best enjoyed fresh, you can certainly make them ahead of time or store leftovers. Cooked gorditas (before filling) can be stored in an airtight container in the refrigerator for up to 3-4 days. To reheat, you can place them back on a dry comal or griddle over medium heat until warmed through and slightly crisp, or microwave them briefly for a softer texture. If you plan to fry them, it’s best to do so just before serving for maximum crispness.
Serving Suggestions for Your Gorditas
Once stuffed, gorditas are a complete meal in themselves, but they truly shine when served with an array of traditional Mexican accompaniments. Consider pairing them with:
- Salsas: A vibrant salsa roja, a fresh salsa verde, or a smoky chipotle salsa will elevate the flavors.
- Crema Mexicana: A dollop of cool, tangy crema (or sour cream) provides a lovely contrast to spicy fillings.
- Queso Fresco or Cotija: A sprinkle of crumbled fresh cheese adds another layer of authentic flavor.
- Pickled Onions: The bright, acidic bite of pickled red onions cuts through the richness of many fillings.
- Cilantro: A garnish of fresh cilantro always adds a touch of brightness.
- Avocado or Guacamole: Creamy avocado or a scoop of homemade guacamole is always a welcome addition.
More Mexican Recipes to Explore
- Carne Asada
- Carnitas
- Chile Colorado
- Tlacoyos
- Sopes
- Birria
- Picadillo
Print Recipe
Authentic Homemade Gorditas Recipe
Ingredients
- 2 cups masa harina (such as Maseca brand)
- 1 3/4 cups to 2 cups warm water (adjust as needed for dough consistency)
- 1 teaspoon salt
- Desired fillings (e.g., refried beans, chile verde, barbacoa, picadillo)
Instructions
-
In a large bowl, combine masa harina, water, and salt. Mix and knead with your hands until a smooth, pliable dough forms. It should not be sticky. Roll the dough into 16 evenly sized balls. Heat a large skillet, griddle, or comal over medium-high heat.
-
Place a masa ball between two sheets of plastic wrap or a cut-open gallon-sized Ziploc bag. Using a tortilla press or a flat plate, gently flatten the ball. Aim for a thickness about twice that of a normal corn tortilla. Do not press too thin.
-
Carefully remove the flattened masa from the plastic wrap and place it on the hot griddle. Cook for 10 to 15 seconds, then flip. Cook the second side for another 10 to 15 seconds. This helps seal the dough for better puffing.
-
Flip it over once more and cook each side for about 1 minute, until golden brown spots appear.
-
You should notice the gordita inflating and bubbling. Gently press down on the sides with a spatula to encourage more puffing and pocket formation. Remove from the griddle, place on a plate, and cover with a light kitchen towel to keep warm. Repeat with remaining dough balls.
-
Once the gordita is cool enough to handle but still warm, use a small knife to cut a slit along the edge of one side. The gordita should open up, creating a pocket for fillings.
-
Generously fill each gordita with your desired savory fillings and enjoy immediately!
Notes
Nutrition Information (per gordita, unfilled)
Nutrition information is automatically calculated, so should only be used as an approximation. It does not include fillings.