
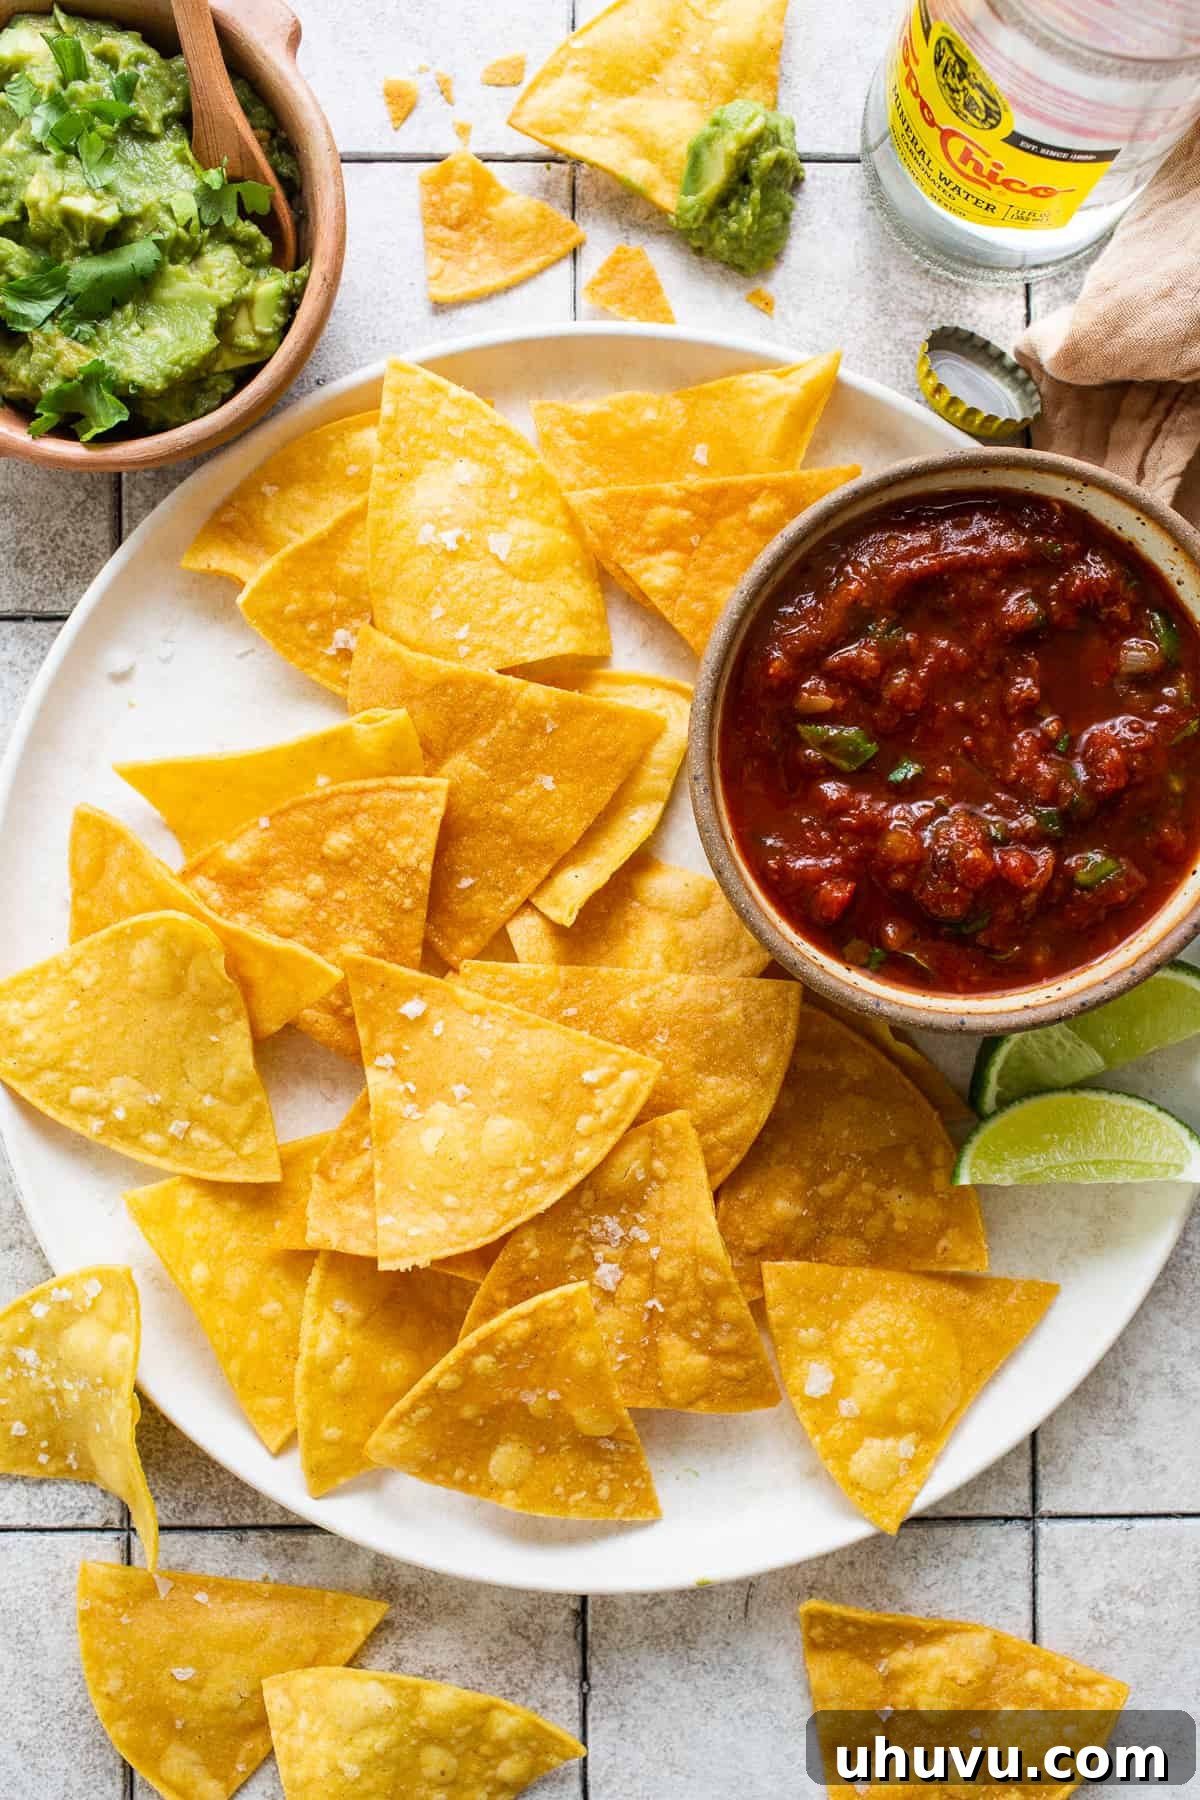
Homemade Tortilla Chips: Your Guide to Ultimate Crispy Snacking
There’s nothing quite like the irresistible crunch of fresh, crispy homemade tortilla chips. Forget flimsy, store-bought varieties that crumble at the first dip into your favorite salsa or guacamole. This ultimate guide will show you how to effortlessly create sturdy, golden-brown tortilla chips right in your own kitchen, using just three simple ingredients. Perfect as a standalone snack, a vibrant Mexican appetizer, or a versatile side dish, these chips are engineered for maximum dipping pleasure, ensuring every scoop stays intact and delivers that satisfying crackle.
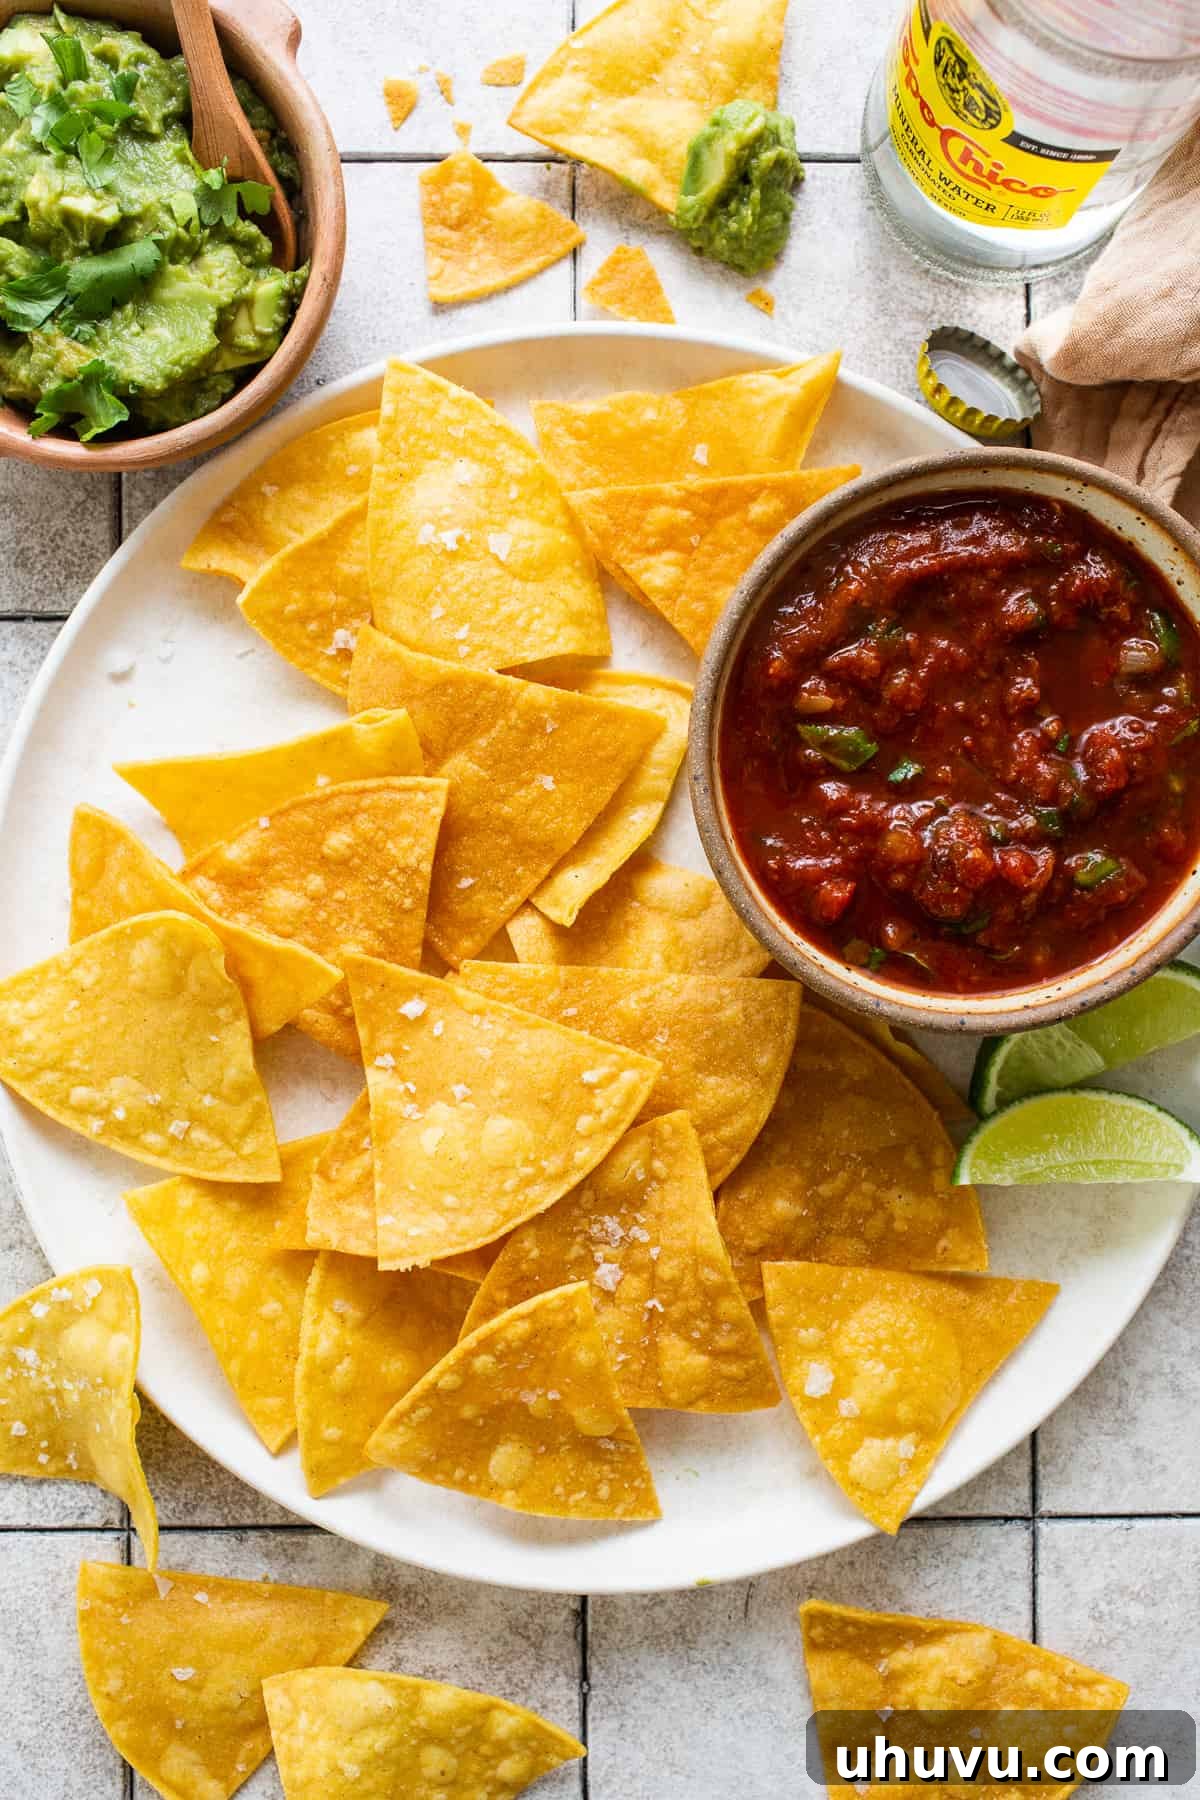
Ever found yourself craving a batch of warm, perfectly salted tortilla chips but lacked the desire to make a quick dash to the grocery store? We’ve all been there! The good news is, with minimal effort and just three pantry staples, you can transform ordinary tortillas into extraordinary homemade chips in mere minutes. This recipe is designed for maximum flavor and an unbeatable texture that will elevate any dip, from chunky salsa to creamy queso. Your favorite guacamole has been patiently waiting for this perfect partner.
The standout feature of these homemade delights is their superior structural integrity. Unlike many commercial brands that disappointingly break mid-dip, these chips are crafted to be robust and resilient. They can confidently handle the thickest guacamole or the heartiest bean dip without a single crack or collapse. Say goodbye to the frustrating sight of broken tortilla chips sinking into your precious dip bowl; with these, every single chip will deliver a fulfilling scoop.
Why Homemade Tortilla Chips Reign Supreme
While store-bought tortilla chips offer convenience, the homemade version provides an unparalleled experience that truly outshines its packaged counterparts. Here’s why making your own chips is a game-changer:
- Unbeatable Freshness and Flavor: There’s simply no comparison to the taste of freshly fried chips. The corn flavor is more vibrant, and the warmth straight from the oil (or oven/air fryer) adds an extra layer of deliciousness that you can’t replicate from a bag.
- Customizable Seasoning: You’re in complete control of the seasoning. A simple sprinkle of salt is classic, but you can experiment with chili powder, cumin, lime zest, or even a dash of garlic powder to create your signature flavor profile.
- Perfect Texture Every Time: Achieve your desired level of crispness. Whether you prefer a lighter, delicate crunch or a substantial, robust chip that can tackle any dip, homemade allows for precision.
- Superior Dippability: As mentioned, these chips are built to last. Their sturdiness means less breakage and more successful scooping, making your snacking experience far more enjoyable.
- Cost-Effective: Making chips from a package of corn tortillas is often more economical than buying specialty bags of quality tortilla chips, especially if you enjoy them frequently.
- Free from Additives: You know exactly what goes into your chips – just tortillas, oil, and salt (or your chosen seasonings). No preservatives or artificial ingredients.
Different Cooking Methods for Tortilla Chips
While my absolute favorite method for making tortilla chips involves frying, yielding the crispiest, most gloriously golden results, there are alternative cooking methods that are equally viable, especially if you’re aiming for a lighter option or prefer not to deep-fry. Each method brings its own unique characteristics to the finished chip.
- Frying (Our Recommended Method): This is the classic technique detailed in the recipe card below, and for good reason. Frying delivers an incredibly crisp texture and a rich, deep corn flavor. The hot oil quickly cooks the tortilla, evaporating moisture and creating air pockets for that perfect crunch. It’s a quick process that results in restaurant-quality chips.
- Baked Tortilla Chips: If you’re looking to minimize oil consumption, baking is an excellent alternative. While they might not achieve the exact same deep-fried crispness, baked chips can still be wonderfully crunchy and flavorful. The key is to bake them at a relatively high temperature until they are fully dried out and golden, often requiring a quick flip halfway through.
- Air Fryer Tortilla Chips: The air fryer offers a fantastic compromise between frying and baking. It uses hot circulating air to cook the chips with very little oil, resulting in a delightfully crisp texture that’s closer to fried chips than baked ones, but with significantly less fat. They cook quickly and evenly, making them a great choice for quick batches.
Regardless of your preferred method, the core principles remain the same: start with quality tortillas, cut them evenly, and season them well. Each method promises a delicious outcome, so feel free to choose the one that best suits your kitchen and dietary preferences.
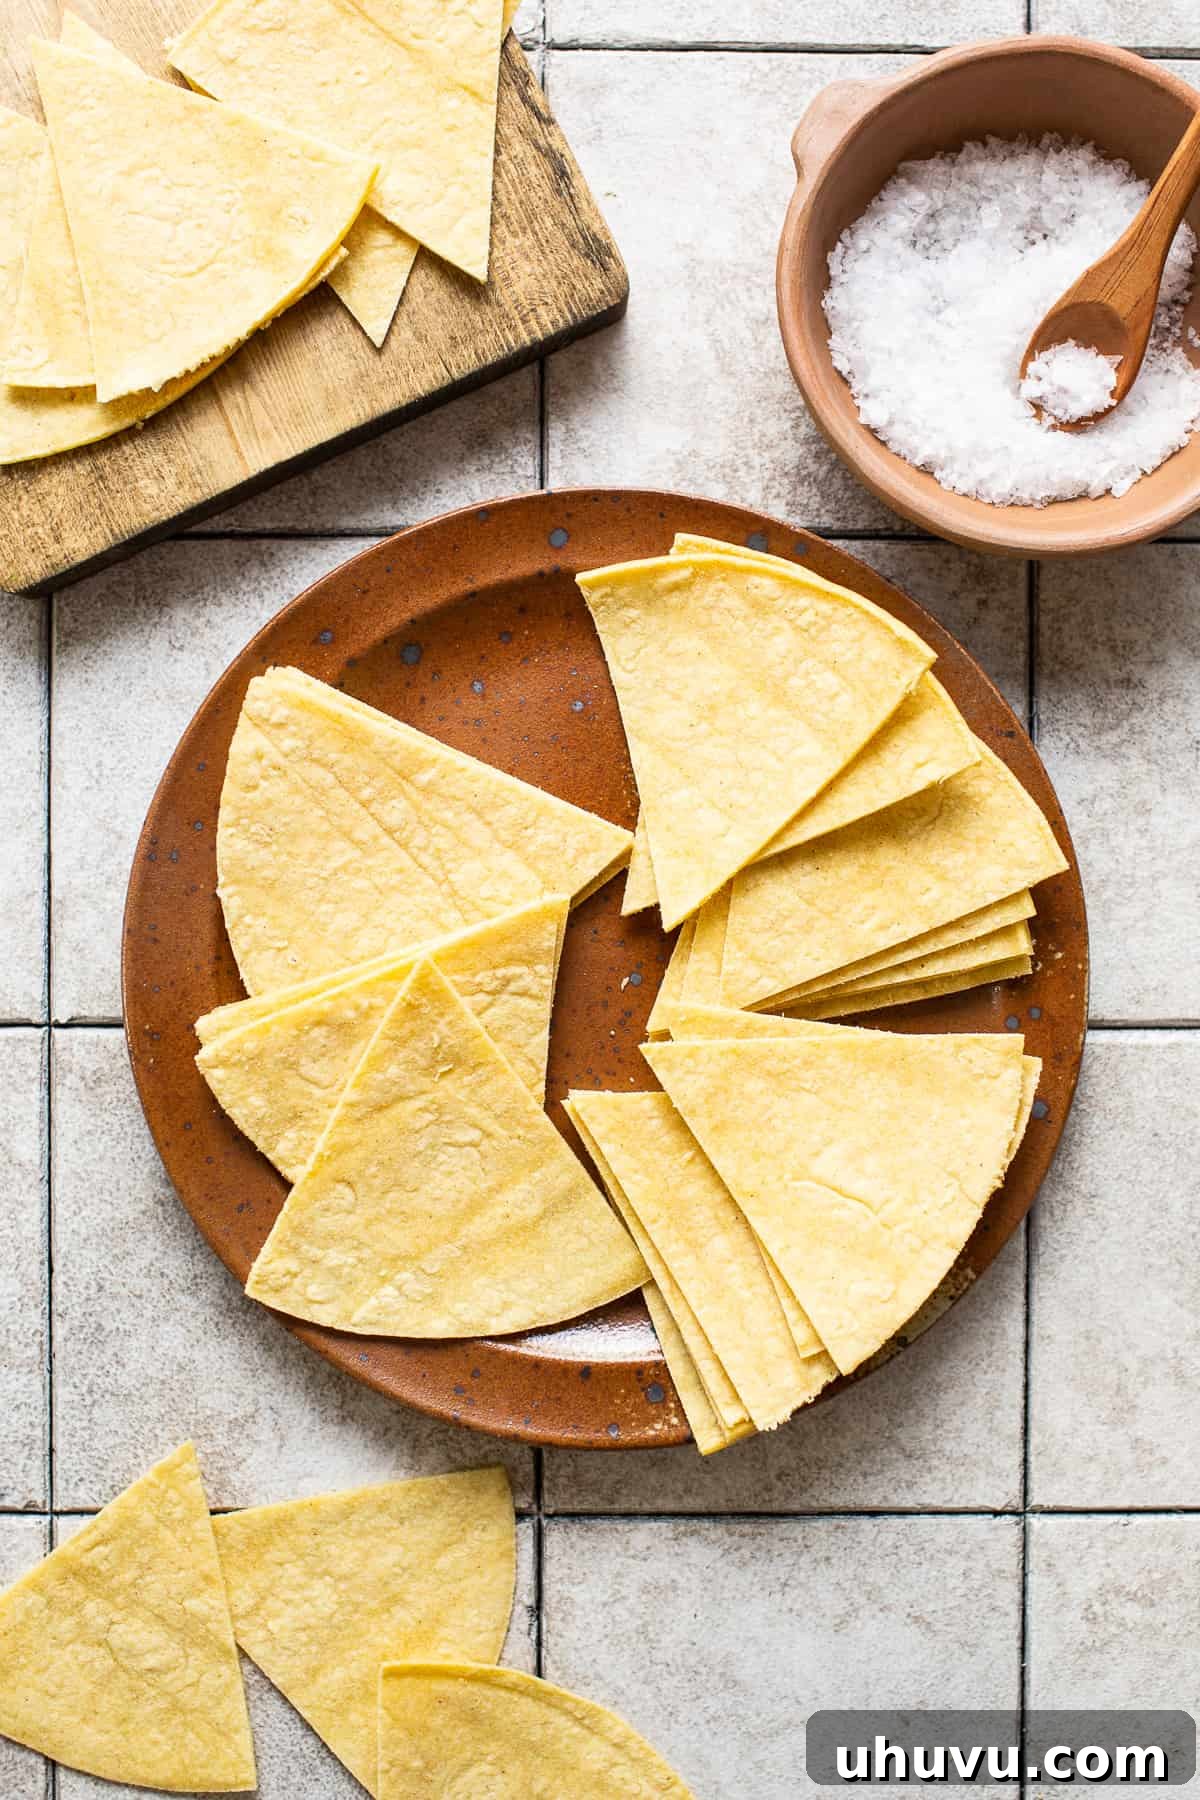
Homemade Tortilla Chips Ingredients: Simplicity at Its Best
The beauty of this recipe lies in its elegant simplicity. With just three fundamental ingredients, you can create a snack that’s far superior to anything you’d find in a bag. Quality matters here, as each component plays a crucial role in achieving that perfect crispy, flavorful chip.
- Corn Tortillas: The foundation of any great tortilla chip! I highly recommend using sturdy, fresh corn tortillas. They hold up incredibly well during frying and, crucially, resist crumbling when you’re scooping up hefty portions of dip. While thinner corn tortillas can work, they are more prone to breaking. You have the flexibility to use any variety of corn tortilla – yellow, white, or blue – each offering a slightly different visual appeal and subtle flavor nuance. Ensure they are fresh for the best results, as stale tortillas can sometimes yield a tougher chip.
- Oil for Frying: The type of oil you choose is important for achieving optimal crispness and flavor without imparting unwanted tastes. A neutral oil with a high smoke point is ideal for frying. My personal preference is canola oil due to its mild flavor and excellent performance at high temperatures. However, feel free to use your favorite high-heat oil such as avocado oil, grapeseed oil, peanut oil, corn oil, or even vegetable oil. If you plan on baking or air frying your chips, a lighter oil like olive oil can also be a good choice, as it won’t be exposed to the same extreme temperatures as deep-frying.
- Salt: A simple yet essential ingredient that elevates the flavor of your chips. A generous sprinkle of salt immediately after frying is truly the best way to enhance the corn flavor. I particularly love using flaky sea salt because it not only adds a beautiful, professional finish reminiscent of restaurant-quality chips but also contributes an extra textural crunch. If flaky sea salt isn’t available, fine sea salt or even regular table salt will work perfectly well to provide that crucial seasoning.
That’s it! Just three ingredients stand between you and a batch of the most delicious homemade tortilla chips you’ll ever taste. Gather your supplies, and let’s get cooking!
How to Make Homemade Tortilla Chips: Step-by-Step Perfection
Making crispy homemade tortilla chips is a straightforward process that yields incredibly rewarding results. Follow these simple steps for perfectly fried, golden-brown chips every time.
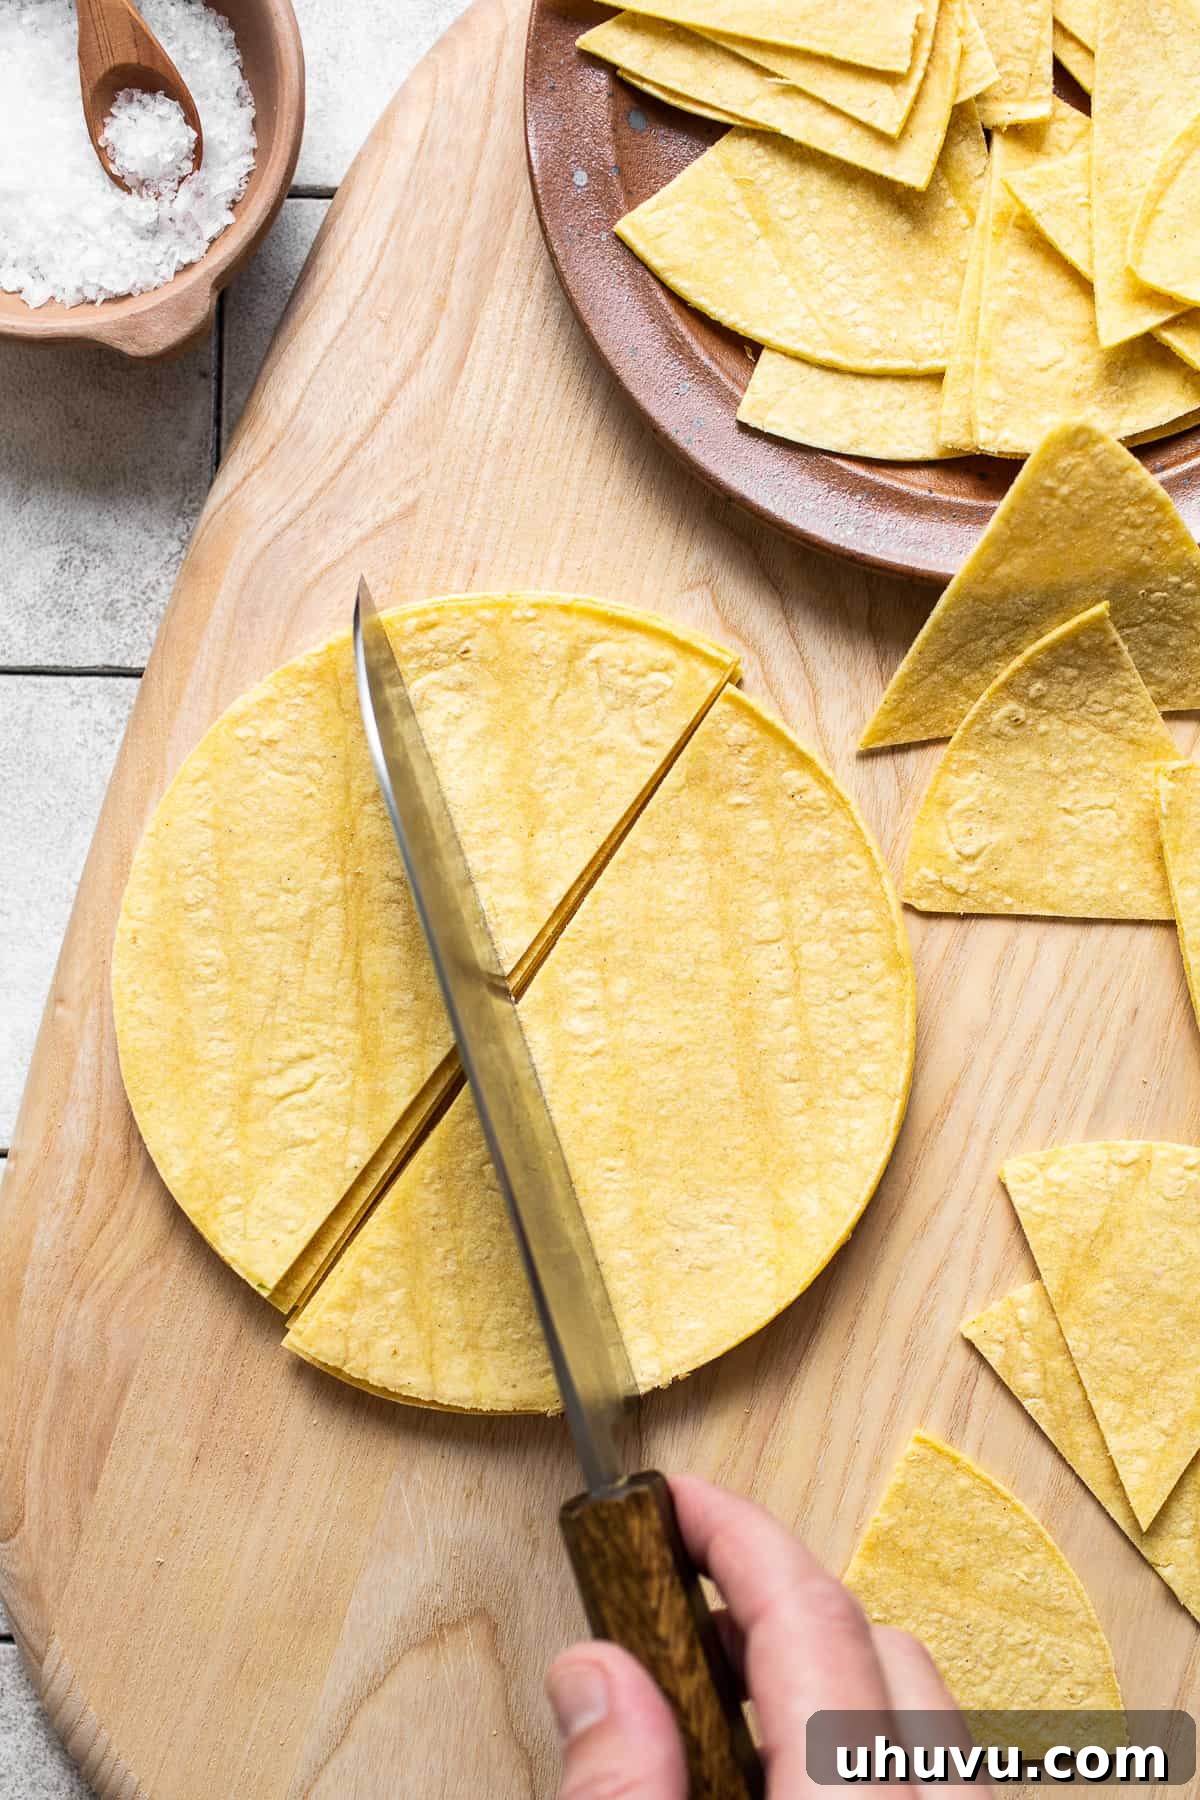
Step 1: Slice Your Tortillas
Start by taking a stack of your favorite store-bought corn tortillas. Using a sharp knife or a pizza cutter, slice them into uniform fourths or sixths, depending on your preferred chip size. Cutting into fourths will give you larger, more robust chips, while sixths will result in smaller, more delicate bites. Aim for consistent sizing to ensure even cooking. For a typical snack, I recommend starting with about 3 tortillas per person, but you can easily scale up or down as needed. Lay them out in a single layer if possible, or gently fan them out.
Step 2: Heat the Oil
Pour your chosen frying oil into a heavy-bottomed skillet or Dutch oven. You’ll need about 2 cups of oil, or enough to ensure the tortilla pieces can be fully submerged when frying. Heat the oil over medium to medium-high heat. The ideal temperature for frying tortilla chips is around 350°F (175°C). You can check the temperature with a deep-fry thermometer. If you don’t have a thermometer, drop a small piece of tortilla into the oil; it should sizzle immediately and steadily, indicating the oil is hot enough. Be patient and allow the oil to reach the correct temperature before adding chips, as too-cool oil will result in greasy, soggy chips.
Step 3: Fry to Golden Perfection
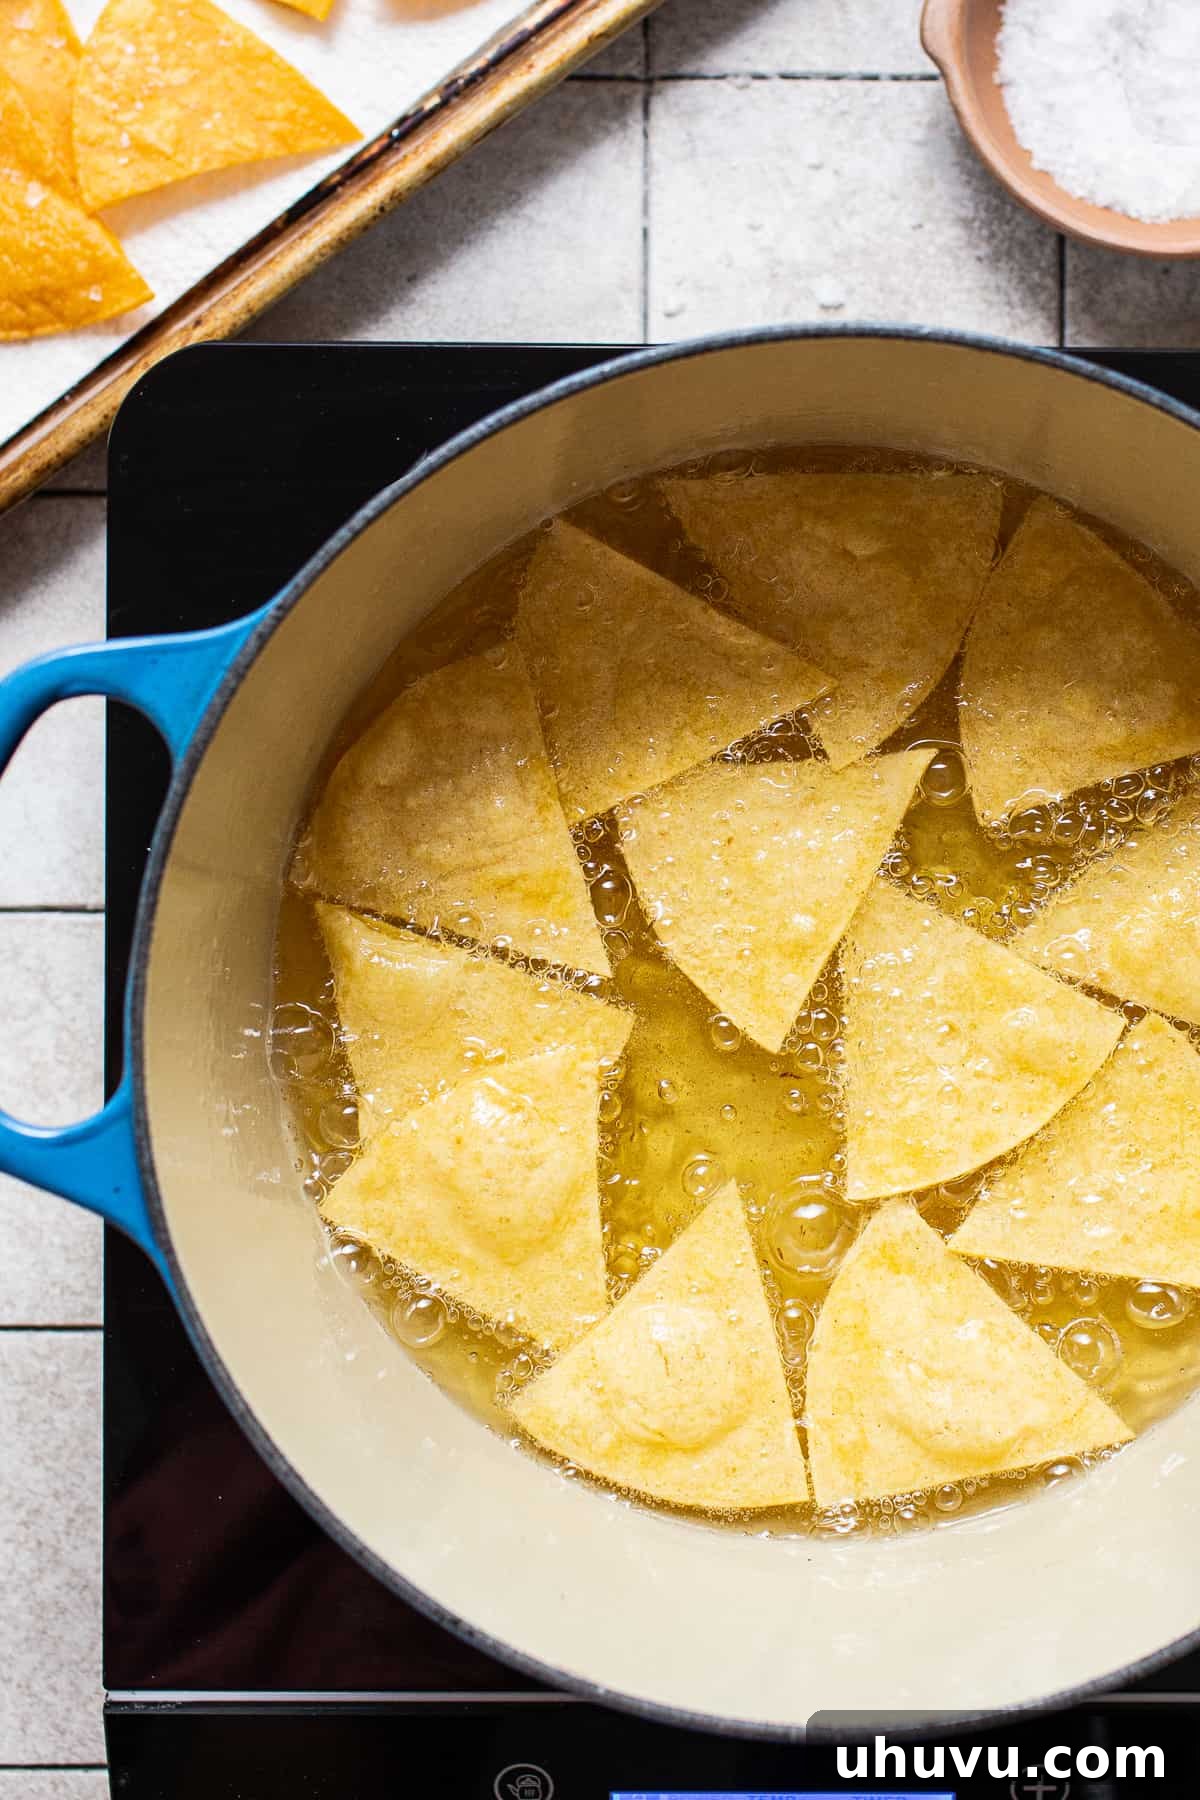
Carefully add a small handful of tortilla wedges into the hot oil. Avoid overcrowding the pan, as this will lower the oil temperature and prevent even cooking, leading to soggy chips. Fry the chips for about 1 to 2 minutes, or until they achieve a beautiful golden-yellow to light brown color and become visibly crisp. You may need to gently stir or flip them halfway through with a metal-slotted spoon or a spider strainer to ensure even cooking and prevent them from sticking together.
Once they’re perfectly golden and crisp, remove them from the oil, allowing any excess oil to drip back into the pan. Transfer the fried chips to a large baking sheet or plate generously lined with paper towels. The paper towels will absorb any remaining oil, ensuring your chips are deliciously crisp and not overly greasy. Continue frying the remaining tortilla pieces in small batches until all your chips are cooked.
Step 4: Season and Enjoy!
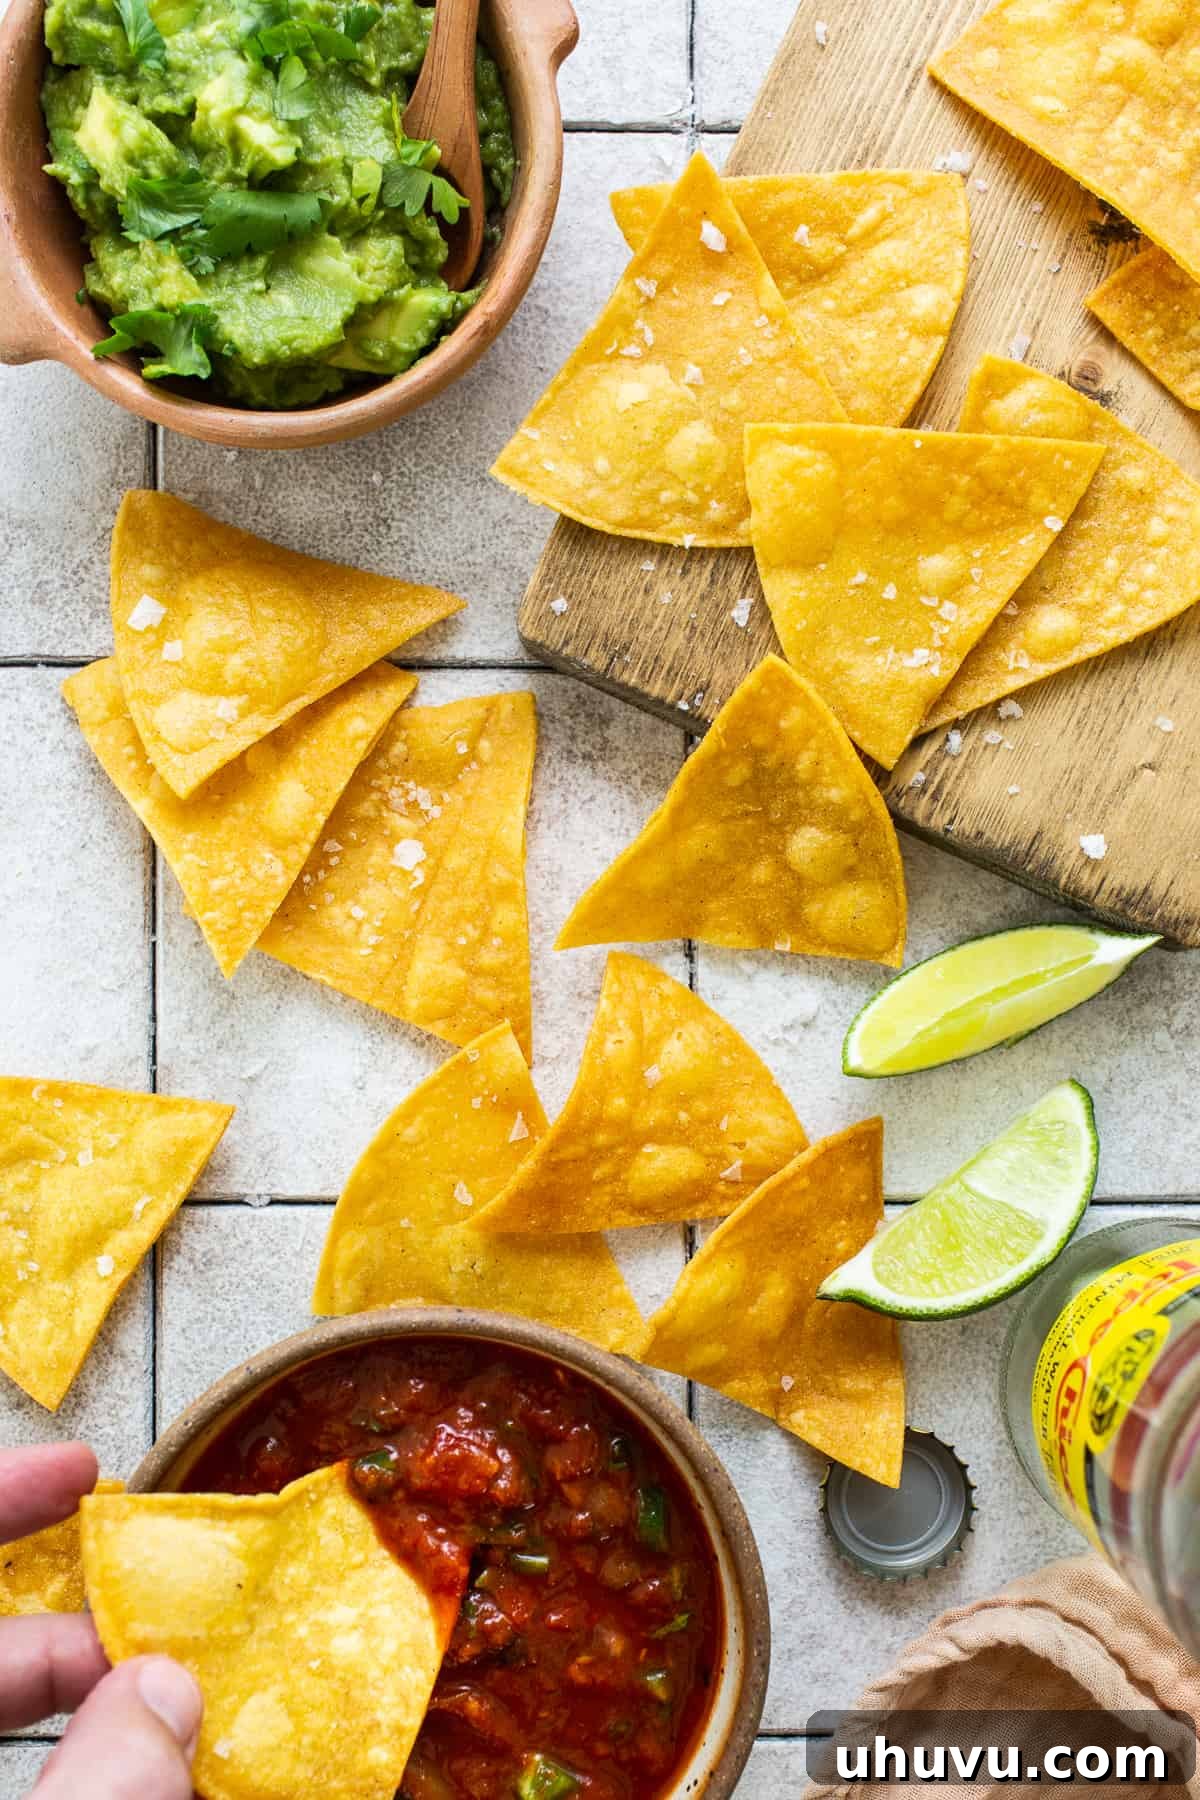
Immediately after removing the chips from the oil and placing them on paper towels, generously sprinkle them with your chosen salt (flaky sea salt is highly recommended!). The heat of the chips will help the salt adhere beautifully. Once seasoned, let them cool for a minute or two, then serve them warm with your favorite dips and salsas. Get ready to experience the ultimate homemade crunch!
Expert Tips for Perfect Homemade Tortilla Chips
- Monitor Oil Temperature Closely: This is perhaps the most critical tip for perfectly fried chips. Strive to maintain a steady oil temperature of around 350°F (175°C). If the oil is too hot, your chips will burn quickly on the outside before they’re cooked through, resulting in a bitter taste. If the oil is too cool, the chips will absorb too much oil, becoming greasy and soggy. An instant-read thermometer is an invaluable tool for precise temperature control.
- Season Immediately: Salt your chips the moment they come out of the hot oil and are placed on the paper towels. The residual heat and oil on the chips create the perfect surface for the salt to stick and dissolve, ensuring even seasoning. Waiting too long will result in salt that doesn’t adhere as well.
- Avoid Overcrowding the Pan: Fry your tortilla wedges in small batches. Overcrowding the skillet will cause the oil temperature to drop significantly, leading to unevenly cooked, greasy chips instead of light, crispy ones. Give each batch enough space to fry properly.
- Don’t Let Them Burn: Tortilla chips can transition from perfectly golden to unfortunately burnt in a matter of seconds. Stay vigilant and keep a close eye on them throughout the frying process. They should be a vibrant golden yellow, not dark brown.
- Drain Thoroughly: After frying, ensure you transfer the chips to a plate or baking sheet lined with several layers of paper towels. Gently shake off any excess oil before placing them down. Allow them to sit for a few moments to properly drain, which contributes to their crispness and prevents greasiness.
- Consider Tortilla Thickness: Thicker corn tortillas generally yield sturdier chips that are less prone to breaking. If you can find a slightly thicker variety, they’re often preferred for optimal dippability.
Serving Suggestions: The Perfect Accompaniments
Homemade tortilla chips are fantastic on their own, but they truly shine when paired with complementary flavors. Here are some classic and creative serving suggestions to get you started:
- Fresh Salsa: A vibrant, chunky salsa with ripe tomatoes, onions, cilantro, and a kick of jalapeño is an absolute must-have.
- Guacamole: Creamy, rich guacamole made with fresh avocados, lime juice, and a hint of spice is a timeless pairing that highlights the chips’ crispness.
- Queso Blanco: Dive into a warm bowl of smooth, dreamy queso blanco. Its velvety texture and mild cheesiness are a perfect contrast to the crunchy chips.
- Taco Dip: A layered taco dip, often featuring cream cheese, seasoned ground beef, cheese, lettuce, and tomatoes, offers a hearty and satisfying experience.
- Classic Margarita: For the adults, a refreshing, zesty classic margarita is the ultimate beverage to accompany your Mexican appetizer spread.
- Michelada: A savory and spicy beer cocktail, the michelada, offers a unique and authentic Mexican drinking experience alongside your chips.
- Queso Fundido: A bubbling, melted cheese dish often mixed with chorizo or other ingredients, perfect for a decadent dipping experience.
Don’t stop there! Homemade tortilla chips are also excellent crumbled over salads, used as a base for nachos, or enjoyed alongside a hearty bowl of chili or tortilla soup. The possibilities are endless!
Storing Homemade Tortilla Chips for Maximum Crispness
To preserve the delicious crispness of your homemade tortilla chips, proper storage is key. Once your chips have completely cooled to room temperature, transfer them to an airtight container. A resealable plastic bag or a rigid container with a tight-fitting lid works perfectly. Store the container in a cool, dry place away from direct sunlight and humidity. When stored correctly, your chips will maintain their delightful crunch for up to 2 days. If they start to lose a bit of their crispness, you can revive them with a quick re-bake in a 300°F (150°C) oven for 5-10 minutes, or a few minutes in an air fryer, until they are crisp again.
Frequently Asked Questions About Homemade Tortilla Chips
Can I use flour tortillas instead of corn?
While you can technically use flour tortillas, corn tortillas are traditional for authentic tortilla chips and provide the best flavor and crispness. Flour tortillas tend to be softer and chewier when fried, and their flavor profile is different. For true tortilla chips, stick to corn.
Are homemade tortilla chips gluten-free?
Yes, if you use 100% corn tortillas, your homemade chips will be naturally gluten-free. Always check the ingredient list on your tortilla package to ensure there are no added gluten-containing ingredients if you have a severe allergy or intolerance.
What if my chips are soggy?
Soggy chips are usually a sign that the oil wasn’t hot enough, or the pan was overcrowded. Ensure your oil reaches the correct temperature (350°F/175°C) and fry in small batches. You can often revive slightly soggy chips by baking them in a single layer at 300°F (150°C) for 5-10 minutes.
Can I make these ahead of time?
Yes, you can make them up to 2 days in advance. Store them in an airtight container as described above to maintain their crispness. For best results and ultimate crunch, serving them fresh is always recommended.
How can I make these spicier?
For spicy chips, you can sprinkle them with chili powder, cayenne pepper, or a blend of your favorite Mexican spices immediately after salting. You can also mix a bit of spice into your salt before seasoning.
More Delicious Mexican Recipes to Explore
- Homemade Corn Tortillas: Elevate your chip game even further by making your own corn tortillas from scratch!
- Authentic Mexican Flour Tortillas: Perfect for burritos, quesadillas, or as a side to any Mexican meal.
- Classic Ceviche: A refreshing seafood dish that pairs beautifully with crunchy chips.
- Pico de Gallo: A simple, fresh tomato salsa that’s always a crowd-pleaser.
- Cheesy Sheet Pan Nachos: Transform your homemade chips into a hearty meal with these easy-to-make nachos.
5 from 8 votes
Homemade Tortilla Chips
Ingredients
- 12 corn tortillas
- Vegetable oil, for frying (avocado, canola, and corn oil all work)
- Flaky or fine sea salt, for seasoning
Instructions
-
Line a large baking sheet or plate with paper towels and set aside.
-
Cut the corn tortillas into fourths for large tortilla chips or into sixths for small tortilla chips.
-
Fill a heavy skillet or Dutch oven with ¼ – ½ -inch of oil or enough oil to fully submerge the chips.
-
Heat the oil over medium-high heat until it reaches 350°F or a small piece of tortilla sizzles when placed in the oil.
-
Add a handful of tortilla wedges into the oil and fry for about 2 minutes, flipping halfway through with metal tongs or a slotted spoon, until the chips are crisp and turn a beautiful golden yellow color. Transfer the chips to the lined baking sheet or plate to drain off any excess oil. Continue working in batches so as not to completely crowd the skillet.
-
Sprinkle the chips with salt and serve immediately.
Notes
- If frying isn’t your thing, try these baked tortilla chips or air fryer tortilla chips.
- Try to keep the oil at a steady medium heat (around 350°F). Too hot, and they’ll burn quickly. Too cool, and they’ll be too oily.
- Salt your chips immediately after frying when they’re still hot. This ensures the seasoning sticks to the chips better.
- Tortilla chips can go from perfectly golden to burnt in a matter of seconds. Keep a close eye on them during the frying process.
Nutrition
Nutrition information is automatically calculated, so should only be used as an approximation.
Did you make this recipe?Leave a comment and star rating below!
This post was originally published in June 2018 and has since been extensively updated with new photos, expanded helpful tips, enhanced SEO, and a refined overall recipe to bring you the best possible guide to homemade tortilla chips.
Photography by Ashley McLaughlin.