
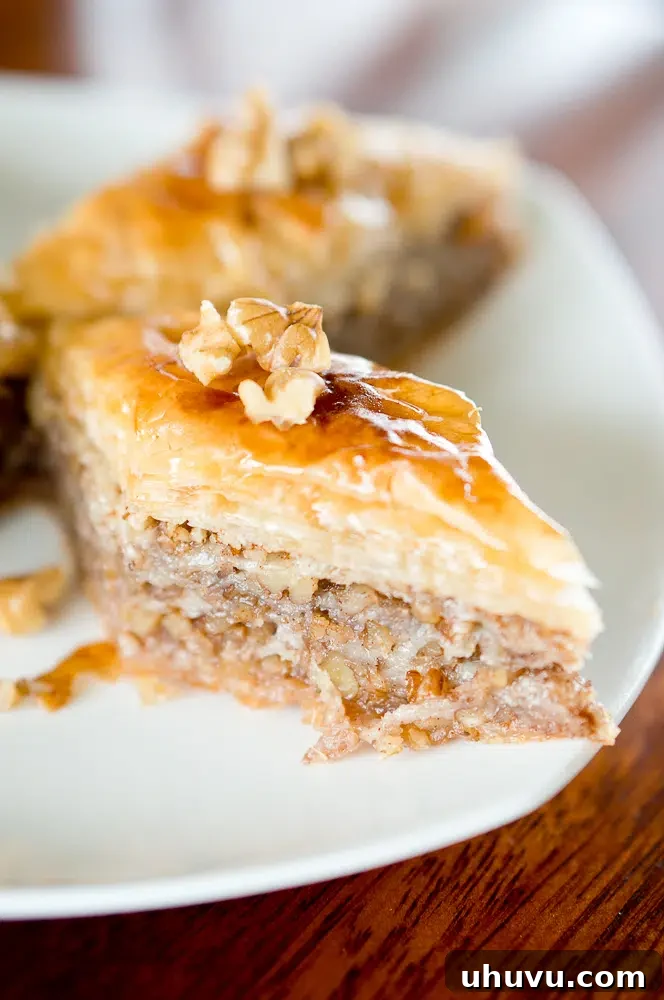
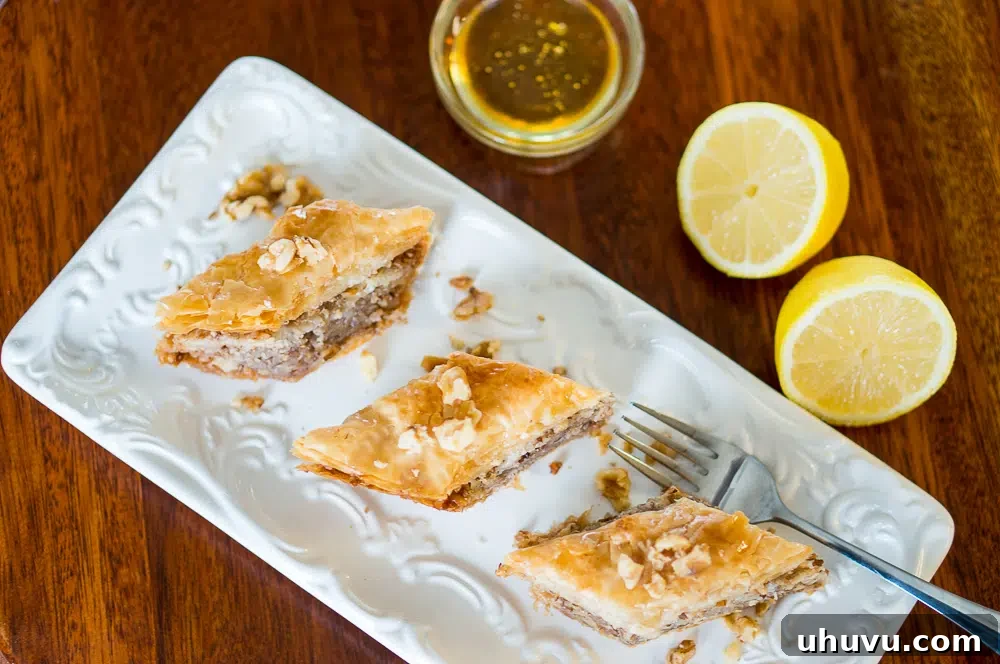
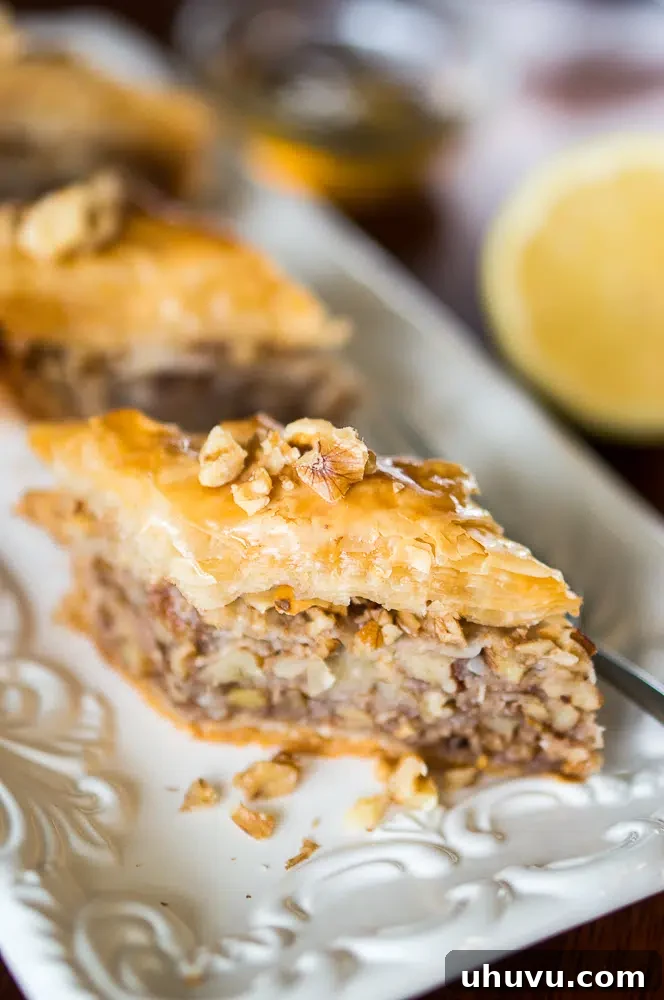
There’s an undeniable magic to homemade baklava. While store-bought versions can offer a quick fix for a sweet craving, nothing quite compares to the rich, flaky, and perfectly syrupy delight crafted in your own kitchen. The aroma of toasted nuts and sweet spices, combined with the delicate layers of buttered phyllo, is a sensory experience that defines true indulgence. This cherished dessert, with its intricate appearance, might seem daunting at first glance, but I assure you, it’s far easier to master than you might imagine.
Growing up, baklava was a staple in our household, especially during holidays and special occasions. In my native Bulgaria, like many other Eastern European nations, this dessert holds a special place in culinary traditions. My sister and I would eagerly anticipate the moments our grandmother would bring out a freshly baked pan, its golden crust shimmering with sweet syrup. Watching her meticulously prepare it, I always believed it to be an incredibly complex endeavor. However, as I’ve come to learn and perfect her recipe, I’ve realized that it requires more patience than skill, relying on simple ingredients and a methodical approach.
The history of baklava is as rich and layered as the pastry itself, tracing its origins back to the ancient Byzantine Empire, and possibly even further. It’s a testament to its enduring appeal that countless cultures, from the Middle East to the Balkans, proudly claim baklava as their own. Countries like Albania, Greece, Turkey, Armenia, Georgia, Israel, Iran, and Syria each have their unique variations, but the fundamental elements remain consistent: gossamer-thin layers of pastry dough, generously brushed with melted butter, cradling a fragrant mixture of chopped nuts, all drenched in a sweet, aromatic syrup once baked. This culinary masterpiece has evolved over centuries, spreading across empires and continents, adapting to local tastes while retaining its core identity as a symbol of hospitality and celebration.
This particular recipe, a family favorite that has been perfected over years, yields a baklava that is absolutely delectable – crispy, nutty, and bathed in a balanced honey-lemon syrup. While it is undeniably an indulgence, I believe that life’s most delicious pleasures should be shared. A slice or two once a year, when I bake it fresh, is a tradition I wholeheartedly embrace. It’s a labor of love that rewards you with an extraordinary dessert, making every effort worthwhile. So, let’s embark on this delightful baking journey together. Here is my ultimate guide to creating the best homemade baklava, complete with detailed instructions and helpful tips to ensure your success.
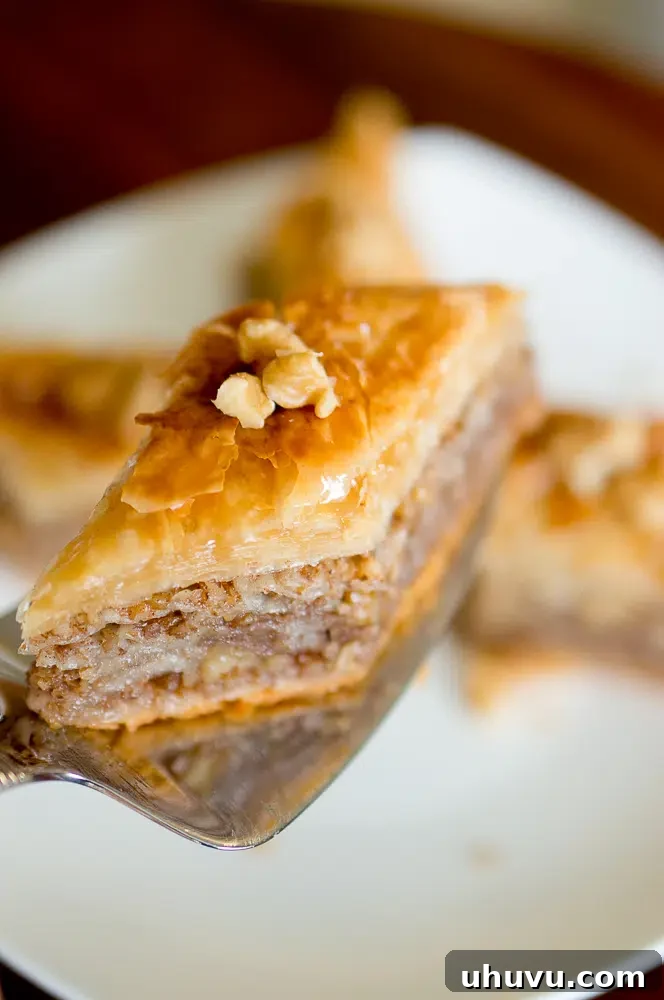
The Ultimate Homemade Baklava Recipe
This is hands down the BEST baklava recipe I have ever tried, delivering incredible flavor and a satisfying texture. With easy-to-find ingredients, detailed instructions, and helpful tips, you’ll create a baklava that will impress everyone.
Ingredients for Perfect Baklava (Serves approximately 20)
For the Baklava Layers:
- 1 (16 oz) package phyllo dough: Thaw according to package instructions (typically 9 x 14 inches, about 40 sheets). Proper thawing is crucial for preventing tears.
- 1 ½ cups (3 sticks) unsalted butter: Melted. Using unsalted butter allows you to control the salt content. Clarified butter (ghee) can also be used for an even crisper result.
- 1 lb walnuts: Coarsely chopped (or pecans, for a slightly different flavor profile). Fresh, high-quality nuts make a big difference.
- 1 teaspoon ground cinnamon: A warm spice that complements the nuts beautifully.
For the Honey Lemon Syrup:
- 1 cup granulated sugar: Provides the primary sweetness.
- ½ cup honey: Adds a distinct floral note and depth of flavor that is essential for authentic baklava.
- 2 Tablespoons fresh lemon juice: Crucial for preventing the syrup from crystallizing and adds a bright, zesty counterpoint to the sweetness.
- ¾ cup water: To dissolve the sugar and honey.
- Chopped walnuts or pistachios: For an elegant garnish.
Preparation: Step-by-Step Guide to Flawless Baklava
Mastering baklava involves a few key steps, from preparing the sweet syrup to layering the delicate phyllo dough. Follow these instructions carefully for the best results.
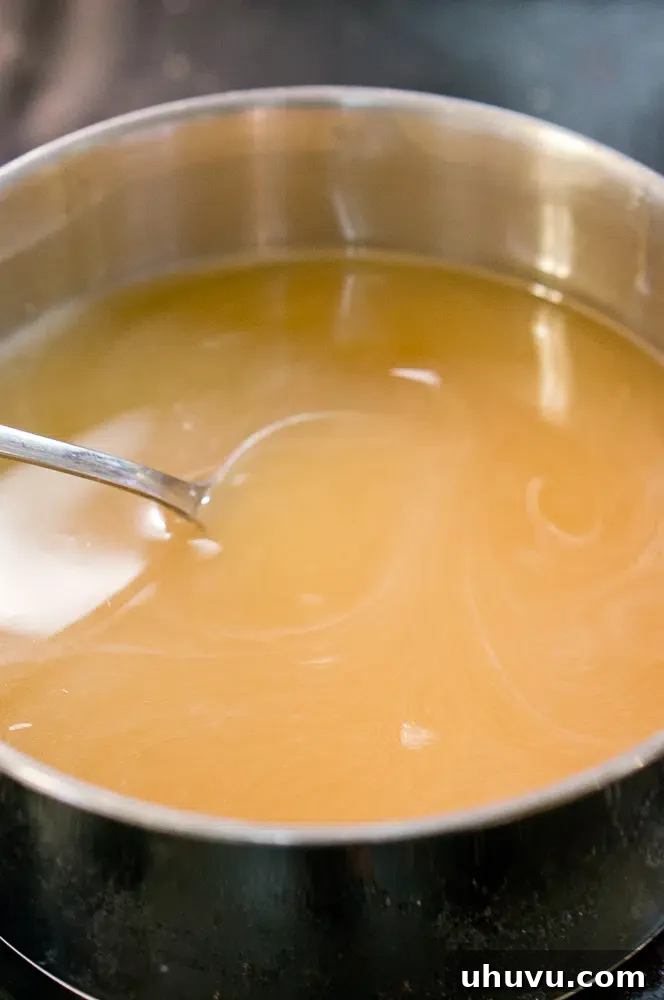
Preparing the Honey Lemon Syrup:
It’s essential to prepare the syrup first, as it needs to be completely cool before being poured over the warm, freshly baked baklava. This temperature contrast is what gives baklava its signature crispy texture and prevents it from becoming soggy.
- In a medium saucepan, combine the 1 cup granulated sugar, ½ cup honey, 2 Tablespoons lemon juice, and ¾ cup water.
- Place the pan over medium-high heat, stirring constantly until the sugar is fully dissolved.
- Once boiling, reduce the heat to medium-low and allow the syrup to gently simmer for another 3 minutes. Avoid over-boiling, as this can make the syrup too thick.
- Remove the syrup from the heat and set it aside to cool completely while you prepare the baklava layers. This cooling time is non-negotiable for a perfect baklava.
Assembling Your Homemade Baklava:
This is where the magic of layering begins. Patience and a gentle hand are your best tools here.
- First, ensure your phyllo dough is properly thawed according to the package instructions. This usually means leaving it in the refrigerator overnight, then bringing it to room temperature for an hour before use. This makes the delicate sheets pliable and less prone to tearing. Keep the unused phyllo sheets covered with a slightly damp towel to prevent them from drying out and becoming brittle while you work.
- Preheat your oven to 350°F (175°C).
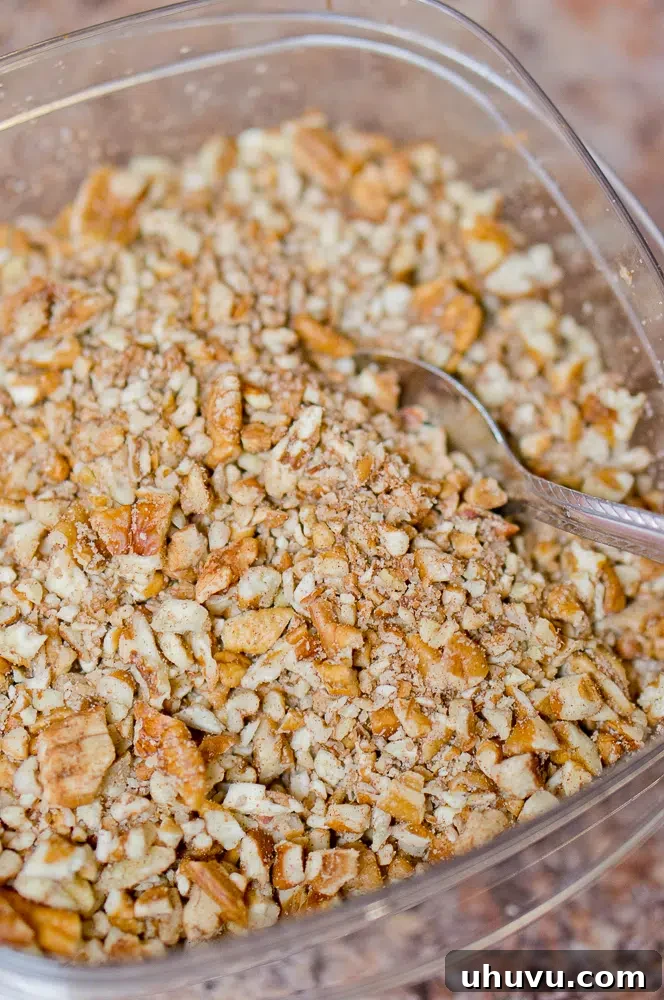
- Prepare your nut mixture: In a medium bowl, combine the 1 lb coarsely chopped walnuts (or pecans) with 1 teaspoon ground cinnamon. A crucial tip here: avoid using a food processor for chopping your nuts, as it often results in an uneven grind, with some nuts becoming too fine and releasing too much oil. This can lead to a heavier, less delicate baklava. Instead, coarsely chop them with a sharp knife or place them in a sturdy plastic bag and gently crush them with a rolling pin or meat tenderizer. You want varying textures, not a paste.
- Generously butter the bottom and sides of a 9 x 13-inch baking dish. A glass baking dish is excellent as it allows you to see the golden-brown edges.
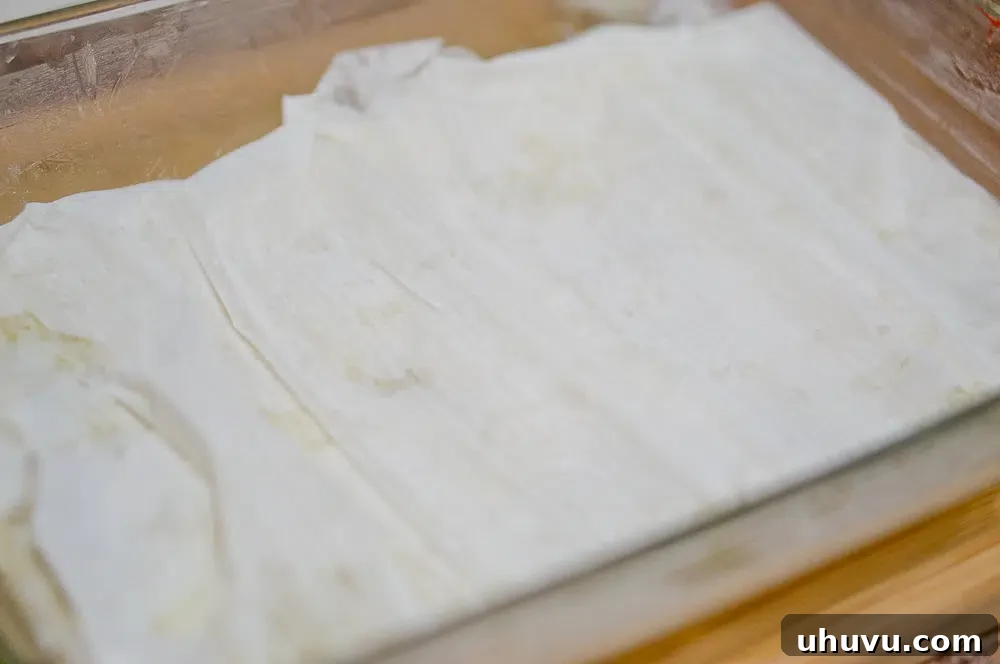
- Begin layering: Place 10 sheets of phyllo dough, one at a time, into the prepared baking dish. Crucially, brush *each* sheet generously with melted butter before adding the next. Don’t skimp on the butter; it’s what creates the signature flaky texture. My grandmother’s secret technique involved slightly wrinkling the sheets as they were laid down, especially if they were a little longer than the dish. This seemingly simple act helps create more pockets for the butter and syrup to penetrate, resulting in an even more delightful texture.
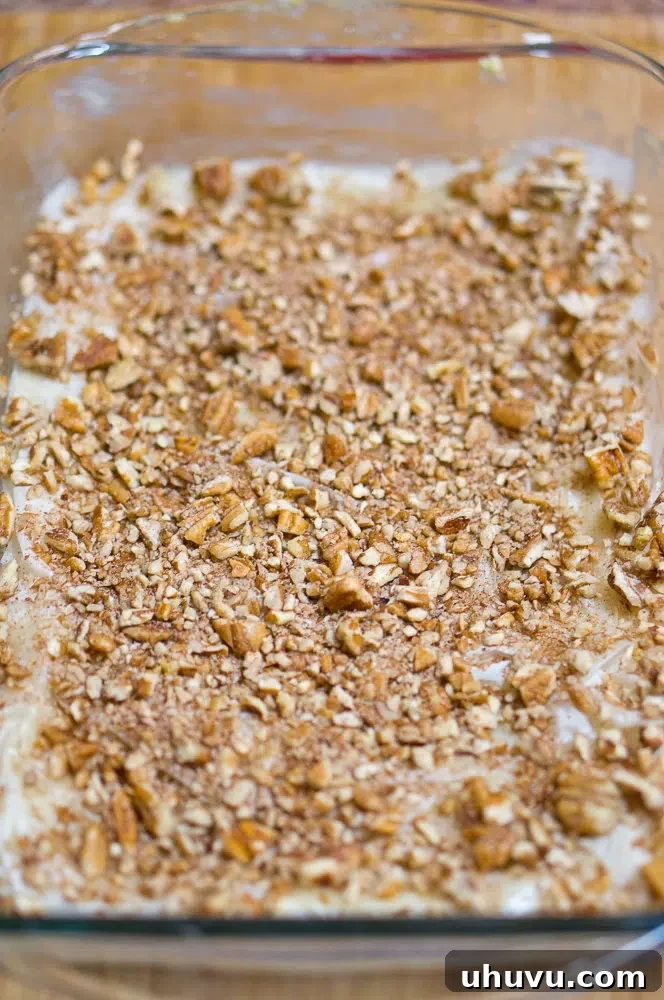
- Evenly sprinkle 1/5 of the nut mixture over the top of the 10 buttered phyllo sheets.
- Continue layering: Place 5 more sheets of phyllo dough on top, brushing each sheet with melted butter.
- Sprinkle another 1/5 of the nut mixture over these 5 phyllo sheets.
- Repeat the pattern: Add 5 more buttered phyllo sheets, followed by another 1/5 of the nut mixture.
- Repeat again: Add 5 more buttered phyllo sheets, and then another 1/5 of the nut mixture.
- And one final time: Add 5 more buttered phyllo sheets, and then sprinkle with the remaining nut mixture.
- Conclude the layering: Finish by layering the remaining 10 phyllo sheets, one at a time, brushing each with melted butter. Ensure the very top sheet is also generously brushed with butter, as this will help it achieve that beautiful golden-brown color.
For clarity, here is the layer order summary:
- 10 buttered phyllo sheets (base)
- ¾ cup nut mixture (approximately 1/5 of the total)
- 5 buttered phyllo sheets
- ¾ cup nut mixture
- 5 buttered phyllo sheets
- ¾ cup nut mixture
- 5 buttered phyllo sheets
- ¾ cup nut mixture
- 5 buttered phyllo sheets
- ¾ cup nut mixture (the last portion of nuts)
- 10 buttered phyllo sheets (top layers), with extra butter brushed on the very top.
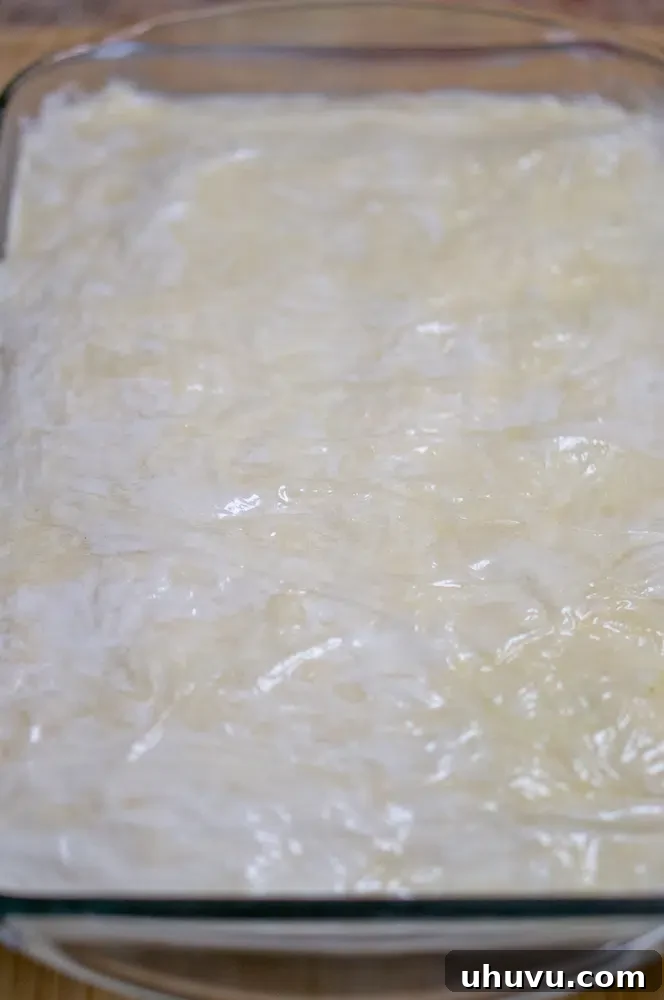
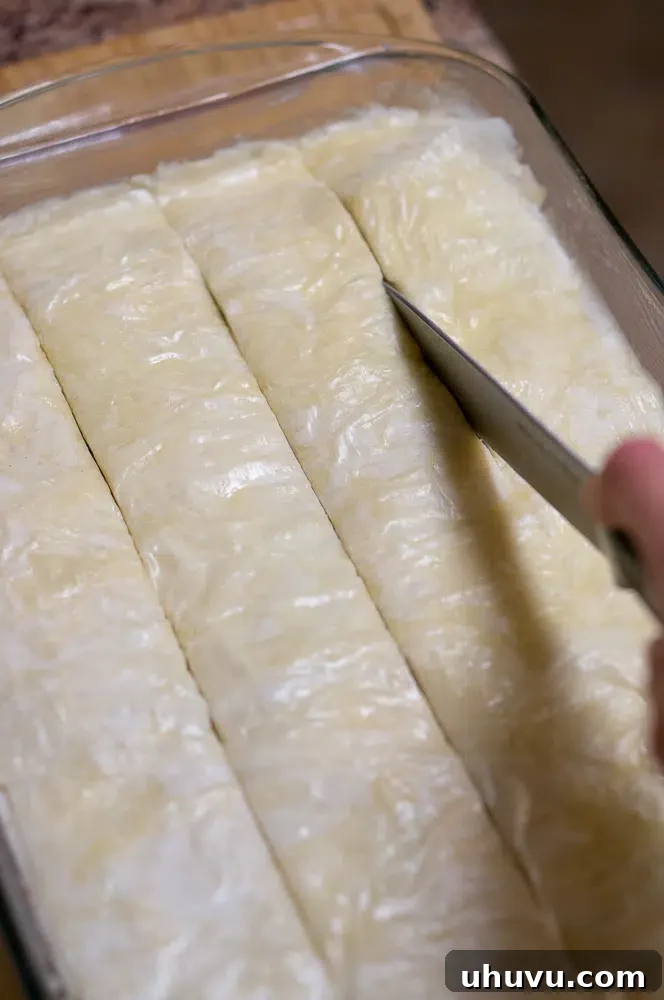
- Pre-cut the baklava: Using a very sharp knife, carefully cut the unbaked baklava into portions. First, make 4 parallel strips, each about 1½ inches wide. Then, make diagonal slices across these strips to create the traditional diamond pattern. This step is easier when the baklava is unbaked, as the delicate layers can crack if cut after baking.
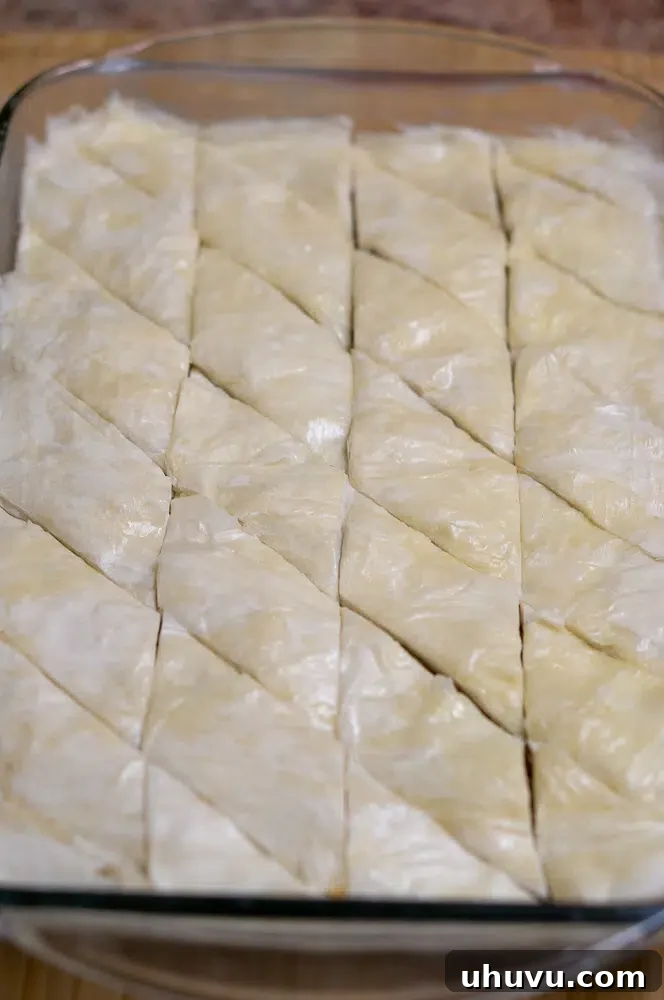
- Bake the baklava: Place the baking dish in the preheated oven and bake for approximately 50 to 60 minutes, or until the top is a deep golden brown and the edges are beautifully crisp. Keep an eye on it to prevent burning. If the top browns too quickly, you can loosely tent it with aluminum foil.
- Syrup application: As soon as the baklava comes out of the oven, while it’s still piping hot, evenly pour the completely cooled honey-lemon syrup over the entire surface. You’ll hear a delightful sizzle as the syrup penetrates the warm, flaky layers – a sign that you’re on your way to baklava perfection! This moment of pouring is magical, almost like a sweet serenade.
- Allow to soak: This is the hardest part – the waiting! Let the baklava soak, uncovered, at room temperature for at least 6 hours, or ideally, overnight. This prolonged soaking time allows the phyllo to absorb all the delicious syrup, ensuring every bite is moist and flavorful, without being soggy. Resist the urge to dive in too soon, as the waiting truly pays off.
- Garnish and serve: Once fully soaked, garnish your baklava with additional chopped walnuts or pistachios, if desired.
How To Store Baklava for Lasting Freshness
One of the many advantages of baklava is its excellent shelf life, allowing you to savor its flavors over an extended period. Proper storage is key to maintaining its delicious texture and taste.
- Room Temperature: For optimal crispness, store baklava in an airtight container at room temperature for up to 2 weeks. The layers will remain wonderfully flaky, and the syrup will stay perfectly absorbed.
- Refrigeration: If you prefer your baklava with a slightly firmer, chewier texture, you can store it in an airtight container in the refrigerator. While it will still be delicious, refrigeration might slightly reduce its signature crispiness. Regardless of your choice, it will undoubtedly be a delightful treat.
- Freezing: Unbaked baklava can be frozen for up to 3 months. Tightly wrap the cut, unbaked baklava in plastic wrap, then aluminum foil. Thaw in the refrigerator overnight before baking as directed. Baked baklava can also be frozen for about 1 month, although the texture might change slightly upon thawing.
Serving Baklava: Presentation & Enjoyment
Baklava is best served cool, after it has fully absorbed the syrup at room temperature. Its elegant appearance makes it a perfect dessert for special occasions or a delightful accompaniment to your daily coffee or tea.
- Cutting: If you haven’t already cut it into diamond shapes before baking, you can now carefully slice it diagonally to create these traditional, visually appealing pieces. Alternatively, cutting it vertically into square bites is also common and equally delicious.
- Garnish: A sprinkle of finely chopped walnuts or vibrant ground pistachios not only adds a beautiful visual contrast but also enhances the nutty flavor profile.
- Pairings: Baklava pairs wonderfully with a strong cup of Turkish coffee, a soothing glass of mint tea, or even a scoop of vanilla ice cream for a decadent twist. It’s truly a versatile dessert that can be enjoyed any time of day – morning, noon, or night. Its sweet, satisfying taste is a perfect pick-me-up or a comforting end to a meal.
Baklava Recipe Card
This traditional Baklava recipe, passed down through generations, is truly the best. It yields a perfectly sweet, nutty, and flaky dessert, ideal for any occasion.
By: Neli Howard
Summary: This is hands down the BEST baklava recipe I have ever tried, tastes SO good. Easy ingredients, detailed instructions, and step-by-step pictures.
| Prep Time | Cook Time | Total Time | Servings |
|---|---|---|---|
| 15 minutes | 1 hour | 1 hour 15 minutes | 20 |
Ingredients
- 1 (16 oz) package phyllo dough, thawed according to package instructions (approx. 40 sheets)
- 1 ½ cups (3 sticks) unsalted butter, melted
- 1 lb walnuts, coarsely chopped (or pecans)
- 1 teaspoon ground cinnamon
- 1 cup granulated sugar
- ½ cup honey
- 2 Tablespoons fresh lemon juice
- ¾ cup water
- Chopped walnuts or pistachios, for garnish
Instructions
- Thaw phyllo dough according to package instructions. Keep sheets covered with a damp towel to prevent drying.
- For the Honey Lemon Syrup: In a medium pan, combine sugar, honey, lemon juice, and water. Bring to a boil over medium-high heat, stirring until sugar is dissolved. Reduce heat to medium-low and boil for 3 minutes. Remove from heat and let cool completely while preparing baklava.
- Preheat oven to 350°F (175°C).
- Mix the 1 lb coarsely chopped walnuts with 1 teaspoon cinnamon. Avoid using a food processor for best texture.
- Butter the bottom and sides of a 9 x 13-inch baking dish.
- Layer 10 sheets of phyllo dough in the baking dish, brushing each sheet generously with melted butter before adding the next. Gently wrinkle sheets slightly for added texture.
- Evenly sprinkle 1/5 of the nut mixture over the 10 phyllo sheets.
- Continue layering with 5 buttered phyllo sheets, followed by 1/5 of the nut mixture. Repeat this pattern three more times (for a total of four 5-sheet layers with nut mixture).
- Finally, layer the remaining 10 phyllo sheets, brushing each with melted butter. Ensure the top sheet is well-buttered.
- Using a very sharp knife, carefully cut the unbaked baklava into 4 strips (about 1½ inches wide), then make diagonal slices to create diamond patterns.
- Bake at 350°F (175°C) for 50-60 minutes, or until the top is golden brown.
- Immediately after removing from the oven, pour the completely cooled honey-lemon syrup over the warm baklava.
- Let the baklava soak, uncovered, at room temperature overnight (or at least 6 hours) before serving.
- Garnish with chopped walnuts or pistachios, if desired, and enjoy!
Notes
Order of layers for assembly:
- 10 buttered phyllo sheets (base)
- ¾ cup nut mixture
- 5 buttered phyllo sheets
- ¾ cup nut mixture
- 5 buttered phyllo sheets
- ¾ cup nut mixture
- 5 buttered phyllo sheets
- ¾ cup nut mixture
- 5 buttered phyllo sheets
- ¾ cup nut mixture
- 10 buttered phyllo sheets (top layers), with extra butter brushed on the very top.
Tip for Phyllo Dough: Work quickly and keep unused phyllo covered with a damp cloth to prevent drying.
Syrup Temperature: Always pour cool syrup over hot baklava for the crispiest results.
Nutrition Facts (Estimate per serving)
Nutritional values are estimates and may vary with ingredients, brands, and portion sizes. For accuracy, use your preferred nutrition calculator.
- Calories: 357kcal
- Carbohydrates: 27g
- Protein: 4g
- Fat: 27g
- Saturated Fat: 8g
- Cholesterol: 30mg
- Sodium: 171mg
- Potassium: 118mg
- Fiber: 1g
- Sugar: 17g
- Vitamin A: 360IU
- Vitamin C: 0.9mg
- Calcium: 29mg
- Iron: 1.2mg