
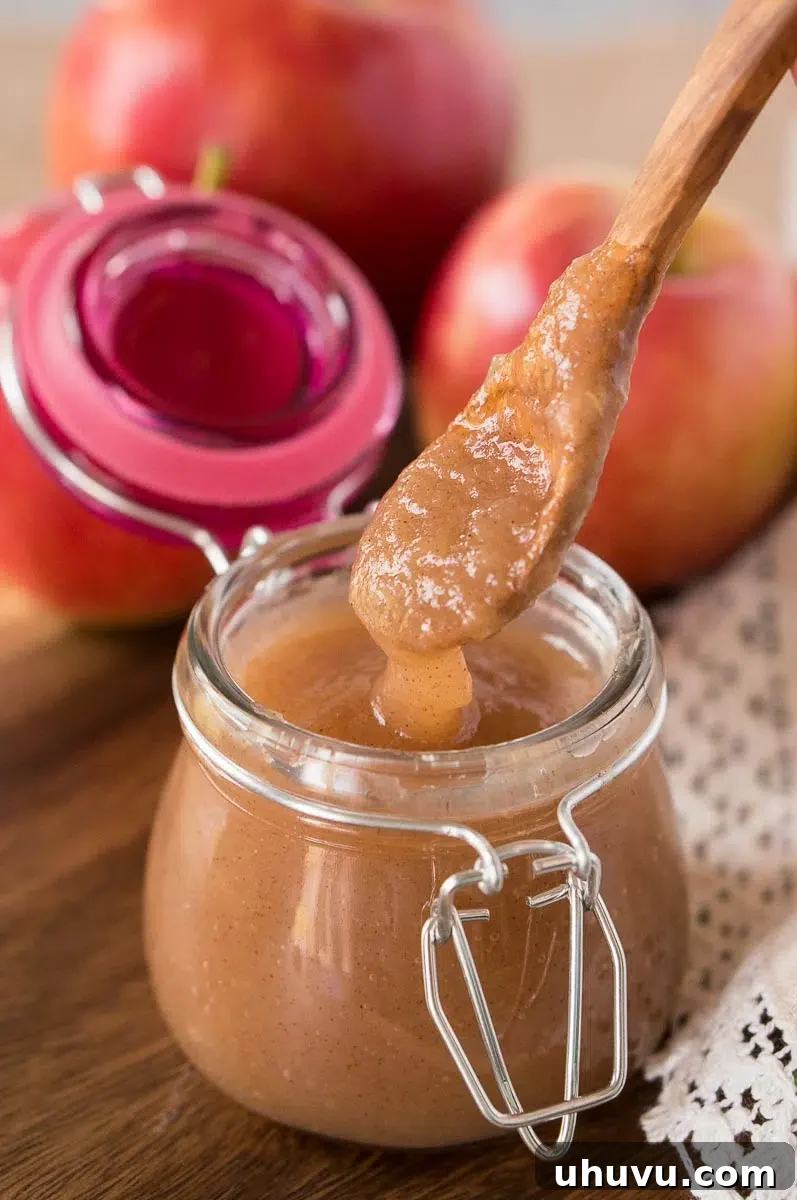
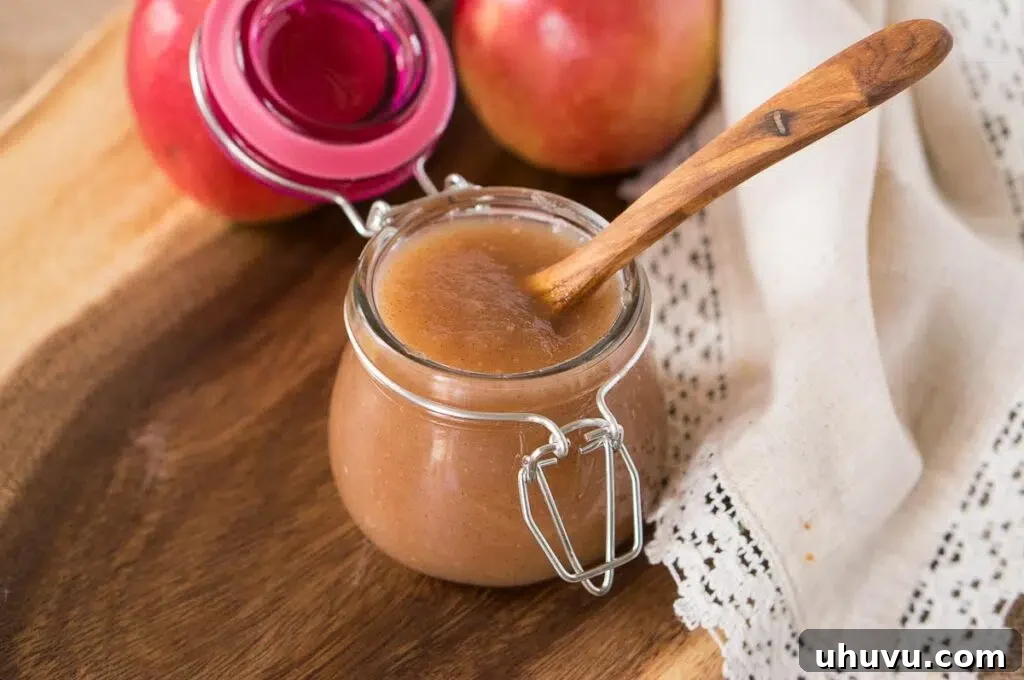
Whip up a batch of incredibly delicious Instant Pot applesauce in under 15 minutes using your electric pressure cooker. Crafted with just a few simple, wholesome ingredients, this recipe contains no added sugar and delivers perfectly smooth or chunky results every single time. It’s naturally vegan and gluten-free, making it a healthy and versatile staple for any kitchen.
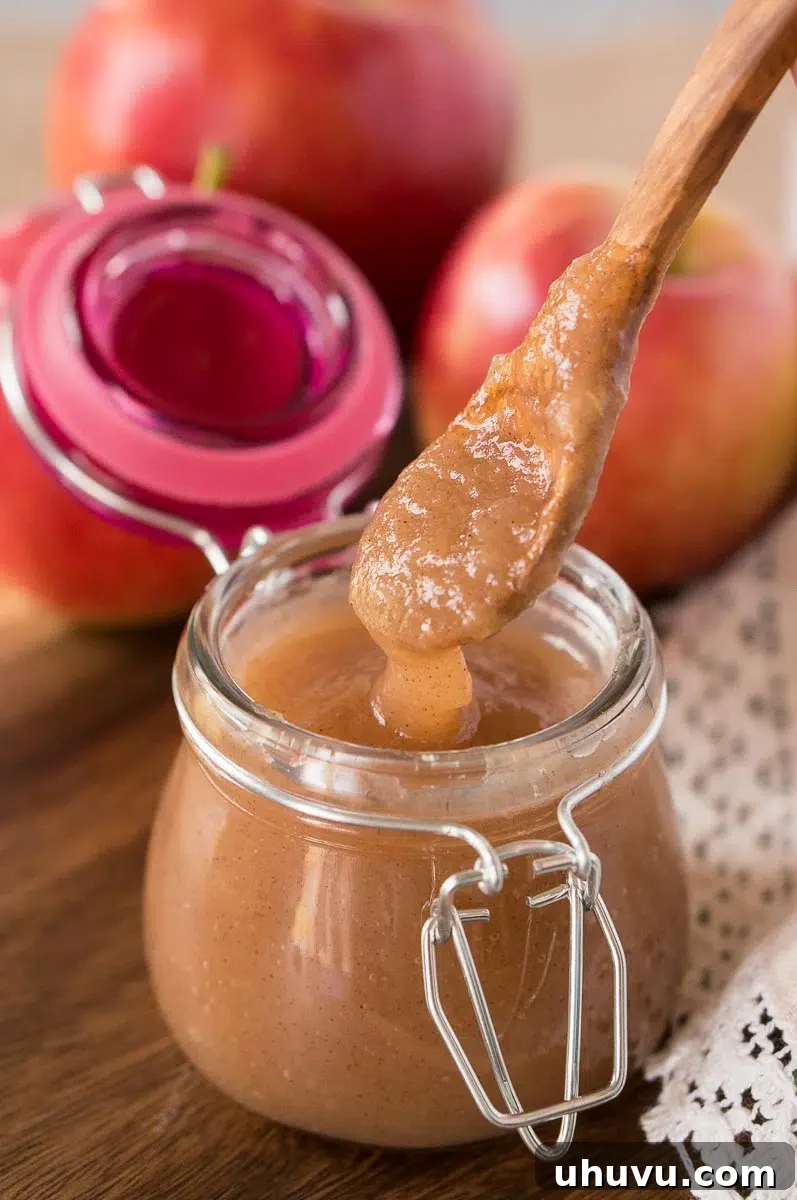
As autumn leaves begin to fall and crisp air fills the kitchen, applesauce becomes a comforting classic. It’s more than just a seasonal treat; it’s a fantastic way to utilize an abundance of fresh, ripe apples, transforming them into a delightful, wholesome snack or side dish. Traditionally, making applesauce could be an all-day affair, demanding hours of simmering, constant stirring, and vigilant supervision over a hot stove.
Thanks to the modern marvel of the Instant Pot, that lengthy process is now a distant memory. This revolutionary appliance allows you to create a luscious, flavorful applesauce in a mere fraction of the time. This simple homemade applesauce recipe strikes the perfect balance between sweet and tangy, highlighting the natural sugars of the apples without any need for additional sweeteners. Enjoy a truly pure apple experience, bursting with flavor and effortless convenience.
Why You’ll Love This Instant Pot Applesauce Recipe!
This Instant Pot applesauce isn’t just a recipe; it’s a game-changer for anyone seeking a healthy, convenient, and utterly delicious way to enjoy apples. Here’s why this pressure cooker method will quickly become your go-to:
- Unbelievably Quick and Easy: The Instant Pot dramatically slashes the cooking time, allowing you to whip up a fresh batch of flavorful applesauce in under 30 minutes from start to finish. This includes prep, pressure build-up, cooking, and natural release. It’s the perfect solution for busy weeknights or when you need a speedy, nutritious snack.
- No Added Sugar & Wholesome Goodness: Say goodbye to store-bought applesauce loaded with unnecessary sugars and preservatives. This recipe champions the natural sweetness of apples, keeping all their inherent goodness intact. It’s a truly wholesome treat that you can feel great about serving to family members of all ages, from toddlers to adults.
- Ideal for Meal Prep & Batch Cooking: This versatile applesauce can be made in larger quantities, providing a healthy and ready-to-eat option for your busiest days. Prepare a big batch over the weekend, and you’ll have a nutritious snack, breakfast topping, or baking ingredient available throughout the week, saving you time and effort.
- Customizable to Your Liking: Whether you prefer a perfectly smooth puree or a delightfully chunky texture, this recipe is incredibly flexible. You control the consistency and can easily adjust seasonings like cinnamon or add other spices to create your signature blend.
- Vegan and Gluten-Free: Naturally fitting into a variety of dietary needs, this applesauce is a delicious and safe option for those following vegan or gluten-free lifestyles. It’s pure, plant-based goodness.
Simple Ingredients for Healthy Homemade Applesauce
Creating this flavorful and healthy applesauce requires minimal ingredients, proving that sometimes, less truly is more. You’ll need just a handful of items, most of which you likely already have on hand:
- Apples: The star of our show! The beauty of homemade applesauce is that you can use almost any kind of apple or a combination. For a naturally sweet applesauce that requires no additional sugar, I highly recommend using sweeter varieties such as Golden Delicious, Honeycrisp, Gala, Fuji, or Pink Lady. These apples break down beautifully and offer a delightful burst of inherent sweetness and flavor. If you prefer a more complex, tangy profile, you can mix in a few tart apples like Granny Smith or Braeburn.
- Apple Cider (or Water): While water works perfectly well, a splash of apple cider elevates the flavor, lending a more robust, earthy, and concentrated apple essence to your sauce. If you don’t have apple cider, apple juice is a good substitute, or simply use water for a lighter flavor. This liquid creates the necessary steam for the Instant Pot to come to pressure and helps prevent scorching.
- Ground Cinnamon: Cinnamon and apples are a classic pairing for a reason! This warm spice infuses the applesauce with a comforting, sweet aroma and flavor that’s perfect for fall and beyond. Feel free to adjust the amount to your preference. For an extra layer of warmth, you could also experiment with other fall spices like a pinch of ground nutmeg, allspice, or ground ginger.
- Fresh Lemon Juice: Don’t underestimate the power of fresh lemon juice! It’s not just for flavor; it plays a crucial role in brightening the applesauce, preventing browning, and adding a subtle, zesty tang that balances the sweetness of the apples. Always opt for fresh lemon juice over bottled for the best, most vibrant flavor.
You’ll find the complete recipe, including precise ingredient amounts and detailed instructions, in the convenient recipe card located further down the page.
Mastering Instant Pot Applesauce: A Step-by-Step Guide
Making applesauce in the Instant Pot is astonishingly simple and incredibly fast. Follow these easy steps to create a delicious batch in no time:
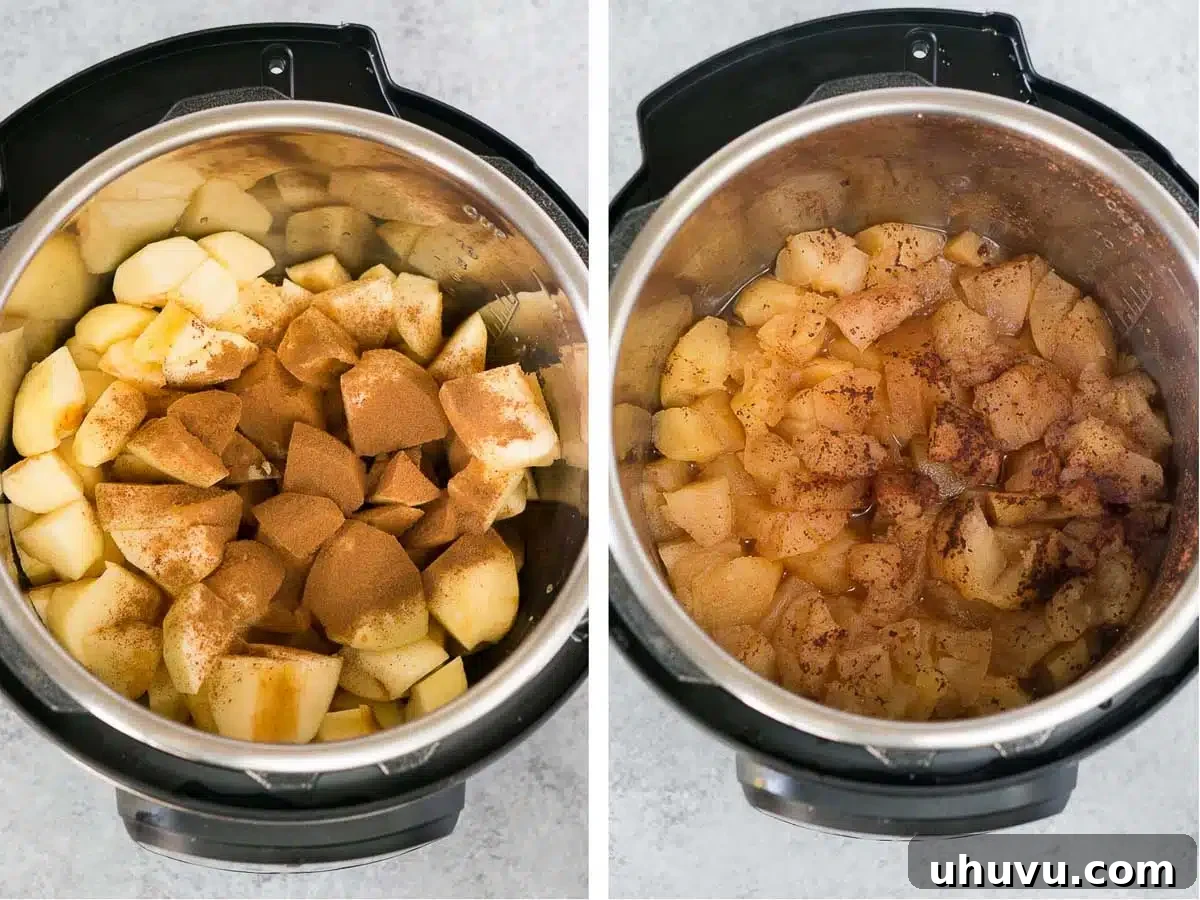
- Prepare and Load Ingredients: Begin by preparing your apples – whether you choose to peel them or not (see tips below), core them thoroughly, and cut them into roughly 1 to 2-inch chunks. Place all the prepared apple chunks into the inner pot of your Instant Pot. Pour in the apple cider (or water), sprinkle with ground cinnamon, and add the fresh lemon juice. Give everything a gentle stir to ensure the spices and liquid are evenly distributed.
- Secure and Cook Under Pressure: Carefully close the lid of your Instant Pot and ensure it’s securely locked. Rotate the steam release valve to the “Sealing” position. Select the “Manual” or “Pressure Cook” setting (depending on your Instant Pot model) and set the cooking time for just 6 minutes. The Instant Pot will take some time to build pressure before the actual cooking countdown begins.
- Quick Pressure Release: Once the 6-minute cooking cycle is complete, the Instant Pot will beep. It’s crucial to release the pressure safely. Carefully turn the steam release valve from “Sealing” to “Venting” for a quick release of pressure. Stand clear of the valve, as hot steam will escape rapidly. Once the float valve (the small pin) fully drops down, it’s a clear indication that all pressure has been released, and it is safe to open the lid.
- Achieve Desired Consistency: With the lid safely open, the cooked apples will be incredibly tender. Use an immersion blender (also known as a hand blender) directly in the Instant Pot to blend the apples to your preferred consistency. For a super smooth applesauce, blend until no chunks remain. If you enjoy a slightly chunkier texture, blend for a shorter period, leaving some small pieces intact. Alternatively, you can transfer the apples to a food processor or use a potato masher for a rustic texture.
- Taste and Adjust Seasoning: This is the moment to personalize your applesauce! Carefully taste a spoonful of the warm applesauce. If you prefer a stronger cinnamon flavor, stir in a little more. If your apples were on the tart side, you might consider adding a touch of natural sweetener like maple syrup or honey at this stage, stirring until dissolved.
EXPERT TIPS FROM NELI’S KITCHEN
Recipe Notes and Expert Tips for Perfect Applesauce
Achieving the perfect homemade Instant Pot applesauce is simple with these additional tips and tricks:
- For a Chunky or Smooth Applesauce: The texture is entirely up to you! If you prefer a more rustic, **chunky applesauce**, you can mash the cooked apples with a potato masher directly in the Instant Pot. For a slightly smoother result with some texture, use an immersion blender and blend for less time. If you desire a perfectly velvety, uniform puree, continue blending until all chunks disappear.
- Selecting the Best Apples: The type of apples you choose significantly impacts the flavor and natural sweetness of your applesauce. For optimal results and to avoid adding sugar, select ripe, juicy, and naturally sweet apples such as Fuji, Gala, Honeycrisp, or Golden Delicious. You can also combine sweet and tart varieties for a more complex flavor profile. Always ensure your apples are fresh and firm.
- Adjusting Sweetness and Seasoning: Taste your applesauce before serving! Apples vary greatly in sweetness and tartness, so it’s essential to adjust seasonings to your liking. If your applesauce is too tart, you might want to stir in a natural sweetener like maple syrup, honey, or agave nectar, a tablespoon at a time, until it reaches your desired sweetness. Conversely, if it’s too sweet, a little extra lemon juice can help balance it out.
- To Peel or Not to Peel the Apples? This is a common question, and the answer is completely up to your personal preference! Peeling the apples will result in a smoother, more refined applesauce with no bits of skin. If you prefer a rustic texture and don’t mind tiny flecks of peel (which are full of nutrients!), you can easily skip the peeling step, saving time and effort. Just ensure you wash the apples thoroughly if leaving the peel on.
- Preventing a Watery Applesauce: If your applesauce seems a bit too thin after blending, don’t worry. Simply switch the Instant Pot to the “Sauté” function on low, and simmer the applesauce, stirring occasionally, until some of the excess liquid evaporates and it thickens to your desired consistency. Be careful not to let it burn.
- Cooling for Best Flavor: While delicious warm, applesauce often develops a deeper, richer flavor once it has fully cooled. Allow it to cool at room temperature before refrigerating for optimal taste.
The unparalleled taste of homemade applesauce is simply divine, and the sheer speed at which the Instant Pot delivers this treat is unbeatable. Once you savor the pure, natural flavors of this no-sugar-added applesauce, you’ll likely never return to bland, store-bought versions again. It’s a revelation!
Versatile Serving Ideas for Your Homemade Applesauce
Homemade Instant Pot applesauce is wonderfully versatile and can be enjoyed in countless ways. Don’t just limit it to a simple snack – unleash its full potential with these creative serving suggestions:
- Delicious Topping Ideas: Elevate your breakfast and dessert dishes with a generous dollop of applesauce. It’s absolutely fantastic drizzled over fluffy gluten-free pancakes, swirled into creamy yogurt, or mixed into a warm bowl of hearty Instant Pot oatmeal. Spread it on toast or a sandwich for a fruity twist, or even use it as a healthy topping for ice cream or crepes. The possibilities for adding a burst of natural flavor and delightful texture are truly endless!
- Baking Ingredient: Applesauce is a secret weapon in baking! It can replace oil or butter in many recipes, adding moisture and natural sweetness while reducing fat content. For example, try this incredibly moist and flavorful Applesauce Cake, or incorporate it into muffins, breads, and cookies for a healthier twist.
- Savory Side Dish: Applesauce makes an unexpectedly delightful and traditional side dish that perfectly complements savory meals. Its sweet and tangy profile provides a wonderful contrast to rich meats. Pair it with succulent roasted pork medallions, tender baked juicy chicken breasts, a majestic whole roasted chicken, a flavorful roasted turkey breast, or even hearty sausages. This classic applesauce is also perfect to serve alongside your favorite fall sides like savory Roasted Brussels Sprouts with Bacon and sweet Roasted Butternut Squash and Apples.
- Healthy Snack: Enjoy it simply chilled, straight from the spoon, as a refreshing and nutritious snack any time of day. It’s perfect for kids and adults alike!
Storing Your Homemade Applesauce for Freshness
Proper storage ensures your delicious homemade applesauce remains fresh and enjoyable for an extended period. Here’s how to store it effectively:
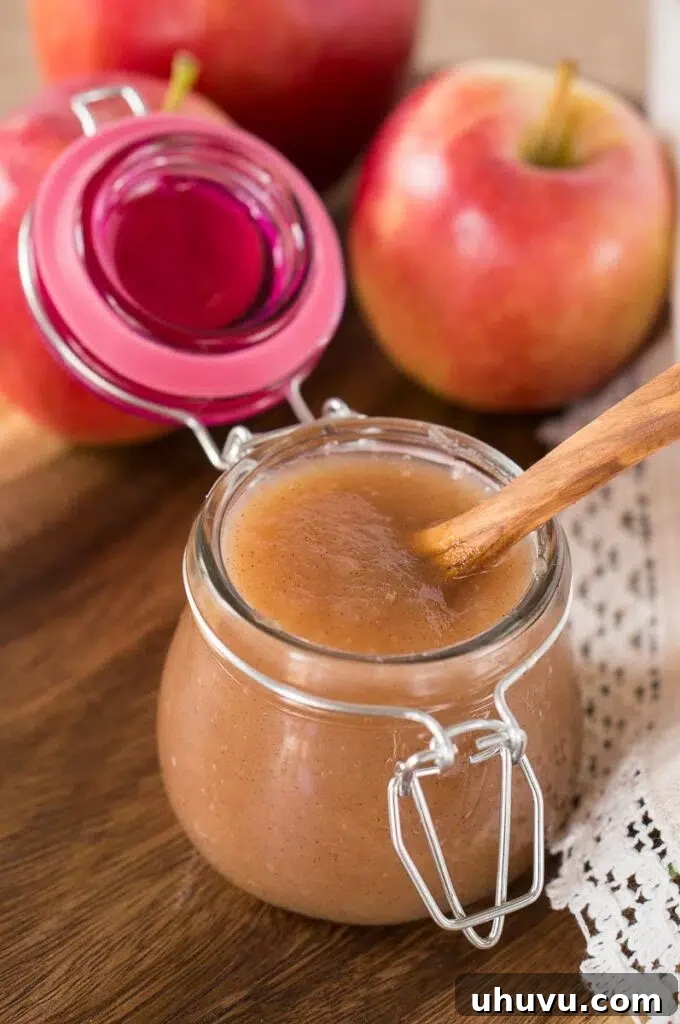
- Refrigerator Storage: Once your Instant Pot applesauce has been made and blended to your desired consistency, allow it to cool completely to room temperature. Transfer the cooled applesauce to clean, airtight containers or jars. Stored in the refrigerator, it will maintain its freshness and quality for up to 10 days. You can serve it directly from the fridge for a refreshing chilled snack, or let it sit at room temperature for about 30 minutes if you prefer it less cold.
- Freezer Storage: Applesauce freezes exceptionally well, making it an excellent method for preserving a large harvest of fall apples or for convenient future use. After the applesauce has cooled completely to room temperature, portion it into freezer-safe containers or heavy-duty freezer bags. For freezer bags, remove as much air as possible before sealing to prevent freezer burn. It will keep beautifully in the freezer for up to 6 months. To defrost, simply transfer it to the refrigerator overnight or allow it to thaw at room temperature for several hours.
Preserving Flavor: Canning Your Homemade Applesauce
This cinnamon-spiced applesauce is not only perfect for immediate enjoyment and freezing but also an excellent candidate for canning. Canning allows you to preserve the fresh taste of applesauce for even longer, making it a fantastic way to enjoy the flavors of autumn year-round. Follow these essential steps for successful water-bath canning:
- Prepare and Sterilize Equipment: Before you begin, ensure all your canning equipment is meticulously clean and sterilized. This includes your glass canning jars, lids, and rings. Have a clean, organized workspace to minimize contamination risks.
- Cook Your Applesauce: Prepare your applesauce by following the Instant Pot recipe detailed above. You want it to be hot when you fill the jars.
- Fill Jars Properly: Carefully ladle the hot applesauce into the warm, sterilized jars, leaving a precise 1/2-inch of headspace (the space between the applesauce and the rim of the jar). This headspace is crucial for proper sealing. Use a clean cloth to wipe the jar rims clean of any residue. Place the lids firmly on top of the jars, followed by the rings, tightened to fingertip-tightness.
- Process in a Water-Bath Canner: Gently place the filled jars into your water-bath canner, ensuring they are fully submerged in hot water. Bring the water to a rolling boil. Process the jars for approximately 20 minutes. Remember to adjust the cooking time for your specific altitude, if necessary, as higher altitudes require longer processing times. For more detailed instructions and safety guidelines on water-bath canning, refer to reputable canning resources.
- Cool and Store: Once the processing time is complete, carefully remove the jars from the canner and place them on a clean towel or cooling rack. Allow them to cool undisturbed for 12-24 hours. You will hear the satisfying “ping” sound as the jars seal. Check for proper seals; the lid should be concave and not flex when pressed. Store your successfully canned applesauce in a cool, dark place, where it will remain fresh and delicious for up to a year.
Frequently Asked Questions About Instant Pot Applesauce
For a naturally sweet applesauce that requires no added sugar, I highly recommend using sweeter apple varieties. Excellent choices include Honeycrisp, Gala, Golden Delicious, Fuji, Pink Lady, or Jonagold. These apples break down beautifully and offer a delightful natural sweetness. If you prefer a more complex, tangy profile, you can also use a combination of sweet and tart apples, such as adding a Granny Smith to a mix of sweeter varieties. I would advise against using Red Delicious, as they tend to become very mushy and lack significant flavor when cooked.
While it’s a matter of personal preference, I generally recommend peeling the apples for applesauce. Leaving the skin on can result in tiny bits of peel remaining in the finished product, which can give it a slightly gritty or fibrous texture. If you prefer a super smooth applesauce, peeling is definitely the way to go. However, if you don’t mind a more rustic texture and want to retain the extra fiber and nutrients found in the peel, you can certainly leave it on. Just ensure you wash the apples thoroughly before cooking if you opt to keep the skin.
If, after tasting, you find your applesauce needs a bit more sweetness (especially if you used tart apples), there are several natural sweeteners you can add. Honey lends a lovely floral sweetness, maple syrup provides a rich, earthy, and warm flavor, while agave nectar offers a light, neutral sweetness. You can also try brown sugar for a deeper, caramel-like note, or simply a bit of granulated sugar. Start by adding a tablespoon at a time, stirring well and tasting after each addition, until you reach your desired level of sweetness. Remember, the goal is to enhance, not overpower, the natural apple flavor.
Absolutely! While the Instant Pot offers unparalleled speed and convenience, you can certainly make applesauce on the stovetop. Simply combine your prepared apples, liquid, and spices in a large pot. Bring to a boil, then reduce heat, cover, and simmer for 20-30 minutes, or until the apples are very tender, stirring occasionally to prevent sticking. Mash or blend to your desired consistency. The cooking time will be longer than in the Instant Pot, but the result is equally delicious.
If your applesauce turns out thinner than you’d like, don’t worry, it’s an easy fix! Simply return the applesauce to the Instant Pot (or a saucepan if preferred) and select the “Sauté” function on low, or simmer on the stovetop over medium-low heat. Let it gently simmer, stirring frequently, until some of the excess liquid evaporates and the applesauce thickens to your desired consistency. Be careful not to let it scorch at the bottom of the pot.
More Delightful Apple Recipes to Try
If you’re an apple enthusiast, you’ll love exploring these other delicious and easy apple-centric recipes:
- Wholesome Apple Almond Cake (Paleo & Gluten-Free)
- Deliciously Healthy Apple Muffins
- Comforting Butternut Squash Apple Soup
- Vibrant Roasted Beet and Apple Salad
If you enjoyed this Instant Pot Applesauce recipe or any other recipe on my blog, please take a moment to leave a ⭐ star rating and let me know how it went in the 📝 comments below. Your feedback is greatly appreciated! Thanks for visiting!
Pin this now to find it later
Pin It

☝ Tap stars to rate
Instant Pot Applesauce
Pin
Rate
Save This Recipe
Enter your email and we’ll send the recipe directly to you!
By submitting this form, you consent to receive emails from Delicious Meets Healthy.
Ingredients
- 3 lbs apples, of your favorite apples, peeled (or unpeeled), cored and cut in chunks
- ½ cup apple cider, or water
- 1 teaspoon cinnamon
- 1 teaspoon lemon juice
Instructions
-
Place all the ingredients into the Instant Pot.
-
Close the lid and set the valve to the “Sealing” position. Select the “Manual” or “Pressure Cook” setting and set the timer for 6 minutes.
-
When the cooking time is up, carefully turn the valve to the “Venting” position for a quick release of pressure. Once the pin drops, it’s safe to open the lid.
-
Use an immersion blender to blend the cooked apples to your preferred consistency.
-
Taste the applesauce and stir in more cinnamon if desired.
Video
Notes
- You can either peel the apples or leave them unpeeled, it’s totally down to your preference.
- If you prefer more chunky applesauce, you can mash the cooked apples with a potato masher or just blender less with the immersion blender.
- Taste the applesauce and adjust the seasoning to your likening. You may need to add more sweetener depending on the tartness of the apples.
Nutrition
Nutrition Disclaimer: Nutritional values are estimates and may vary with ingredients, brands, and portion sizes. For accuracy, use your preferred nutrition calculator.
Like this recipe? Rate and comment below!