
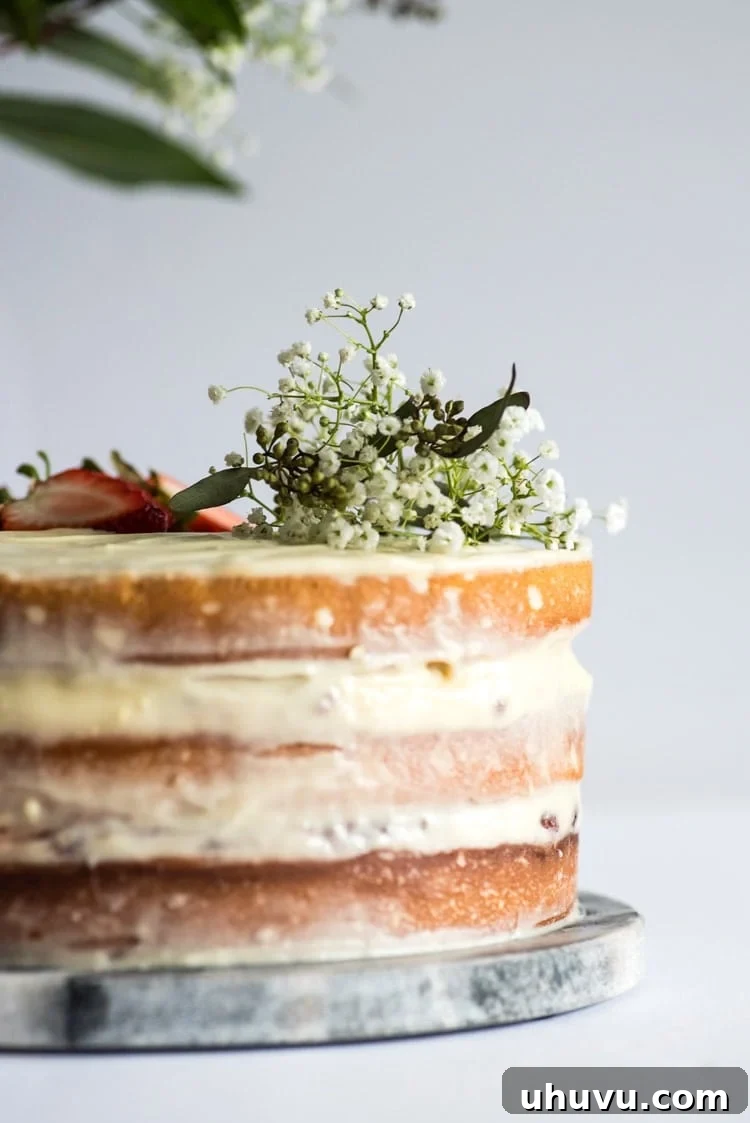
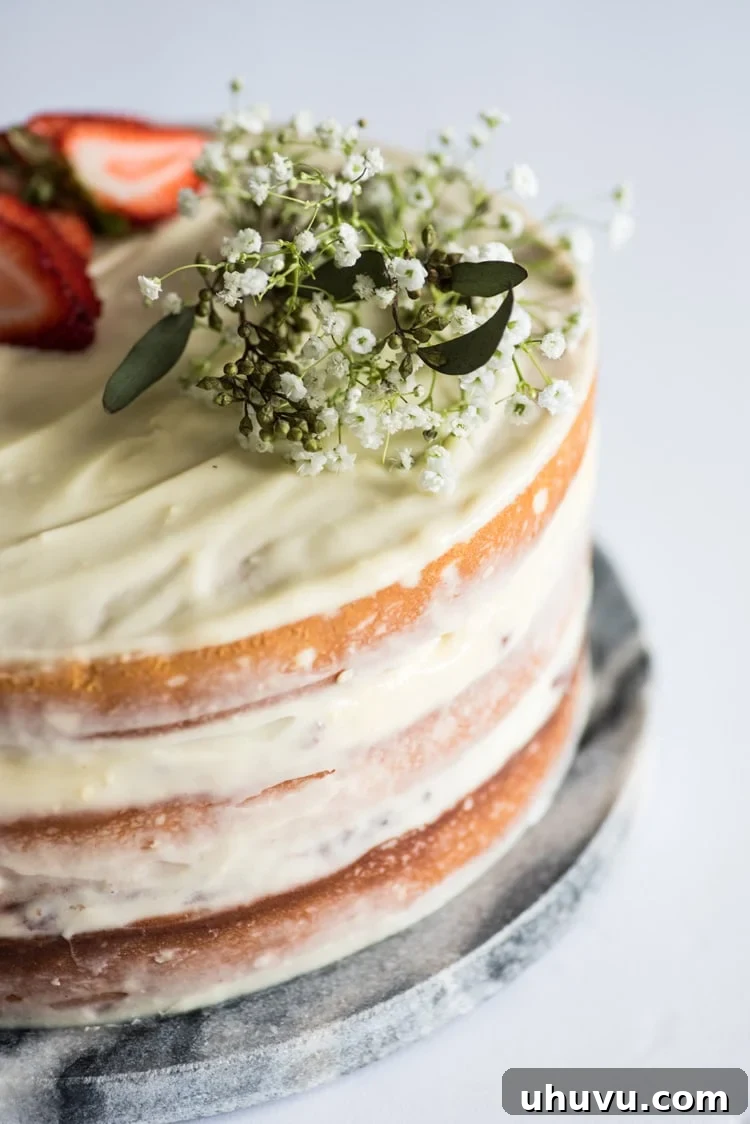
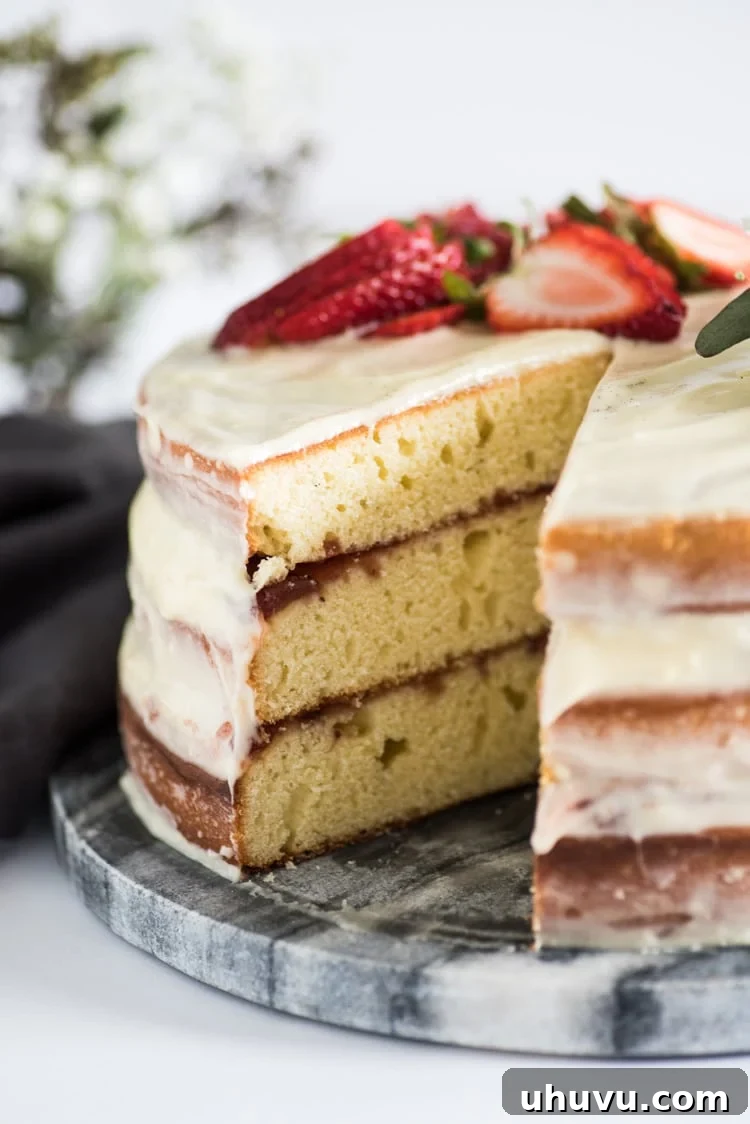
Welcome to a culinary journey that celebrates the warmth of a classic dessert: the **Homemade Yellow Cake with Vanilla Cream Cheese Frosting**. This isn’t just any cake; it’s a rich, buttery, and beautifully layered “naked cake” that promises to be the centerpiece of any celebration. With its inviting golden hue and irresistible vanilla-scented cream cheese frosting, it’s a dessert that speaks of comfort, joy, and cherished memories. Perfect for birthdays, holidays, or simply making an ordinary day extraordinary, this scratch-made yellow cake is designed to impress both in flavor and presentation.
For me, creating a cake from scratch is a significant milestone. As someone relatively new to the world of baking, the prospect of tackling a multi-layered cake can be daunting. Moreover, living with just my husband, John, a grand three-layer cake often feels a bit extravagant for a typical weeknight. So, if you find a homemade cake gracing our kitchen counter, rest assured, there’s a special occasion being celebrated!
And what was the delightful reason for this particular confection? My birthday recently passed, marking my 29th year on Earth Day. To commemorate this personal milestone, I decided to treat myself to a lavish cake, infused with all my absolute favorite flavors and textures. It was a day dedicated to relaxation, reflection, and, of course, delicious homemade goodness.
Why This Homemade Yellow Cake is Unforgettable
Every element of this cake was chosen with intention, drawing from years of beloved family traditions and personal preferences. Let me share what makes this particular yellow cake an absolute standout in my heart and, I believe, will be in yours too:
1. The Timeless Allure of Yellow Cake
There’s something incredibly nostalgic and comforting about a classic yellow cake. My fondest childhood memories are filled with the scent of my mother’s yellow cakes baking, especially for birthdays. While hers might have come from a box – and were undeniably delicious – the essence of that rich, buttery flavor always remained. I distinctly recall her preference for yellow cake over white or vanilla, always asserting that it simply offered “more flavor.” I wholeheartedly agree. This homemade version elevates that classic taste, delivering a dense yet moist crumb with a deep, buttery essence that truly sings.
2. The Dreamy Vanilla Cream Cheese Frosting
Hands down, cream cheese frosting is my ultimate favorite. Unlike traditional buttercream, which can sometimes be overly sweet, cream cheese frosting strikes a perfect balance. It’s rich, tangy, buttery, and incredibly smooth, with a luxurious creaminess that melts in your mouth. This frosting is versatile and perfectly complements a wide array of flavors. It’s no coincidence that my last two frosting adventures also featured a cream cheese base, proving its undeniable appeal. You might remember my Cherry Chocolate Cupcakes with Cinnamon Cream Cheese Frosting and the vibrant Margarita Cupcakes with Tequila Cream Cheese Frosting – both testament to the magic of this frosting. The vanilla bean specks in this particular recipe add another layer of gourmet sophistication and aroma.
3. The Sweet Surprise of Strawberry Preserves Filling
Another cherished tradition from my mother’s kitchen was her ingenious cake filling: store-bought preserves (not jam). This simple addition provides a delightful burst of fruity flavor and a pleasing textural contrast to the cake and frosting. The key is to use just enough to impart that wonderful strawberry essence without making the cake excessively sweet. Strawberry holds a special place in my heart as my favorite ice cream flavor, so naturally, I adore strawberry-filled desserts. The sweet, slightly tart preserves cut through the richness of the cake and frosting, creating a harmonious and utterly addictive experience with every bite.
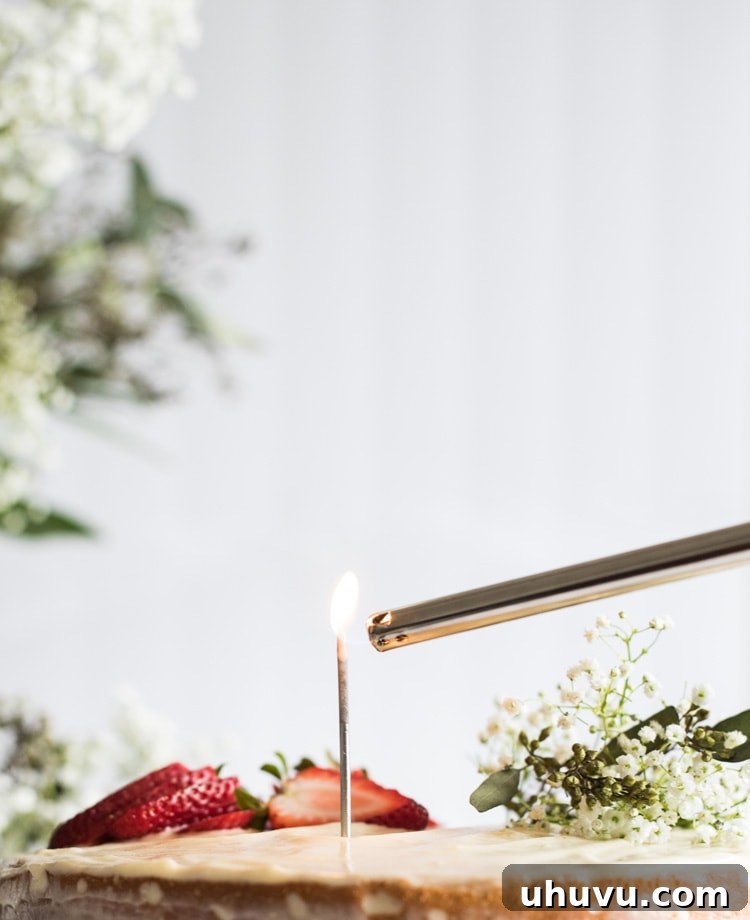
My birthday itself was intentionally low-key. The day before, I enjoyed a relaxed happy hour with some colleagues. On my actual birthday, a dear friend treated me to a shopping spree at Sephora, after which I happily retreated home. The evening was spent in the best company, indulging in a Dr. Who marathon with good friends, followed by the joyful act of baking this beautiful cake. With my wedding just a month away and my bachelorette party on the horizon, my only desire was to unwind at home. And I must say, doing absolutely nothing felt utterly amazing and deeply rejuvenating. So, here’s to turning 29 – may it truly be a fantastic year, filled with many more delicious moments and cherished memories!
Expert Tips for Baking Your Best Yellow Cake
Achieving a perfectly moist, fluffy, and flavorful yellow cake requires attention to a few key details. Here are some tips to ensure your homemade masterpiece turns out spectacular:
- **Room Temperature Ingredients are Crucial:** Ensure your butter, eggs, and Greek yogurt are at room temperature. This allows them to emulsify properly, creating a smoother batter that bakes evenly and results in a lighter, more tender crumb.
- **Measure Flour Correctly:** Too much flour can lead to a dry cake. Spoon your flour into the measuring cup and level it off with a straight edge, rather than scooping directly from the bag.
- **Do Not Overmix:** Once you add the flour, mix until *just* combined. Overmixing develops the gluten in the flour, leading to a tough, dense cake. A few small lumps are perfectly fine.
- **Evenly Distribute Batter:** For perfectly level cake layers, use a kitchen scale to divide the batter equally among your prepared cake pans. This ensures consistent baking and makes assembly much easier.
- **Don’t Open the Oven Door Too Early:** Resist the urge to peek at your cakes during the first 20-25 minutes of baking. Fluctuations in oven temperature can cause cakes to sink.
- **Test for Doneness:** A toothpick inserted into the center should come out clean or with a few moist crumbs attached. Avoid overbaking, as this is a common cause of dry cake.
- **Proper Cooling:** Allow cakes to cool in their pans for about 10-15 minutes before inverting them onto a wire rack to cool completely. For easier frosting, chill the cooled cake layers in the freezer for about an hour. This makes them firmer and less prone to tearing during leveling and frosting.
Crafting the Perfect Vanilla Cream Cheese Frosting
The velvety smooth vanilla cream cheese frosting is the crown jewel of this cake. Here’s how to make it impeccably:
- **Softened Ingredients are Key:** Just like with the cake batter, ensure your butter and cream cheese are perfectly softened. This prevents lumps and ensures a smooth, uniform frosting.
- **Whip the Butter and Cream Cheese:** Begin by beating the butter and cream cheese together until the mixture is light, fluffy, and utterly smooth. This aeration is essential for a beautiful texture.
- **Add Powdered Sugar Gradually:** Slowly incorporate the powdered sugar, a cup at a time, on low speed. This prevents a cloud of sugar from engulfing your kitchen and allows the sugar to fully dissolve, creating a silky frosting.
- **Don’t Overbeat Once Sugar is Added:** Once the powdered sugar is mostly incorporated, increase the speed to medium-high and beat until the frosting is light and fluffy, usually only for about 1-2 minutes. Overbeating cream cheese frosting can make it too soft and runny.
- **Chill if Necessary:** If your kitchen is warm or the frosting seems too soft to work with, pop it into the refrigerator for 15-30 minutes to firm up slightly. Give it a quick whisk before frosting.
Assembling Your Stunning “Naked Cake”
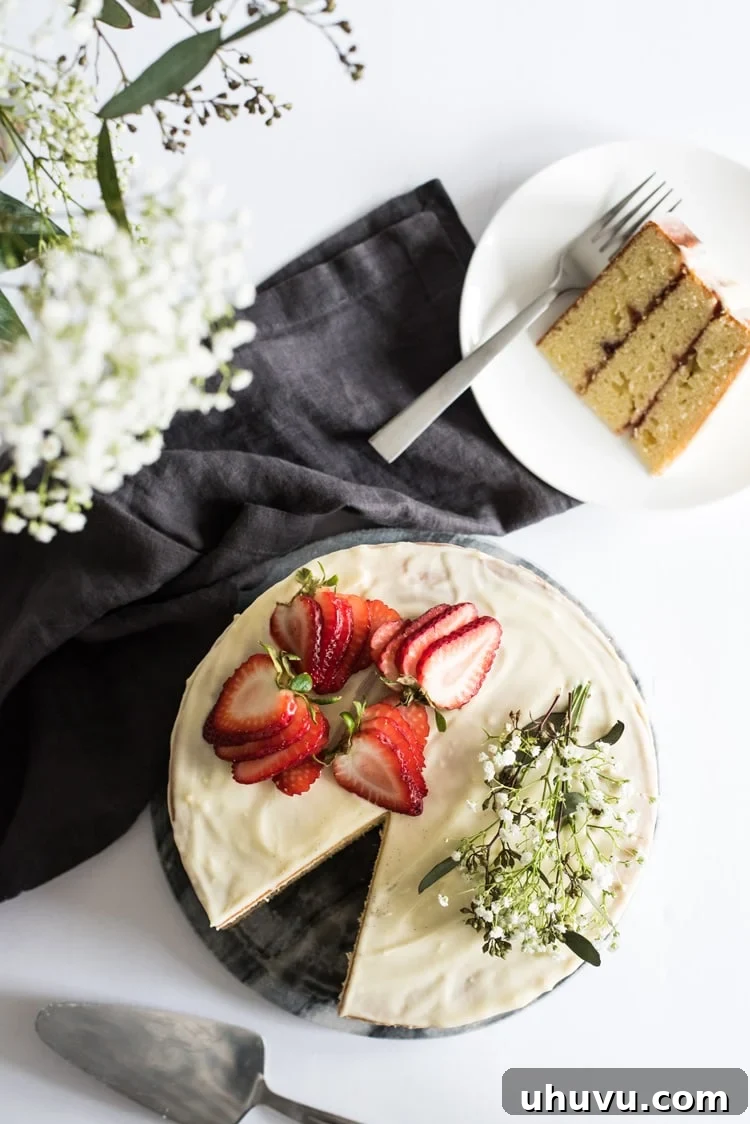
The “naked cake” trend is beloved for its rustic charm and elegant simplicity, allowing the beautiful layers and filling to be a part of the visual appeal. Here’s how to assemble your masterpiece:
- **Level Your Cake Layers:** Using a serrated knife, carefully slice off the domed tops of each cooled cake layer to create flat, even surfaces. This step is crucial for stable, professional-looking layers and prevents cracking. Don’t worry about perfection; “somewhat level” is perfectly acceptable.
- **First Layer and Filling:** Place your first leveled cake layer onto a cake stand or serving plate. Spread half of your desired strawberry preserves evenly across the top, extending almost to the edges.
- **Second Layer and Filling:** Carefully place the second cake layer on top of the first. Repeat the process with the remaining strawberry preserves.
- **Top Layer and Initial Frosting:** Position the third cake layer on top, with the bottom side facing upwards (this often creates the flattest top surface). Begin to apply the chilled vanilla cream cheese frosting to the top and sides of the cake.
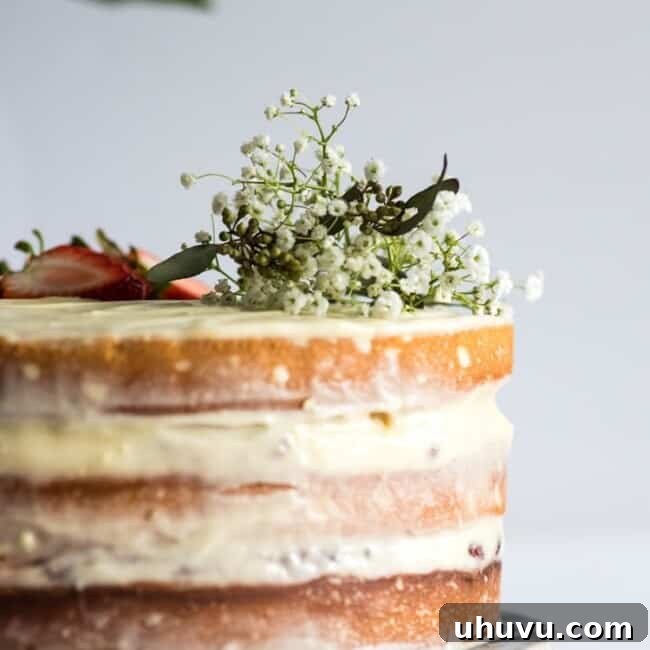
- **Achieving the Naked Look:** Using a cake scraper or a flat cake knife, apply a thin layer of frosting to the entire cake, smoothing it out as best as you can. For the signature “naked cake” effect, gently scrape off most of the frosting from the sides using your cake scraper, allowing the cake layers and filling to peek through. Leave a more substantial layer of frosting on top.
- **Decorate and Serve:** Once frosted, adorn the top of your cake with fresh sliced fruit, edible flowers, or a sprinkle of powdered sugar for an extra touch of elegance. Slice and serve immediately, or store in the refrigerator until ready to enjoy.
Homemade Yellow Cake with Vanilla Cream Cheese Frosting Recipe
Homemade Yellow Cake with Vanilla Cream Cheese Frosting
Ingredients
For the yellow cake
- 1 cup unsalted butter, softened to room temperature (2 sticks)
- 1/3 cup coconut oil, melted
- 2 1/2 cups granulated sugar
- 1 teaspoon salt
- 7 large eggs
- 3 cups all-purpose flour
- 1/2 teaspoon baking powder
- 1/2 teaspoon baking soda
- 1 cup plain Greek yogurt
- 1 tablespoon vanilla extract
For the vanilla cream cheese frosting
- 1/2 cup unsalted butter (1 stick)
- 8 ounces cream cheese
- 2 1/4 cups powdered sugar
- 1/4 teaspoon salt
- 1 teaspoon vanilla extract
Instructions
For the yellow cake
- Preheat the oven to 350 degrees F (175 C). Prepare 3 9-inch round baking pans by spraying with cooking spray. Set aside.
- In a large bowl, combine softened butter, melted coconut oil, granulated sugar, and salt. Mix on high with a handheld or stand mixer until smooth and fluffy, about 3 to 5 minutes. Scrape down the sides of the bowl as needed.
- Add eggs one at a time to the bowl, mixing well after each addition until fully combined.
- In a separate large bowl, whisk together the all-purpose flour, baking soda, and baking powder until thoroughly combined.
- Turn the handheld or stand mixer to low speed and gradually add half of the dry flour mixture to the butter mixture. Mix until just combined. Add the Greek yogurt and vanilla extract, mixing until incorporated.
- Add the remaining flour mixture to the cake batter and mix on low speed until combined, being careful not to overmix.
- Evenly divide the cake batter into the prepared baking pans and bake in the preheated oven for 25-30 minutes, or until a toothpick inserted into the center of the cake comes out clean.
- Remove cakes from the oven and let them rest in their pans for 10 minutes, or until the pans are cool enough to handle. Then, carefully remove cakes from pans, wrap them individually in plastic wrap, and place them in the freezer for 1 hour to cool quickly and firm up for easier frosting. If you’re not frosting the cake immediately, you can enjoy it warm!
For the vanilla cream cheese frosting
- In a large bowl, add the softened unsalted butter and cream cheese. Using a handheld or stand mixer, beat together until completely smooth and fluffy, with no lumps, about 2-3 minutes.
- Add in the vanilla extract and salt. Mix together for about 30 seconds until fully combined.
- With the mixer on low speed, slowly add in the powdered sugar, a little at a time, mixing until it’s fully incorporated before adding more. Once all the sugar is added, increase the speed to medium-high and beat for another 1-2 minutes until the frosting is light and smooth.
- Cover the frosting and refrigerate until ready to use. If it becomes too firm, let it sit at room temperature for a few minutes and re-whisk before frosting.
To assemble the cake
- Before assembling, level each cake layer by carefully slicing off a thin portion of the crown with a serrated knife. This ensures flat, even layers that stack beautifully and prevent cracking.
- Next, place the first leveled cake layer onto your chosen cake stand or serving platter. Spread half of your desired filling (such as a 10-ounce jar of strawberry preserves) evenly to the edges of the cake.
- Carefully place the second cake layer on top and repeat the filling process. Add the third and final top layer with its bottom facing up for the flattest surface, then begin frosting.
- Apply the chilled vanilla cream cheese frosting to the top and sides of the 3-layer cake. Using a cake scraper or a flat cake knife, smooth the frosting around the top, edges, and sides. For a “naked cake” effect, as seen in the photos, simply scrape off as much frosting as possible from the sides using your cake scraper, allowing the cake layers and filling to be visible.
- Decorate the top of your cake with fresh sliced fruit, beautiful edible flowers, or additional preserves, and serve immediately for optimal enjoyment!
Notes
Recipe adapted from Grandbaby Cakes.
Nutrition information is automatically calculated, so should only be used as an approximation.
This page contains affiliate links. If you make a purchase on Amazon after clicking one of my links, I may receive a small commission. I only endorse products and services that I fully believe in. Thanks so much for your support!