
The Ultimate Guide to Making Turkey Gravy from Pan Drippings
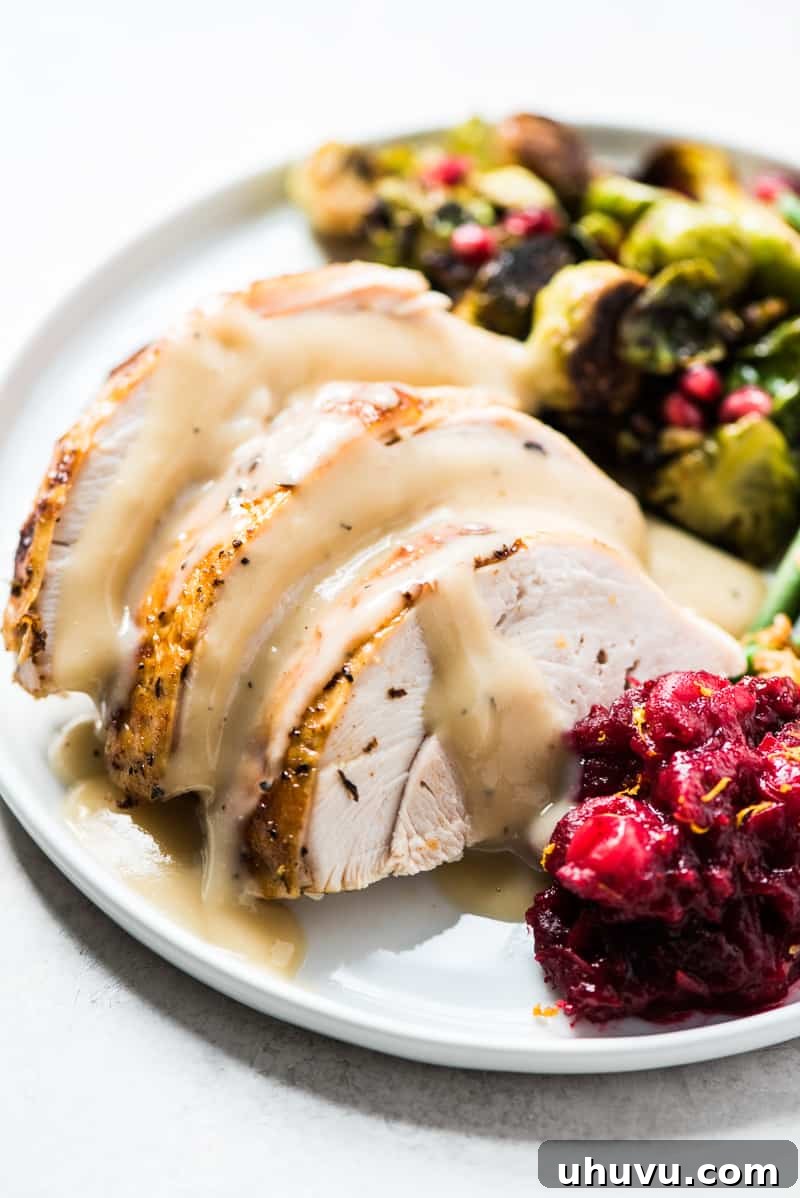
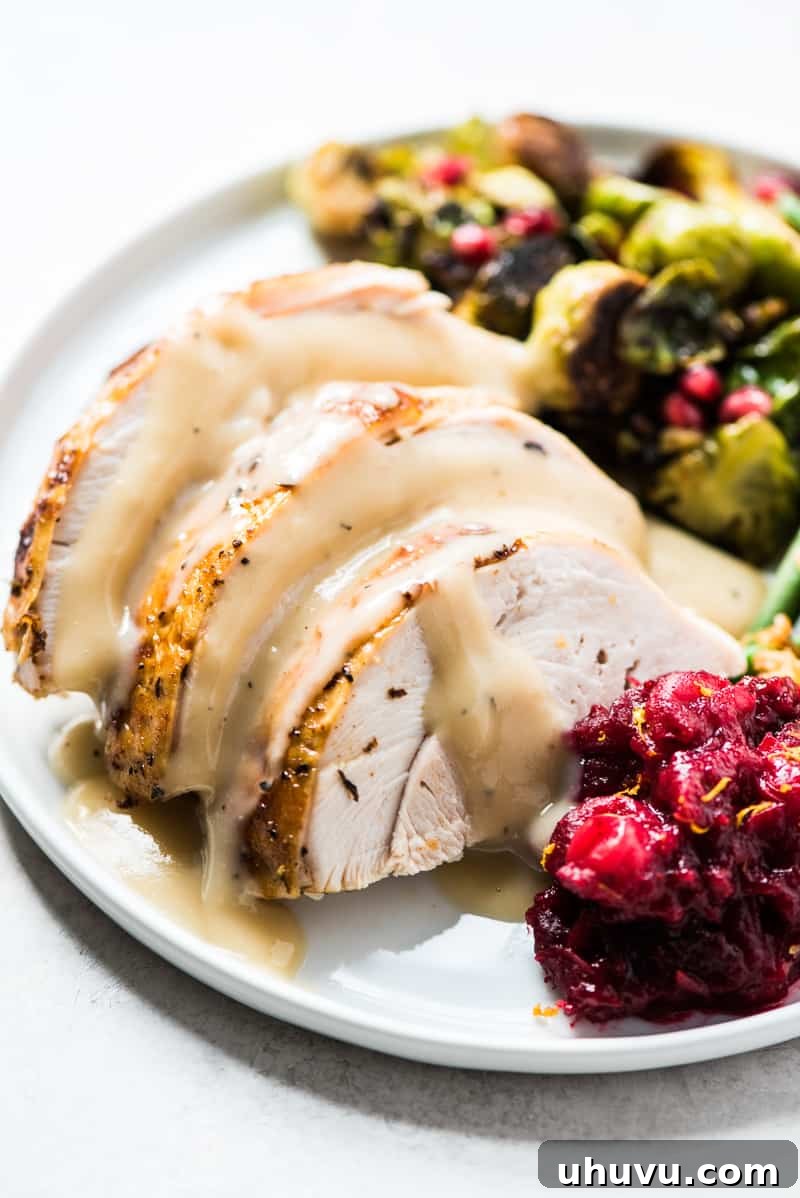
There’s nothing quite like the savory, rich taste of homemade turkey gravy to elevate a holiday meal. While store-bought options exist, they simply cannot compare to the depth of flavor achieved by crafting gravy directly from your roasted turkey’s pan drippings. These precious brown bits and seasoned juices, often overlooked, are the secret to an unforgettable gravy that truly captures the essence of your Thanksgiving or Christmas feast. Don’t let all those wonderful seasonings and juicy pan drippings go to waste; let’s transform them into the best turkey gravy you’ve ever tasted!
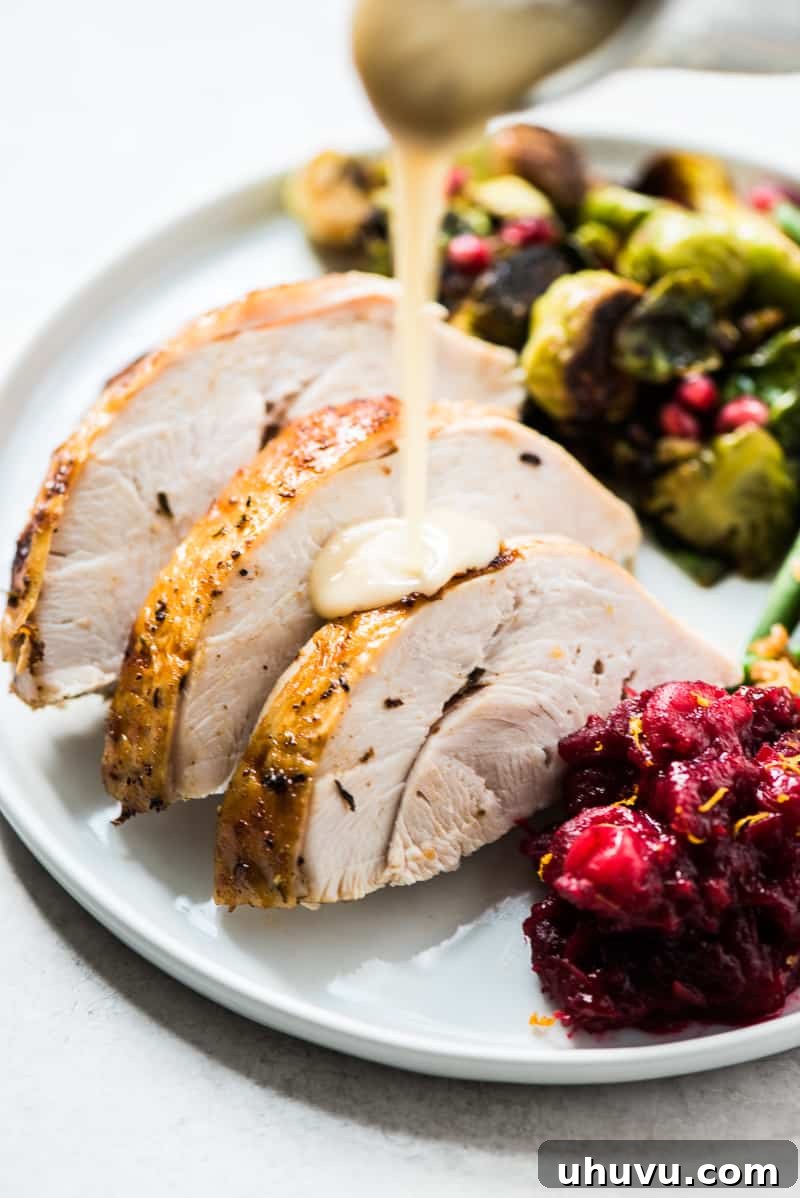
Imagine a velvety smooth gravy, brimming with the very flavors that made your turkey so delicious, ready to be poured generously over every component of your plate. This isn’t just for the meat; think gravy-soaked mashed potatoes, glistening green beans, and even tender roasted Brussels sprouts. When a gravy is this good, it earns its place on every single bite.
Making turkey gravy from drippings is not only the easiest but also the most flavorful way to create a rich accompaniment that perfectly complements your hard-earned Thanksgiving turkey. Best of all, you can prepare this culinary masterpiece during the crucial resting period of your turkey, ensuring everything comes to the table perfectly timed and piping hot.
The Culinary Magic: Why Pan Drippings Make the Best Gravy
The secret to an exceptionally flavorful gravy lies in the pan drippings. As your turkey roasts, juices are released, mingling with the fats and any seasonings, herbs, or aromatics you’ve used. These juices caramelize and stick to the bottom of the roasting pan, forming what chefs call “fond.” This fond is a treasure trove of concentrated flavor, packed with umami and savory notes that no amount of store-bought broth can replicate. By harnessing these drippings, you’re essentially capturing and intensifying the very essence of your turkey, creating a gravy that is inherently connected to the star of your meal.
Beyond the incredible flavor, homemade gravy offers a level of freshness and customization that simply isn’t possible with pre-packaged alternatives. You control the ingredients, the consistency, and the seasoning, allowing you to tailor it perfectly to your taste and the specific profile of your roasted bird. It’s a simple process that yields extraordinary results, making it a must-have for any festive occasion.
Essential Ingredients for Your Perfect Turkey Gravy
After you’ve triumphantly transferred your perfectly roasted turkey to a carving board to rest, gather these simple yet crucial ingredients to begin your gravy journey:
- Turkey Drippings (from 1 large turkey): This is the star of our show. The drippings will contain not only the rendered fat but also the savory juices and caramelized bits (fond) from the bottom of your roasting pan. For exceptional drippings, consider roasting a flavorful bird like this herb roast turkey or a vibrant chipotle citrus Thanksgiving turkey. The more intensely seasoned your turkey, the more flavorful your drippings will be!
- All-Purpose Flour (¼ cup): This common pantry staple is essential for creating the roux, which will thicken your gravy to a luscious consistency. It provides a stable and smooth base, preventing a watery sauce.
- Turkey Stock or Chicken Broth (1 to 1 ½ cups): While the drippings provide immense flavor, stock or broth adds the necessary liquid volume. Opt for low-sodium or unsalted varieties if possible, as your drippings will likely already be seasoned. Turkey stock will naturally enhance the turkey flavor, but quality chicken broth is an excellent and widely available substitute.
- Kosher Salt and Black Pepper (to taste): Your pan drippings are already seasoned from the turkey’s initial preparation. Therefore, it’s crucial to taste the gravy before adding extra salt and pepper. This approach helps prevent over-salting and allows you to perfectly balance the flavors to your preference. Freshly ground black pepper offers a superior aroma and taste compared to pre-ground.
Mastering Homemade Turkey Gravy: A Step-by-Step Guide
Crafting a delectable turkey gravy is simpler than you might think. Follow these steps for a smooth, rich, and flavorful sauce:
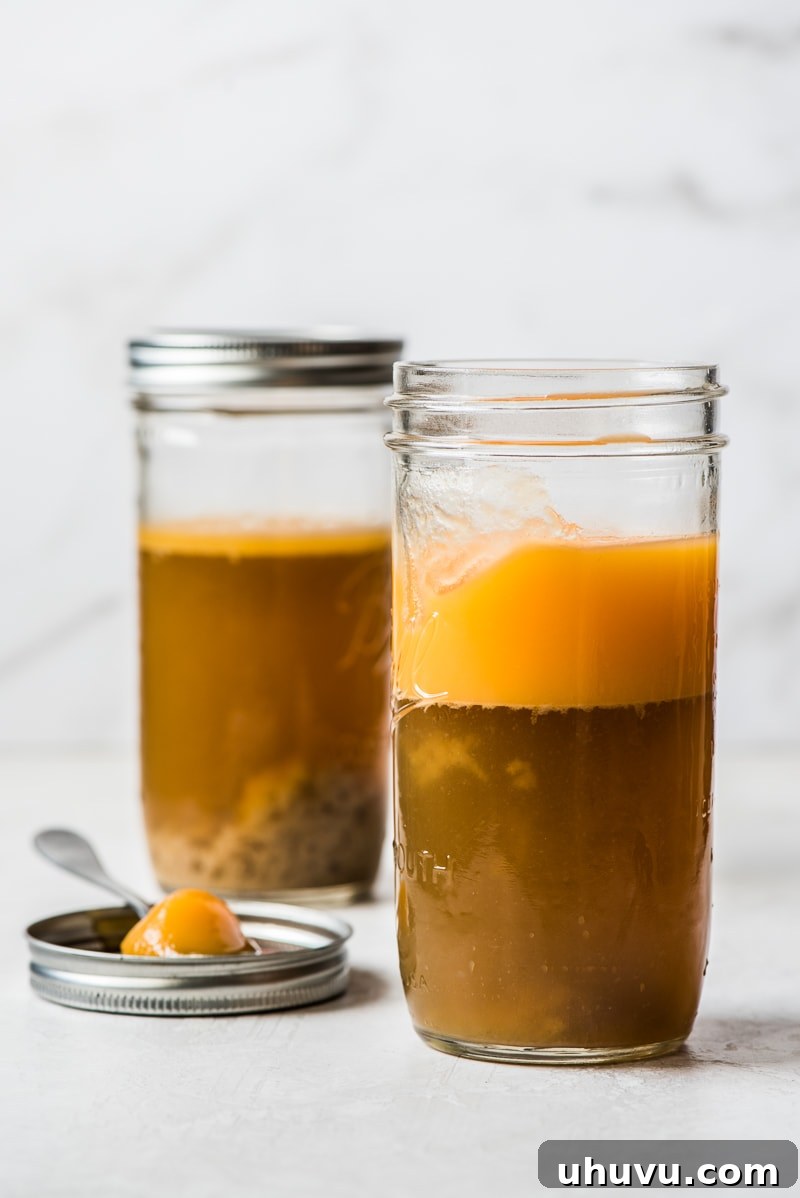
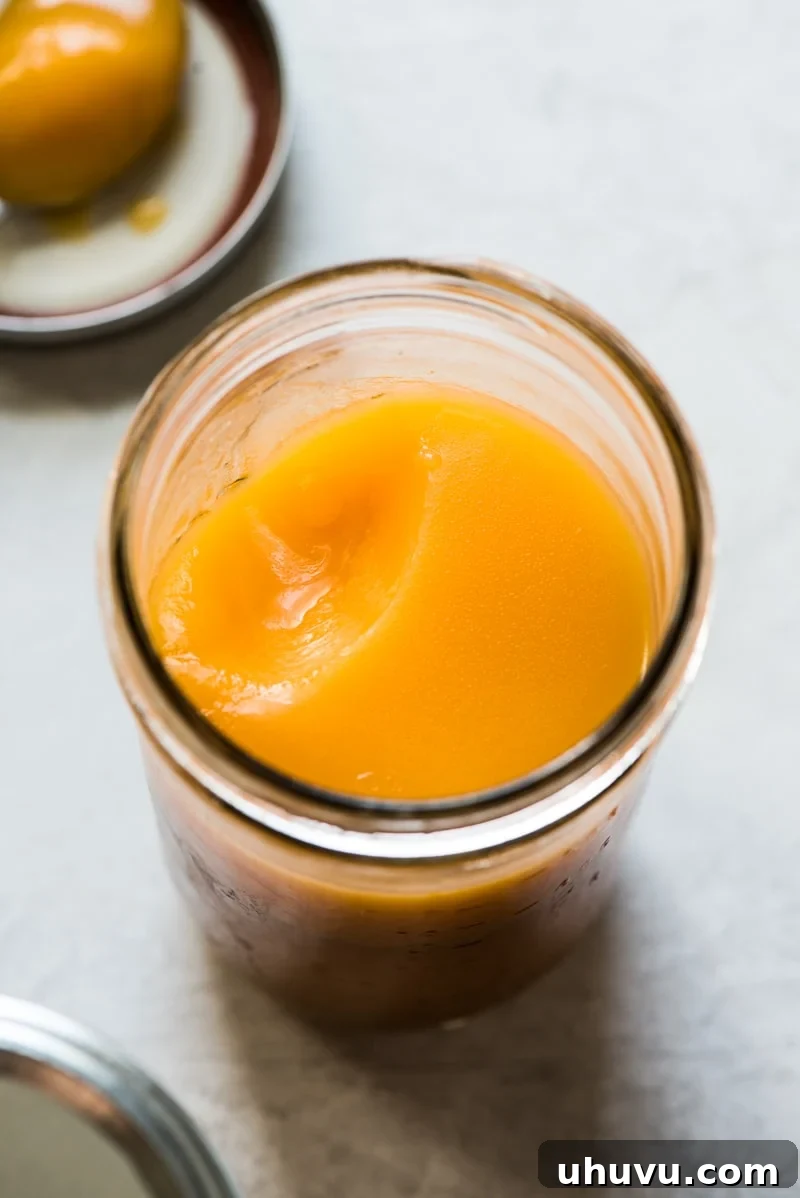
- Separate the Drippings: Carefully pour all the turkey drippings from your roasting pan through a fine-mesh strainer and into a large glass container or two. The strainer will catch any large solids or stray herbs, ensuring a smoother gravy. Place the container(s) in the refrigerator for at least 15 minutes. This chilling step allows the fat to rise to the top and solidify, making it easier to separate from the flavorful liquid below. If you’re short on time, a fat separator can expedite this process.
- Harvest the Fat: Remove the chilled drippings from the fridge. Using a spoon, carefully scoop out exactly 2 tablespoons of the solidified fat. This reserved fat is crucial for making the roux. You can discard the remaining fat or transfer it to a separate storage container to use later for roasting vegetables or adding flavor to other dishes. What you should have left in your main container is the pure, liquid turkey drippings, packed with flavor.
- Create the Roux (Flavor Base): In a small saucepan over medium-high heat, combine the 2 tablespoons of reserved turkey fat and the ¼ cup of all-purpose flour. Whisk continuously and vigorously until the mixture is completely smooth and forms a thick paste, known as a roux. Continue to cook for 1 to 2 minutes, still whisking constantly, until the roux becomes bubbly and transitions from a pale blonde to a light golden-brown color. This cooking process removes the raw flour taste and develops a nutty flavor, essential for a rich gravy. Be careful not to burn it!
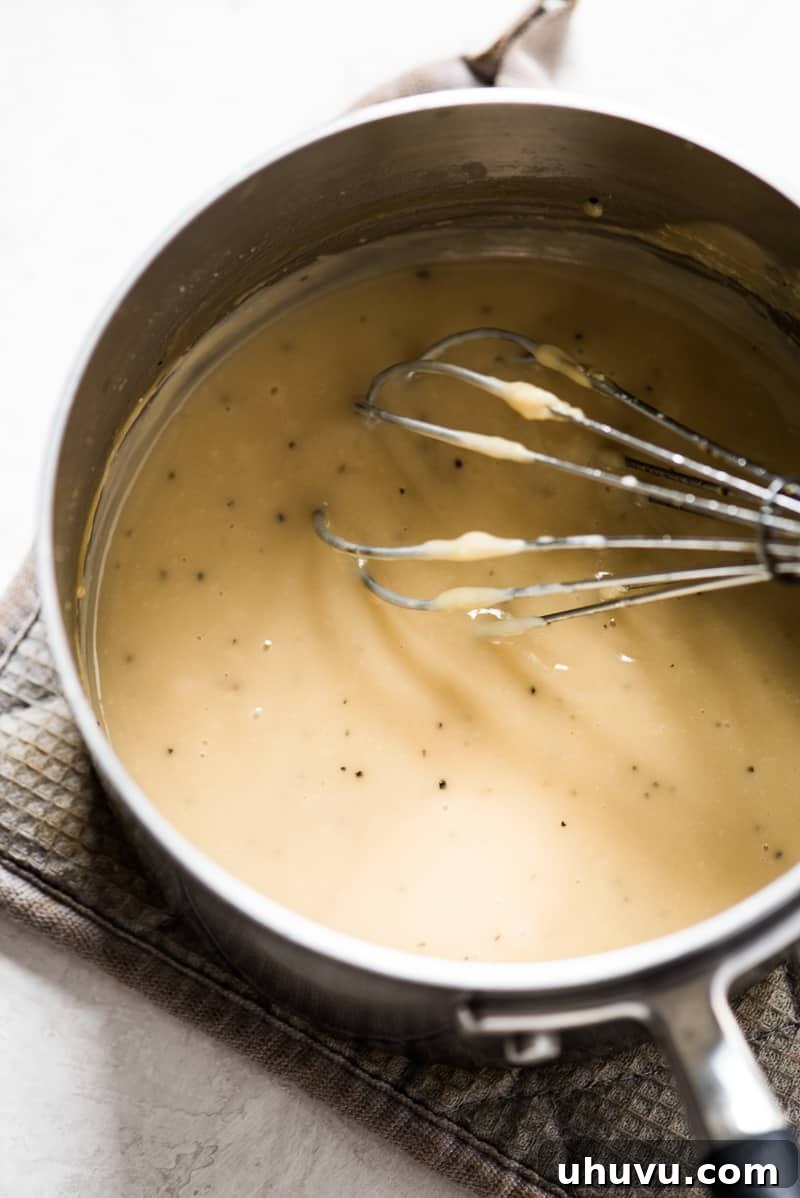
- Combine and Thicken: Gradually whisk in 1 cup of the liquid turkey drippings and 1 cup of your chosen stock (chicken or turkey broth) into the roux. Whisk constantly as you add the liquid to prevent lumps from forming. Bring the mixture to a boil, then immediately reduce the heat to a gentle simmer. Continue to cook, stirring occasionally, until the gravy has thickened to your desired consistency. This typically takes about 5-10 minutes. Finally, taste the gravy and season with kosher salt and black pepper as needed. Remember, the drippings are already seasoned, so always taste before adding more!
Expert Tips & Troubleshooting for Perfect Gravy
Even seasoned cooks can encounter gravy challenges. Here are some tips and quick fixes to ensure your gravy is always perfect:
- Fat Substitution: If your turkey drippings don’t yield the full two tablespoons of fat needed for the roux, don’t worry! Simply substitute with two tablespoons of unsalted butter to make up the difference. The gravy will still be incredibly delicious.
- Choosing Your Broth: Whenever possible, use unsalted or low-sodium turkey or chicken broth. Pan drippings often contain a significant amount of salt from the turkey’s seasoning, so starting with low-sodium broth gives you more control over the final taste. You can always add salt, but you can’t take it away!
- Gravy Too Thick? If your gravy becomes too thick for your liking, don’t panic. Gradually whisk in additional turkey or chicken stock, one tablespoon at a time, until you achieve your desired thinner consistency.
- Gravy Not Thickening? A runny gravy is easily remedied. In a separate small bowl, mix a teaspoon of cornstarch with a tablespoon of cold water to create a slurry. Gradually whisk this slurry into your simmering gravy and continue to cook for another minute or two. The cornstarch will activate with the heat and quickly thicken the sauce. Repeat if necessary, adding small amounts at a time.
- Color Variations: The color of your finished gravy can range from a light golden brown to a deep, rich brown. This variation is entirely normal and depends on several factors, including the type of spices and seasonings used on your turkey, how deeply caramelized the fond was, and how long you cooked your roux. All shades are equally delicious!
- Lumpy Gravy Fix: If you end up with a few lumps, pass the finished gravy through a fine-mesh sieve or use an immersion blender directly in the saucepan to achieve a silky-smooth texture.
What to Serve with Your Decadent Turkey Gravy
Turkey gravy is the ultimate companion for a wide array of holiday dishes and comfort foods. If you’re preparing this magnificent gravy for an upcoming Thanksgiving or Christmas celebration, here are some perfect serving suggestions that truly shine when drenched in this flavorful sauce:
- Fresh Green Bean Casserole: The creamy gravy complements the crisp green beans and crunchy topping beautifully.
- Jalapeño Cornbread: A slice of warm cornbread soaks up gravy like a dream, adding a delightful spicy-savory contrast.
- Honey Balsamic Brussels Sprouts: The rich gravy cuts through the slight bitterness of the Brussels sprouts, creating a harmonious bite.
- Green Chili Corn Casserole: Another fantastic side that welcomes a generous pour of gravy, blending creamy sweetness with a hint of spice.
- Easy Cranberry Sauce: While often served separately, a touch of gravy can surprisingly balance the tartness of cranberry sauce for some palates.
- Creamy Mashed Potatoes: Perhaps the most classic pairing, mashed potatoes are made for gravy.
- Stuffing/Dressing: Moistens and adds incredible flavor to your holiday stuffing.
- Leftover Turkey Sandwiches: Transform your leftovers into a gourmet experience with a hot open-faced turkey sandwich smothered in gravy.
- Poutine: For a fun twist, pour hot gravy over crispy french fries and cheese curds.
Recommended Tools for Gravy Success
Having the right tools can make your gravy-making experience even smoother and more enjoyable:
- Medium Saucepan: A sturdy, heavy-bottomed saucepan is perfect for making gravy. It distributes heat evenly, which is crucial for cooking the roux without burning and helps prevent scorching the gravy.
- Strainer: A fine-mesh strainer is invaluable for filtering out any solids from your turkey drippings, ensuring a perfectly smooth gravy. Many sets come with various sizes for different kitchen tasks.
- Whisk: An essential tool for a lump-free gravy. A good whisk helps you thoroughly combine the flour and fat for the roux, and then seamlessly incorporate the liquids, ensuring a silky consistency. A set with different sizes can be very versatile.
- Fat Separator: While chilling drippings works, a fat separator quickly and efficiently separates fat from the juices, saving you time.
- Heat-Proof Measuring Cup: Useful for accurately measuring your drippings and stock.
Storing and Reheating Your Delicious Gravy
Leftover gravy is a wonderful thing, extending the joy of your holiday meal. Here’s how to properly store and reheat it:
- Storage: Allow the gravy to cool completely before transferring it to an airtight container. It can be stored safely in the refrigerator for 2 to 3 days. For longer storage, gravy freezes exceptionally well. Pour it into freezer-safe containers or heavy-duty freezer bags and freeze for up to 3 months. Thaw overnight in the refrigerator before reheating.
- Reheating on the Stovetop: To reheat, gently warm the gravy in a saucepan over medium-low heat. Stir frequently to prevent sticking. Gravy tends to thicken as it cools, so you’ll likely need to whisk in a splash of turkey or chicken broth (or even water) to thin it out to its original consistency. Continue heating until warmed through, about 5 minutes.
- Reheating in the Microwave: For a quicker option, you can reheat gravy in the microwave. Place it in a microwave-safe bowl and heat for 1 to 2 minutes on medium power, stirring every 30 seconds to ensure even heating and to break up any thicker spots. Again, you may need to add a small amount of liquid to thin it if it’s too thick.
Turkey Gravy from Drippings
By: Isabel Orozco-Moore
How to make turkey gravy from drippings the easy way. Don’t let all the seasonings and juicy pan drippings from your turkey go to waste!
Prep time: 15 minutes
Cook time: 10 minutes
Total time: 25 minutes
Servings: 8 servings
Ingredients
- Drippings from roasted turkey
- ¼ cup all-purpose flour
- 1 ½ cups low-sodium chicken broth (or turkey stock)
- Kosher salt and black pepper, to taste
Instructions
- Carefully pour the turkey drippings from the roasting pan through a strainer and into a large glass container or two. Place it in the fridge for 15 minutes to let the fat rise to the top and solidify.
- Remove the drippings from the fridge, scoop out 2 tablespoons of the fat, and discard the remaining fat or transfer it to a storage container to use later. (See Notes below if you don’t end up with 2 tablespoons of fat.) You should now have only the liquid turkey drippings remaining.
- In a small saucepan over medium-high heat, whisk together the 2 tablespoons of reserved fat and the all-purpose flour until smooth. Cook for 1 to 2 minutes, whisking constantly, until bubbly and light to golden brown.
- Whisk in 1 cup of the turkey drippings and the chicken broth until completely smooth. (See Notes below if you don’t end up with 1 cup of turkey drippings.) Bring it to a boil, reduce the heat to a simmer, and cook until the gravy has thickened to your liking. Taste and season with salt and black pepper as needed.
Notes
- Not enough drippings: If you don’t have enough turkey drippings to equal 1 cup, add more turkey or chicken stock until you have 2 cups of liquid (including the drippings).
- Not enough fat: If you don’t get two tablespoons of fat from your turkey drippings, you can use two tablespoons of butter instead.
- Too thick: If your gravy has thickened too much, whisk in more turkey or chicken stock, one tablespoon at a time, until it’s thinned out to your liking.
- Too runny: If your gravy isn’t thickening, a quick fix is to whisk in a little bit of cornstarch slurry (1 tsp cornstarch mixed with 1 tbsp cold water).
- Broth: Use low-sodium turkey or chicken broth if possible. Since the pan drippings may already be salty, using low-sodium or unsalted stock gives you better control over the final seasoning.
- Color: The color of your gravy can vary from light to dark brown, depending on the spices and seasonings used to make your turkey and how long the roux is cooked.
Nutrition
Serving: 1/8th of recipe | Calories: 54kcal | Carbohydrates: 3g | Protein: 3g | Fat: 3g | Saturated Fat: 1g | Polyunsaturated Fat: 1g | Monounsaturated Fat: 1g | Trans Fat: 0g | Cholesterol: 3mg | Sodium: 24mg | Potassium: 0mg | Fiber: 0g | Sugar: 0g | Vitamin A: 0IU | Vitamin C: 0mg | Calcium: 10mg | Iron: 0mg
Nutrition information is automatically calculated, so should only be used as an approximation.
Making homemade turkey gravy from drippings is a rewarding experience that adds an unparalleled depth of flavor to your holiday meals. With a few simple steps and these helpful tips, you can transform humble pan drippings into a luxurious, smooth, and savory gravy that will impress everyone at your table. It’s a testament to the fact that the most delicious things often come from utilizing every last bit of flavor from your culinary efforts. So go ahead, don’t let those precious drippings go to waste – make them into something truly special!
Did you make this recipe? Leave a comment and star rating below!
More Thanksgiving Recipes to Explore
- Oven Roasted Carrots
- Mashed Sweet Potatoes
- Roasted Butternut Squash
- Brussel Sprout Salad
- Chorizo Cornbread Stuffing