
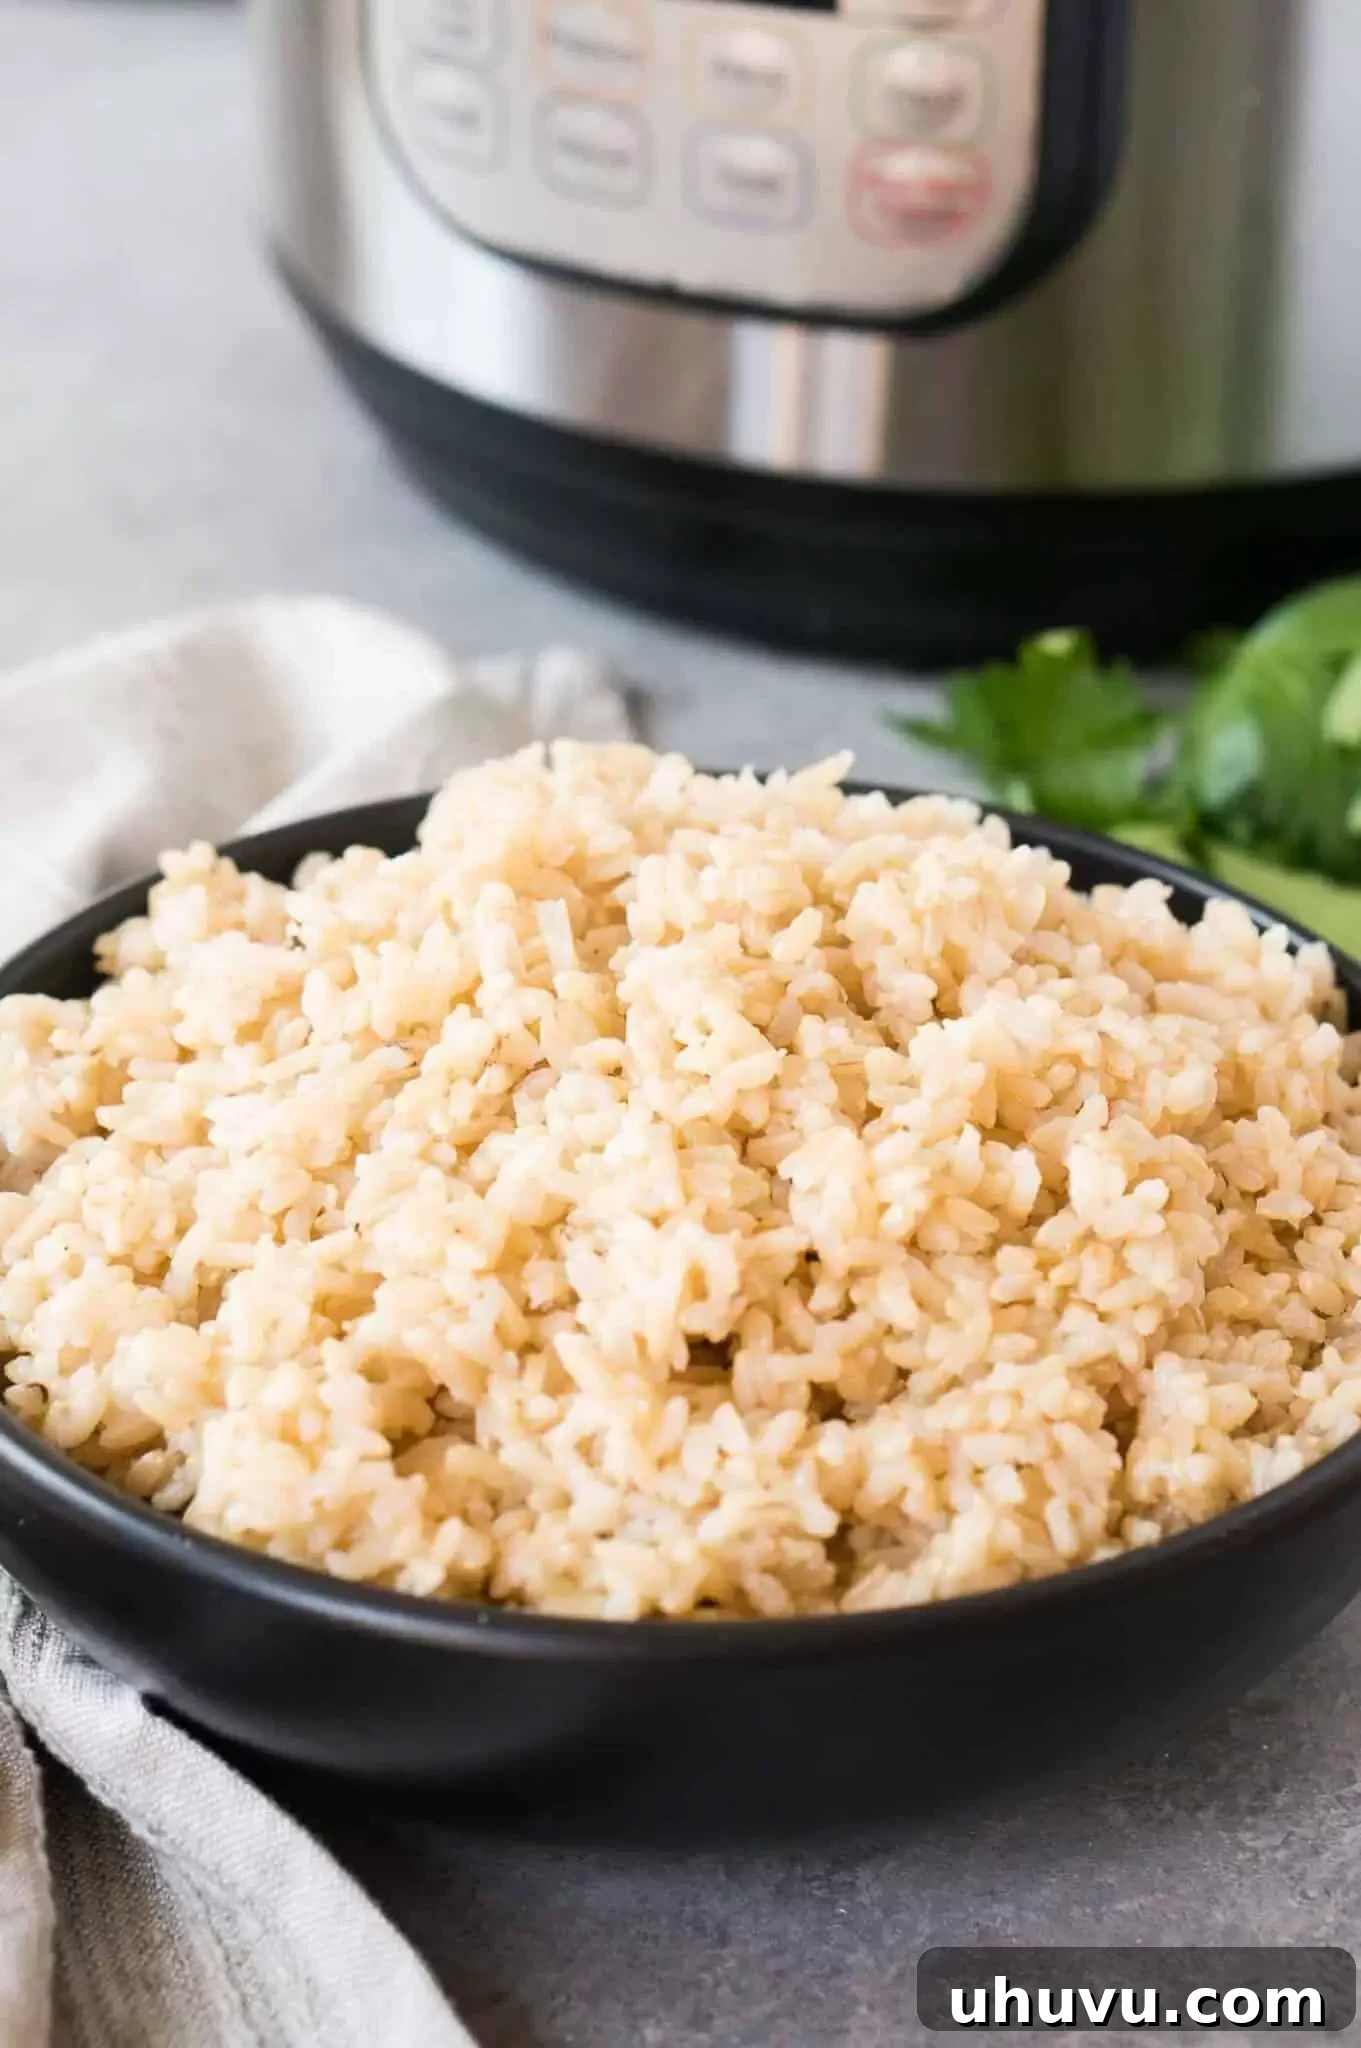
Discover the ultimate guide to cooking **perfect brown rice** effortlessly in your Instant Pot. This comprehensive pressure cooker brown rice recipe transforms a notoriously long and sometimes tricky grain into a quick, easy, and consistently flawless side dish every single time. Say goodbye to guesswork and hello to fluffy, wholesome brown rice in a fraction of the time it takes on the stovetop.
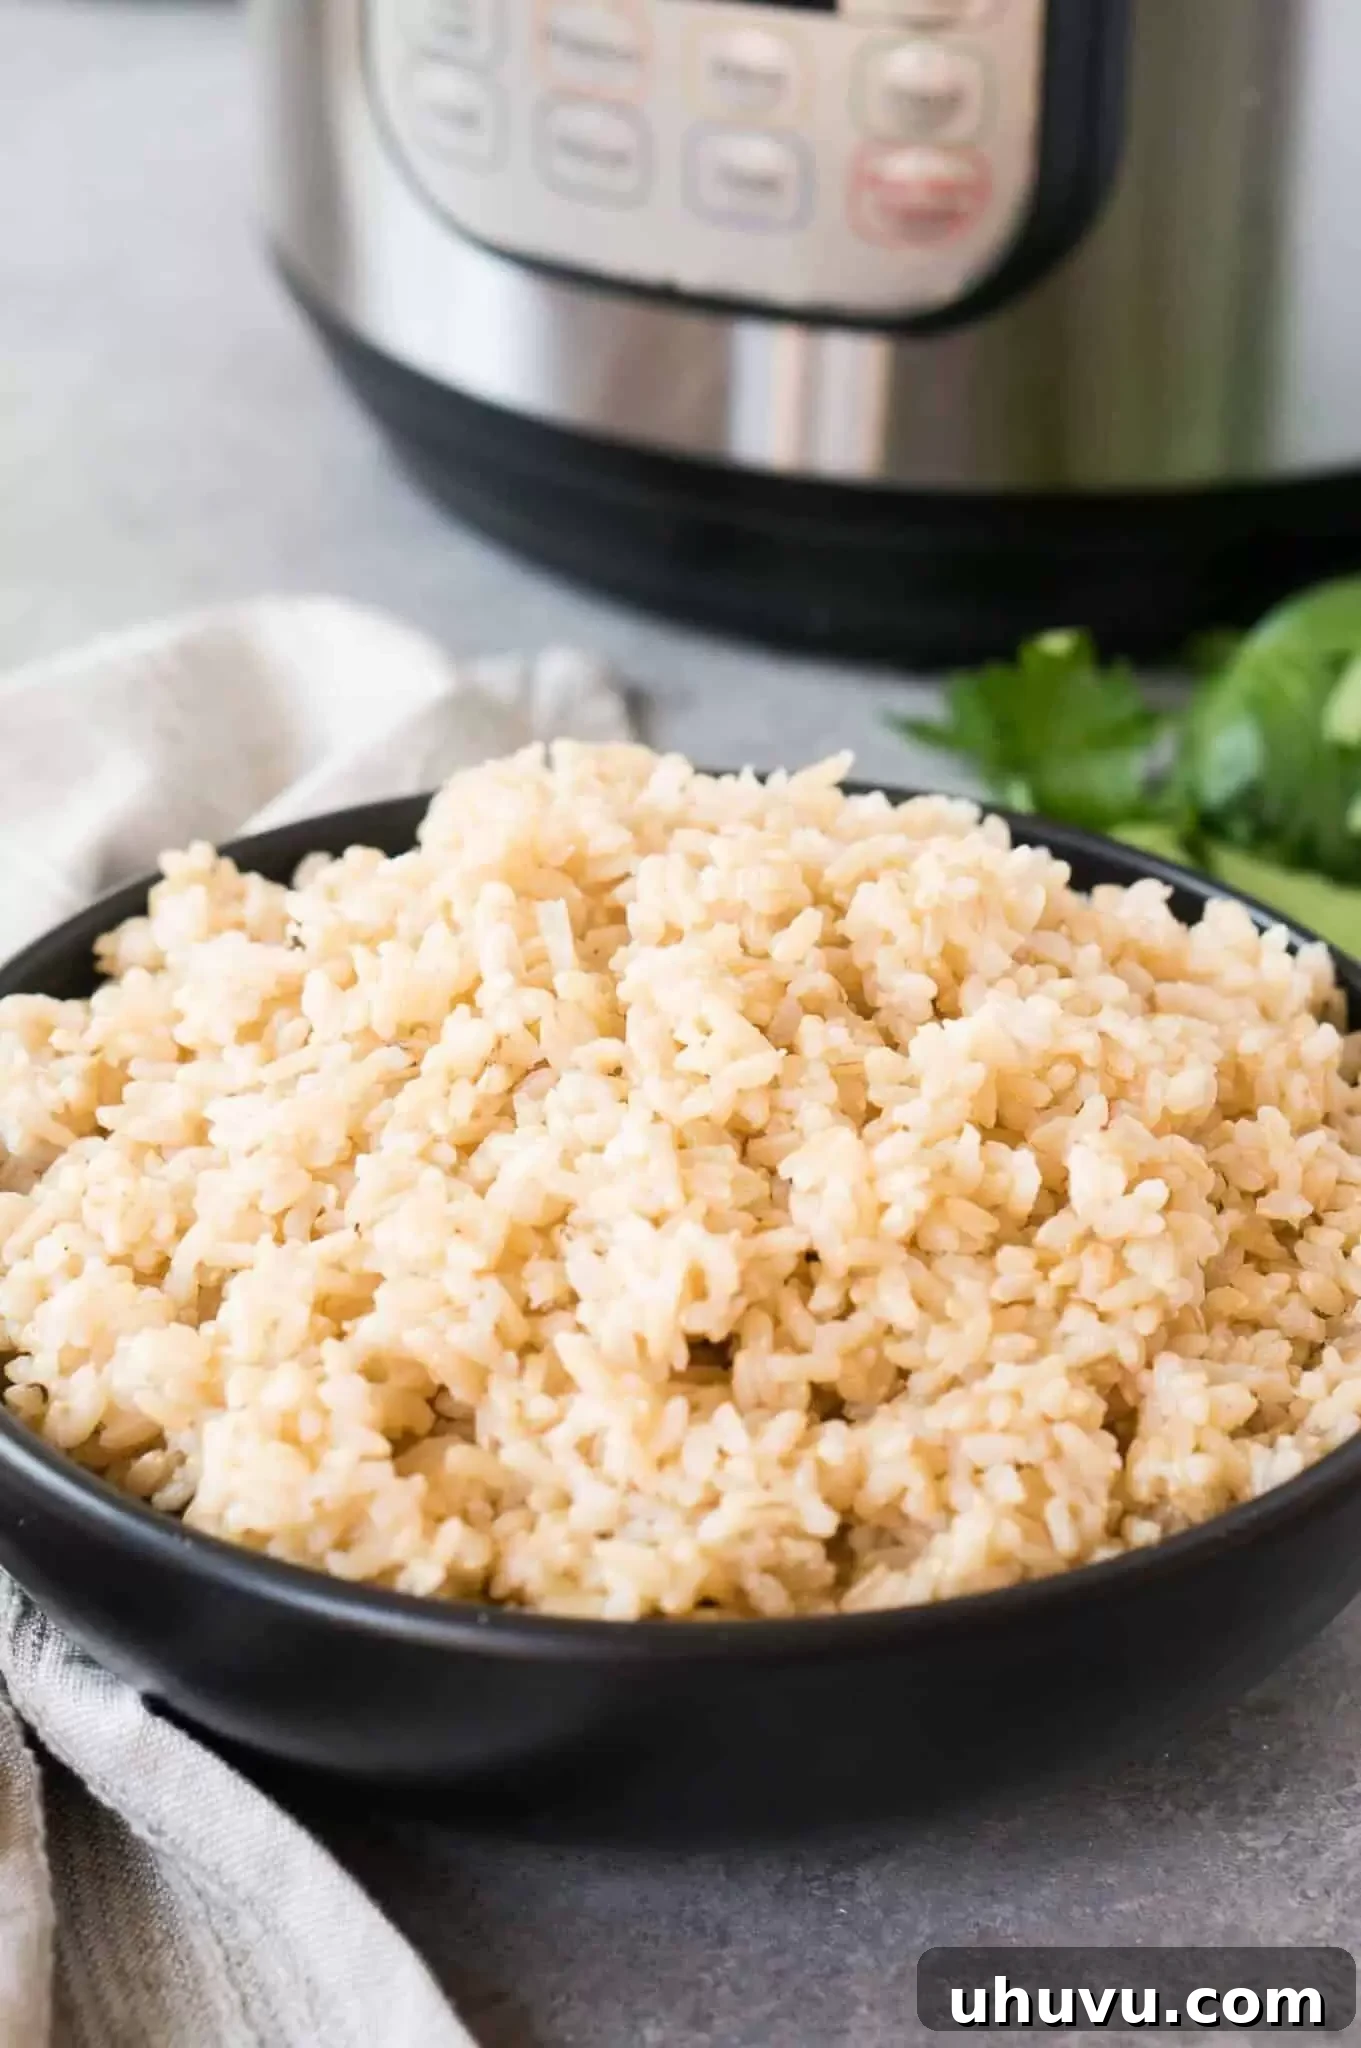
As a passionate home cook, I consistently prioritize wholesome ingredients, and brown rice stands out as a superior choice over its white counterpart. However, its longer cooking time often poses a challenge when dinner needs to be on the table in a flash. That’s precisely why my Instant Pot has become an indispensable kitchen tool, transforming brown rice preparation into a quick and stress-free experience. While cooking rice in a pressure cooker can sometimes feel daunting due to considerations like rice type, water ratios, and precise cooking times, this method takes all the guesswork out, ensuring flawless results every time.
This foolproof Instant Pot brown rice recipe will revolutionize your meal prep and weeknight dinners. You’ll achieve wonderfully fluffy, flavorful grains that are ready to complement any main dish, from savory curries to roasted chicken. Experience the convenience and health benefits of perfectly cooked brown rice without the wait. Don’t forget to explore other Instant Pot favorites like my Instant Pot Spanish Rice and Instant Pot Chicken and Rice for more quick and delicious meals!
Why the Instant Pot is Your Brown Rice Game-Changer
The Instant Pot is a true hero in the kitchen, especially when it comes to whole grains like brown rice. It simplifies a process that often requires constant monitoring and precise timing, giving you back precious minutes and delivering superior results. Here’s why this recipe will become your new go-to:
- Unbeatable Speed & Simplicity: Forget the long simmering times of stovetop brown rice. With the Instant Pot, prep takes just a couple of minutes, and then your pressure cooker handles the rest. This “set it and forget it” approach is perfect for busy weeknights, freeing you to focus on your main course or simply relax.
- Effortless Meal Preparation: This recipe is ideal for batch cooking. Prepare a generous portion of pressure cooker brown rice at the beginning of the week, and you’ll have a healthy, versatile base ready for multiple meals. It stores beautifully and reheats wonderfully, making healthy eating incredibly convenient.
- Nutritionally Rich and Wholesome: Brown rice is a fantastic addition to any diet. Unlike white rice, it retains its natural bran and germ layers, which are packed with fiber, essential vitamins, and minerals. This gives it a hearty texture and a richer, nuttier flavor that elevates any dish, providing a wholesome and satisfying foundation for your favorite recipes.
- Consistent Perfection, Every Time: The sealed, pressurized environment of the Instant Pot ensures that moisture is locked in and heat is distributed evenly. This means you get perfectly cooked, fluffy, and tender brown rice every single time, without the risk of burning or undercooking, which can be common with traditional methods.
Essential Ingredients for Your Instant Pot Brown Rice
Crafting perfect Instant Pot brown rice requires just a few simple ingredients, proving that delicious and healthy cooking doesn’t have to be complicated. The quality of your ingredients, especially the rice itself, plays a key role in the final texture and flavor.
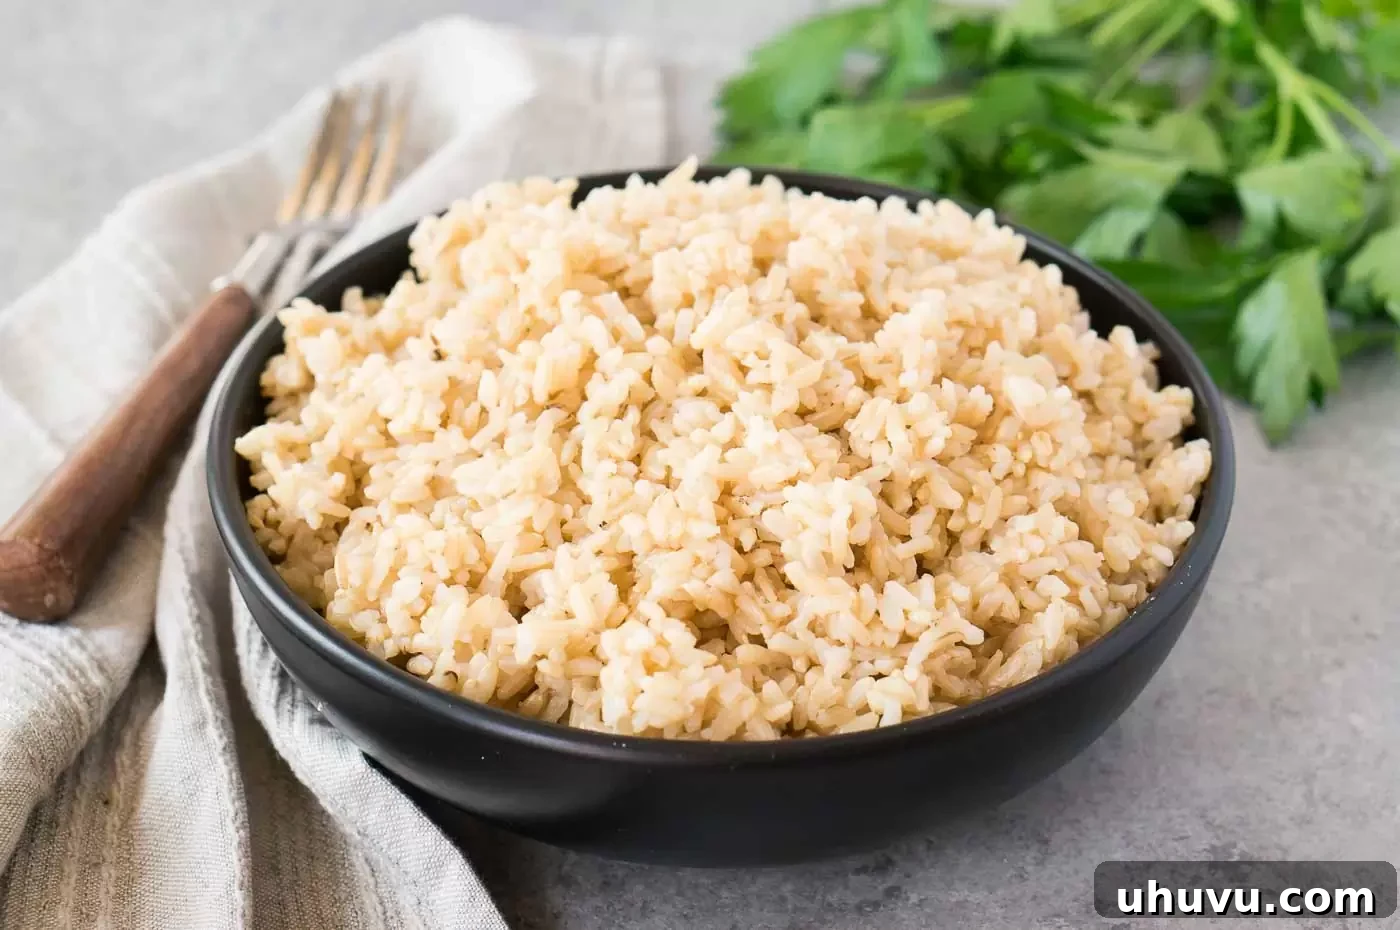
- Brown Rice: This recipe is best suited for medium and long-grain brown rice varieties, such as brown basmati or brown jasmine rice. These types hold their shape well and cook up beautifully fluffy under pressure. Avoid quick-cooking or instant brown rice, as they require different water ratios and cooking times. When selecting your rice, look for fresh, well-packaged grains.
- Water: The precise water-to-rice ratio is crucial in pressure cooking, as there’s very little evaporation compared to stovetop methods. For every 2 cups of brown rice, you’ll use 3 cups of water. This 3:2 ratio ensures that the rice absorbs all the liquid, resulting in perfectly tender and distinct grains without any excess moisture or dryness. You can also substitute vegetable or chicken broth for water to infuse your rice with even more flavor.
- Salt: A touch of salt is essential to enhance the natural flavor of the brown rice. While optional, I highly recommend adding about half a teaspoon of fine sea salt per two cups of rice. It brings out the nutty undertones and makes the rice taste much more robust and satisfying. You can adjust the amount to your personal preference.
How to Make Brown Rice in Instant Pot: Step-by-Step Perfection
Achieving perfectly cooked brown rice in your Instant Pot is incredibly straightforward. Follow these simple steps, and you’ll have fluffy, delicious rice every time.
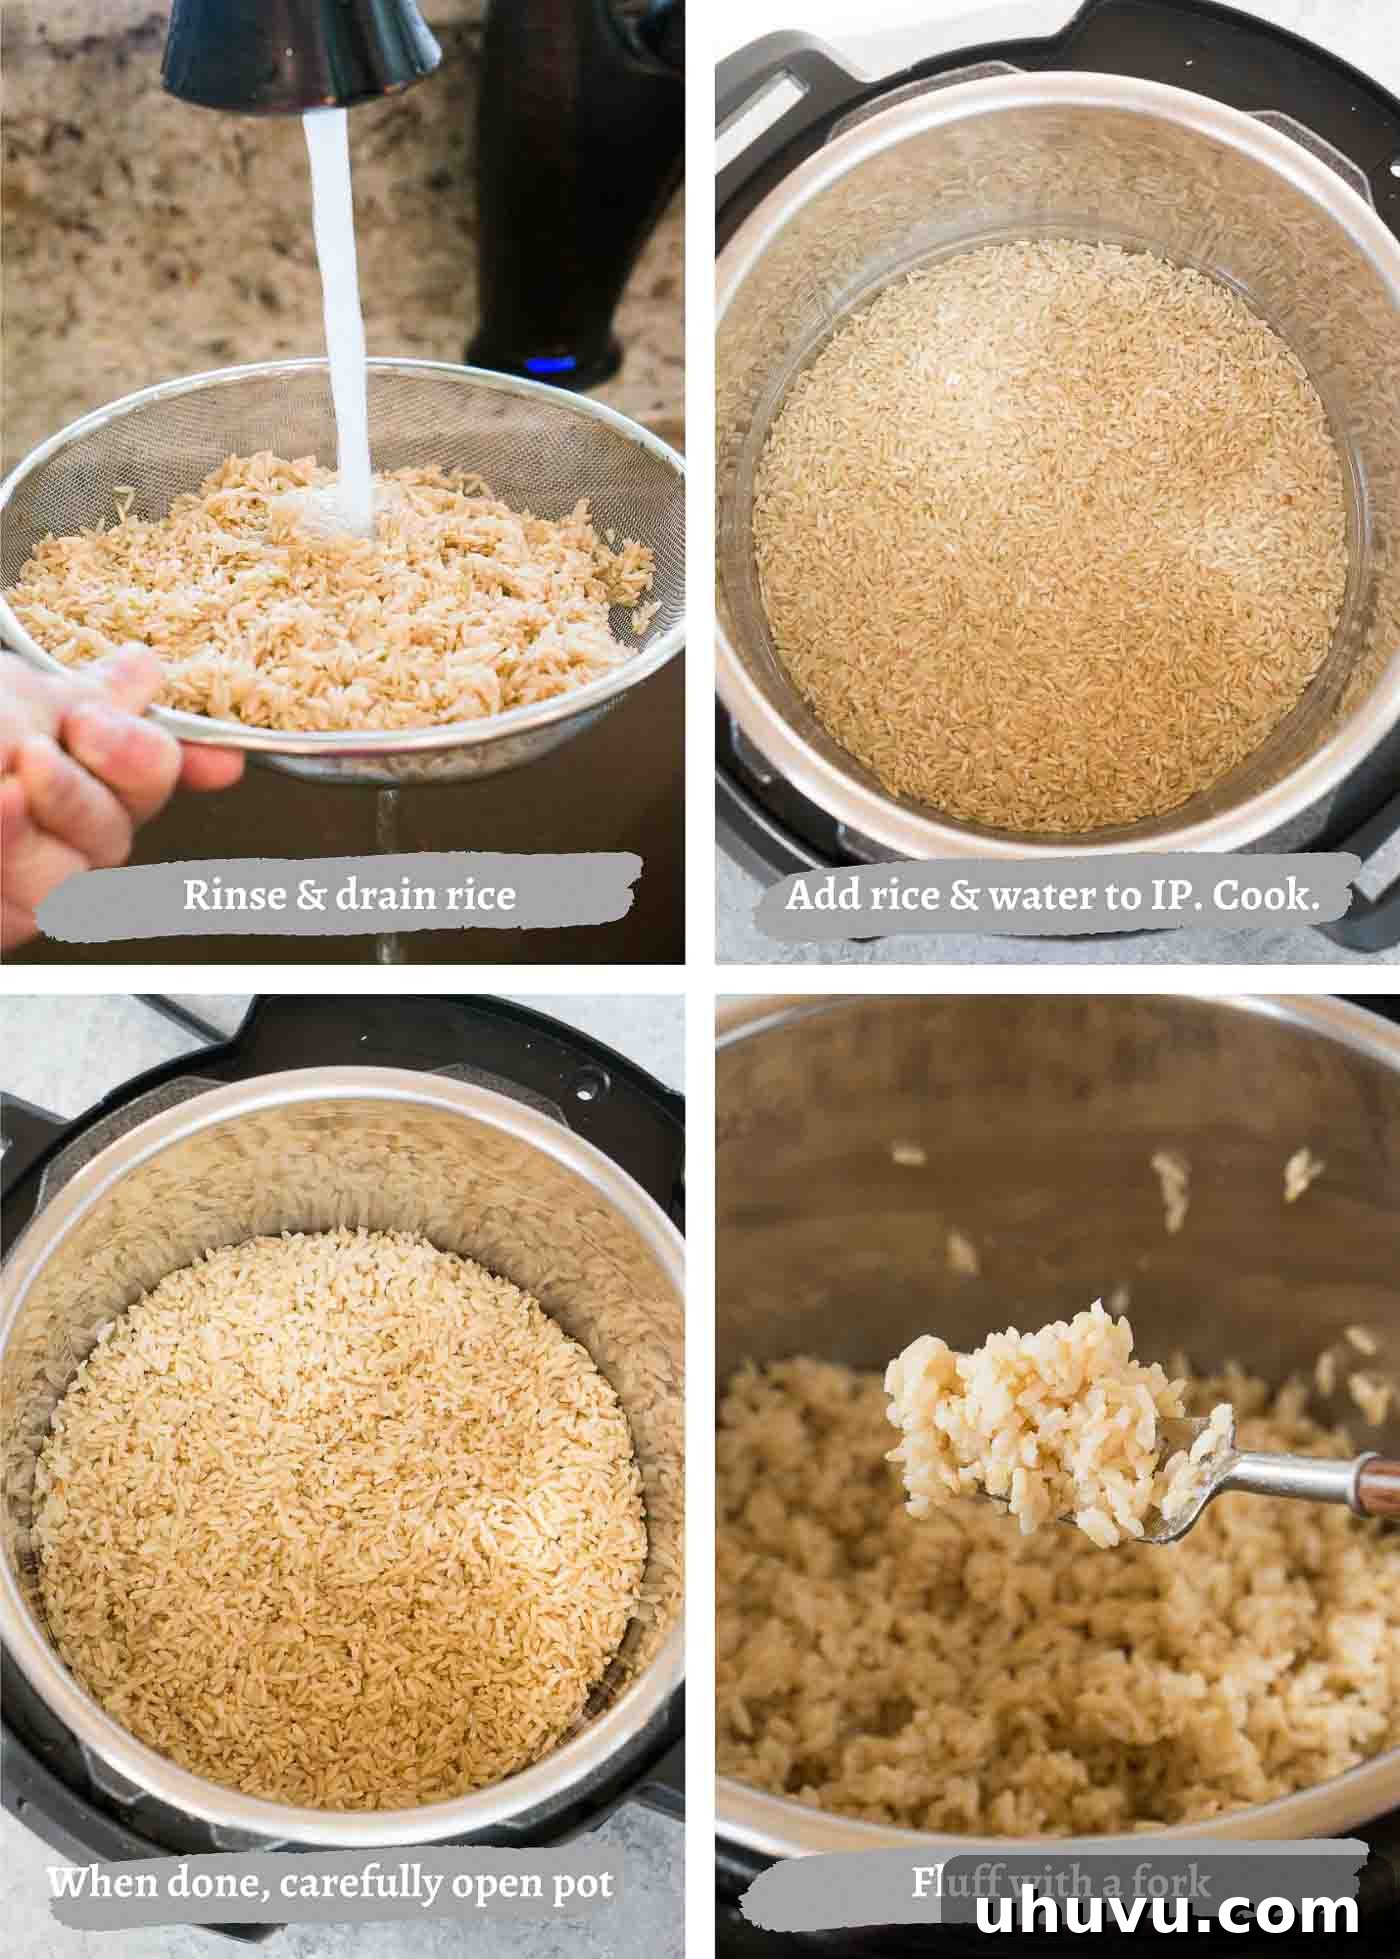
- Step 1: Rinse the Rice Thoroughly. Before adding your brown rice to the Instant Pot, place it in a fine-mesh sieve and rinse it under cold running water for at least 30-60 seconds. Continue rinsing until the water runs clear. This crucial step helps remove excess starch from the surface of the grains, which prevents the rice from becoming sticky or clumpy during cooking, ensuring distinct, fluffy grains. Drain it very well after rinsing.
- Step 2: Combine and Pressure Cook. Transfer the well-rinsed and drained brown rice to the inner pot of your Instant Pot. Add 3 cups of fresh water (or broth for added flavor) and ½ teaspoon of salt. Secure the lid, making sure the sealing ring is properly in place, and set the steam release valve to the “Sealing” position. Select the “Manual” or “Pressure Cook” setting and set the cooking time to 20 minutes on HIGH pressure.
- Step 3: Natural Pressure Release. Once the cooking cycle is complete, the Instant Pot will beep and automatically switch to the “Keep Warm” setting. Do NOT immediately quick release the pressure. Instead, allow the pressure to naturally release for 10 minutes (often referred to as a “Natural Release” or “NPR”). This natural release period is vital for brown rice, as it allows the grains to fully absorb the remaining moisture and steam, resulting in a more tender and perfectly cooked texture. After 10 minutes, carefully turn the steam release valve to the “Venting” position to quickly release any remaining pressure.
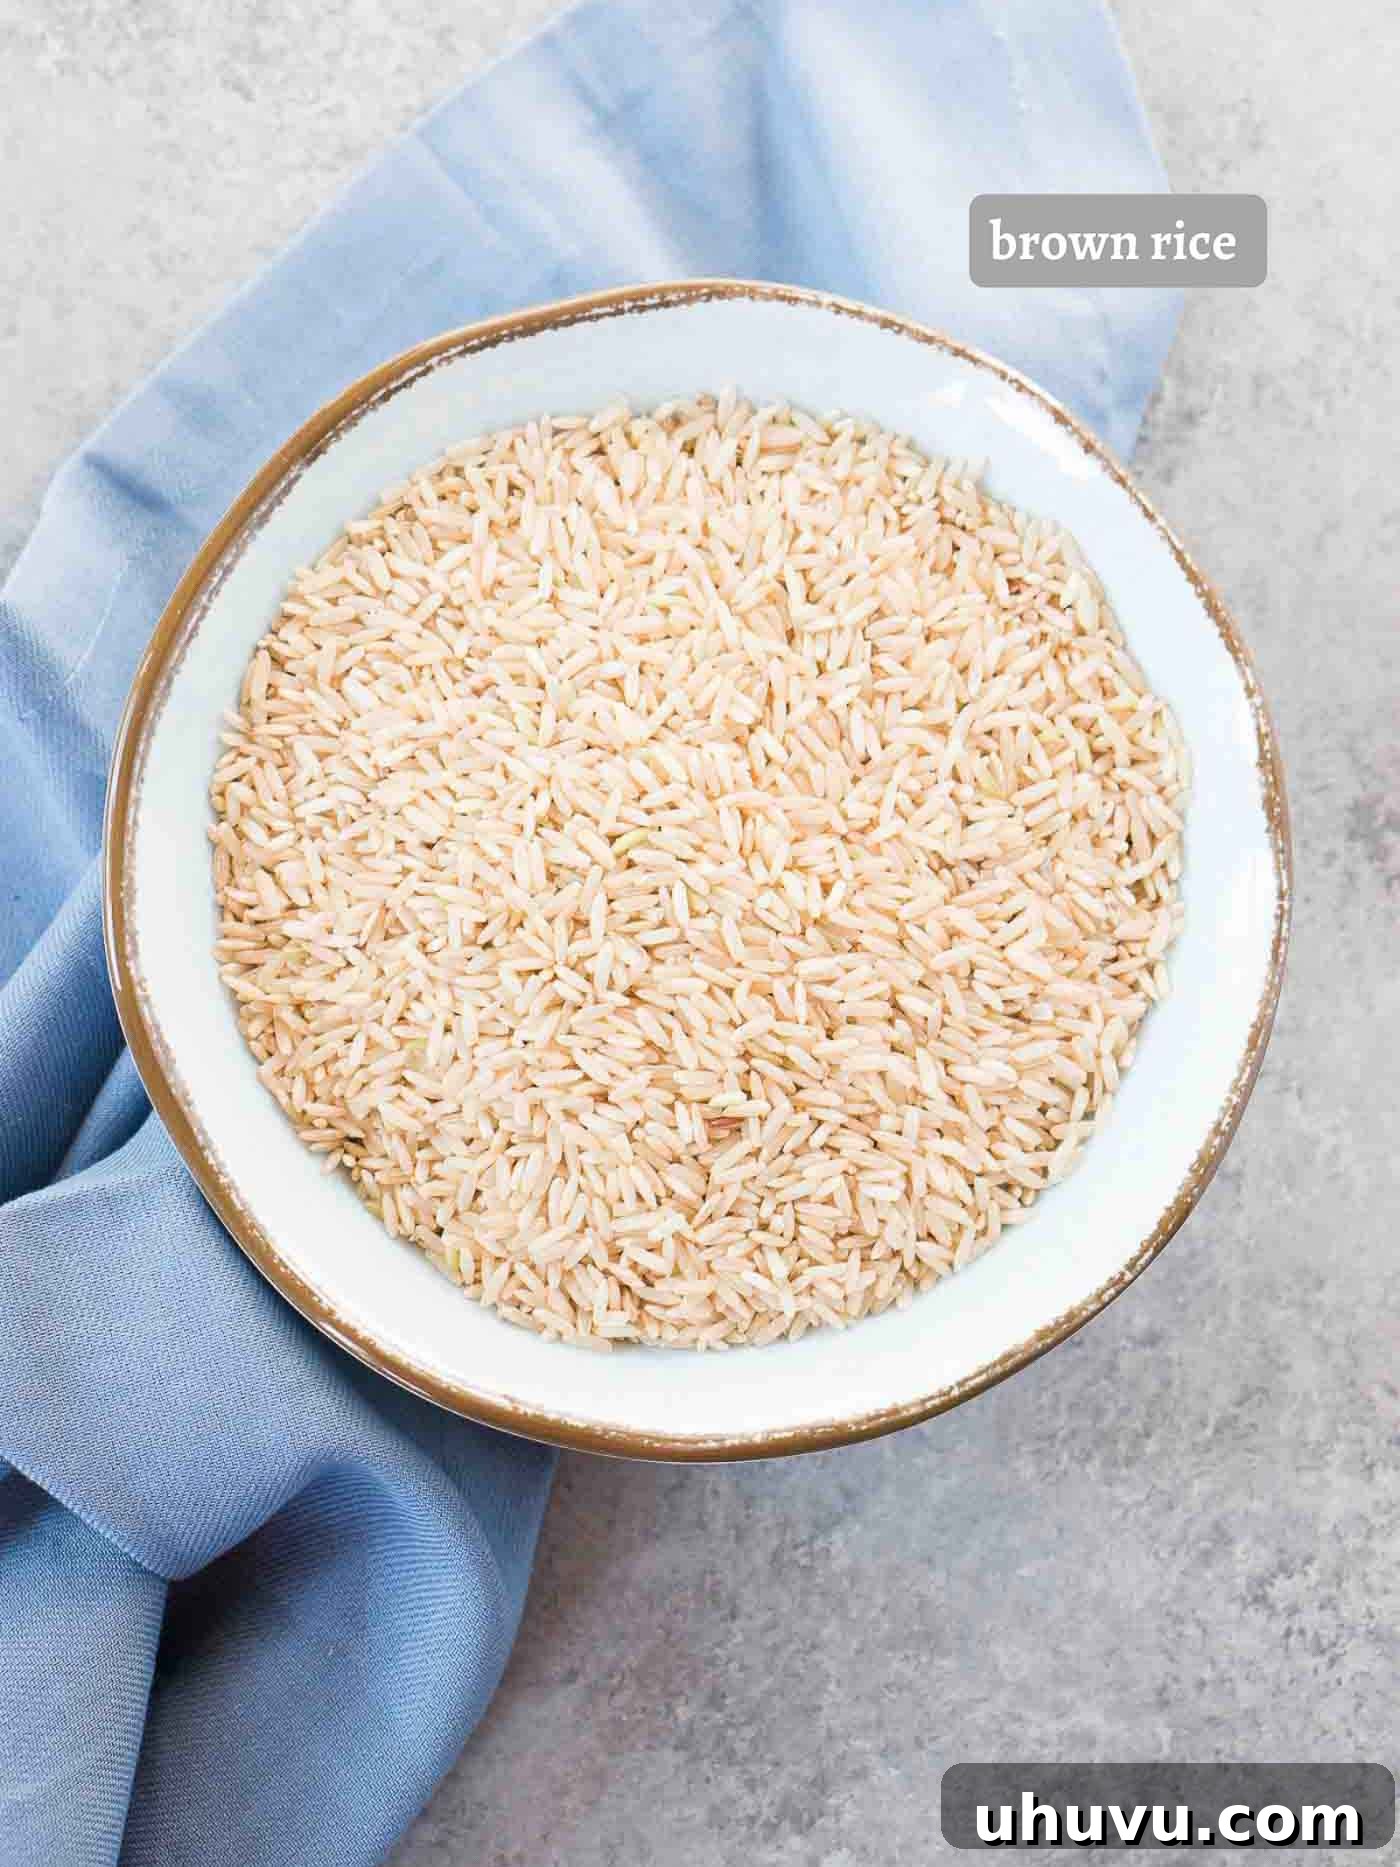
- Step 4: Fluff and Serve. Once all the pressure has been released and the float valve has dropped, carefully open the lid. Be cautious of any residual steam. Use a fork to gently fluff the cooked brown rice. This separates the grains and releases any trapped steam, making it even fluffier. Serve immediately as a healthy side dish or incorporate it into your favorite recipes.
TIPS FROM NELI’S KITCHEN
Expert Tips for Instant Pot Brown Rice Success
While cooking brown rice in the Instant Pot is relatively simple, these additional tips will help you achieve consistently perfect results every single time, even for seasoned cooks:
- Don’t Skip the Rinse: As mentioned in the instructions, rinsing your brown rice is paramount. It washes away surface starch, which is the primary culprit behind gummy or sticky rice. Cold running water works best to ensure individual, fluffy grains.
- Embrace Natural Pressure Release: For brown rice, a full natural pressure release (NPR) for at least 10 minutes, as opposed to a quick release, is non-negotiable. This allows the internal temperature and pressure to decrease gradually, giving the rice ample time to finish cooking and fully absorb all the moisture, resulting in a tender yet firm texture. Rushing this step can lead to undercooked or dry grains.
- Proper Cooling for Storage: If you’re preparing brown rice for meal prep, ensure it cools completely before storing it. Spreading it out on a baking sheet can speed up the cooling process. This prevents condensation and helps maintain its texture, reducing the risk of bacterial growth.
- Consider Your Rice Type: While this recipe works great for most medium and long-grain brown rice, minor adjustments to cook time might be needed for very specific types. Basmati brown rice, for instance, often benefits from these precise timings. Always check your package instructions as a guideline.
- Flavor Boosters: For an extra layer of flavor, consider replacing a portion or all of the water with vegetable or chicken broth. You can also add a small amount of olive oil or a knob of butter to the pot before cooking for a richer taste and to help prevent sticking.
- Avoid Over-Fluffing: Once the rice is cooked, gently fluff it with a fork. Aggressively stirring or mashing the rice can break the grains and make it starchy. A light touch is all that’s needed to separate the grains and release steam.
What Do You Serve It With? Versatile Brown Rice Pairings
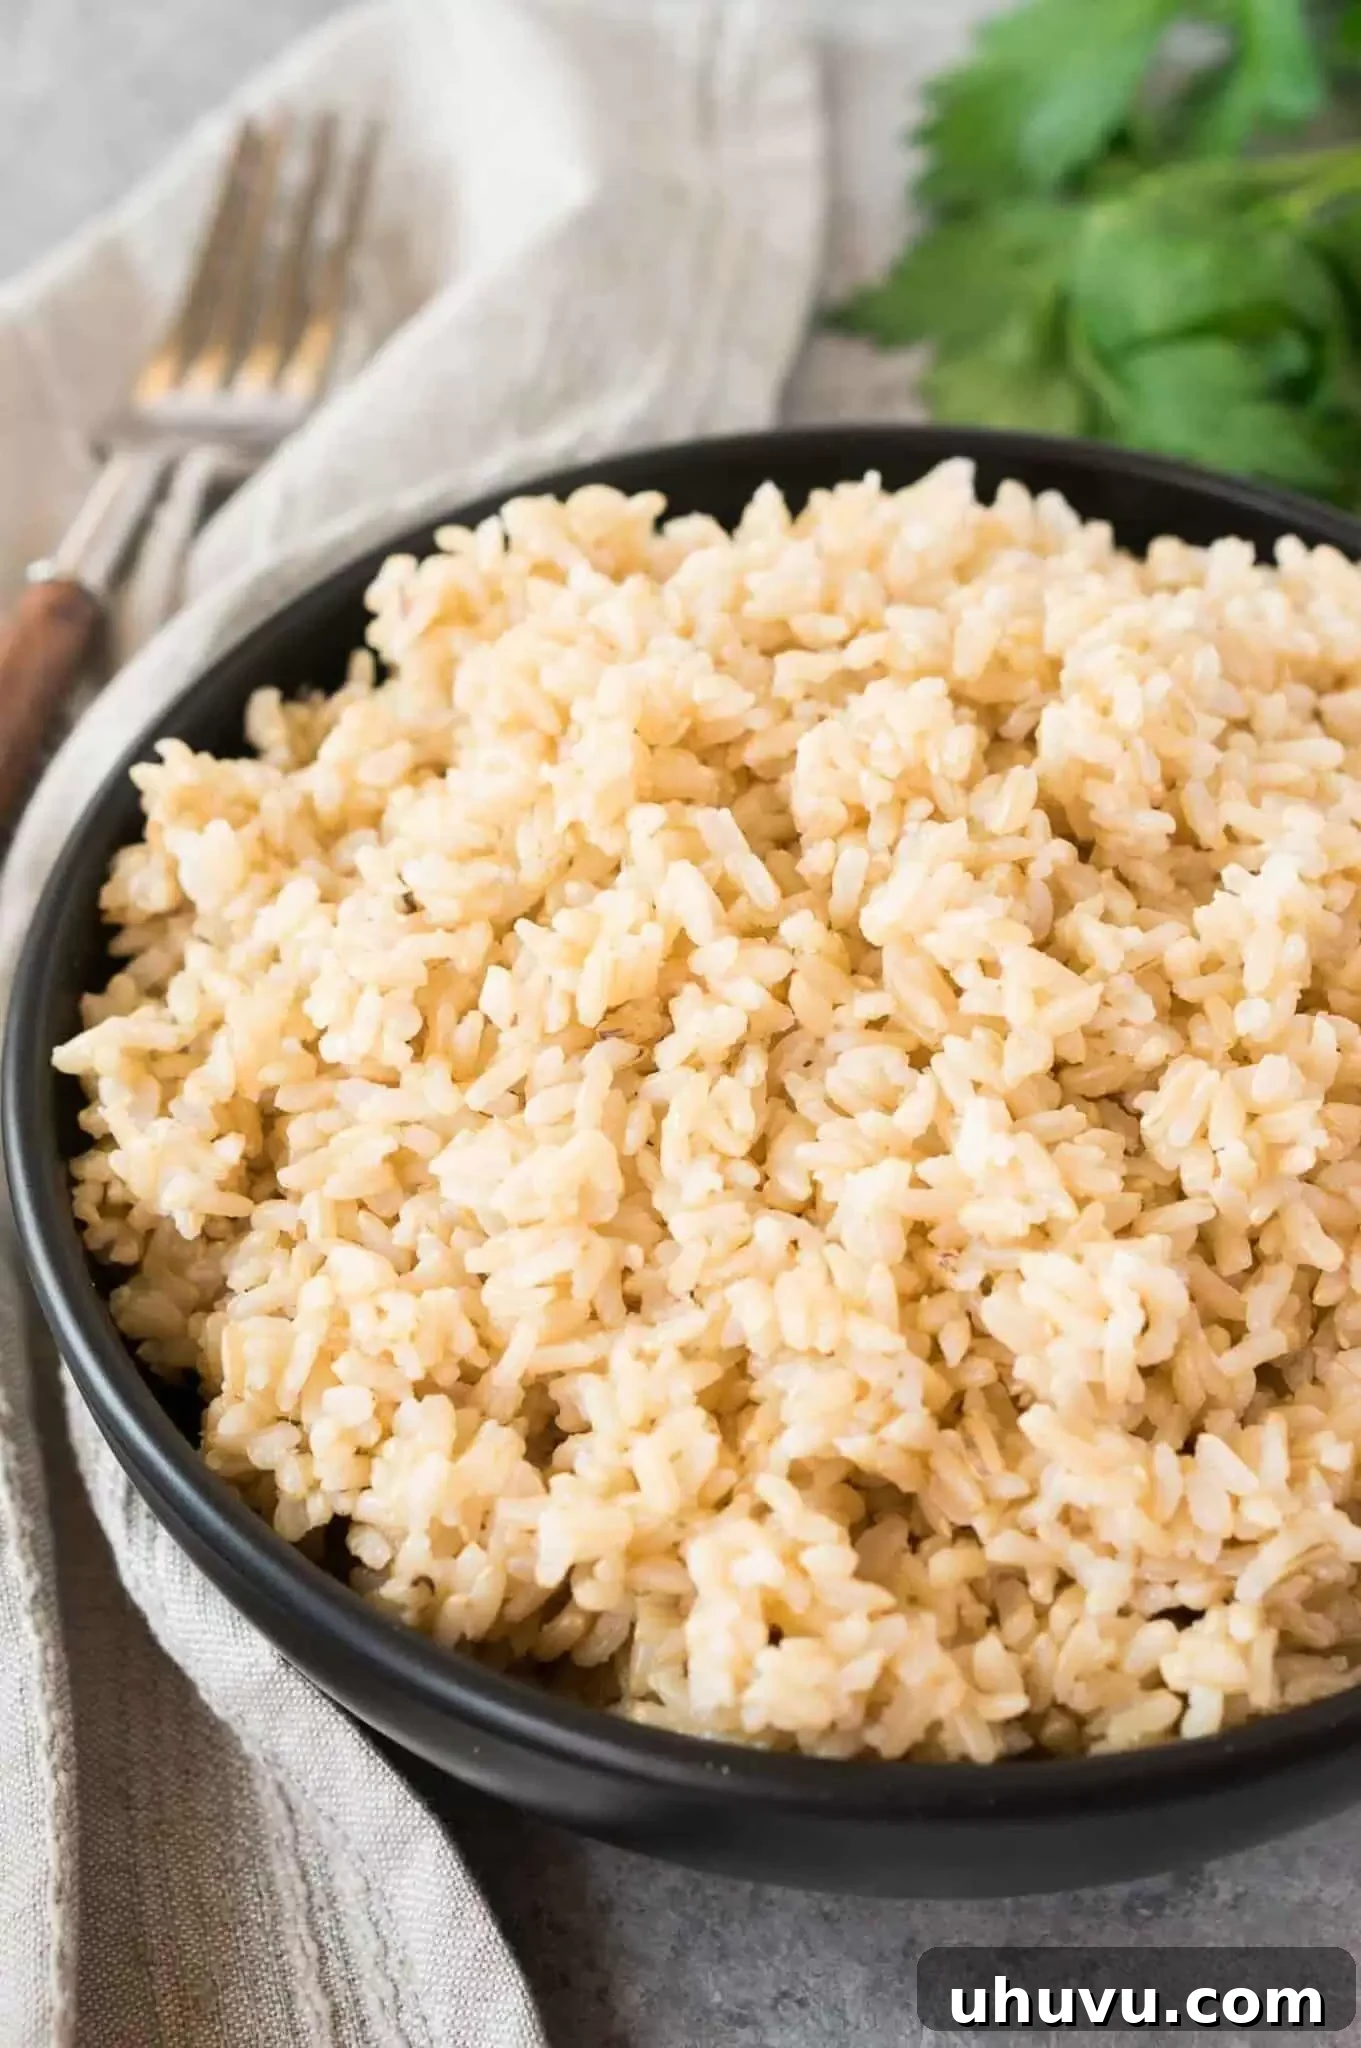
The beauty of Instant Pot brown rice lies in its incredible versatility. Its nutty flavor and satisfying texture make it an ideal accompaniment for a vast array of dishes, from hearty stews to light, fresh salads. Here are some fantastic ideas to get you started, including some of my personal favorites:
- **Hearty Main Courses:** Brown rice is the perfect bed for rich and flavorful main dishes. Serve it alongside curries, chili, or a comforting Instant Pot Beef Stew. Its robust nature stands up well to bold flavors.
- **Chicken & Poultry Dishes:** Whether it’s grilled, baked, or pan-seared, chicken pairs wonderfully with brown rice. Try it with Chicken Francese, succulent Baked Chicken Breasts, or even simple roasted chicken for a complete and healthy meal.
- **Seafood Delights:** For lighter fare, brown rice complements various seafood dishes beautifully. It’s excellent with pan-seared scallops, grilled shrimp, or a flavorful piece of Maple Mustard Salmon.
- **Vegetarian & Vegan Meals:** Use brown rice as the base for vibrant Buddha bowls, loaded with roasted vegetables, legumes, and a tasty dressing. It’s also a great filler for stuffed bell peppers or added to vegetable stir-fries.
- **Breakfast Bowls:** Don’t limit rice to dinner! Reheat some brown rice and top it with fruit, nuts, and a drizzle of honey or maple syrup for a unique and nutritious breakfast.
- **Salads & Wraps:** Cold brown rice can be a fantastic addition to salads, adding texture and substance. It can also be wrapped in large lettuce leaves or tortillas with other fillings for a healthy, portable lunch.
Brown Rice FAQs: Your Questions Answered
Got more questions about cooking, storing, or reheating your Instant Pot brown rice? Here are answers to some common queries:
Instant Pot brown rice is excellent for healthy meal preparation. Once cooked, it’s crucial to let the rice cool completely before storing it. Transfer it to an airtight container and refrigerate promptly. It will stay fresh and delicious for up to 4 days. When reheating, add a tablespoon or two of water to prevent drying out. You can reheat it on the stovetop over low heat until warmed through, or in the microwave for about 3 minutes on full power, stirring halfway. Remember, for food safety, only reheat cooked rice once.
Absolutely! Cooked brown rice freezes beautifully, making it perfect for long-term meal prep. Ensure it cools completely, then portion it into freezer-safe ziplock bags or airtight containers. Remove as much air as possible before sealing. Frozen brown rice will maintain its quality for up to 6 months. To reheat, you can either thaw it overnight in the refrigerator before warming it up, or you can reheat it directly from frozen in the microwave or on the stovetop, adding a few additional minutes to the cooking time and a splash of water or broth to ensure it’s piping hot and moist throughout.
No, for this Instant Pot brown rice recipe, soaking is not necessary. The high-pressure environment effectively softens the grains and ensures thorough cooking without pre-soaking. Skipping the soak saves you time and simplifies the process even further. Just a good rinse is all that’s required.
If your rice is too dry or still a bit hard, it likely needed more liquid or more natural release time. Next time, ensure your water ratio is precise and allow for the full 10-minute natural pressure release. If it’s too mushy, it received too much liquid or cooked for too long. Double-check your measurements for the 3:2 water-to-rice ratio, and stick to the 20-minute high-pressure cooking time followed by 10 minutes of natural release.
More Delicious Rice Recipes to Try
If you loved this Instant Pot brown rice recipe, you’ll surely enjoy exploring other creative and flavorful rice dishes. Rice is a staple in cuisines worldwide, offering endless possibilities for delicious meals:
- Shrimp Fried Rice: A quick and savory classic perfect for using up leftover rice.
- Mushroom Rice: Earthy and aromatic, this side dish elevates any dinner.
- Wild Rice Pilaf with Mushrooms: A sophisticated and wholesome dish, great for holidays or special occasions.
- How To Cook Rice: Master the basics of cooking various rice types with this comprehensive guide.
We hope this guide makes cooking brown rice in your Instant Pot an absolute breeze! If you enjoyed this recipe or any other recipe on my blog, please take a moment to leave a ⭐ star rating and share your experience in the 📝 comments below. Your feedback is greatly appreciated. Thanks for visiting!
Pin this now to find it later
Pin It
☝ Tap stars to rate
Instant Pot Brown Rice
Neli Howard
2 minutes
20 minutes
10 minutes
32 minutes
6
servings
Pin
Rate
Save This Recipe
Enter your email and we’ll send the recipe directly to you!
By submitting this form, you consent to receive emails from Delicious Meets Healthy.
Ingredients
-
2 cup brown basmati rice -
3 cups water -
½ teaspoon salt
Instructions
-
Rinse brown rice thoroughly under cold running water until the water runs clear. Drain well.
-
Add the rinsed rice, 3 cups of water (or broth), and ½ teaspoon of salt to the Instant Pot. Secure the lid, set the valve to “Sealing,” and pressure cook on HIGH for 20 minutes.
-
Allow for a natural pressure release for 10 minutes. Then, carefully quick release any remaining pressure by turning the valve to “Venting.”
-
Carefully open the lid, taking caution with residual steam. Use a fork to gently fluff the cooked brown rice before serving.
Notes
- Rinse the rice under cold running water thoroughly before adding to the Instant Pot to remove excess starch and prevent clumping.
- Always use a natural pressure release for at least 10 minutes. This allows the rice to fully cook and absorb steam, resulting in perfectly tender grains.
- For meal prep, let the rice cool completely on a baking sheet before storing it in an airtight container in the fridge or freezer.
- Consider using vegetable or chicken broth instead of water for an enhanced flavor profile in your brown rice.
Nutrition
Calories:
225
kcal
|
Carbohydrates:
49
g
|
Protein:
4
g
|
Fat:
1
g
|
Saturated Fat:
1
g
|
Polyunsaturated Fat:
1
g
|
Monounsaturated Fat:
1
g
|
Sodium:
203
mg
|
Potassium:
71
mg
|
Fiber:
1
g
|
Sugar:
1
g
|
Calcium:
21
mg
|
Iron:
1
mg
Nutrition Disclaimer: Nutritional values are estimates and may vary with ingredients, brands, and portion sizes. For accuracy, use your preferred nutrition calculator.
Like this recipe? Rate and comment below!