
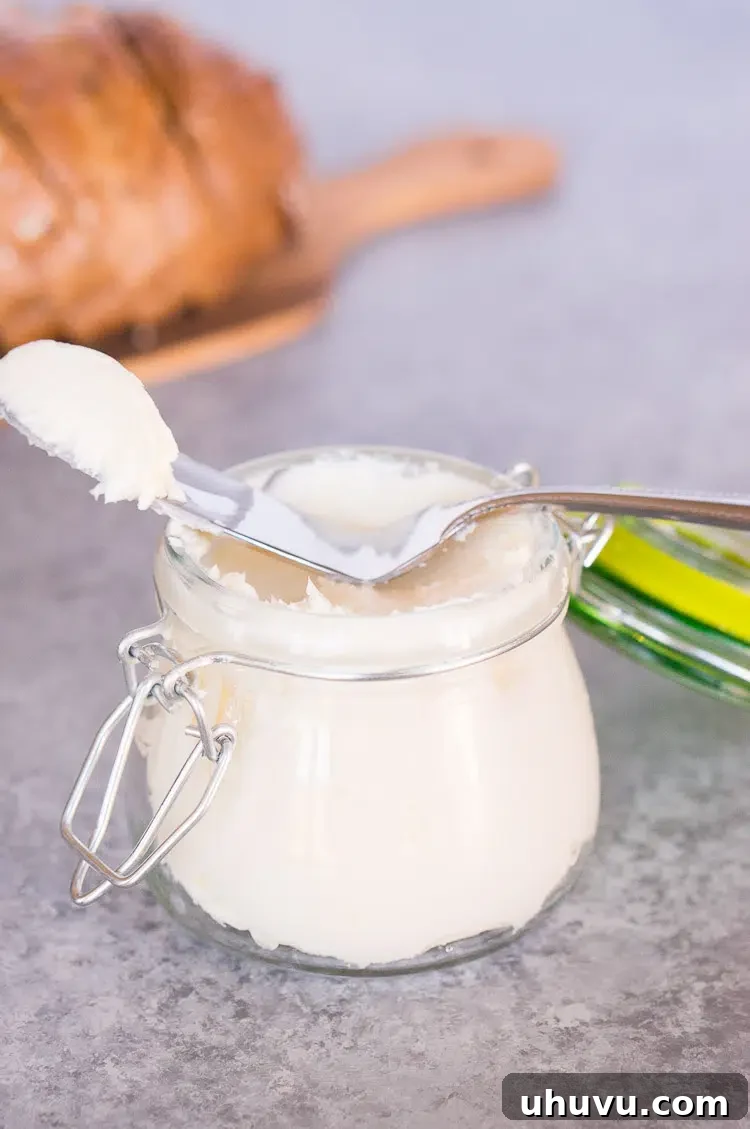
Mastering Homemade Butter: An Easy Guide to Creamy Goodness
Imagine a spread so rich, so fresh, and so utterly delicious that it elevates every meal. That’s the magic of **homemade butter**! Forget store-bought versions; learning **how to make butter** at home is incredibly simple, requires minimal ingredients, and takes just a few minutes of active effort. This comprehensive guide will walk you through everything you need to know to create your own luscious, creamy butter perfect for all your culinary adventures.
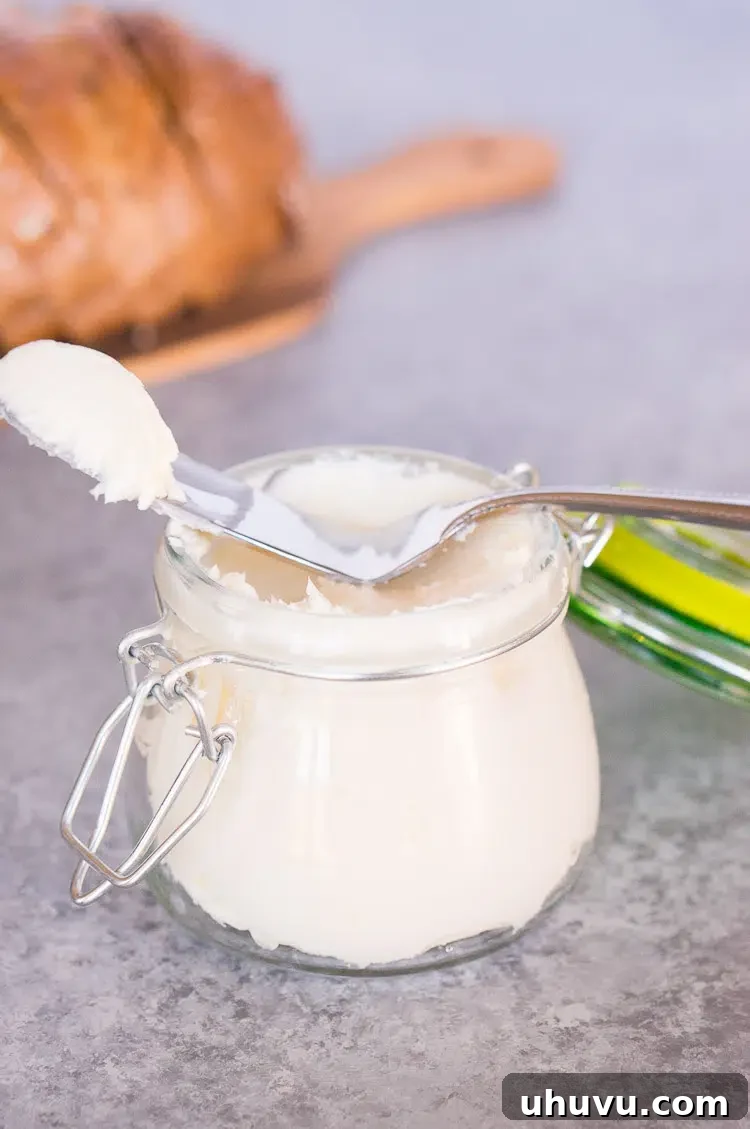
You might be surprised to learn that whipping up a batch of butter can take as little as 15 minutes of your time, thanks to modern kitchen tools like a food processor or stand mixer. No need for tedious hand-churning or specialized equipment; with just one primary ingredient, you’ll be well on your way to enjoying the freshest butter you’ve ever tasted.
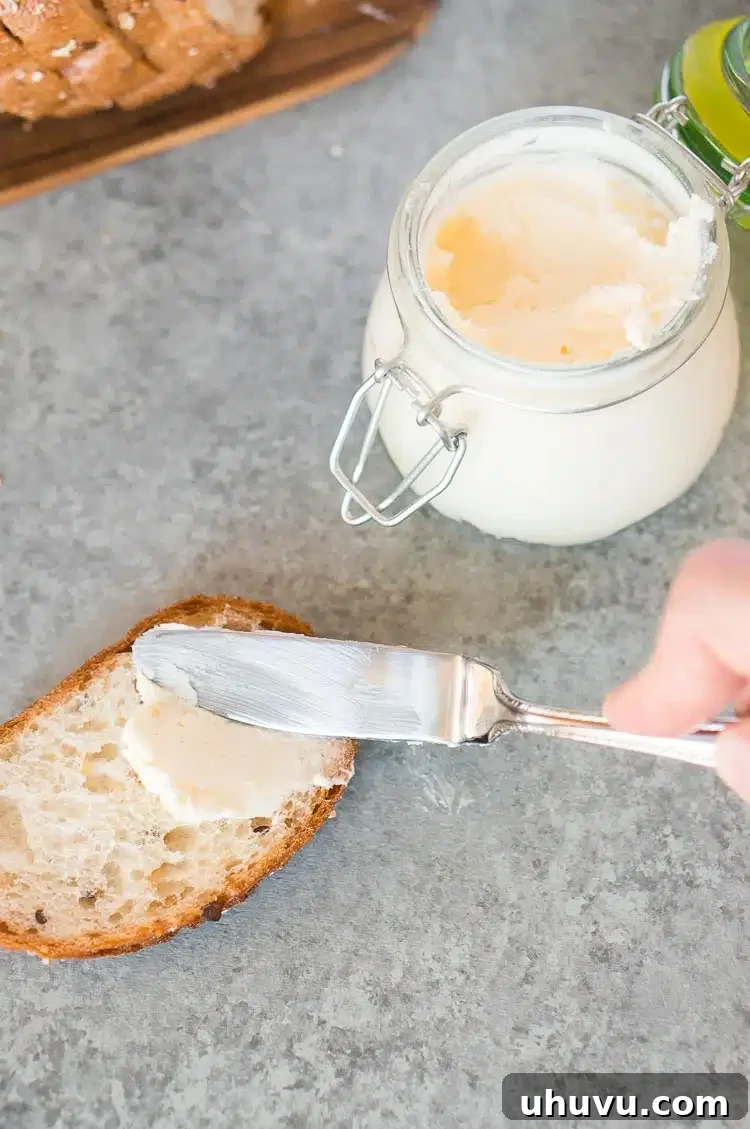
Homemade butter isn’t just a treat; it’s a versatile ingredient that enhances countless recipes. Use it to create rich sauces, bake your favorite pastries, or simply spread it on warm toast. You can even infuse it with other flavors to make sweet honey butter, savory compound butter, or aromatic garlic butter. The possibilities are endless when you control the freshness and flavor!
Why Make Your Own Butter? The Unbeatable Benefits
Beyond the simple satisfaction of DIY, making your own butter comes with a host of advantages:
- Superior Flavor and Freshness: The most significant benefit is the unparalleled taste. Homemade butter is incredibly fresh, often with a subtle, sweet, and pure dairy flavor that store-bought varieties can’t match. It lacks the stabilizers and emulsifiers sometimes found in commercial butter.
- Control Over Ingredients: You know exactly what goes into your butter. No artificial colors, preservatives, or unwanted additives. If you use organic or local cream, your butter will reflect that quality.
- Cost-Effective: While a single carton of heavy cream might seem pricey, it often yields a good amount of butter and a valuable byproduct: fresh buttermilk. In the long run, especially if you buy cream in bulk, it can be more economical.
- Customization: Love salted butter? Add your favorite sea salt. Prefer unsalted for baking? Skip the salt entirely. Want to experiment with flavors? Infuse it with herbs, spices, or sweeteners right after churning.
- Satisfying Experience: There’s a unique sense of accomplishment in transforming a liquid into a solid, usable product. It’s a fun and educational kitchen project for all ages.
Essential Ingredients for Homemade Butter
You’ll be amazed at how few ingredients are required to create this creamy gold.
- Heavy Cream: This is the star of our show. The higher the fat content, the better and faster your butter will form. Look for heavy cream or whipping cream with at least 36-40% butterfat. If you have access to raw milk, you can skim the cream from the top, which will produce incredibly rich butter. Ensure your cream is cold when you start, but not ice-cold; room temperature cream (around 60-65°F or 15-18°C) actually churns faster than straight-from-the-fridge cream.
- Salt (Optional): For salted butter, a pinch of good quality fine-grain salt, such as sea salt, is all you need. Add it after the butter solids have formed and been washed. Adjust to your personal taste. For baking, unsalted butter is often preferred.
- Ice Water: Crucial for washing the butter to remove excess buttermilk, which prevents spoilage and improves shelf life.
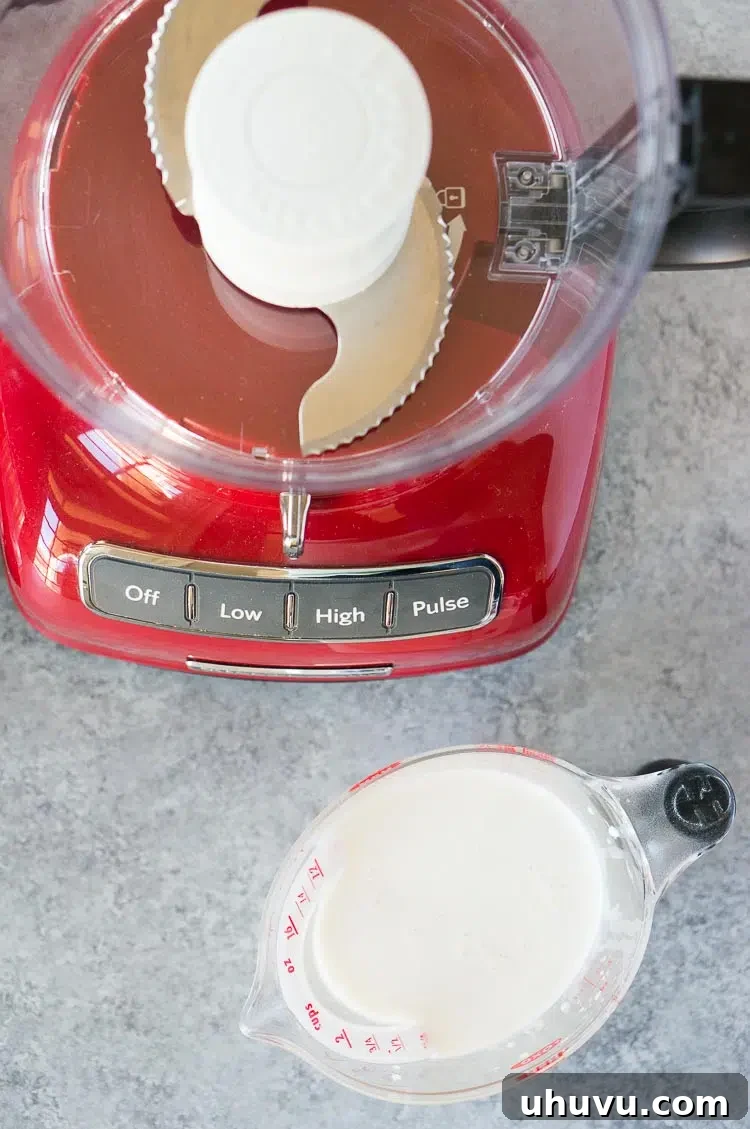
How To Make Homemade Butter: A Step-by-Step Guide
Making butter is a fascinating process where you witness cream transforming through several stages before becoming solid butter. Here’s how to do it efficiently, especially using a food processor.
Equipment You’ll Need:
- Food processor (or stand mixer with whisk attachment, or a powerful blender)
- Spatula
- Large mixing bowls (at least two)
- Fine-mesh sieve or colander
- Measuring cups and spoons
Instructions:
-
Prepare the Cream: If you’re using cream skimmed from raw milk, ensure the milk has been undisturbed in the refrigerator for several hours or overnight. This allows the thick cream to rise to the top, making it easier to scoop out with a large spoon. If using store-bought heavy cream, simply measure it out. Ideally, the cream should be cool, but not ice-cold; slightly above fridge temperature (around 60-65°F / 15-18°C) often churns faster.
-
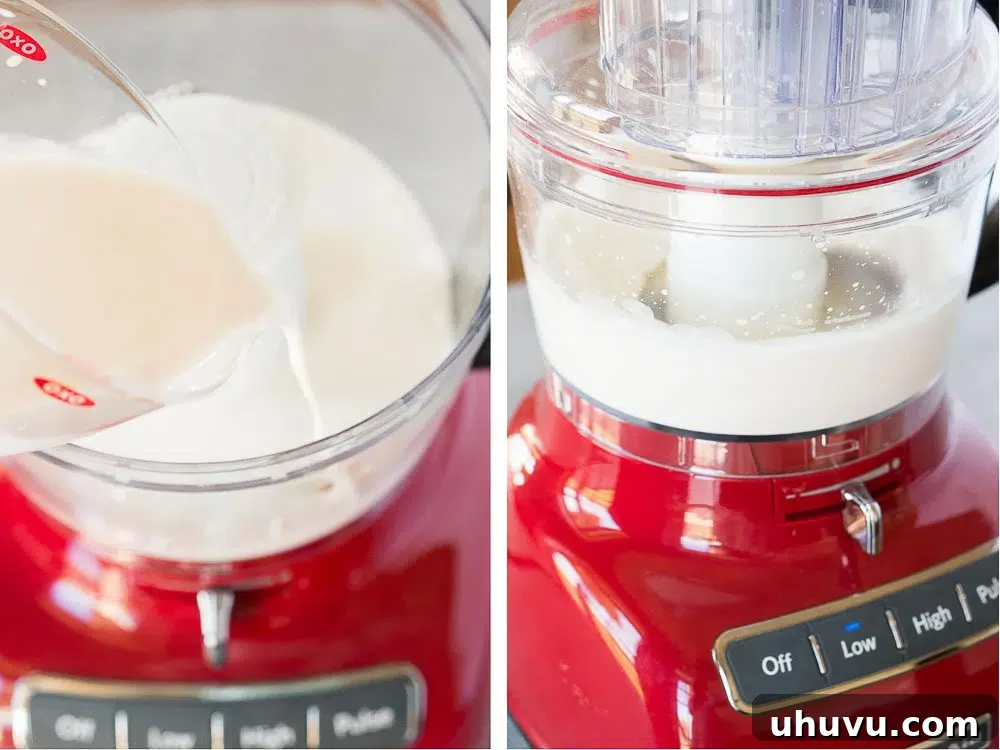
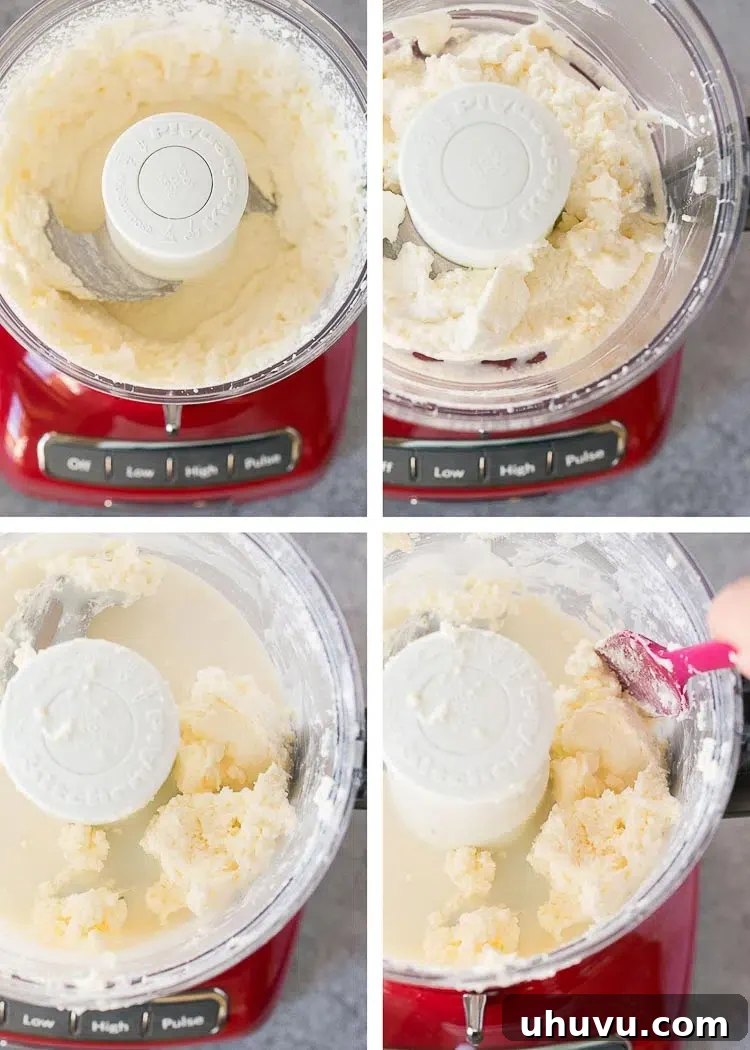
Begin Churning: Pour the heavy cream into your food processor bowl. Start mixing on a low speed for a couple of minutes. This initial stage begins to aerate the cream.

-
Watch the Transformation: Increase the speed to high. The cream will go through several distinct stages:
- First, it will become thick whipped cream.
- Next, it will start to look curdled, grainy, and slightly yellow.
- Finally, the butter solids will separate from the liquid buttermilk. You’ll hear a sloshing sound as the butter forms into a ball and releases the liquid. This process can take anywhere from 5 to 10 minutes, depending on your machine and cream. Periodically, stop and scrape down the sides of the food processor to ensure even churning.
-
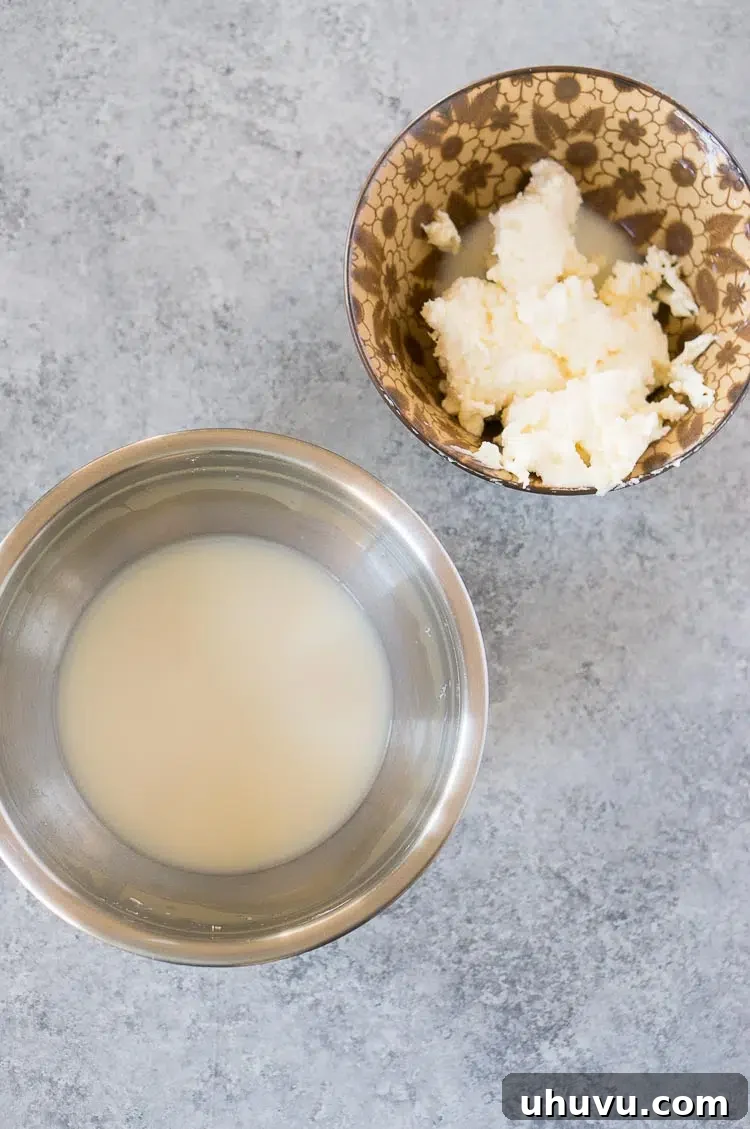
Separate Butter from Buttermilk: Carefully remove the butter solids from the food processor. Transfer them to a fine-mesh sieve or colander placed over a bowl. Gently press the butter with a spatula or your hands to help drain out as much buttermilk as possible. Don’t discard the buttermilk—it’s a delicious byproduct!
-
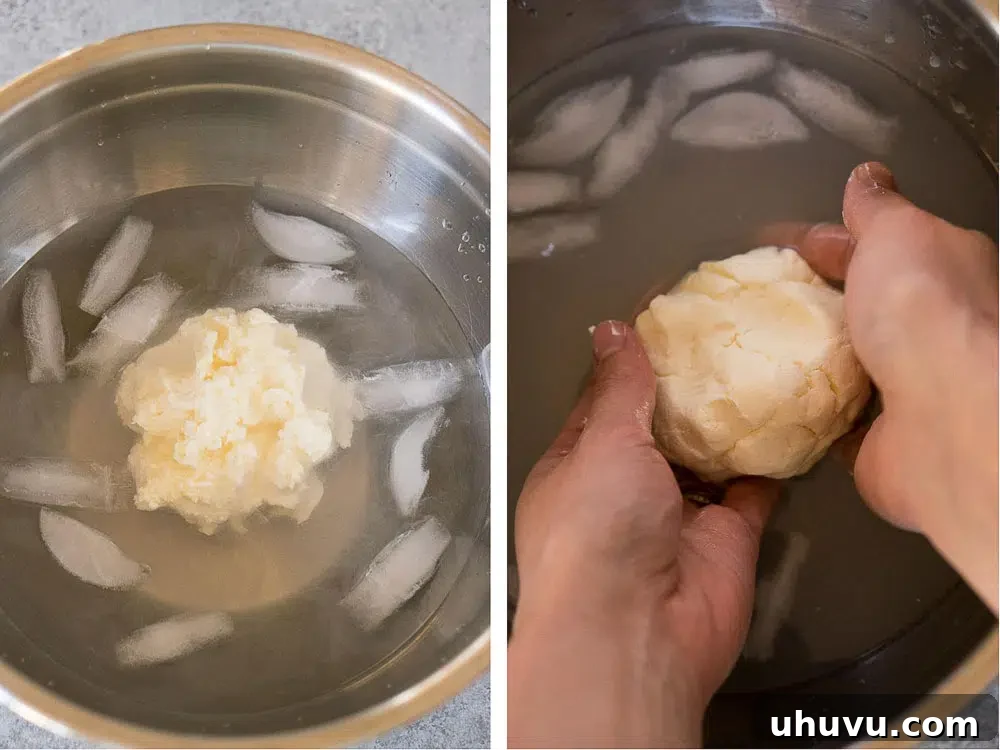
Wash the Butter: This is a critical step for good shelf life! Form the butter into a rough ball with your hands. Transfer it to a large bowl filled with ice water (add plenty of ice cubes). Knead and squeeze the butter repeatedly under the cold water. The water will become cloudy with residual buttermilk. Drain the cloudy water and refill the bowl with fresh ice water. Repeat this washing process 6 to 8 times, or until the water remains clear after kneading the butter. Thorough washing removes milk solids that would otherwise cause the butter to spoil quickly.
-
Salt and Shape (Optional): Once washed, gently pat the butter dry with paper towels. If making salted butter, sprinkle ½ teaspoon of salt per 2 cups of cream used over the butter and knead it in evenly. Shape the butter into a log or ball using your hands, a spatula, or butter paddles. Your fresh homemade butter is now ready to enjoy!
Other Methods for Making Butter
- Stand Mixer: A stand mixer with a whisk attachment is another excellent tool. The process is identical to using a food processor, but be sure to use a deep bowl and a splash guard to contain the inevitable splatters as the butter separates.
- Blender: A high-powered blender can also work, though it might take a bit longer and require more pauses to scrape down the sides.
- Jar Method (Manual Churning): For a truly hands-on experience, you can pour heavy cream into a clean, tightly sealed jar and shake it vigorously. This method takes considerable time and “elbow grease” – often 15-30 minutes of continuous shaking – but can be a fun activity, especially with kids.
Top Tips for Making Perfect Homemade Butter
- Start with Quality Cream: The better the quality of your heavy cream (at least 36-40% fat), the better your butter will be. Organic, grass-fed cream often yields butter with a richer color and flavor.
- Temperature Matters: While cold cream is easier to handle, cream that’s slightly warmer than fridge temperature (around 60-65°F / 15-18°C) tends to churn faster. However, avoid warm cream, as it can lead to greasy butter.
- Prevent Splatter: When using a food processor, stand mixer, or blender, a splatter guard is your best friend. If you don’t have one, cover the top of your appliance with a clean kitchen towel to catch any cream droplets.
- Thorough Washing is Key: Do not rush the washing process. Removing all residual buttermilk is crucial for extending your butter’s shelf life and preventing it from becoming rancid quickly. The water should run perfectly clear by the end.
- Season to Taste: Add salt after washing. Start with a small amount (e.g., ½ teaspoon per 2 cups of original cream) and add more if desired. You can also experiment with other flavors immediately after washing.
- Don’t Waste the Buttermilk: The liquid separated from the butter is genuine buttermilk, far superior to store-bought cultured buttermilk. Save it for baking, marinades, or drinking.
Storage and Shelf Life of Homemade Butter
Once you’ve gone through the effort of making your own butter, proper storage is essential to maintain its freshness and flavor.
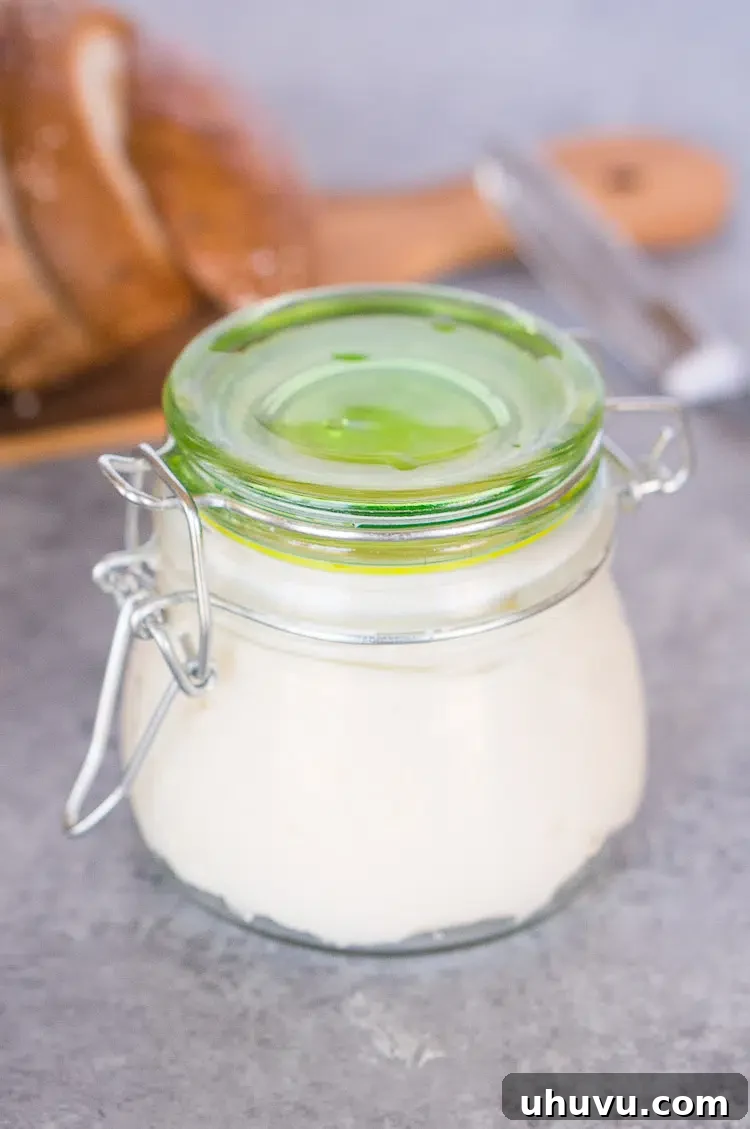
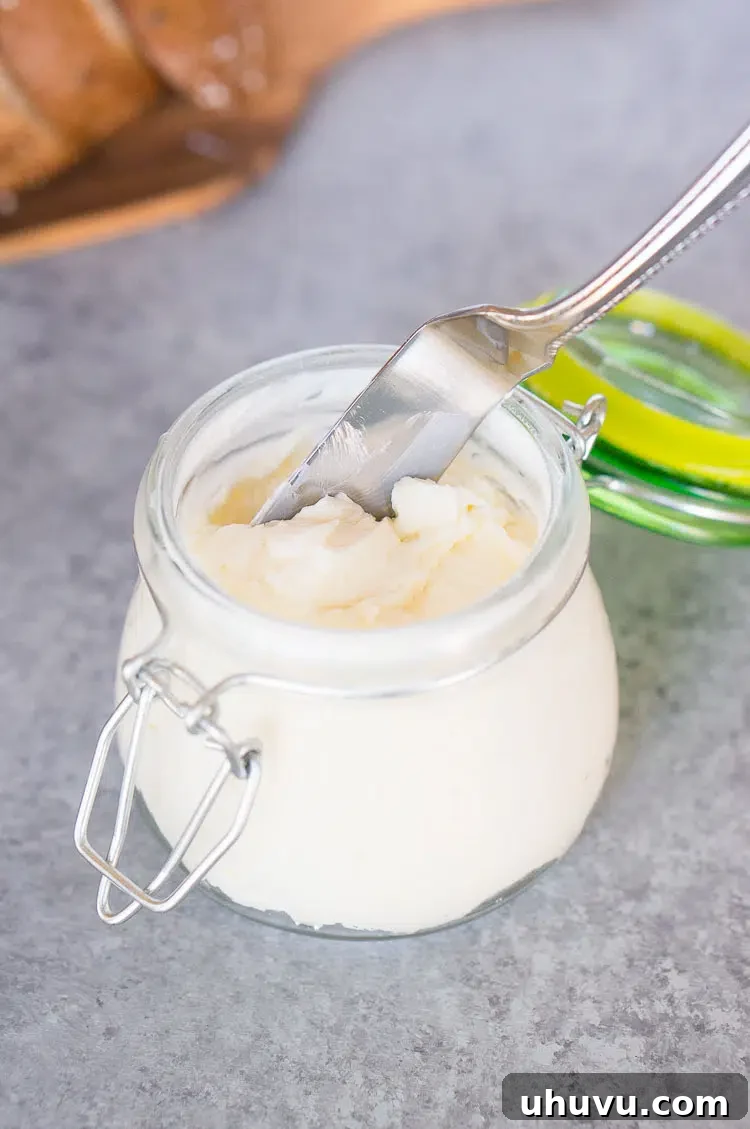
- Refrigeration: Fresh homemade butter, thoroughly washed, will keep beautifully for **2 to 3 weeks** in the refrigerator. Store it in an airtight container, a glass jar with a lid, or wrapped tightly in parchment paper or foil, then placed in an airtight container. This prevents it from absorbing odors from other foods in your fridge.
- Room Temperature: If you plan to use your butter within a few days, you can keep a small amount at cool room temperature (below 70°F or 21°C) in a butter keeper or covered dish. This keeps it soft and spreadable. For longer periods, or in warmer climates, refrigeration is always best.
Can You Freeze Homemade Butter?
Absolutely! Freezing is an excellent way to extend the life of your homemade butter, especially if you make larger batches. Properly wrapped, frozen butter will maintain its quality for up to **6 months**.
To freeze, wrap the butter tightly in a double layer of plastic wrap or parchment paper, then an additional layer of aluminum foil or place it in a freezer-safe bag or container. This extra protection helps prevent freezer burn and keeps out unwanted odors. When you’re ready to use it, simply thaw the butter in the refrigerator overnight or on the counter for 3 to 4 hours, depending on its size.
What to Do with the Fresh Buttermilk
One of the best “bonuses” of making your own butter is the delicious, fresh buttermilk you collect during the process. This isn’t the thick, cultured buttermilk you buy at the store; it’s the pure liquid leftover after the butterfat separates, and it’s fantastic!
Store your fresh buttermilk in a sealed container in the refrigerator for up to a week. It can be used in numerous ways:
- Baking: It adds incredible tenderness and flavor to pancakes, waffles, biscuits, soda bread, and muffins.
- Marinades: The acidity in buttermilk works wonders to tenderize chicken, pork, or other meats.
- Creamy Dishes: Stir it into mashed potatoes for extra richness, or use it as a base for creamy salad dressings and dips.
- Drinking: Some people enjoy drinking fresh buttermilk plain or mixed into smoothies for a tangy, refreshing boost.
Making Butter with a Food Processor: A Game Changer
Historically, making butter was a labor-intensive chore. But with the advent of the food processor, it has become one of the quickest and most rewarding kitchen tasks. I used to imagine it would be a lengthy process, but my food processor has proven that fresh butter can be ready to wrap in less than 15 minutes of active time. The efficiency and minimal effort involved truly make it a game-changer for home cooks. You’ll be amazed at how simple it is and how much you’ll love the smooth, creamy results!
Frequently Asked Questions About Homemade Butter
How much butter does 2 cups of heavy cream make?
Generally, 2 cups (approximately 1 pint) of heavy cream will yield about 8 ounces (half a pound) of fresh butter, along with about 1 cup of buttermilk.
What kind of cream is best for making butter?
Heavy cream or whipping cream with a high butterfat content (at least 36-40%) is ideal. Cream from raw milk also works wonderfully and can produce a very rich, flavorful butter.
Why do I need to wash the butter?
Washing the butter removes all residual buttermilk (milk solids). If left in the butter, these milk solids would quickly spoil, causing your butter to go rancid and taste sour. Thorough washing ensures a longer shelf life and a cleaner flavor.
Can I use milk instead of cream?
No, regular milk does not contain enough butterfat to churn into butter. You need heavy cream or whipping cream for successful butter making.
What if my butter isn’t separating?
Several factors can affect churning time. Ensure your cream has adequate fat content (at least 36%). The cream should be cool, but not ice-cold (around 60-65°F / 15-18°C is often optimal). If using a food processor or mixer, ensure it’s running at a high enough speed. Patience is key; it can take longer than expected sometimes!
Conclusion: Enjoy Your Homemade Creation
Making your own butter is a simple, rewarding, and incredibly delicious culinary endeavor. With just one main ingredient and a bit of churning, you can produce a superior product that’s free from additives and bursting with fresh flavor. Whether you spread it on your morning toast, incorporate it into your favorite baked goods, or use it to enrich a savory dish, homemade butter will undoubtedly elevate your cooking. So grab some heavy cream and give it a try – you’ll be amazed at the creamy goodness you can create right in your own kitchen!
More Delicious and Easy Recipes to Try
- Easy Creamy Chicken Marsala
- Simple & Healthy Salmon Salad
- Quick Breakfast Egg Muffins
- Perfect Poached Eggs Every Time
If you enjoyed this Homemade Butter recipe or any other recipe on my blog, please consider leaving a ⭐ star rating and let me know how it went in the 📝 comments below. Your feedback is greatly appreciated!
Pin this now to find it later!
Pin It